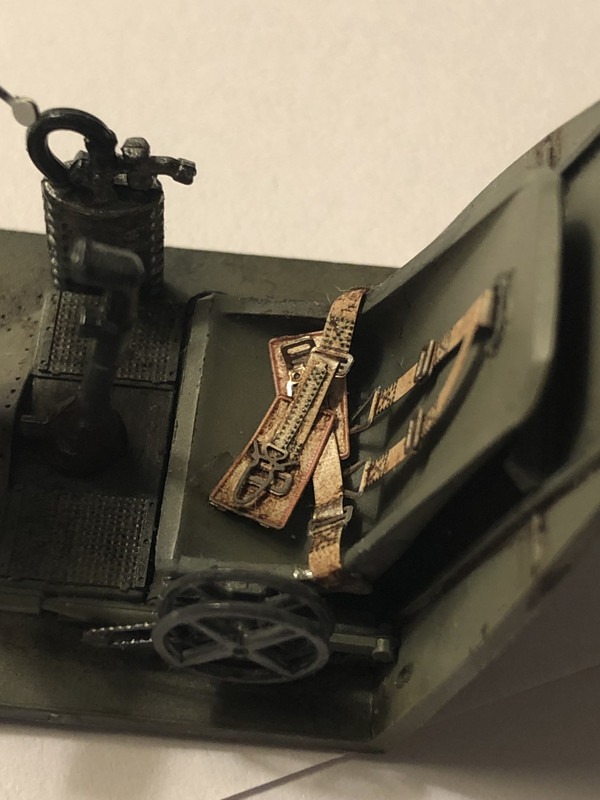
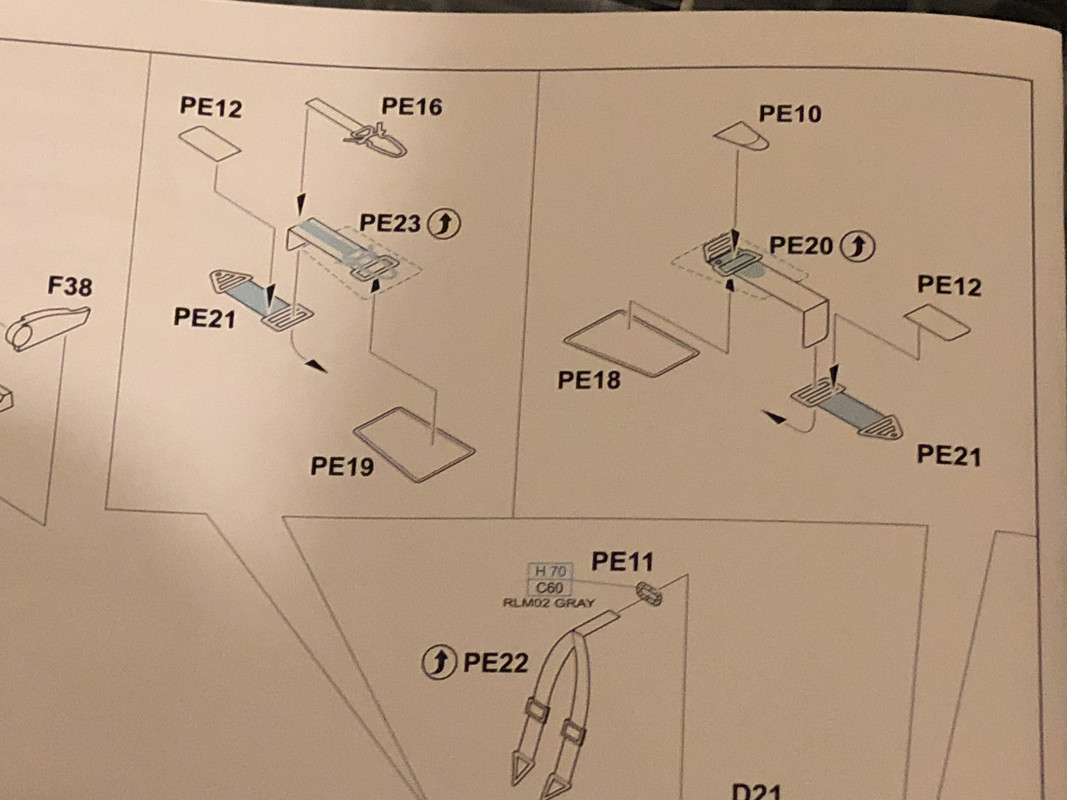
My Decompression Build: 1:32 Horst Tietzen E3
Posted: Fri Dec 14, 2018 7:25 am
I wasn’t even going to log this one because at the outset I thought one of two (or both) things would happen:
1. Everybody would roll their eyes and say “Here goes the old boy Kenny X, building too many airplanes at one time again.”
2. Everybody would roll their eyes and say “Great. Just what we need. Another Emil.”
Plus, this bad boy is going to take a long time, because I only ever work on it when I need a break from my other projects. I liken this “decompression build” to eating Sushi at a fine Japanese restaurant. You’ve been steady crushing dragon rolls and pounding Asahi Super Dry since you sat down, and now it’s time to switch to Sashimi and Saki, and you need a pallet cleanse, so you eat some pickled ginger. That’s what this project is- pickled ginger. Updates won’t be as frequent, but shoot, maybe they might be useful for other folks who might wish to build this particular aircraft kit, or explore the techniques I’m using/developing.
Also- I had started a 1:32 Emil build as you’ll recall. Dragon’s 1:32 E3. I wanted a big Emil. A 1:32, done-up like Horst Tietzen’s. Well, thing is, I fell out of love with that kit quickly. Not because of the quality of the kit, the kit is great! I just don’t like it. But just because I don’t like it doesn’t mean it isn’t any good and who knows, after I accumulate more experience, I may dust it off.
All that said, I have here Eduard’s 1:32 E3. Which comes with a fully-detailed engine, and I am building this kit with the cowl off and the engine exposed and that’s another thing- more details to pour over and pick out, which I like.
Case in-point- I was flying solo with the kids last night, because my wife was conducting her students in their school’s Winter concert. After I put the babies to bed, I wanted to relax and do some modeling, but I didn’t want to paint any more of the camo on my latest Galland Emil due to time constraints, I was too tired to work on getting the remainder of the Corsair’s cockpit parts prepared (got some cutting and sanding and PE installations to do), and I didn’t want to start painting my tank’s wheels again, due to time constraints. So instead I picked this one up, and very carefully began applying raw umber washes to the cockpit parts. Just relax and do some oil painting basically.
Below is the cockpit parts, sans-seat because I don’t want to install that until after I’ve gotten the seatbelts put on there. No ETA on that as of yet.
What I did was I primed all this with black Mr. Surfacer 1500, then sprayed my standard ops mix of XF-22: 1 + XF-49:1 on there, and let it all dry. A few days later I lightened that same mix with two drops of white, thinned it out as much as I could get away with, and sprayed that mix on the raised components, and upper parts of the sidewalls, and other places I felt needed highlighting. Then I painted some individual details I felt like I wanted to stand out a bit, and when I was happy with it I sealed it with Tamiya Clear.
Which brings us to yesterday evening, during which I listened to Kate Bush and applied the washes. I dirtied up the floor a bit, as well as the bottom of the sidewalls. I also accentuated lines and curves of the details.
This is the result:
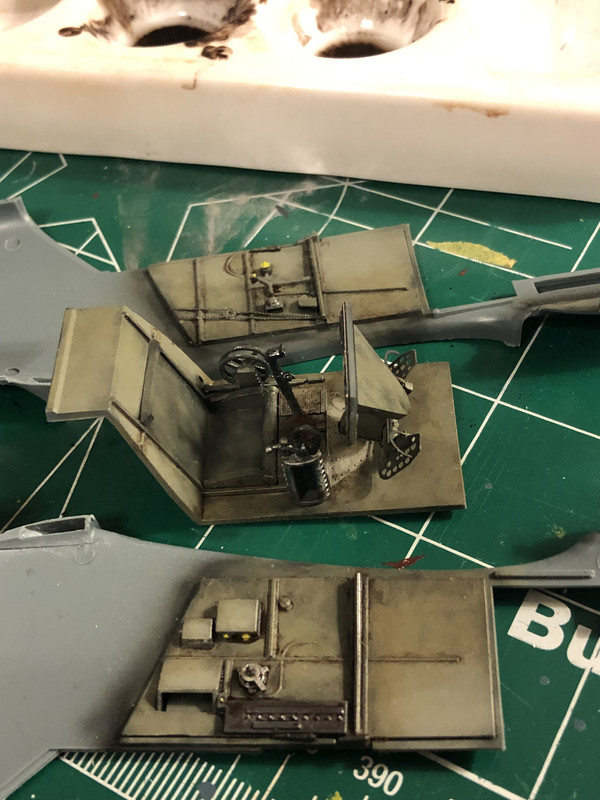
Total game-changer, these oil paint washes.
I shared the pic with Bruce and his feedback was positive. He was also the driving force behind getting me to change my mind and log this, so if anybody has any complaints about me logging yet another Emil, blame him. HA!
So here it is. The plane I work on to decompress.
1. Everybody would roll their eyes and say “Here goes the old boy Kenny X, building too many airplanes at one time again.”
2. Everybody would roll their eyes and say “Great. Just what we need. Another Emil.”
Plus, this bad boy is going to take a long time, because I only ever work on it when I need a break from my other projects. I liken this “decompression build” to eating Sushi at a fine Japanese restaurant. You’ve been steady crushing dragon rolls and pounding Asahi Super Dry since you sat down, and now it’s time to switch to Sashimi and Saki, and you need a pallet cleanse, so you eat some pickled ginger. That’s what this project is- pickled ginger. Updates won’t be as frequent, but shoot, maybe they might be useful for other folks who might wish to build this particular aircraft kit, or explore the techniques I’m using/developing.
Also- I had started a 1:32 Emil build as you’ll recall. Dragon’s 1:32 E3. I wanted a big Emil. A 1:32, done-up like Horst Tietzen’s. Well, thing is, I fell out of love with that kit quickly. Not because of the quality of the kit, the kit is great! I just don’t like it. But just because I don’t like it doesn’t mean it isn’t any good and who knows, after I accumulate more experience, I may dust it off.
All that said, I have here Eduard’s 1:32 E3. Which comes with a fully-detailed engine, and I am building this kit with the cowl off and the engine exposed and that’s another thing- more details to pour over and pick out, which I like.
Case in-point- I was flying solo with the kids last night, because my wife was conducting her students in their school’s Winter concert. After I put the babies to bed, I wanted to relax and do some modeling, but I didn’t want to paint any more of the camo on my latest Galland Emil due to time constraints, I was too tired to work on getting the remainder of the Corsair’s cockpit parts prepared (got some cutting and sanding and PE installations to do), and I didn’t want to start painting my tank’s wheels again, due to time constraints. So instead I picked this one up, and very carefully began applying raw umber washes to the cockpit parts. Just relax and do some oil painting basically.
Below is the cockpit parts, sans-seat because I don’t want to install that until after I’ve gotten the seatbelts put on there. No ETA on that as of yet.
What I did was I primed all this with black Mr. Surfacer 1500, then sprayed my standard ops mix of XF-22: 1 + XF-49:1 on there, and let it all dry. A few days later I lightened that same mix with two drops of white, thinned it out as much as I could get away with, and sprayed that mix on the raised components, and upper parts of the sidewalls, and other places I felt needed highlighting. Then I painted some individual details I felt like I wanted to stand out a bit, and when I was happy with it I sealed it with Tamiya Clear.
Which brings us to yesterday evening, during which I listened to Kate Bush and applied the washes. I dirtied up the floor a bit, as well as the bottom of the sidewalls. I also accentuated lines and curves of the details.
This is the result:
Total game-changer, these oil paint washes.
I shared the pic with Bruce and his feedback was positive. He was also the driving force behind getting me to change my mind and log this, so if anybody has any complaints about me logging yet another Emil, blame him. HA!
So here it is. The plane I work on to decompress.