Page 1 of 9
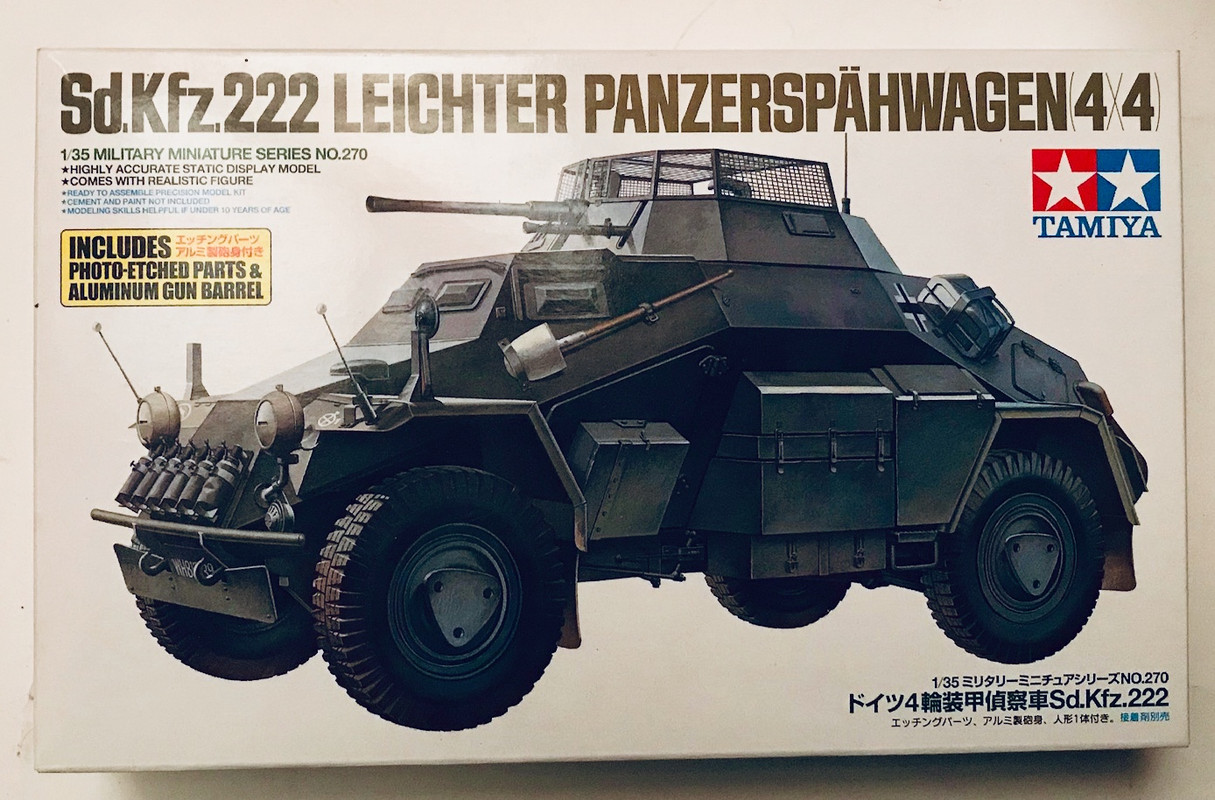
Tamiya Sdkfz.222
Posted: Wed Dec 26, 2018 12:32 pm
by Stikpusher
Well I had planned to start this for Stuart’s vehicle GB on here, but then this kit was sidelined by my Challenger 2 instead. So now I am starting this kit. It is actually due to a GB over on FSM where one member there introduced a “12 Days of Christmas” challenge. Build an armor kit in 12 days starting today. I guess I jumped the gun a bit and started last nite. Anyways, this kit will be mostly OOB, with some slight changes. And I will likely stray a bit on the finish scheme as well...

I will certainly replace the crew figure as he is in Continental uniform and I am planning this to be early 1941 DAK....
and most of Step 1 done last night. I left off the side hatches for painting purposes.
Re: Tamiya Sdkfz.222
Posted: Wed Dec 26, 2018 2:29 pm
by Stuart
Good to see this hit the bench Stik - Looking forward to seeing your progress over the next 12 days.
Re: Tamiya Sdkfz.222
Posted: Wed Dec 26, 2018 2:48 pm
by speedgraflex
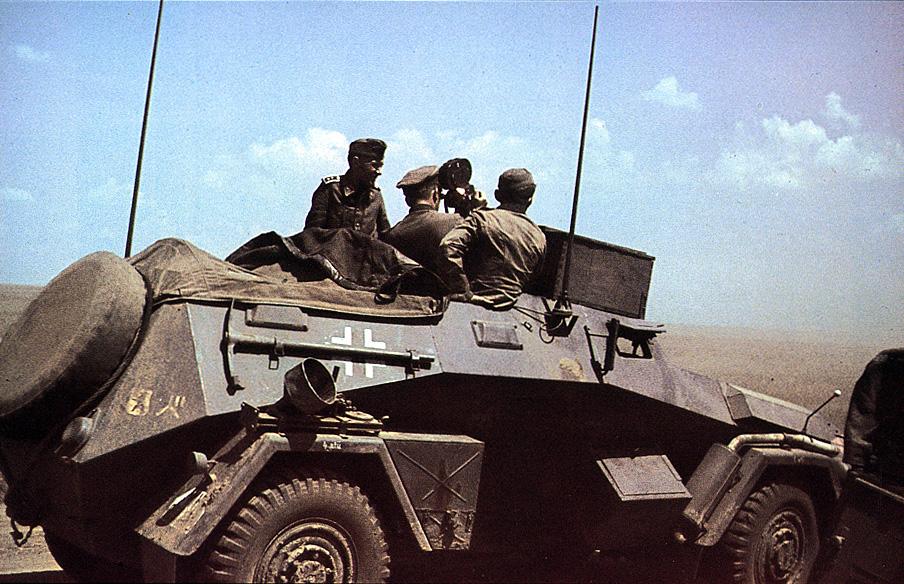
12 Days! You got this! I found this cool shot. Do you think it is colorized? Color neg has a way of reducing facial details. This is still a great frame. If it was colorized, the fella who colored it did a great job. Also dig the exhaust and muffler on the front fender.
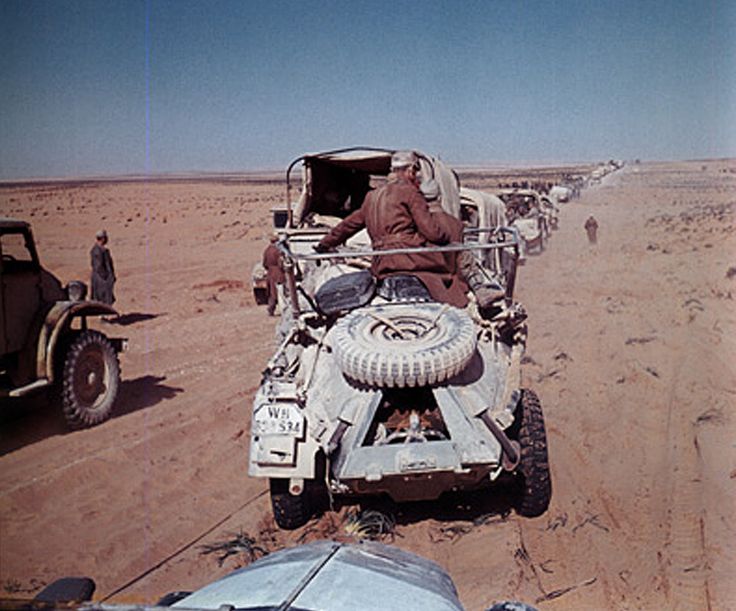
 I am so excited. Whenever I run a search, images of the 250 appear as well, some of these are quite beautiful. I also found this image of the 222/3? but what I appreciated was the contrast between the red soil and what looks like more of a “beige clay,” suggestive of moving the vehicles over large areas of terrain. Dig also the missing fender! Who says the parts all stay on? This effect really makes the vehicles stand out.

Re: Tamiya Sdkfz.222
Posted: Wed Dec 26, 2018 2:51 pm
by Stikpusher
Thanks Stuart. I’ve just been pouring over all my books for photos of these in Libya, early 1941. And figuring out what to do to make it a bit different than straight OOB based off of what I have found...
Re: Tamiya Sdkfz.222
Posted: Wed Dec 26, 2018 3:27 pm
by KSaarni
This will be great!
I am so into armour at this moment!
- Kari
Re: Tamiya Sdkfz.222
Posted: Wed Dec 26, 2018 5:24 pm
by Floki
Those photos are great! Seeing it with the missing fender has got me digging through my books to see if I can't find anymore shots like that. I have the Hobby Boss 222 in the stash think that's how I'll show mine.
Re: Tamiya Sdkfz.222
Posted: Wed Dec 26, 2018 5:26 pm
by Stikpusher
Bruce and Kari, thanks for looking in and commenting.
Bruce, those are some awesome photos. Neither vehicle is a 222, but they are still superb reference. Thanks for finding those and posting them. Those look to be original WWII era color photos and not computer colorized photos.
Kari, I’m in the same boat fight now, in an armor mood. And going wheeled with this one, as well as WWII, gives me a nice slight change of pace from my last 3 Cold War/Modern Armor builds.
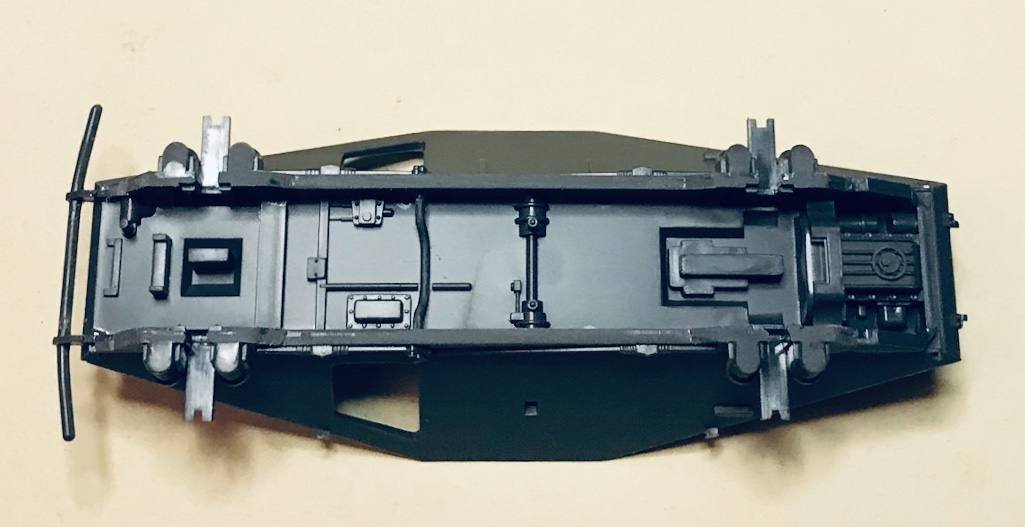
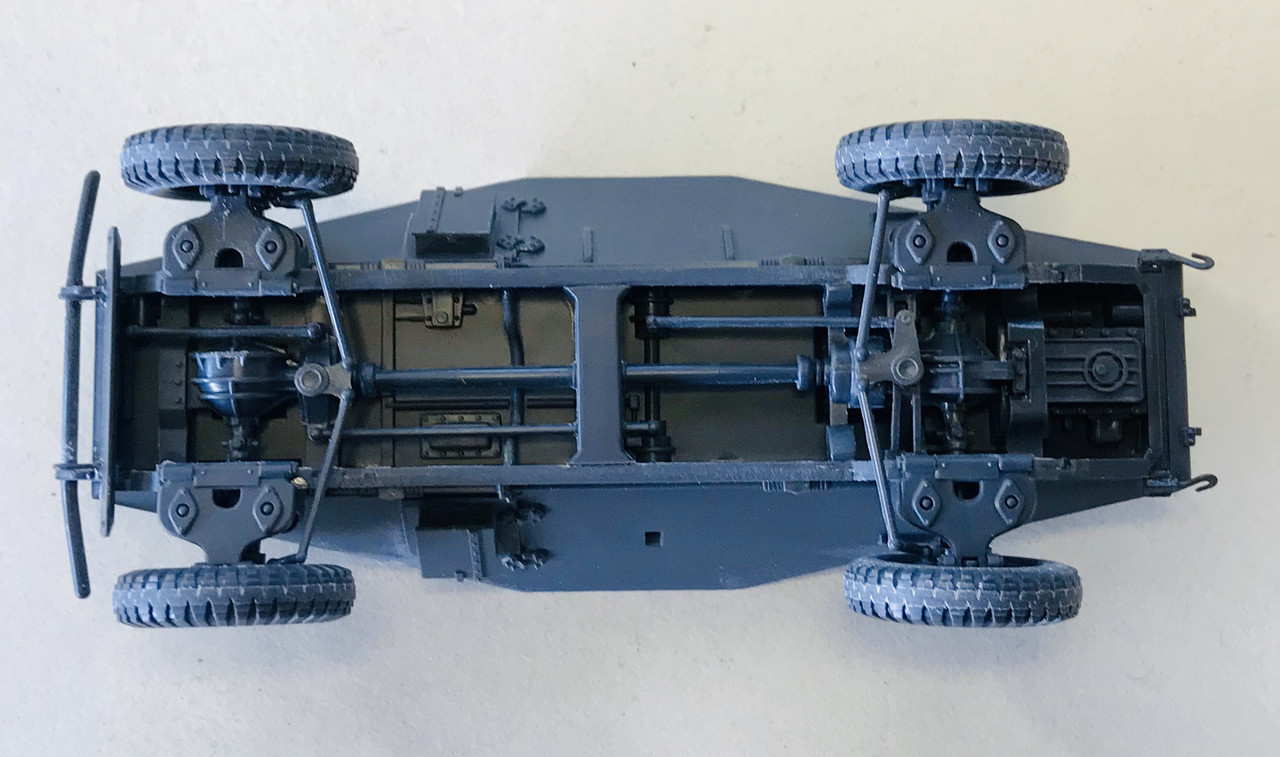
Well, here is my mid afternoon update- lower hull chassis and suspension complete...
Re: Tamiya Sdkfz.222
Posted: Wed Dec 26, 2018 6:47 pm
by BlackSheep214
Watching this one...
Re: Tamiya Sdkfz.222
Posted: Wed Dec 26, 2018 9:08 pm
by speedgraflex
Carlos and Floki! Cool! Fire up those builds! I don’t know which type is the first photo but the second is the dedicated radio version... Carlos is right to correct me. I have a thing for busted fenders having busted a few so far.
On the subject of how this will be painted, I wish I could find a transparency someone had in their collection of a parked 222 outside their occupied house. I saw this image so long ago I cannot recall where I found it... probably on the dark net. What was interesting was the subtle transitions of camo colors. This was almost idealized lighting for a war time vehicle, a catalogue beauty shot. The crew was missing. The street was empty. One day I will find it.
Carlos, Fine progress, sir!
Re: Tamiya Sdkfz.222
Posted: Fri Dec 28, 2018 6:32 pm
by Stikpusher
Well I have been working on this for much of the past two days and here is what’s up now...
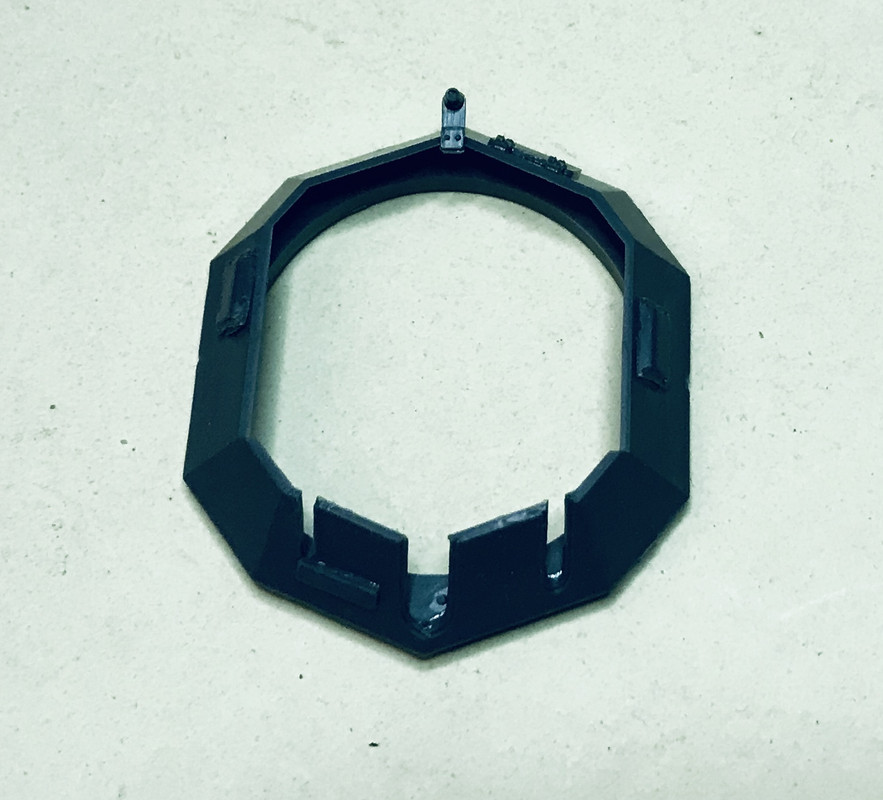
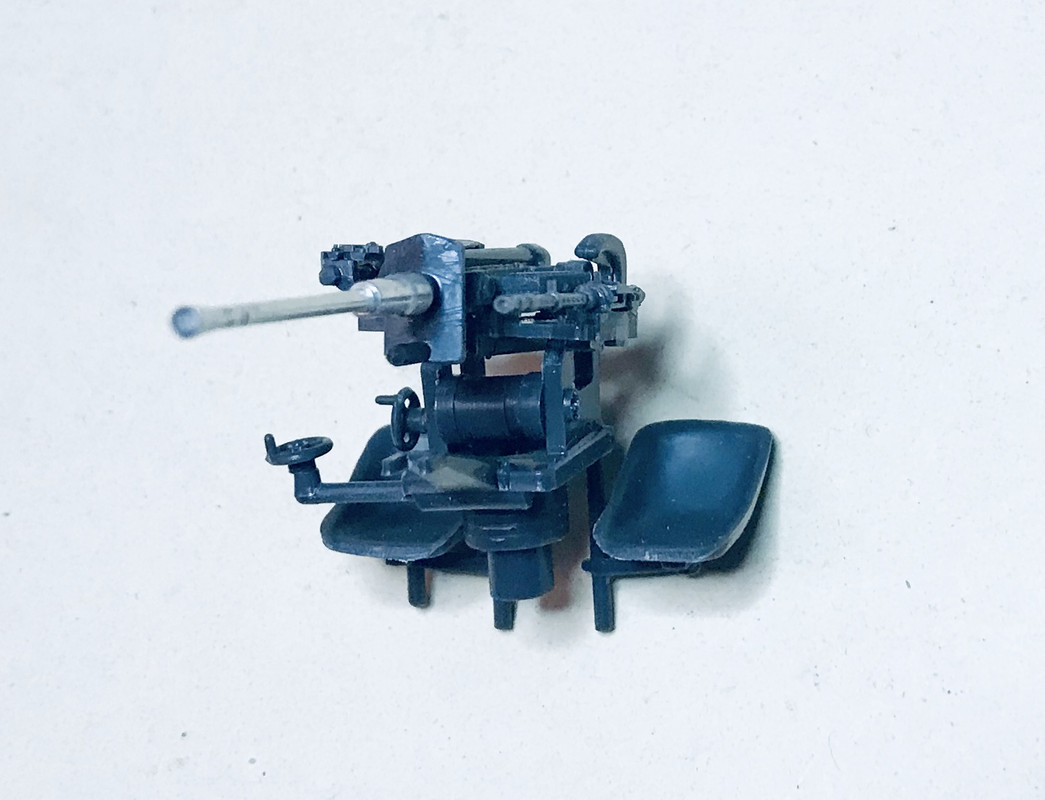
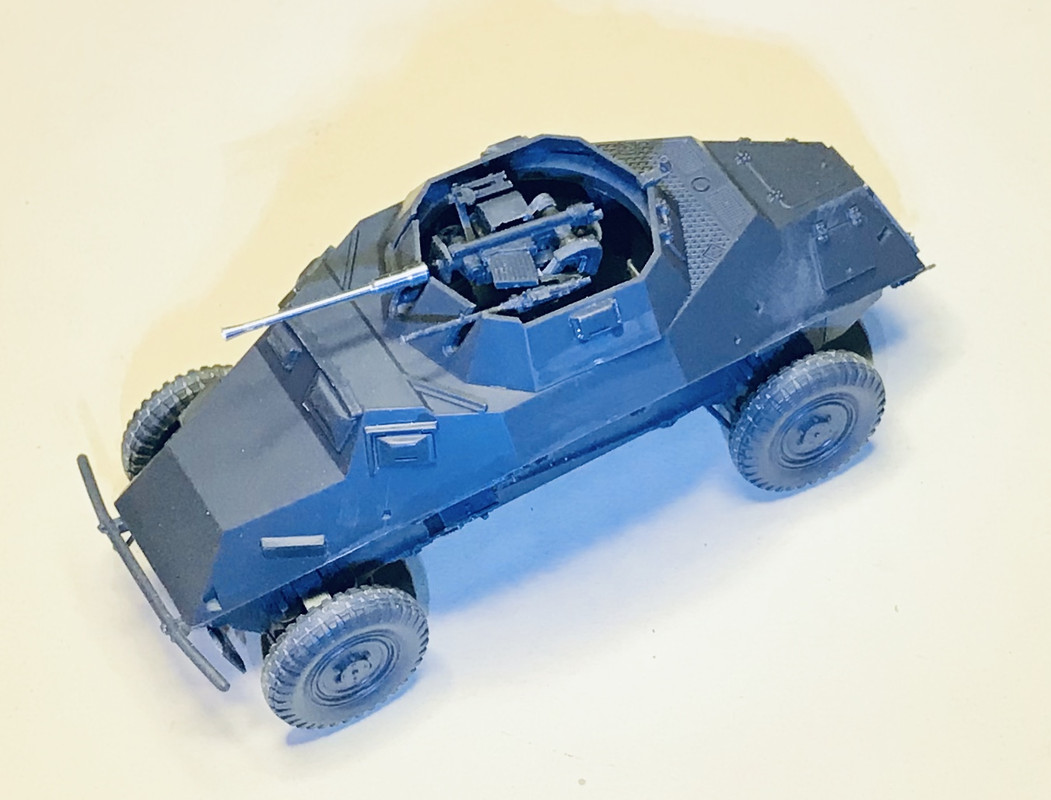
First up I built the turret and armament. The kit comes with a metal barrel for the 20mm gun, and I hollowed out the bore of the MG-34. And I started adding the upper hull fittings...
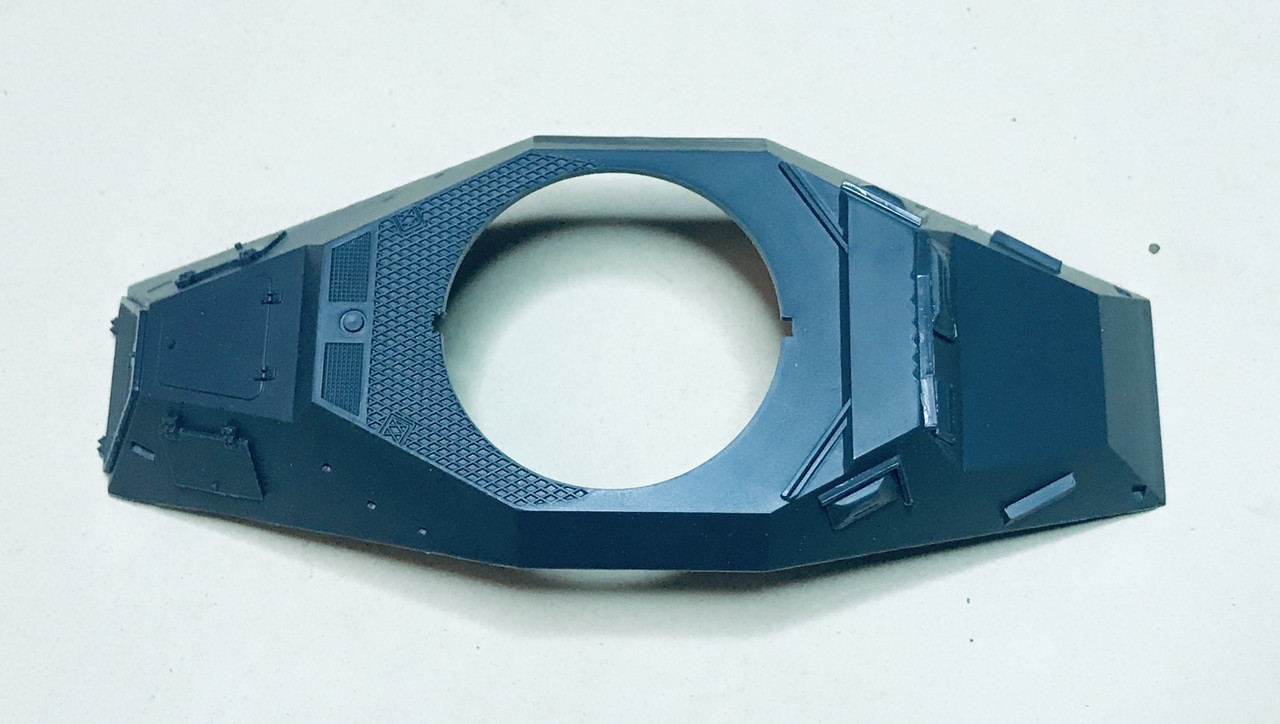
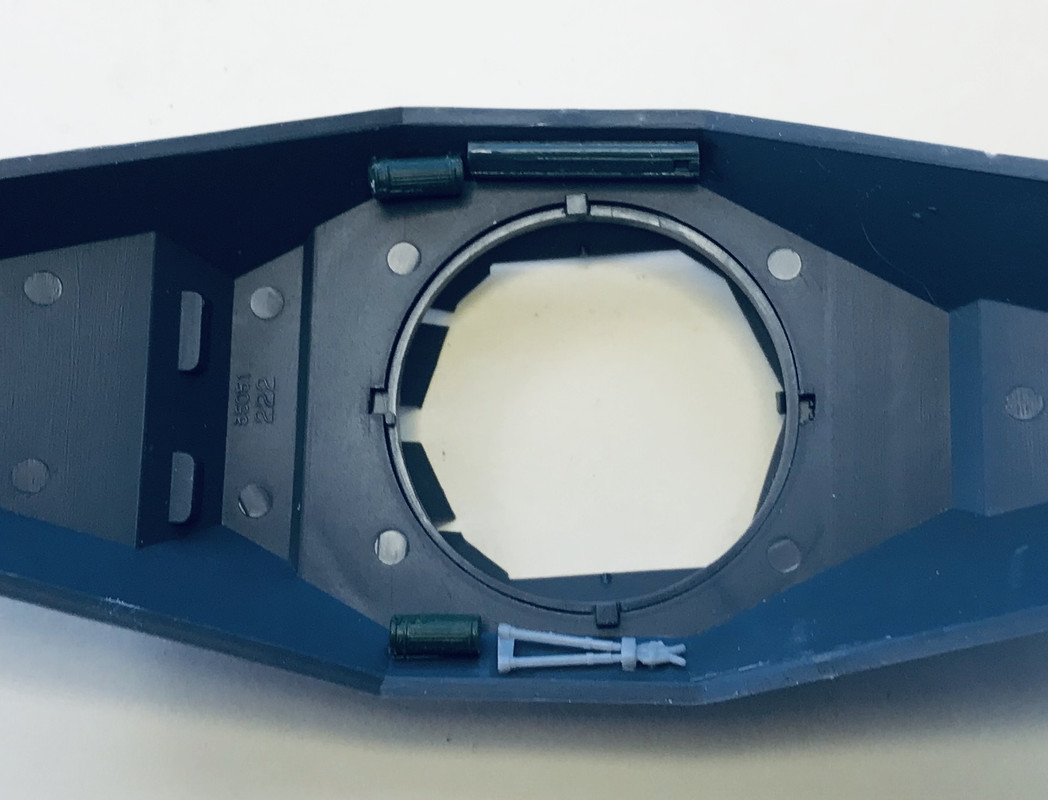
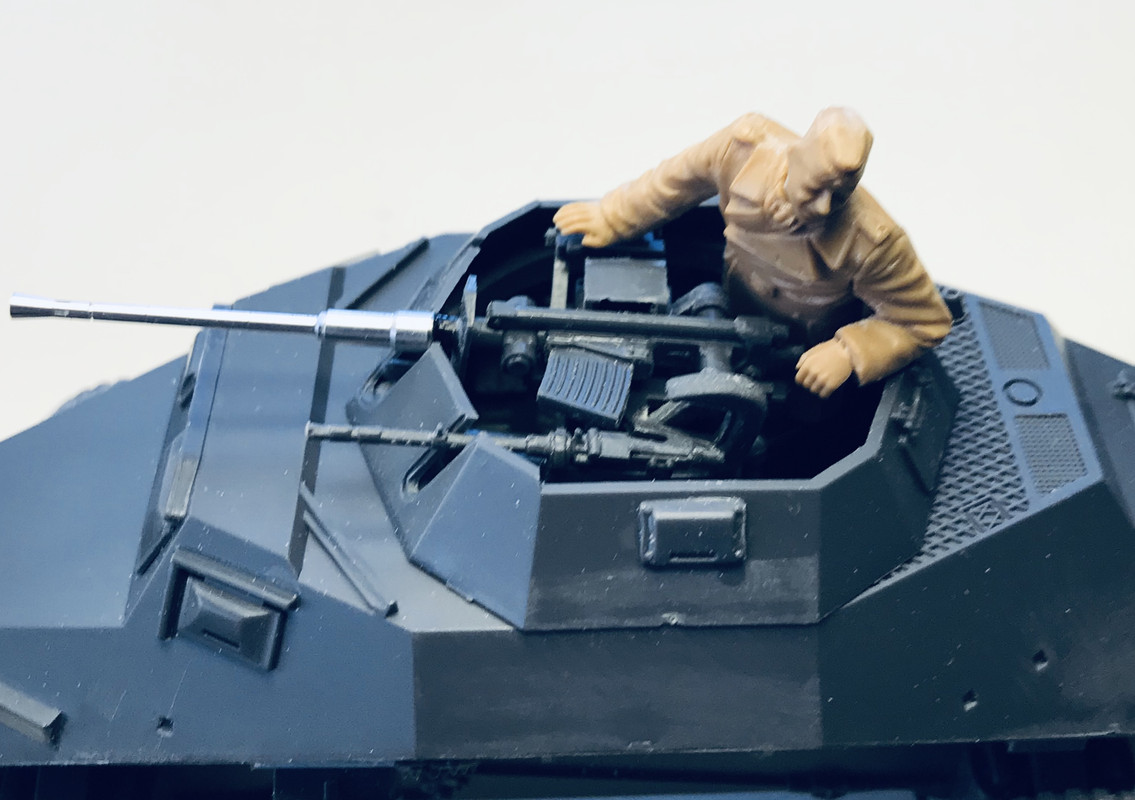
Then I decided to add some stuff into the interior since you can see into there thru the open turret top. So I hit my spares bin based off photos that I found on the internet. It’s not 100% accurate, but close enough, and gives something where there was nothing to see before... I did not go all out in there due to the 12 day time limit...
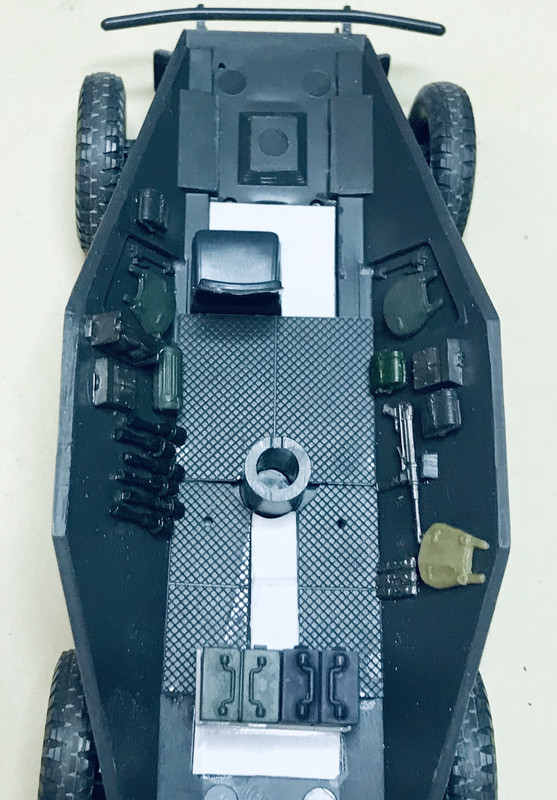
Here is how it looks with the top placed on the lower hull
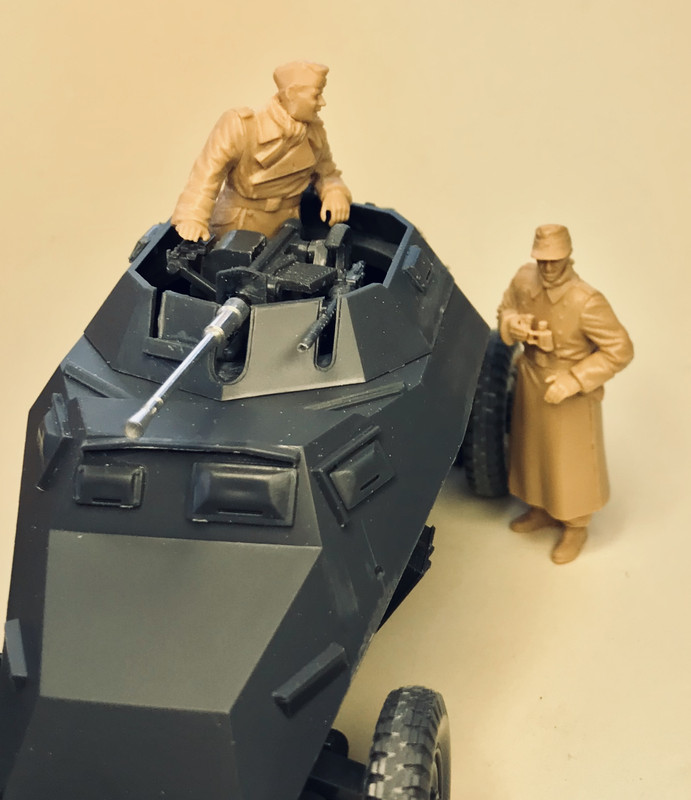
And lastly I’ve been working on some crew figures...
Some from Mini Art
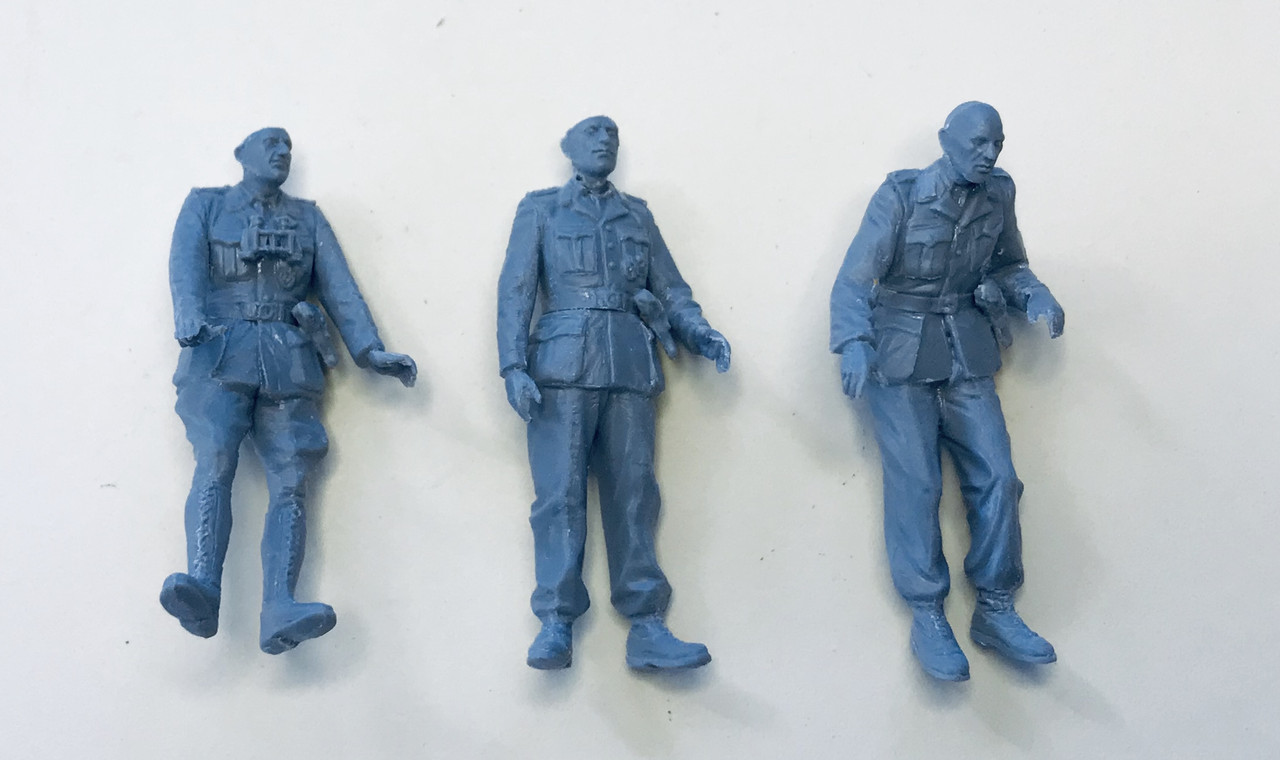
And some from Tri Star
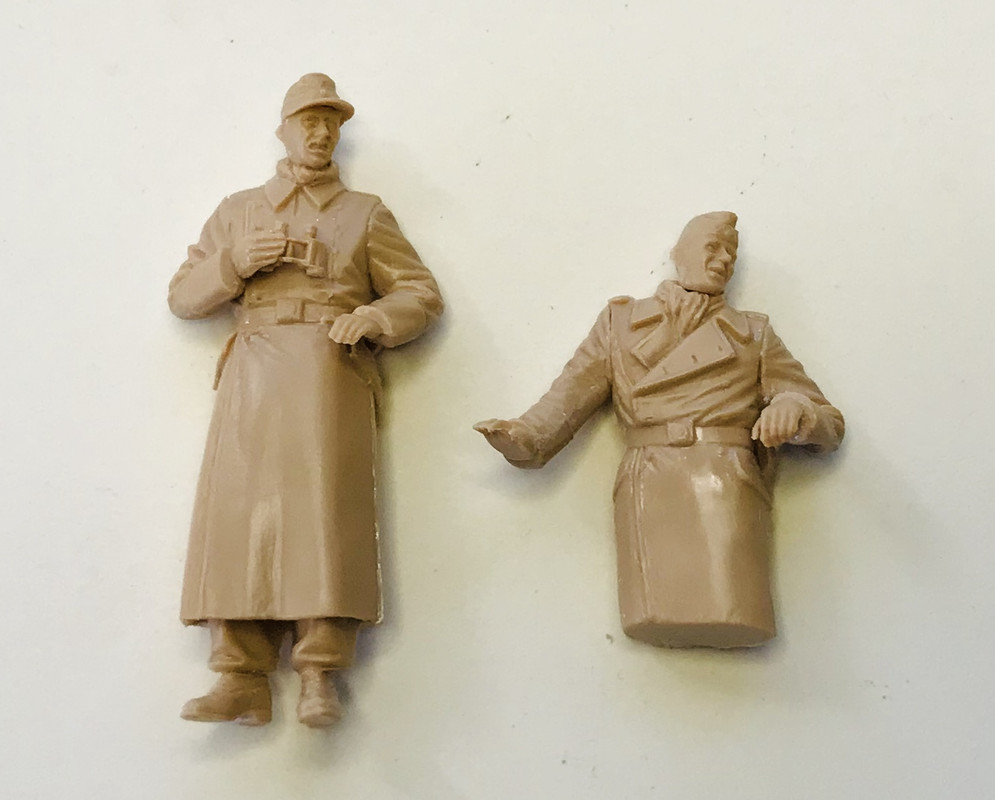
I’m leaning towards the Tri Star figures as the have the best fit in placement...
Never enough free time in the day for more work...