AMT Klingon D-7 Battle Cruiser
Posted: Wed Jan 30, 2019 2:28 pm
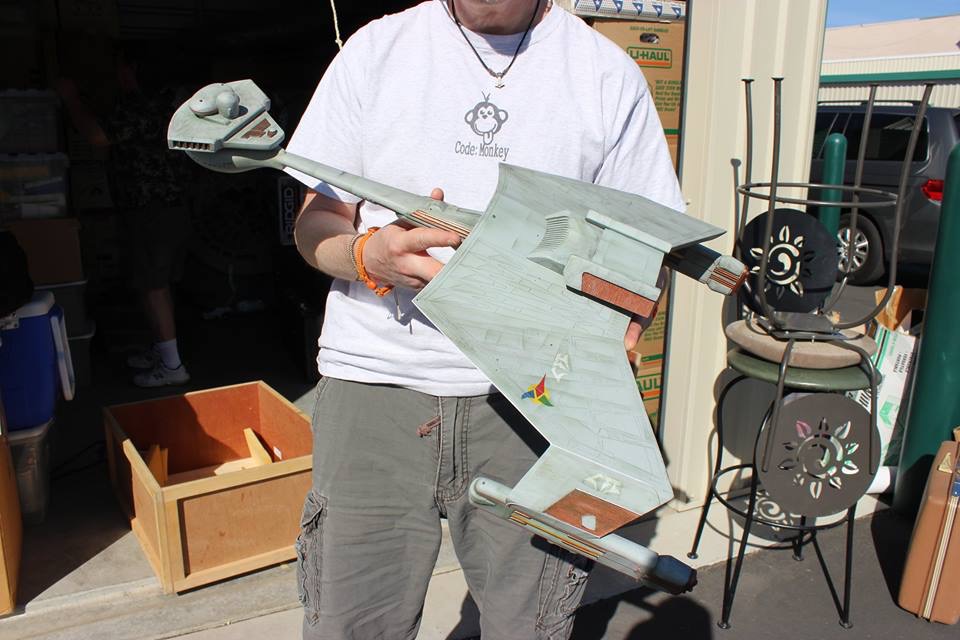
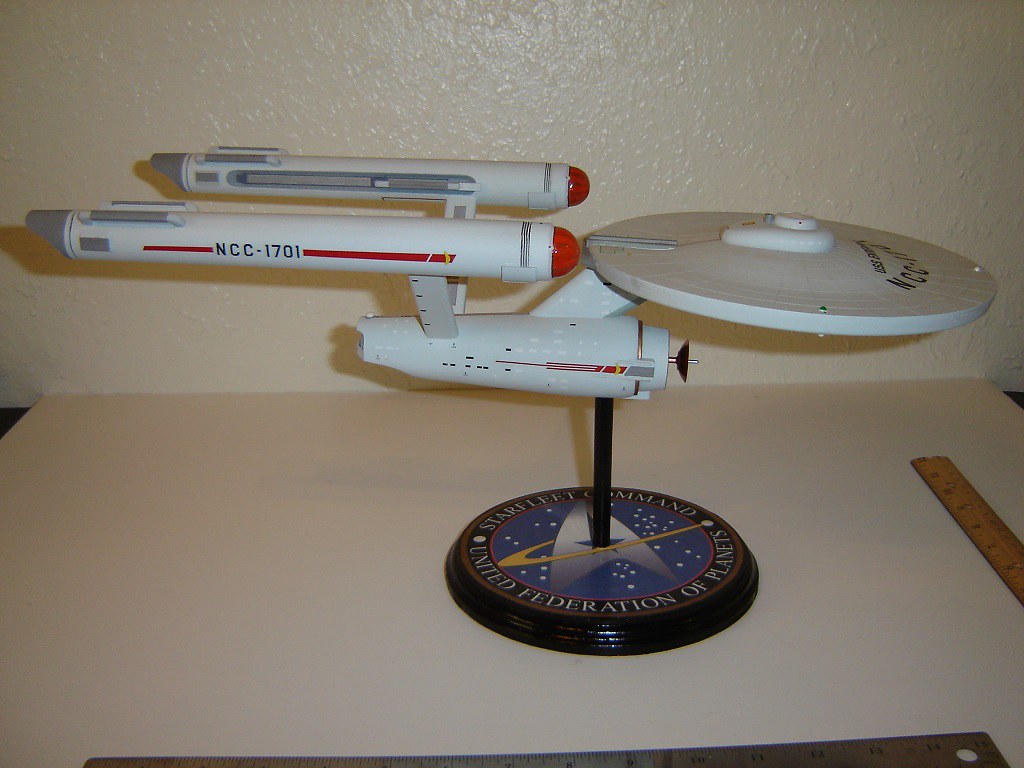
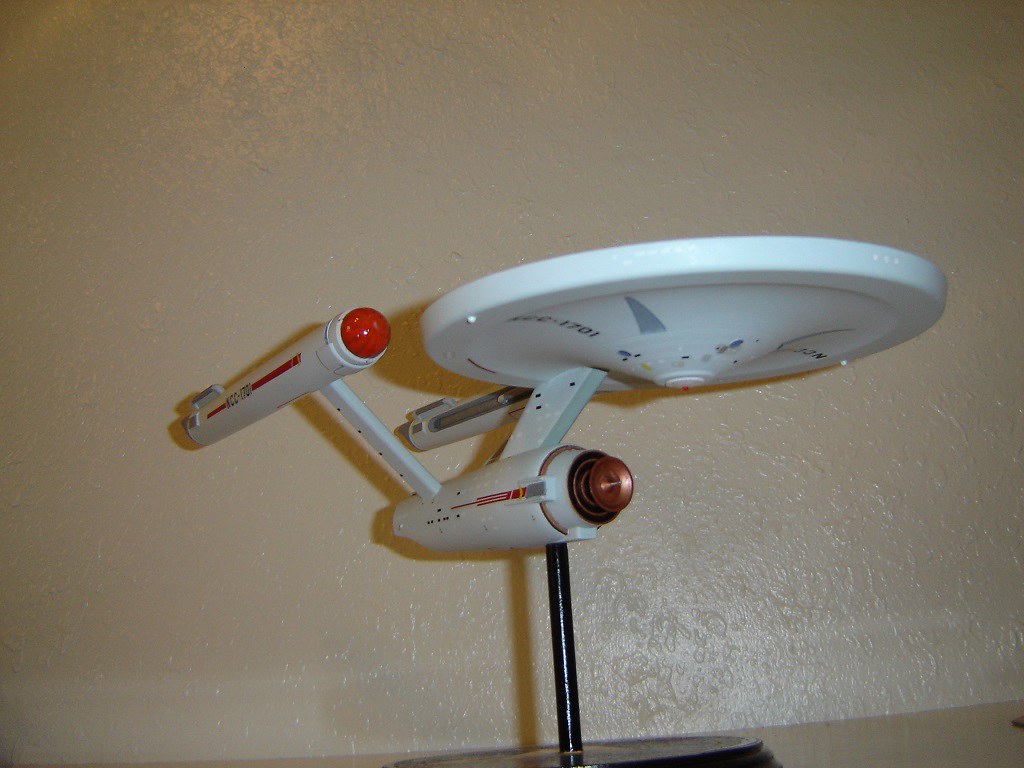
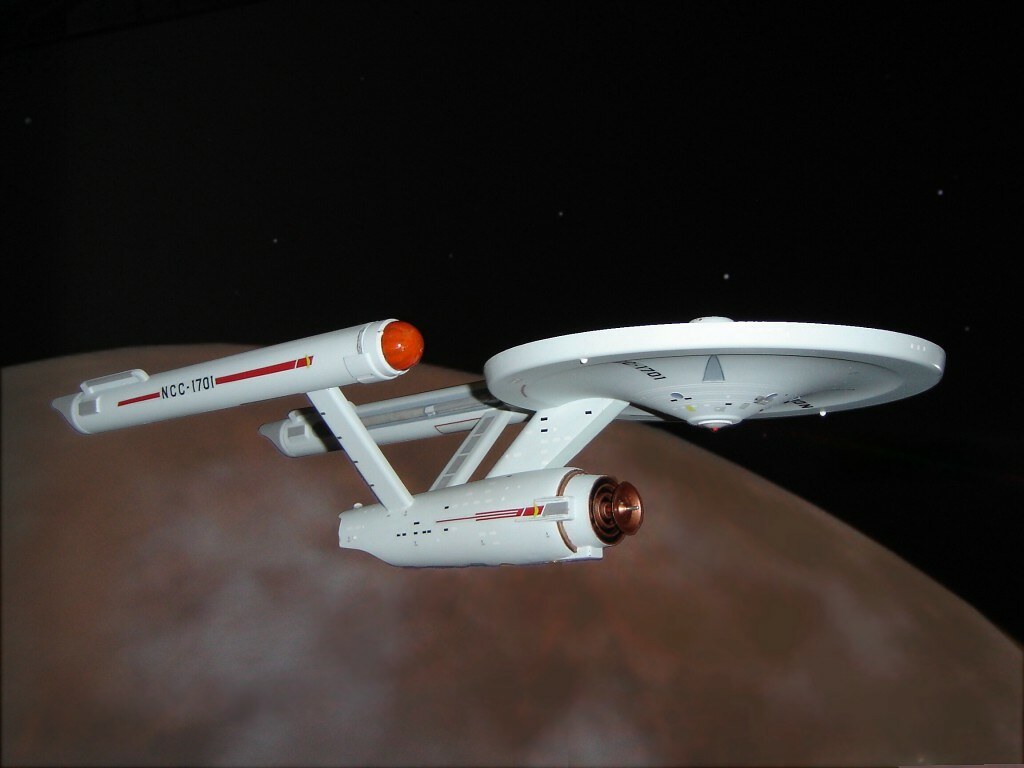
I haven't posted this anywhere, so this is a good thing to start out here at SPAModeler. This is the Round 2 re-pop of the AMT 1/650th scale Klingon D-7 Battle Cruiser model. This is supposed to be a gift for a friend, so it's not going to be a big scratch-building project with lights and things. Just a basic OOB build to go along with the USS Enterprise model I gave him a few years ago.
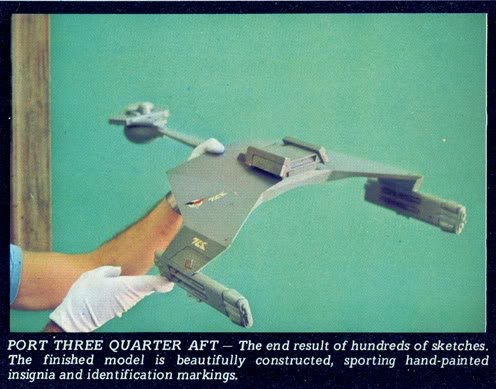
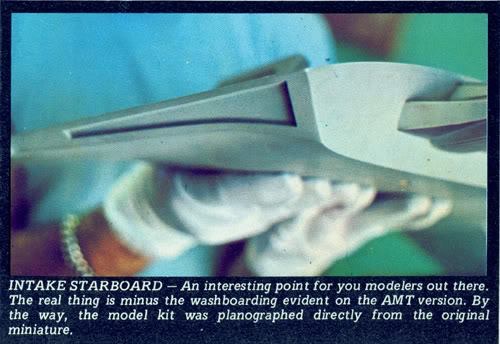
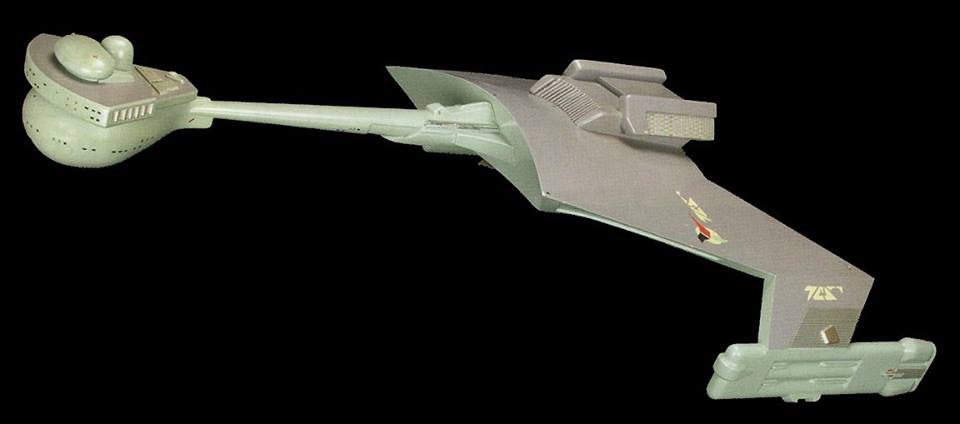
I didn't take any assembly pictures, and the model is already in base paint, the two-toned scheme called for and apparently accurate to the film model. Assembly was a bit of a chore, for the instructions were not exactly clear as to where to glue the parts, so I had to go back to images from the internet to try to ascertain how to place them. It all turned out okay in the end. Then there was the filling and sanding. The gaps needed some tender loving care, and I don't think I've completely taken care of the seams sufficiently. I'll be doing that later.
Painting the model is a hit and miss effort. I only use spray cans and brushes, so the weather is a big factor in my projects. It's too cold to paint right now, so the final touch-ups are on hold for "warmer" temps. The model was first base coated with Testors "Semi-Gloss Primer", a medium gray that has that slightly "violet" color. The "green" is Rustoleum semi-gloss "Sage". The command structures at the front / top I did not spray Sage, but found an acrylic paint at Hobby Lobby that matches the Rustoleum very closely. Once a coat of matte is applied at the end, I think no one will be able to tell the difference (well, my friend won't, at least).
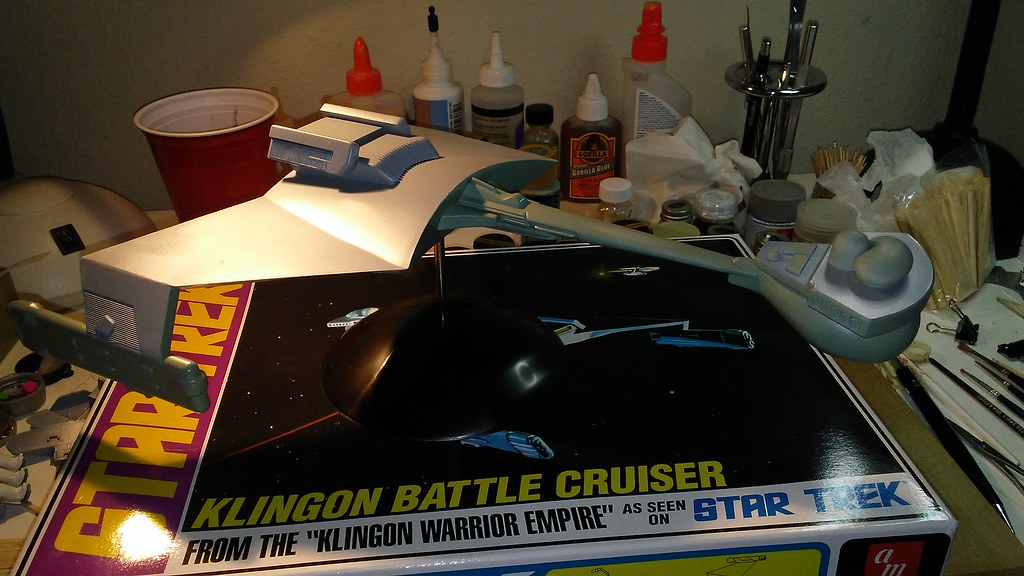
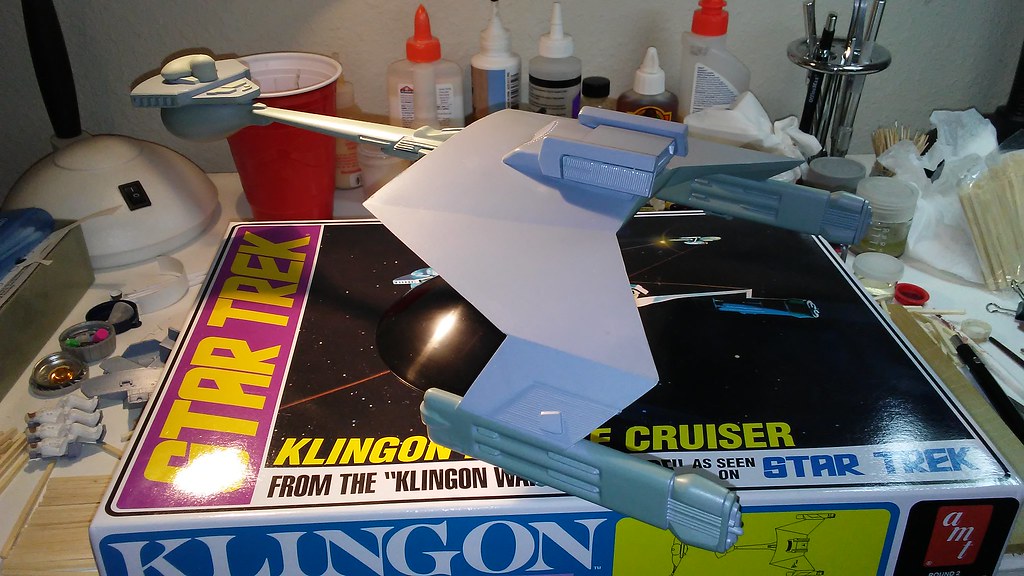
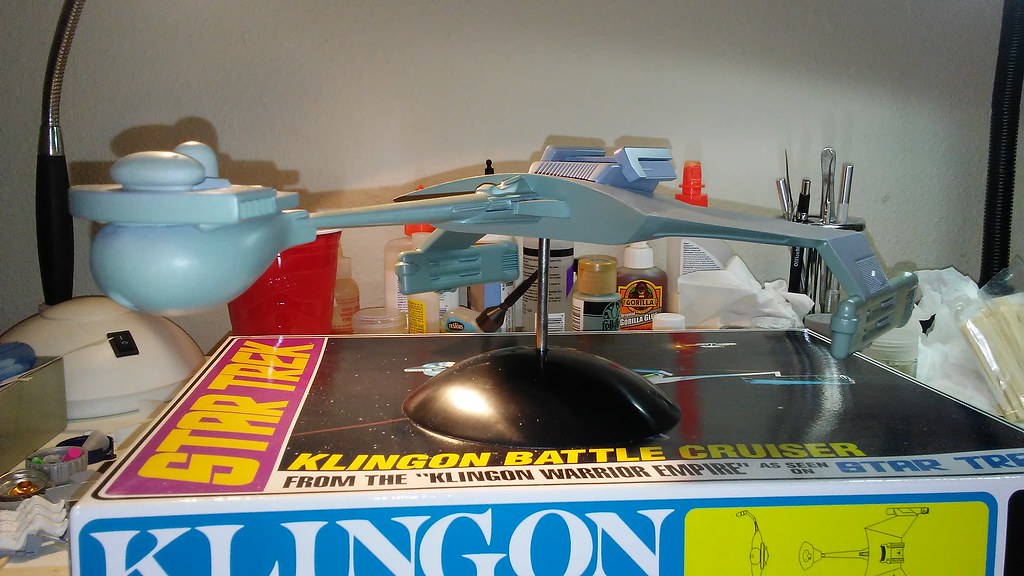
That's where she stands now. Awaiting touch-up on the seams and detail painting for grills and openings.
Thanks for looking!
Gary
I didn't take any assembly pictures, and the model is already in base paint, the two-toned scheme called for and apparently accurate to the film model. Assembly was a bit of a chore, for the instructions were not exactly clear as to where to glue the parts, so I had to go back to images from the internet to try to ascertain how to place them. It all turned out okay in the end. Then there was the filling and sanding. The gaps needed some tender loving care, and I don't think I've completely taken care of the seams sufficiently. I'll be doing that later.
Painting the model is a hit and miss effort. I only use spray cans and brushes, so the weather is a big factor in my projects. It's too cold to paint right now, so the final touch-ups are on hold for "warmer" temps. The model was first base coated with Testors "Semi-Gloss Primer", a medium gray that has that slightly "violet" color. The "green" is Rustoleum semi-gloss "Sage". The command structures at the front / top I did not spray Sage, but found an acrylic paint at Hobby Lobby that matches the Rustoleum very closely. Once a coat of matte is applied at the end, I think no one will be able to tell the difference (well, my friend won't, at least).
That's where she stands now. Awaiting touch-up on the seams and detail painting for grills and openings.
Thanks for looking!
Gary