Trumpeter 1/32 Me262A-1 Yellow 3
Posted: Sat Feb 09, 2019 1:30 am
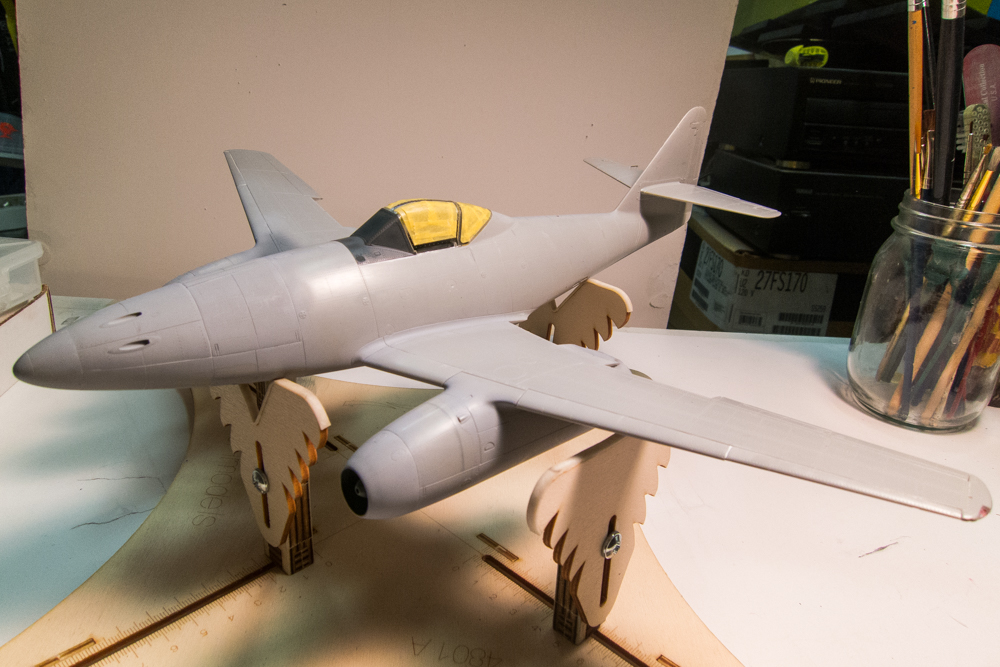
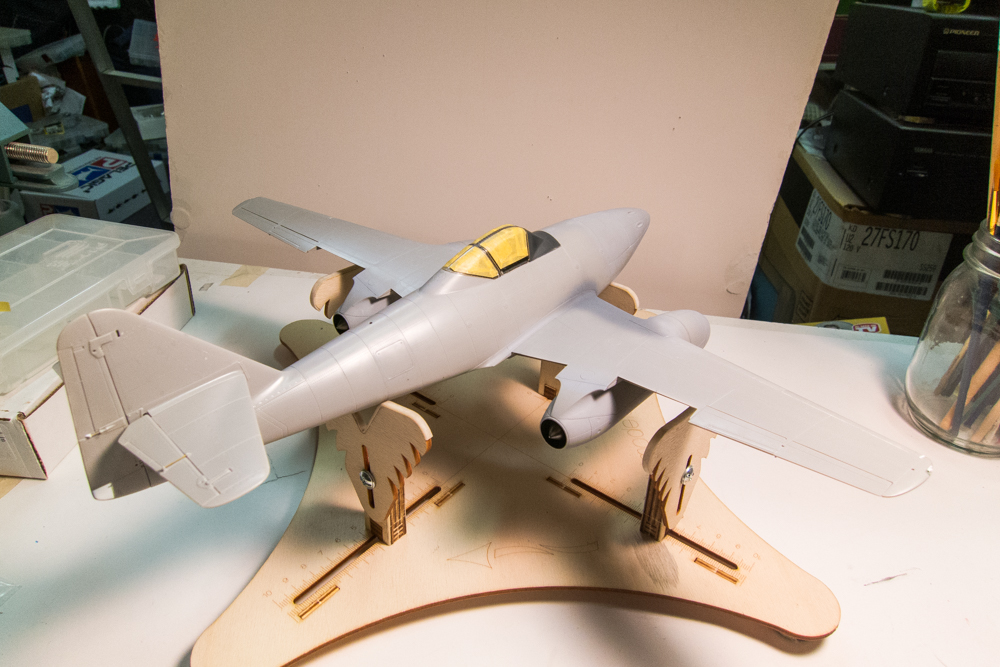
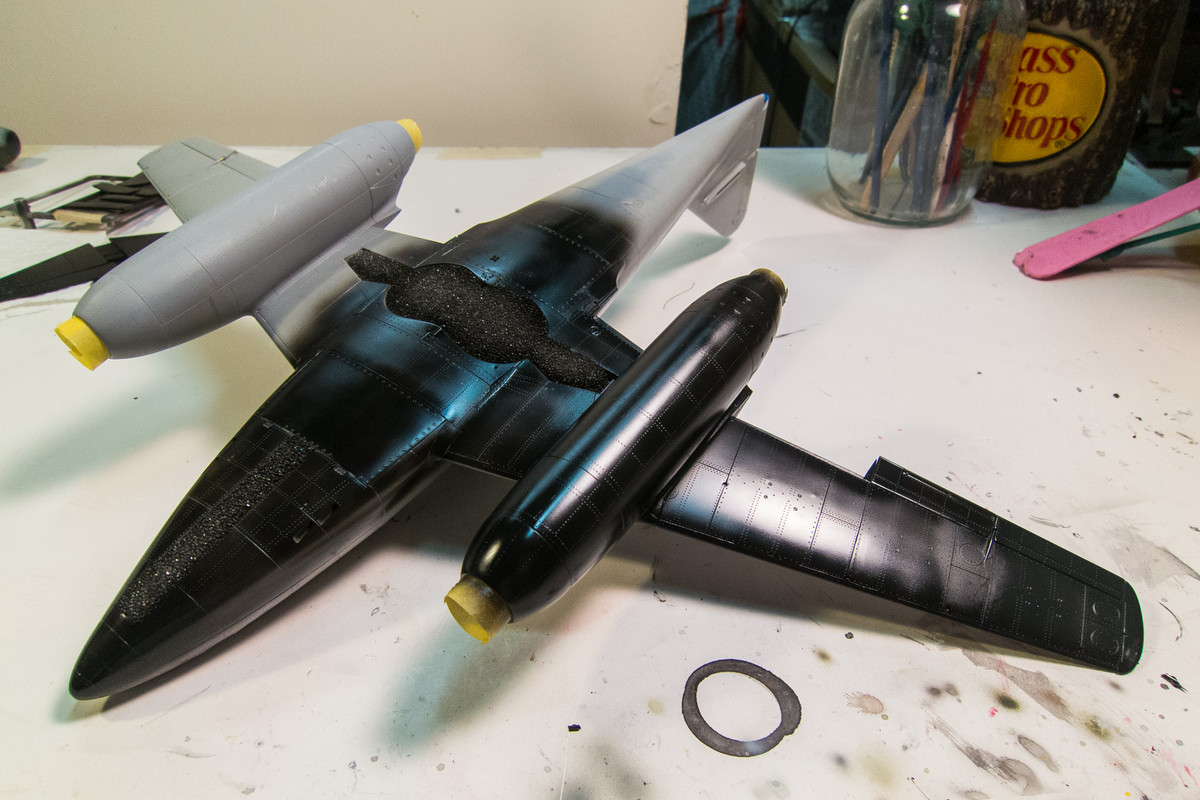
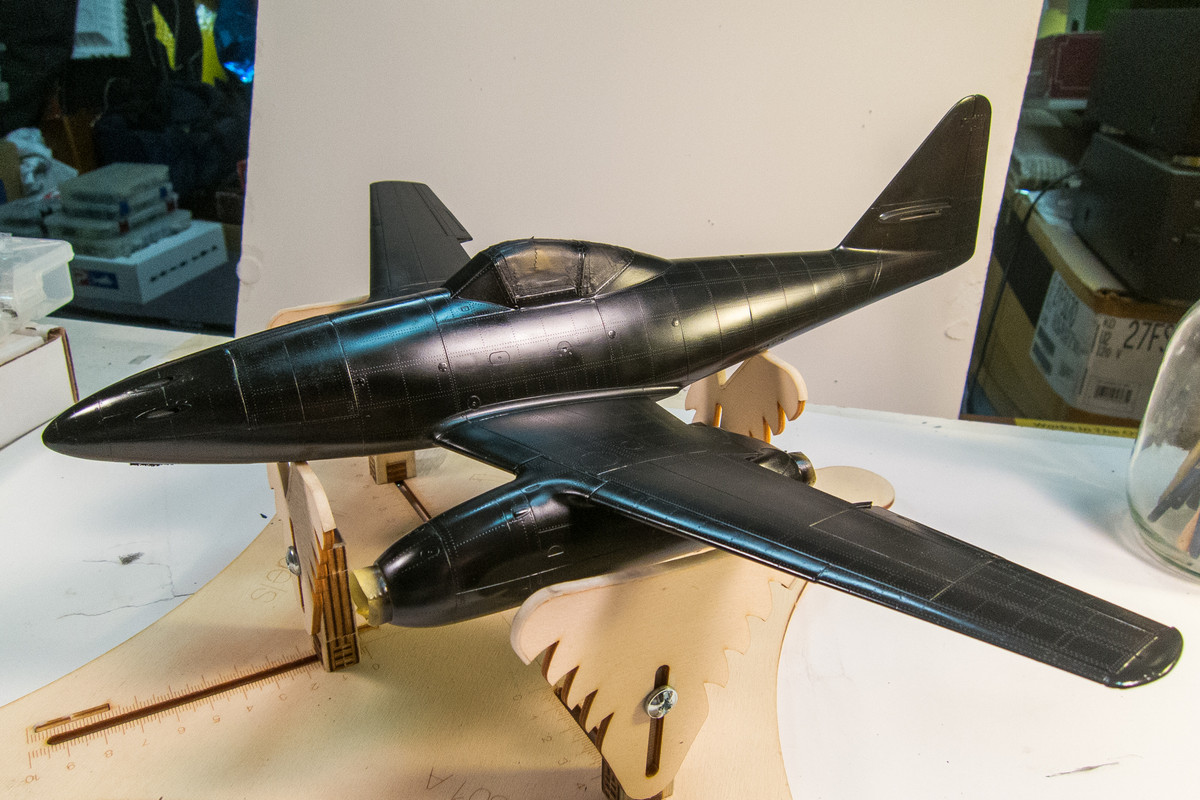
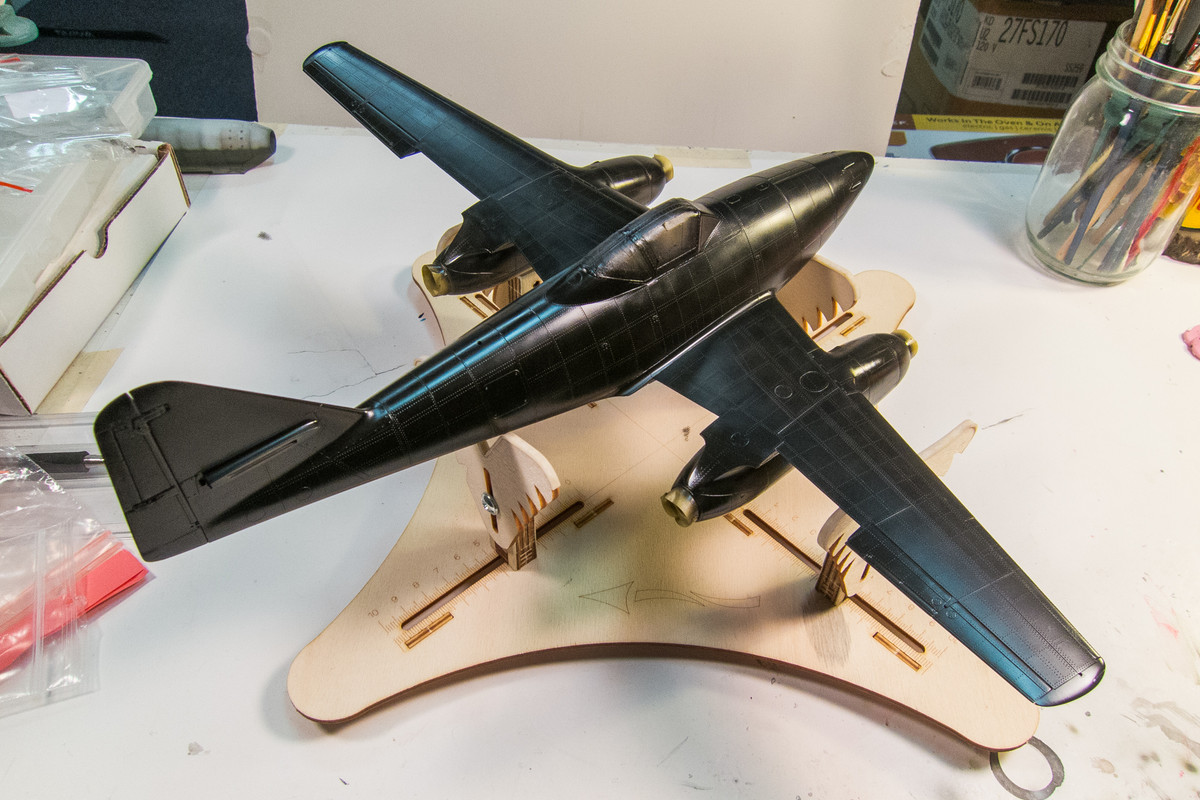
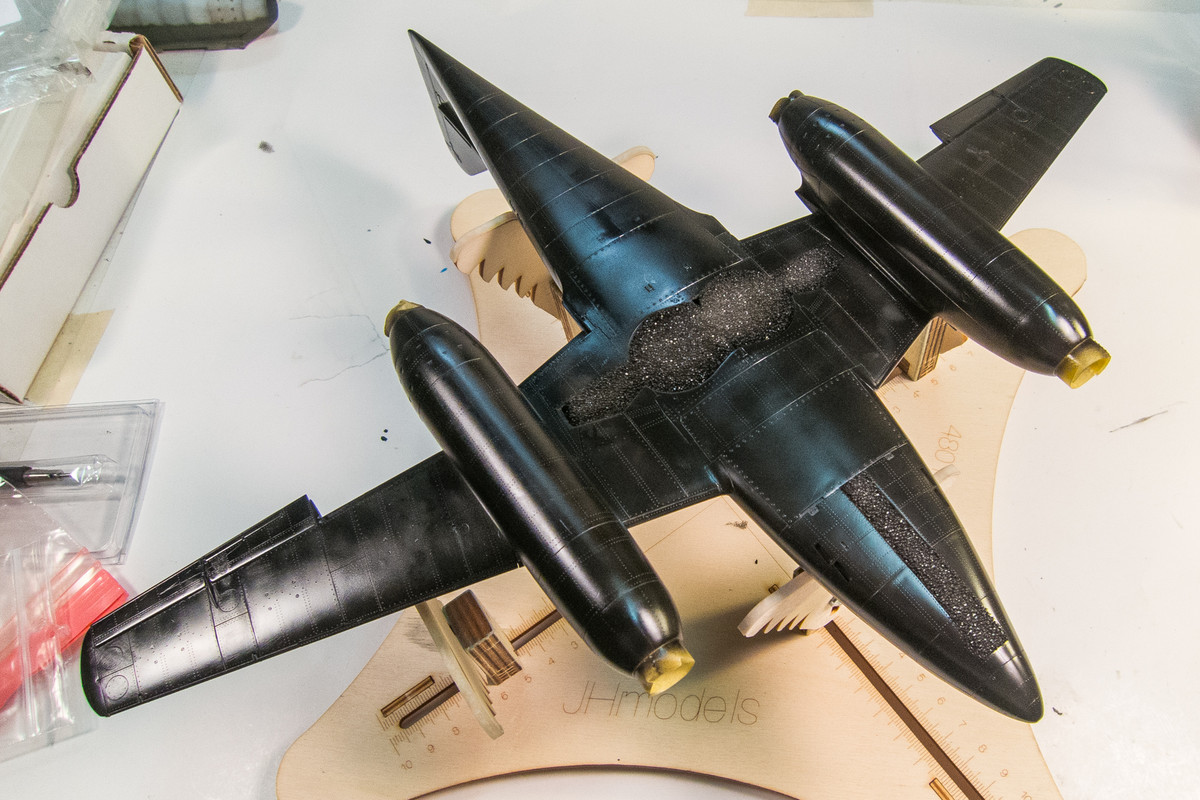
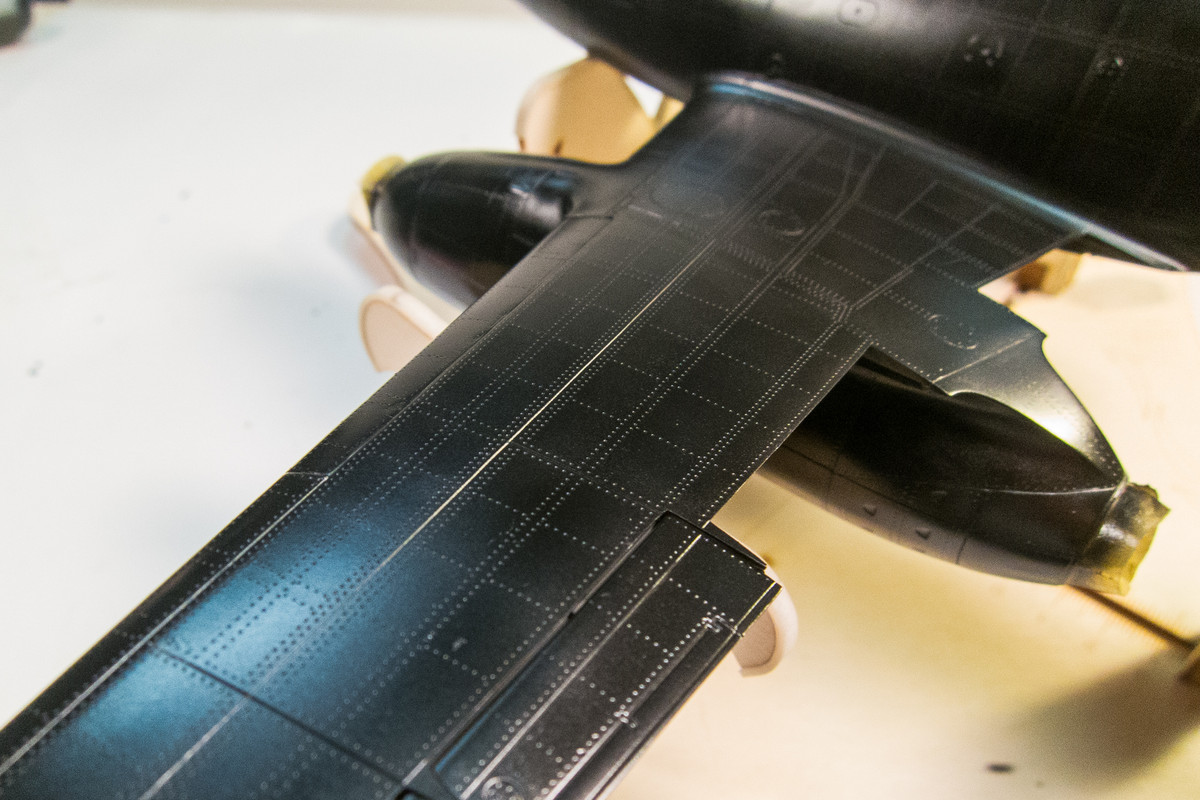
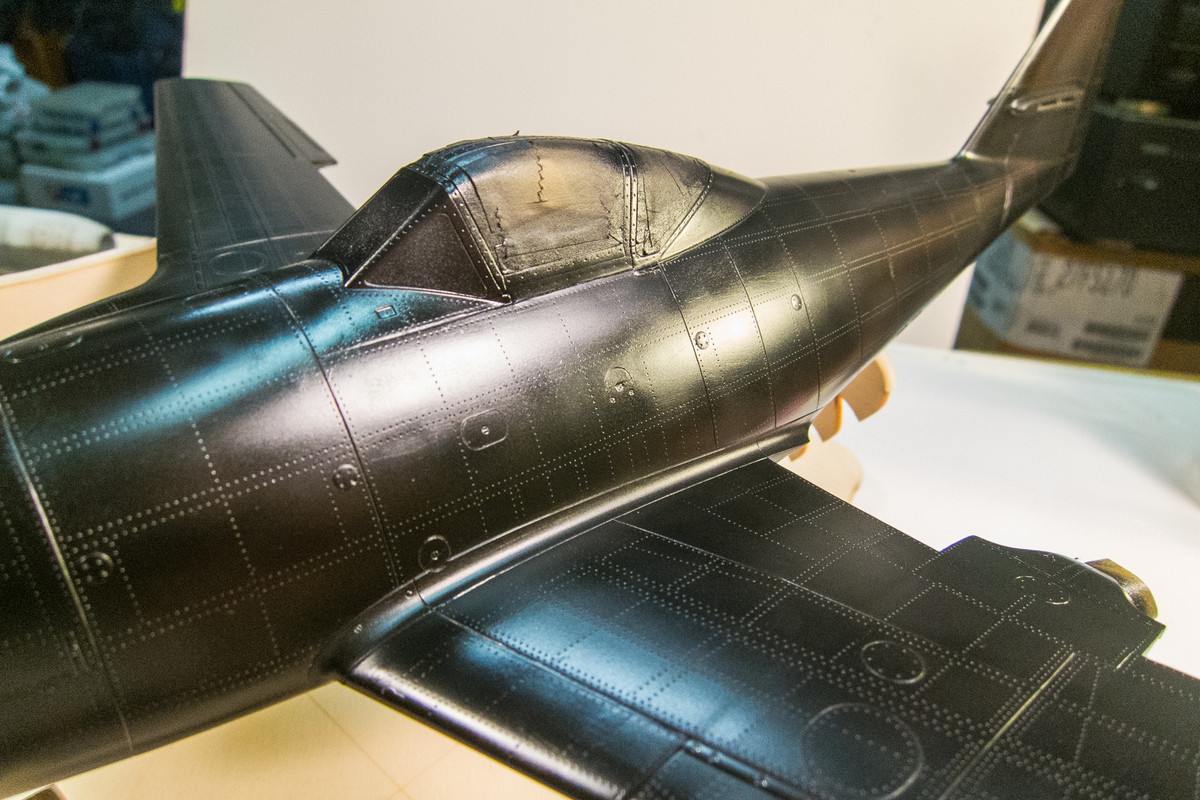
This is a project that was started some time ago. There are a few reasons why I didn't post it here but primary was that it was too tedious (for me, anyway) to post builds on more than two sites. Well... I've recently decided to consolidate my modeling to two sites: SPAM and LSP so I thought I'd share the rest of this one with ya'll. I'm about to start the main camo painting and since it is an interesting looking aircraft with some specific weathering that I will be attempting to capture, I thought some of you might find it interesting.
Before I jump into the current status, let me catch you up on this build. The subject of this build is the Me262A-1 "Yellow 3" of III./KG(J)54 depicted in a derelict state in this dramatic photo...
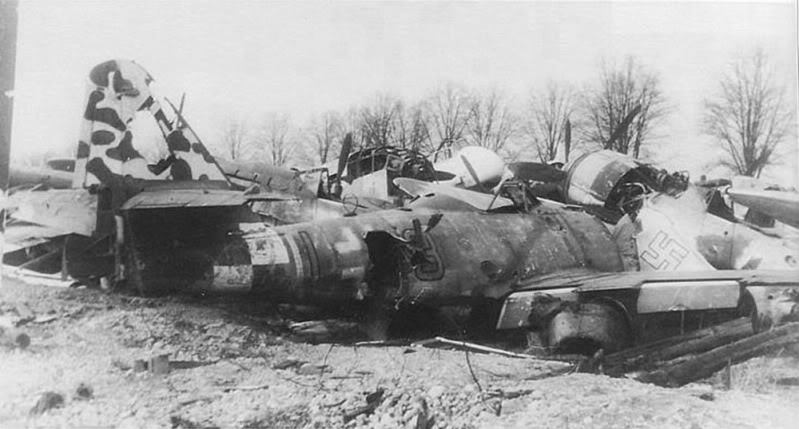
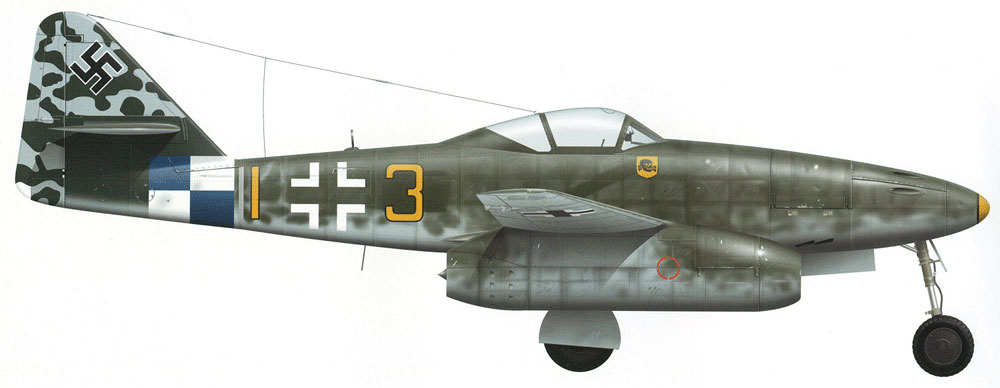
The unusual hard mottle on the tail caught my initial interest. Add the blue and white fuselage checkerboard, yellow numerals and the yellow "death's head" logo and you have a very interesting visual subject.
Here is a nice color profile by Tom Tullis that shows what Yellow 3 might have looked like in combat service.
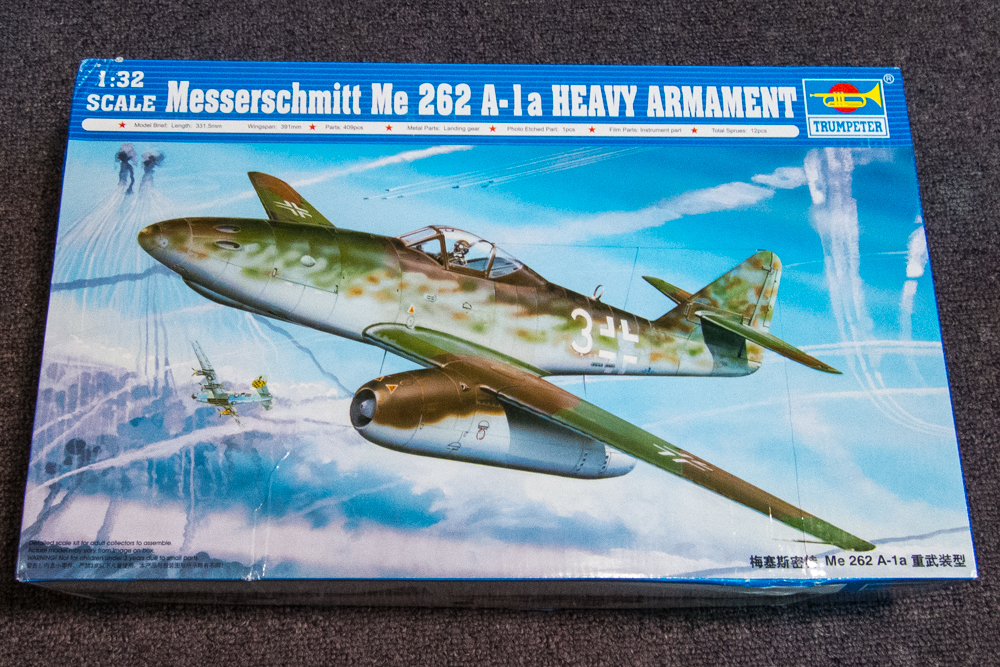
The kit I will be using to model Yellow 3 is the Trumpeter 1/32 Me262A-1a Heavy Armament kit. Yellow 3 is an early production A-1 and some changes will need to be made to the kit parts to reflect this. More on this later.
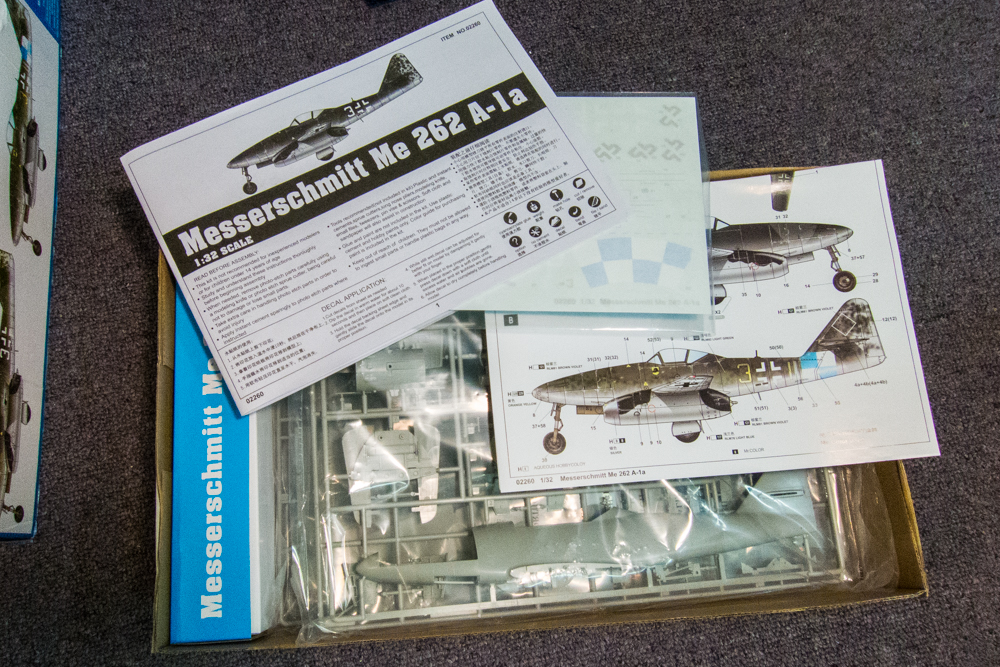
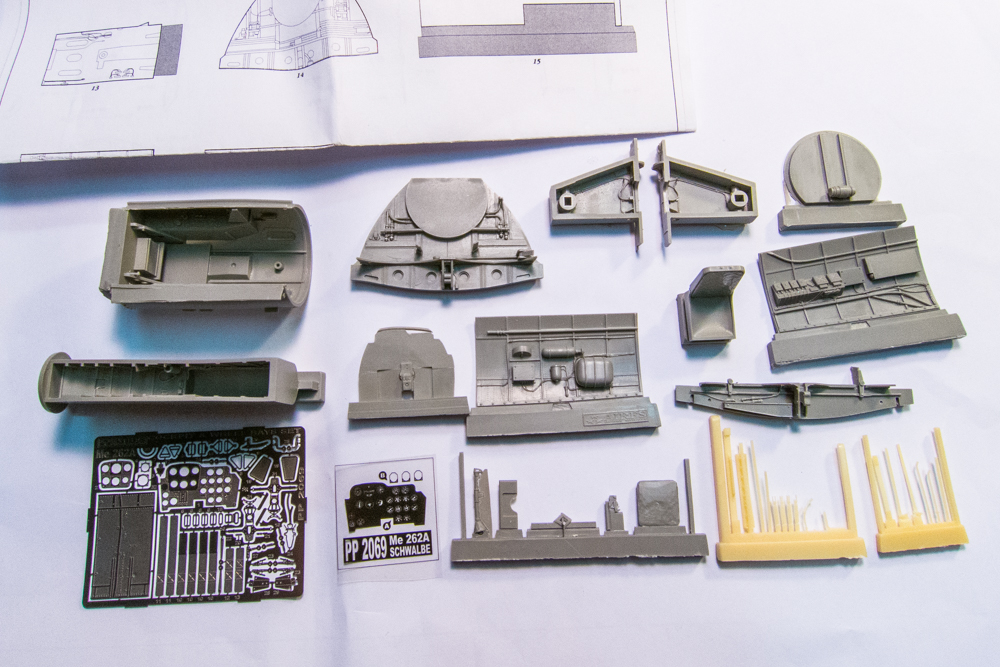
I rarely build out-of-the-box these days and this one is no exception. The aftermarket items I'll be throwing into this build include the Aires resin cockpit and wheel well set...
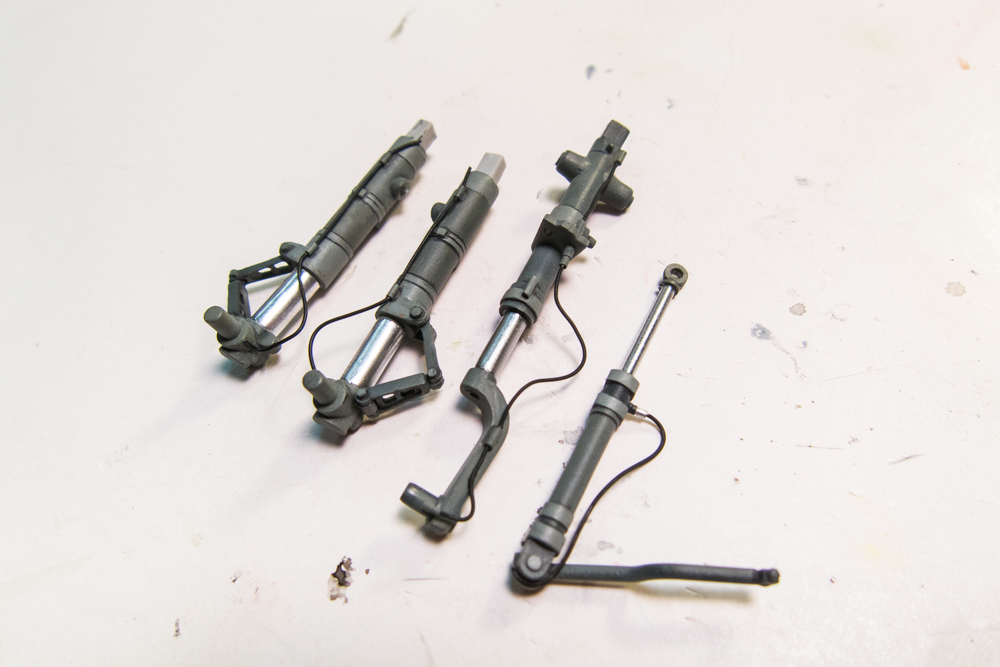
... the Barracuda resin wheel set...
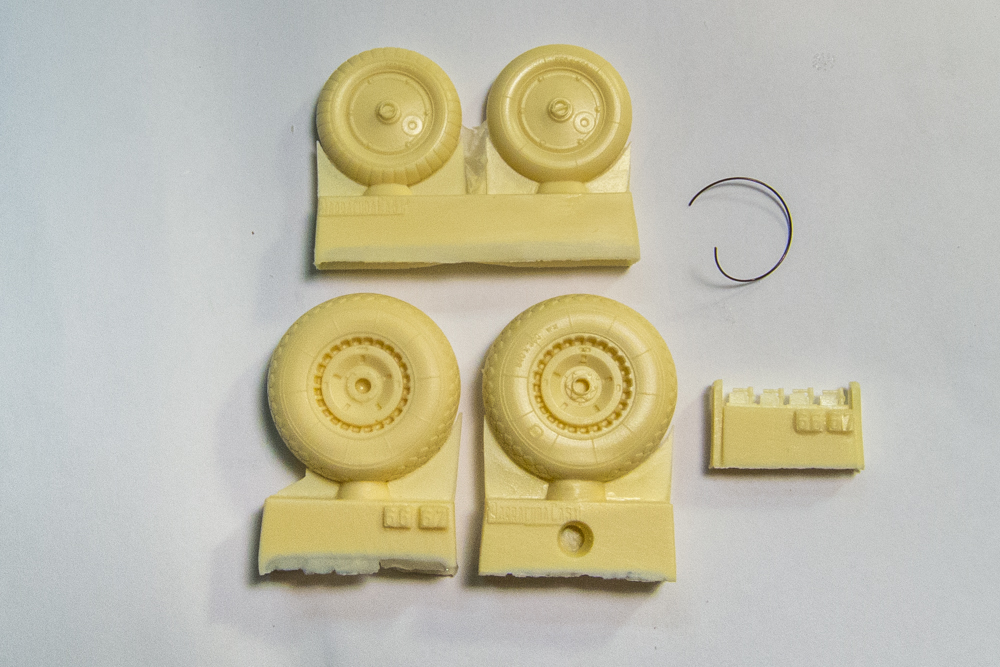
... HGW fabric seat belts...
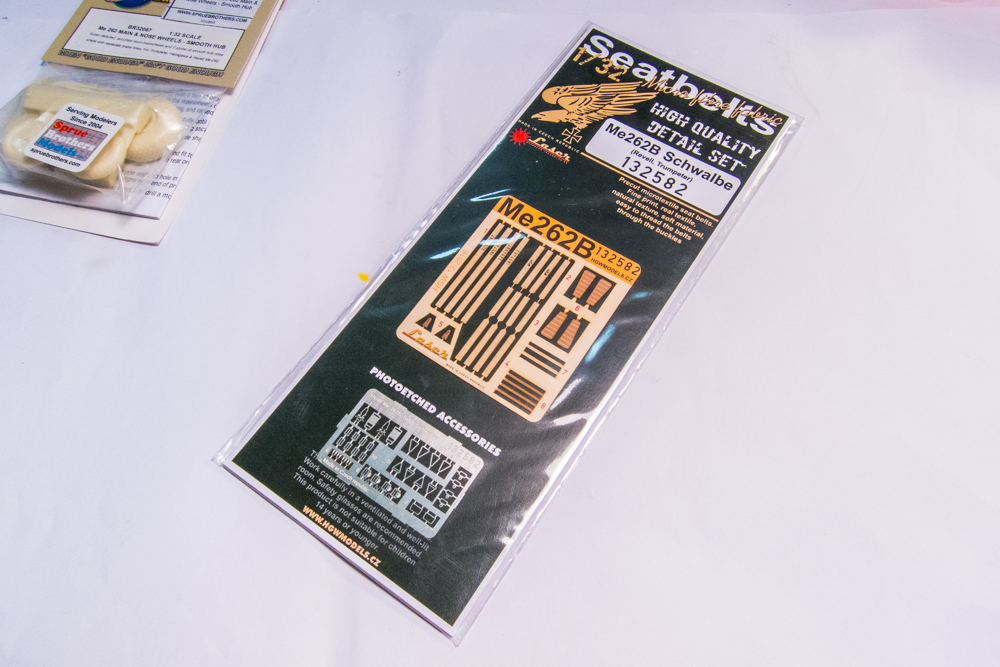
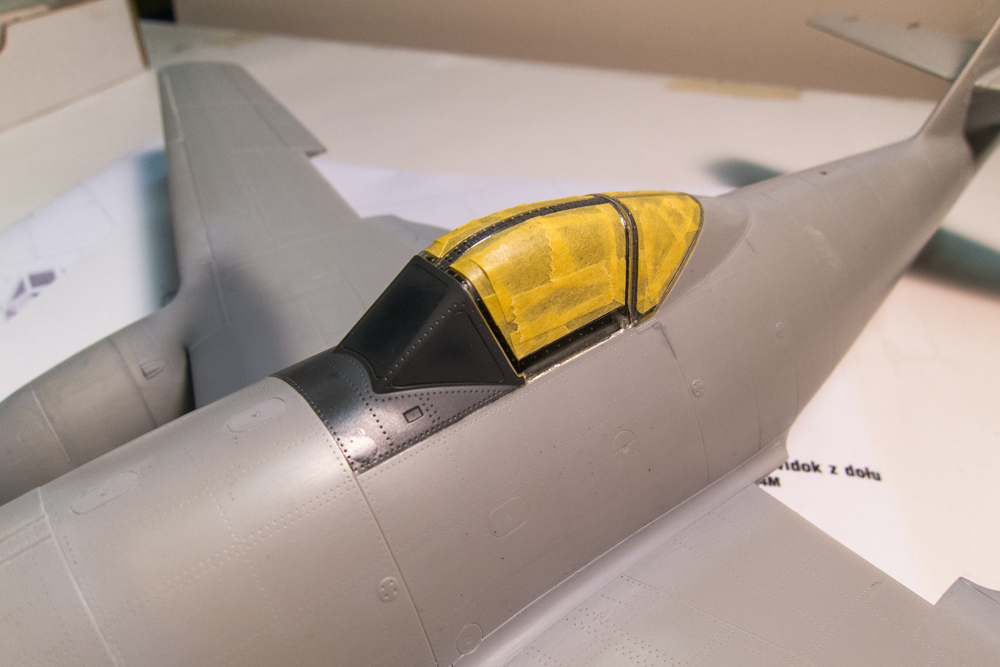
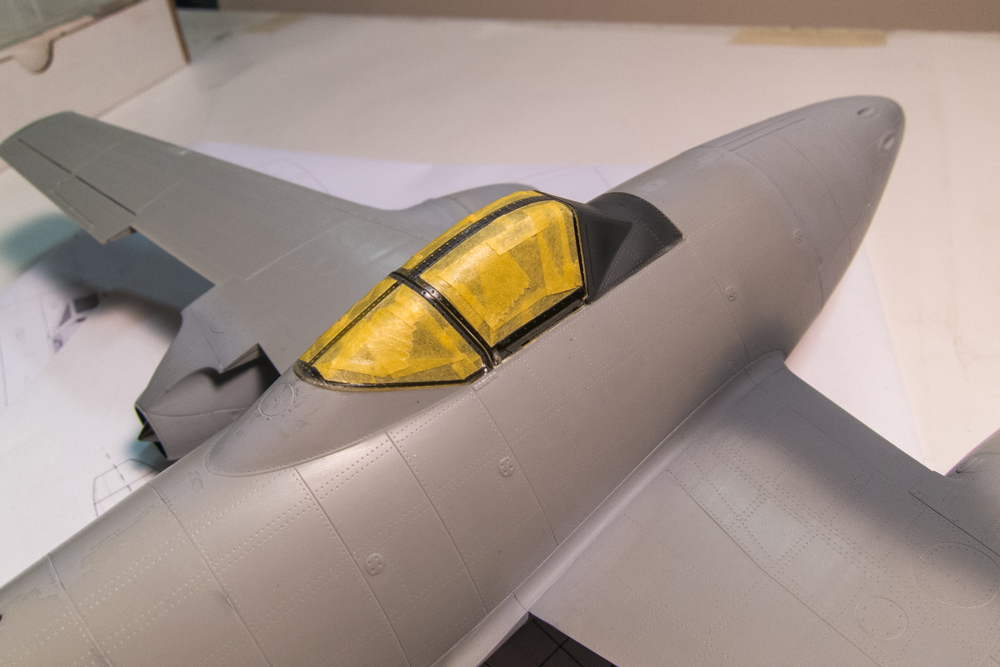
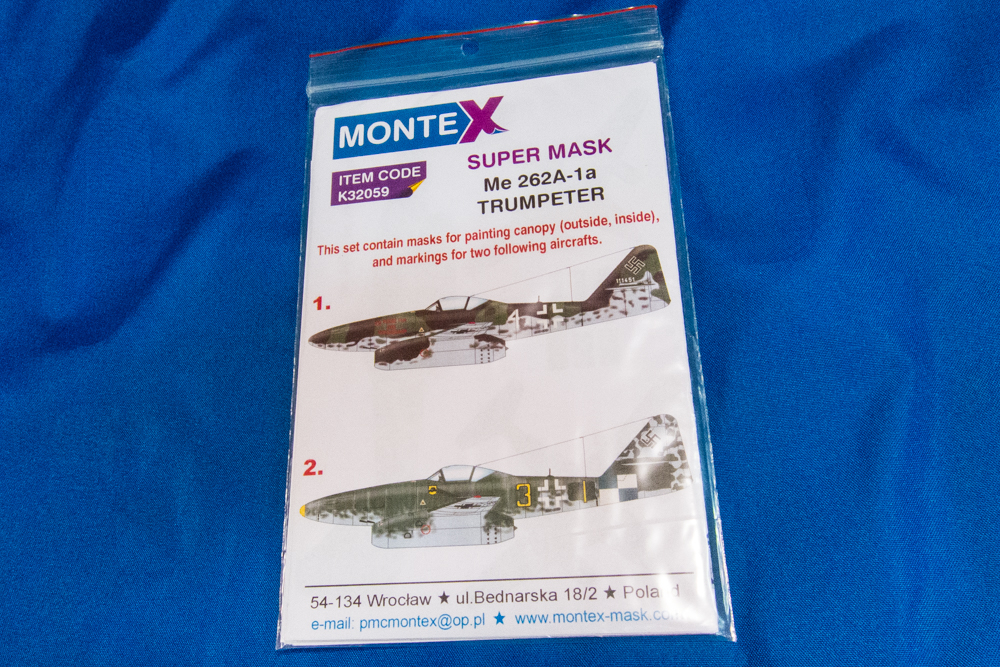
and the Montex mask set. You may have noticed that the Trumpeter kit includes decal markings for Yellow 3 so I have some back-up for the masks, if necessary.
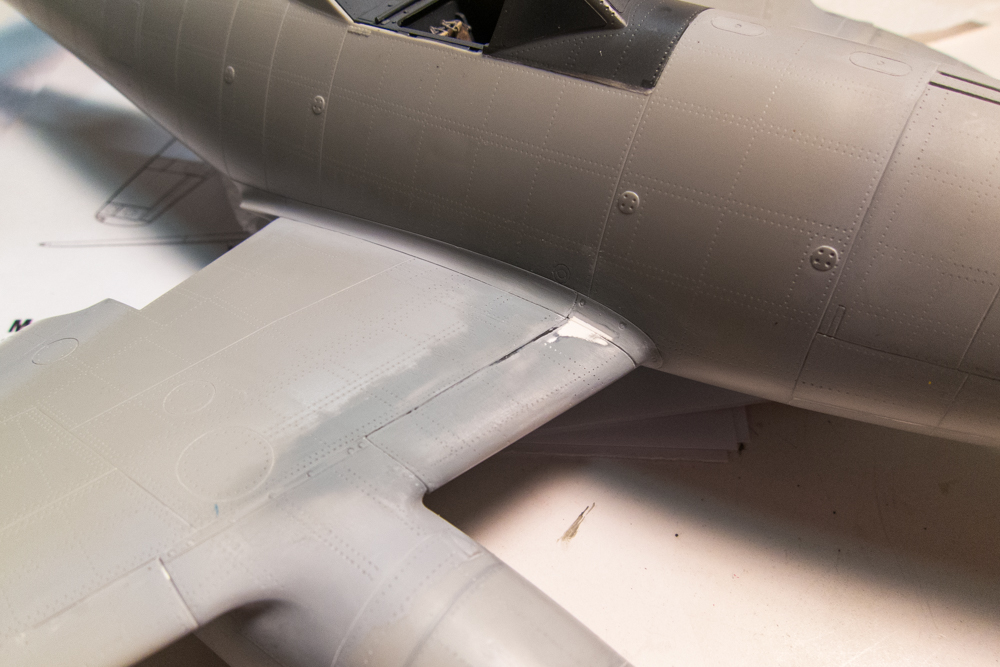
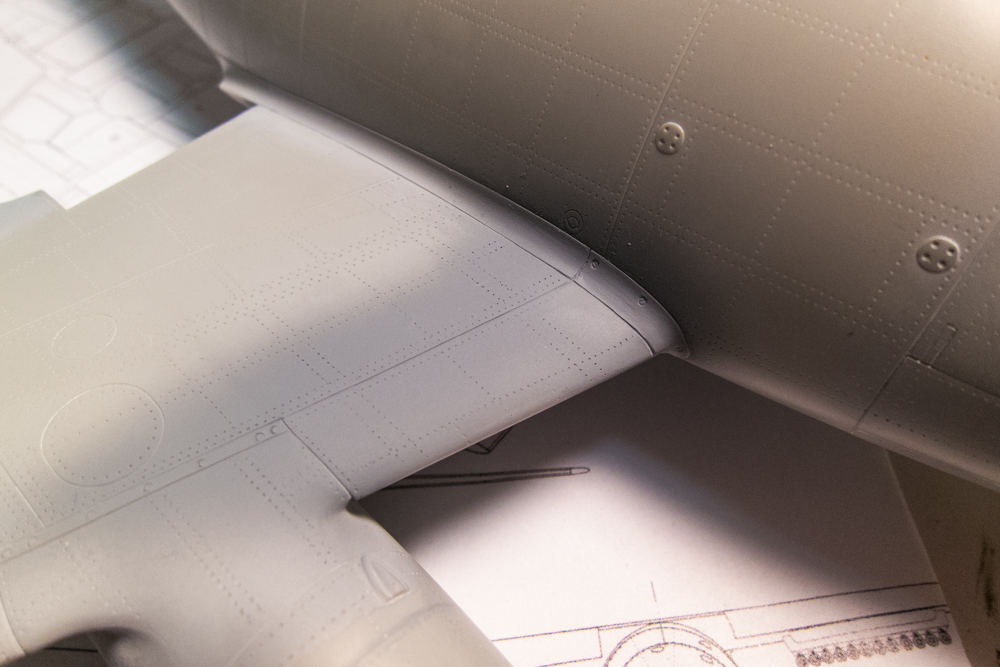
There was a lot of pre-fitting to figure out how best to fit the resin cockpit tub and wheel wells to the model. The Aires parts fit reasonably well but the instructions are ridiculously vague, forcing the modeler to figure stuff out on their own, which takes time and patience.


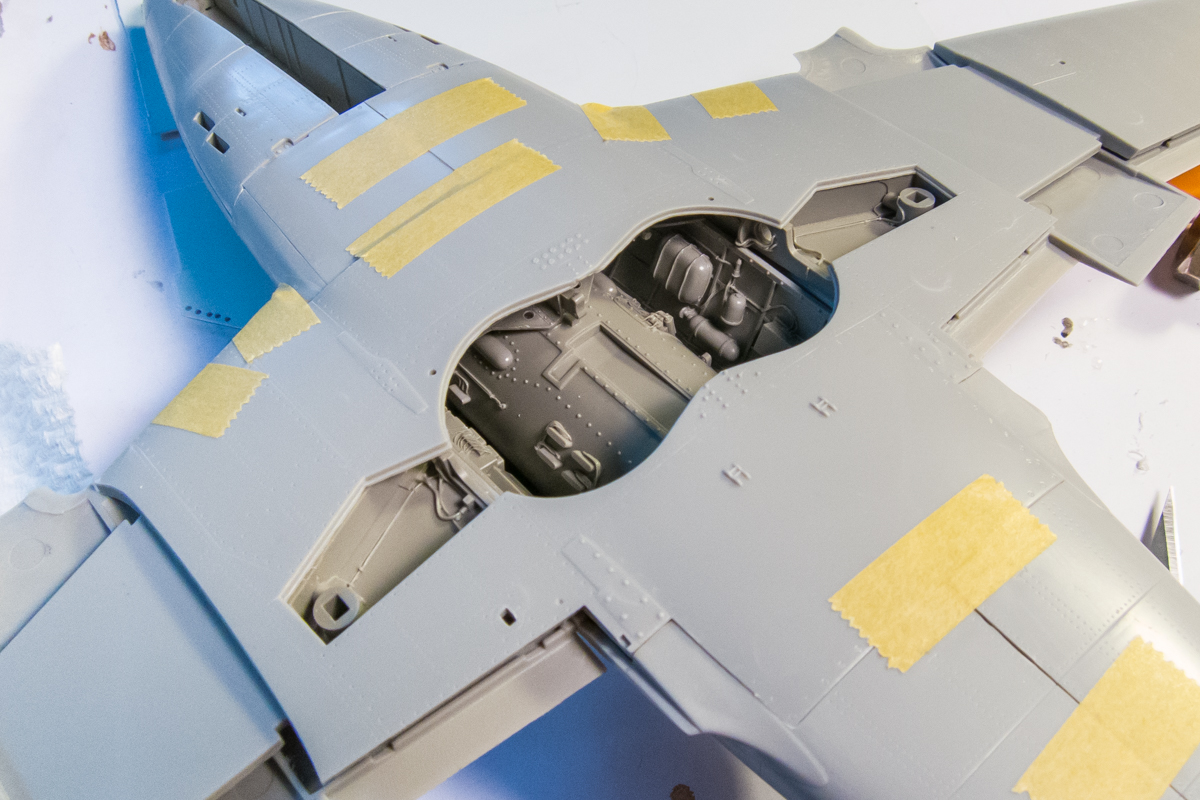
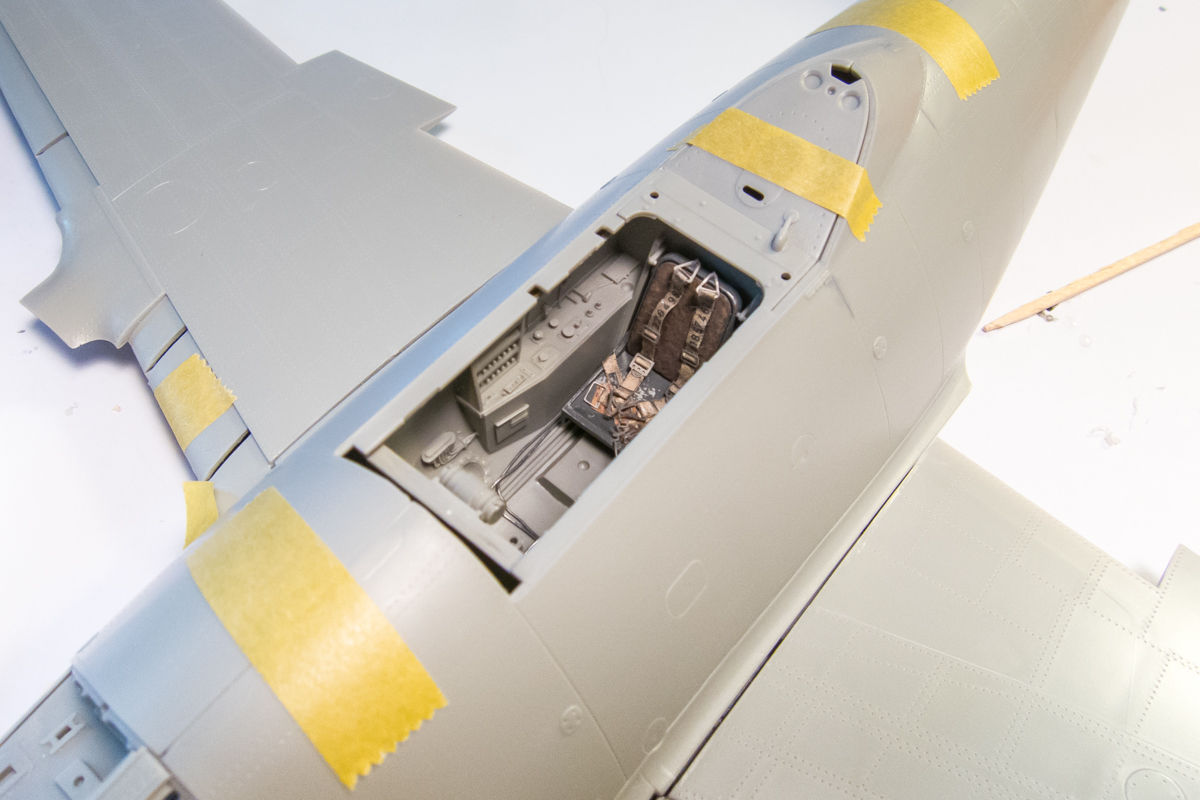
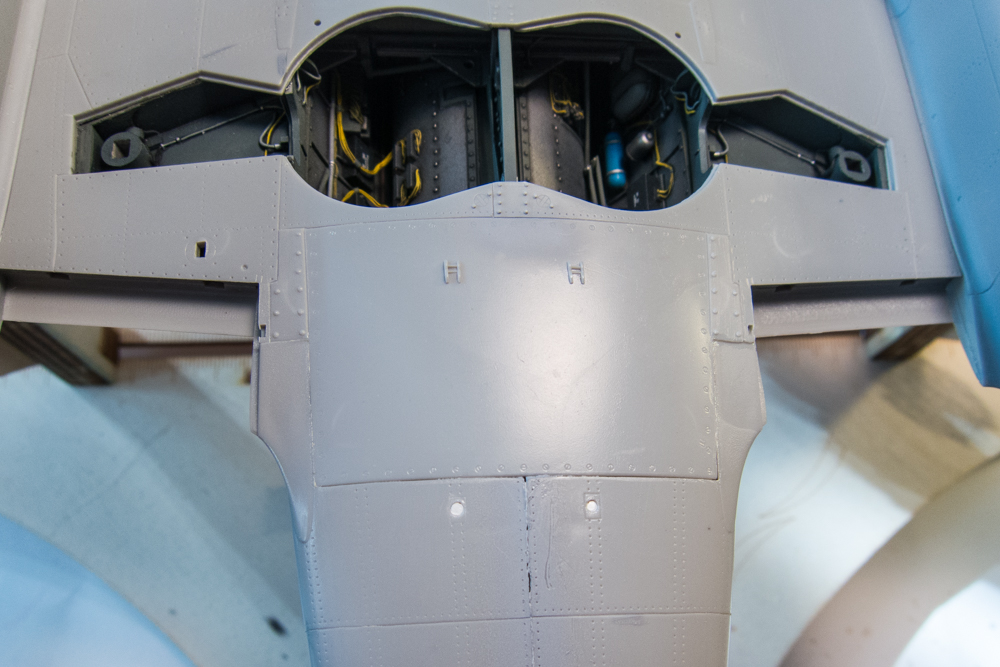
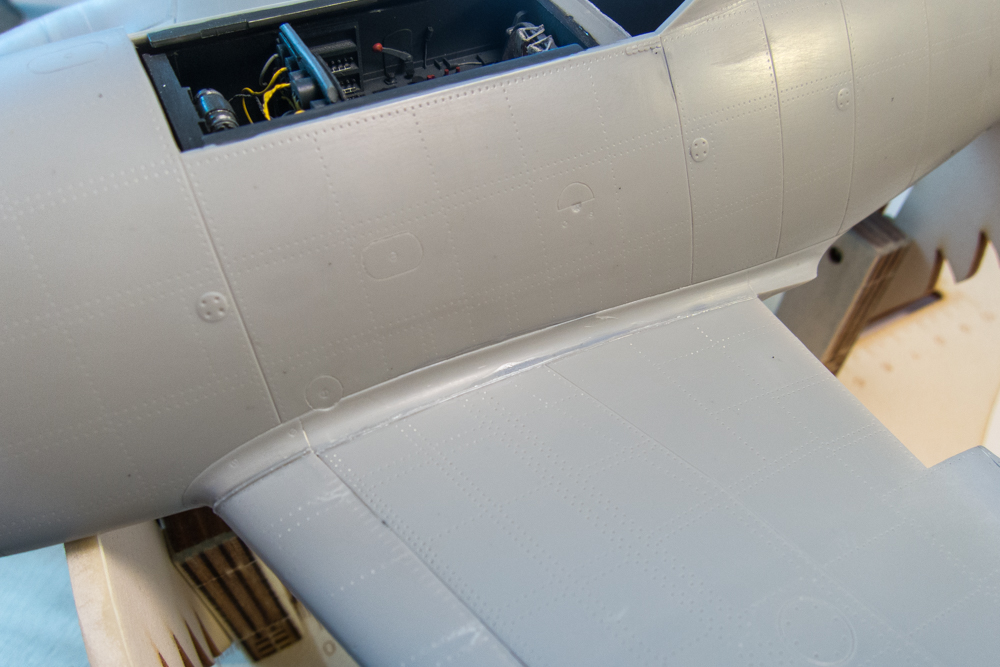
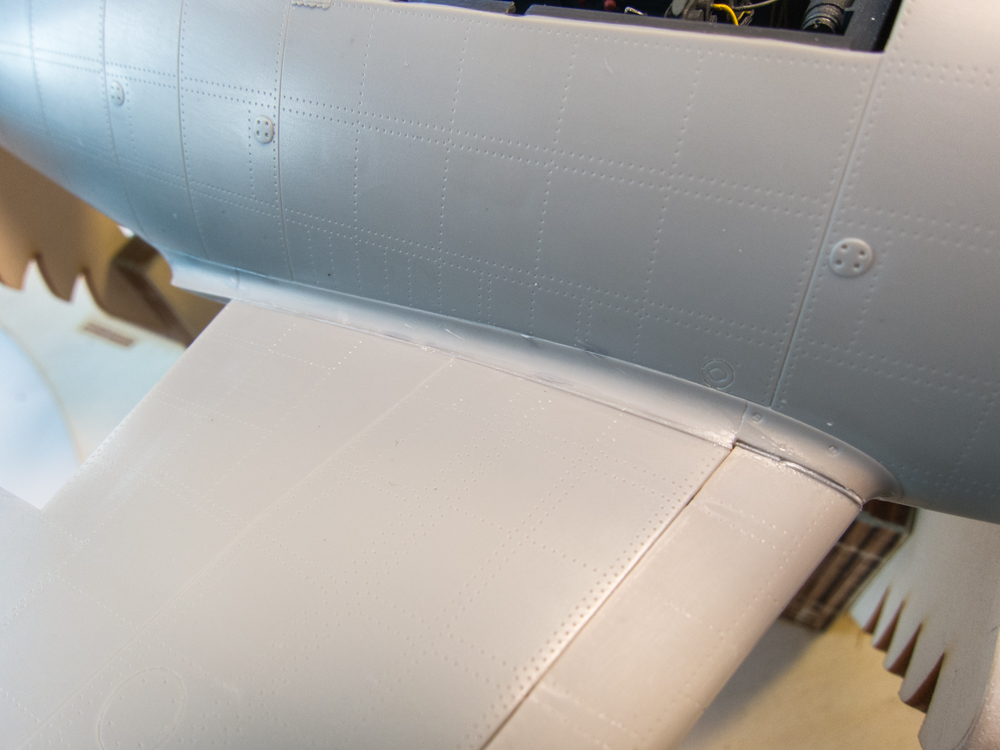
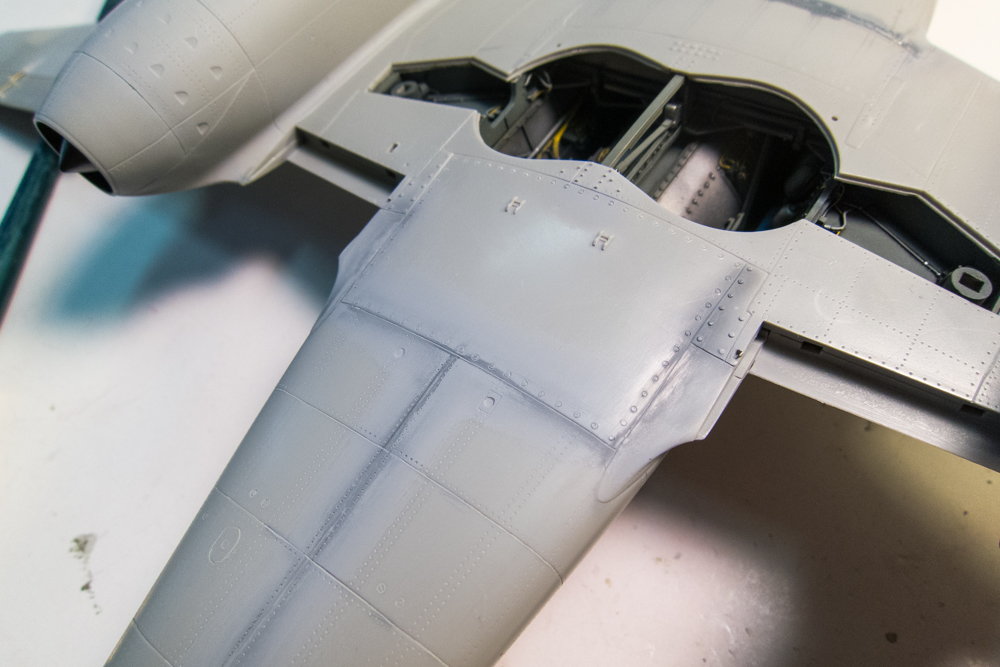
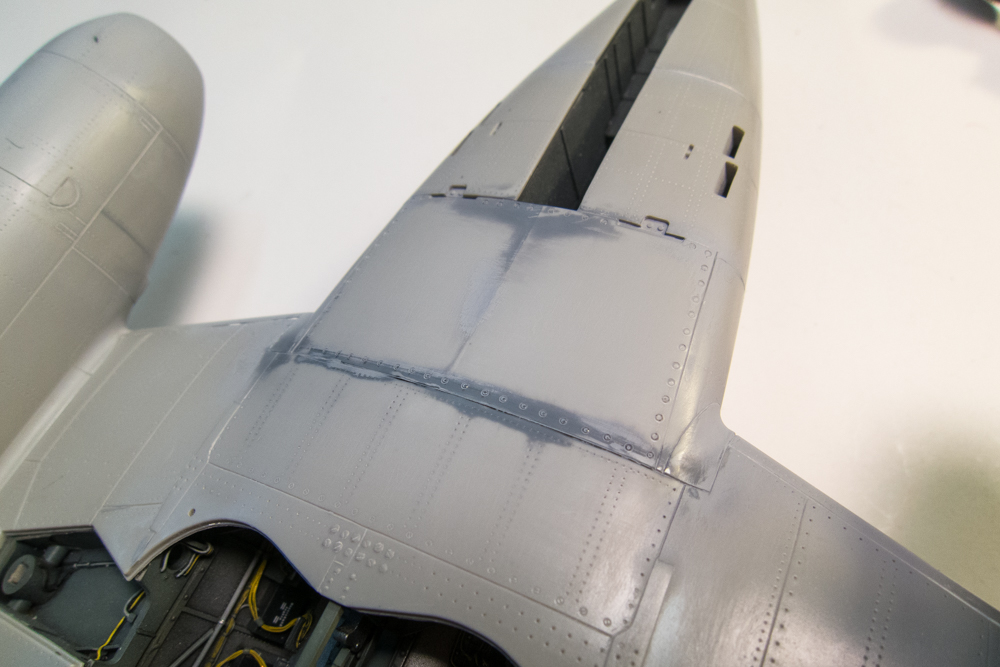
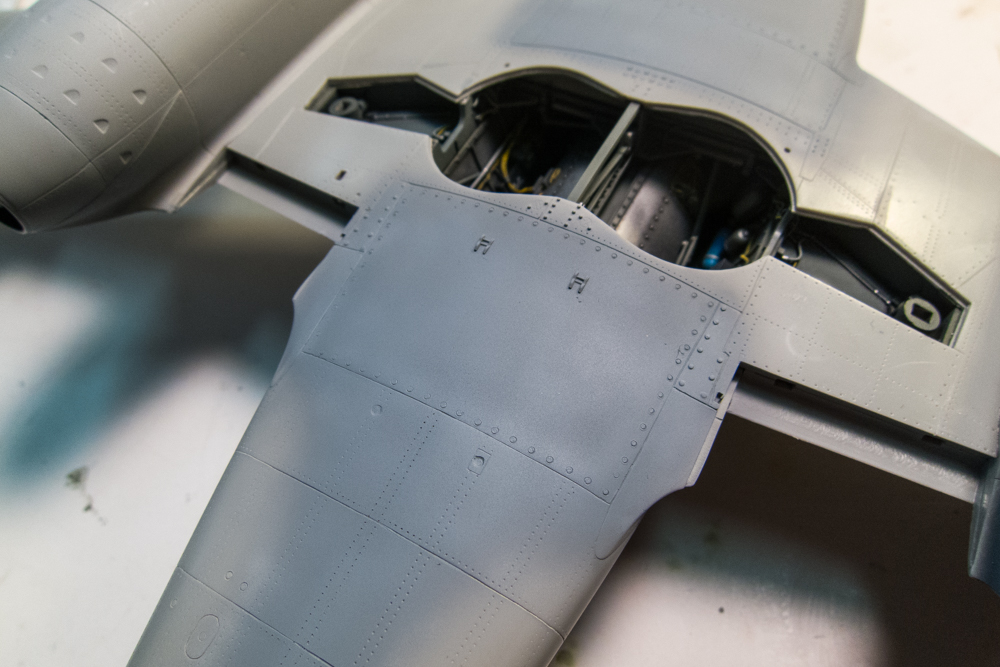
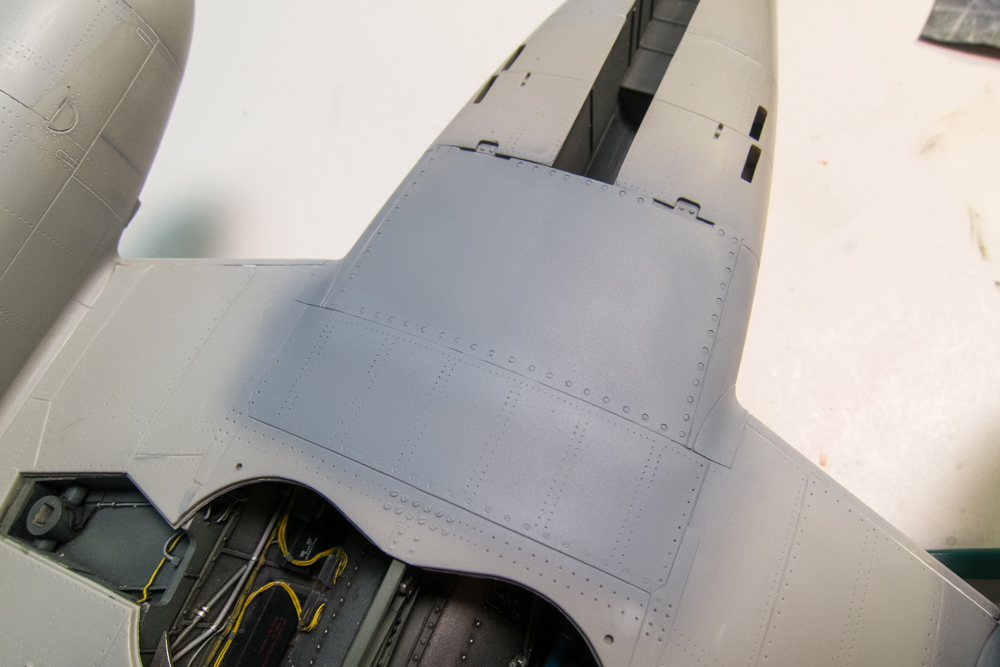
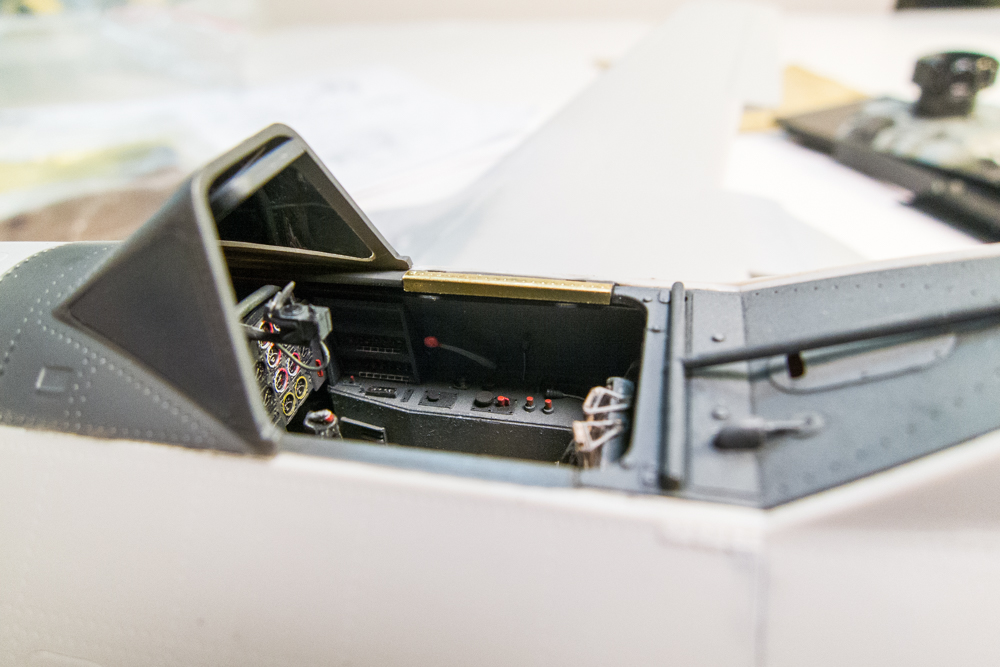
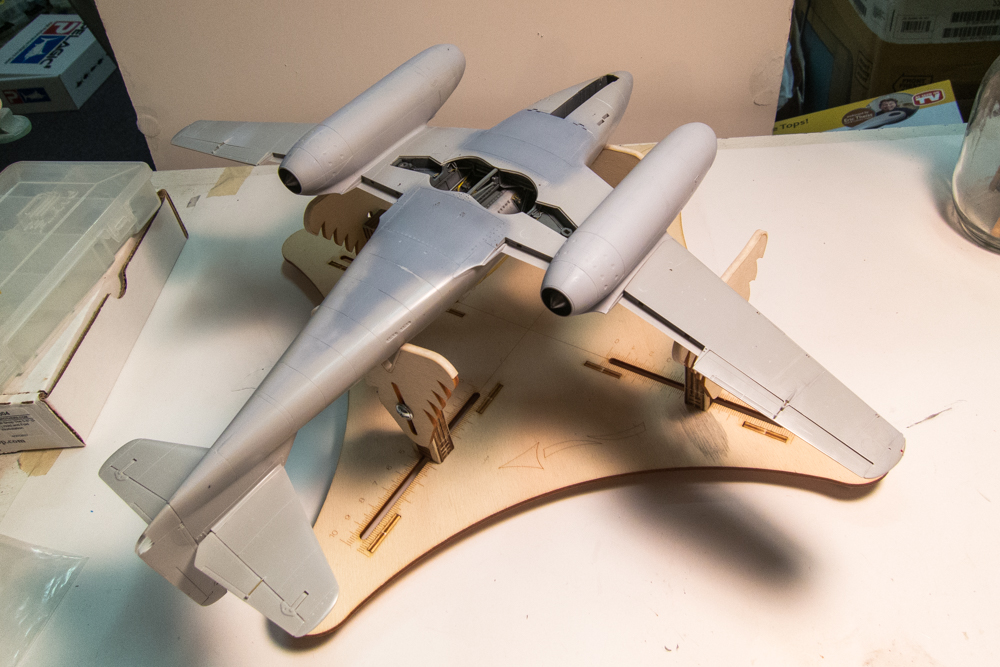
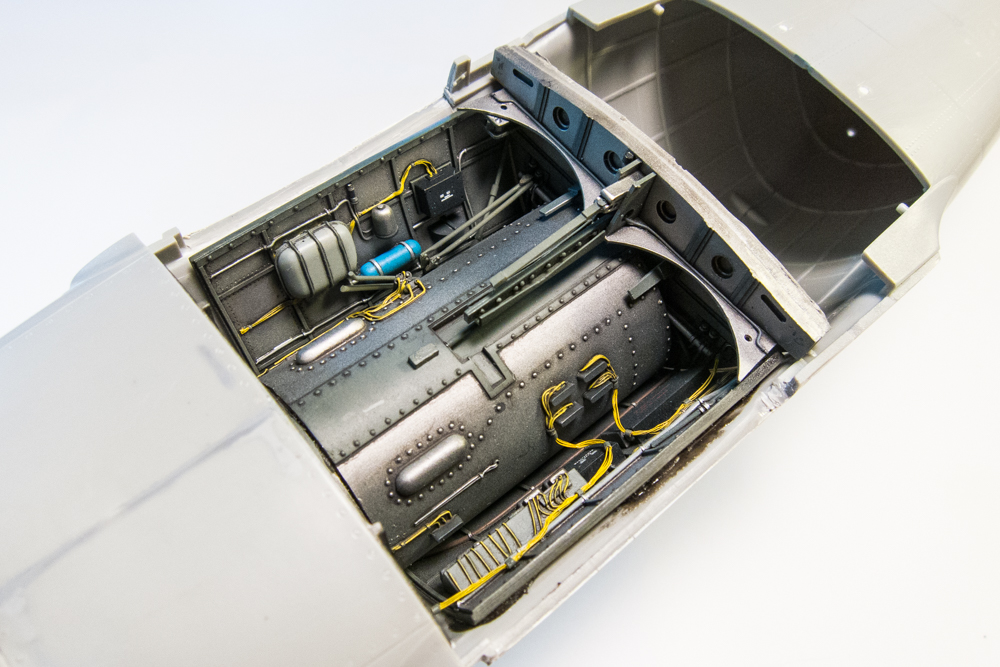
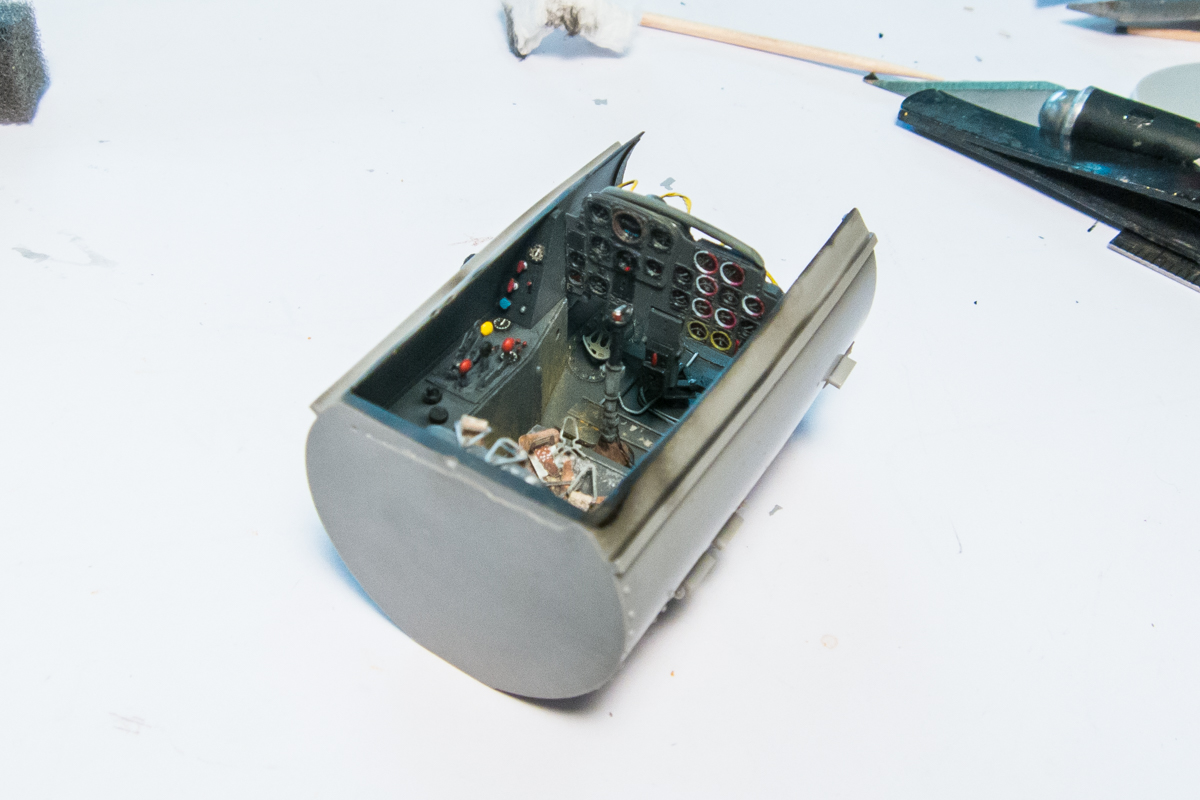
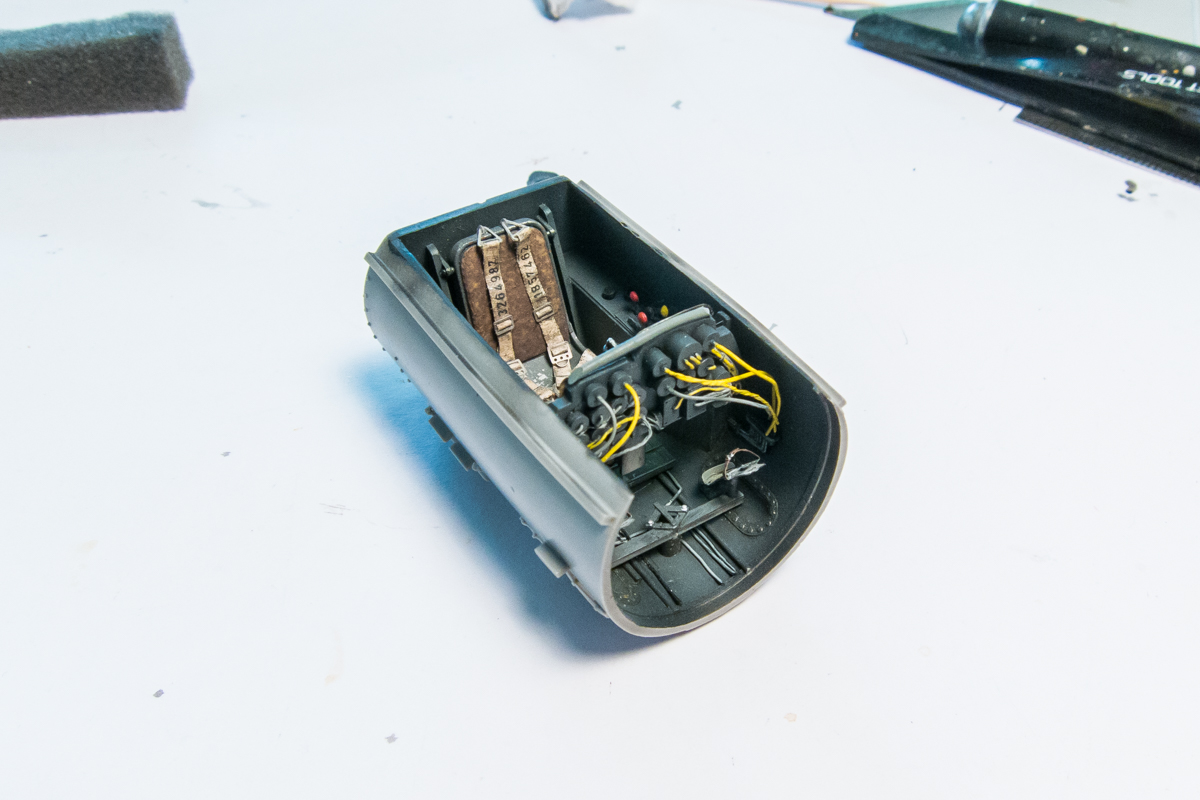
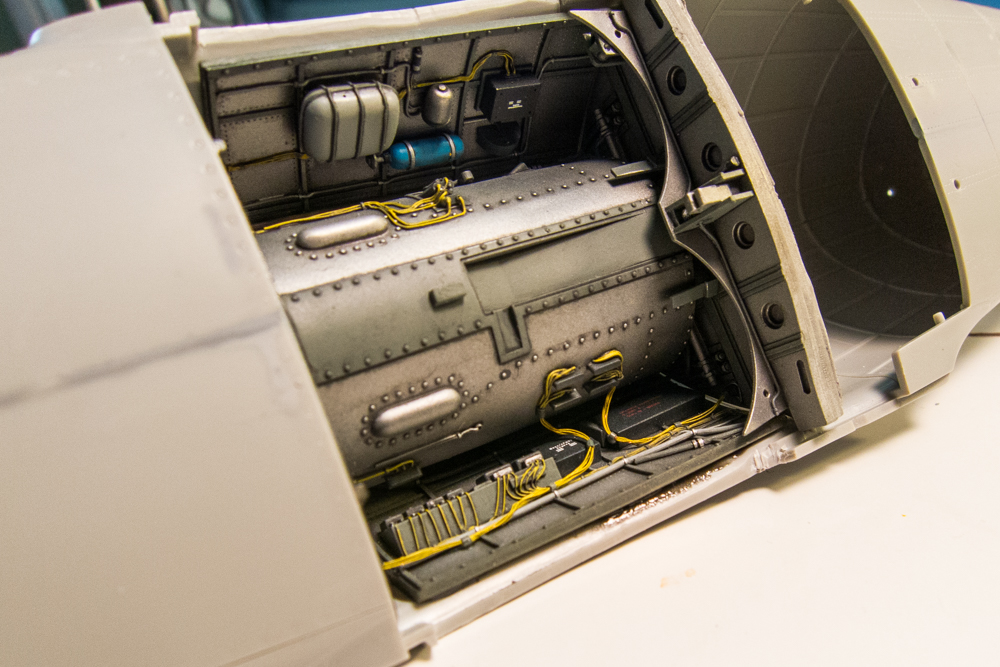
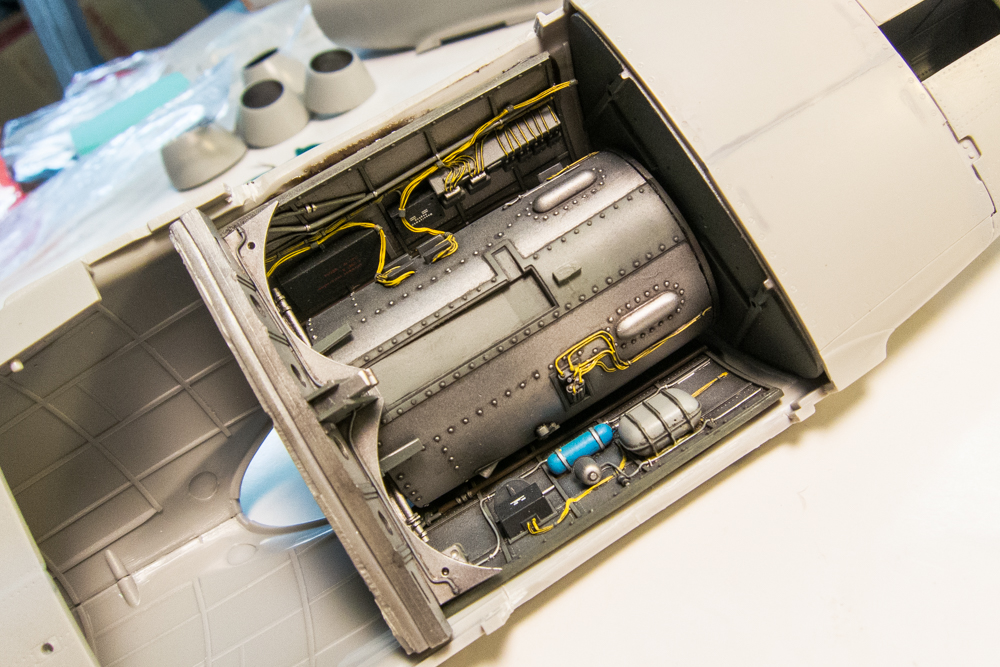
After the fit was sorted out, the cockpit and wheel well components were painted and construction began. The resin set was further enhanced with the addition of wiring, most notably behind the instrument panel and the wiring harnesses inside of the wheel wells.
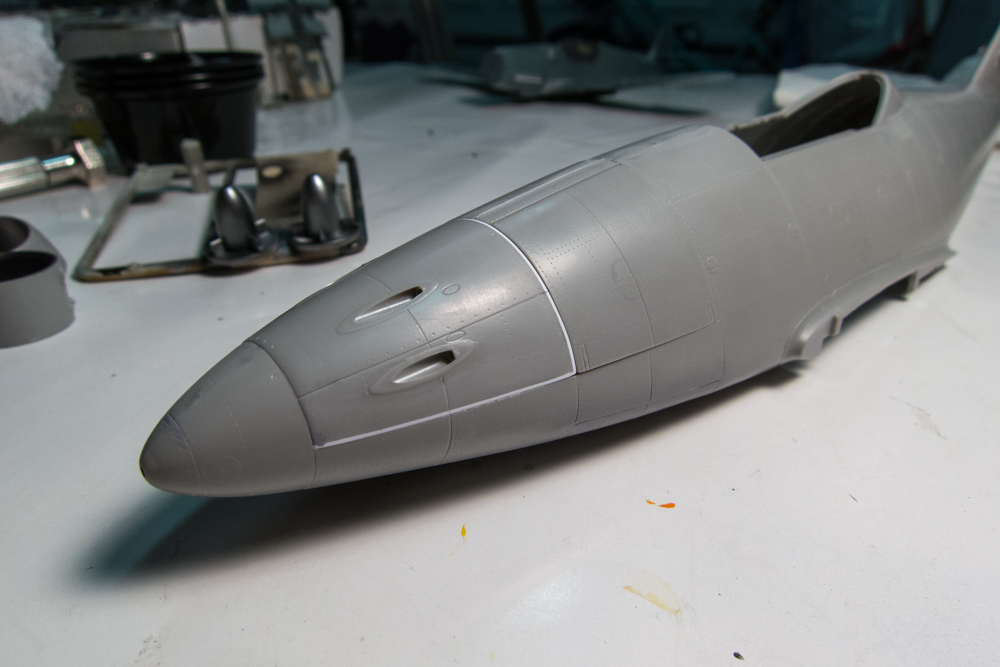
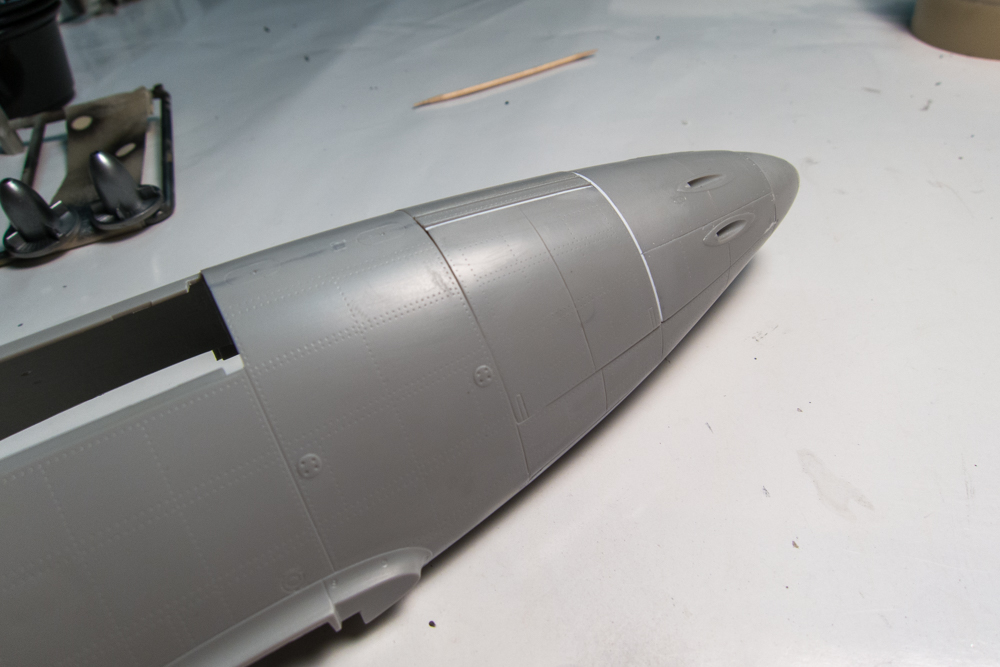
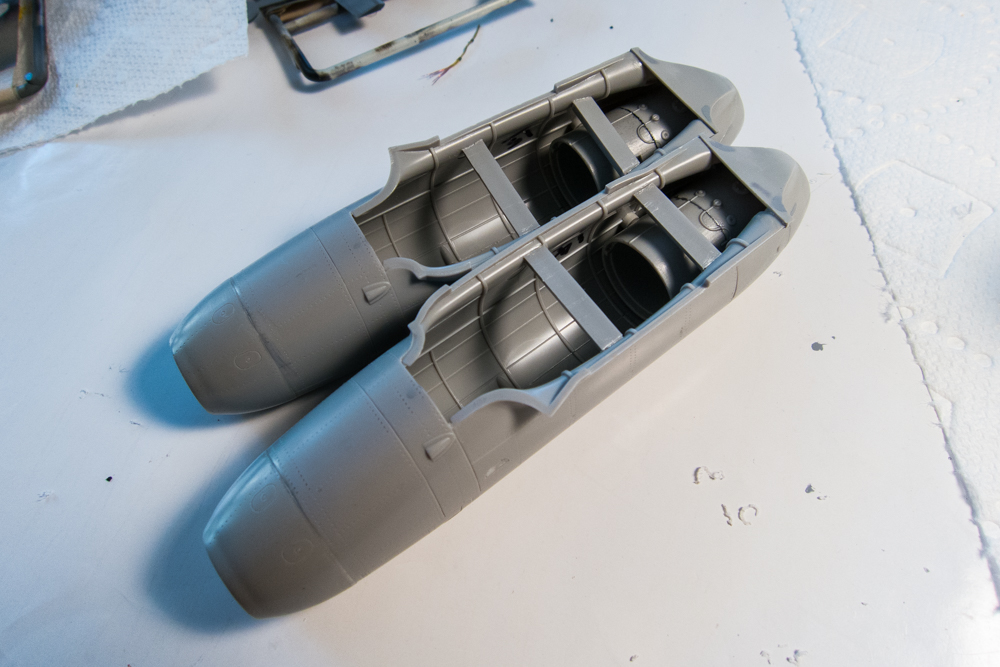
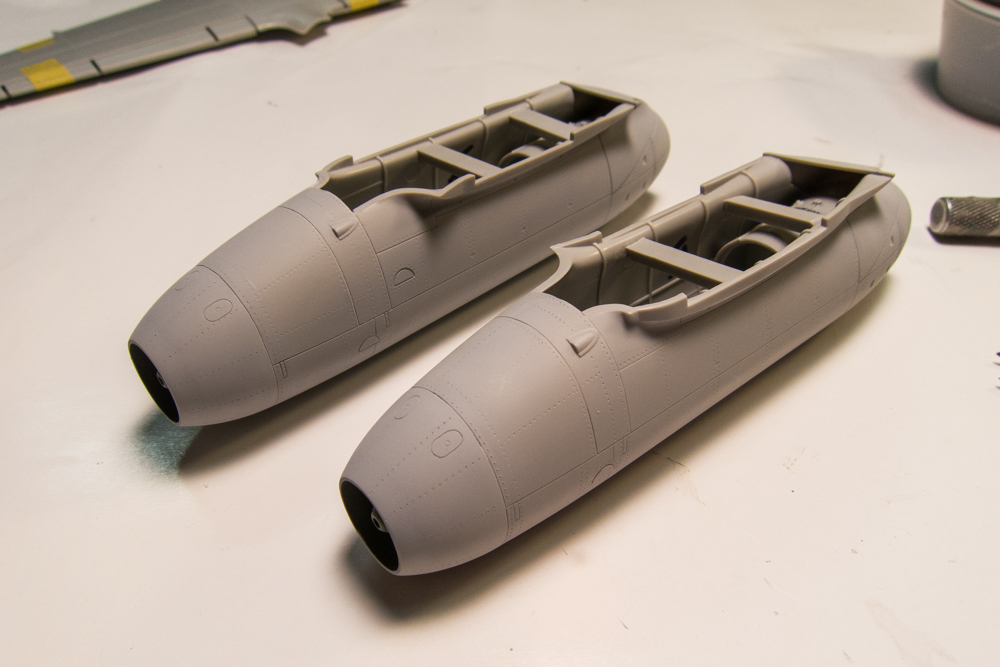
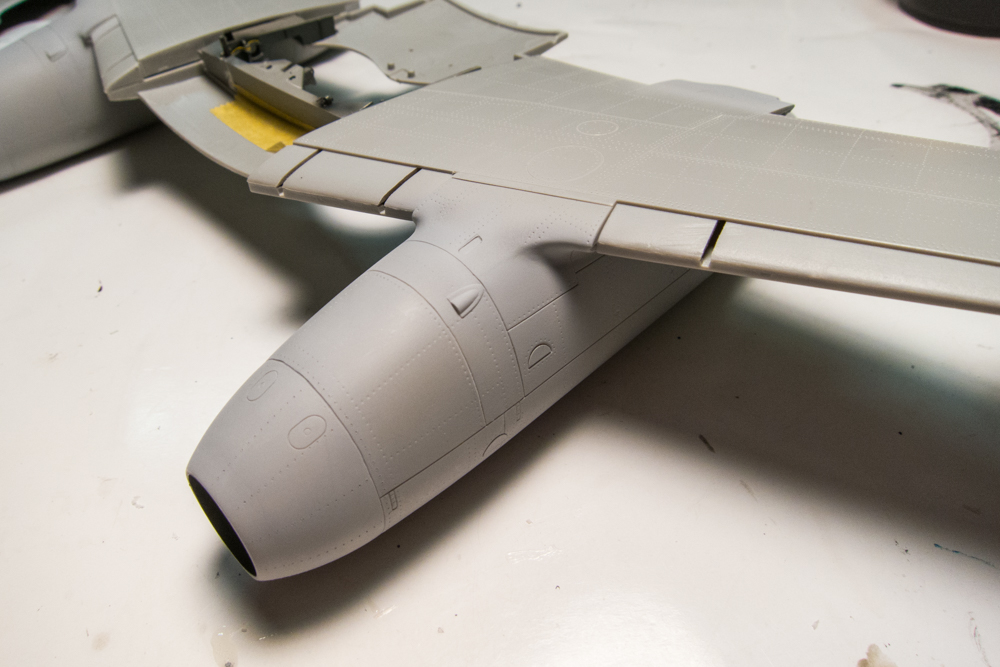
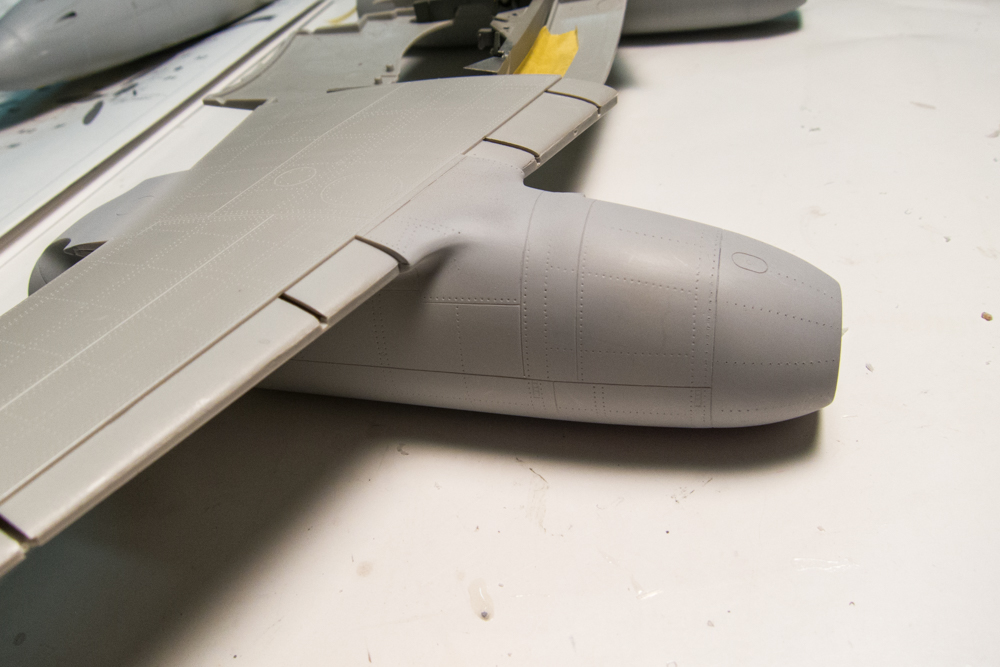
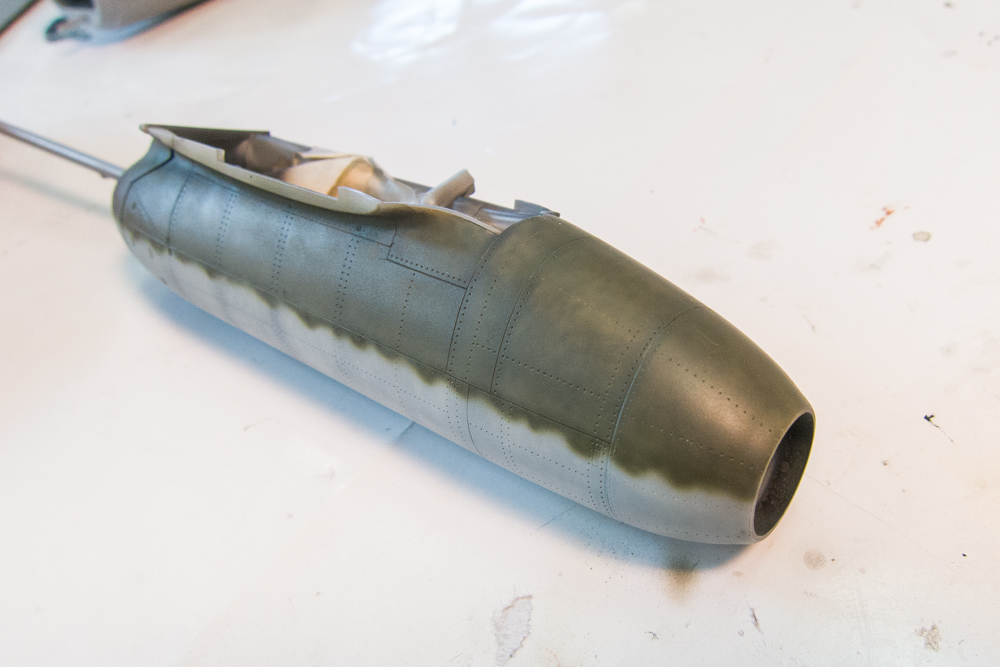
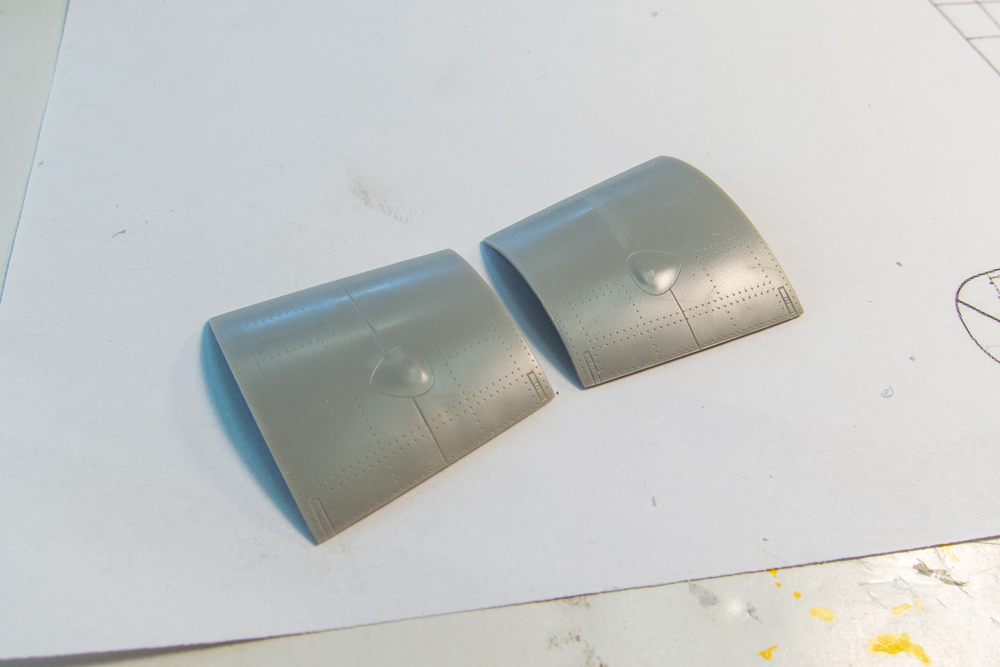
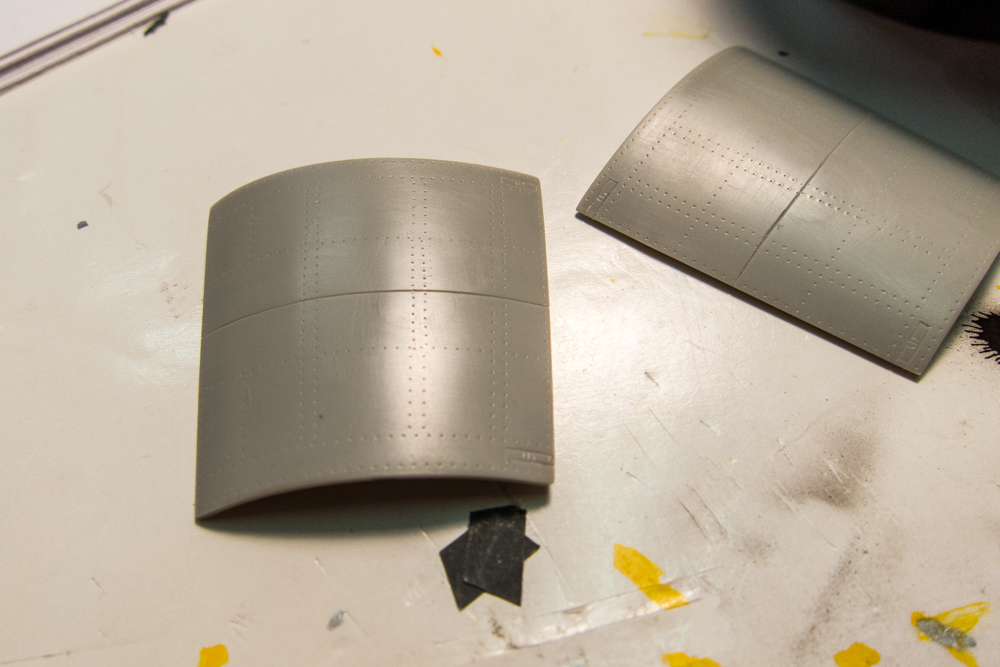
As I mentioned, the early A-1 differed from the the A-1 that kit represents so some changes were necessary. These include removal of bumps on the gun cowling covers.
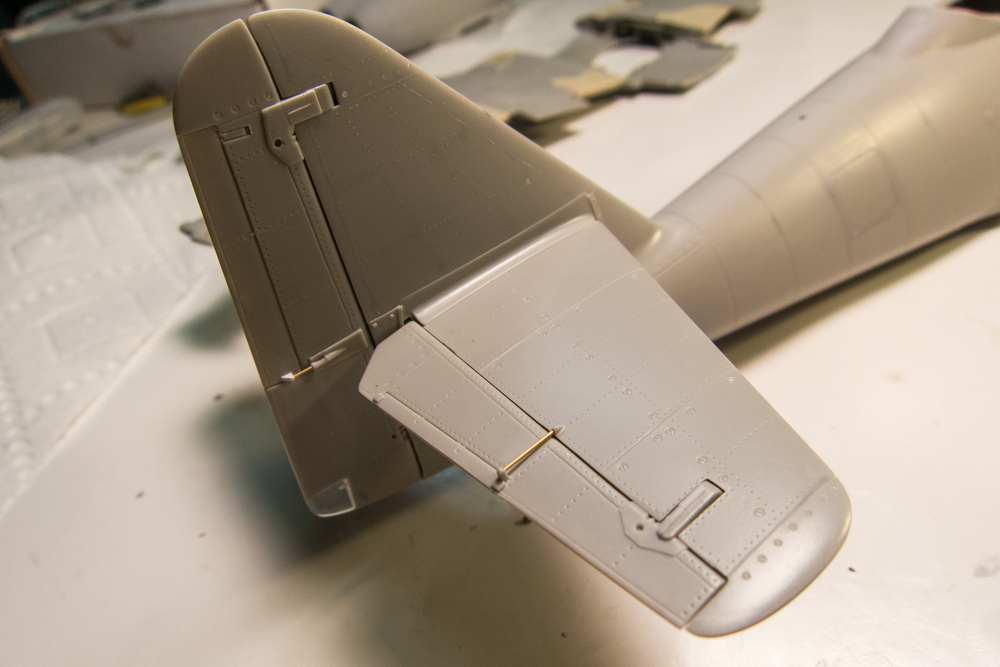
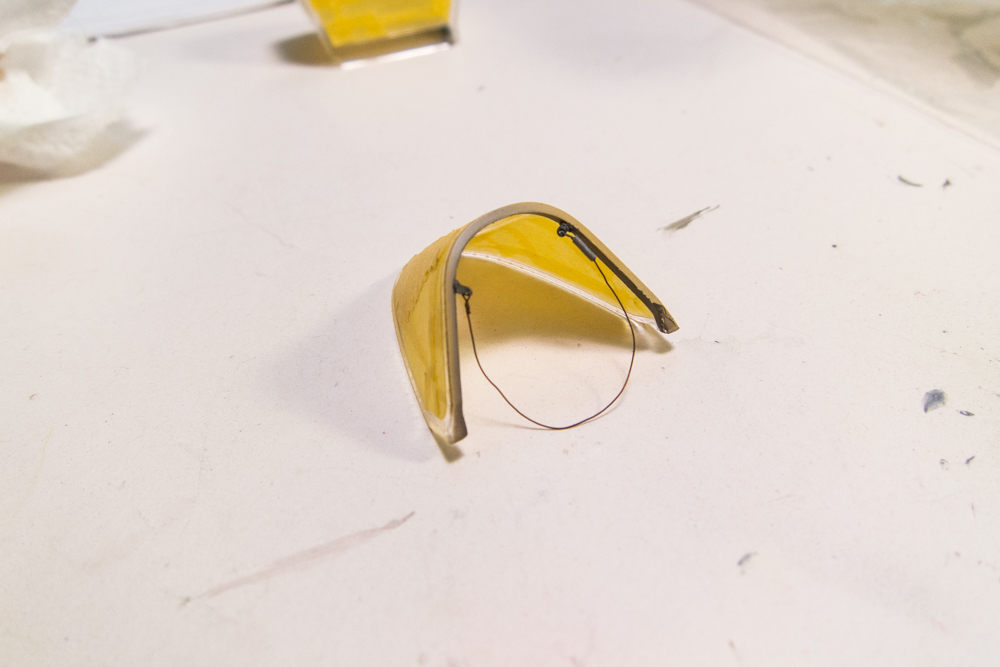
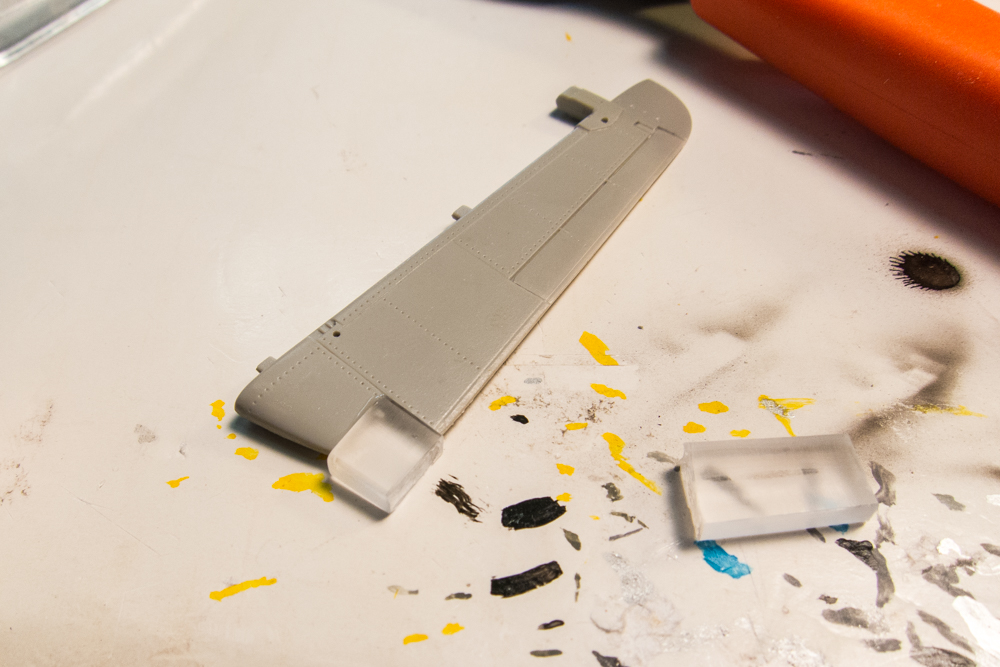
The bulb light on the rudder was replaced with a clear light enclosure fabricated from a piece of clear toothbrush cemented into place with UV-activated epoxy glue.

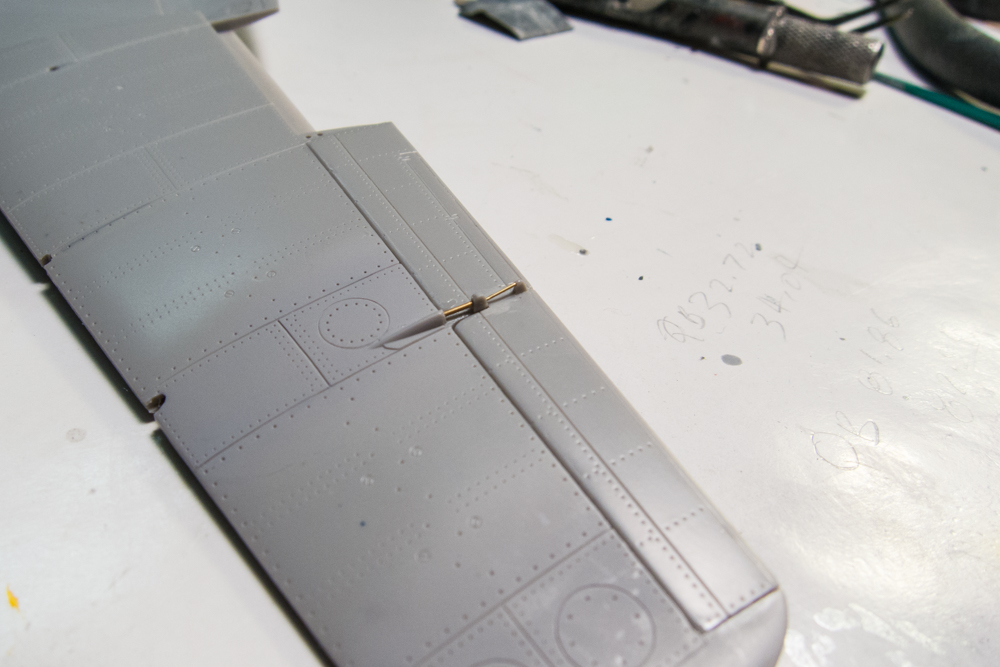
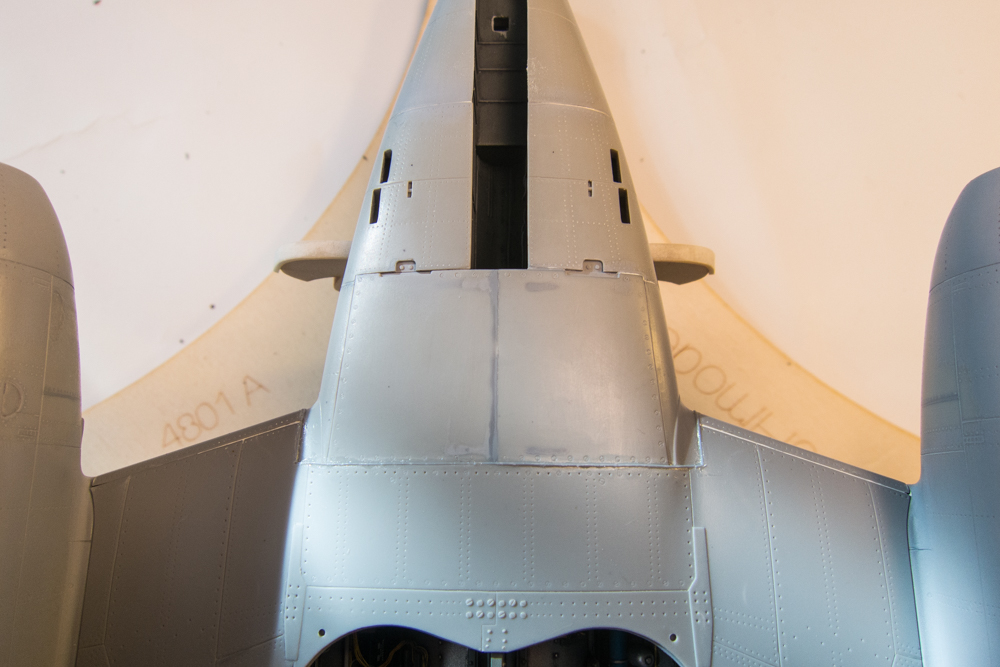
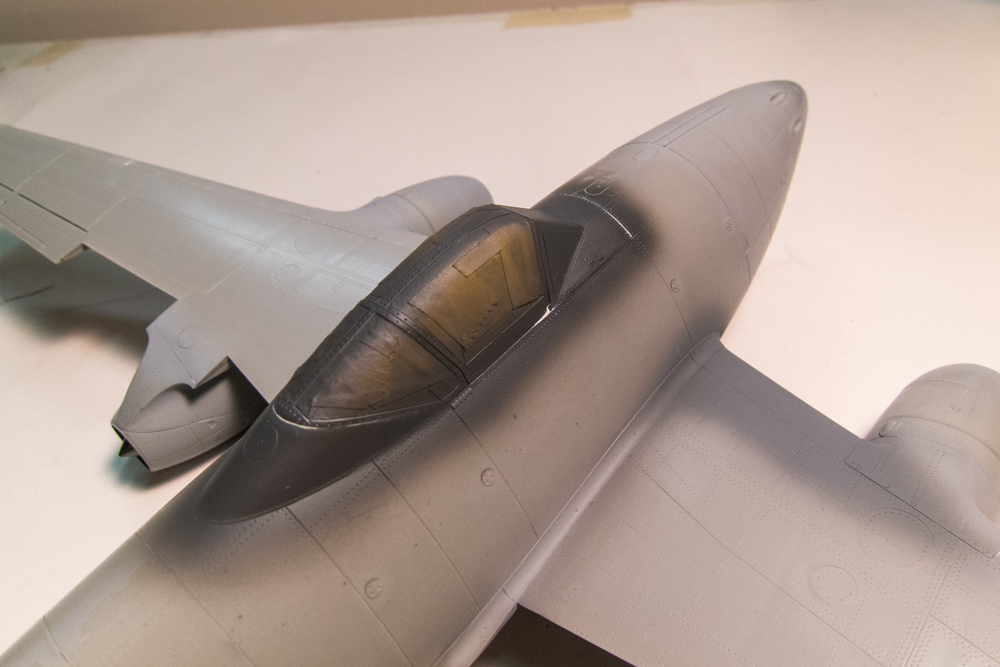
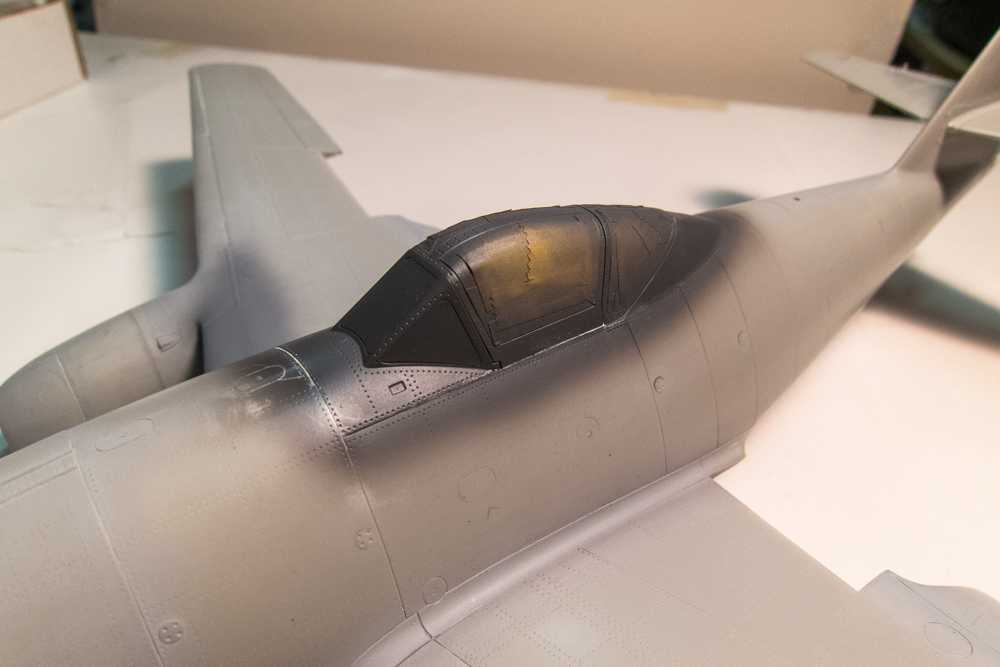
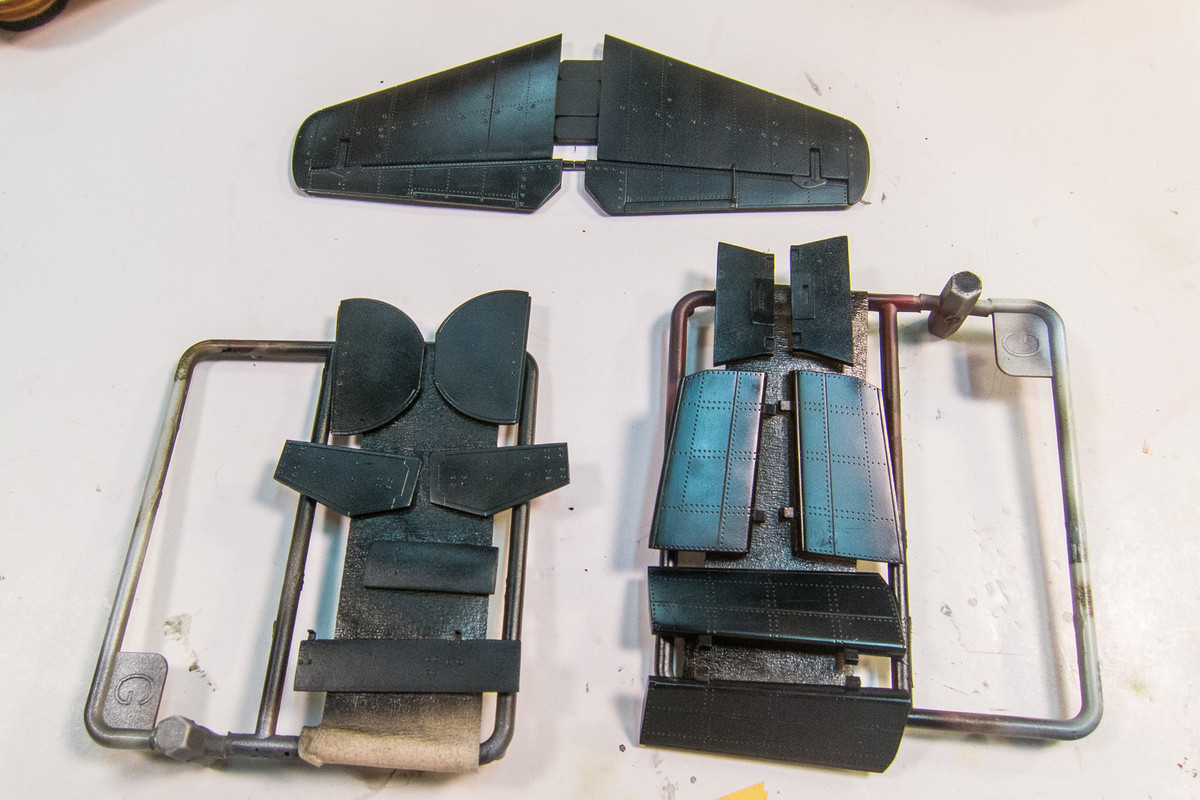
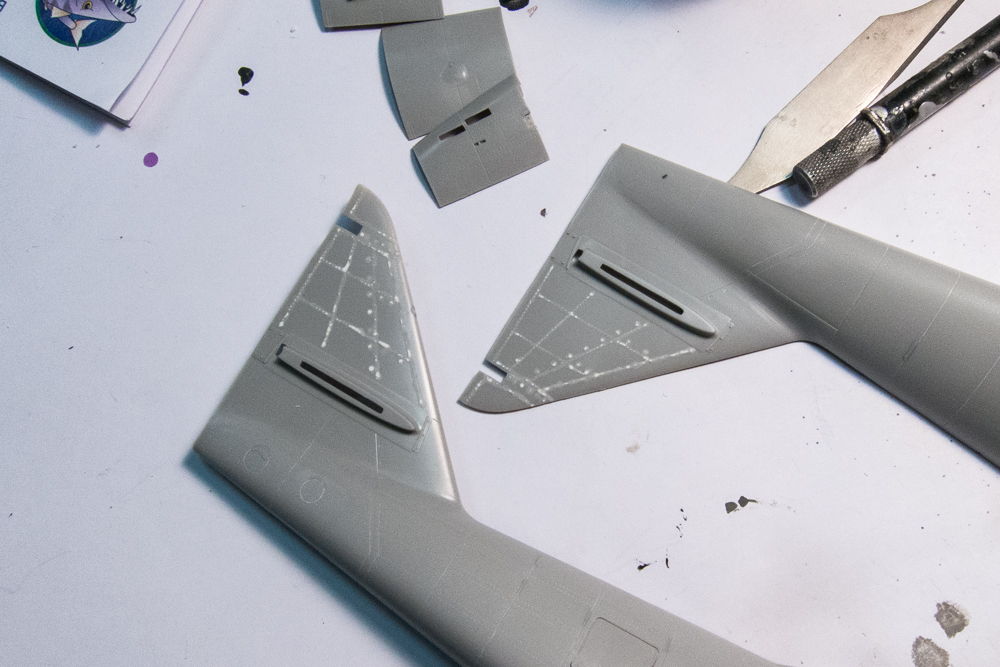
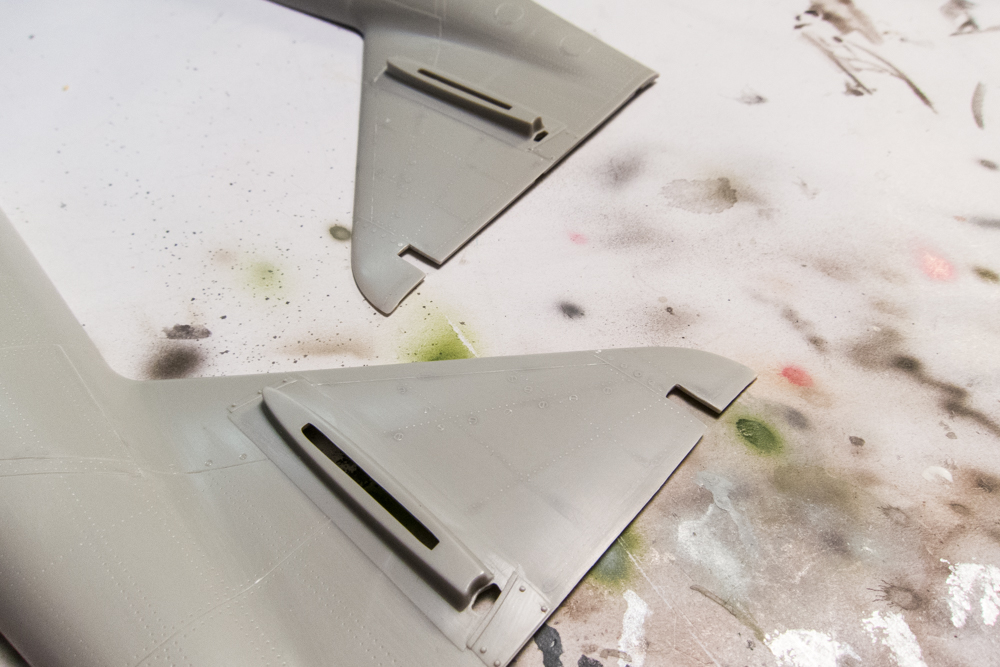
The 262's with the hard mottled tail patterns had tails fabricated out of wood so the panel lines and rivets need to be removed.
Before I jump into the current status, let me catch you up on this build. The subject of this build is the Me262A-1 "Yellow 3" of III./KG(J)54 depicted in a derelict state in this dramatic photo...
The unusual hard mottle on the tail caught my initial interest. Add the blue and white fuselage checkerboard, yellow numerals and the yellow "death's head" logo and you have a very interesting visual subject.
Here is a nice color profile by Tom Tullis that shows what Yellow 3 might have looked like in combat service.
The kit I will be using to model Yellow 3 is the Trumpeter 1/32 Me262A-1a Heavy Armament kit. Yellow 3 is an early production A-1 and some changes will need to be made to the kit parts to reflect this. More on this later.
I rarely build out-of-the-box these days and this one is no exception. The aftermarket items I'll be throwing into this build include the Aires resin cockpit and wheel well set...
... the Barracuda resin wheel set...
... HGW fabric seat belts...
and the Montex mask set. You may have noticed that the Trumpeter kit includes decal markings for Yellow 3 so I have some back-up for the masks, if necessary.
There was a lot of pre-fitting to figure out how best to fit the resin cockpit tub and wheel wells to the model. The Aires parts fit reasonably well but the instructions are ridiculously vague, forcing the modeler to figure stuff out on their own, which takes time and patience.
After the fit was sorted out, the cockpit and wheel well components were painted and construction began. The resin set was further enhanced with the addition of wiring, most notably behind the instrument panel and the wiring harnesses inside of the wheel wells.
As I mentioned, the early A-1 differed from the the A-1 that kit represents so some changes were necessary. These include removal of bumps on the gun cowling covers.
The bulb light on the rudder was replaced with a clear light enclosure fabricated from a piece of clear toothbrush cemented into place with UV-activated epoxy glue.
The 262's with the hard mottled tail patterns had tails fabricated out of wood so the panel lines and rivets need to be removed.