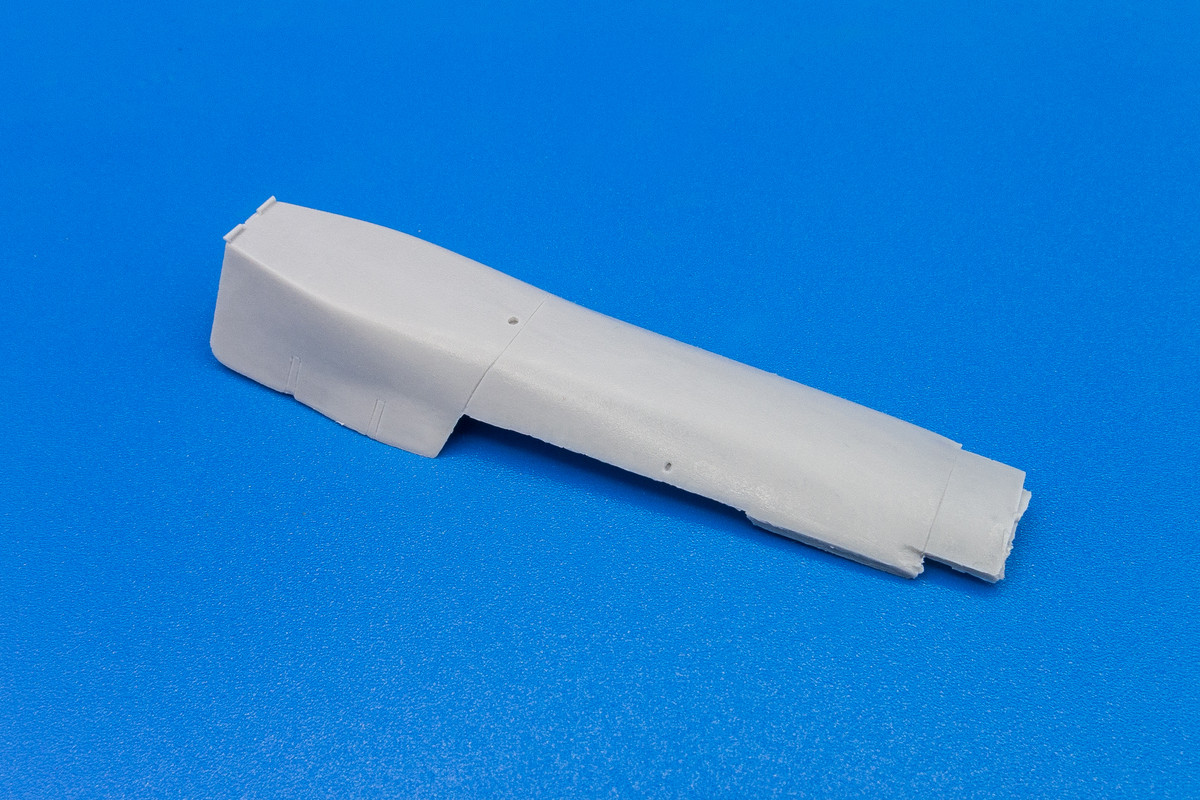
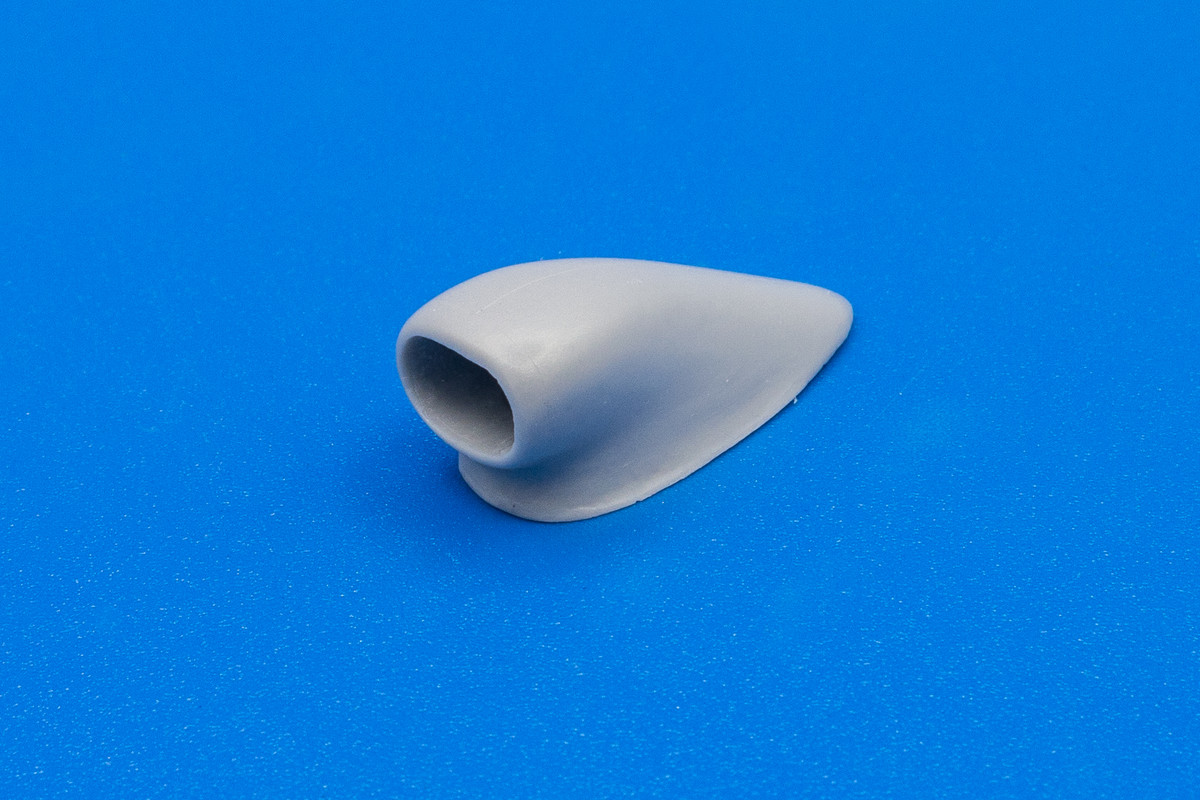
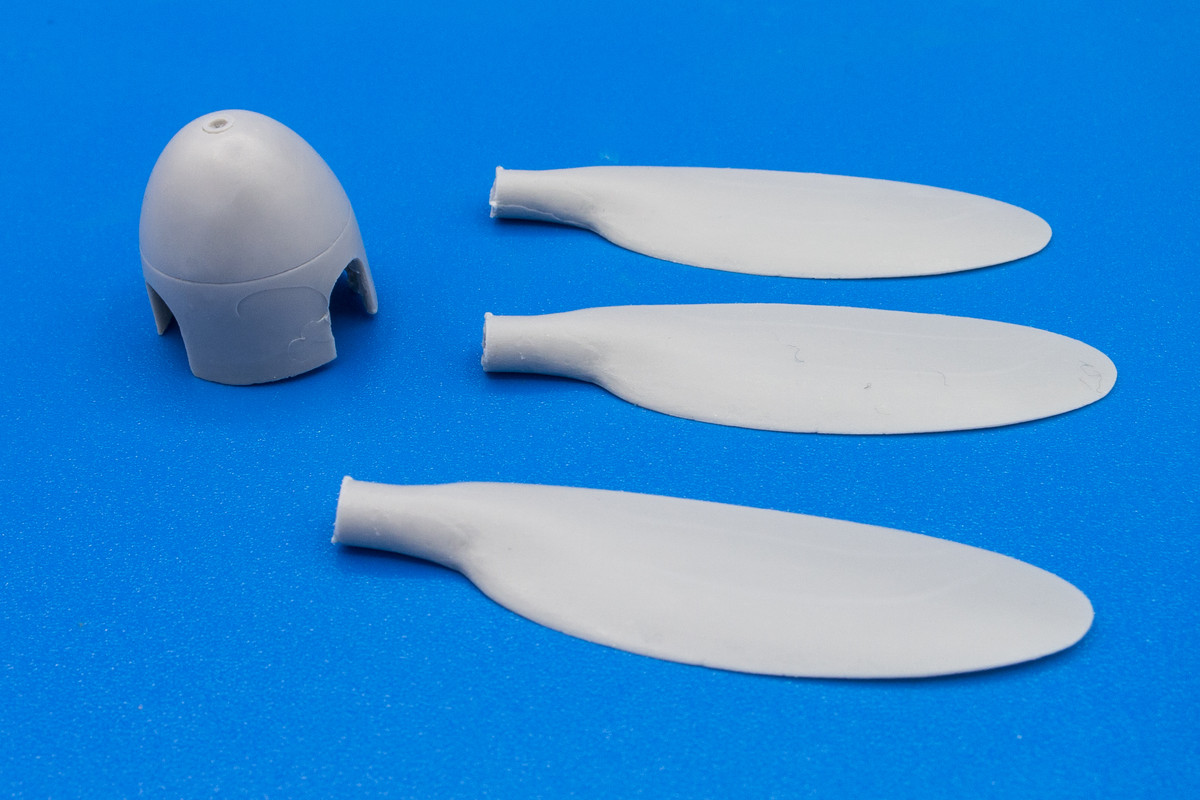
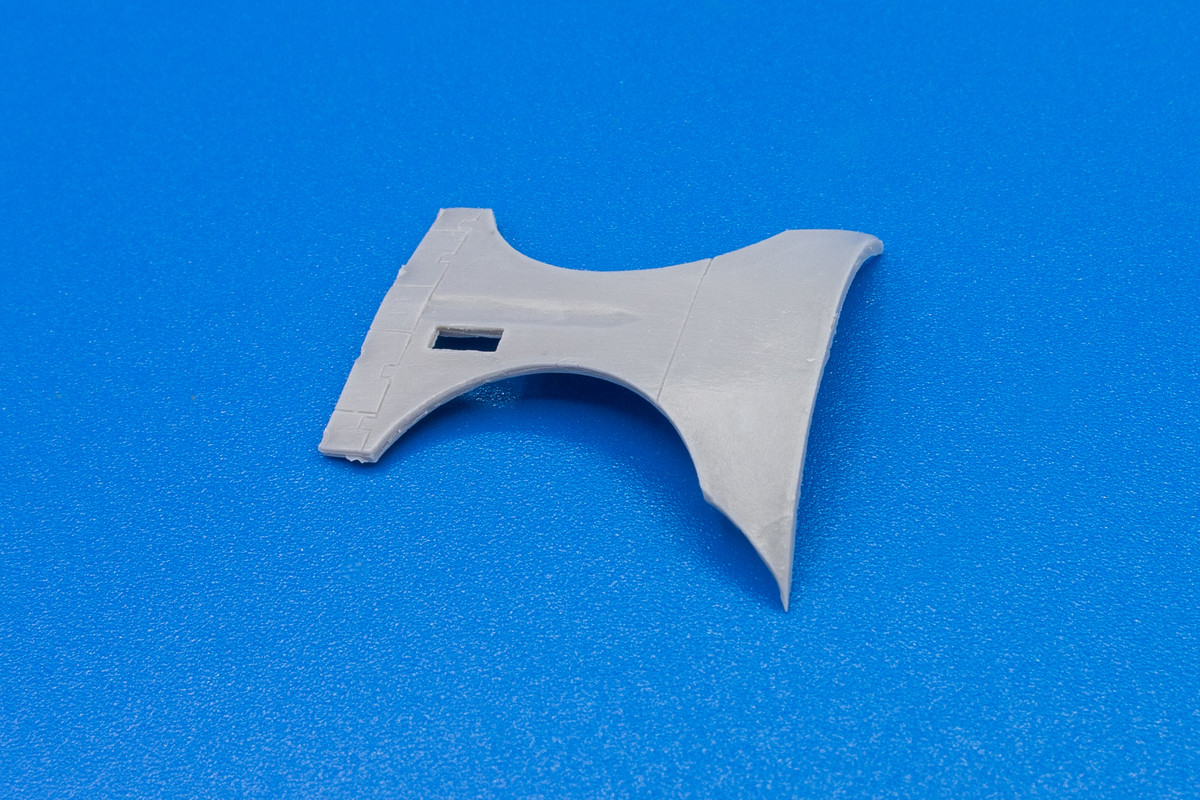
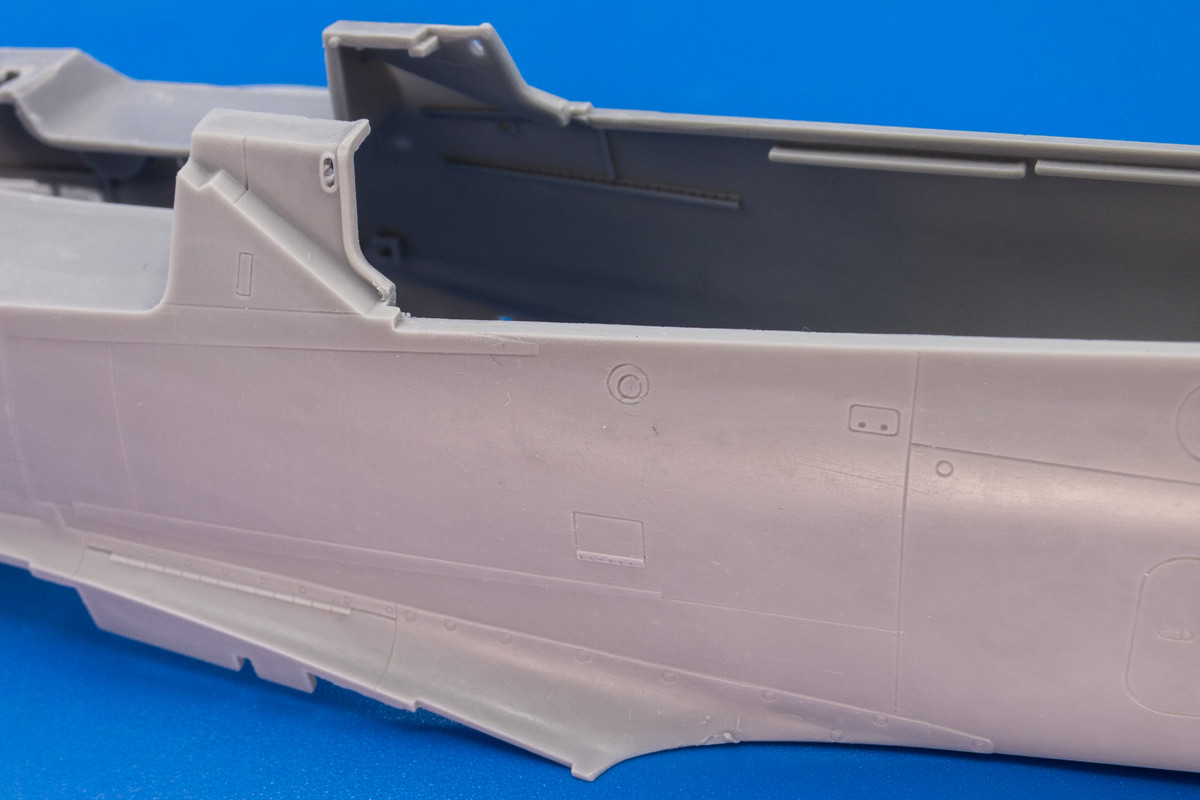
I know this may be of very limited interest to most of you since the D-13 was not a widely used aircraft. I'm kind of using this as a frame of reference for a future build and the contents will probably be cut and pasted into the build once it gets started.
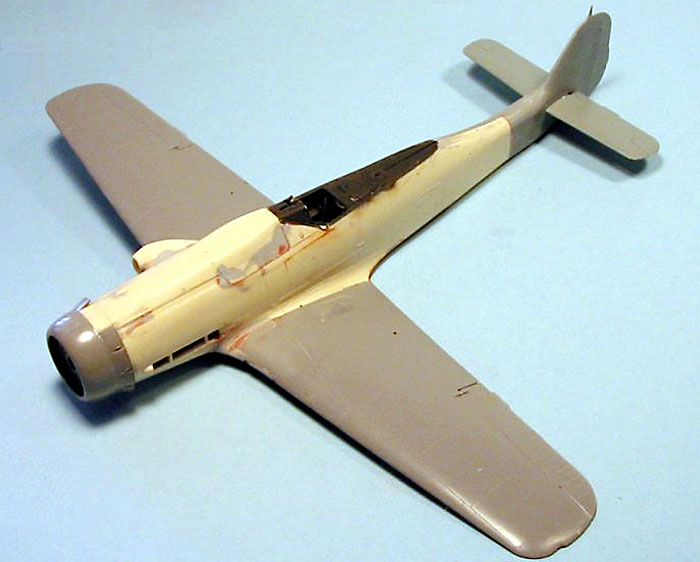
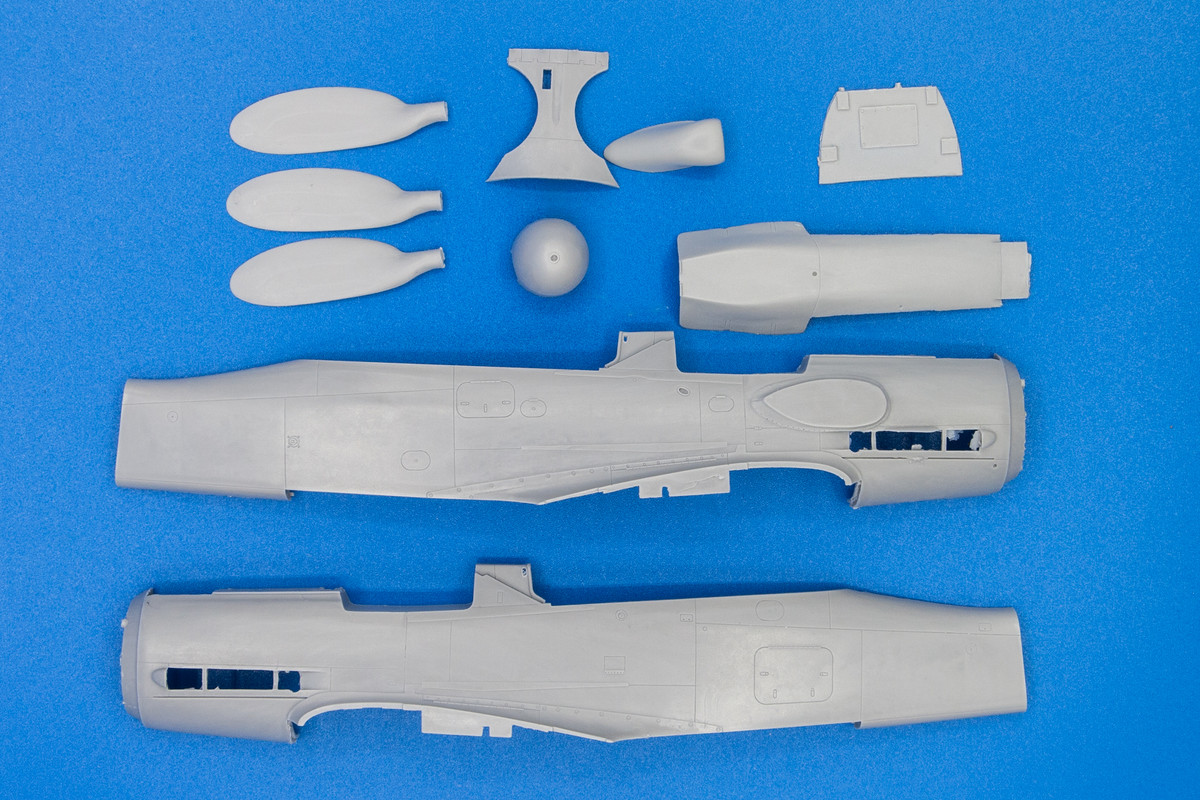
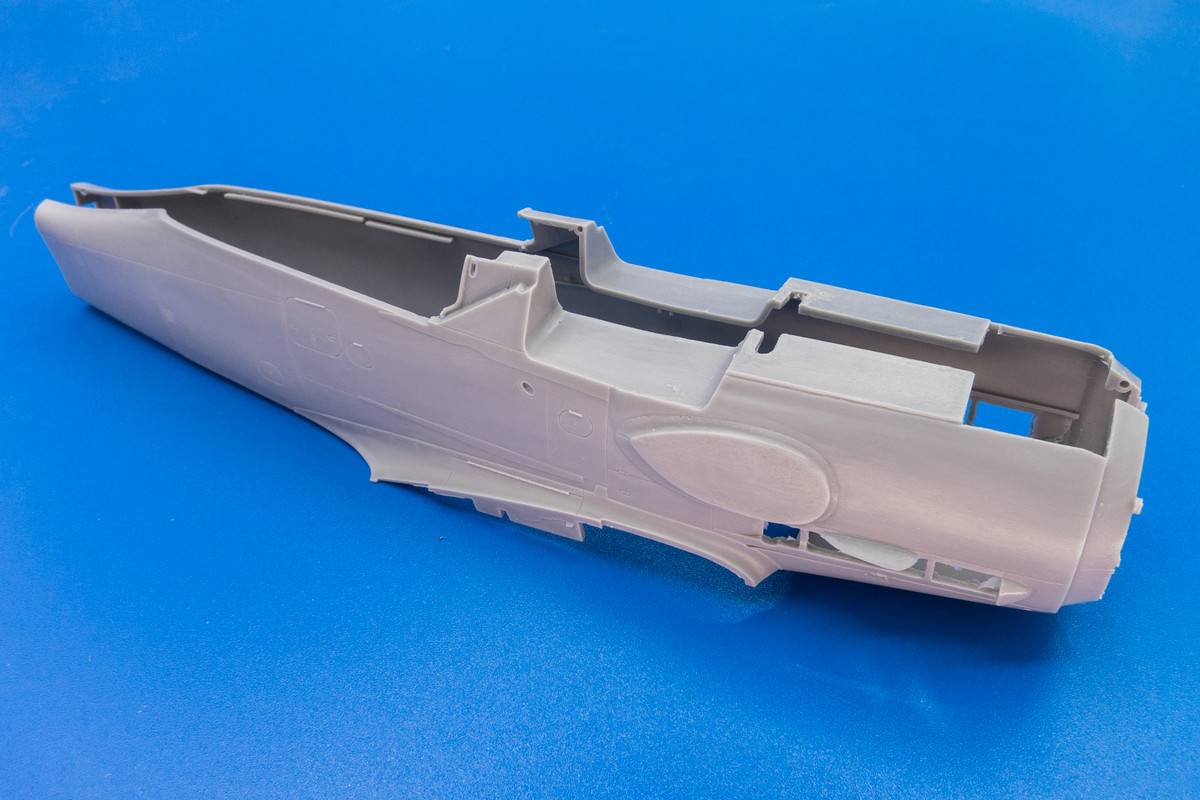
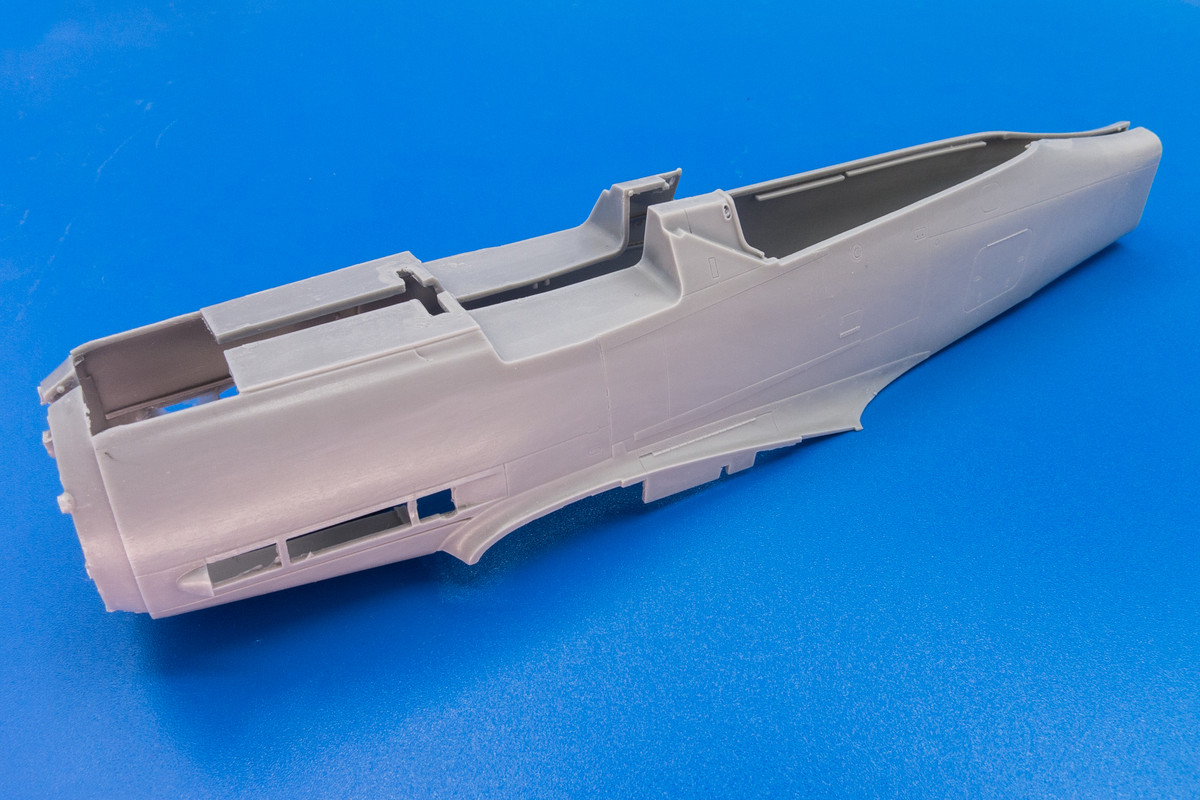
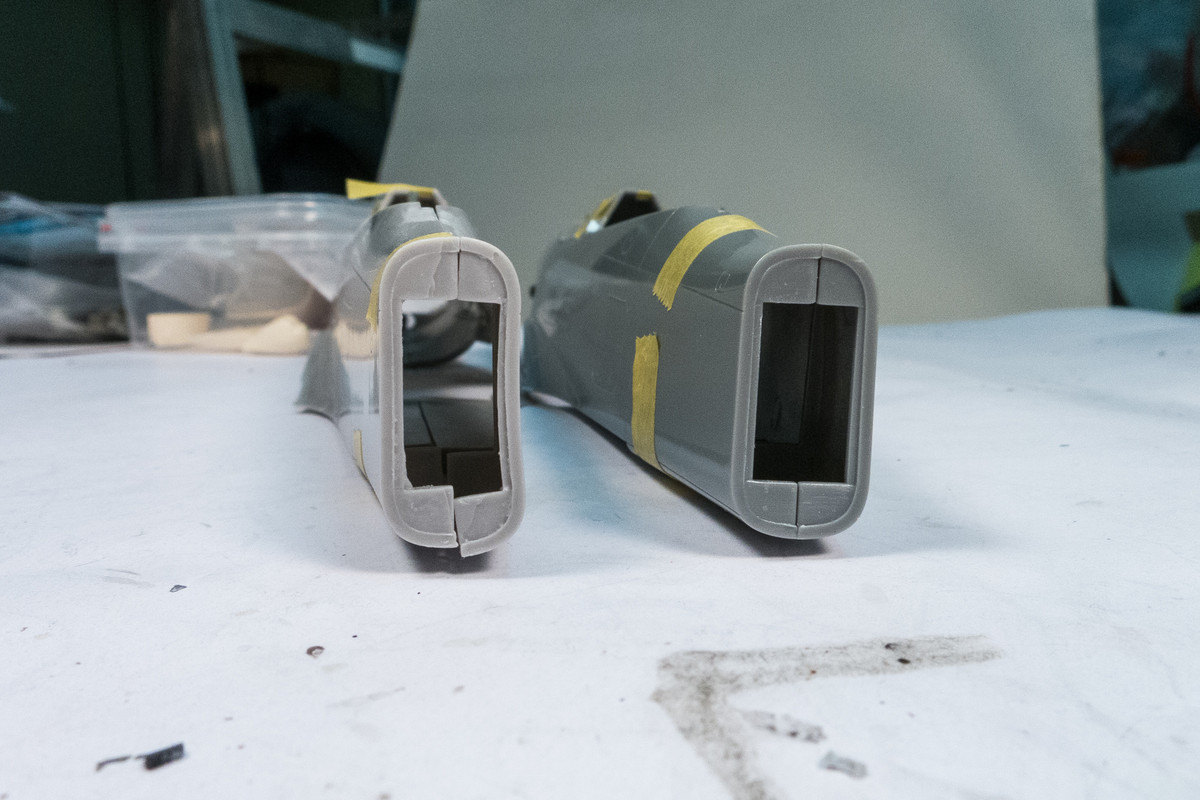
Back to the work table and using tape to put together the major components of the resin conversion, I can compare it to the Hasegawa kit. The resin fuselage features the same internals as the kit plastic, down to the locating tabs, locating pins and holes, which make fitting the pieces a little easier. But even so, it takes a bit of effort to tape the resin halves together.
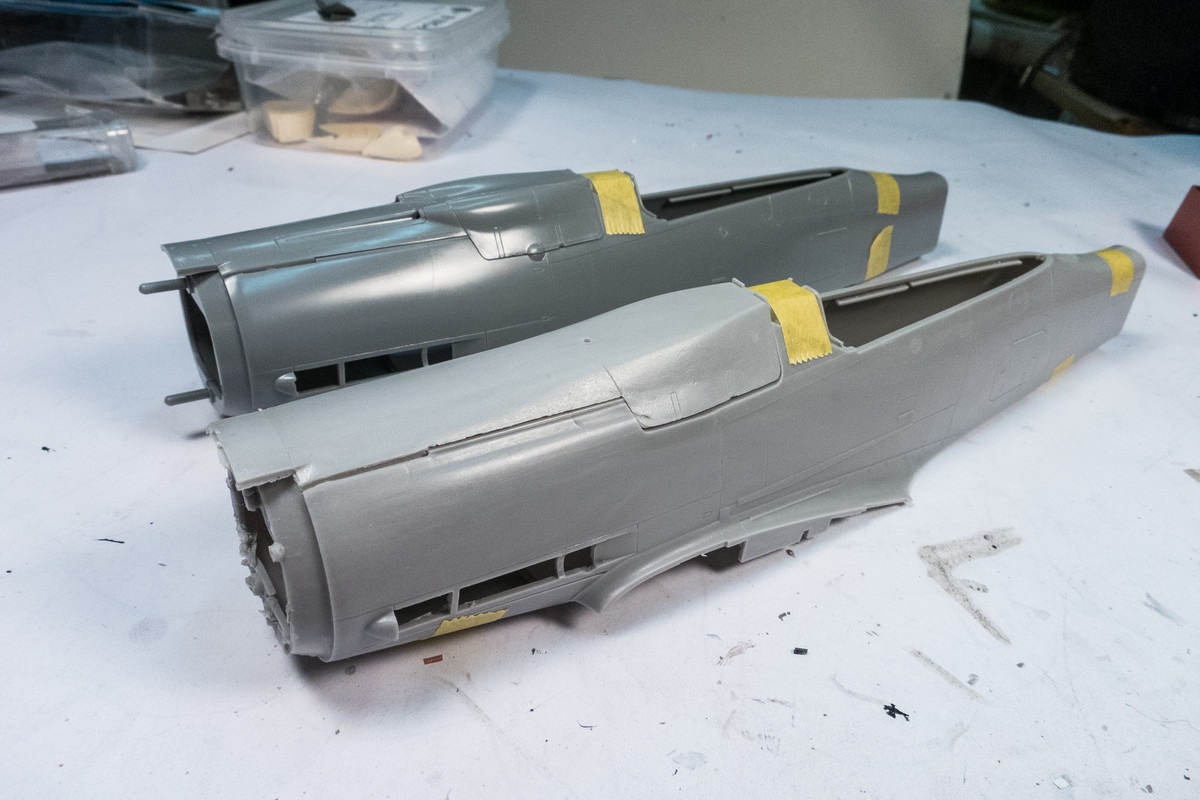
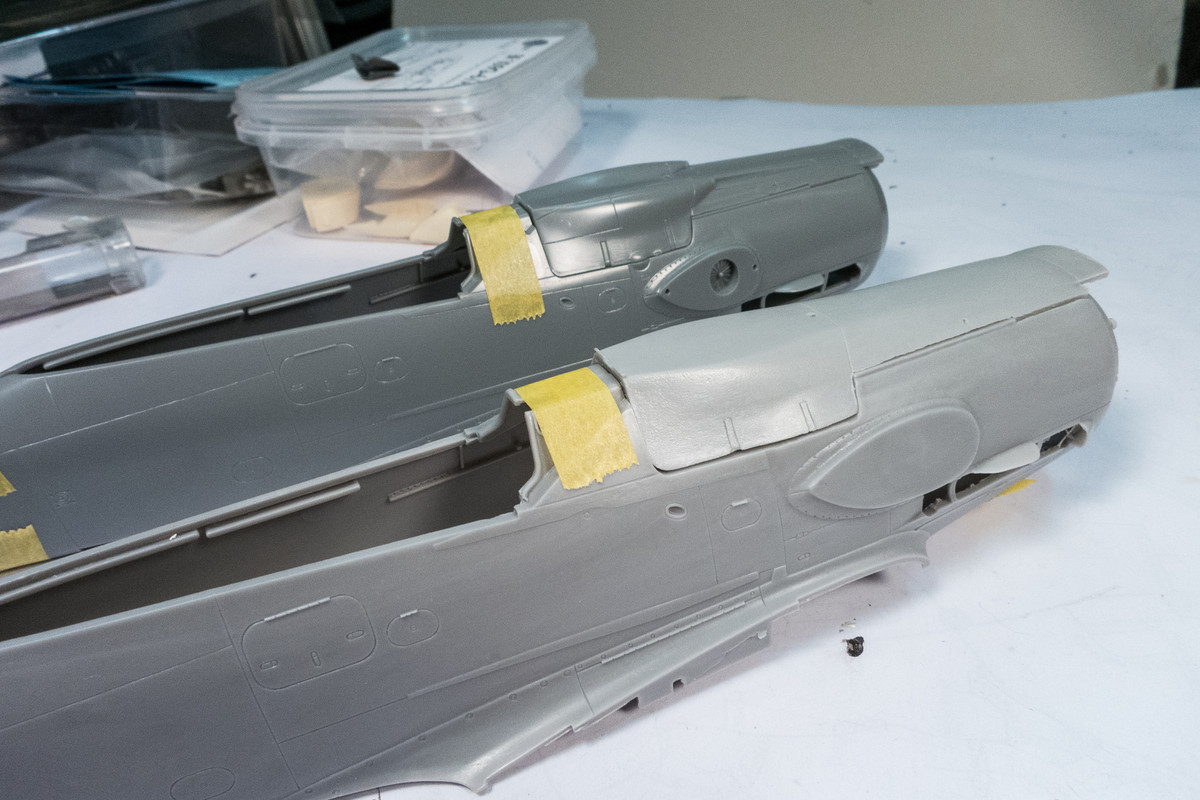
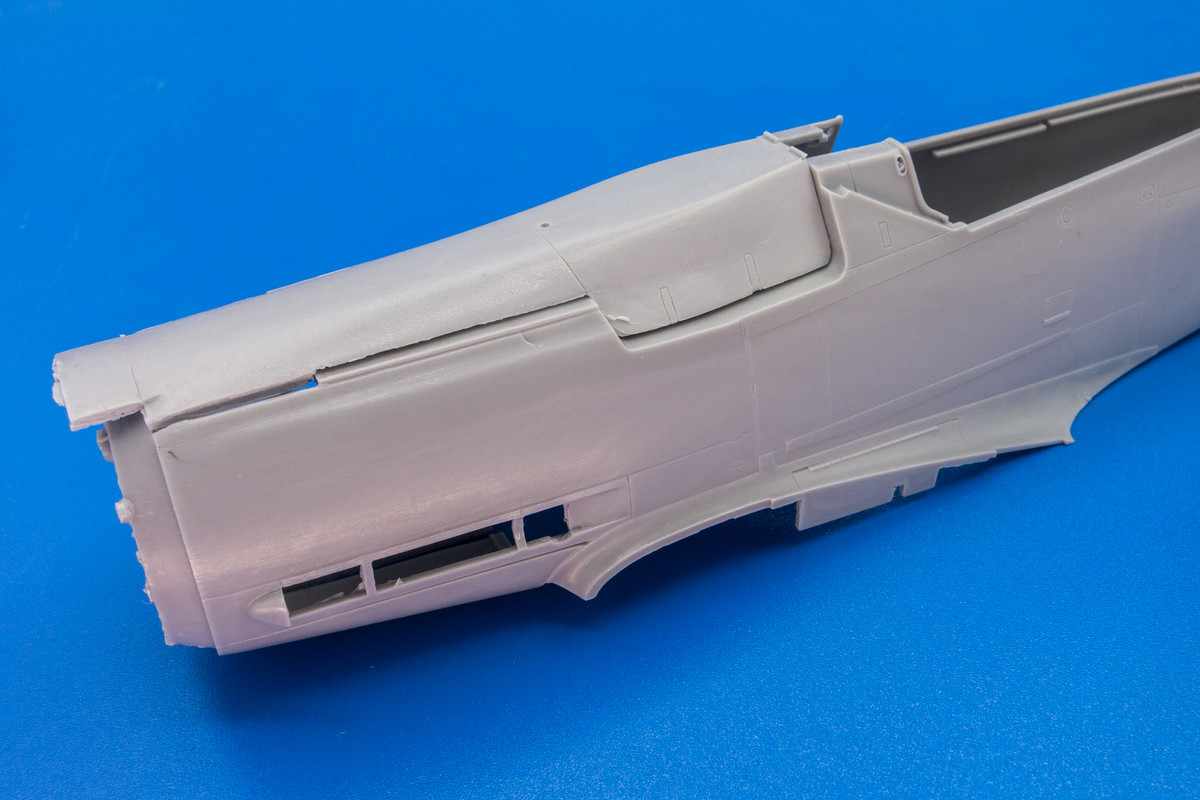
It seems pretty obvious to me that the masters for the resin mold were most likely the actual Hasegawa fuselage parts with the D-13 modifications grafted onto them. Not making a judgement on that... just an observational guess as to how this resin set came to be. This is in line with my previous observations that the details shared by the D-9 and D-13 seem to be molded much more uniformly than the added details. There are some exceptions to this including some messiness around the exhaust openings and the bottom cowling seam.
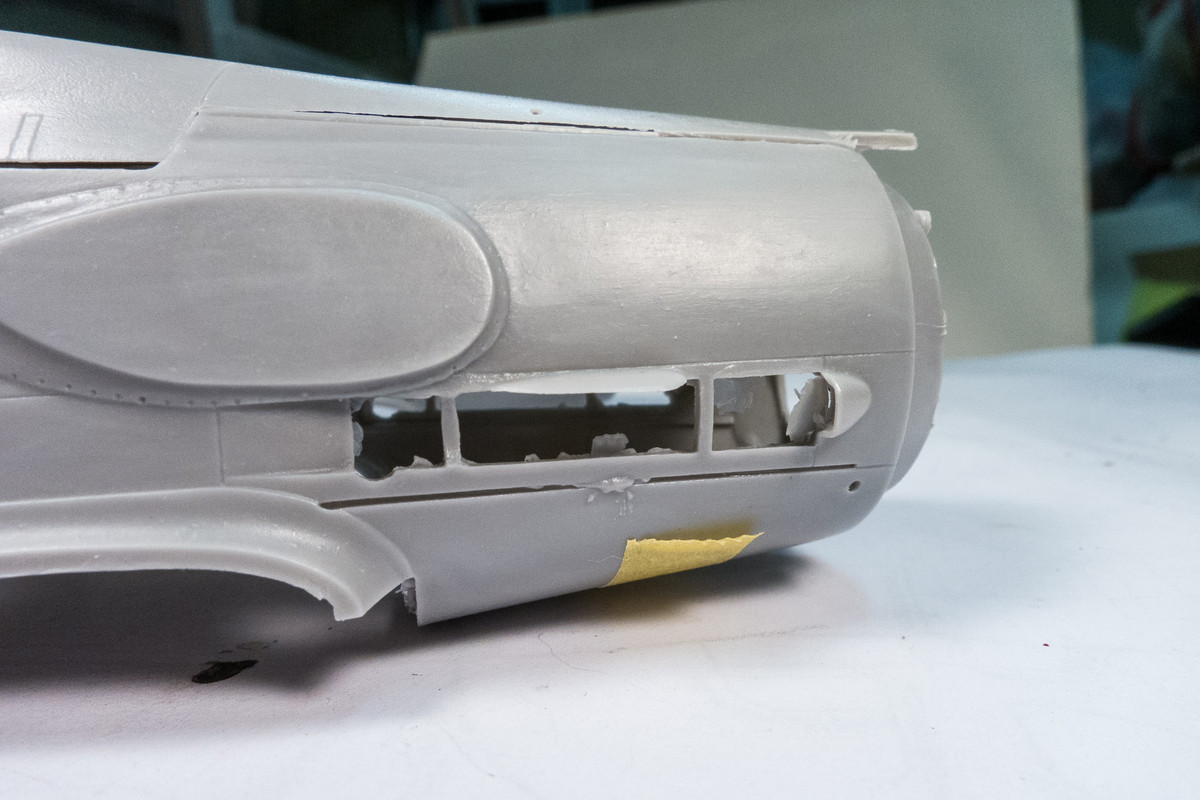
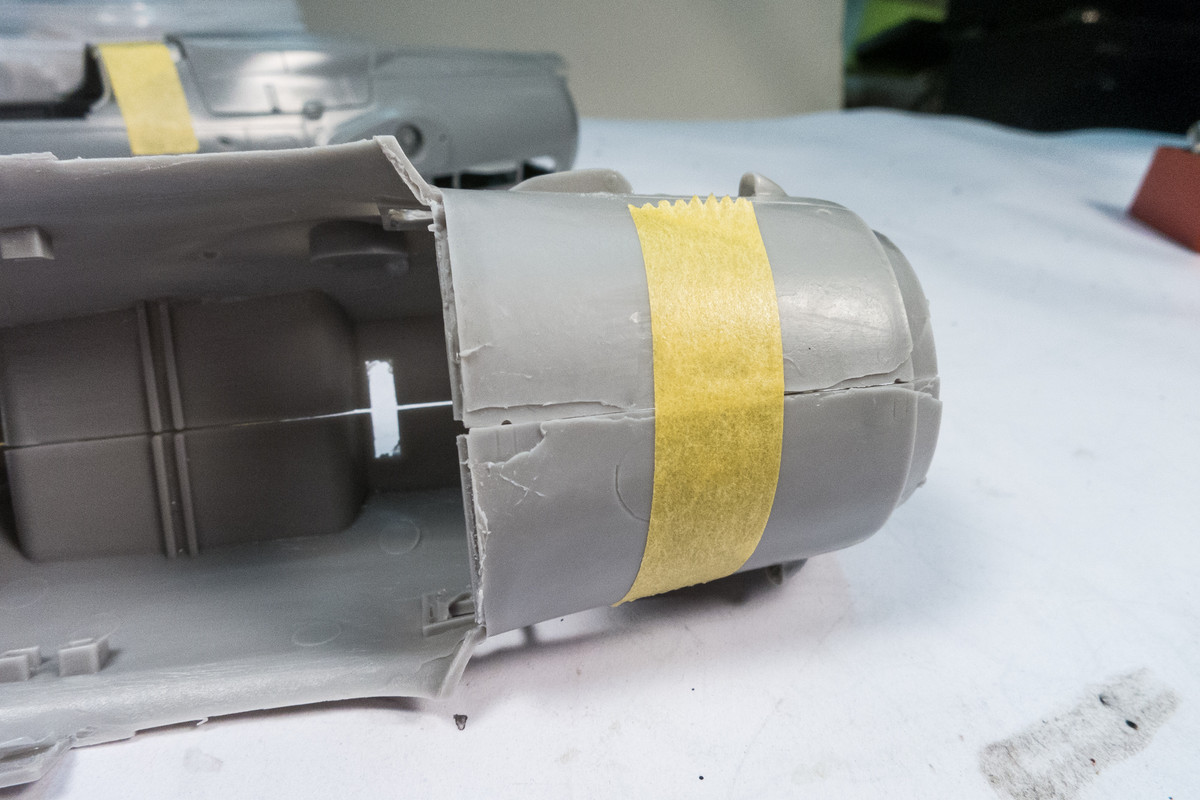
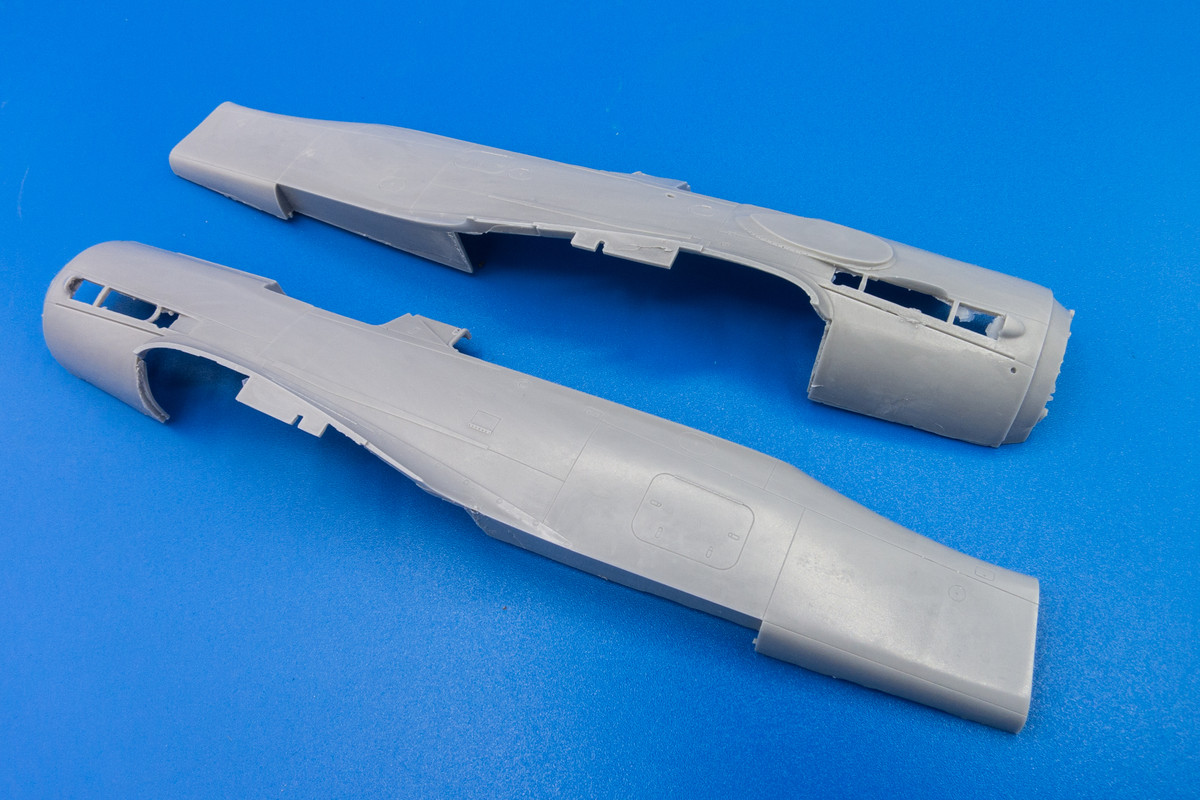
Resin inherently comes with set of common risks like shrinkage and warping. Here is an example of resin warping at the tail joint.
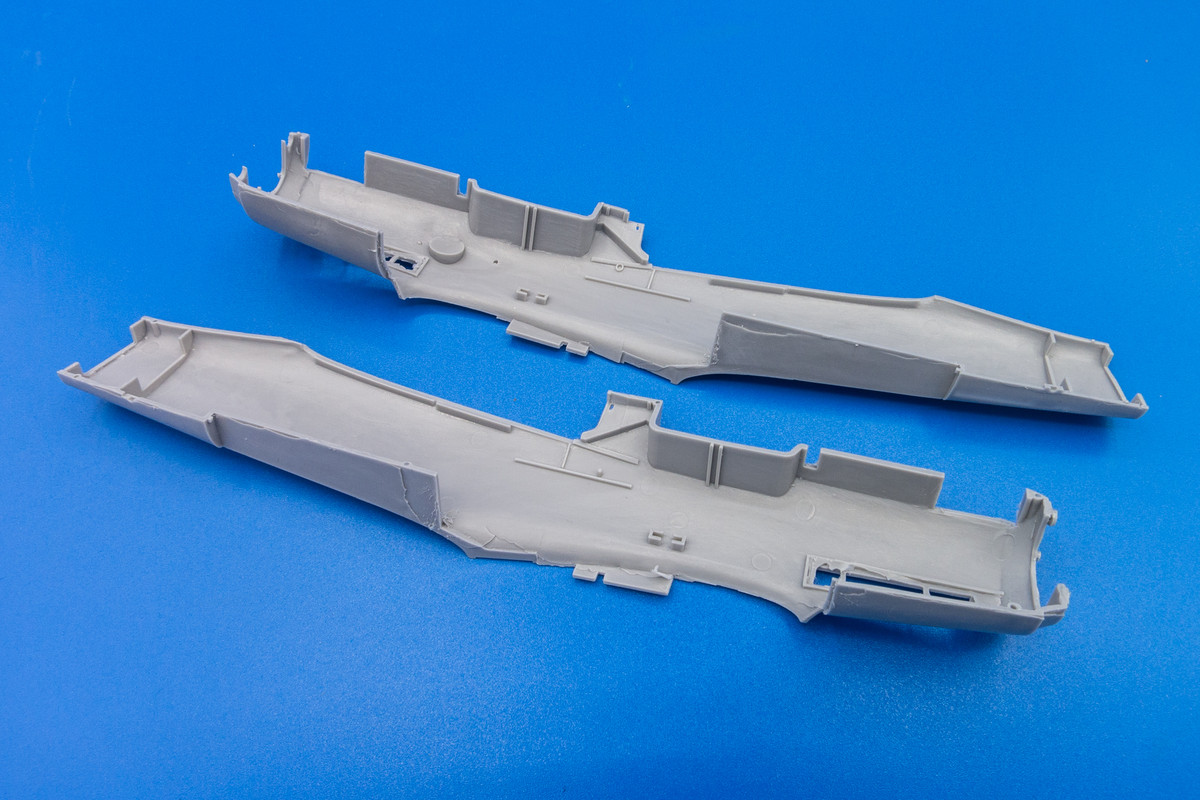
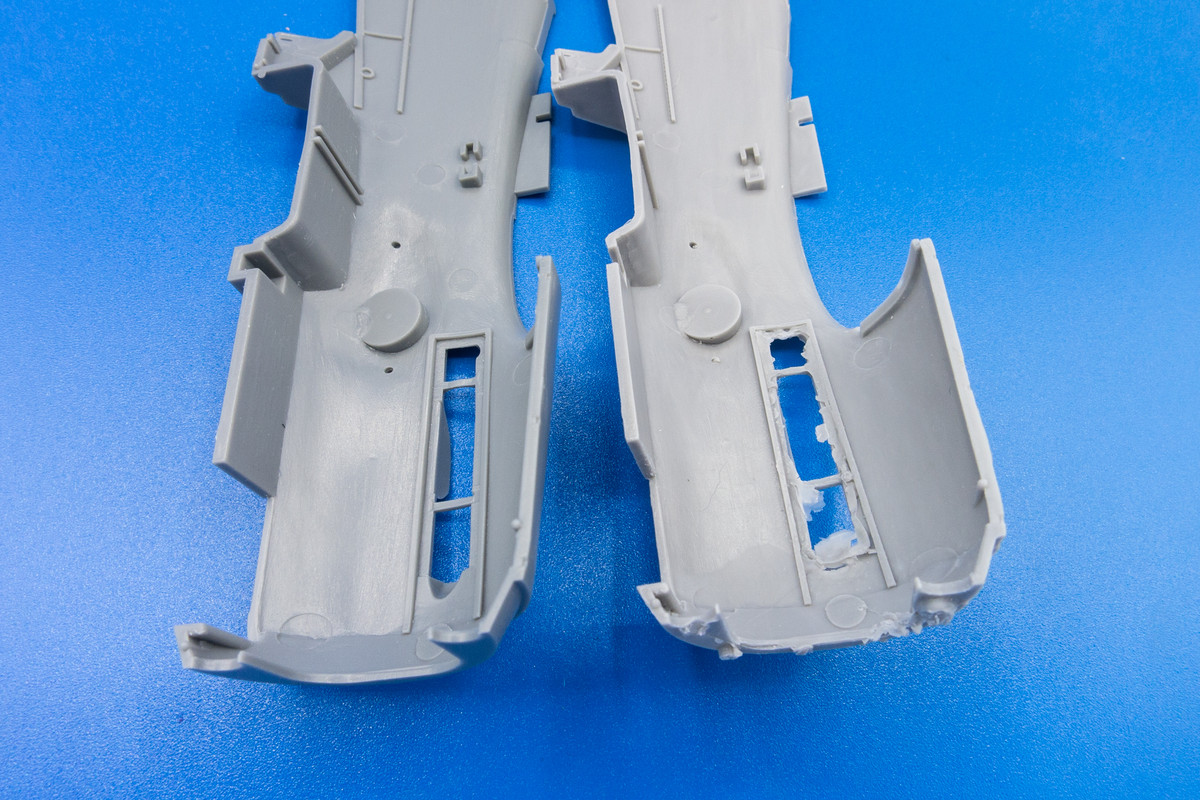
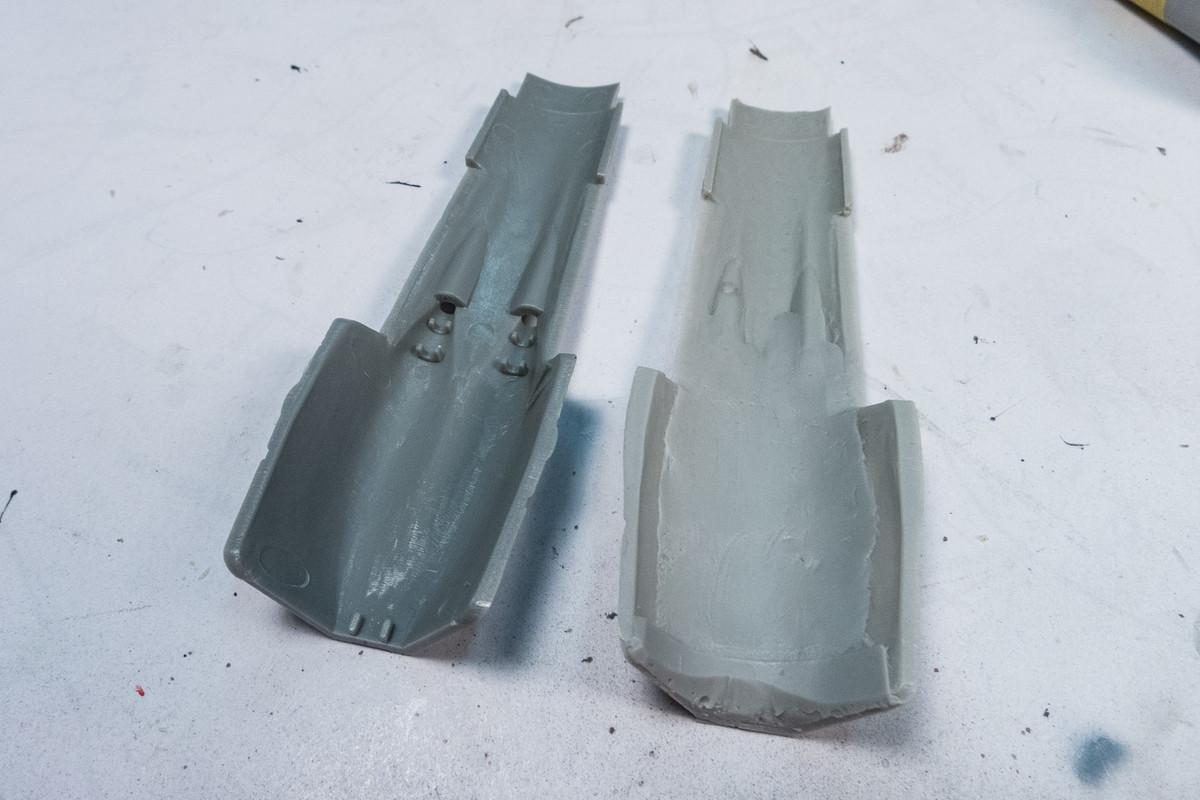
Looking at the interior side of the cowling parts, I'm guessing that the resin cowling master was formed by sculpting the Hasegawa part. You can see evidence of putty or other material being used to fill in the voids to facilitate sculpting from the other side.
Based on my personal distrust of resin as a model construction material, I'd prefer not using these parts if possible. I think it is possible to follow in the steps of the resin maker and make my own modifications to the kit parts, using this set and other references as a guide. The port side bulge seems to be fairly simple to sculpt as it is pretty uniform and there is nothing in the way. The starboard side is a different matter. I'd have to contend with the base of the supercharger intake, which is much larger than found on the D-9. To analyze the situation even further, I can place the kit cowling onto the resin fuselage to see the contours of the added material.
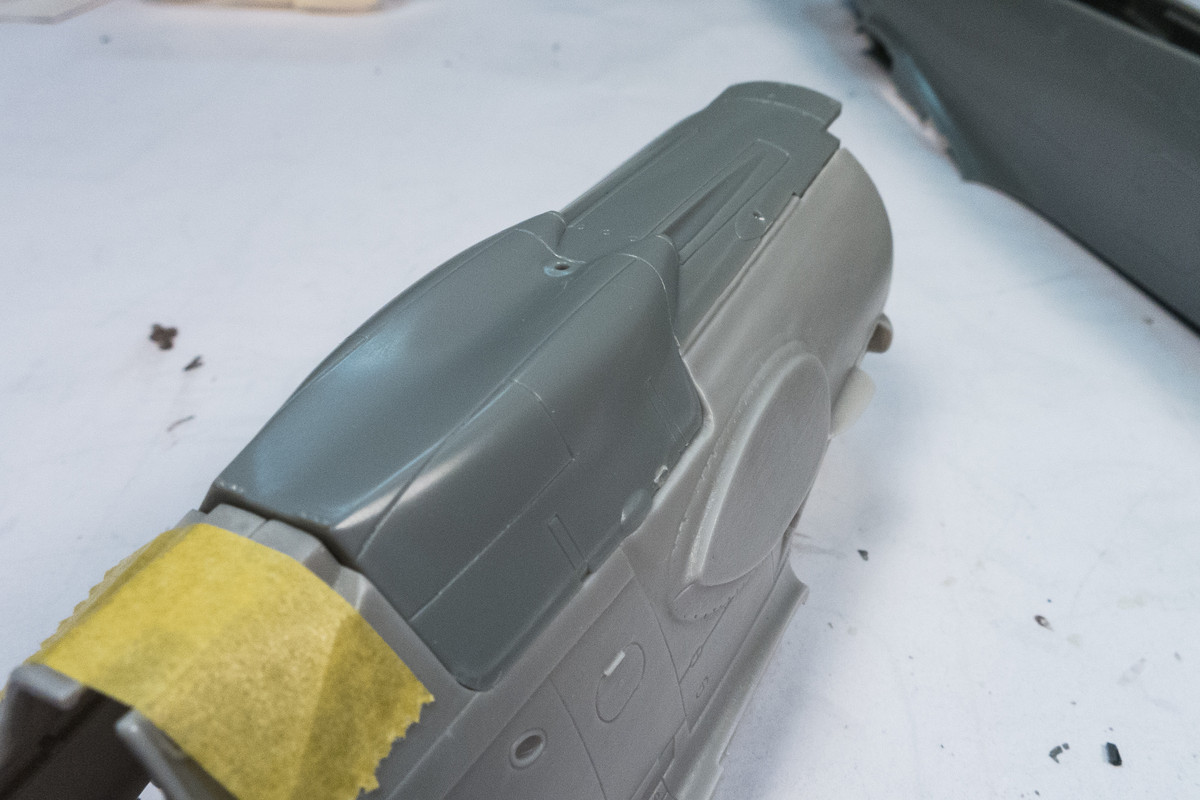
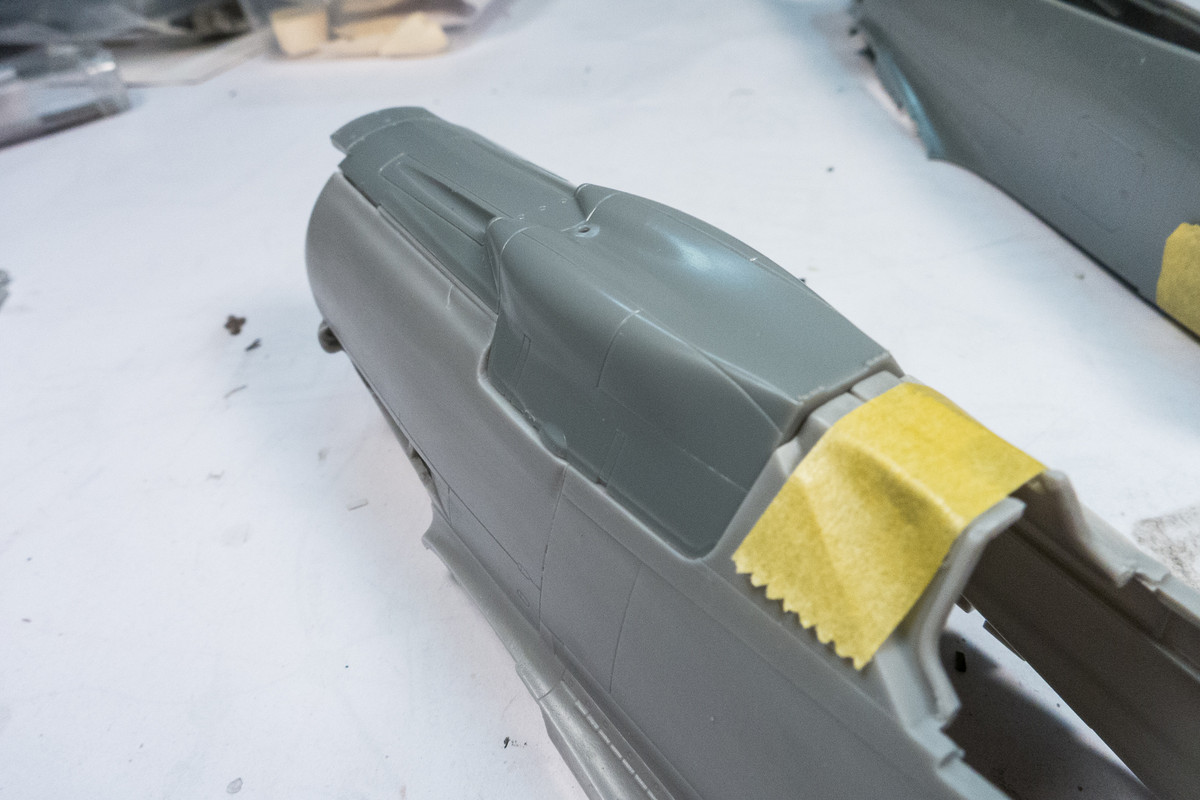
The port bulge should be fairly simple to execute using Milliput as sculpting medium and perhaps a strip of sheet styrene to serve as a base/form for the sculpt. I haven't figured out the starboard bulge yet. I could remove the upper portion of the supercharger base and then sculpt the bulge in a similar fashion to the port side, ideally at the same time to maintain symmetry.
Another option is to mate the starboard resin half with the plastic port half. That would cut in half the amount sculpting I would need to do and also give me the two locating pins to mount the radiator cowling assembly, which is missing on the resin parts. I'd have to still mess with the messy resin around the exhausts and try to correct the warping so I'm not loving this approach.
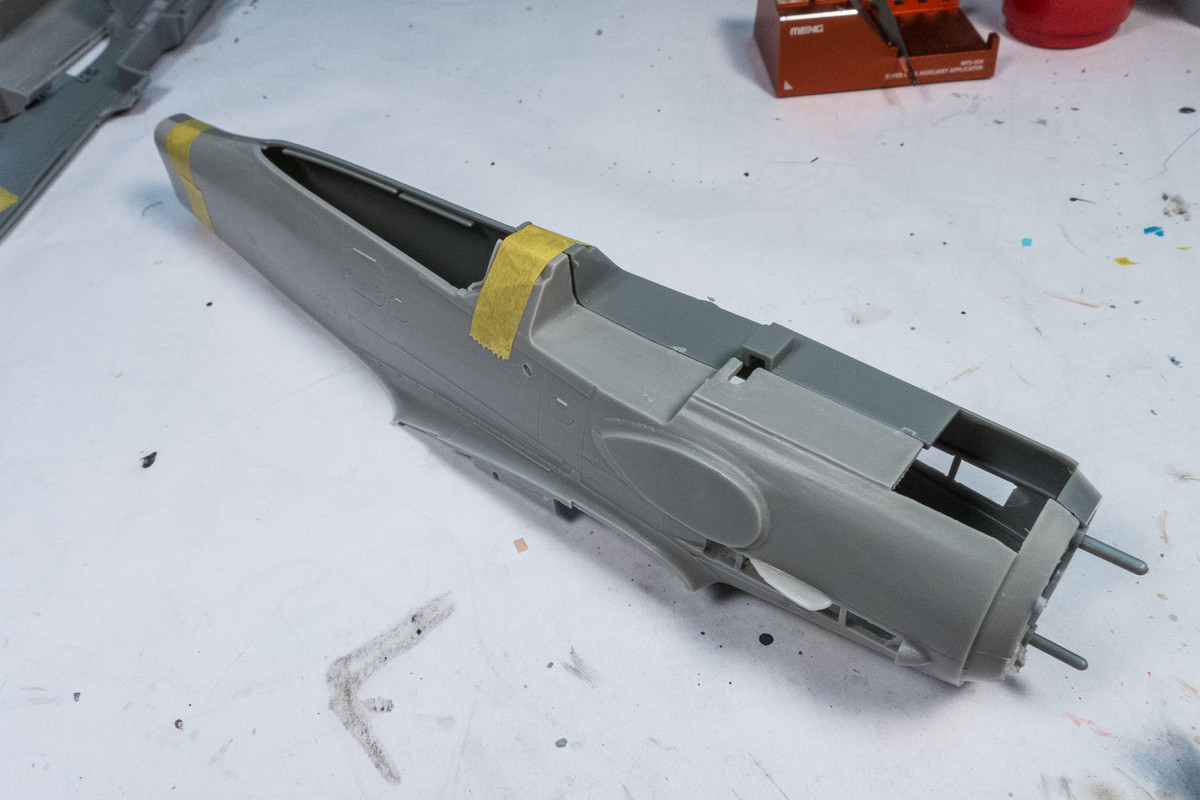
Since the D-13 modifications are confined to the forward portion of the fuselage, I could also take a modular approach to replacement. To avoid the headaches of having to deal with the supercharger, I could graft a portion of the resin onto the kit fuselage. This simplifies some things but complicates others since it involves cutting and trying to match parts to one another.
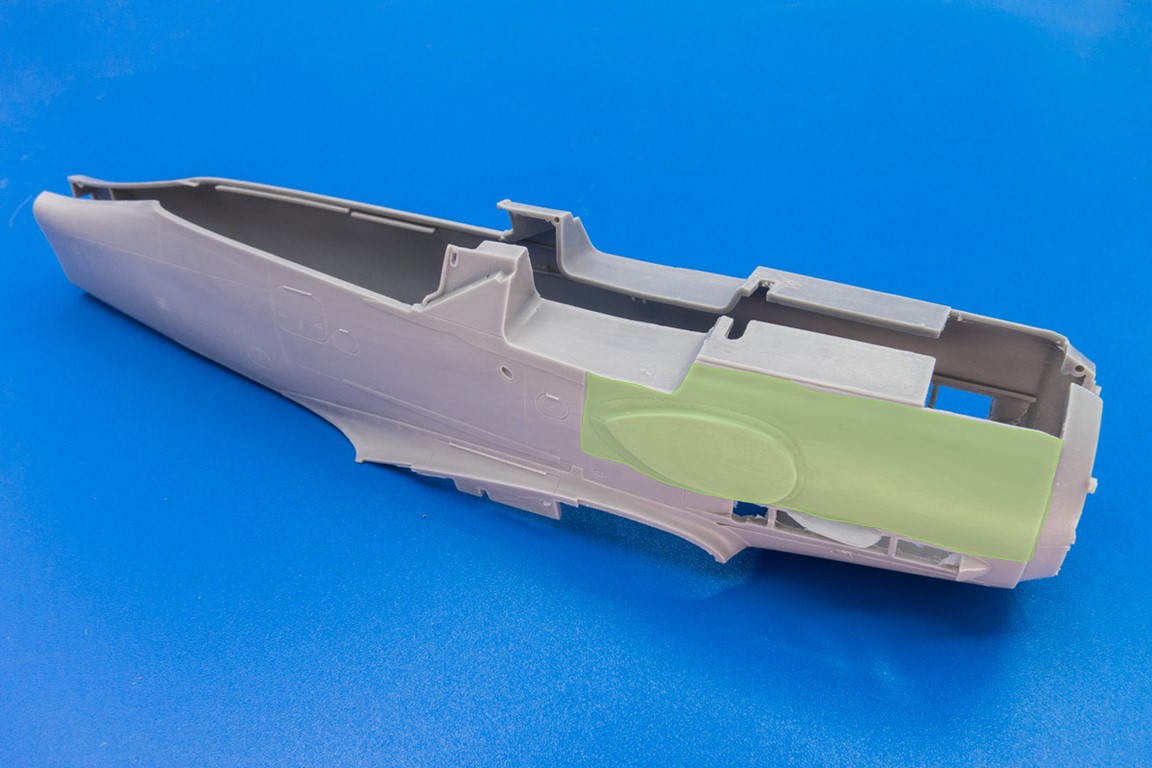
My initial game plan is to make the necessary modifications to both starboard and port sides of the kit fuselage and capping it off with the resin cowling. And then falling back to the resin fuselage parts, if necessary. Just for fun, I may take a stab at trying to sculpt the cowling since there is nothing to lose by doing so.