Laird-Turner Meteor Lindgerg 1/32
Posted: Thu Jul 30, 2020 7:55 am
After the fiasco with the Gee Bee (and i plan on getting another and building one), I needed a completion. Had this one and it looked like a winner to me.
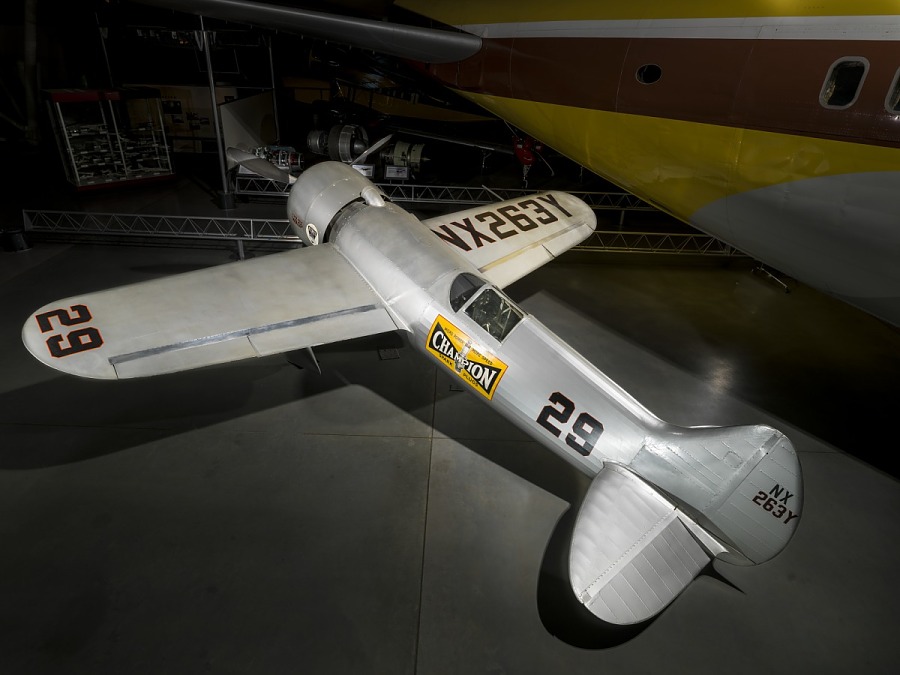
From the National Air and Space Museum,
"Following his first Thompson Trophy victory in 1934, famed racing pilot Roscoe Turner contracted with the Lawrence W. Brown Aircraft Company to build a new racing aircraft. Designed by Turner and engineered by University of Minnesota professor Howard Barlow, the Turner racer was completed in mid-1936. Following flight tests, Matty Laird extensively redesigned the aircraft and added a larger wing and flaps.
Known as the Laird Turner LTR-14 and later the Turner RT-14, the modified racer placed third in the 1937 Thompson Trophy event at the National Air Races and won the 1938 and 1939 contests. With this aircraft, Turner became the only three-time winner of the Thompson Trophy. In 1939 the aircraft was sponsored by Champion Spark Plugs and therefore carried the name "Miss Champion" on its fuselage."
Same basic design as the Gee Bee kit in that it had the three piece fuselage - two halves and the top hood piece. Same flat engine, flimsy prop, etc. The plastic seemed to be not as soft as the Gee Bee, but was not as hard as other kits.
This is about 3-4 days. I assembled the fuselage in steps using Tamiya Extra Thin, a little CA and some Testor's red tube. Cleaned up what i could and discovered that those "fluteed" sides with the exaggerated longerons is just about impossible to fill as needed even with Mr. Dissolved Putty.
Wing fit was so-so, but okay. Those moveable control surfaces suck, though. As a kid, i would "ooh" and "ahh" at those features. Now I don't much care for them. When attaching the gear struts, much to my surprise, there was no slot on the port side, so out came the drill and knife. Managed to get it cut and the strut installed. Nice that the fairing they moulded in covers the slots.
I was hoping to get a few pictures outside while the sun was out this morning.. Rain is moving in and it will be that way into Sunday. Two to four inches of rain possible. Too late, though. Really dark clouds have moved in.
Did not mess with the cockpit much.
Paint: primed with Duplicolor Gray, Humbrol Metalic Aluminum #56 in a rattle can, and some Acrylic Clear Gloss.
Decals: Upper wing markings were cut and painted. The rest are kit decals. The markings on the prop were not included. Found some, scanned them, used the Silhouette cutter to cut tiny ellipses from white paper and then scanned and trimmed out the Hamilton Standard logo. Turned out okay.
This is the example that is in the NASM:
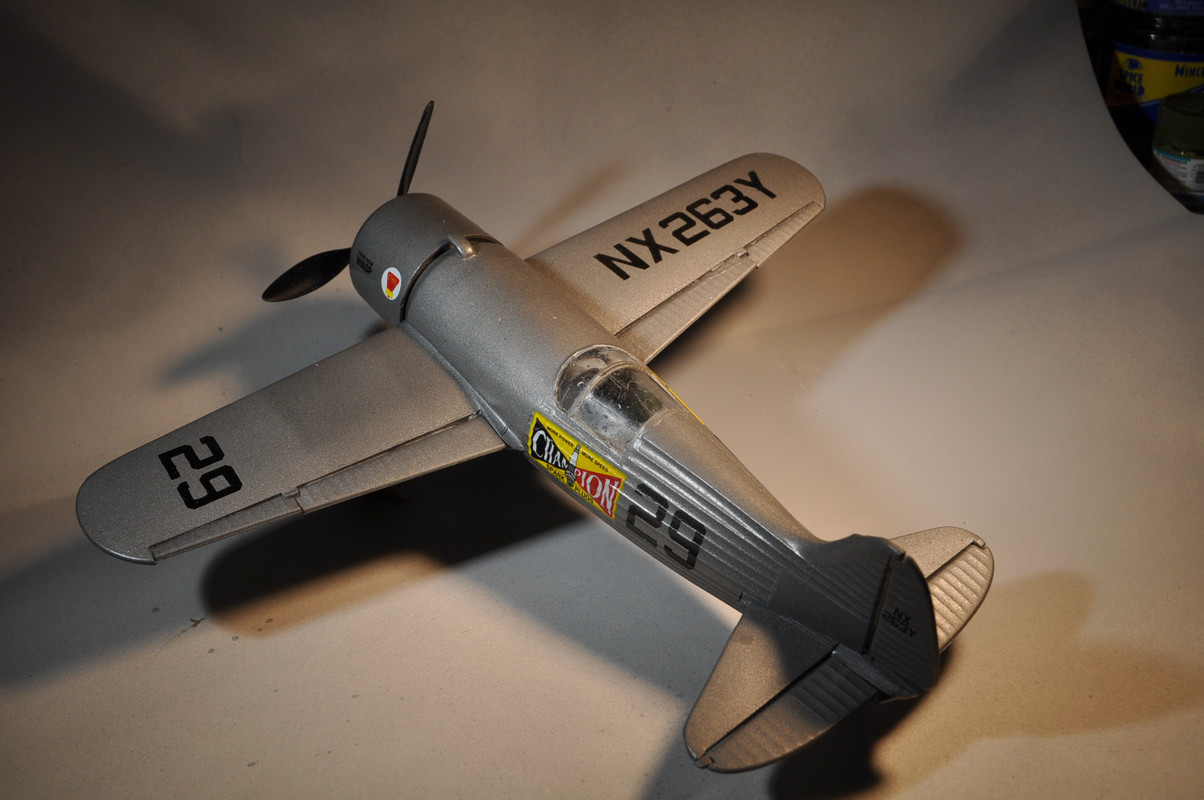
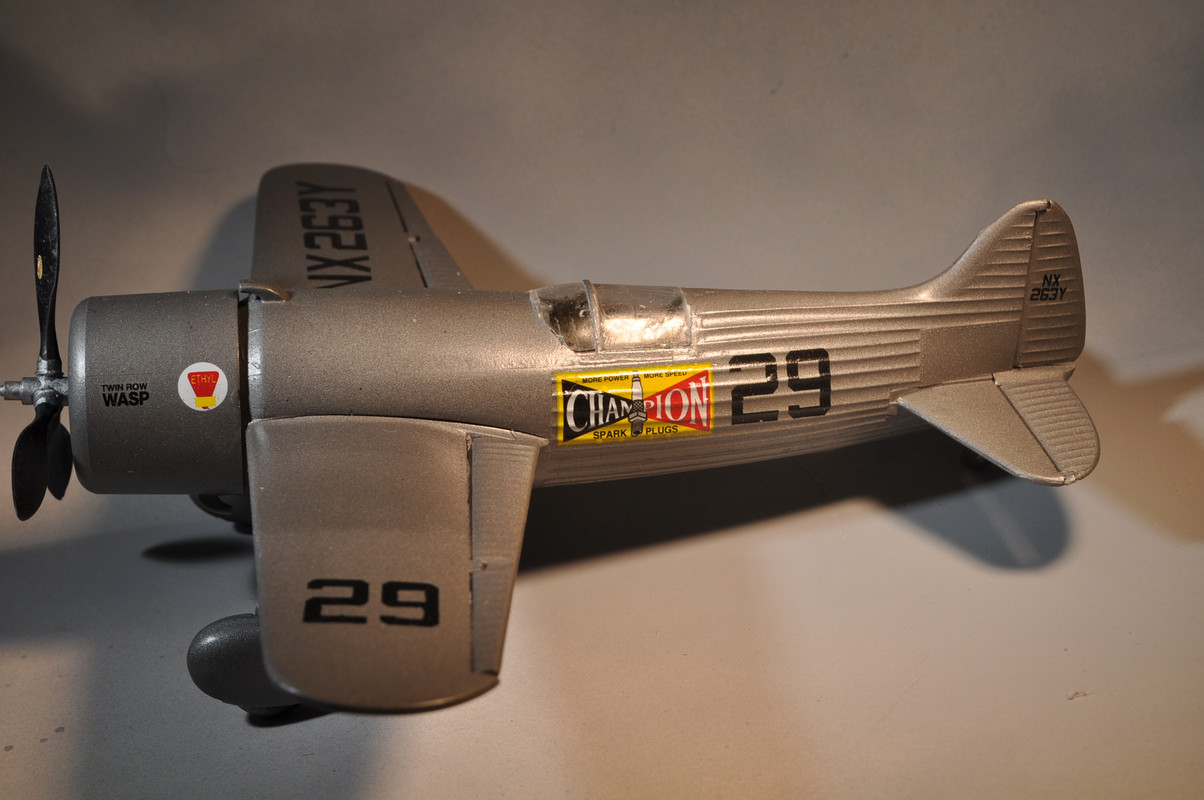
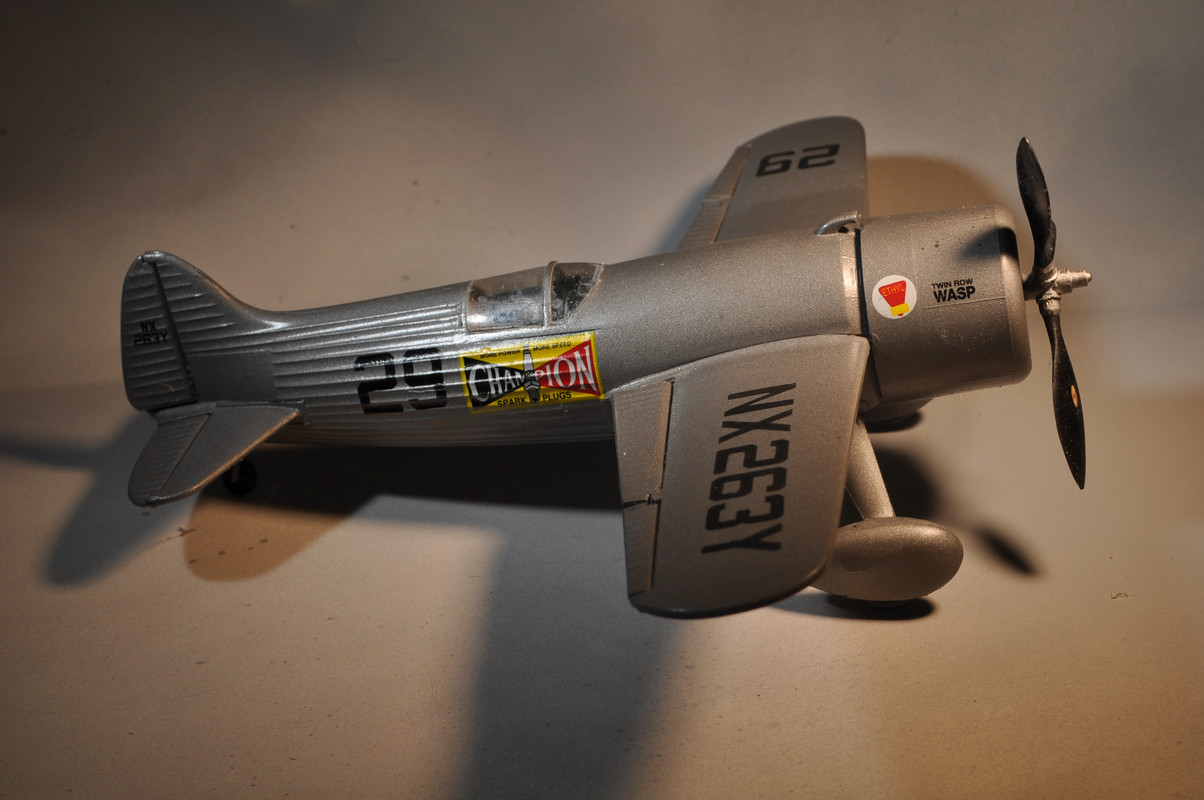
And, finally, here is the completed model. Yea, one more done.

From the National Air and Space Museum,
"Following his first Thompson Trophy victory in 1934, famed racing pilot Roscoe Turner contracted with the Lawrence W. Brown Aircraft Company to build a new racing aircraft. Designed by Turner and engineered by University of Minnesota professor Howard Barlow, the Turner racer was completed in mid-1936. Following flight tests, Matty Laird extensively redesigned the aircraft and added a larger wing and flaps.
Known as the Laird Turner LTR-14 and later the Turner RT-14, the modified racer placed third in the 1937 Thompson Trophy event at the National Air Races and won the 1938 and 1939 contests. With this aircraft, Turner became the only three-time winner of the Thompson Trophy. In 1939 the aircraft was sponsored by Champion Spark Plugs and therefore carried the name "Miss Champion" on its fuselage."
Same basic design as the Gee Bee kit in that it had the three piece fuselage - two halves and the top hood piece. Same flat engine, flimsy prop, etc. The plastic seemed to be not as soft as the Gee Bee, but was not as hard as other kits.
This is about 3-4 days. I assembled the fuselage in steps using Tamiya Extra Thin, a little CA and some Testor's red tube. Cleaned up what i could and discovered that those "fluteed" sides with the exaggerated longerons is just about impossible to fill as needed even with Mr. Dissolved Putty.
Wing fit was so-so, but okay. Those moveable control surfaces suck, though. As a kid, i would "ooh" and "ahh" at those features. Now I don't much care for them. When attaching the gear struts, much to my surprise, there was no slot on the port side, so out came the drill and knife. Managed to get it cut and the strut installed. Nice that the fairing they moulded in covers the slots.
I was hoping to get a few pictures outside while the sun was out this morning.. Rain is moving in and it will be that way into Sunday. Two to four inches of rain possible. Too late, though. Really dark clouds have moved in.
Did not mess with the cockpit much.
Paint: primed with Duplicolor Gray, Humbrol Metalic Aluminum #56 in a rattle can, and some Acrylic Clear Gloss.
Decals: Upper wing markings were cut and painted. The rest are kit decals. The markings on the prop were not included. Found some, scanned them, used the Silhouette cutter to cut tiny ellipses from white paper and then scanned and trimmed out the Hamilton Standard logo. Turned out okay.
This is the example that is in the NASM:
And, finally, here is the completed model. Yea, one more done.
