SPAM Review- Revell 1/24 Gemini Spacecraft complete 8/26
Posted: Fri Jul 25, 2014 4:28 pm
Well here I finally go, my first official online review of a model kit. And what a kit to do (for me anyways), Revell's re issue of their classic 1/24 Scale Gemini Spacecraft. The kit is the same age as me, being both of 1965 vintage, so I will look at it in the context of its' vintage. First off, I think that a little background information on the subject is in order for those not familiar with the US Space program of the 1960s in general or Project Gemini in particular.
Project Gemini was second phase of manned space flight for the United States and a critical step in acheiving President Kennedy's ambitious goal of landing a man safely on the moon and returning him to Earth before the end of the 1960s. Project Mercury went from the baby steps of sub orbital space flight to the walk phase of multi orbit/muilti day space flight, but only by a sole Astronaut. Project Gemini would put two men into orbit, for longer durations, give them full control over their craft in space for rendezvous, docking, and maneuvering of their craft, allow for Extra Vehicular Activity (EVA), or "Spacewalks", and allow the Astronauts to perfect techniques of re rentry and landing at a selected location. Three of the "Mercury Seven" original Astronauts would go into orbit in Gemini along with the members second and third classes of Astronauts, many of whom would go to the Moon with Apollo. 12 Gemini Spacecraft would go into orbit, the first two being unmanned test flights and the remaining 10 fulfilling the objectives of the program, setting records, (of which one still stands to this day, nearly 48 years later), and pave the way for the trips to the Moon of Apollo. All in less than two years of Space Flight.
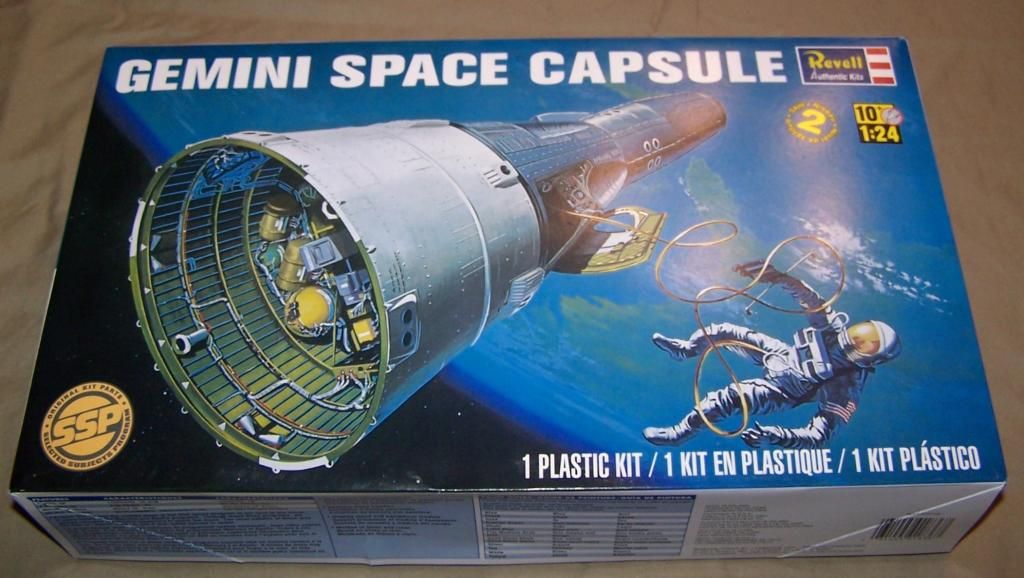
So today I will start with an "in box" review of the kit. What do we have here? Well first off, wh have a 15 1/2" x 9 1/4" x 3 1/4" box that has the original 1965 box art with the spacecraft shown in Earth orbit and tethered Astronaut performing a spacewalk. There is also the "SSP" logo (Selected Subjects Program) in the lower left corner and the classic Revell 1960s vintage logo in the upper right corner. Ghosts of Christmases past to me.
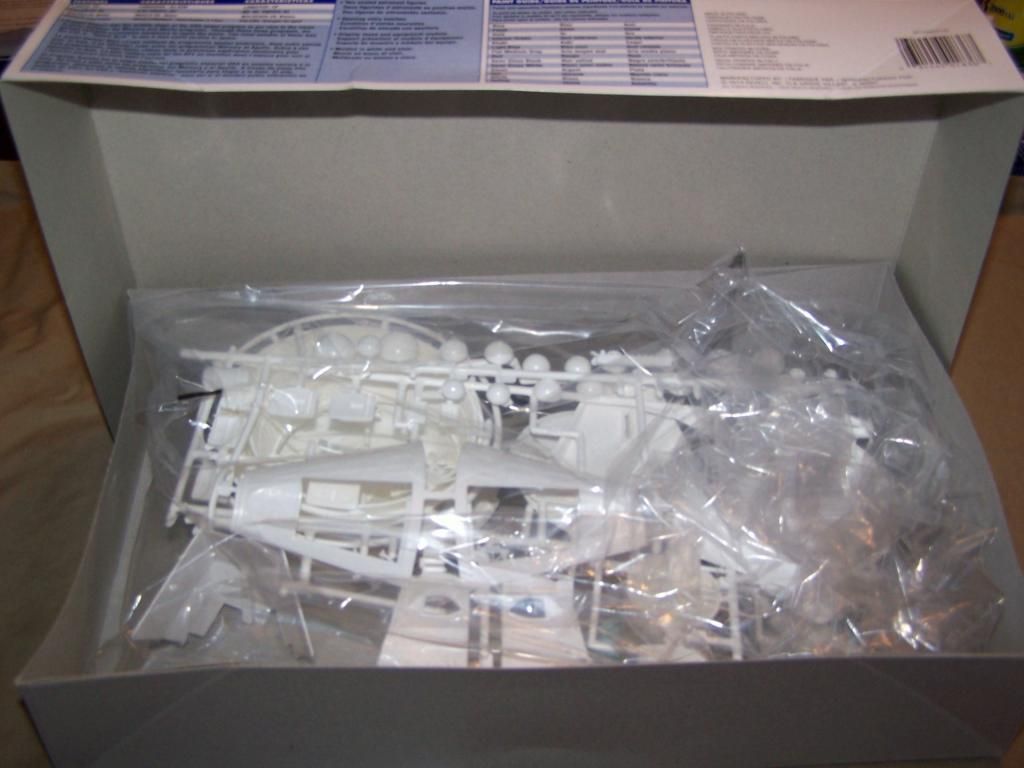
Upon opening the box, one finds a good amount of white plastic sprues bagged up, a single small sprue of clear plastic parts bagged seperately, a decal sheet, and a large folded single piece multi step instruction sheet.
The decal sheet is beautifully printed in the crisp manner that the current generation of Revell kits. As those of us who have been building their kits for many years know, this has not always been the case. Kudos to Revell for the improvement. I have seen photos online of the original issue kit decal sheet and this new one is far more extensive and better done. It includes some really sharp instrumentation decals, external markings of both the stencil type and ID/National type, as well as decals for the space suit insignia of the two Astronaut figures in the kit.

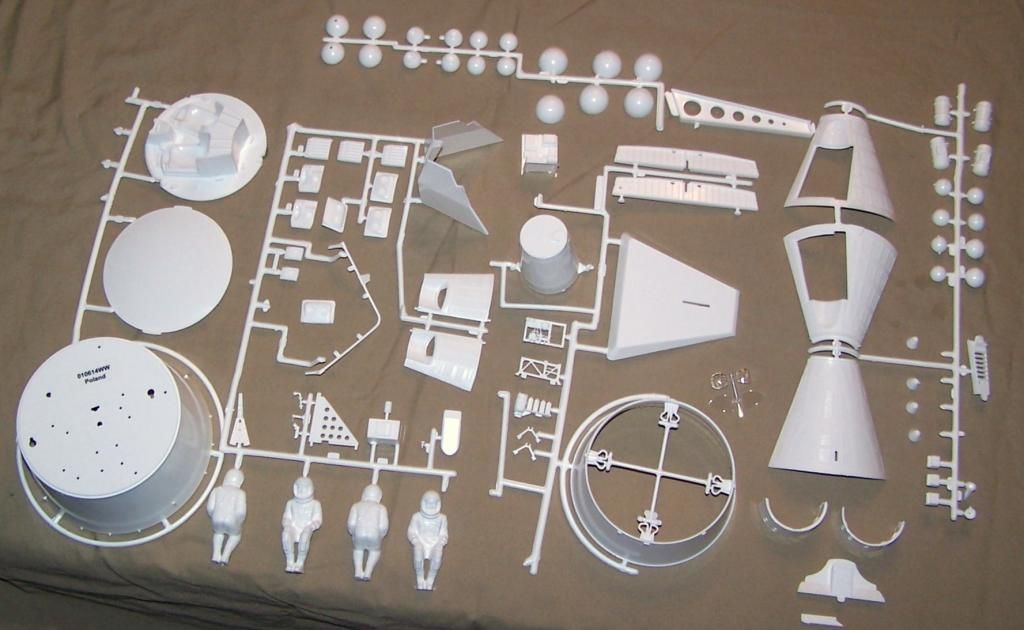
The parts counts is not too high for such a subject as you can see from this view of the sprues. Some of the parts such as the Service Module exterior are kind of large, while others are quite a bit smaller. A few of the parts on my kit had seperated from their sprue attachment points in transit. Overall, the level of the detail and molding very much reminded of Revells 1/32 aircraft kits of the same era. Considering that these molds are made by hand and not the CAD of today, I think that they have held up quite well over the years. Flash, sink marks and ejector pin marks are minimal upon initial examination.
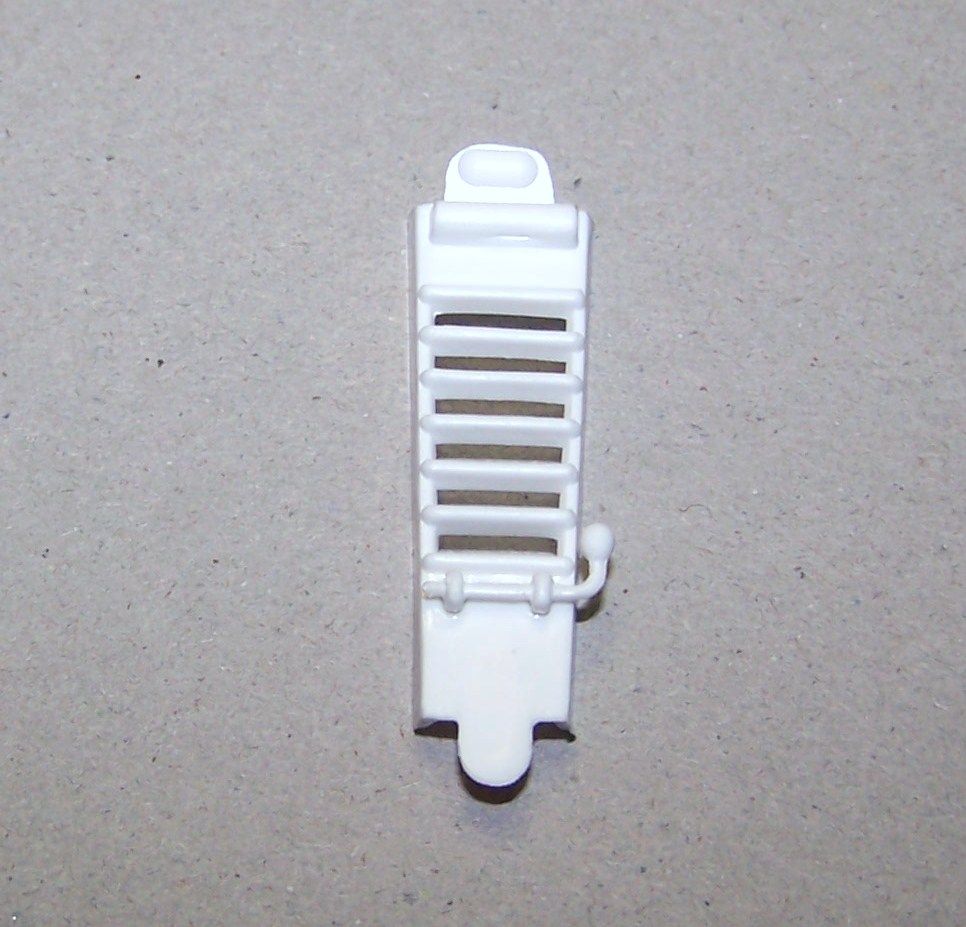
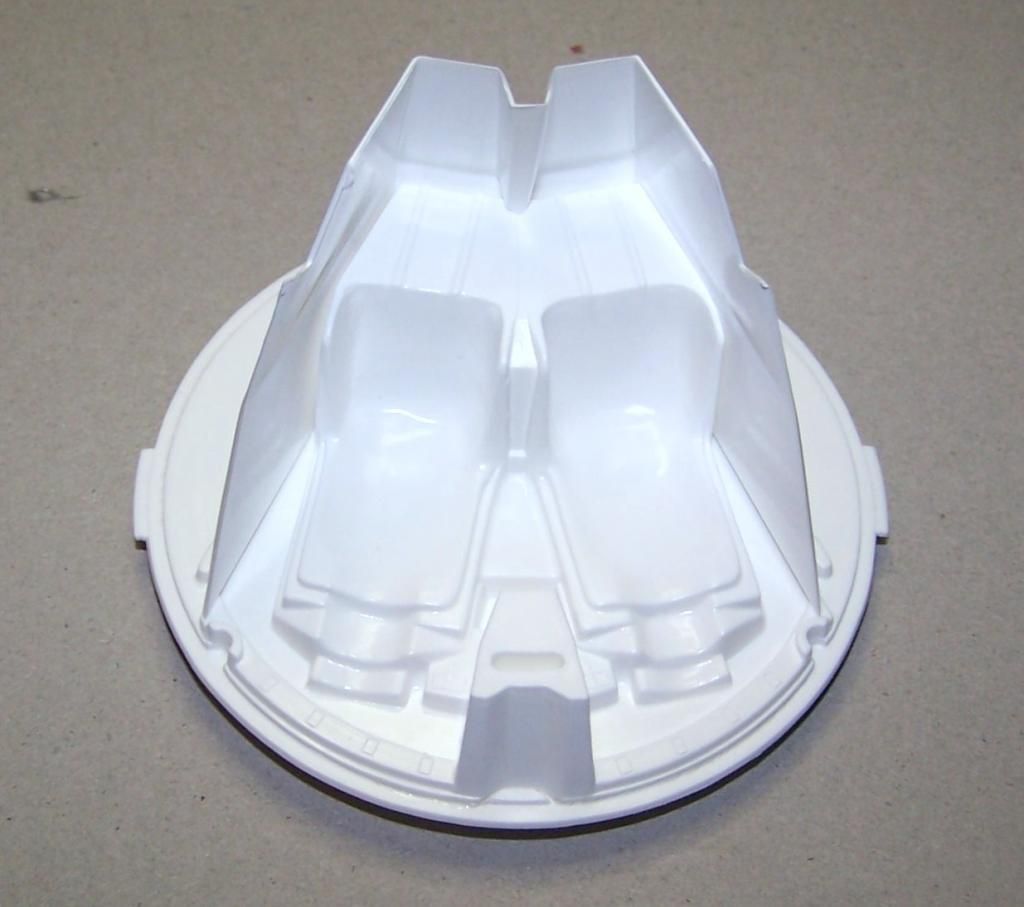
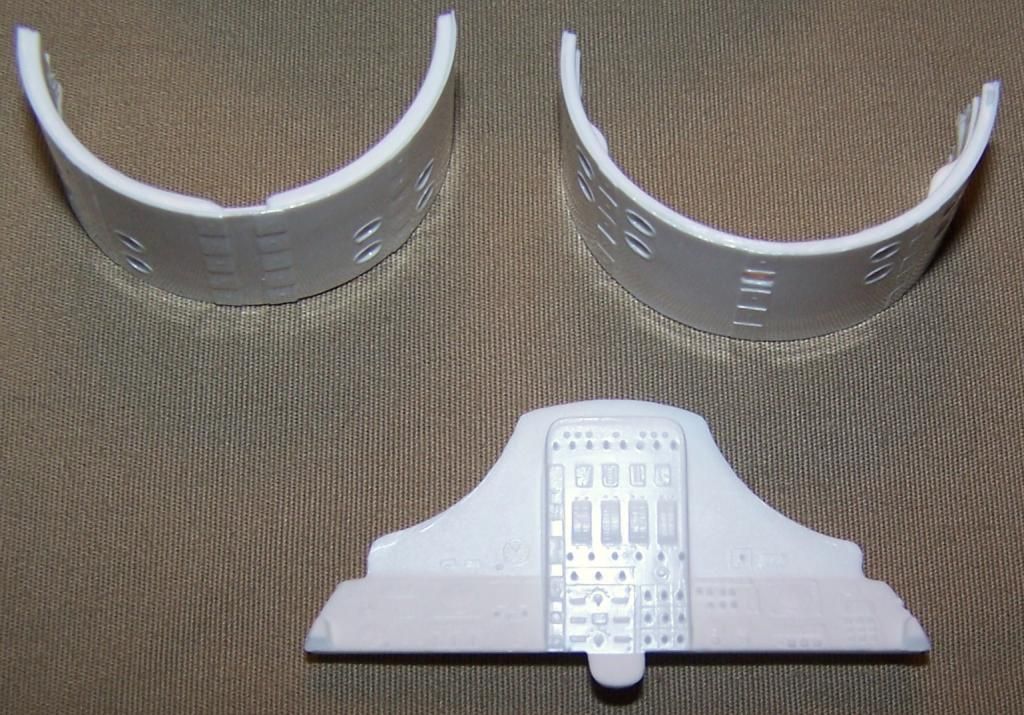
The fine detail of the interior, such as the instruments and controls, is mostly raised, and with some basic painting techniques, as well as the kit decals, can really be made to look the part.
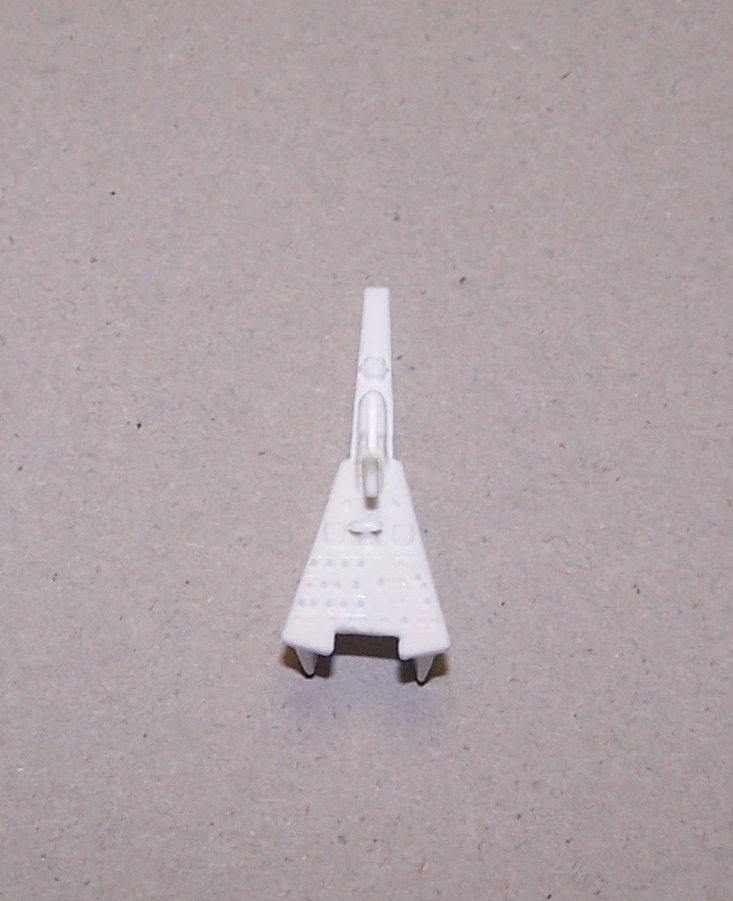
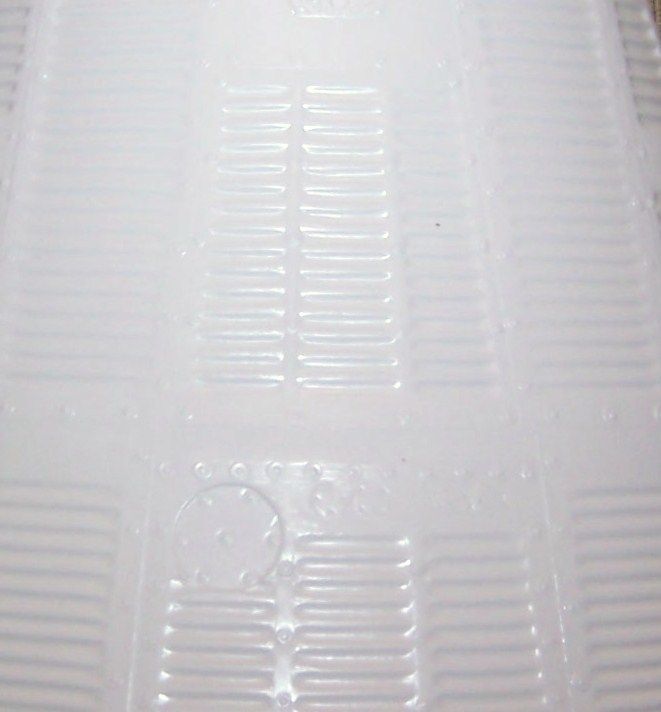
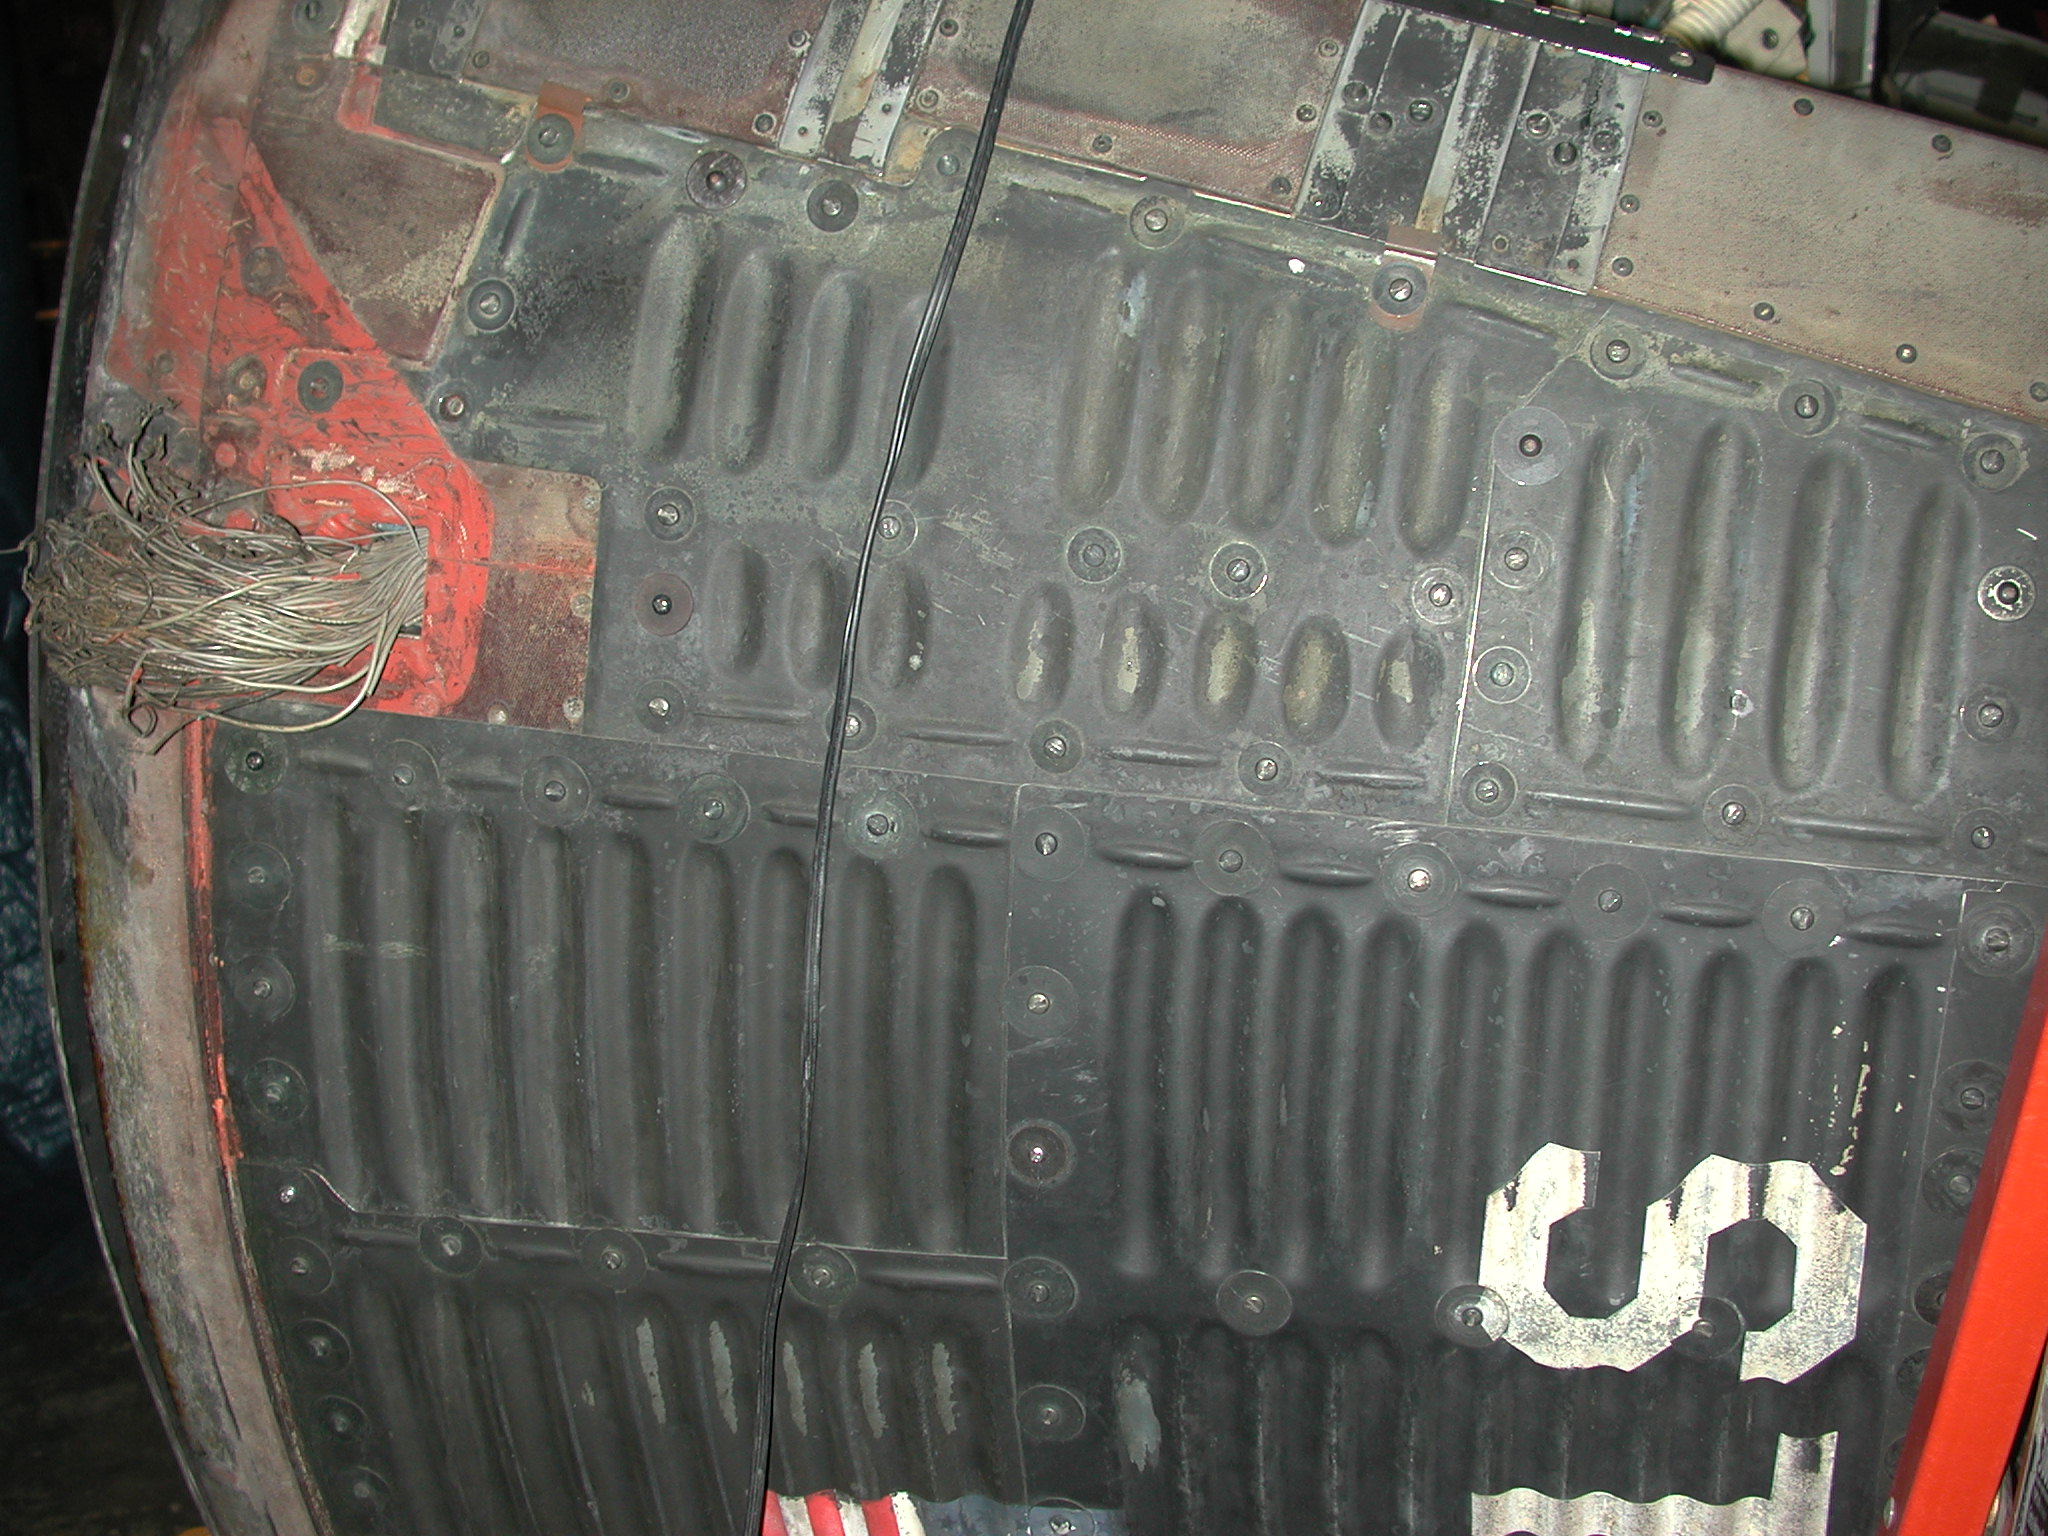
The exterior corrugations and bolts look the part when compared to photos of the actual Gemini spacecraft.
kit exterior
actual Gemini spacecraft exterior
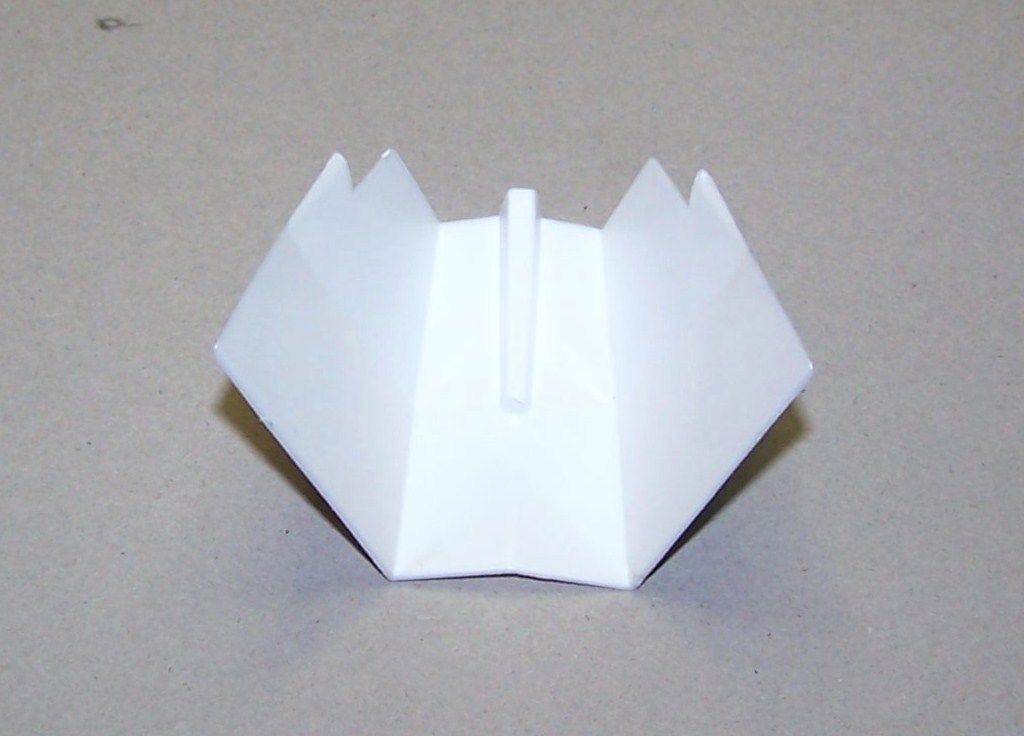
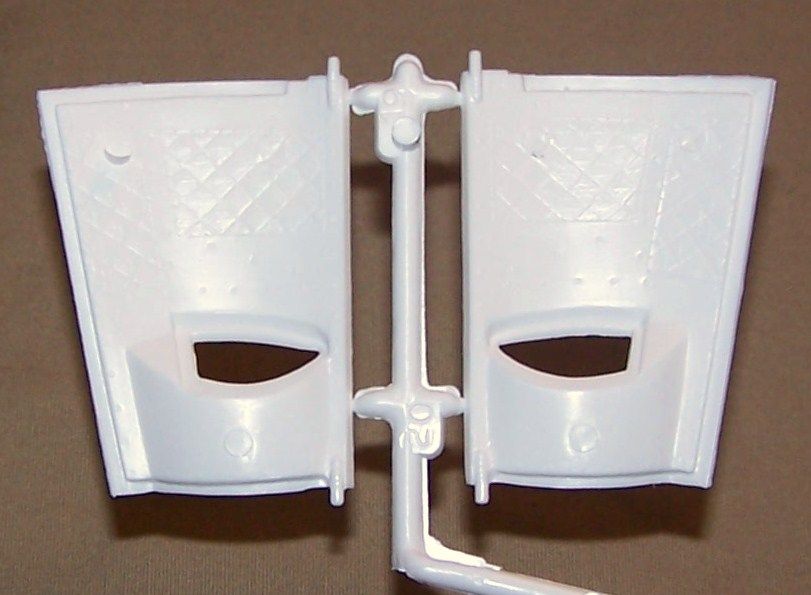
The only place where I found a bit of flash, coupled with some ejector pin marks, on my particular kit was here on the inner surface of the crew hatches. Nothing that a little clean up work can not fix in a short time.
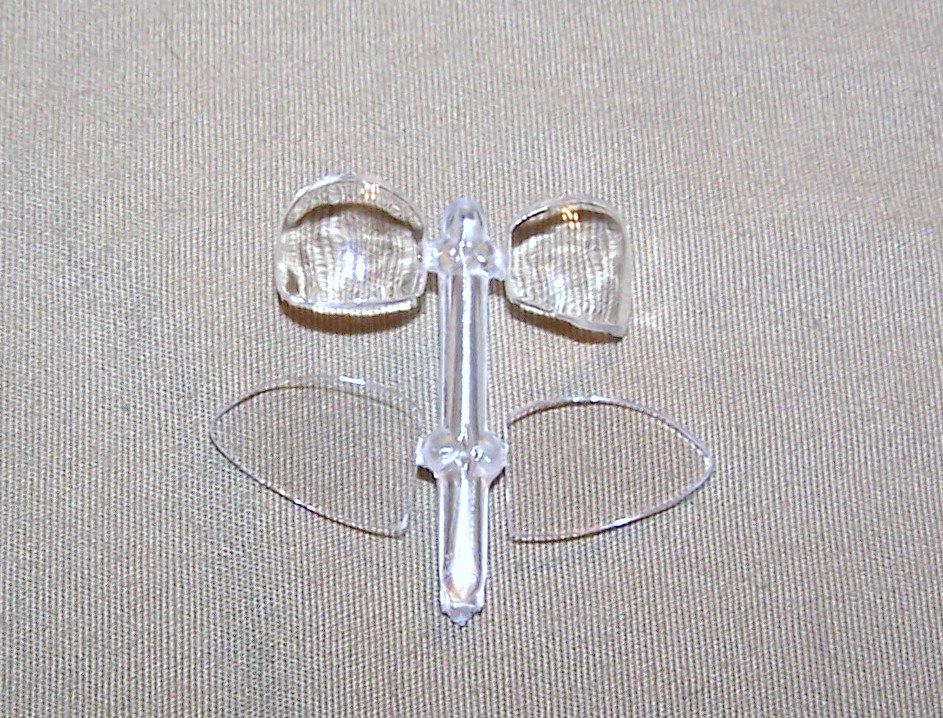
The clear parts for the capsule hatch windows and Astronaut helmets' face visors are molded thin and crystal clear. With a coat of Future before being glued in place, I think that they will look really good.
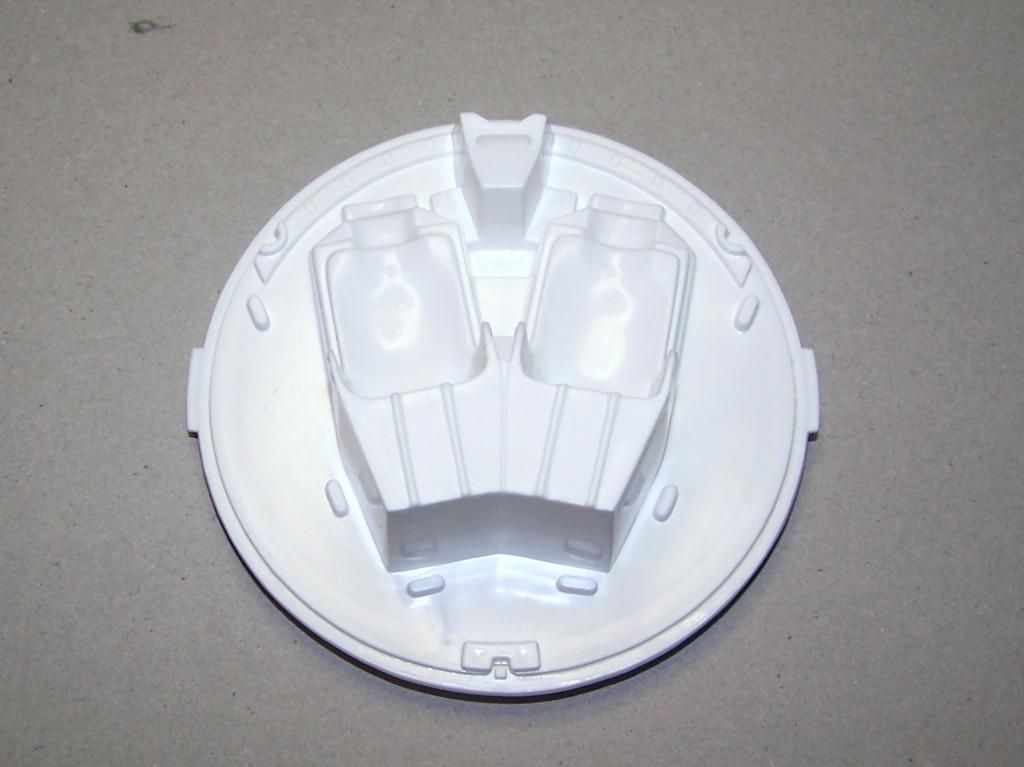
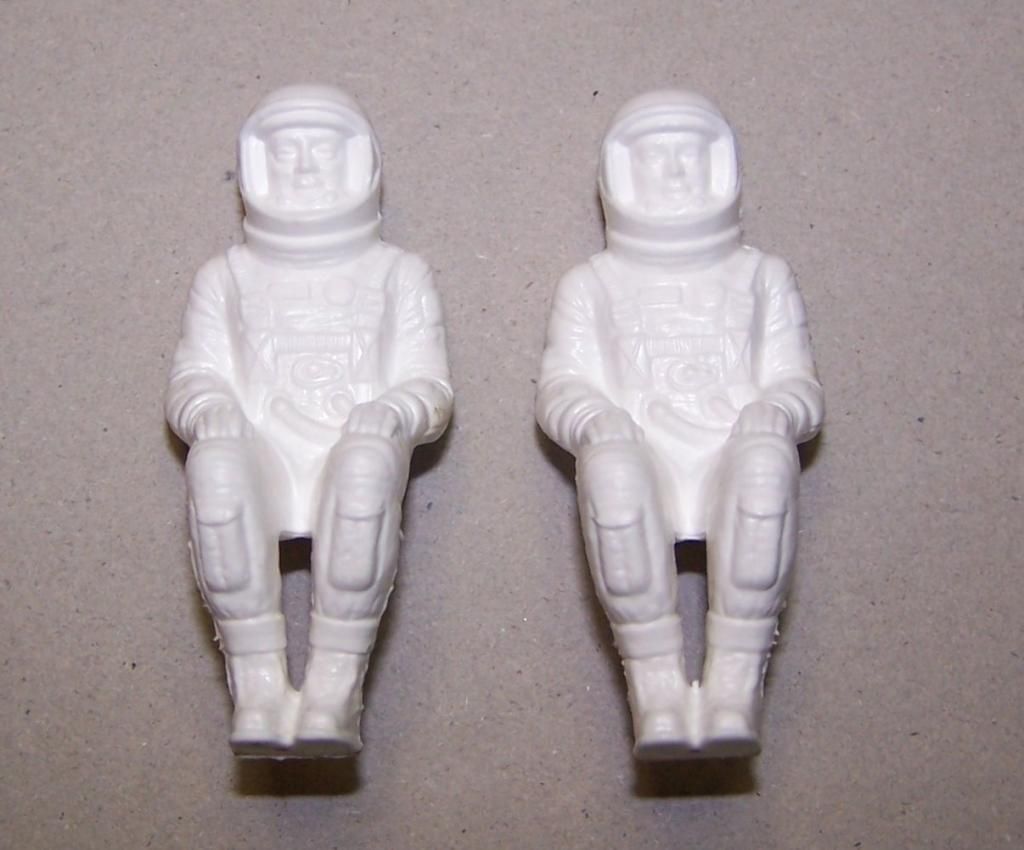
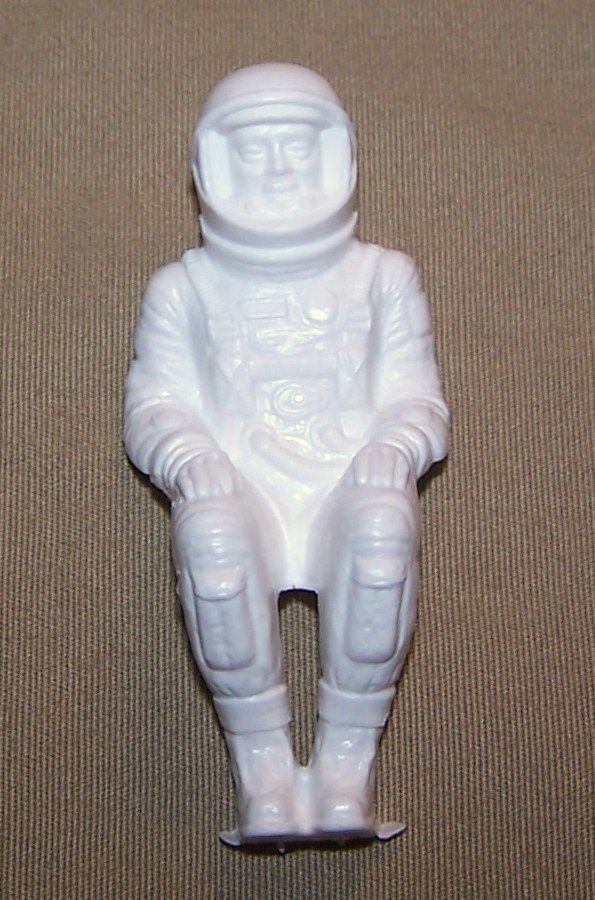
And finally we have the 1/24 Astronaut figures. They come in front and rear halves, are molded in indentical seated postions, and are just like their 1/32 cousins who manned Revell's 1/32 aircraft of the same era. While it would be nice to have some better and more animated looking Astronaut figures to fill the seats, these guys will give a good scale reference to the finished build. With the kit decals and some creative painting, I think that they will look okay.
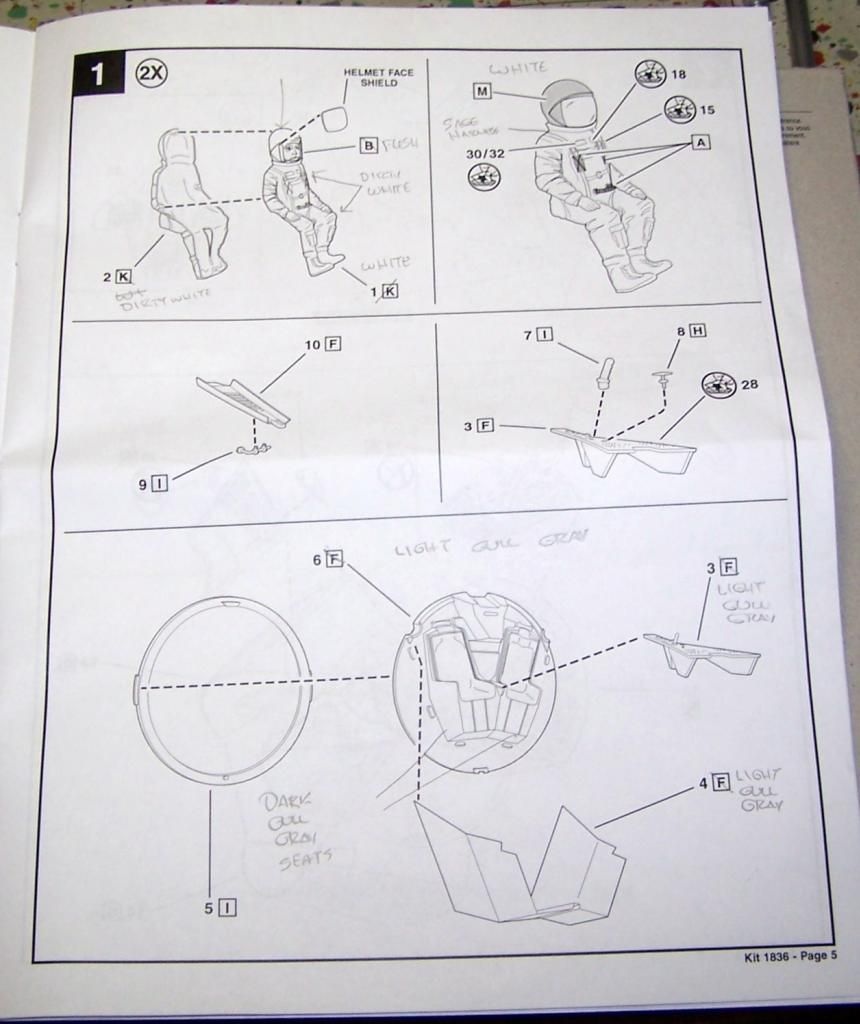
My only real gig on the kit is the color call outs on the instruction sheet. They seem to be based off of this NASA illustration, and not actual Gemini Spacecraft. Fortunately the Gemini Program is well documented in photographs, and I will be basing my painting work on colors turned up in image searches online. I will call all this out during the course of my buid review here.

So there you have it. A current re issue of a vintage kit that aside from a newer instruction sheet and new decal sheet, is pretty much identical to the one first issued when this subject was the latest thing flying. I am very much looking forward to building this kit...

Project Gemini was second phase of manned space flight for the United States and a critical step in acheiving President Kennedy's ambitious goal of landing a man safely on the moon and returning him to Earth before the end of the 1960s. Project Mercury went from the baby steps of sub orbital space flight to the walk phase of multi orbit/muilti day space flight, but only by a sole Astronaut. Project Gemini would put two men into orbit, for longer durations, give them full control over their craft in space for rendezvous, docking, and maneuvering of their craft, allow for Extra Vehicular Activity (EVA), or "Spacewalks", and allow the Astronauts to perfect techniques of re rentry and landing at a selected location. Three of the "Mercury Seven" original Astronauts would go into orbit in Gemini along with the members second and third classes of Astronauts, many of whom would go to the Moon with Apollo. 12 Gemini Spacecraft would go into orbit, the first two being unmanned test flights and the remaining 10 fulfilling the objectives of the program, setting records, (of which one still stands to this day, nearly 48 years later), and pave the way for the trips to the Moon of Apollo. All in less than two years of Space Flight.
So today I will start with an "in box" review of the kit. What do we have here? Well first off, wh have a 15 1/2" x 9 1/4" x 3 1/4" box that has the original 1965 box art with the spacecraft shown in Earth orbit and tethered Astronaut performing a spacewalk. There is also the "SSP" logo (Selected Subjects Program) in the lower left corner and the classic Revell 1960s vintage logo in the upper right corner. Ghosts of Christmases past to me.
Upon opening the box, one finds a good amount of white plastic sprues bagged up, a single small sprue of clear plastic parts bagged seperately, a decal sheet, and a large folded single piece multi step instruction sheet.
The decal sheet is beautifully printed in the crisp manner that the current generation of Revell kits. As those of us who have been building their kits for many years know, this has not always been the case. Kudos to Revell for the improvement. I have seen photos online of the original issue kit decal sheet and this new one is far more extensive and better done. It includes some really sharp instrumentation decals, external markings of both the stencil type and ID/National type, as well as decals for the space suit insignia of the two Astronaut figures in the kit.
The parts counts is not too high for such a subject as you can see from this view of the sprues. Some of the parts such as the Service Module exterior are kind of large, while others are quite a bit smaller. A few of the parts on my kit had seperated from their sprue attachment points in transit. Overall, the level of the detail and molding very much reminded of Revells 1/32 aircraft kits of the same era. Considering that these molds are made by hand and not the CAD of today, I think that they have held up quite well over the years. Flash, sink marks and ejector pin marks are minimal upon initial examination.
The fine detail of the interior, such as the instruments and controls, is mostly raised, and with some basic painting techniques, as well as the kit decals, can really be made to look the part.
The exterior corrugations and bolts look the part when compared to photos of the actual Gemini spacecraft.
kit exterior
actual Gemini spacecraft exterior
The only place where I found a bit of flash, coupled with some ejector pin marks, on my particular kit was here on the inner surface of the crew hatches. Nothing that a little clean up work can not fix in a short time.
The clear parts for the capsule hatch windows and Astronaut helmets' face visors are molded thin and crystal clear. With a coat of Future before being glued in place, I think that they will look really good.
And finally we have the 1/24 Astronaut figures. They come in front and rear halves, are molded in indentical seated postions, and are just like their 1/32 cousins who manned Revell's 1/32 aircraft of the same era. While it would be nice to have some better and more animated looking Astronaut figures to fill the seats, these guys will give a good scale reference to the finished build. With the kit decals and some creative painting, I think that they will look okay.
My only real gig on the kit is the color call outs on the instruction sheet. They seem to be based off of this NASA illustration, and not actual Gemini Spacecraft. Fortunately the Gemini Program is well documented in photographs, and I will be basing my painting work on colors turned up in image searches online. I will call all this out during the course of my buid review here.
So there you have it. A current re issue of a vintage kit that aside from a newer instruction sheet and new decal sheet, is pretty much identical to the one first issued when this subject was the latest thing flying. I am very much looking forward to building this kit...