Page 1 of 7

Short Sunderland MK.I Italeri 1/72

Posted: Fri Aug 01, 2014 5:02 am
by BsYamato
Recently i unfreezed this little british fliyng boat freezed from this cristhmass
here where actually i worked on, the engines controls wardrobe :lol: :lol:
Image

...so takin advantage of few minutes of relax, starting to post some resume: ..long resume... about 12 pages of thumbnails in my photobucket account :geek:

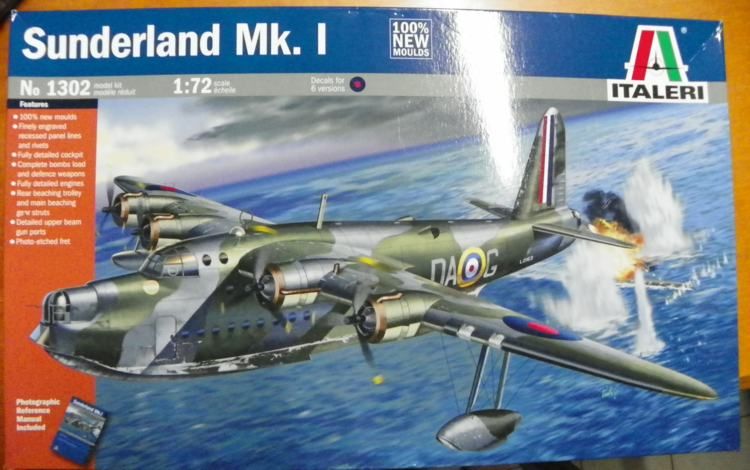
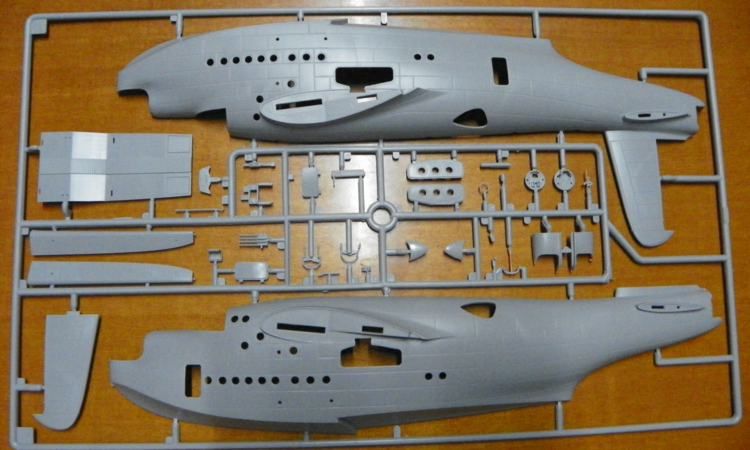
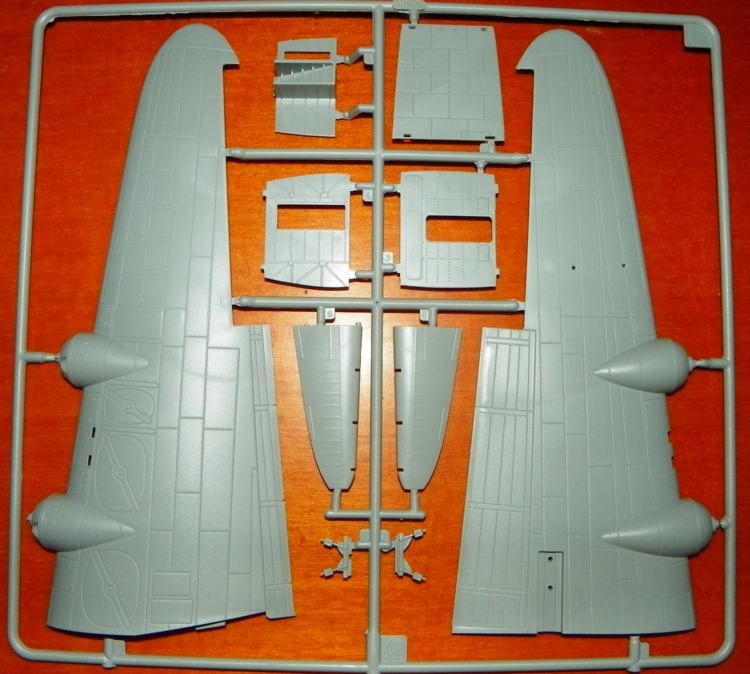
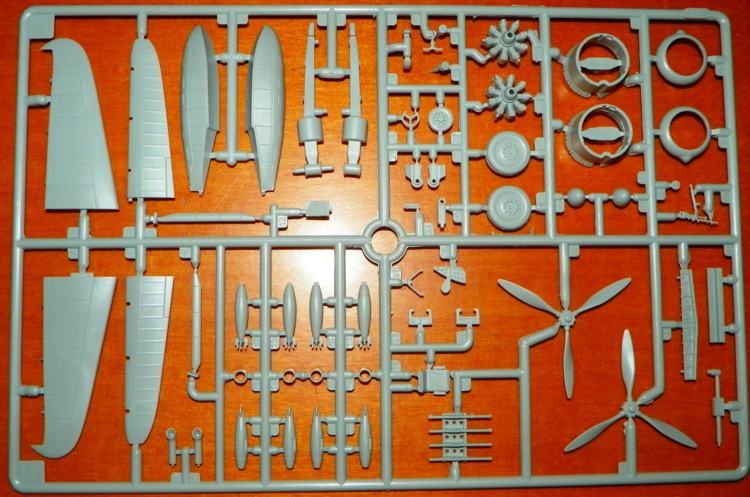
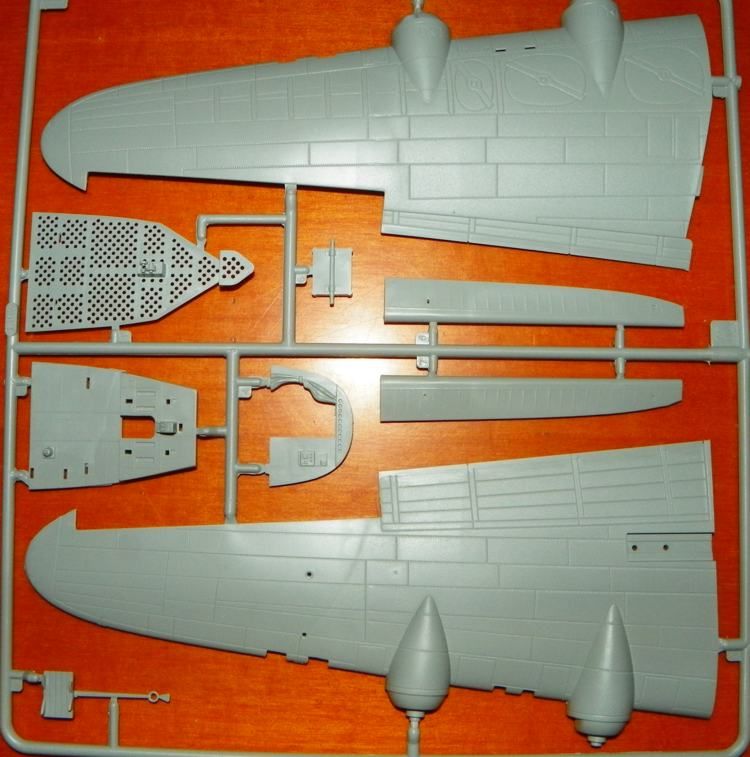
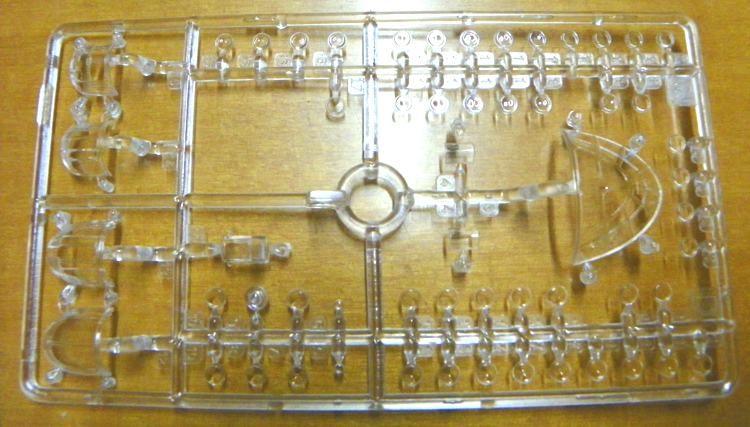
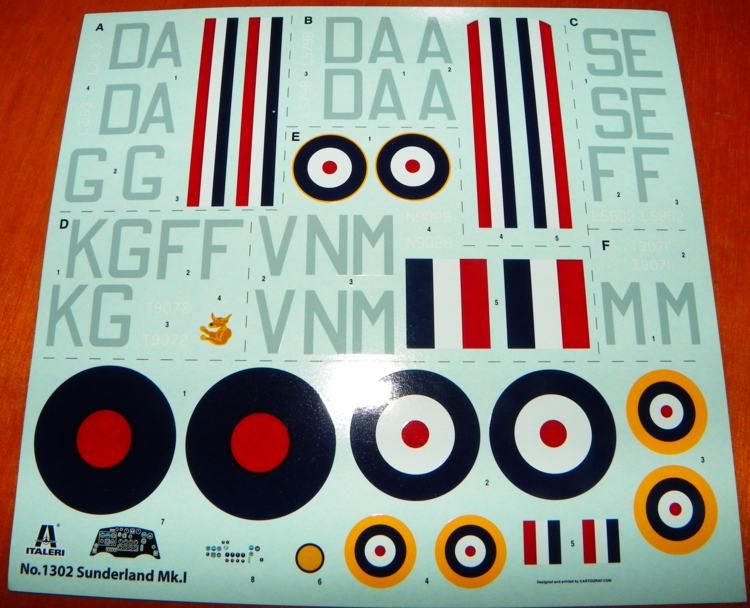
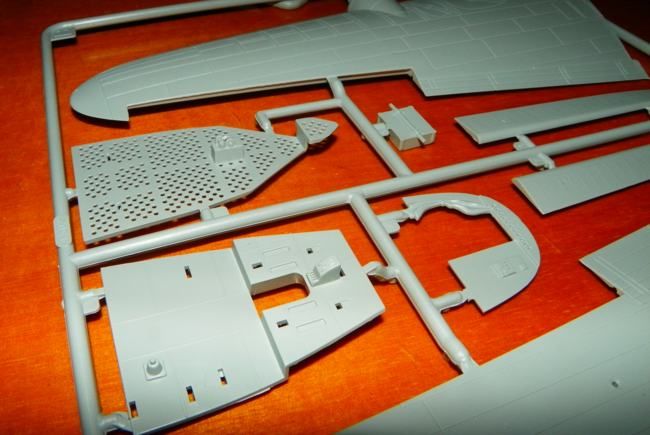
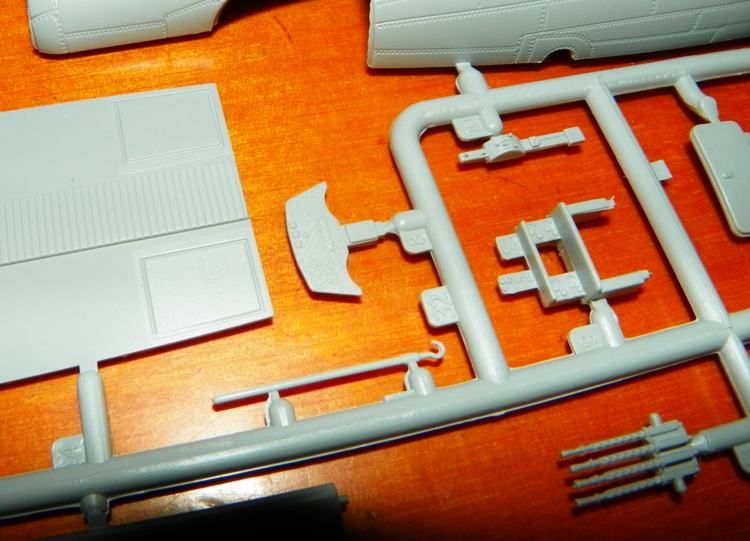
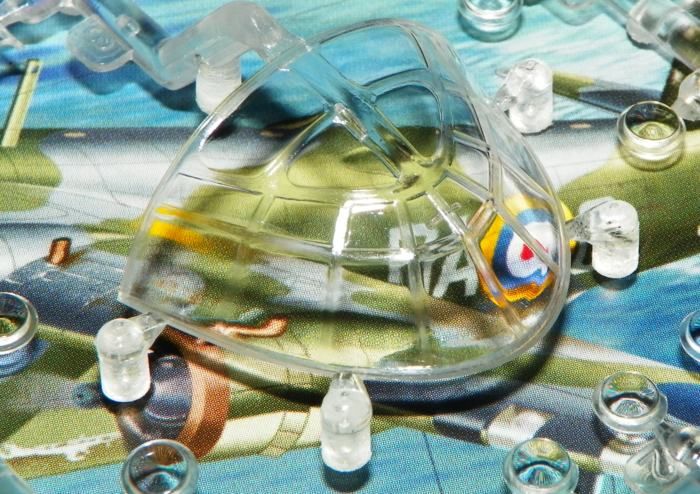
Box and sprues

Image

Image

Image

Image

Image

Image

Image

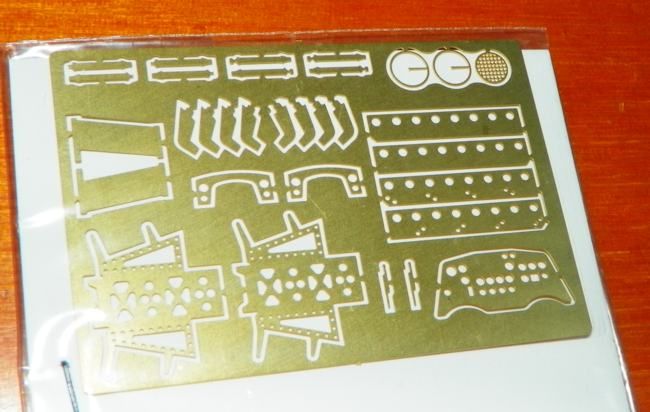
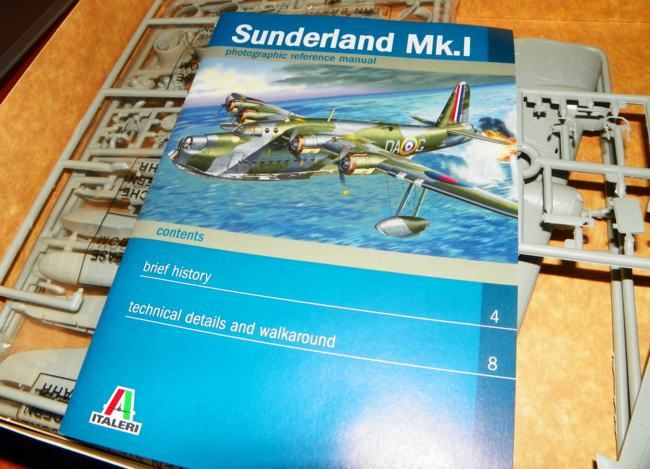
the kit includes a PE sheet and , a piece of micro rope and a nice illustrated book about the sunderland.. obliviously
Image

Image

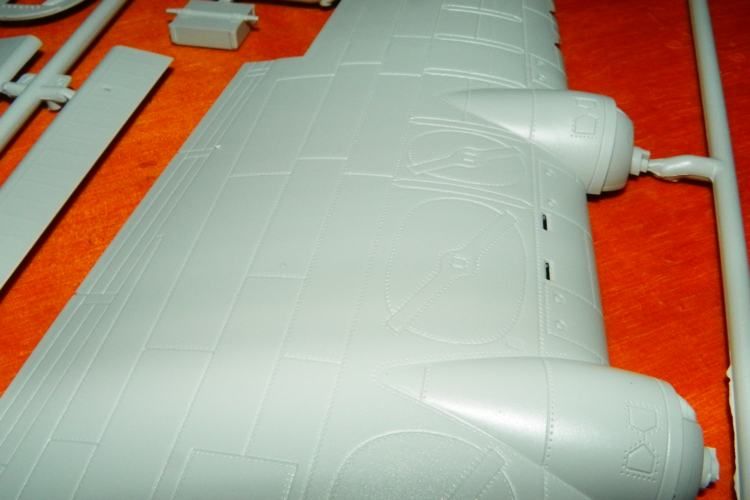
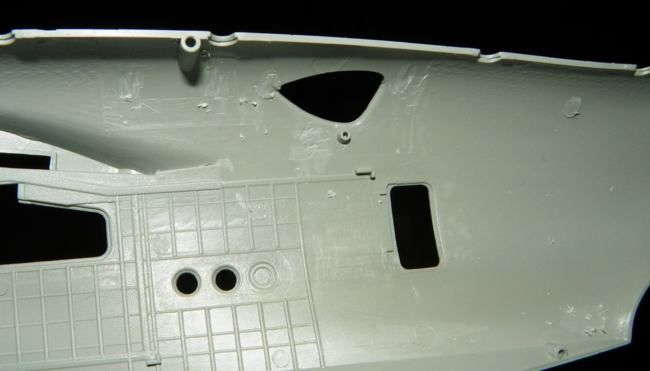
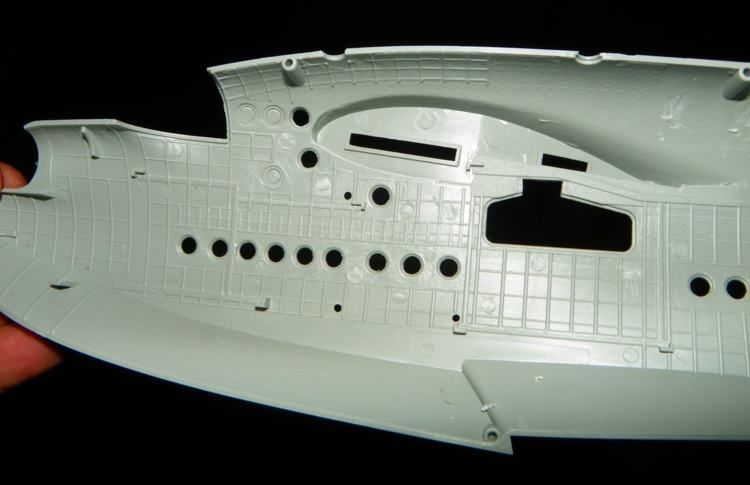
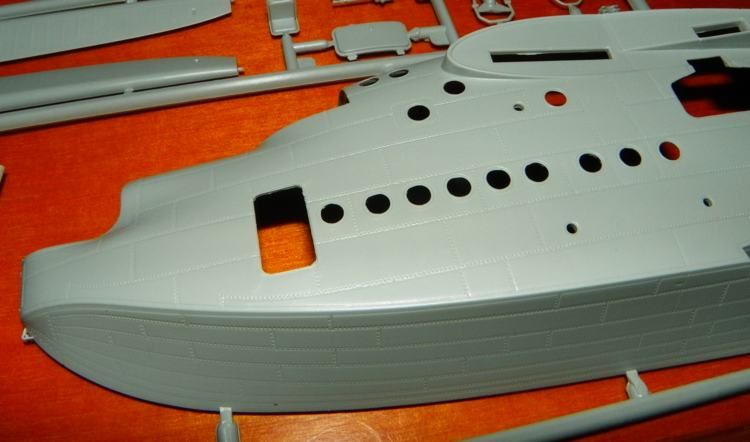
some surface and pieces detail, panel lines are a few deep but i like as only brushes will paint this boat with wings , so i can exagerate with layers withouth lost panels :)
Image

Image

Image

Image

Image

Image

Image

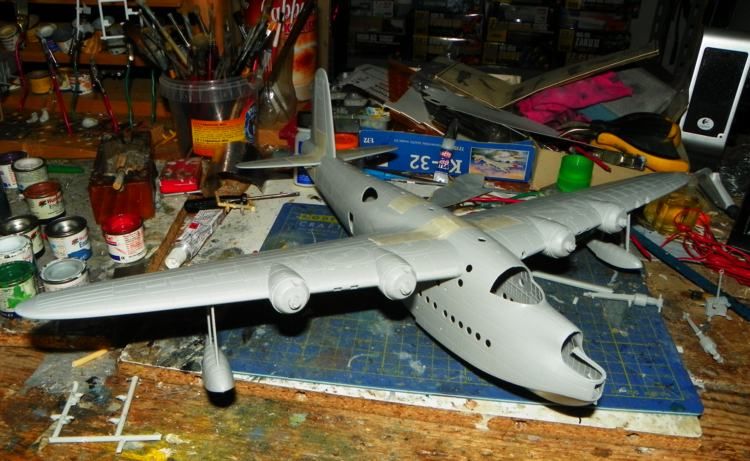
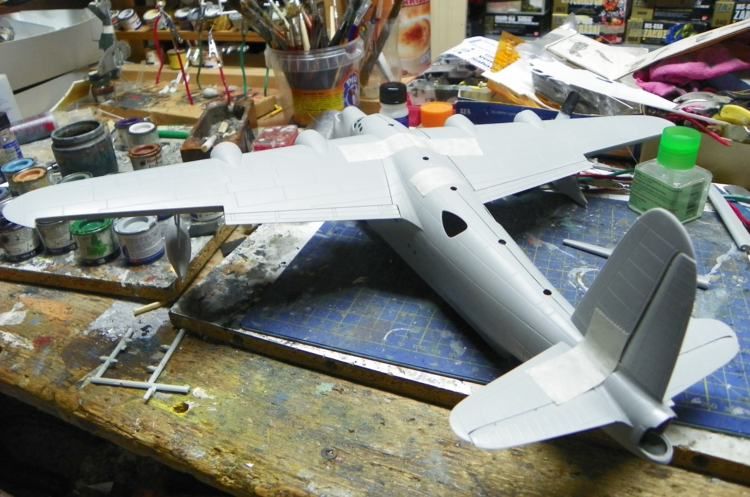
A rapid test fitting, side floats and fliyng surfaces already assembled between respective subassemblies
Image

Image

At the next resume

Re: Short Sunderland MK.I Italeri 1/72

Posted: Fri Aug 01, 2014 1:06 pm
by CallSignOWL
oooh, cant wait to see ya work your magic!

Re: Short Sunderland MK.I Italeri 1/72

Posted: Fri Aug 01, 2014 4:44 pm
by Adam
Friggin' SWEET! This will be the first one I have actually seen built after all the hoopla when it first came out and then all the wailing and gnashing of teeth about the surface detail. :roll:

Re: Short Sunderland MK.I Italeri 1/72

Posted: Sat Aug 02, 2014 7:34 am
by LyleW
Sign me up, too! I got this one at Hobby Lobby with the coupon. Someday........

Re: Short Sunderland MK.I Italeri 1/72

Posted: Sat Aug 02, 2014 8:29 pm
by Medicman71
Very nice! I've seen a few builds of this in the magazines. Can't wait to see what you do with it!!

Re: Short Sunderland MK.I Italeri 1/72

Posted: Sat Aug 02, 2014 11:48 pm
by BorgR3mc0
Is this a part of your large flying boat collection? Have found that Trumpeter Be-6 yet? Does it really exist?

Re: Short Sunderland MK.I Italeri 1/72

Posted: Sun Aug 03, 2014 1:08 am
by scorpiomikey
How long you been working on this one mate? I seem to remember seeing this on more than one forum, unless you started again?

Re: Short Sunderland MK.I Italeri 1/72

Posted: Sun Aug 03, 2014 5:16 am
by BsYamato
BorgR3mc0 wrote:Is this a part of your large flying boat collection? Have found that Trumpeter Be-6 yet? Does it really exist?
Announced only :( I fear the only way is to build my old veb plasticart kit to have a be-6..
The Sunderland need few more stretch to close halves, for now just a resume.. Lots of resumes I have post.. Condor, badger, bear, shin meywa, do-24t, ju-290.. Just to remember the largest
And last night a friend bring me the roden's zeppelin staaken :geek:

Re: Short Sunderland MK.I Italeri 1/72

Posted: Sun Aug 03, 2014 6:49 pm
by steve scan
Look forward to seeing this one done, always a favourite of mine built the Airfix one many times as a kid, now the Mk3 is out I may just pick one up, how bad are the panel lines I remember this one getting slated for having trenches?

Re: Short Sunderland MK.I Italeri 1/72

Posted: Wed Aug 06, 2014 4:03 am
by BsYamato
steve scan wrote:Look forward to seeing this one done, always a favourite of mine built the Airfix one many times as a kid, now the Mk3 is out I may just pick one up, how bad are the panel lines I remember this one getting slated for having trenches?
I think the large appareance of panel lines are not so bad, but it's easy to fill with stretched sprues and green cap tamiya, then rescribe :)

here some comparation with B-17 academy for panel lines

Image

Image

So, more resume:
Some istant subassemblies to reduce the number of pieces and cleaning parts

Image

Image

Image

Image

the tail trail with PE parts

Image

The planes comes with lots of windows .. on the ceiling too

Image

Modify starts from engines cowling, a thinning of back areas

Image

Image

Cutting lots of stripes from plastic sheets, if get ready stripes from evergreen probably could spent more euros for plastic than the kit :geek:

Image

Image

Filling with structures tail areas, some are in double layer to improve the thickness. Before these works i fill some sink mark and sanded inner surfaces

Image

Image

Image

Image

Image

The wings root zone need some extra filling with plastic surplus and milliput putty and tamiya and dremel tool to refine

Image

Image

Image

and start to filling remains areas

Image

Image

Image

First missing bulkead added . Eye-meter used to take measures :D

Image

Image

I'll scratch all missing deck's floors and bulkheads. Between the first and second floor the crew need two ladders.. the tail ladder scratchin

Image

Image

Image

Drill the holes for these operators front steps

Image

Adding details to bombs/torpedo side doors.. i know few things will be vivible from out when the plane finished but i like to scratch inner details :lol: :lol:

Image

Image

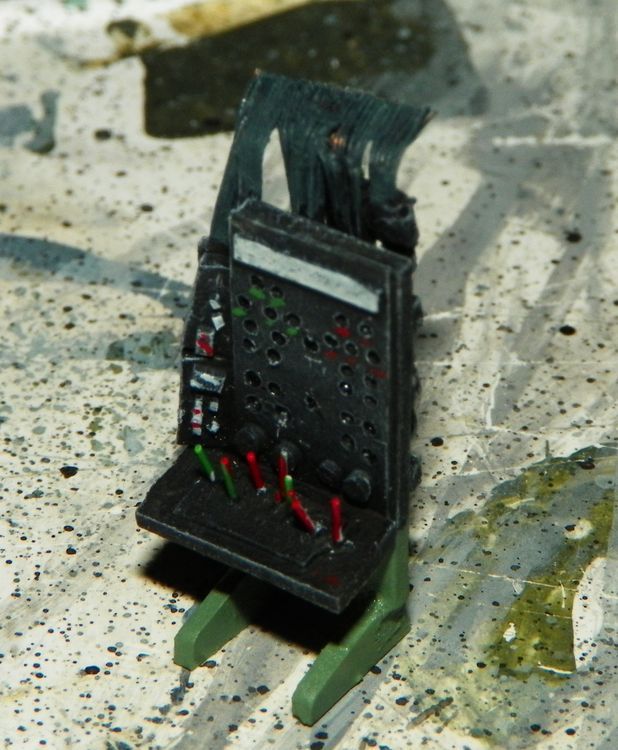
bombs trails and pilots seats with PE parts added

Image

Image

At the next with more :)