The Duke Pops Two Cherries! Two New Planes Here
Posted: Tue Nov 16, 2021 4:41 pm
Okay,l I finally got started on this Group Build. I even have two aircraft started for it. One I did not get sprue shots of, but I do have the pic of the box it came out of.
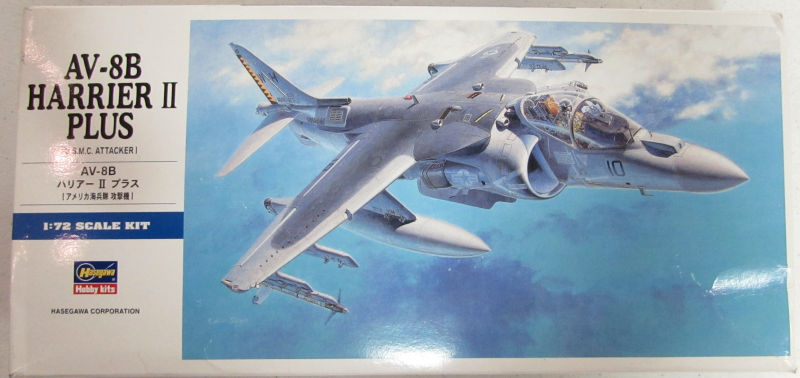
Let's start with the first one; the Marine AV-8B.
Here are the shots of the box:
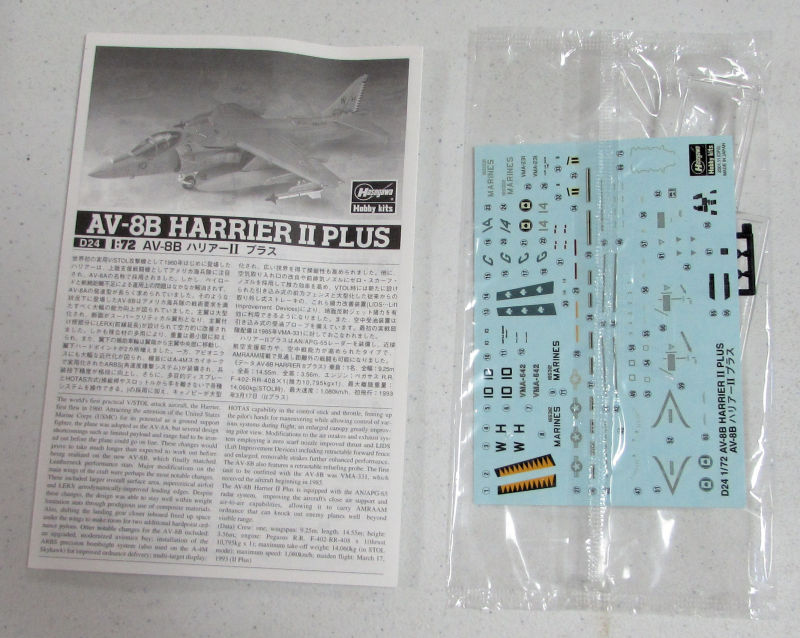
Here's the instructions and decals. The little black thing peaking out from behind is the set of poly caps for the engines. The canopy is back behind the decals as well:
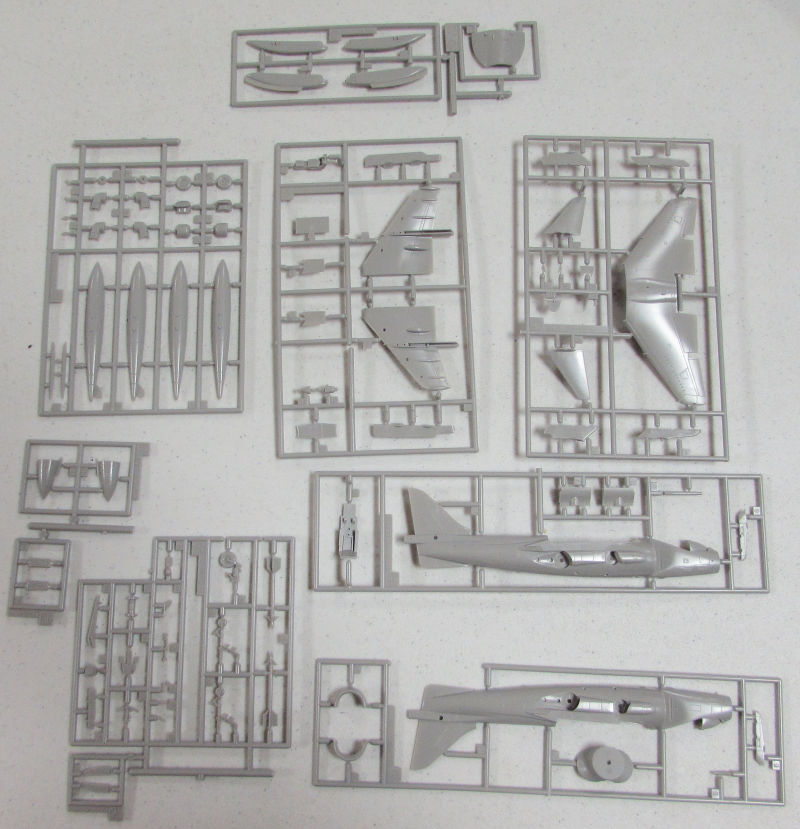
And the parts sprues here:
Now on to the build...
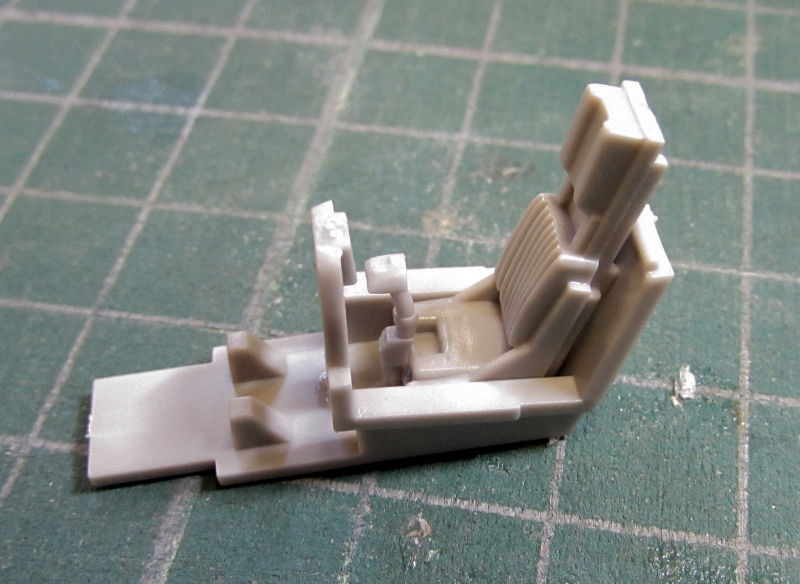
Again, we start with the cockpit:
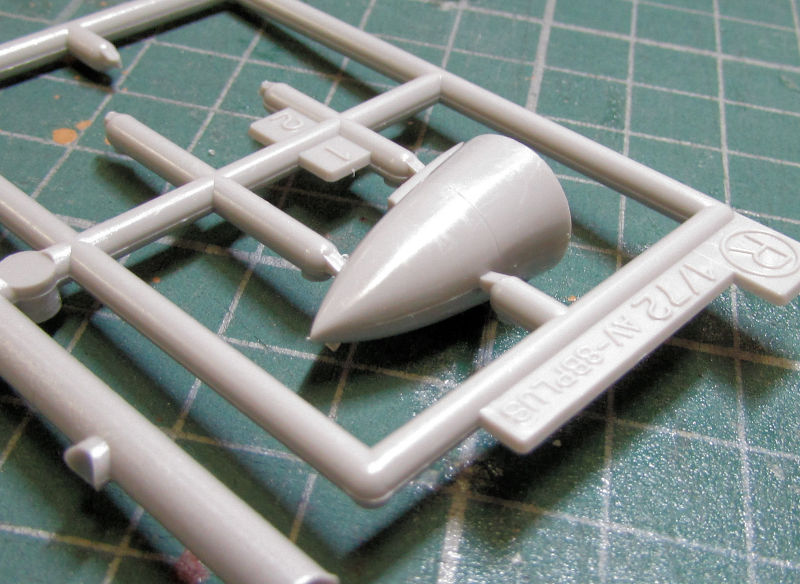
Then I went through the kit, assembling all the parts that had been molded in two halves such as...
the nose cone:
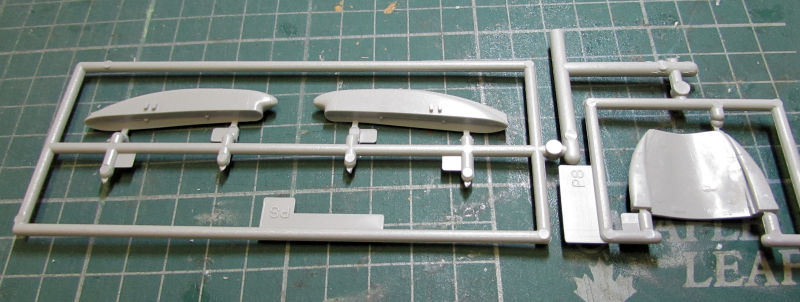
...the gun pods too, and while I was at it, I added the panels to the underside of the part to the right:
... the engine nozzles and drop tanks, even though I expect I'll be leaving those tanks off: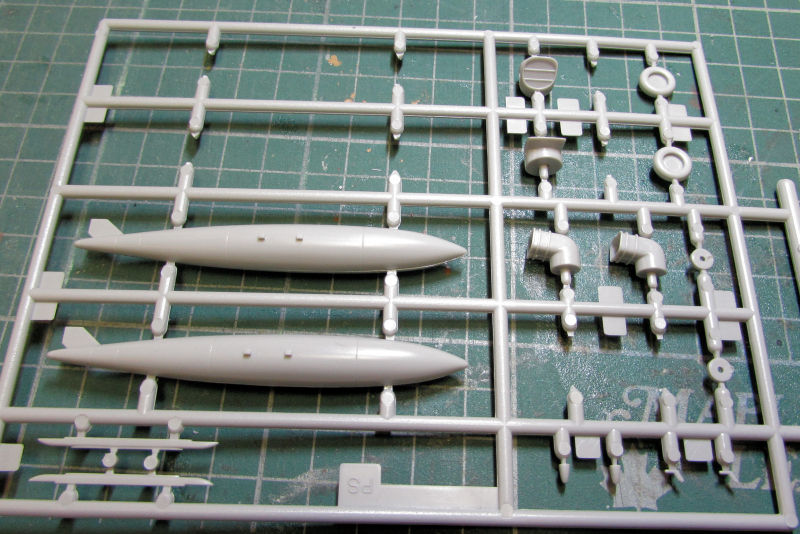
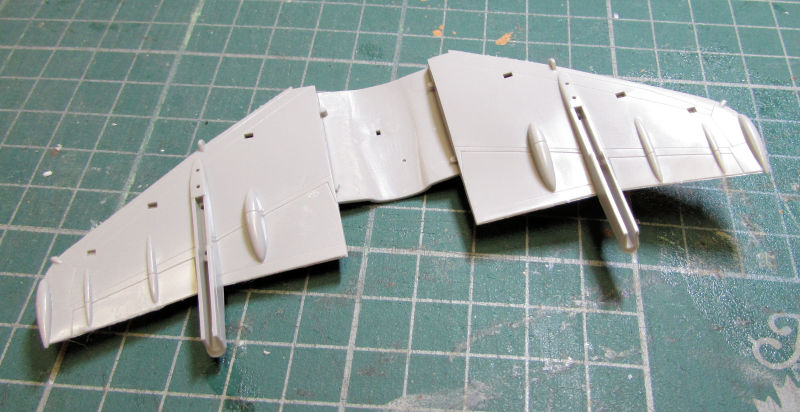
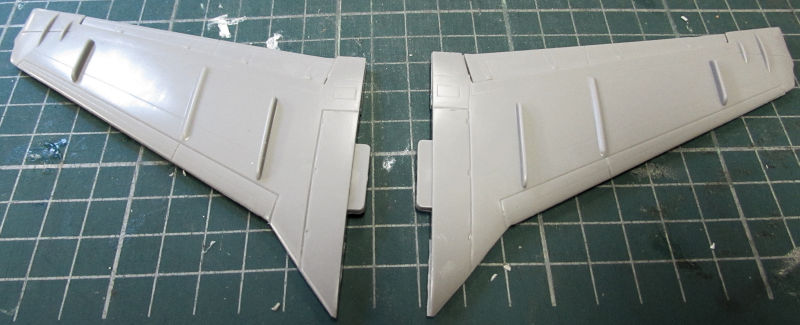
...and the wings:
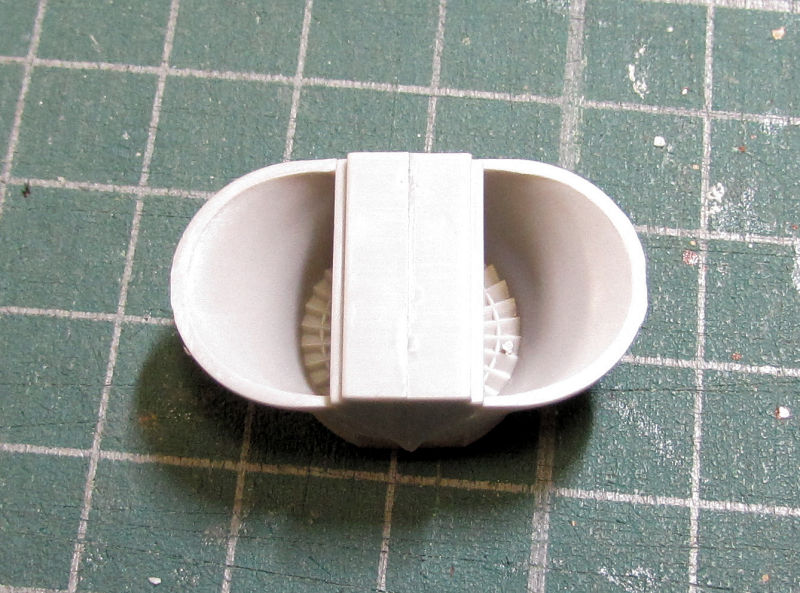
After that I built the engine intake interior:
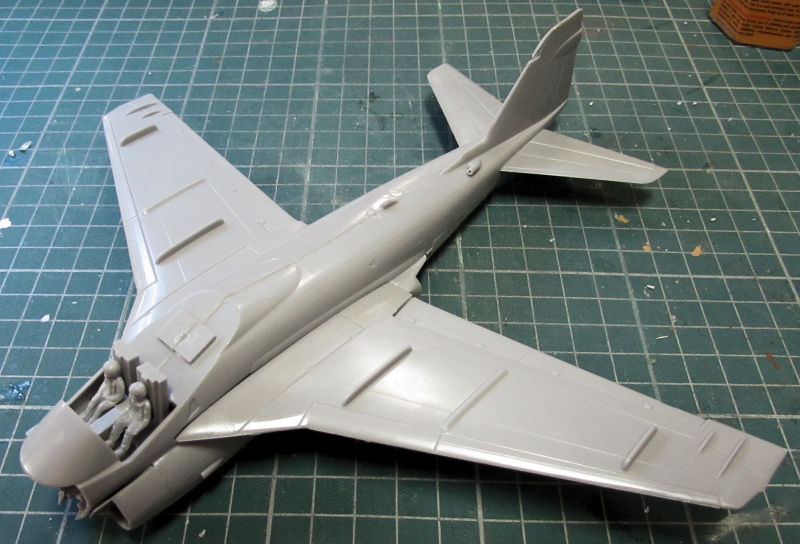
Finally, I added the engine intakes, blast panels and flare dispenser to each side of the fuselage so there's less to add later on:

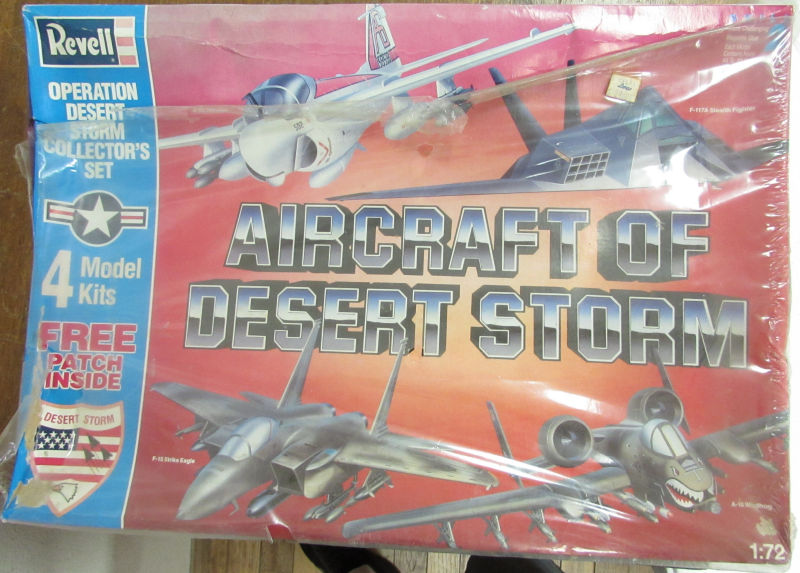
And that is where I am on this one. The other one I started was an A-6 that came from this box:
I had never ever started an A-6 before so out this came. Again, no sprue pics or anything, but I do have it started so here it is...
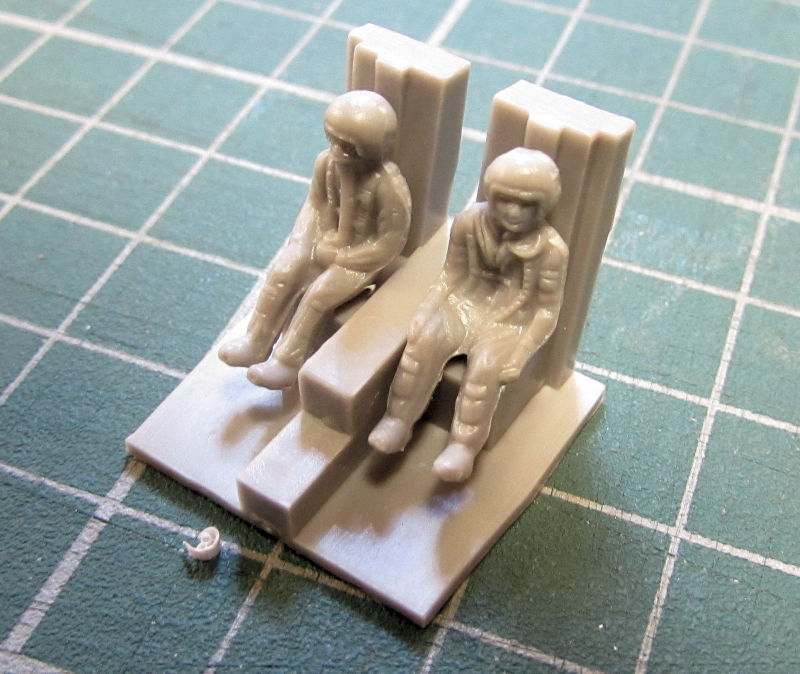
First was the basic cockpit. It is very basic so I added the pilots to give something to look at. Here is Mutt and Jeff sitting in their seats now waiting for the rest of the plane to get built::
Next I assembled the fuselage around them. Fortunately the nose cone gets to be left off till later so I can add sufficient weight in the nose area. I had also added the engine intakes and the tail feathers:
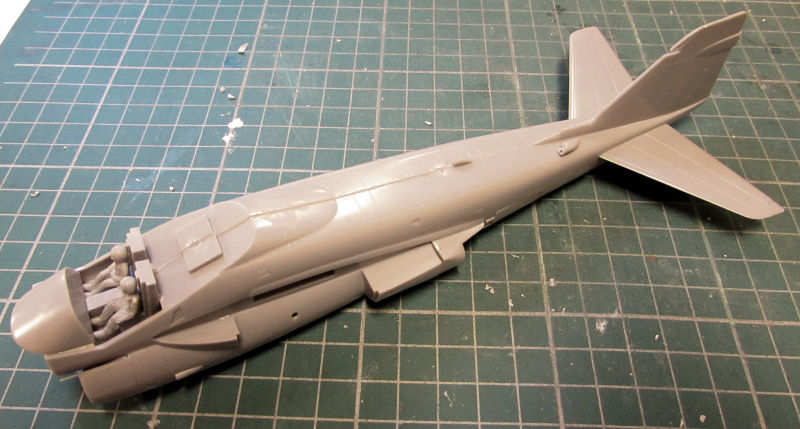
After that I assembled the two wings:
Here it is all mocked up ready for sanding and filling:
And that is where I am so far in this Group Build. Enjoy!
Let's start with the first one; the Marine AV-8B.
Here are the shots of the box:
Here's the instructions and decals. The little black thing peaking out from behind is the set of poly caps for the engines. The canopy is back behind the decals as well:
And the parts sprues here:
Now on to the build...
Again, we start with the cockpit:
Then I went through the kit, assembling all the parts that had been molded in two halves such as...
the nose cone:
...the gun pods too, and while I was at it, I added the panels to the underside of the part to the right:
... the engine nozzles and drop tanks, even though I expect I'll be leaving those tanks off:
...and the wings:
After that I built the engine intake interior:
Finally, I added the engine intakes, blast panels and flare dispenser to each side of the fuselage so there's less to add later on:
And that is where I am on this one. The other one I started was an A-6 that came from this box:
I had never ever started an A-6 before so out this came. Again, no sprue pics or anything, but I do have it started so here it is...
First was the basic cockpit. It is very basic so I added the pilots to give something to look at. Here is Mutt and Jeff sitting in their seats now waiting for the rest of the plane to get built::
Next I assembled the fuselage around them. Fortunately the nose cone gets to be left off till later so I can add sufficient weight in the nose area. I had also added the engine intakes and the tail feathers:
After that I assembled the two wings:
Here it is all mocked up ready for sanding and filling:
And that is where I am so far in this Group Build. Enjoy!