Trumpeter P-47D Razorback "Eileen"

Post your work in progress of your aircraft builds in here.
User avatar
jkim
Elite Member
Posts: 3930
Joined: Mon Apr 10, 2017 4:03 pm

Re: Trumpeter P-47D Razorback "Eileen"

Post by jkim »

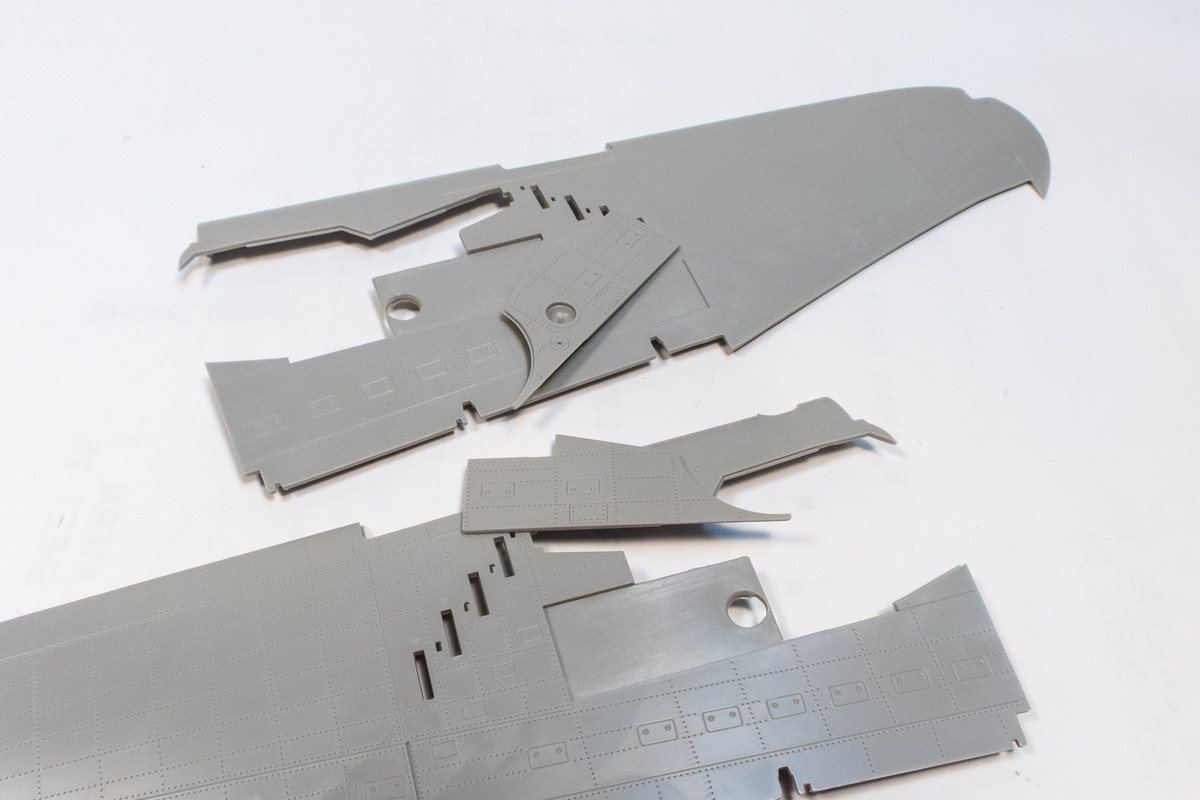
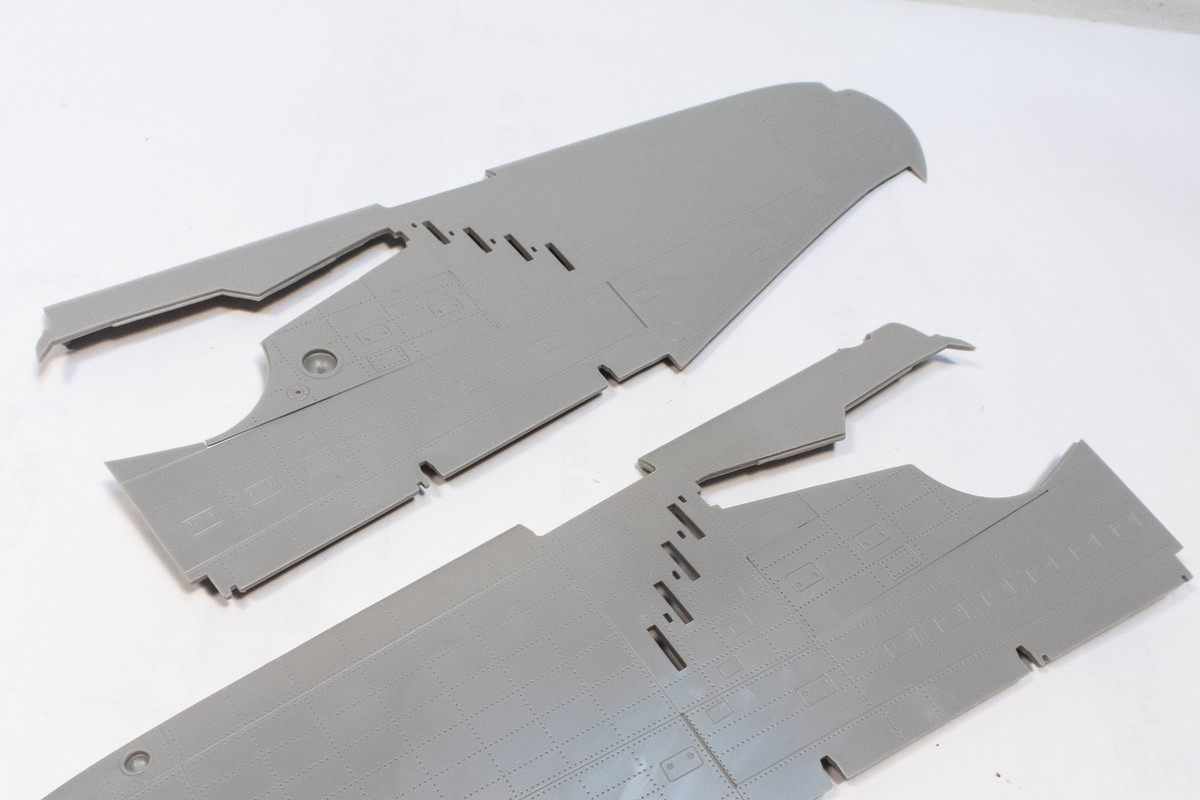
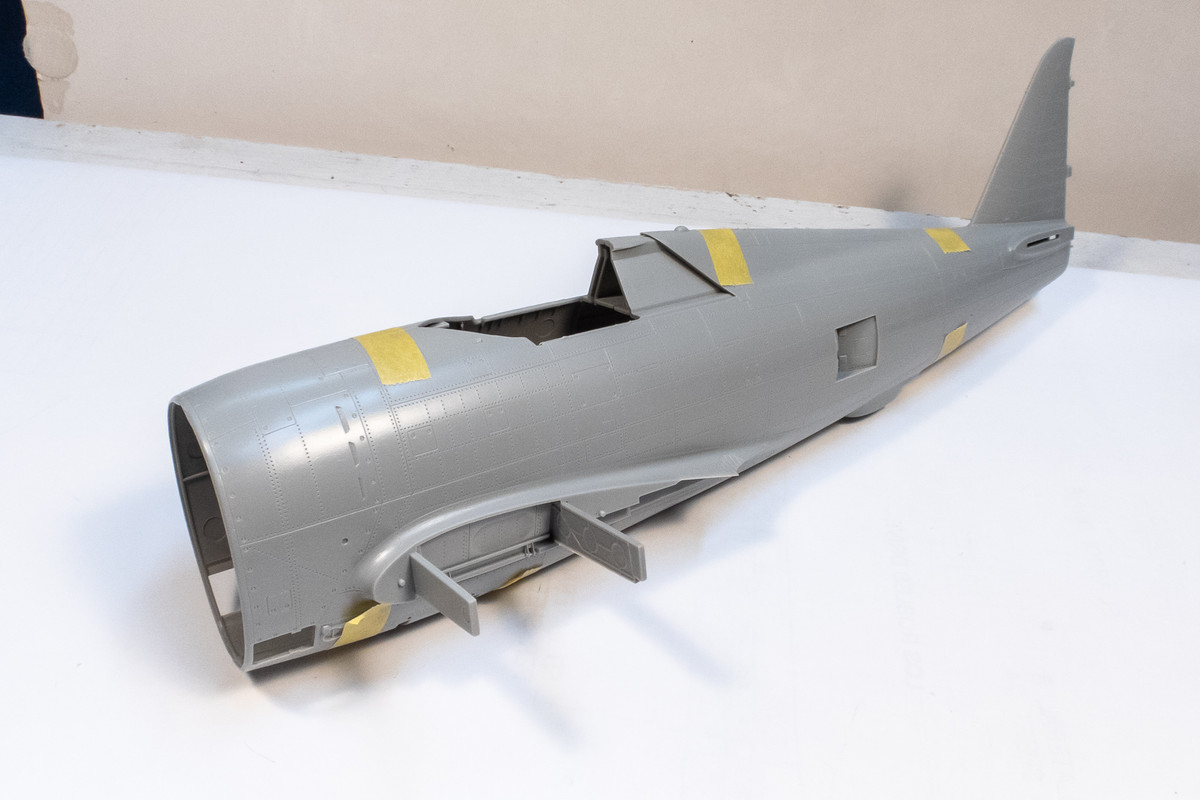
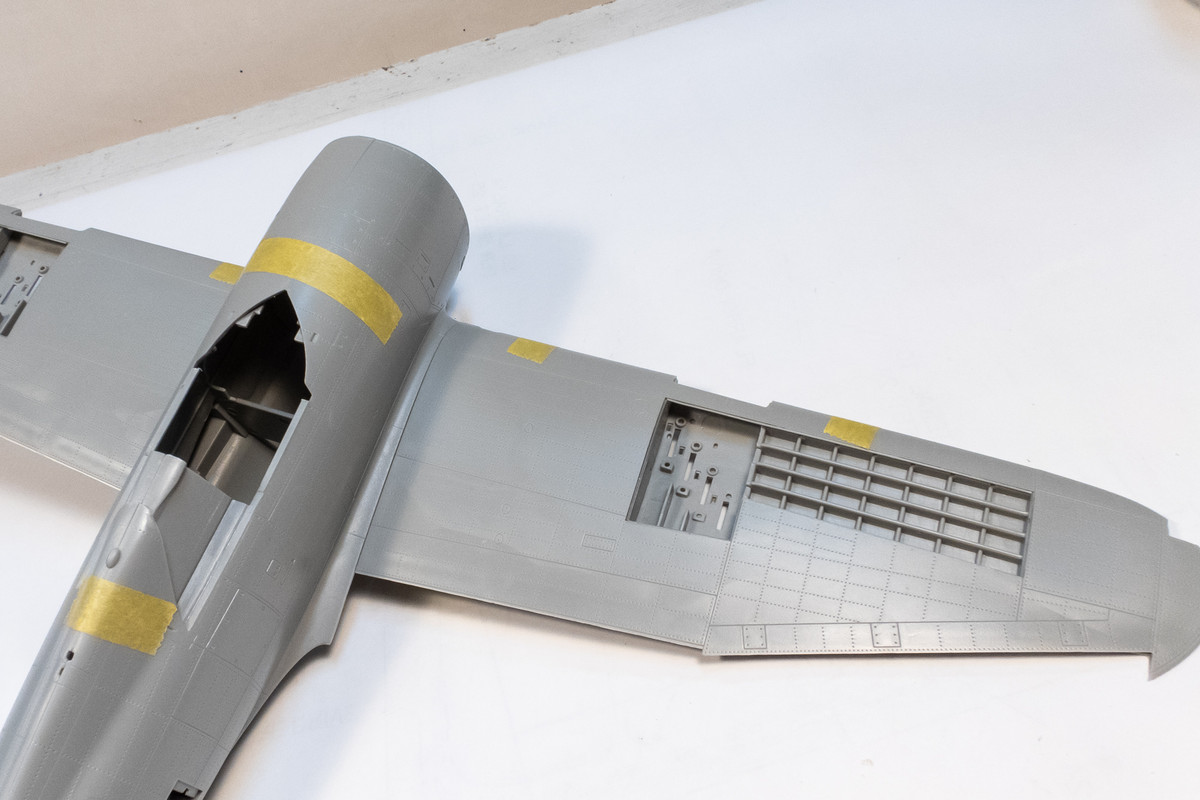
There's lots of stuff to work on before I get to the cockpit so I'm just going to forge ahead instead of twiddling my thumbs and waiting for packages to arrive. There are two additional panels that need to be installed on the wing bottoms. I've glued these in. I'm holding off one the gun/ammo covers on the upper wings just in case I need to access that area to line up the gun barrels.
Image
Image

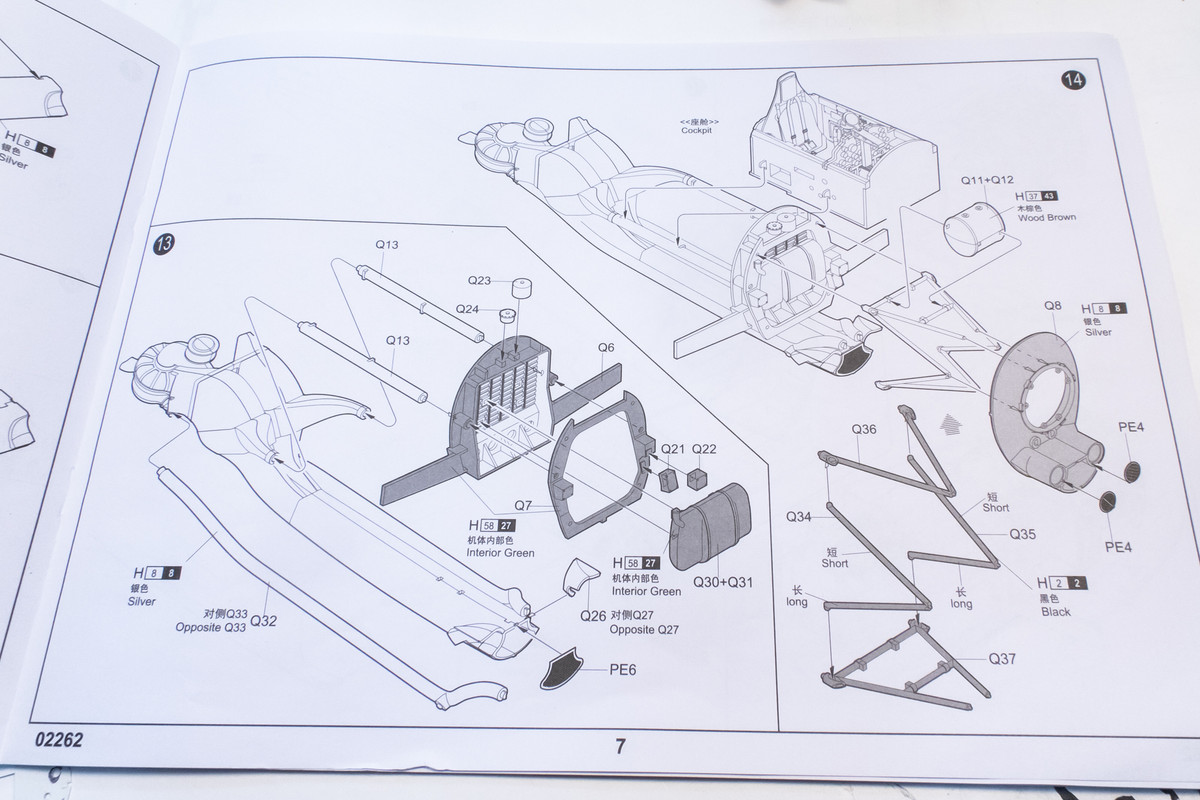
There are a couple of questions about this kit that I wanted to start investigating. One of them is the internal supercharger ducting. Trumpeter includes this even though it is very nearly invisible when complete with no provisions for open panel.
Image

At a minimum, I think I need to install the two wing spar parts. These will ensure the correct dihedral for the wings and the rear spar acts as the rear wall for the landing gear wells.
Image

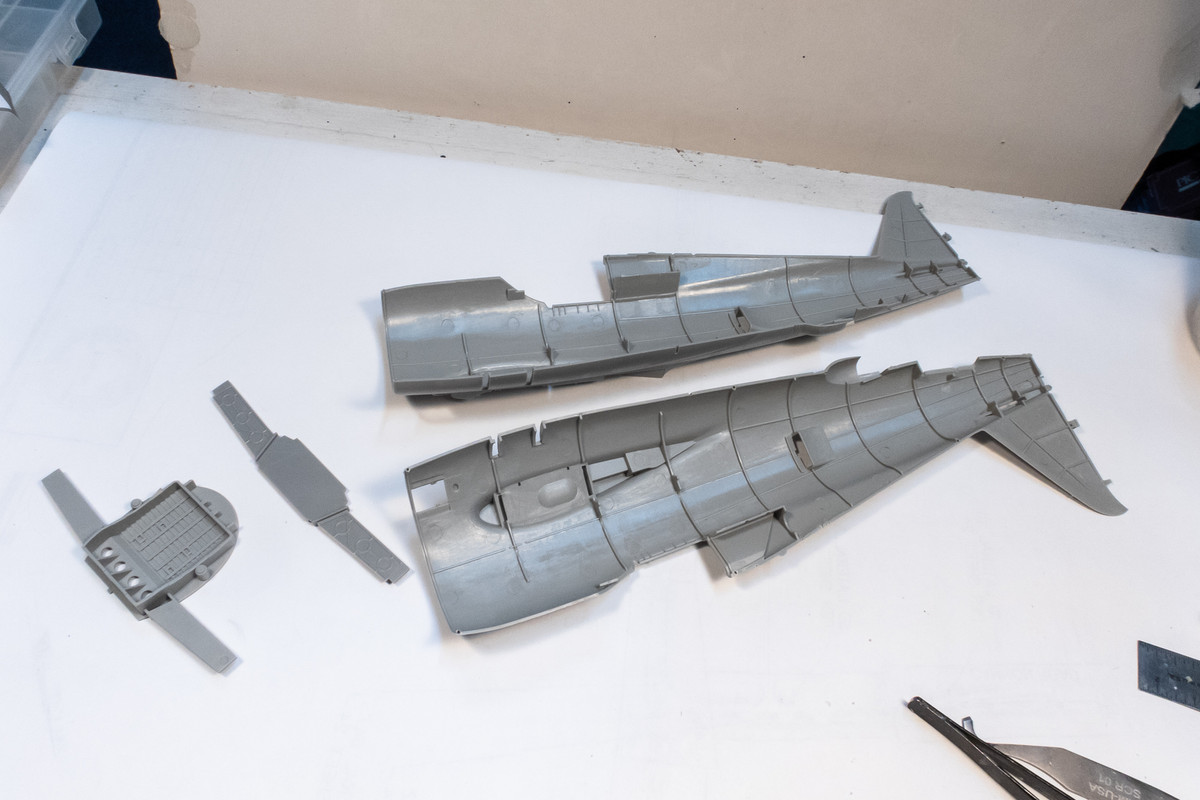
There are tabs on the fuselage interior that appear to correspond to the cockpit bottom... I"ll verify that later.
Image

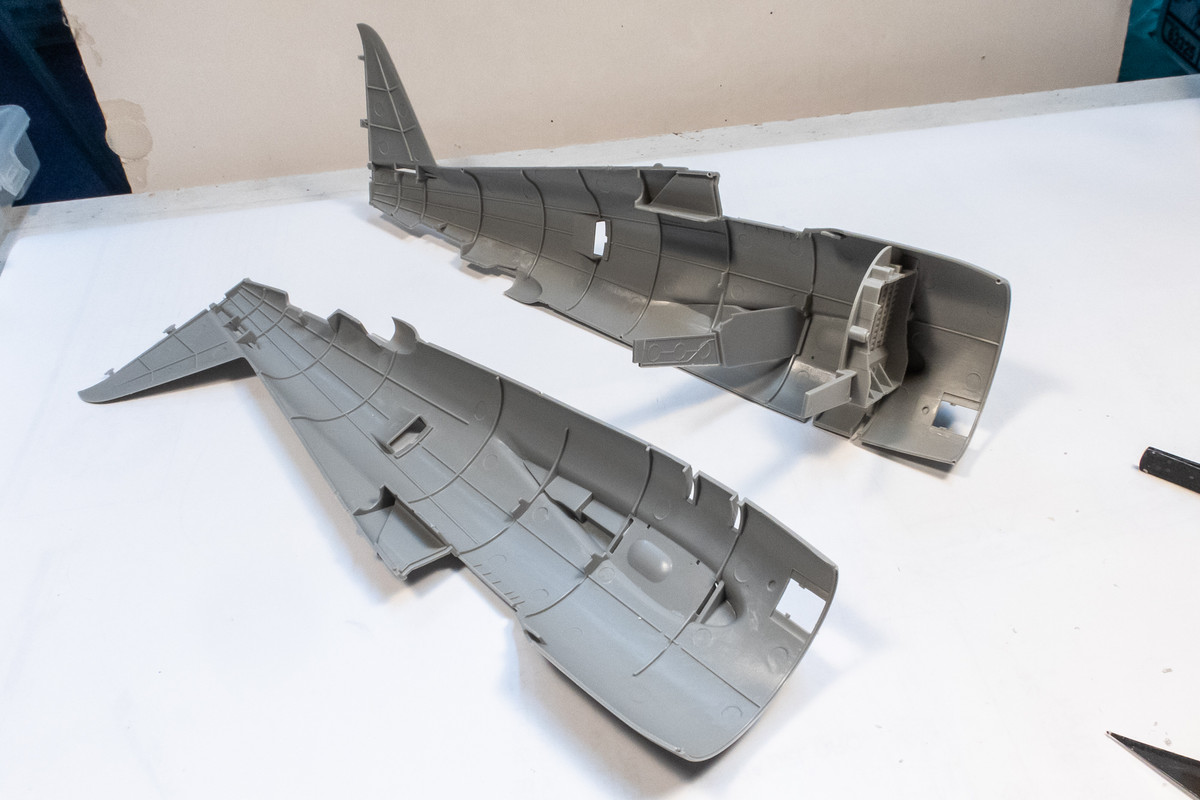
The fuselage halves fit together pretty well with just the spars in place.
Image

And the wings slide into place very well with support and alignment from the spars.
Image
Image

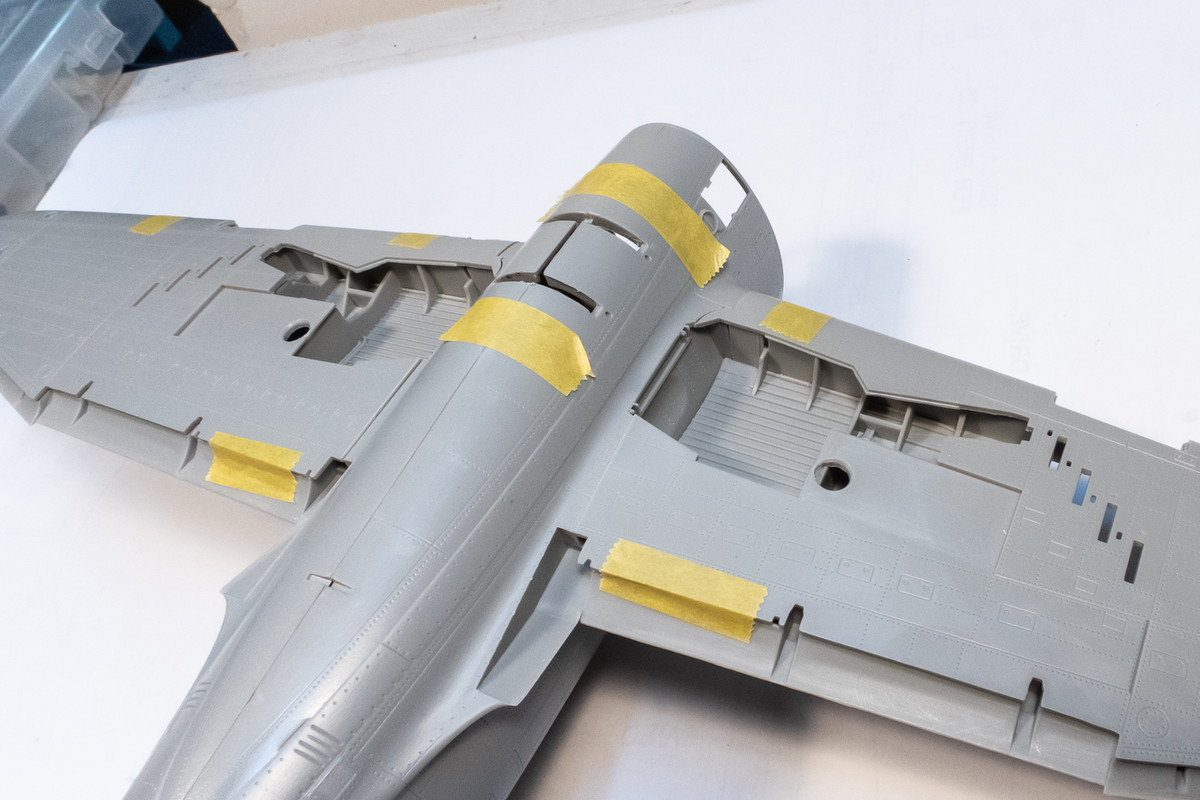
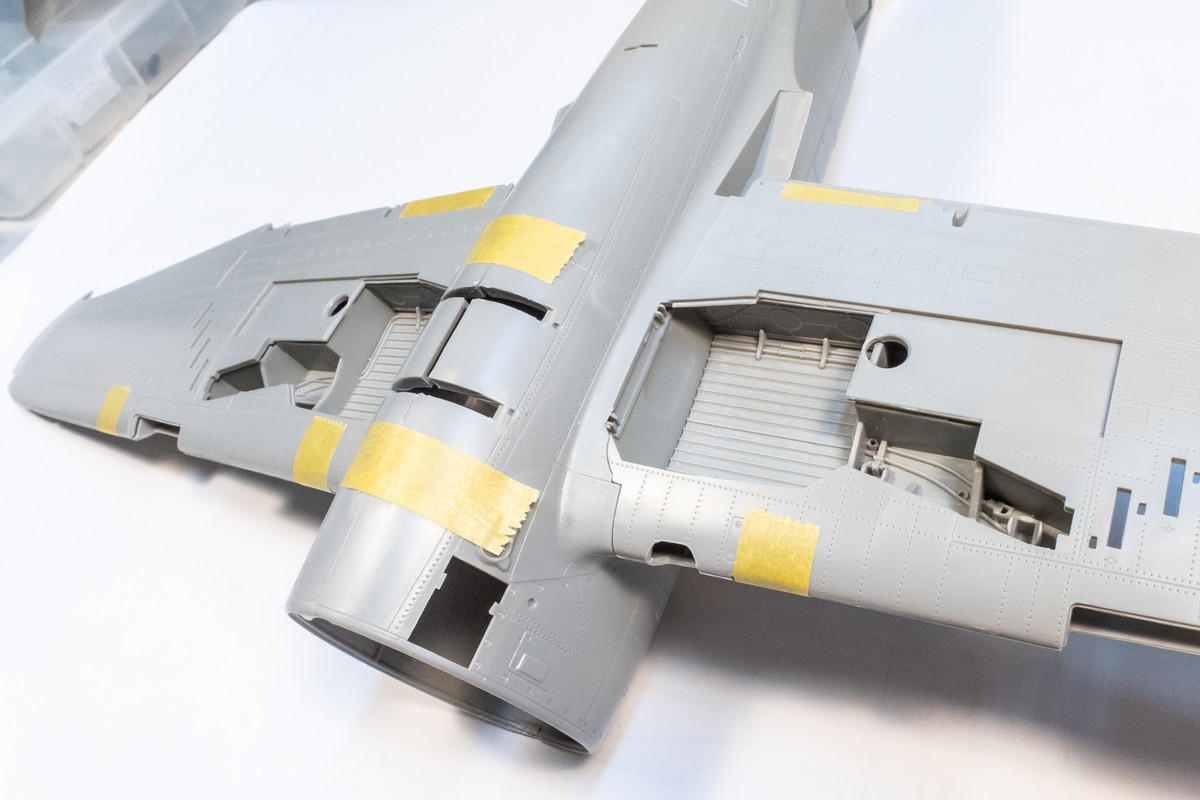
You can see that the overhang of the wing bottom over the wheel wells might make detailing/painting a challenge.
Image

One option is to install the wing tops to the fuselage before the wing bottoms.
Image

I've verified that the engine bulkhead/firewall attaches solidly to the front of the fuselage without any of the supercharger parts. From a structural perspective, it looks like the supercharger ducting could be left off. The only questions are the cockpit tub and the view into the fuselage from the mid-fuselage vents.
Image
John aka JKim
-----------<><
Image
User avatar
jkim
Elite Member
Posts: 3930
Joined: Mon Apr 10, 2017 4:03 pm

Re: Trumpeter P-47D Razorback "Eileen"

Post by jkim »

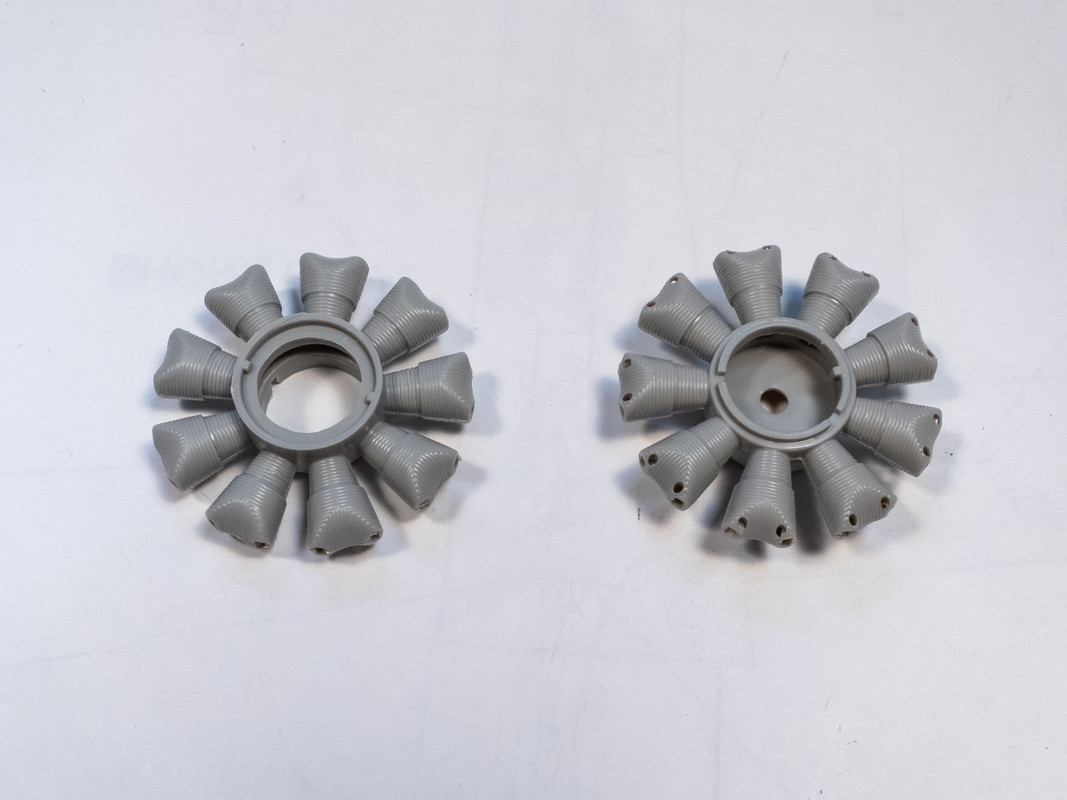
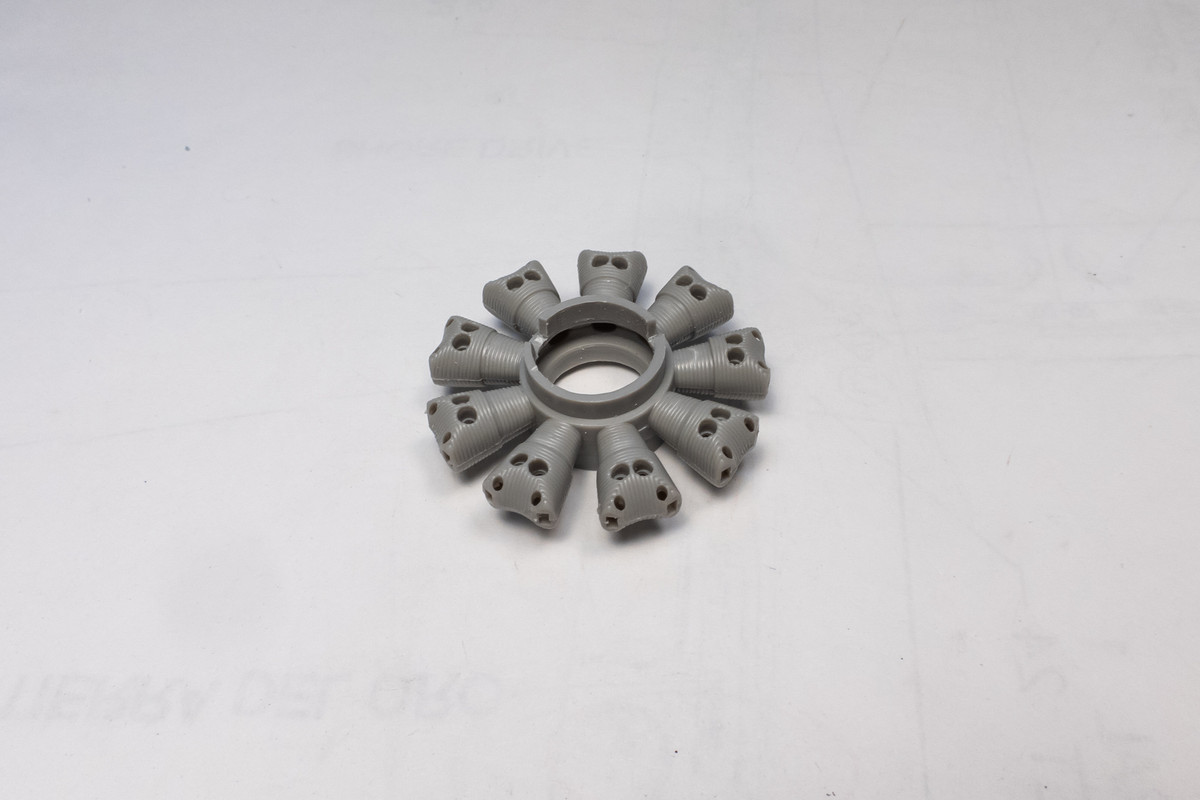
The other question I have is the engine. The instructions show the engine to be connected to the bottom of the engine firewall via the exhaust ducting! Sounds very flimsy to me. The only way to explore this is to start assembling the engine, which I am ready to do. The two cylinder head banks are glued together first. The fronts are plain, missing the connection for the ignition wiring in the center of each cylinder head.
Image

The backs have holes for the waste ducting.
Image

A problem surfaced right away trying to fit the waste ducts onto the back of the rear cylinder... it would not seat all the way.
Image

The locating tabs did not align with the open slots.
Image

It would've been easier just to cut the tabs off but for whatever reason, I chose to enlarge the slots.
Image

Problem solved, I assembled the two-part exhaust ducts and placed them onto the engine while the glue was still soft. Those two half-moon tabs at the ends are what is supposed to hold the engine in place!
Image

I let the glue dry with the ducts in the correct position. After the glue dries, the exhaust ducts can be removed to deal with the nasty seam.
Image
John aka JKim
-----------<><
Image
User avatar
Stikpusher
Moderator
Posts: 18880
Joined: Sat Apr 05, 2014 8:37 pm
Location: Ceti Alpha 5

Re: Trumpeter P-47D Razorback "Eileen"

Post by Stikpusher »

Ouch! That’s some rough engineering there! :headslap: I’m sure that you’ll get this looking gorgeous, but man Trumpeter is not scoring any points here.
"Surely I have made my meaning plain? I intend to avenge myself upon you, Admiral. I have deprived your ship of power, and when I swing 'round, I intend to deprive you of your life."

FLSM
User avatar
tempestjohnny
Elite Member
Posts: 3347
Joined: Sat Oct 15, 2016 4:51 am
Location: Naples. FL

Re: Trumpeter P-47D Razorback "Eileen"

Post by tempestjohnny »

When I built my Trumpeter Wellington. I had the same type of issue with engine mounts being flimsy
User avatar
BlackSheep214
Elite Member
Posts: 10422
Joined: Sun Apr 06, 2014 8:47 pm

Re: Trumpeter P-47D Razorback "Eileen"

Post by BlackSheep214 »

Yikes.....

I’m looking forward to see the magic you do to correct the fit issues.
“Who controls the skies, controls the fate of this Earth”

Author unknown- 352nd Fighter Group, Blue-Nosed Bastards of Bodney

“Send one plane it’s a sortie; send two planes it’s a flight; send four planes it’s a test of airpower. - Richard Kohn
User avatar
jkim
Elite Member
Posts: 3930
Joined: Mon Apr 10, 2017 4:03 pm

Re: Trumpeter P-47D Razorback "Eileen"

Post by jkim »

The issues that are popping up are what I consider fairly minor and I actually enjoy fixing these little issues. Nothing too tedious... yet.

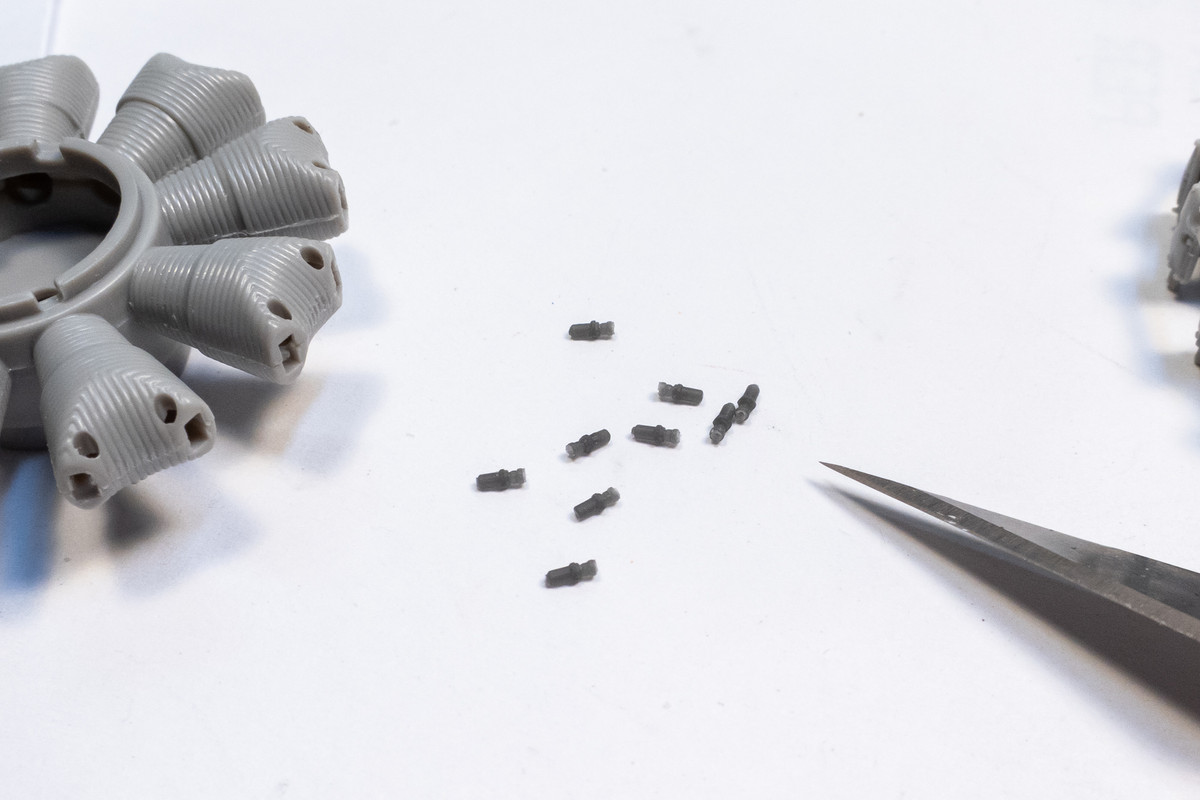
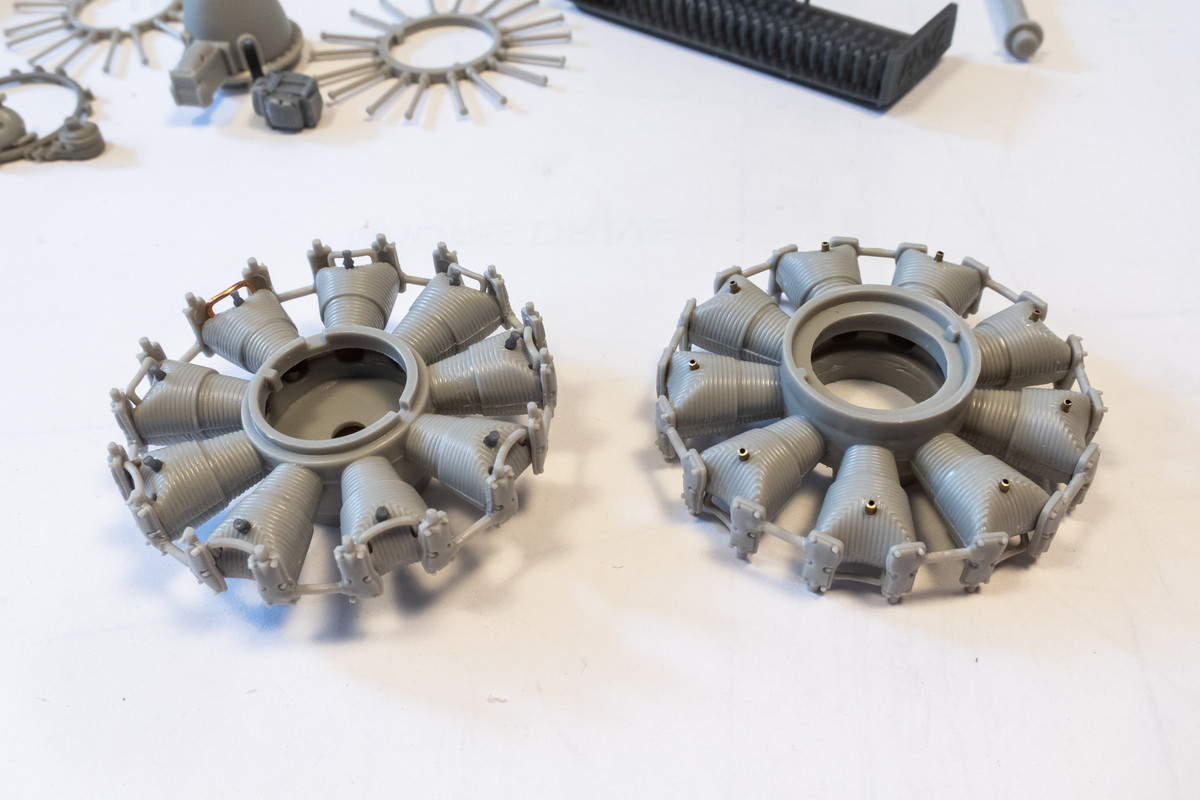
Cobbling the engine components continues. Since the cylinder heads need an ignition wire connection, I thought I'd use these 1/32 spark plug connections from ANYZ.
Image

I'm only using these on the front row since the back row will be almost invisible from the front. In fact, the little pieces of brass tubing that I placed onto the back row cylinders have since been pulled out because of interference from the central baffle plate that is located between the two rows.
Image

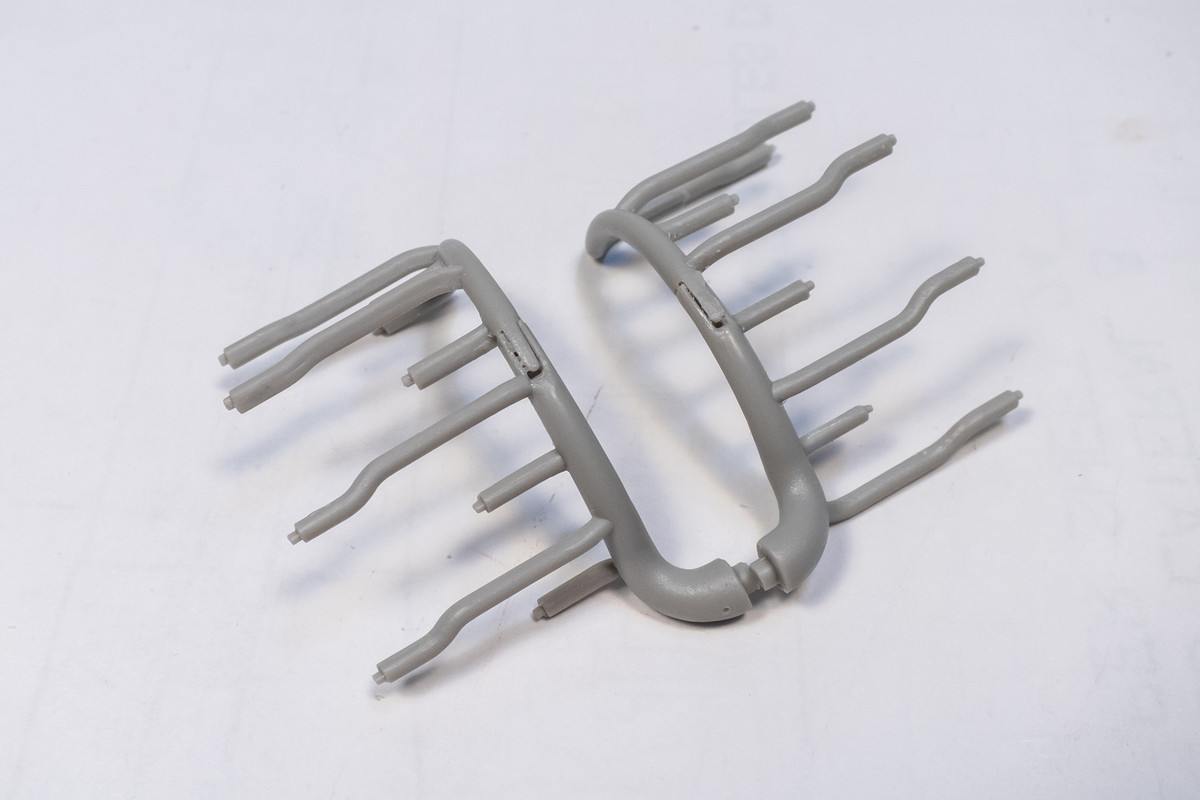
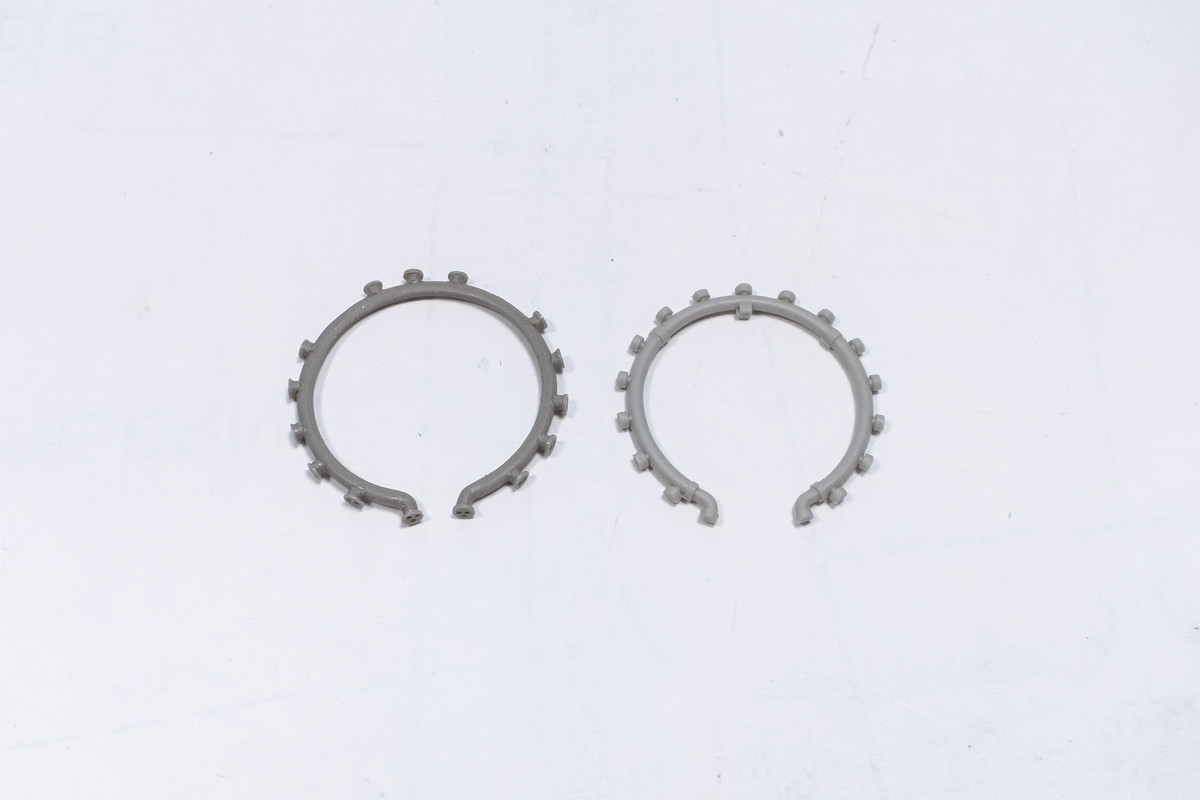
Along with the tear drop distributors, I also have a spare ignition harness. Notice the different spacing on the spare (left).
Image

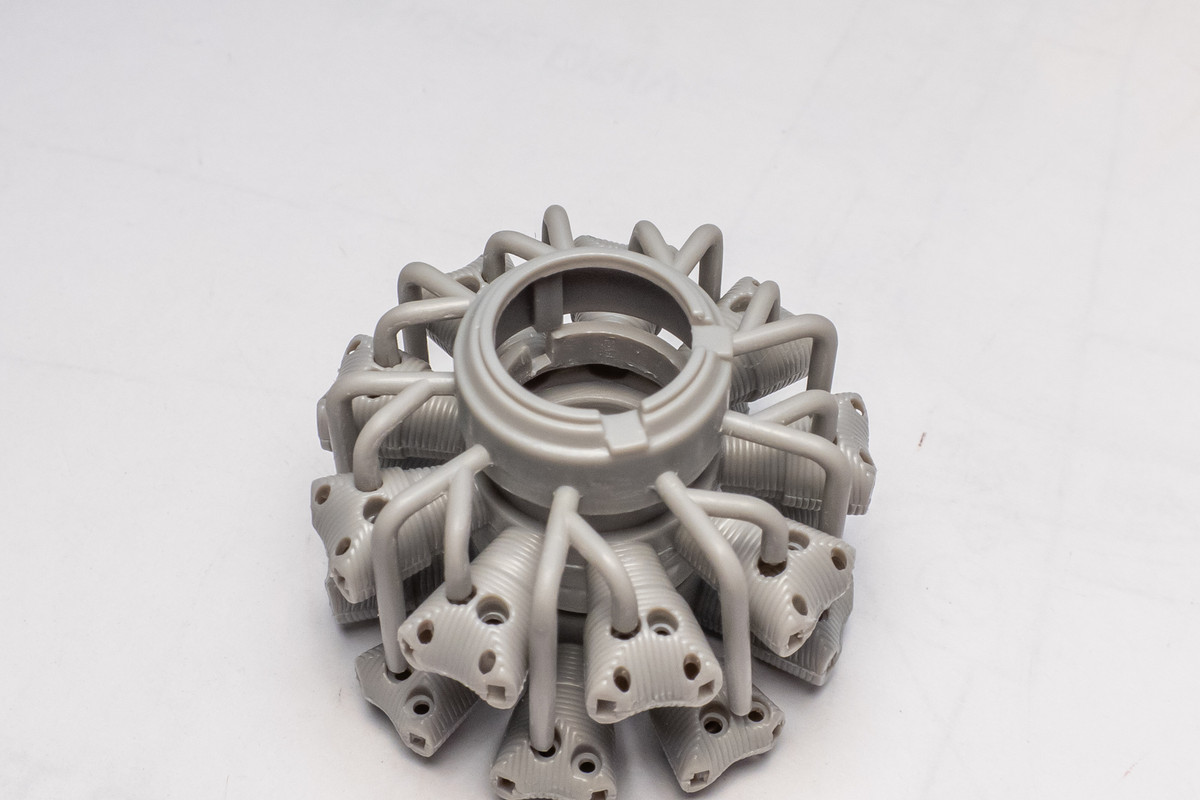
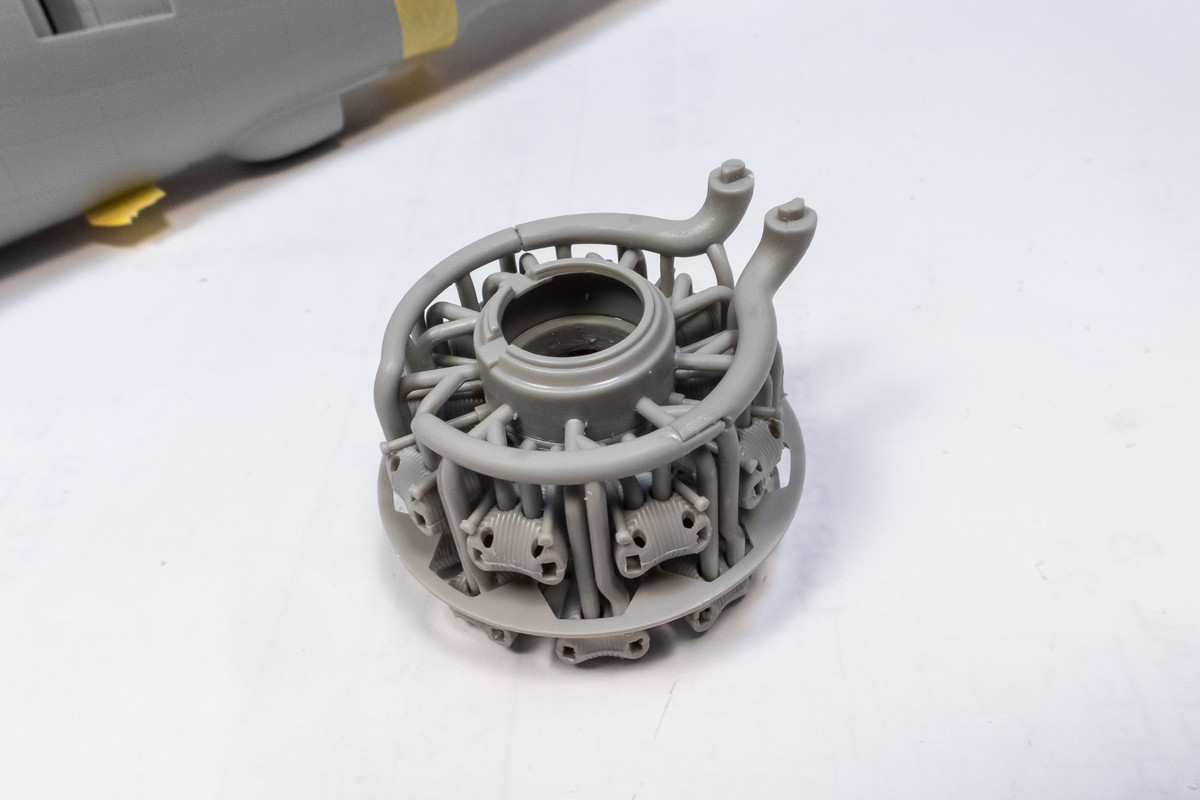
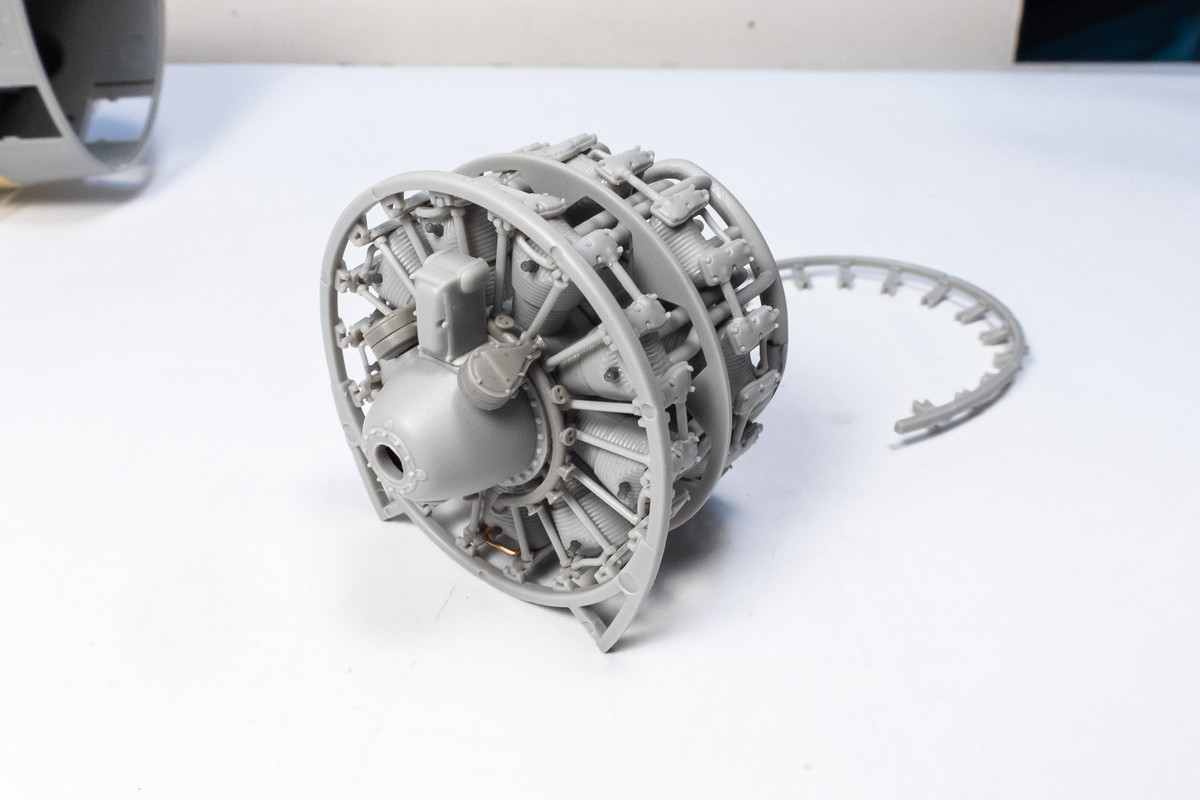
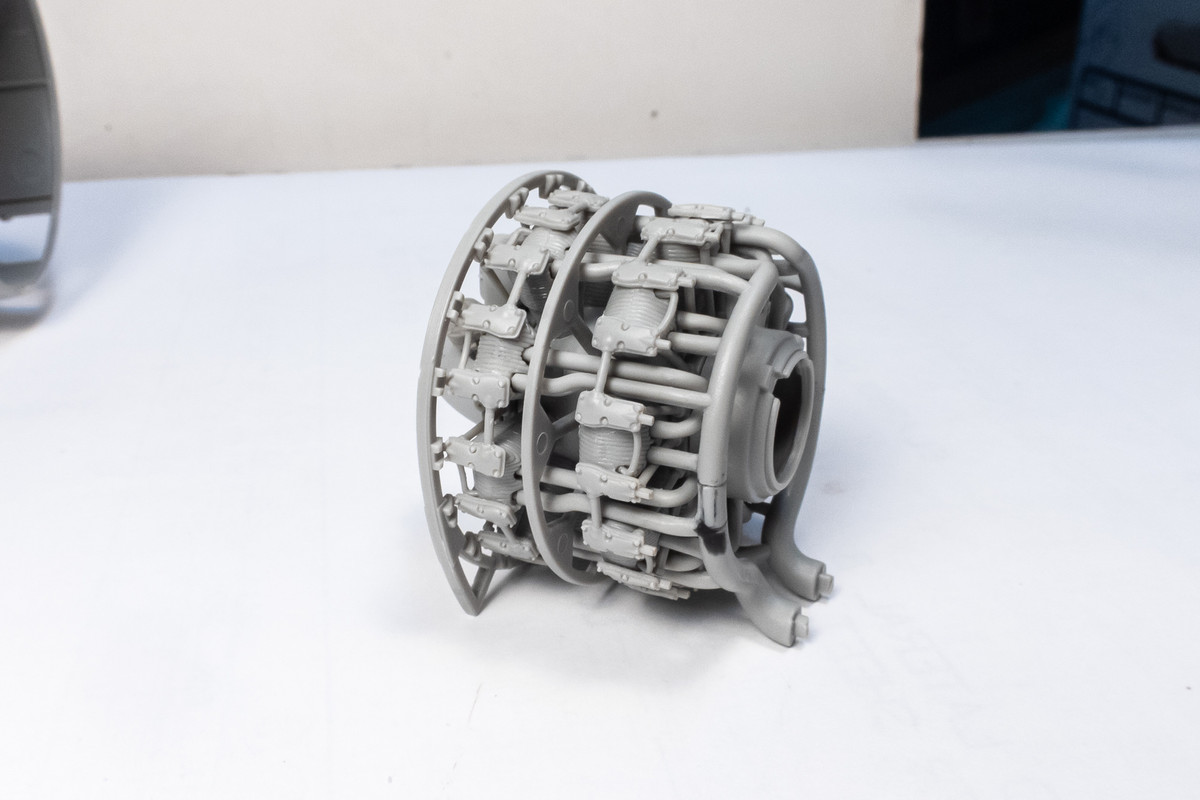
Here is a dry fit of most of the engine components. The rear semi-circular frame was too flimsy to dry-fit.
Image
Image

This is back of the engine but it cannot be seen once mounted.
Image

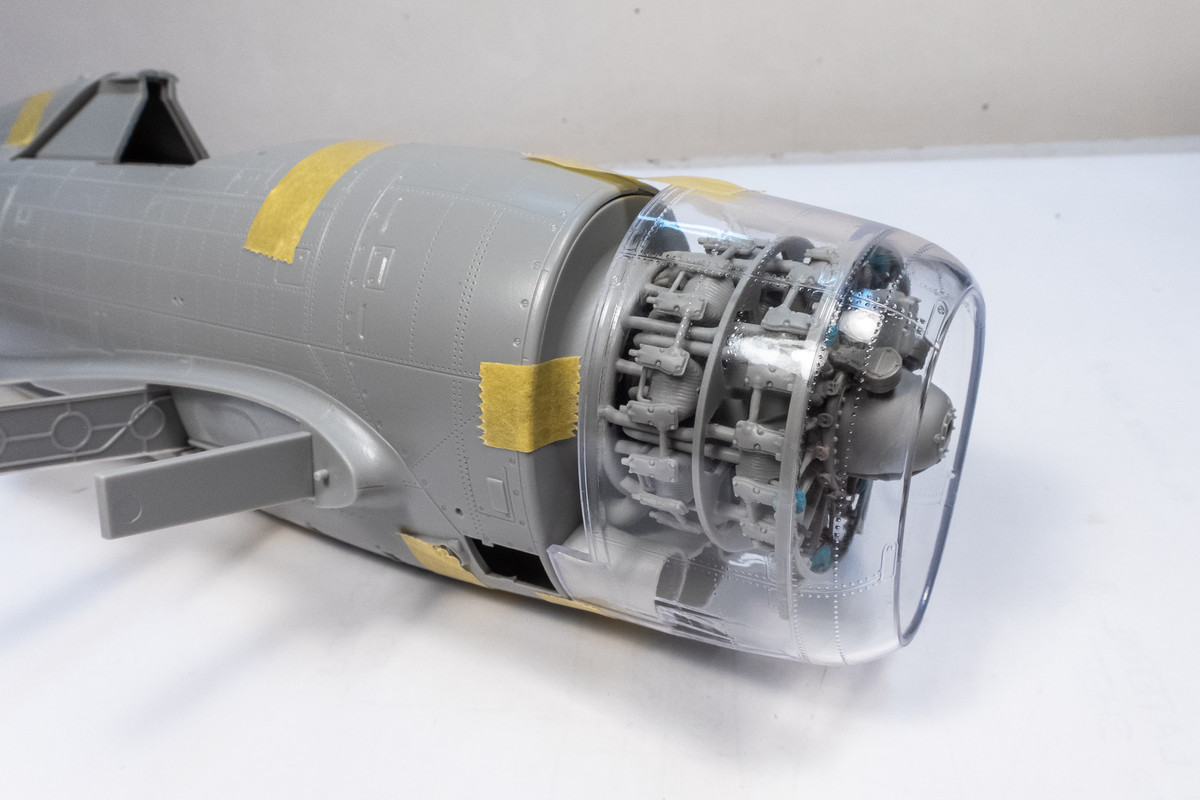
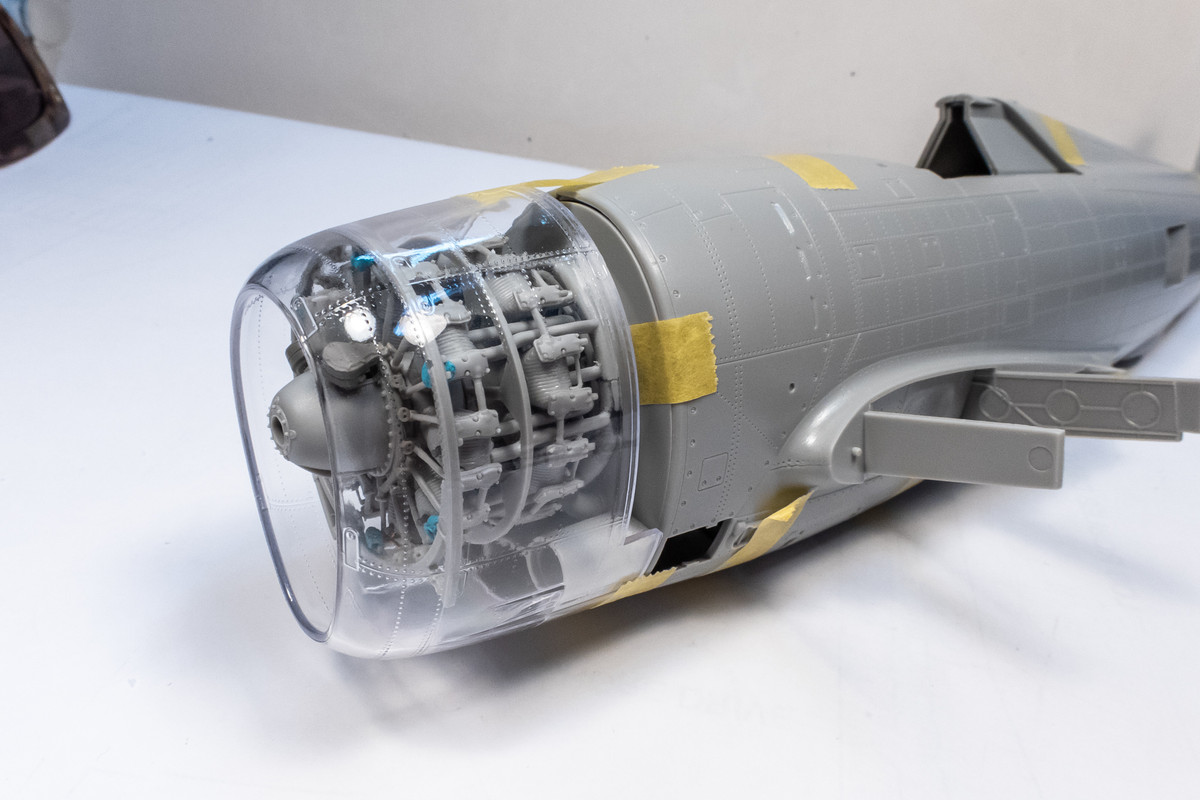
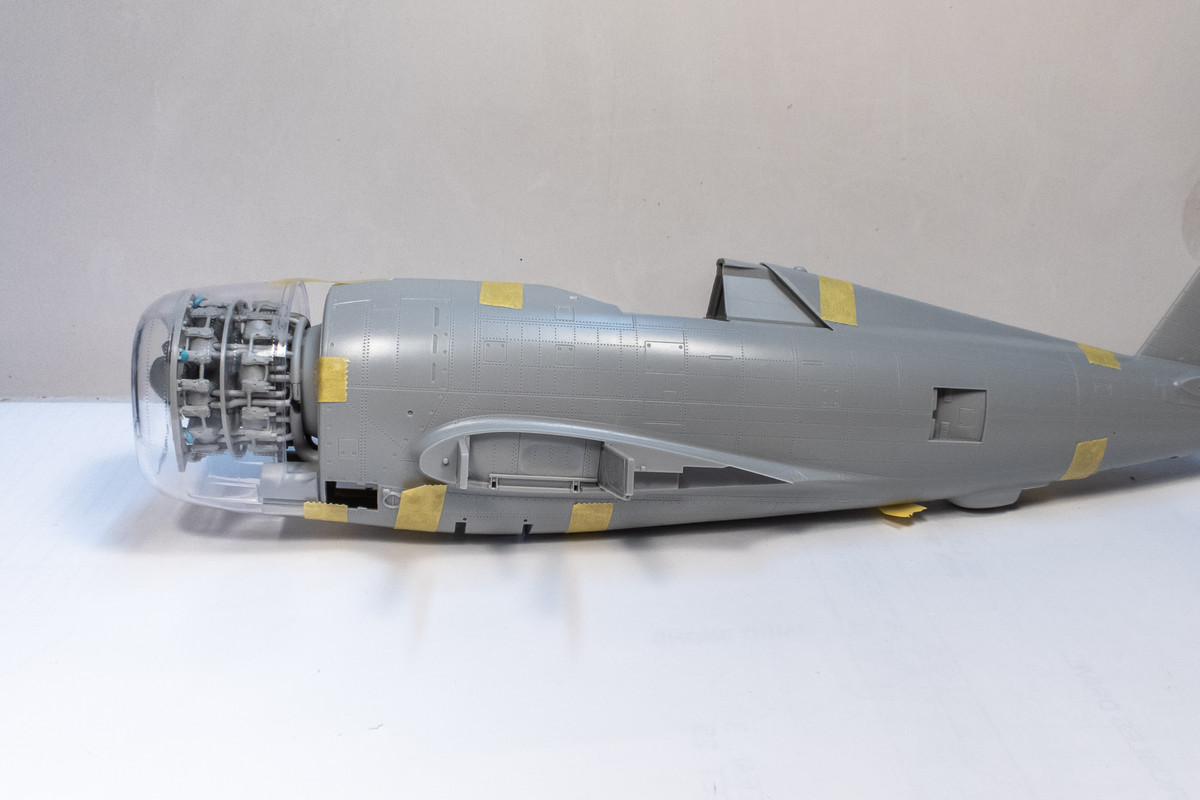
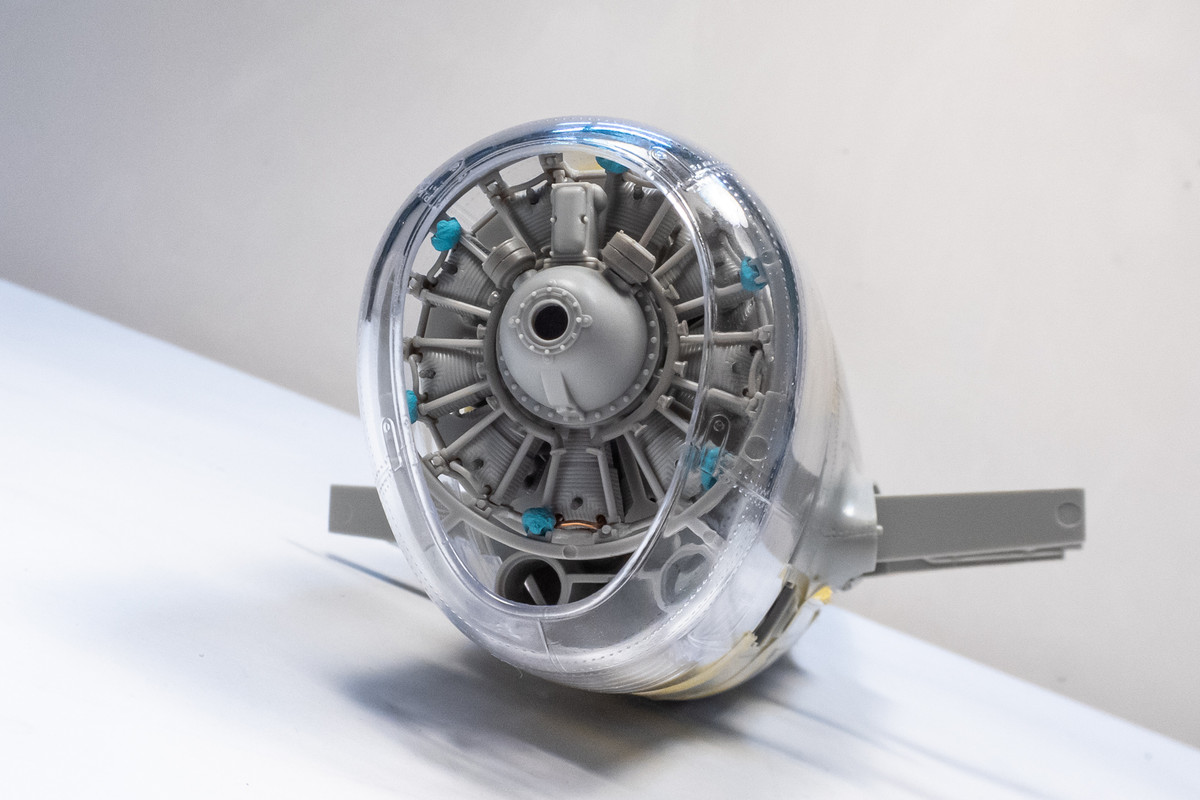
That front frame and encircles the engine fits flush into the front of the engine cowling. Because of its shape, correct orientation of the engine is maintained, giving another positive mounting point for the engine. However, at least during this stage of dry-fitting, the only thing connecting the engine/cowling to the fuselage are those two exhaust duct tabs.
Image
Image
Image
Image
John aka JKim
-----------<><
Image
User avatar
Stikpusher
Moderator
Posts: 18880
Joined: Sat Apr 05, 2014 8:37 pm
Location: Ceti Alpha 5

Re: Trumpeter P-47D Razorback "Eileen"

Post by Stikpusher »

Oh that is gonna be one sweet engine all assembled and detailed. It’s too bad that more of it will not be visible.
"Surely I have made my meaning plain? I intend to avenge myself upon you, Admiral. I have deprived your ship of power, and when I swing 'round, I intend to deprive you of your life."

FLSM
User avatar
BlackSheep214
Elite Member
Posts: 10422
Joined: Sun Apr 06, 2014 8:47 pm

Re: Trumpeter P-47D Razorback "Eileen"

Post by BlackSheep214 »

Well…. here’s an idea you could do. What if you paint only one half of the clear cowling to show off the engine?
“Who controls the skies, controls the fate of this Earth”

Author unknown- 352nd Fighter Group, Blue-Nosed Bastards of Bodney

“Send one plane it’s a sortie; send two planes it’s a flight; send four planes it’s a test of airpower. - Richard Kohn
User avatar
jkim
Elite Member
Posts: 3930
Joined: Mon Apr 10, 2017 4:03 pm

Re: Trumpeter P-47D Razorback "Eileen"

Post by jkim »

Stikpusher wrote: Fri Nov 25, 2022 9:16 am Oh that is gonna be one sweet engine all assembled and detailed. It’s too bad that more of it will not be visible.
True, but it simplifies some things as well, which is a good thing. Will have a nice view into the front of the engine from the spinner-less prop.

BlackSheep214 wrote: Fri Nov 25, 2022 7:55 pm Well…. here’s an idea you could do. What if you paint only one half of the clear cowling to show off the engine?
Great idea but I'm not going to do that! I chose this scheme because of the checkerboard nose!

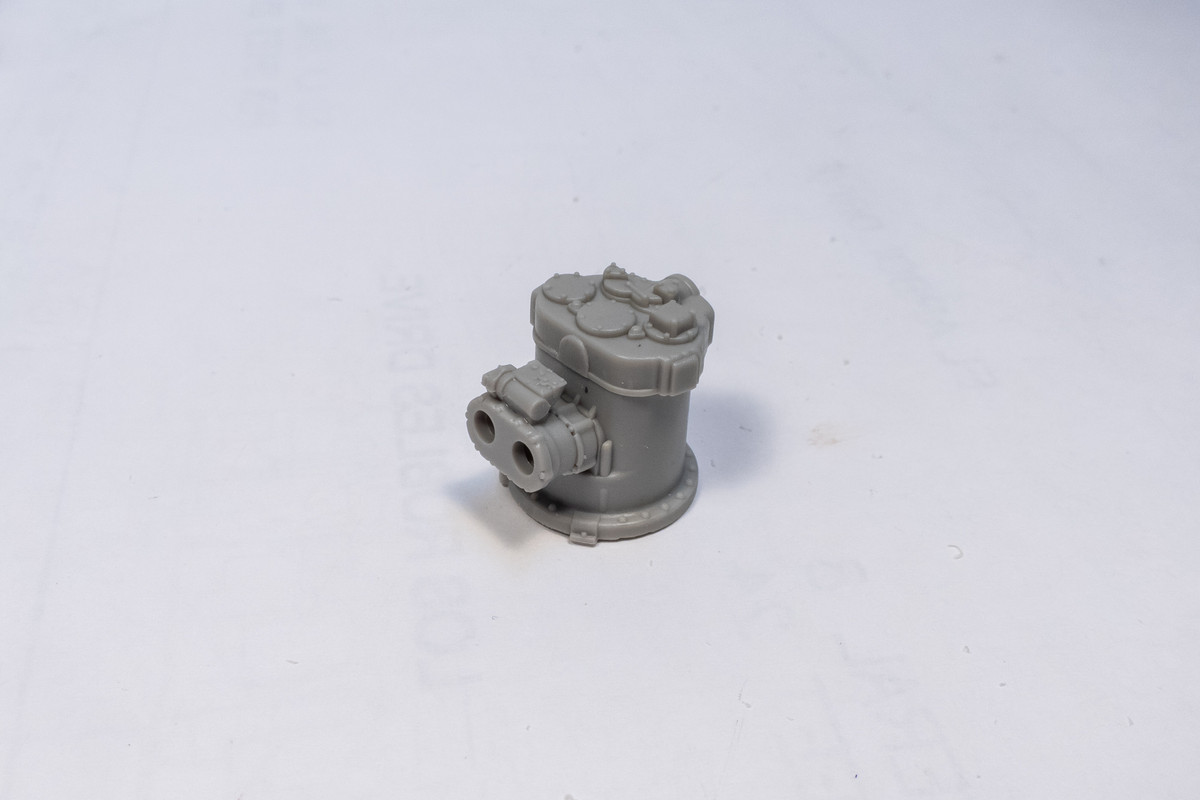
Before I move over to the cockpit, I wanted to check those mid-fuselage vents to see how the supercharger assembly affects the view into the opening. As you can see, the opening just drops off into the fuselage interior and ideally, should be blanked off to block this view.
Image

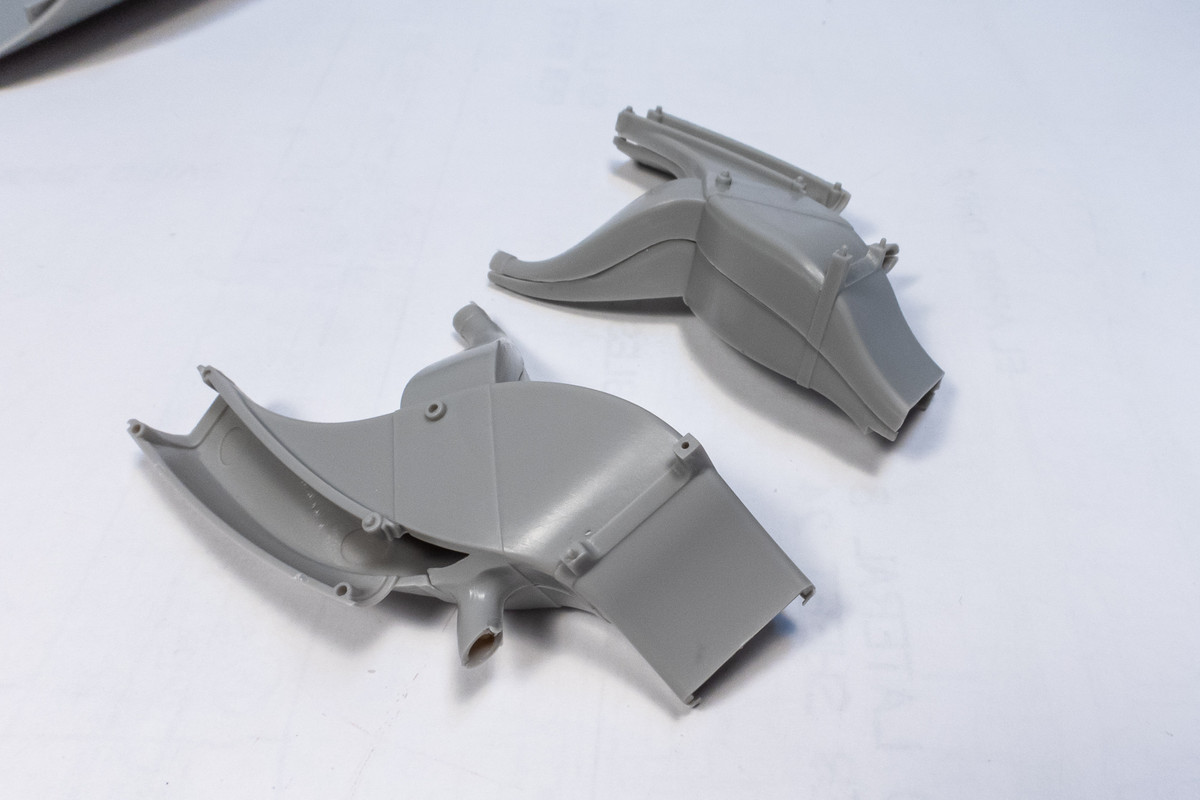
The supercharger assembly includes ducting from those vents as separate pieces.
Image

Installing these without the rest of the supercharger ducting looks like the best way to block this area off from view.
Image
Image

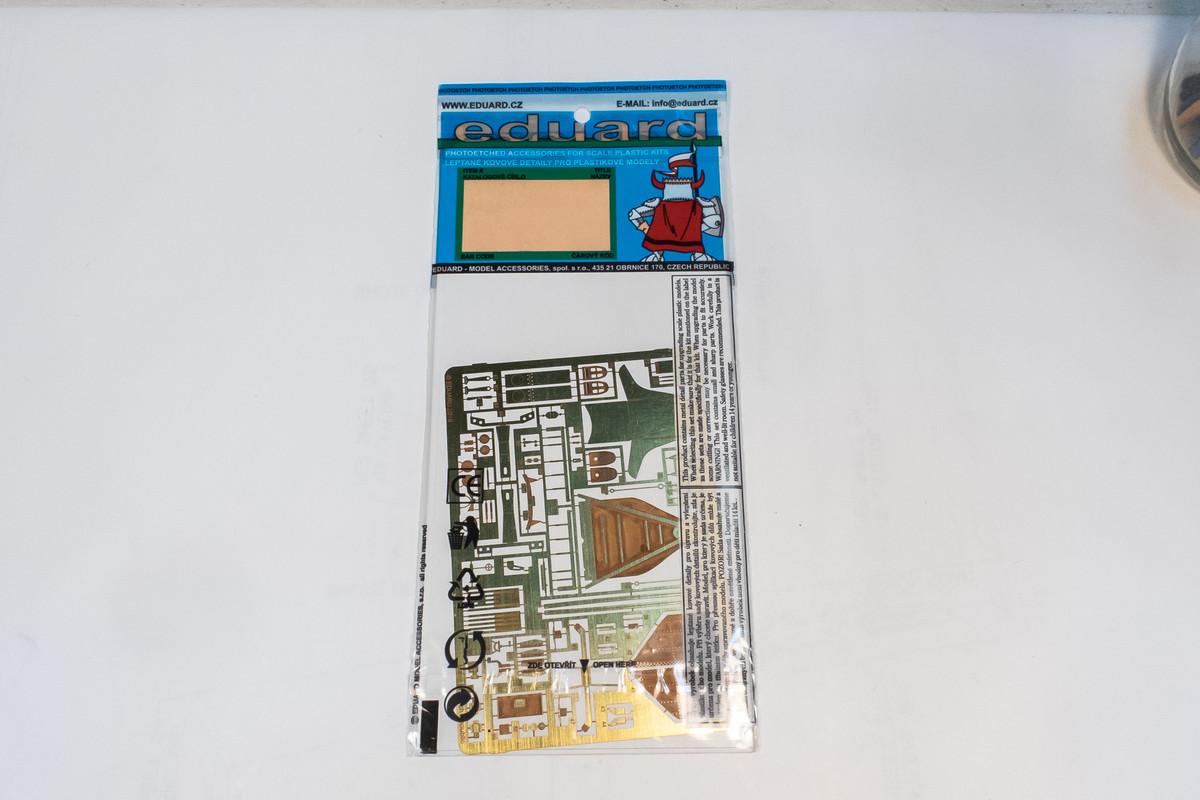
Ok, let's move to the cockpit for a looksee. The Eduard PE interior set FINALLY came, along with some Airscale cockpit placards and stencils, which I hope will come in handy.
Image

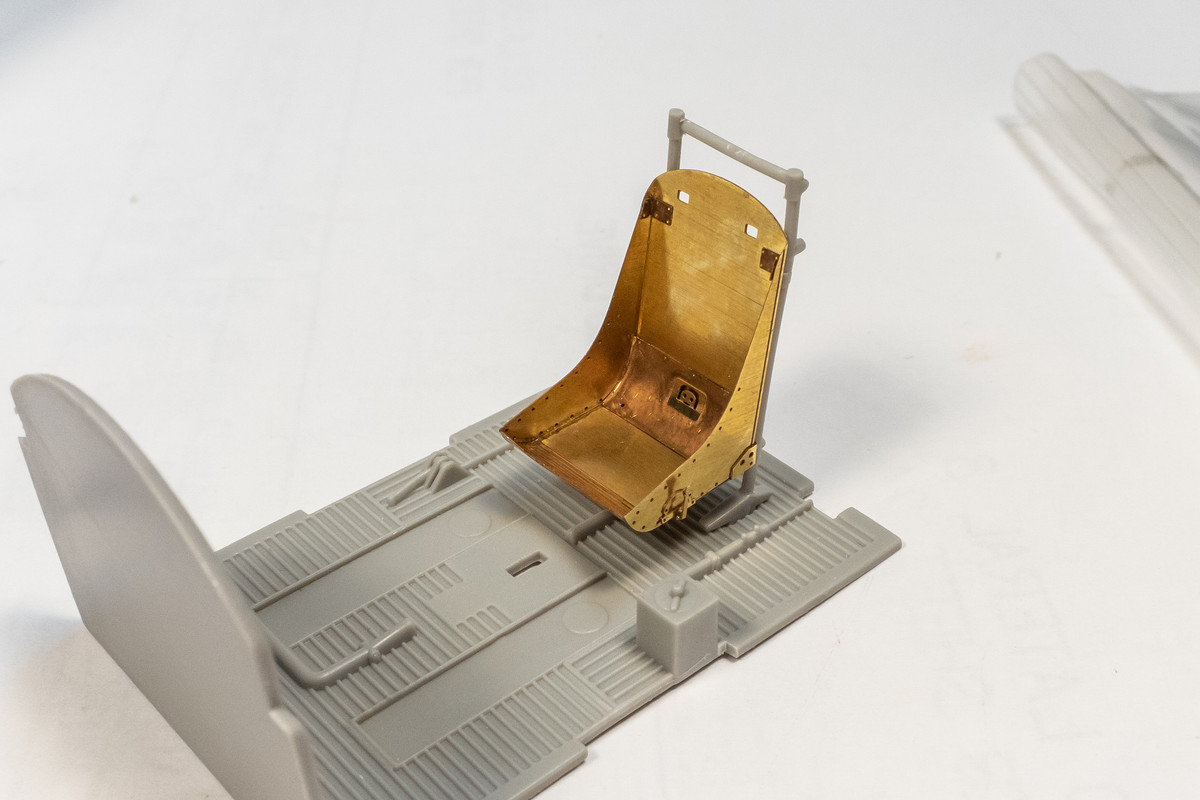
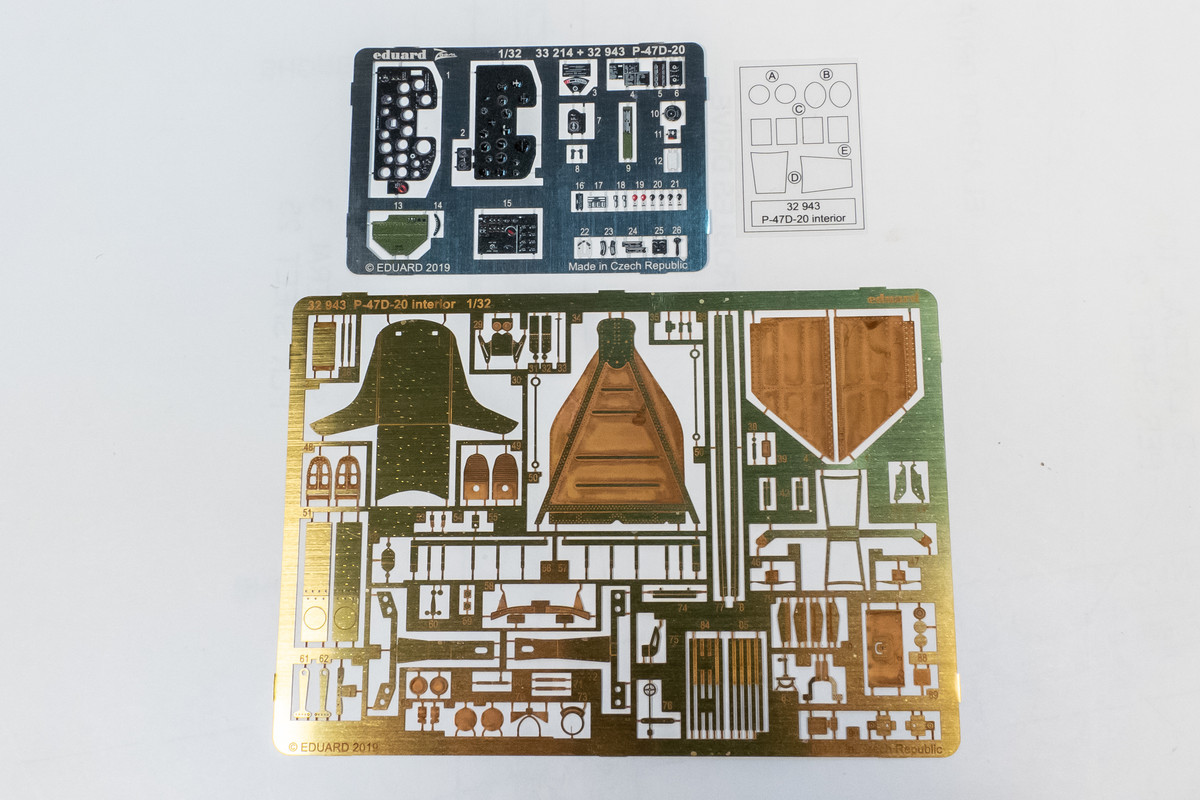
There are two frets supplied: one in color including the instrument panel, circuit panel and throttle quadrant faces. The unpainted fret has a host of other details including a seat, rear armor panel and overlays for the canopy cut-out section behind the headrest. As always, the components of the PE set will be analyzed before using. Tiny fiddly details that will be hidden from view may not be used, like details at the base of the seat frame. The instrument panel looks nice but I have a Yahu panel coming in. I'll probably assemble the Eduard IP as a comparison to the Yahu.
Image

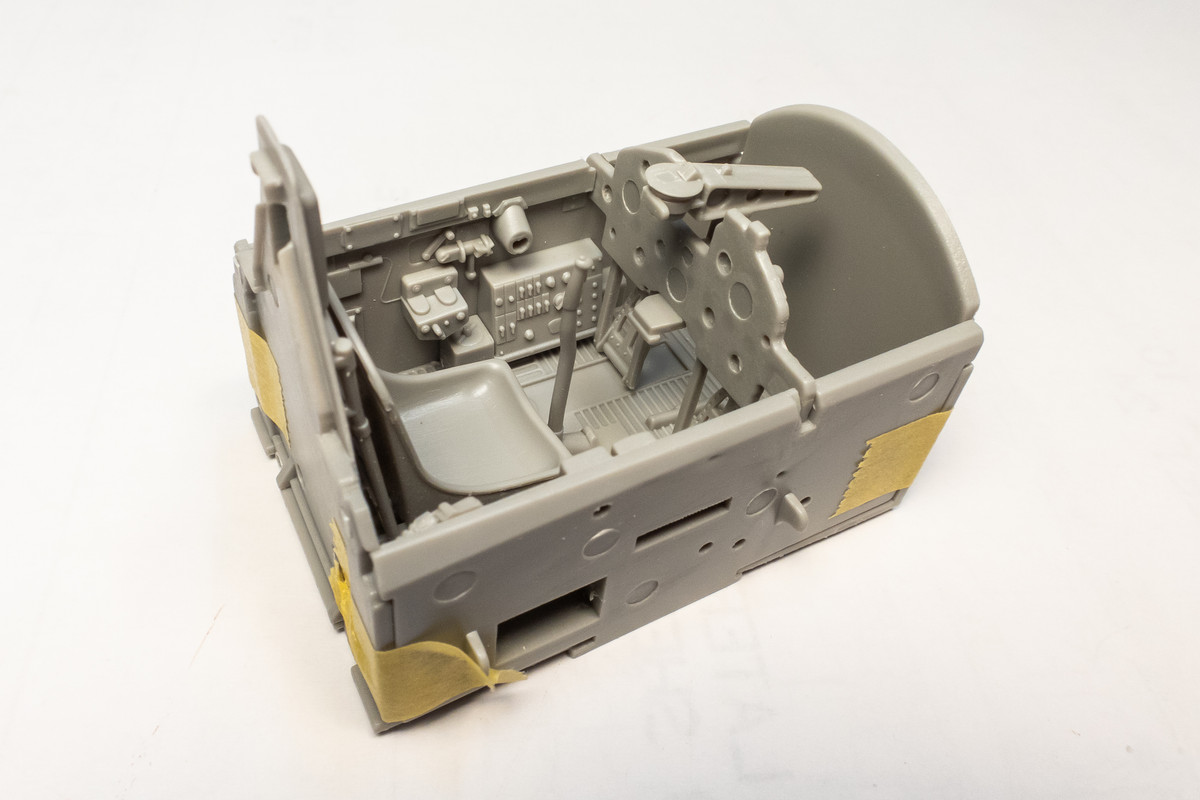
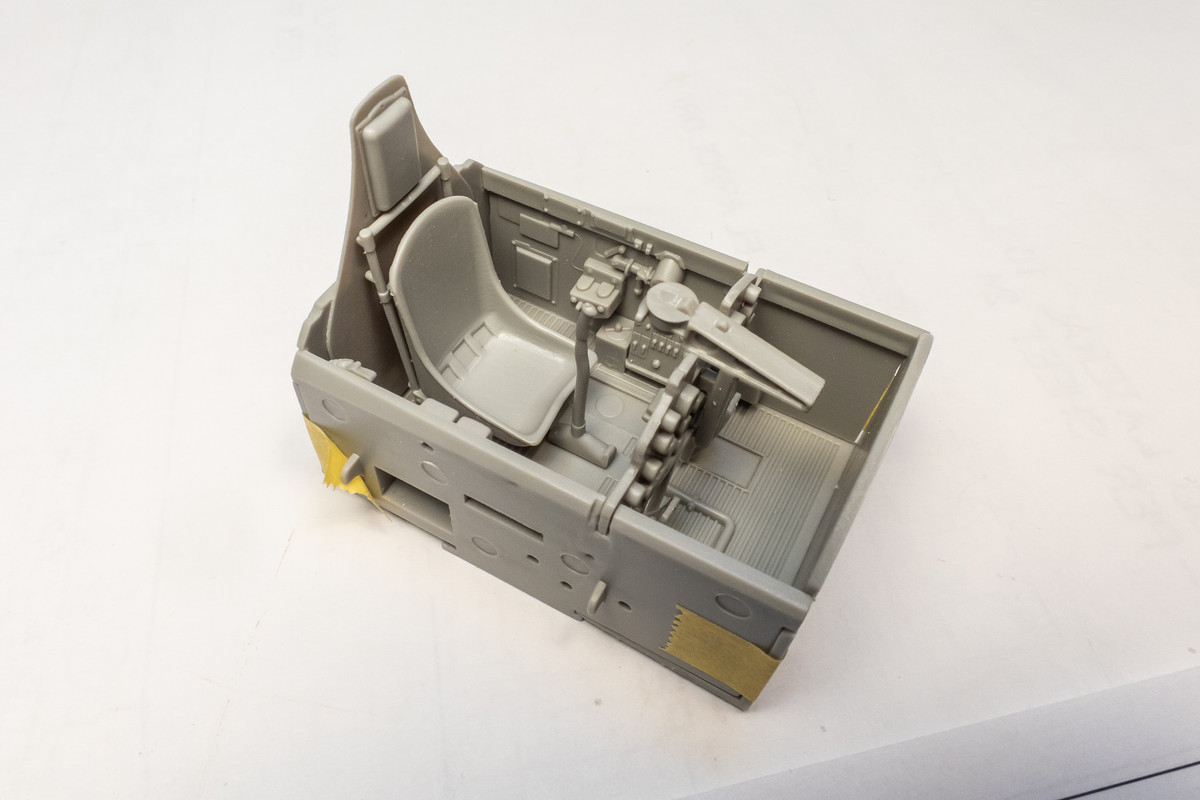
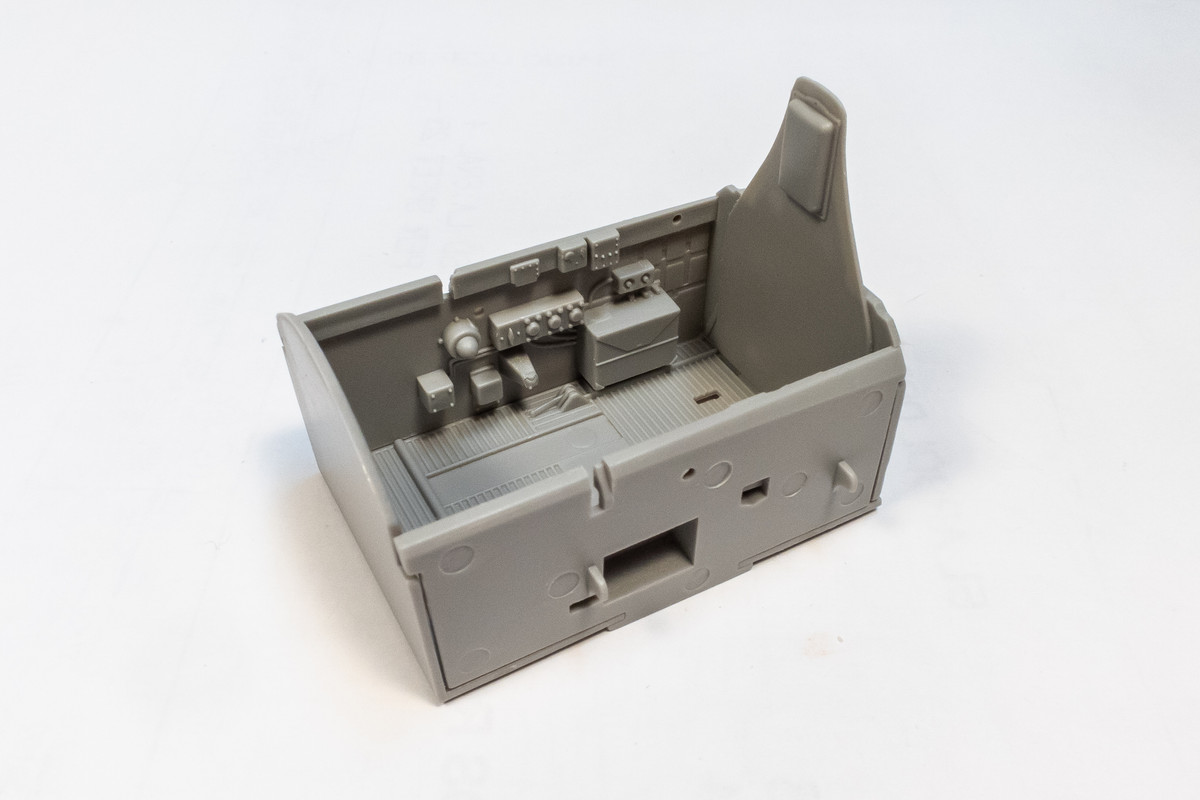
I wanted to check to see if the cockpit would be held into place without the supercharger structure. A good-fitting four-wall tub structure makes dry-fitting very easy.
Image
Image

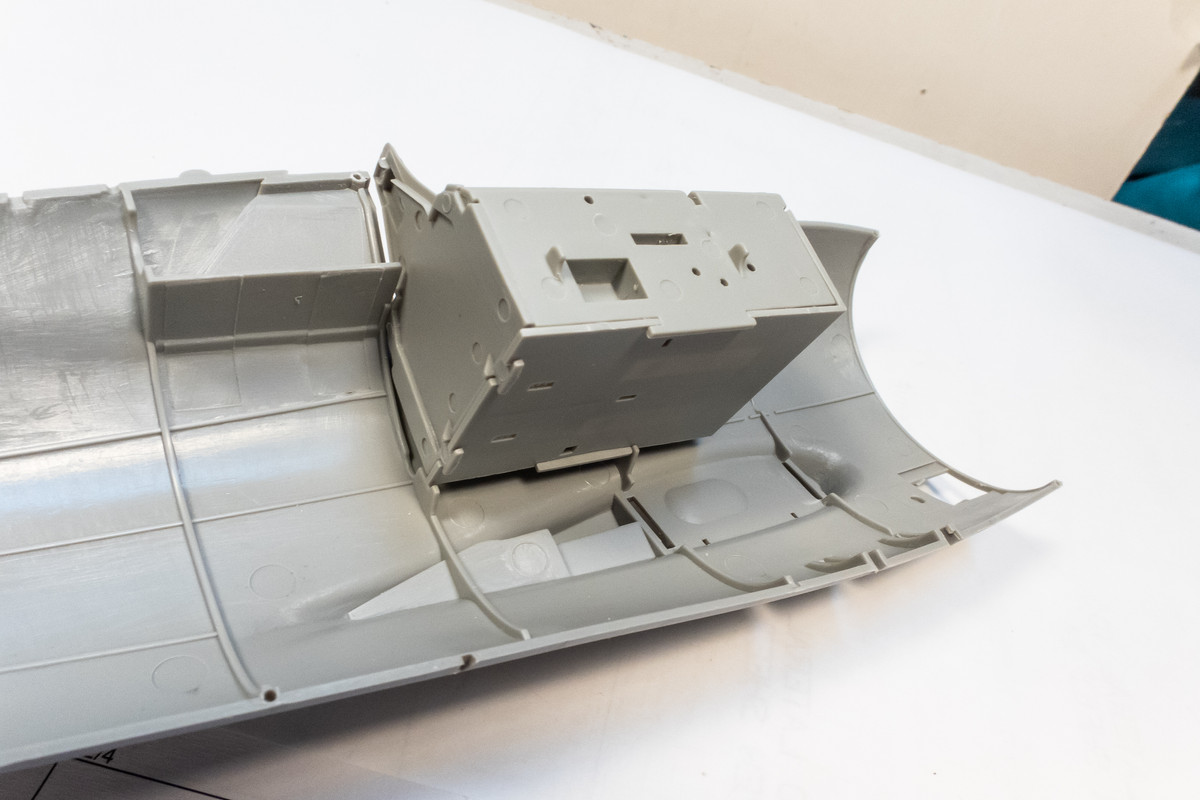
Two pegs on each fuselage side supports the cockpit. So the supercharger installation is not necessary to install the cockpit.
Image
Image
Image

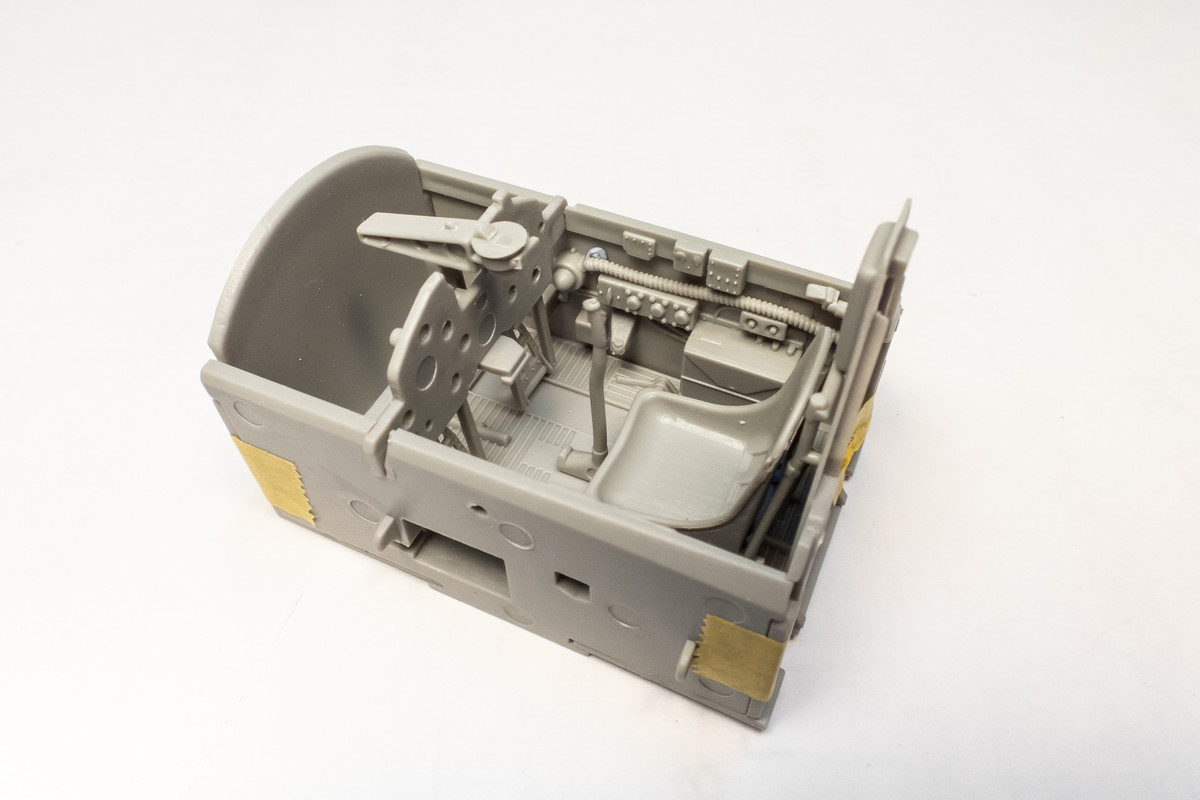
While I was at it, I added some of the other cockpit parts. Overall, I judge the cockpit on this kit to be very good. Lots of nicely molded, 3D-relief in the form of boxes and panels. For example, the large circuit panel on the port side has really nice knob and switch details. The Eduard part adds color and fine markings that I could not achieve with paint but will lose the 3D effect.
Image
Image
Image

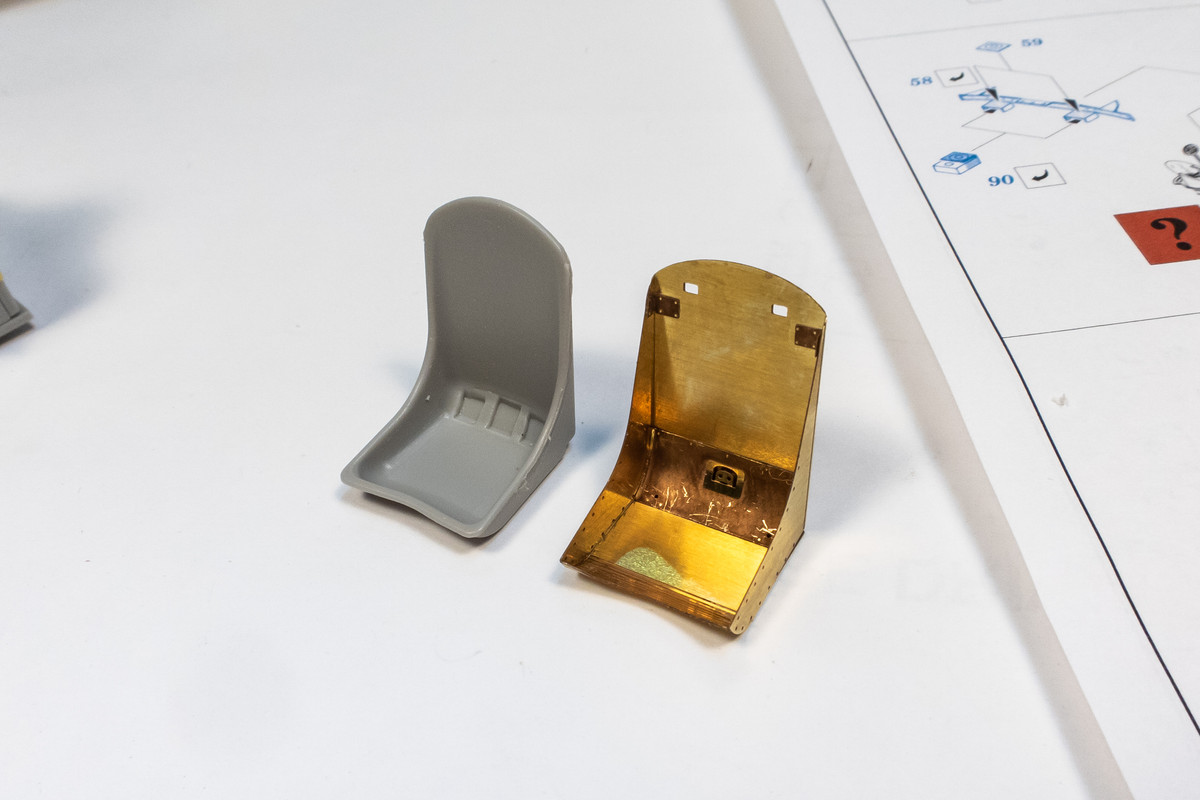
The seat looks like a nice upgrade without any drawbacks. It is thinner and has some added detail that the kit seat lacks.
Image
Image
John aka JKim
-----------<><
Image
User avatar
Stikpusher
Moderator
Posts: 18880
Joined: Sat Apr 05, 2014 8:37 pm
Location: Ceti Alpha 5

Re: Trumpeter P-47D Razorback "Eileen"

Post by Stikpusher »

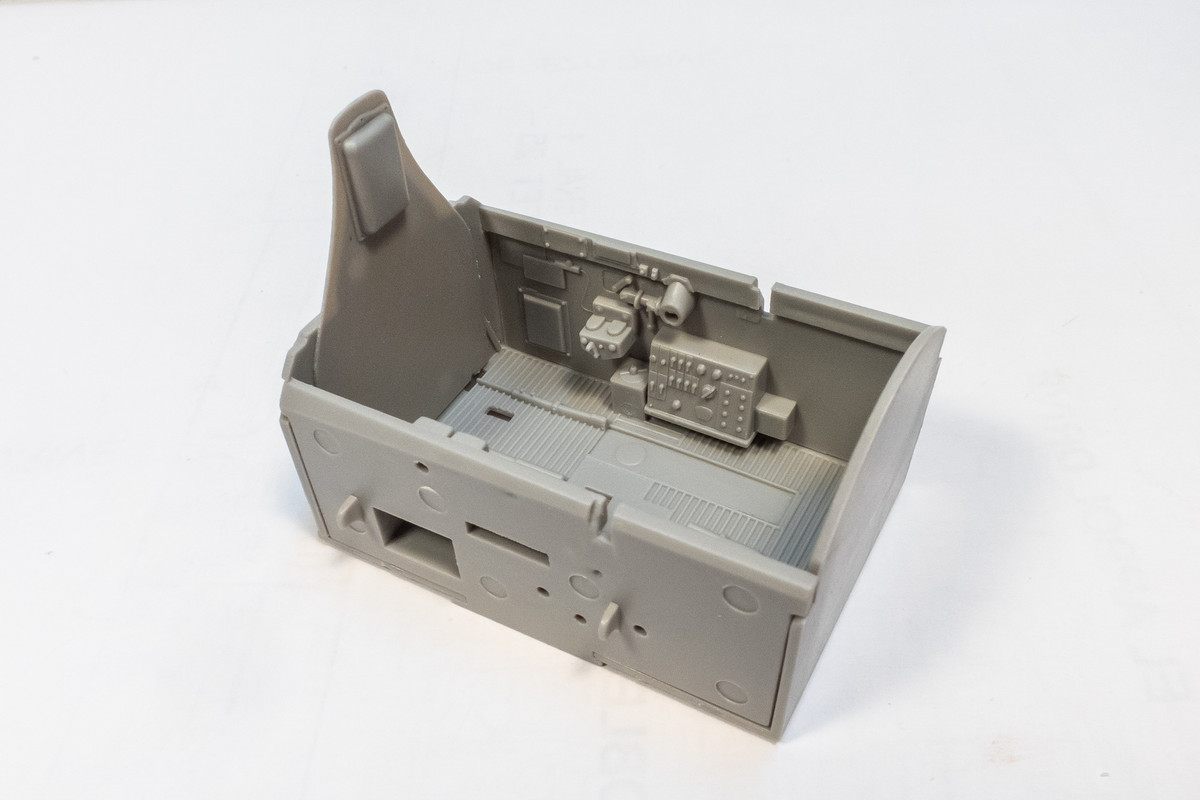
John, has your P-47 Detail & Scale book arrived yet? This question is related to painting the cockpit. IIRC, on Republic built P-47s, the cockpits were painted in “Dull Dark Green”, and not in “Interior Green”. Curtiss built P-47s used Interior Green in the cockpit, but the Curtiss built P-47s were primarily used as stateside advanced trainers, and not sent to overseas combat theaters. It’s been awhile and my memory is hazy on this point.
"Surely I have made my meaning plain? I intend to avenge myself upon you, Admiral. I have deprived your ship of power, and when I swing 'round, I intend to deprive you of your life."

FLSM
Post Reply

Return to “Aircraft Work in Progress”