Page 25 of 29

Re: Trumpeter P-47D Razorback "Eileen"

Posted: Mon Feb 27, 2023 2:06 pm
by Stuart
That is amazing work John! :bow: :bow: :bow:

Re: Trumpeter P-47D Razorback "Eileen"

Posted: Mon Feb 27, 2023 2:29 pm
by Medicman71
So very nice! :shoutout: :shoutout:

Re: Trumpeter P-47D Razorback "Eileen"

Posted: Fri May 19, 2023 11:34 am
by jkim
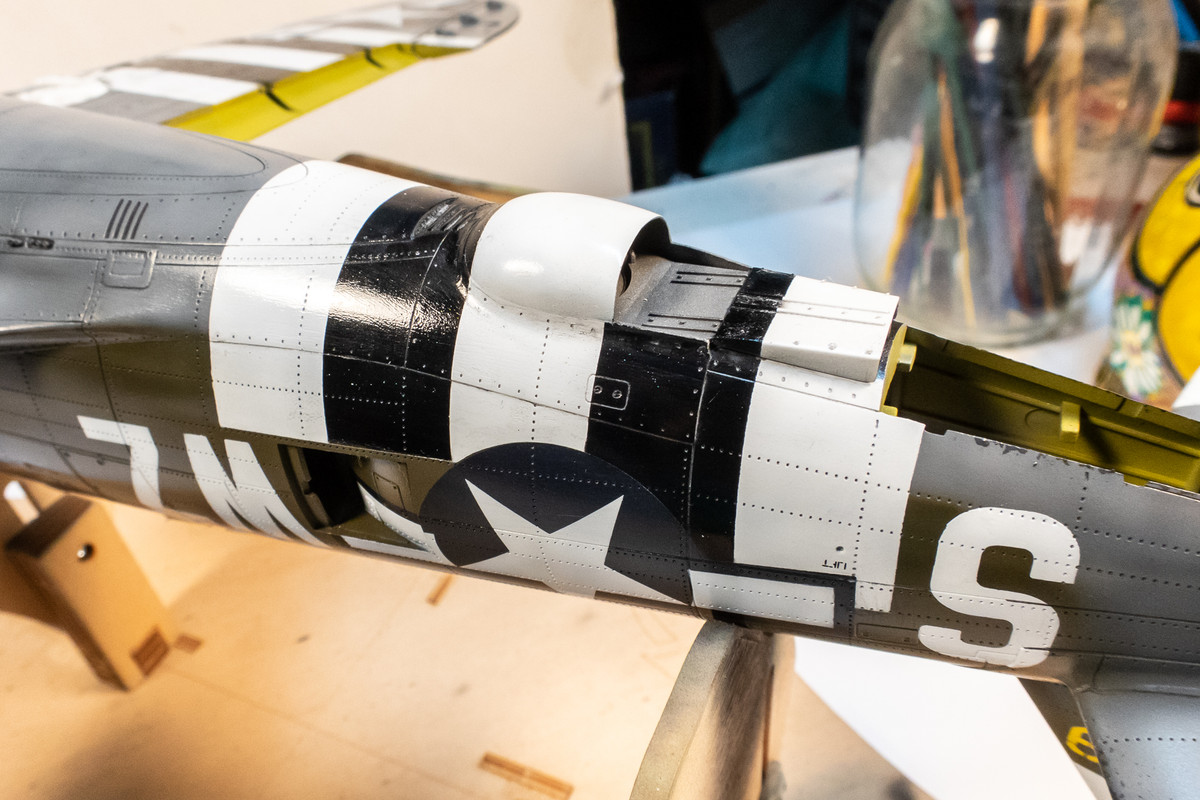
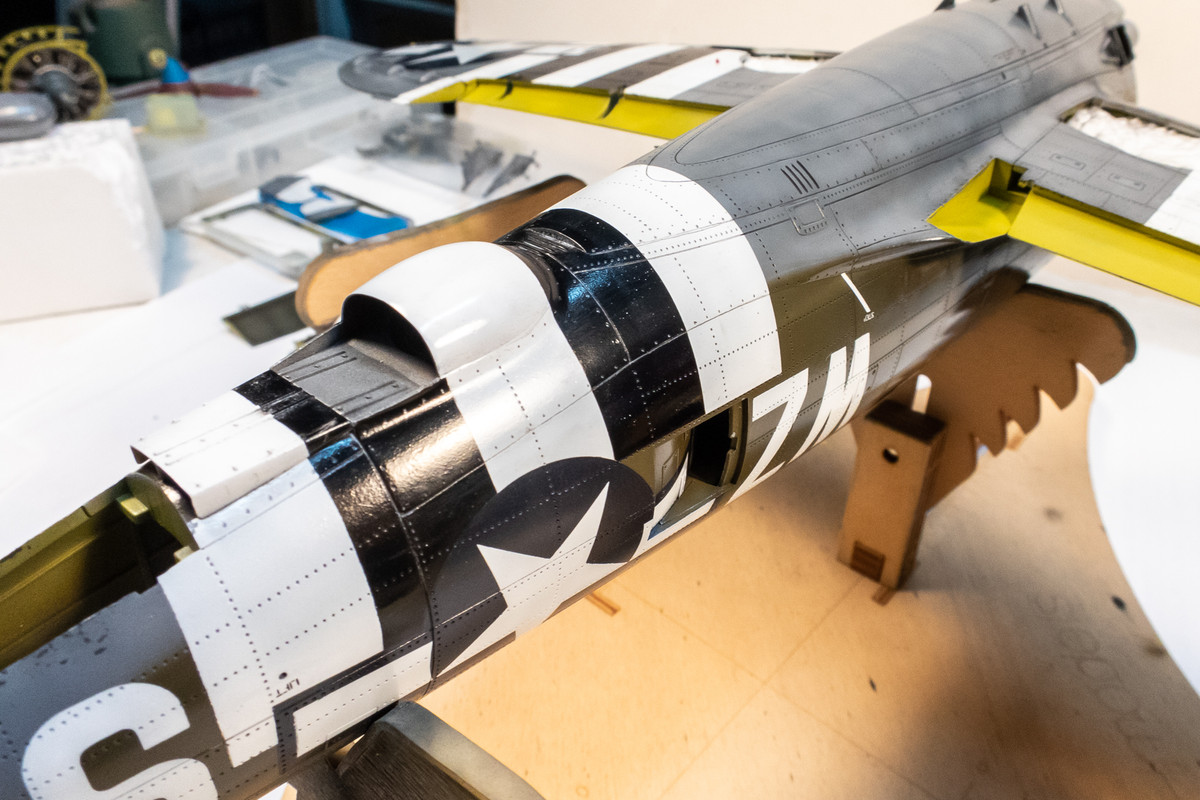
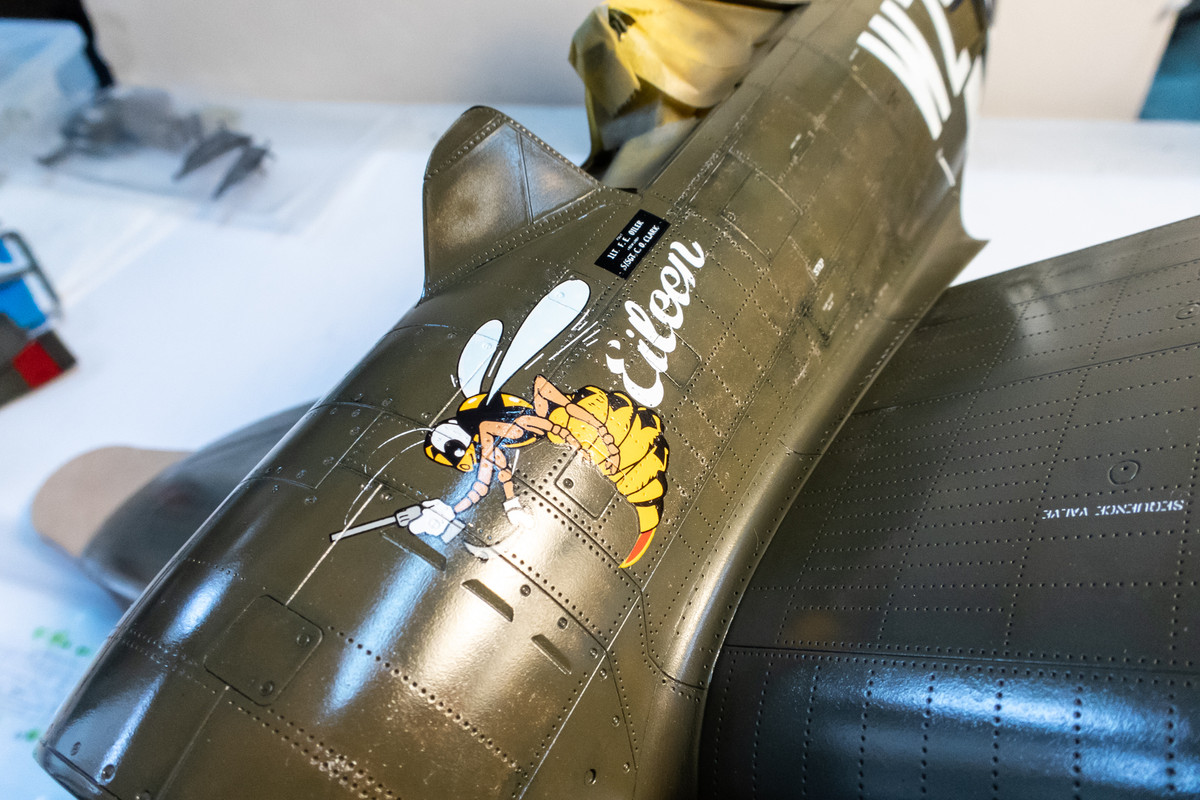
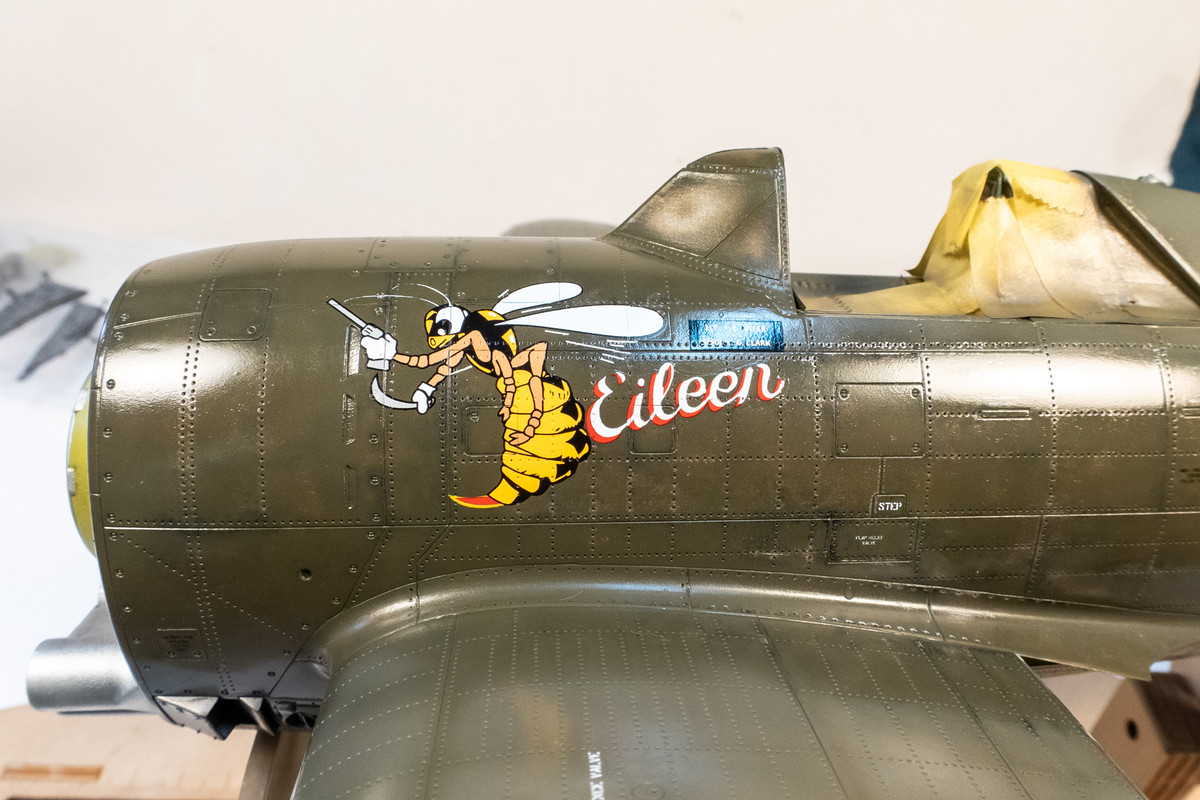
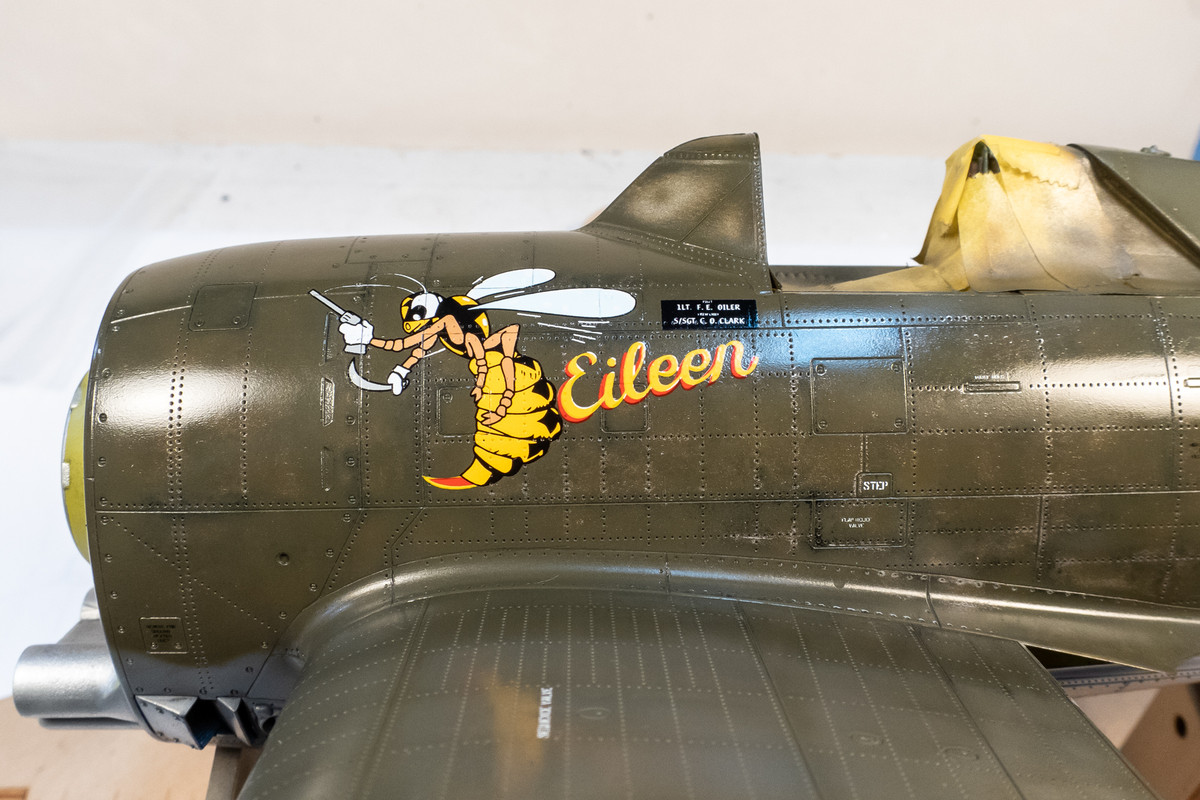
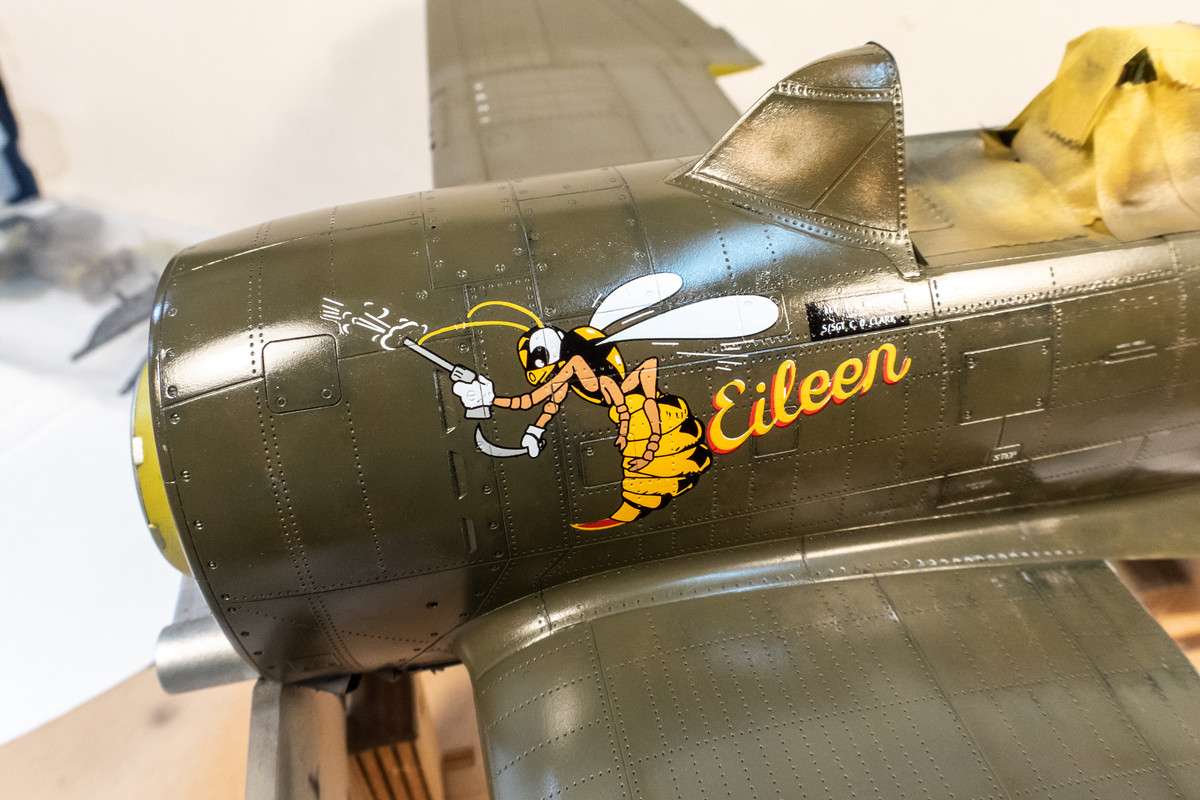
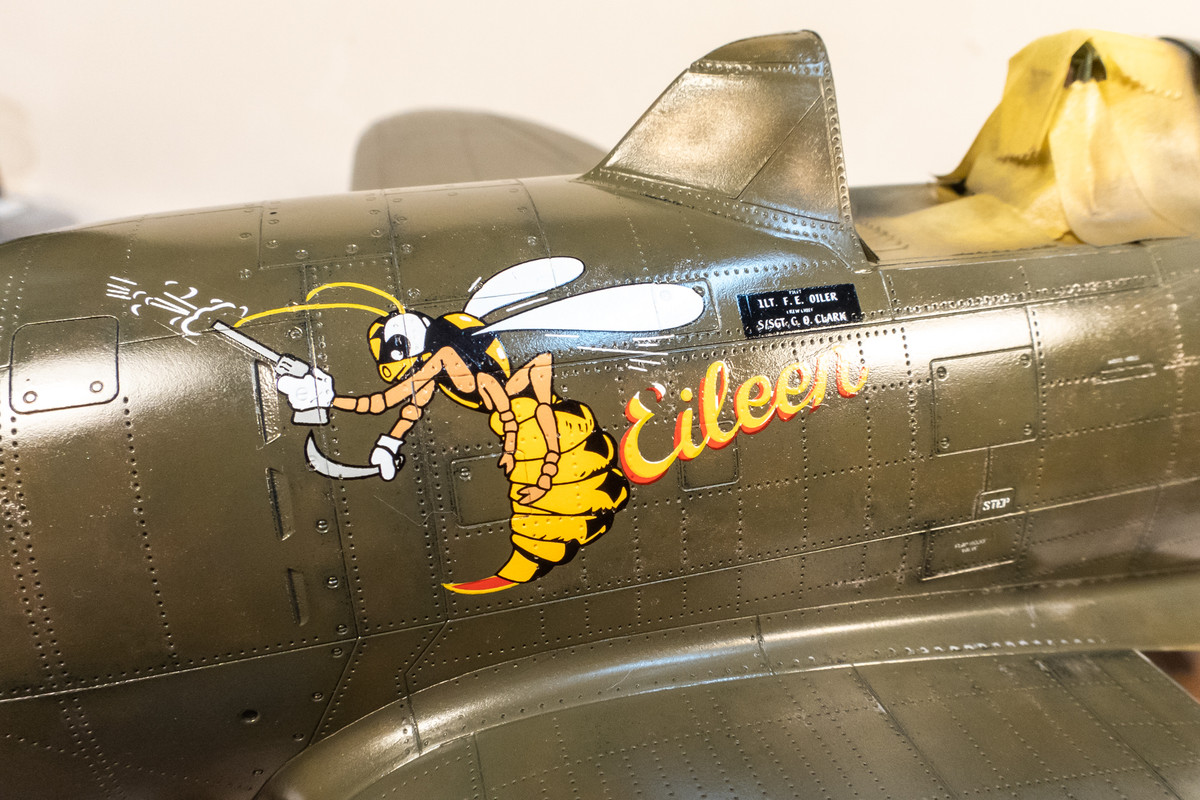
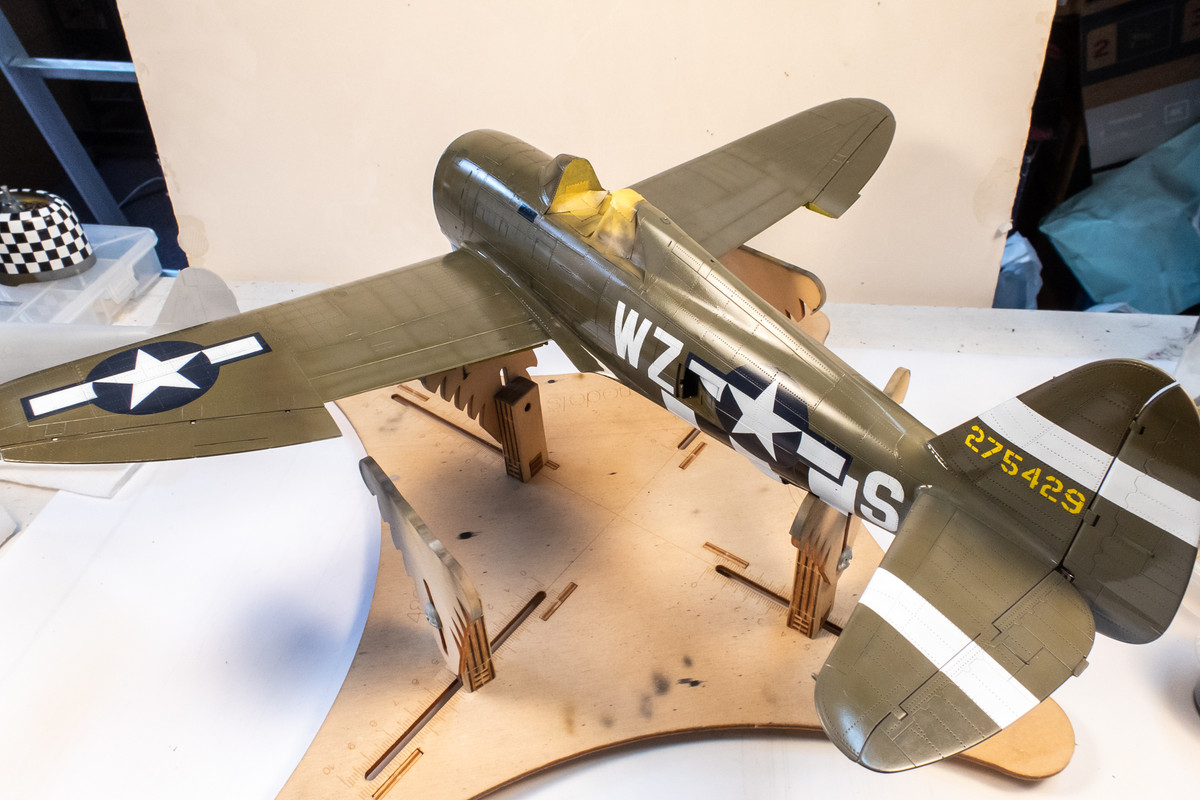
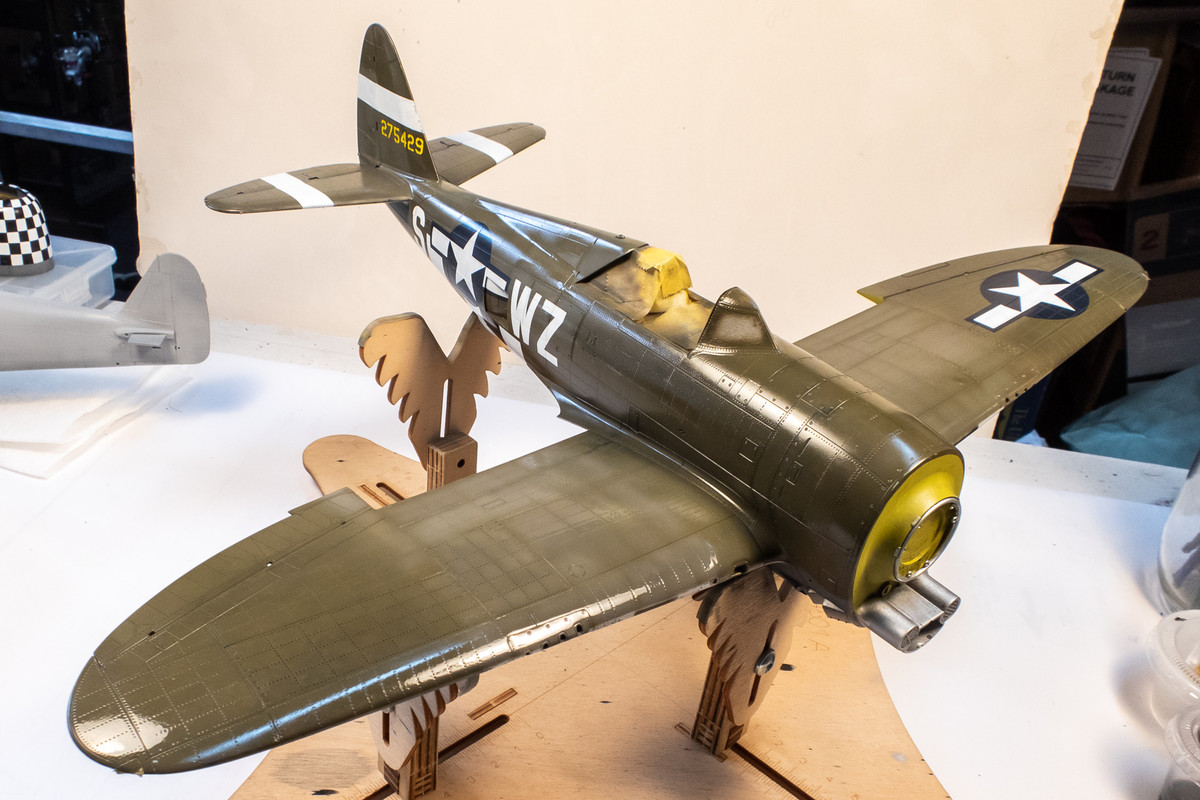
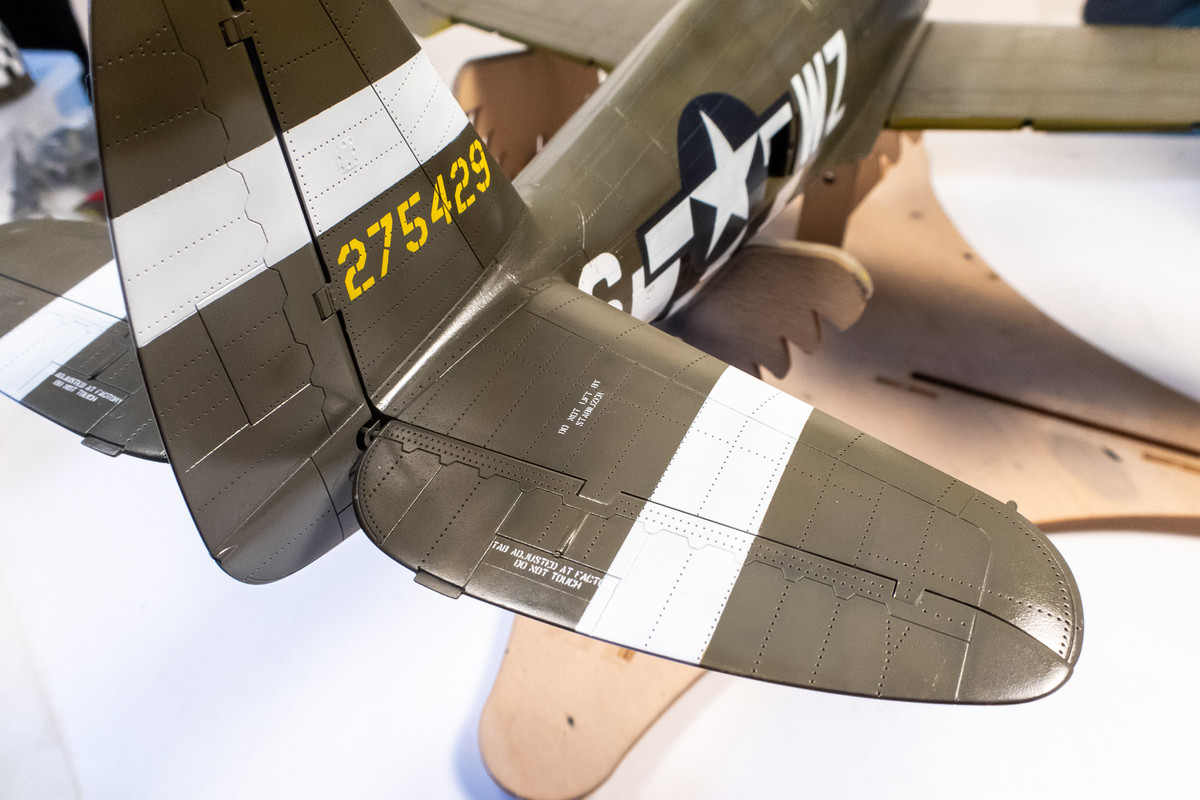
After a few months break, I'm ready to jump back on to this build and try to push it across the finish line. As I left her, the majority of the camo painting and large markings on Eileen had been completed. We are now at the decal stage. Since most of the markings were masked and painted, there aren't too many decals to apply... mostly maintenance stencils. I will be using the Barracuda decals, for the most part.

Before decals are applied, I sealed the camo and markings with a coat of Alclad Aqua Gloss.
Image
Image

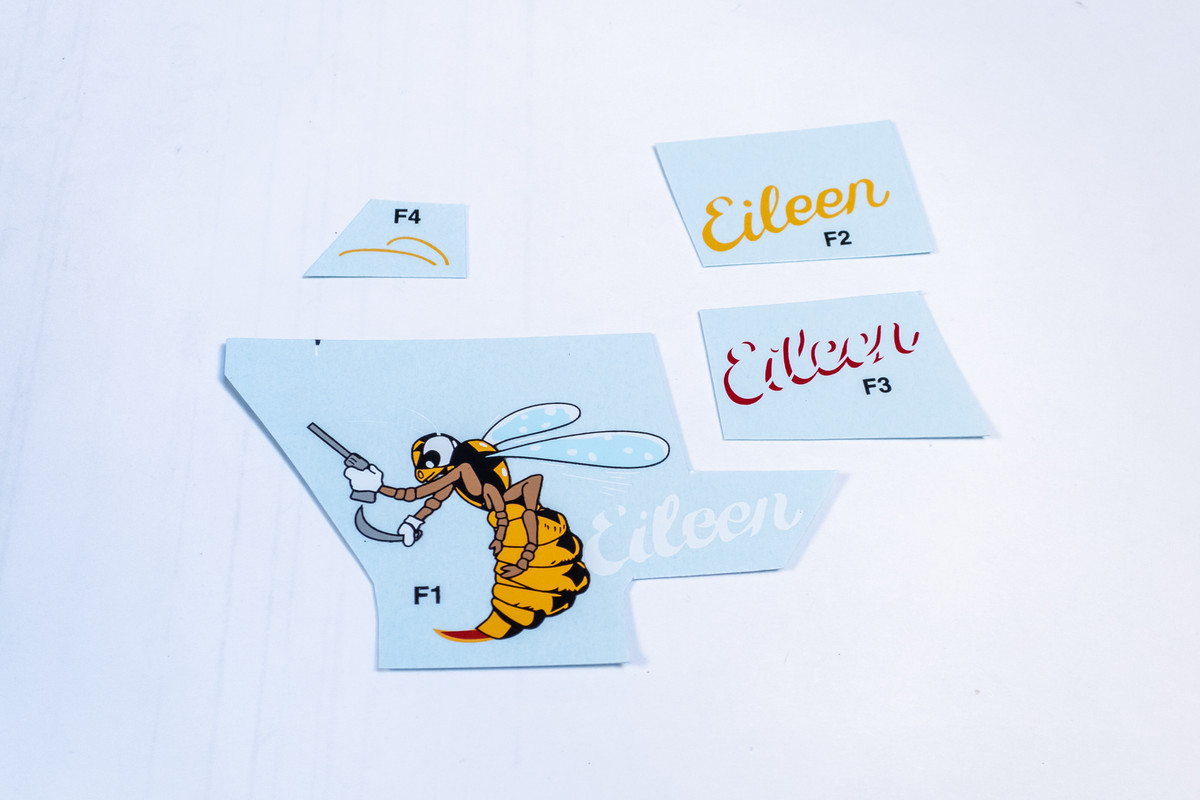
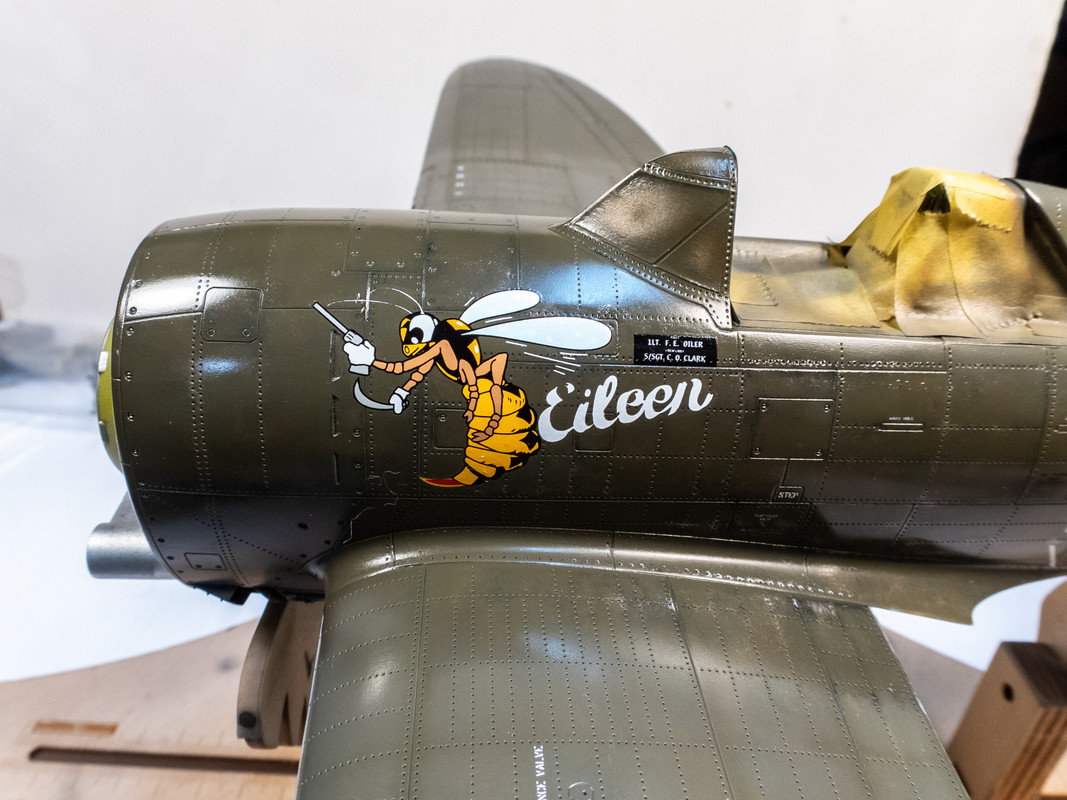
My normal decal routine comprises of these three decal solutions. Microset applied on the surface before the decal. Microsol applied over the decal to soften it and help it conform into the nooks and crannies. If Microsol isn't getting the desired effect, I'll try Walthers Solvaset.
Image

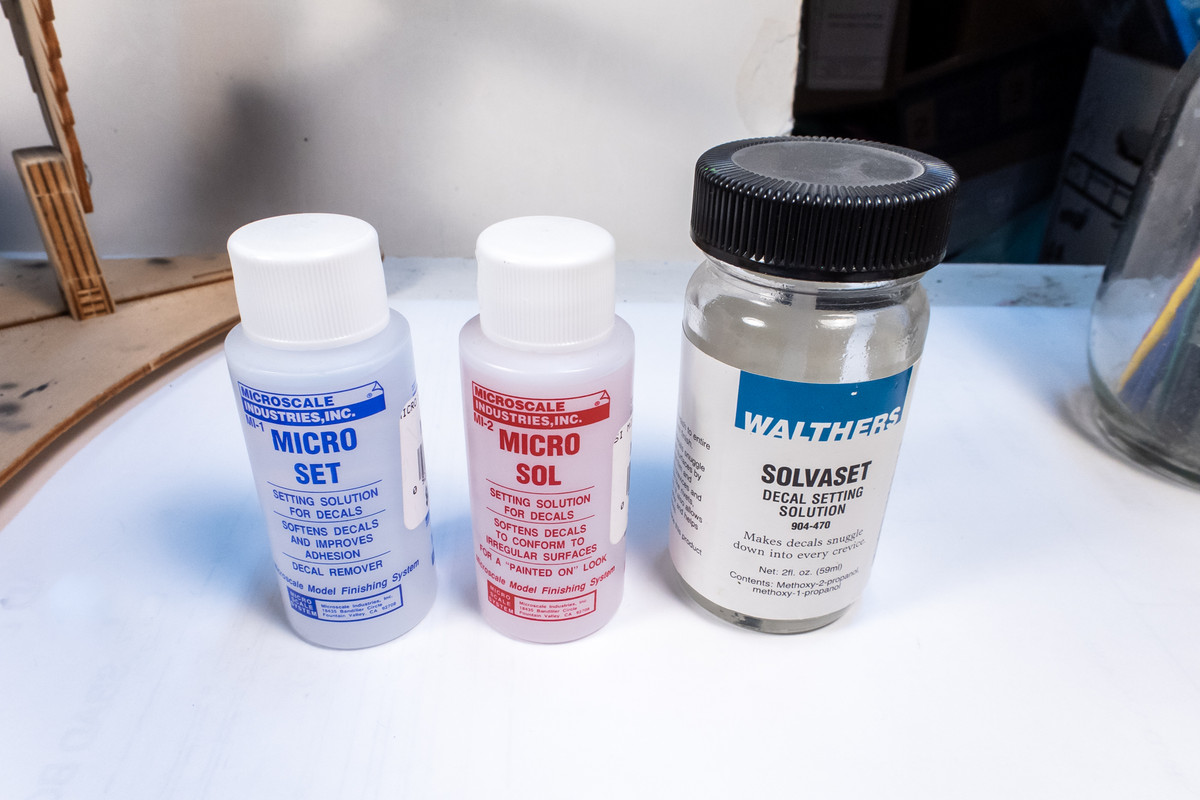
I ended up going straight to the Solvaset on this one as they seemed to be effective at getting the decals to settle and conform. After a couple of applications of Solvaset, the decal film was checked carefully. Sometimes the the decal will sag but not fully conform to a rivet or panel line. In these cases, I used a needle or sharp x-acto blade to physically puncture or cut the decal.
Image
Image

Before I get to the color wasp noseart, I decided to apply the pastel wash to the bottom of the aircraft. Using pastel chalks, I prepared 4 colors to be used on this build. A grey will be used on the black, white and navy blue. A darker grey will be used on the Neutral Grey. Black or Dark Brown will be used on the OD topsides.
Image

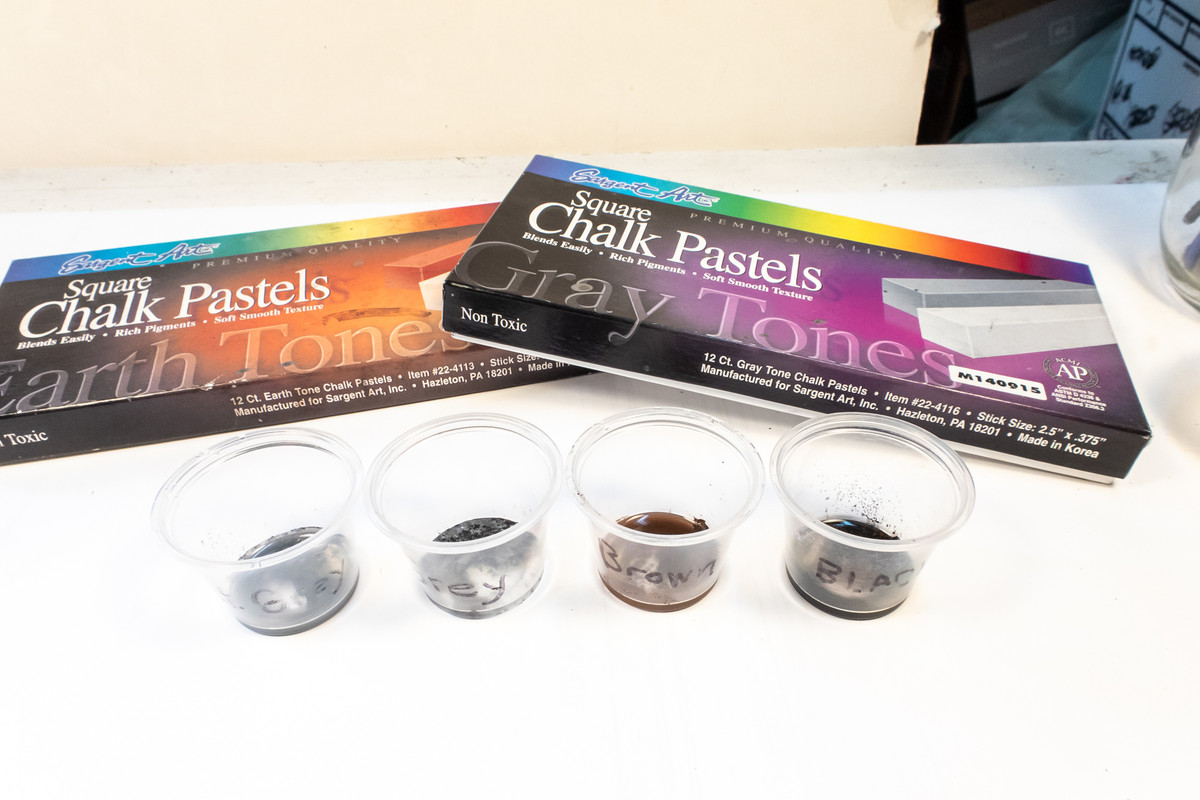
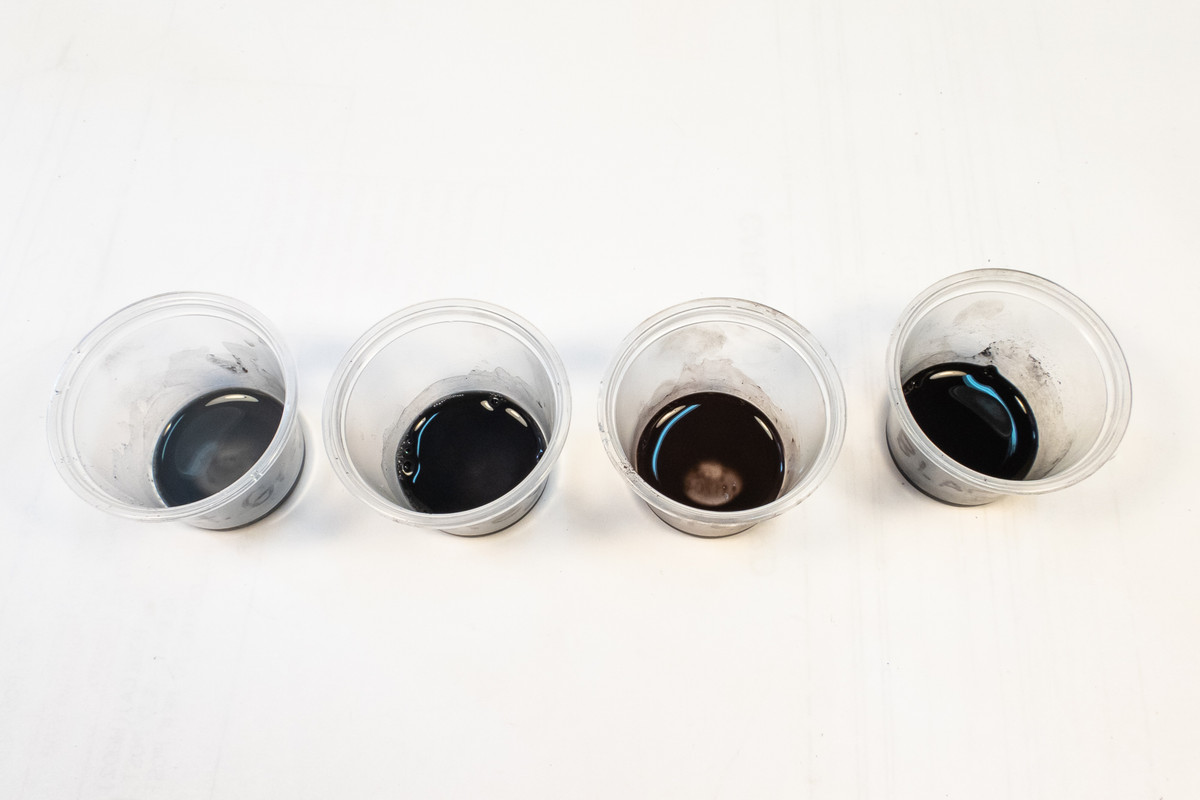
My pastel washes are a super simple mix of water, shavings from pastel chalks and a drop of dishwashing liquid to help suspend the pastel particulates in the water.
Image

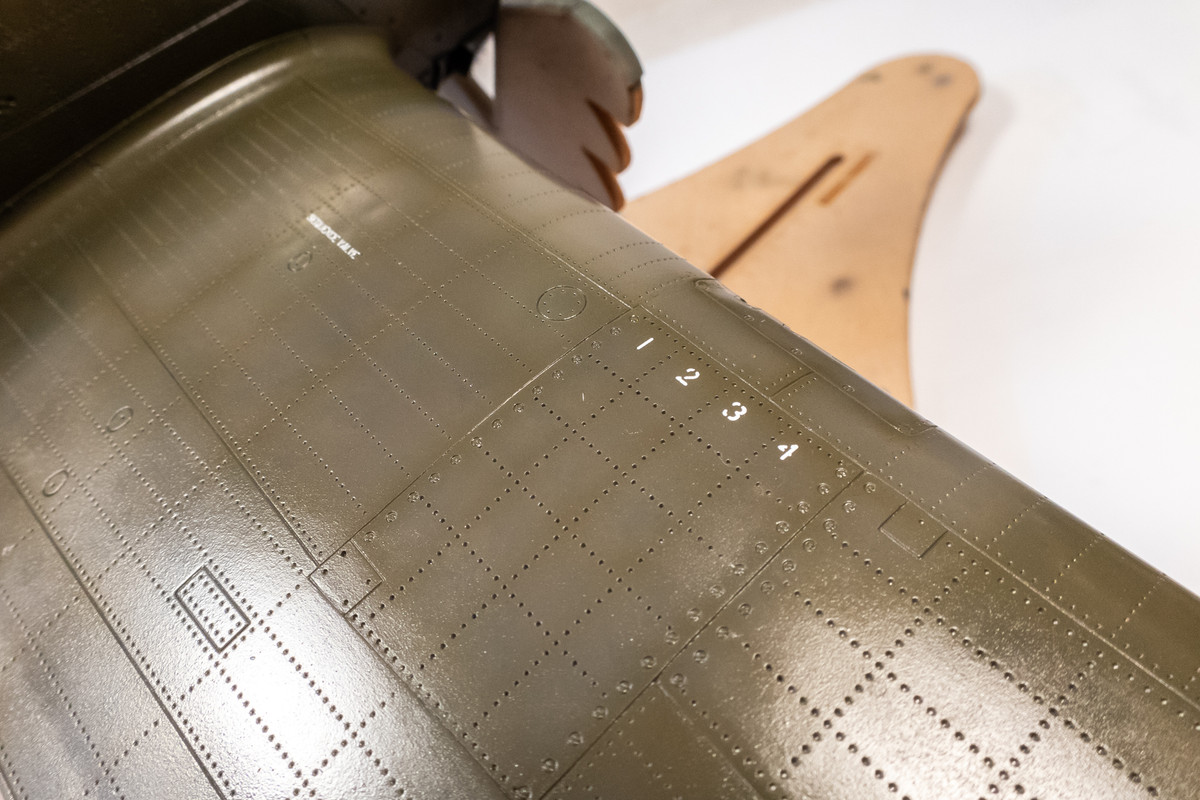
Here is the bottom of the starboard wing before the wash.
Image

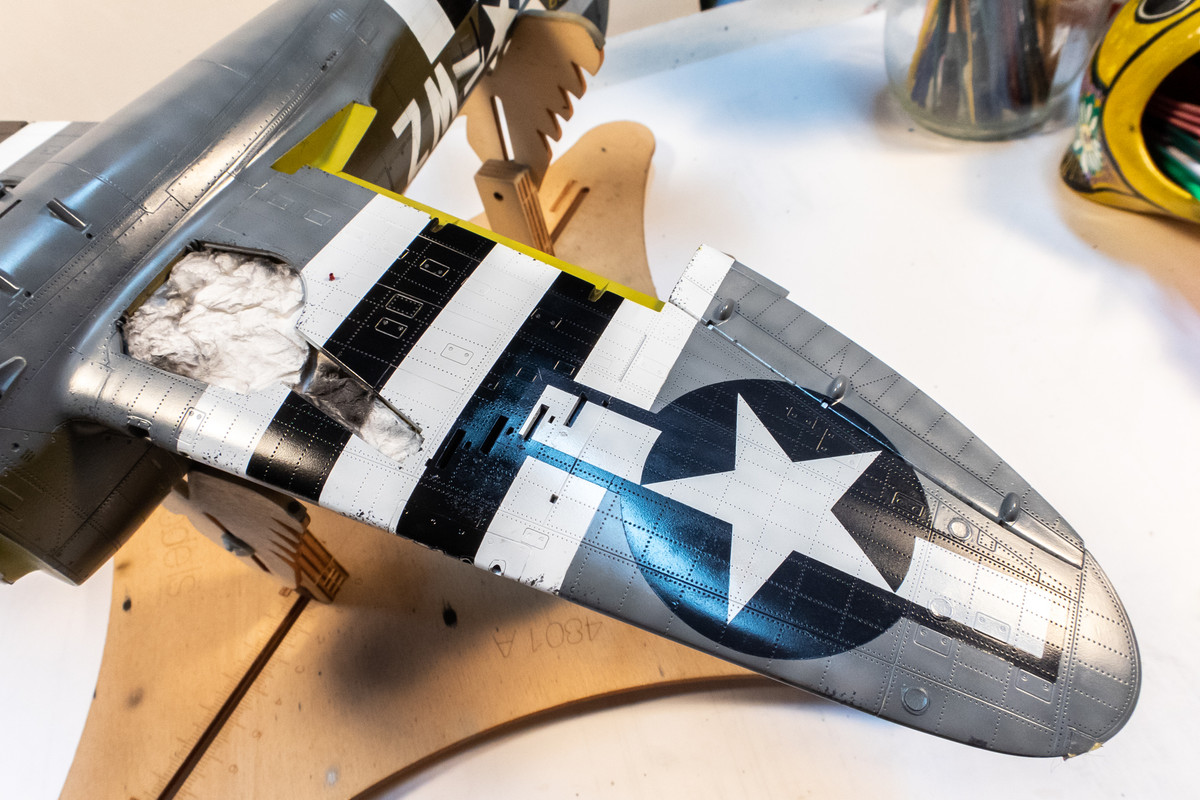
The wash is applied liberally into all of the recessed details. It's important to let the wash dry completely.
Image

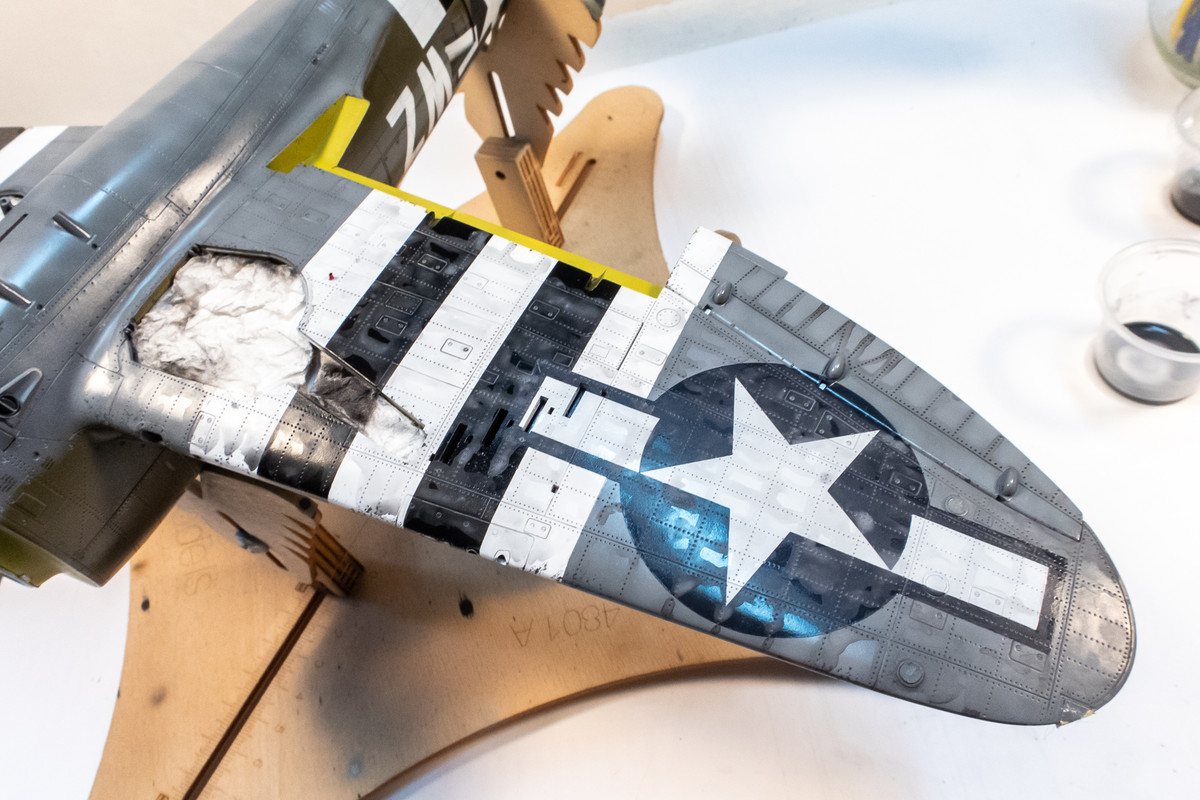
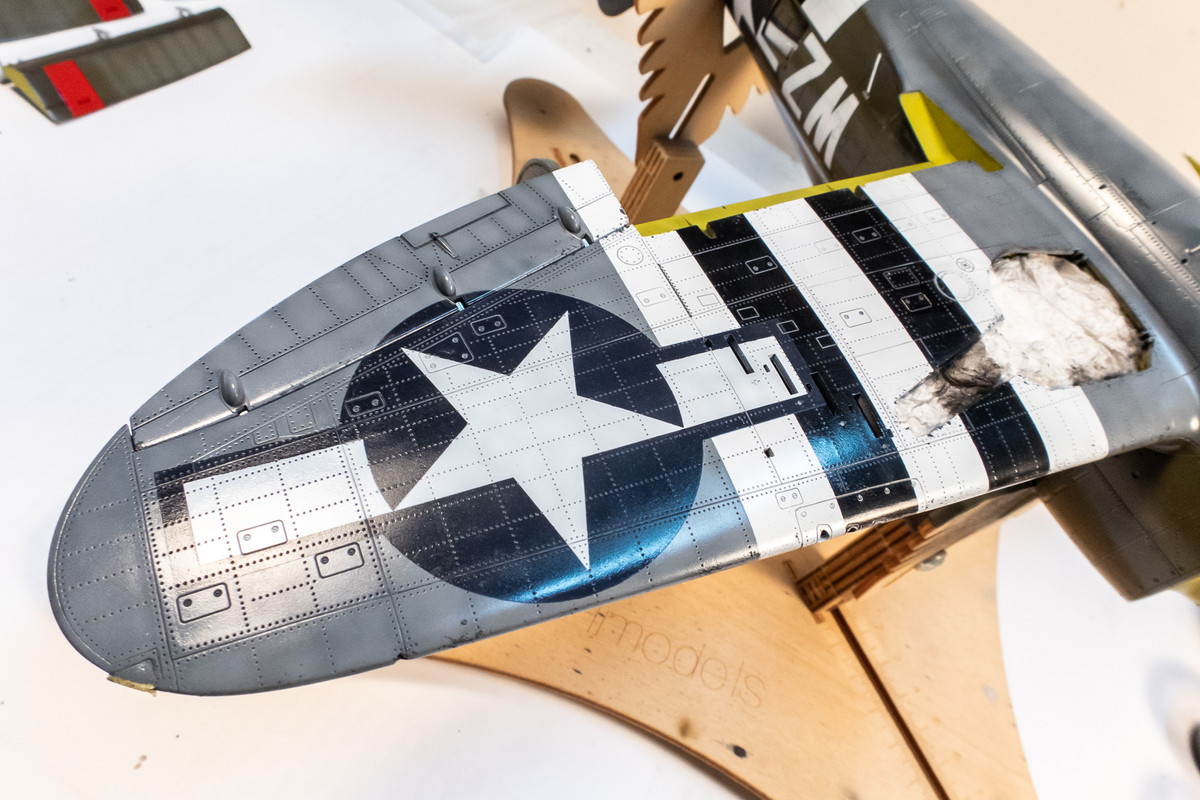
After the wash is dry, it is carefully wiped off using clean pieces of moistened paper towels. The remaining wash, stuck in the rivets and panel lines, are thus highlighted. On this build, I'm experimenting with dialing back the contrast on my washes to achieve a more subtle effect.
Image

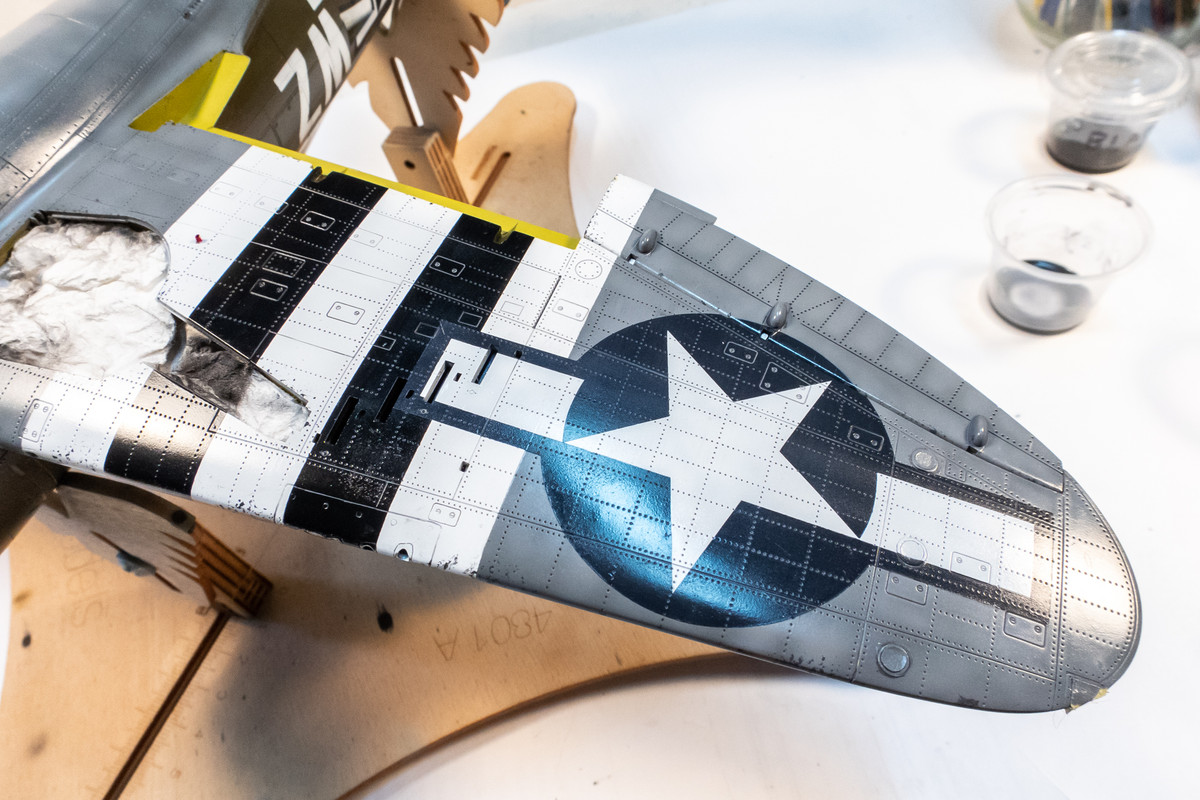
Port wing after the wash...
Image
Image

Fuselage bottom after wash...
Image
Image

Re: Trumpeter P-47D Razorback "Eileen"

Posted: Fri May 19, 2023 12:00 pm
by KSaarni
Fantastic John!

Happy this build is back on your bench!

- Kari

Re: Trumpeter P-47D Razorback "Eileen"

Posted: Fri May 19, 2023 12:26 pm
by Stikpusher
:yipee:

Sweet! You've got two major projects going at the same time? Oh my!

Re: Trumpeter P-47D Razorback "Eileen"

Posted: Fri May 19, 2023 1:56 pm
by Brandons_Iron
Man, this thing is simply incredible. :shoutout:

Re: Trumpeter P-47D Razorback "Eileen"

Posted: Fri May 19, 2023 4:52 pm
by tempestjohnny
Oh man this is incredible. The wash is just right

Re: Trumpeter P-47D Razorback "Eileen"

Posted: Fri May 19, 2023 6:36 pm
by jkim
Thanks guys! Appreciate the comments as always!

Moving on to the big nose art decal finally. The Barracuda version of Eileen + animated Wasp is comprised of multiple parts. Kinda overkill but ok.
Image

I also have another version that came with the Montex mask set. I decided to go with the Barracuda version.
Image

As with the other decals, Microset went on under the decals followed up with several applications of Solvaset.
Image

I carefully went over the decal with a needle and x-acto blade to try and make sure the decals settled into all of the recessed details.
Image

The red lettering highlights went on next.
Image

Followed by the yellow lettering.
Image

Finally the yellow antenna and the smoke effects in front of gun, cut from the Montex decal.
Image

During the Microsol process, the top part of the "E" in Eileen drifted out of position. It was carefully removed with a toothpick.
Image

I cut that portion from the Montex decal... good thing I had a spare.
Image

Once that settles and dries, I'm going to do some micro-touchups on the Eileen where white is showing through.

Re: Trumpeter P-47D Razorback "Eileen"

Posted: Fri May 19, 2023 10:13 pm
by BlackSheep214
:wow: :wow: :wow: :wow: :wow:

Re: Trumpeter P-47D Razorback "Eileen"

Posted: Sat May 20, 2023 3:30 am
by tempestjohnny
:bow: :bow: