1/32 Kittyhawk OS2U Kingfisher
Posted: Wed Jan 04, 2023 11:48 am
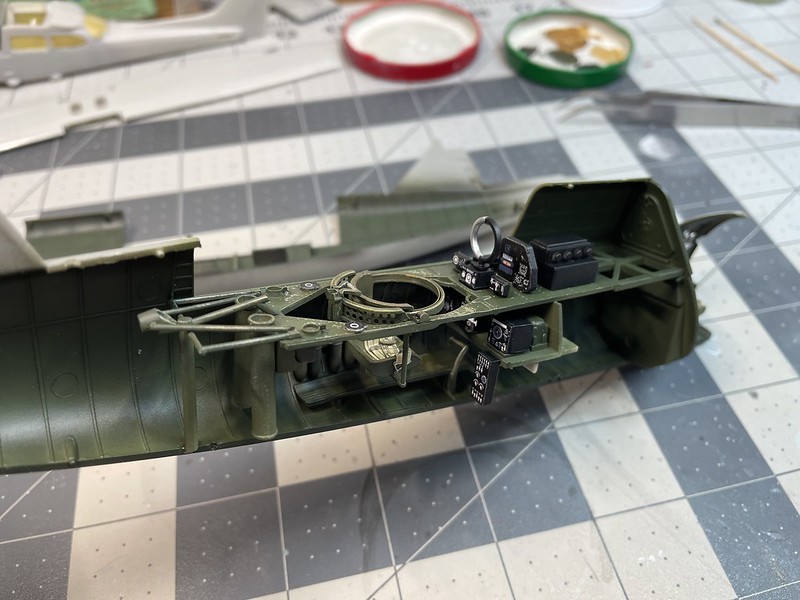
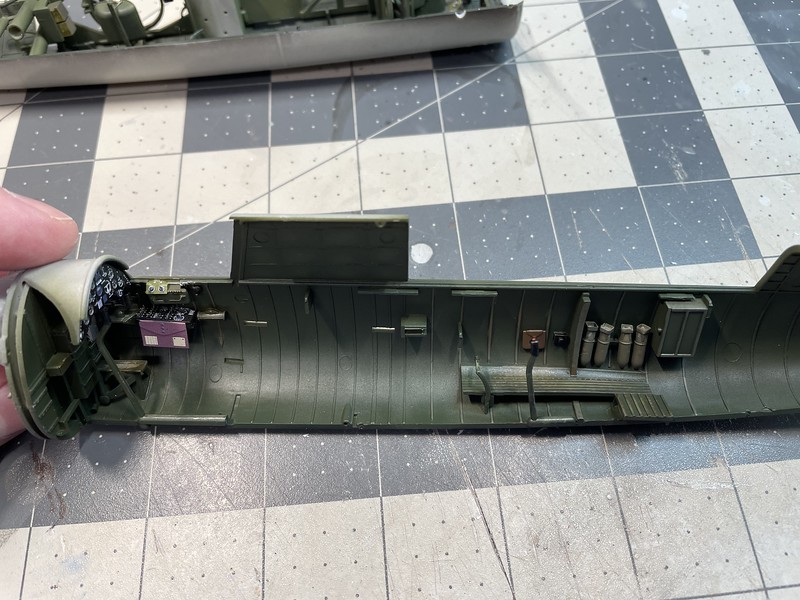
Greetings fellow nutjobs. This is one I started last year but other builds sidelined it. I am now back on it. I think the worst of it is over, meaning the most difficult and time consumer building phase, the pit.
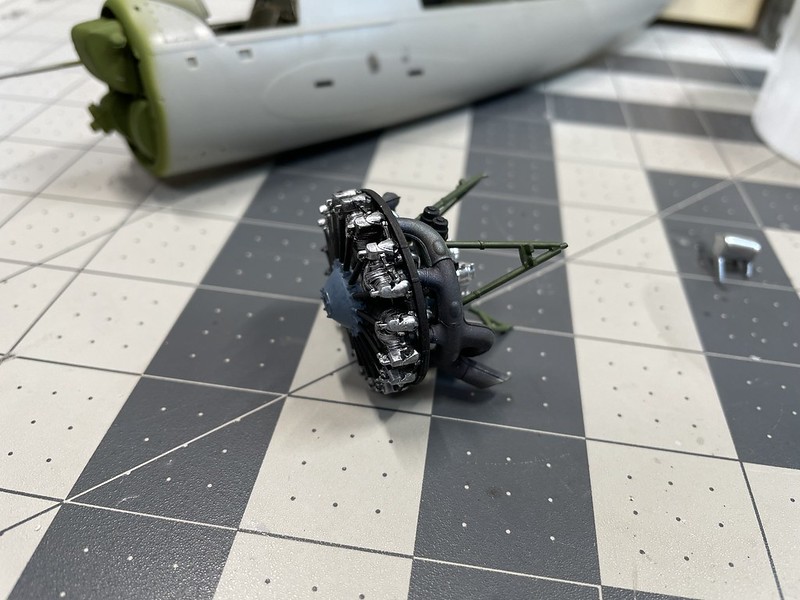
There is a lot of negative press out there regarding this kit. I want to set the record straight on this one through personal experience. Many reviews have stated it has poor fit. It does NOT have poor fit. It does have super tight fit on all parts. SO, if you fail to plan far FAR ahead in your construction you will likely run into places where you may not be able to place parts due to clearance issues. I have learned to avoid this by moving through the assembly as far as the booklet allows to make sure what I am doing now won't effect some future assembly. The other issue you have with a TIGHT fitting kit is that when you paint parts and then assemble the clearances are not too tight and won't fit. Dry, unpainted parts fit exceptionally well, but the tolerances are super super tight. This is without a doubt the tightest fitting kit I've ever experienced. But, I have managed to move along by learning early not to build until I know full well what lies ahead and make plans for that. The detail on this kit is OUTSTANDING!! Very, very nice. If I recall there were over 100 parts in the engine alone. Oofta may!
I have added the interior PE upgrade set from Eduard and Eduard belts. Gotta say though, I am not really a fan of PE belts. Time to switch to making my own or using 3D printed ones, when you can find them.
Anywho, I have the pit complete and fully weathered and closed. Currently working on all the tiny detail work on the engine and firewall. I will be adding some extra bits there as well. My hope is to have one panel removable to show off all this detail. I say removable as I am hoping to us magnets to hold one or more panels so they can be attached and removed at will. We'll see. I have super small 1mm neo magnets, so here's hoping.
The rest of the build should move a bit more easily as most of the tiny bits are in the cockpit and engine. Hope you enjoy.







There is a lot of negative press out there regarding this kit. I want to set the record straight on this one through personal experience. Many reviews have stated it has poor fit. It does NOT have poor fit. It does have super tight fit on all parts. SO, if you fail to plan far FAR ahead in your construction you will likely run into places where you may not be able to place parts due to clearance issues. I have learned to avoid this by moving through the assembly as far as the booklet allows to make sure what I am doing now won't effect some future assembly. The other issue you have with a TIGHT fitting kit is that when you paint parts and then assemble the clearances are not too tight and won't fit. Dry, unpainted parts fit exceptionally well, but the tolerances are super super tight. This is without a doubt the tightest fitting kit I've ever experienced. But, I have managed to move along by learning early not to build until I know full well what lies ahead and make plans for that. The detail on this kit is OUTSTANDING!! Very, very nice. If I recall there were over 100 parts in the engine alone. Oofta may!
I have added the interior PE upgrade set from Eduard and Eduard belts. Gotta say though, I am not really a fan of PE belts. Time to switch to making my own or using 3D printed ones, when you can find them.
Anywho, I have the pit complete and fully weathered and closed. Currently working on all the tiny detail work on the engine and firewall. I will be adding some extra bits there as well. My hope is to have one panel removable to show off all this detail. I say removable as I am hoping to us magnets to hold one or more panels so they can be attached and removed at will. We'll see. I have super small 1mm neo magnets, so here's hoping.
The rest of the build should move a bit more easily as most of the tiny bits are in the cockpit and engine. Hope you enjoy.

