Eduard 1/48 Hawker Tempest II

Post your work in progress of your aircraft builds in here.
User avatar
jkim
Elite Member
Posts: 3944
Joined: Mon Apr 10, 2017 4:03 pm

Eduard 1/48 Hawker Tempest II

Post by jkim »

Coming off a long break from modeling, I momentarily jumped back onto my Spitfire XIVe conversion but now as I await some additional 3D-printed parts from Laminar Flow Design, I am going to start something new and a little different. Straying from my normal WW2 fighter subjects, I am going to do a post-war bird...
Image

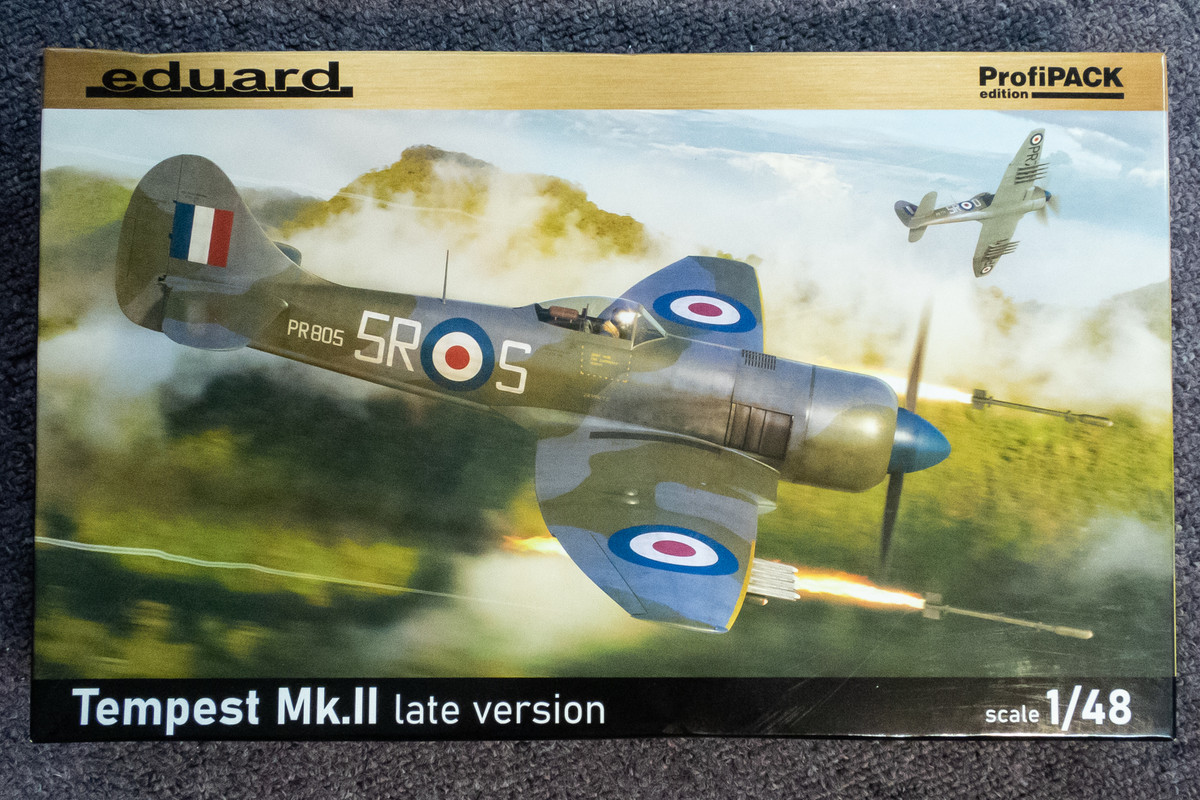
I chose this kit for a few different reasons. First of all, Eduard makes some REALLY good kits and I was interested in sampling one of their more recent releases. At 1/48 scale, this is smaller than my normal 1/32 subjects and it SHOULD be a quicker build. And finally, I've always liked the Tempest and this radial engine version has a connection to another favorite aircraft of mine: the Fw 190.

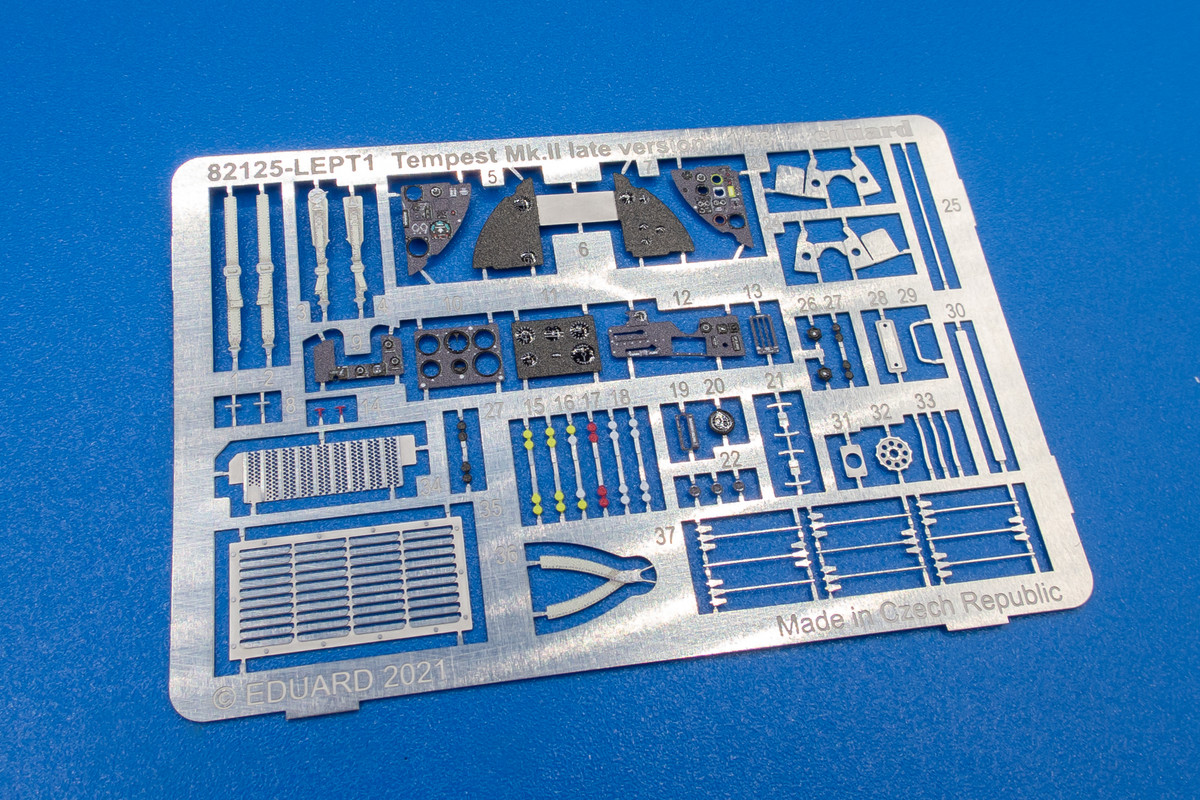
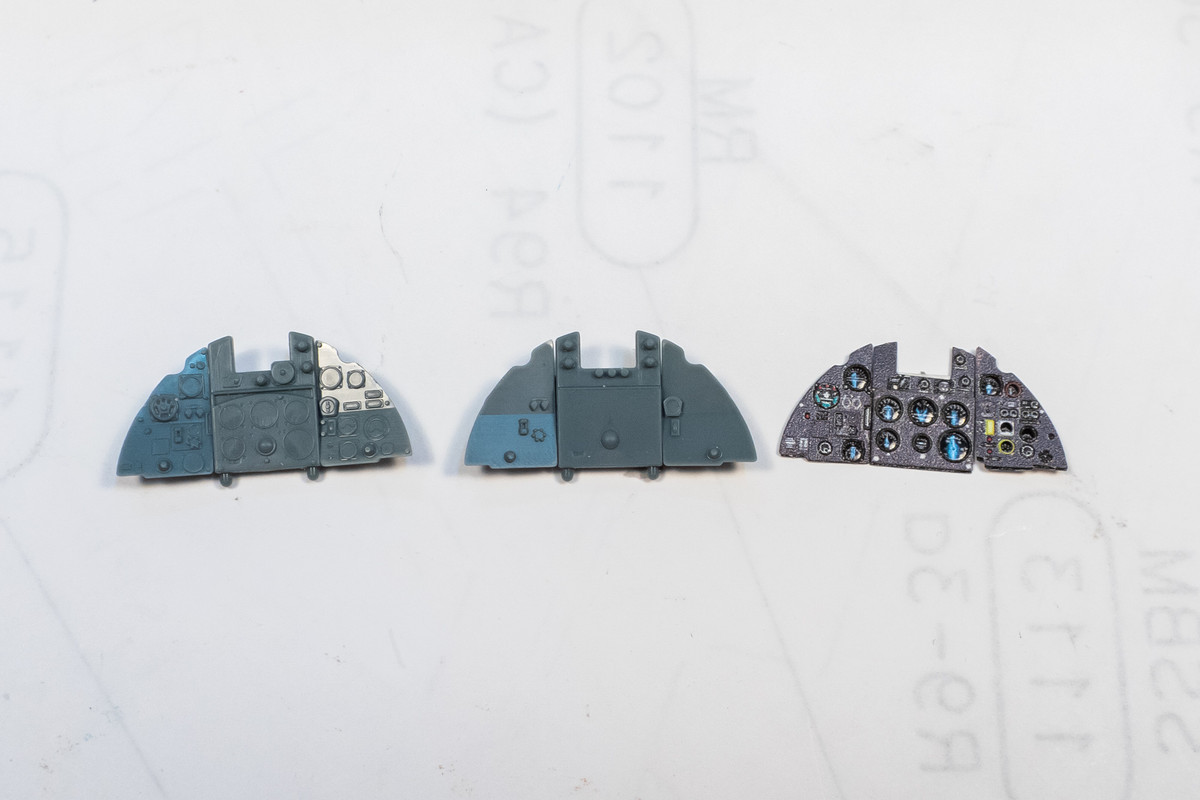
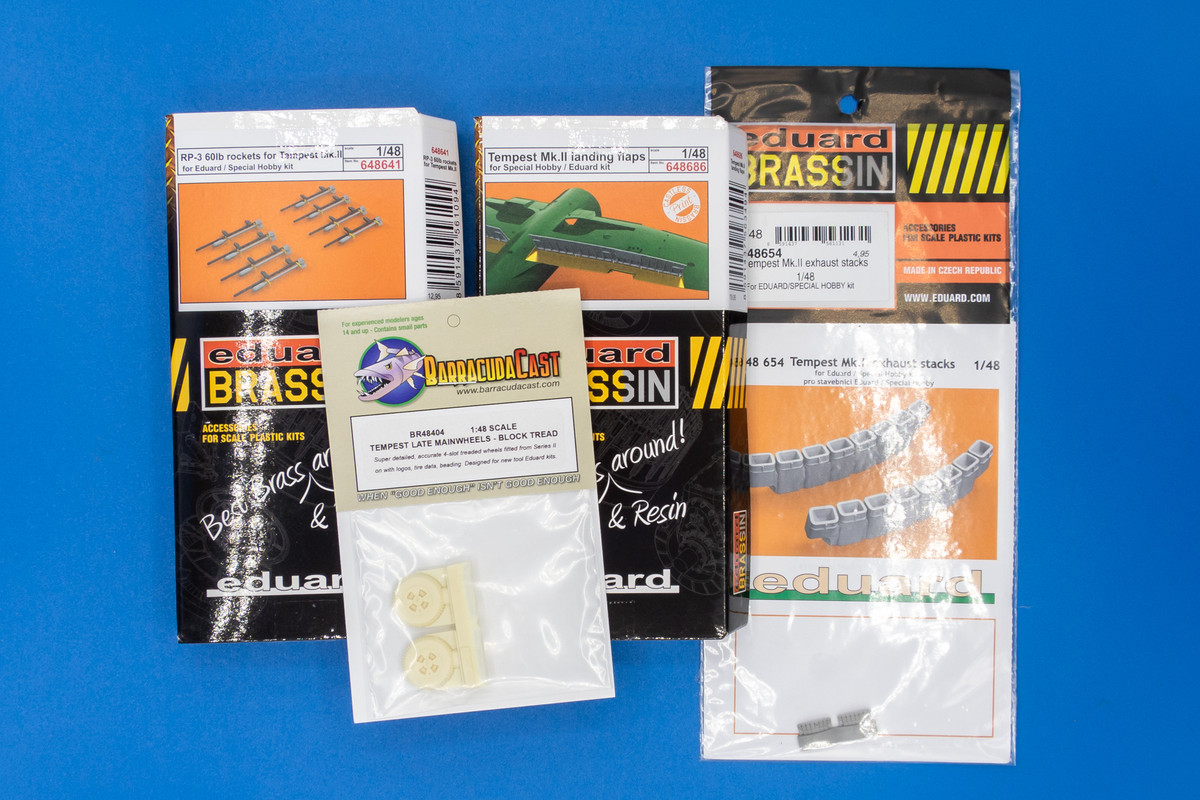
Eduard's Profipack editions come with a few extras including photoetch, canopy masks and sometimes resin. No resin in this particular release but I picked up some to add some detail.
Image

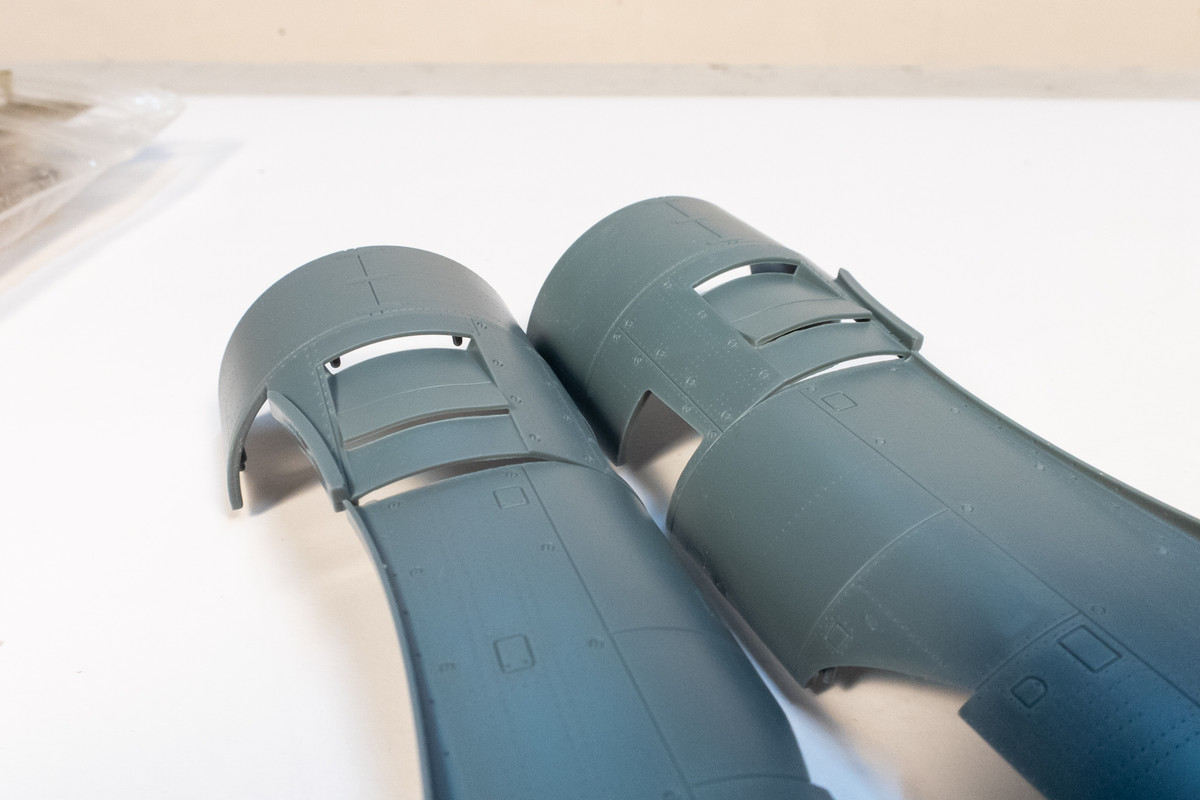
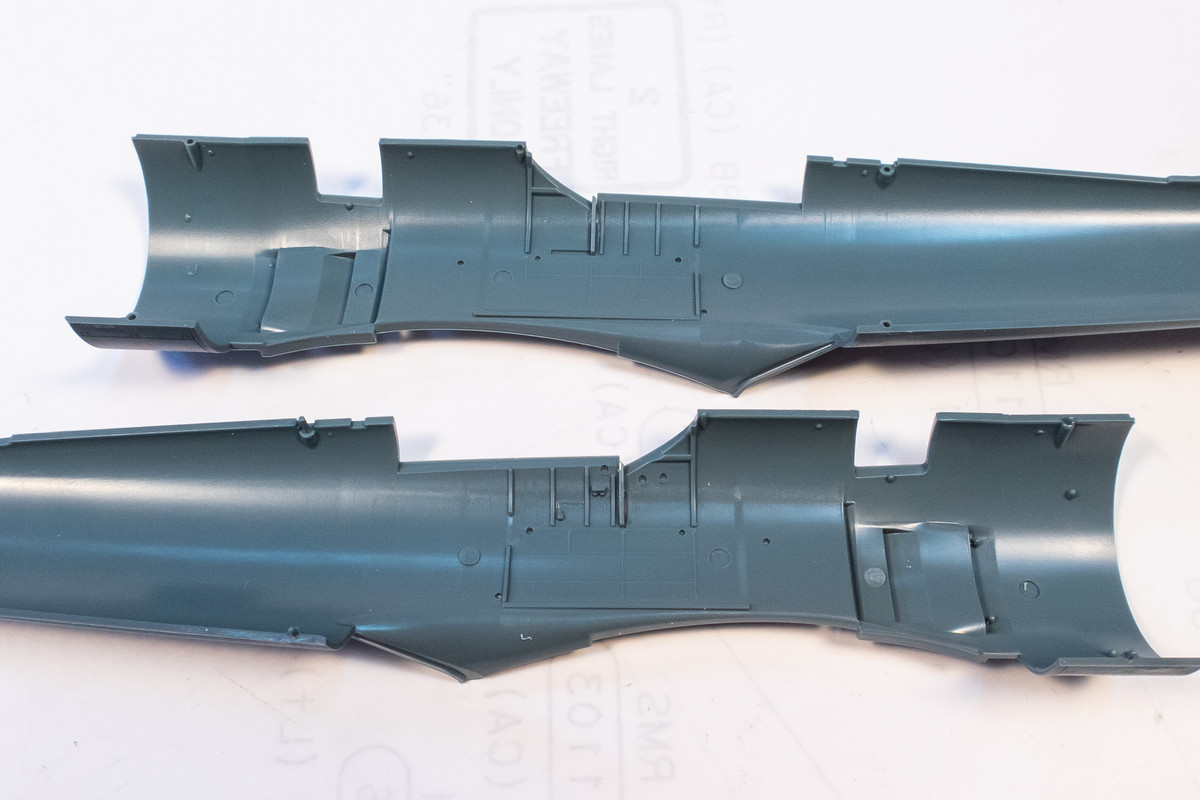
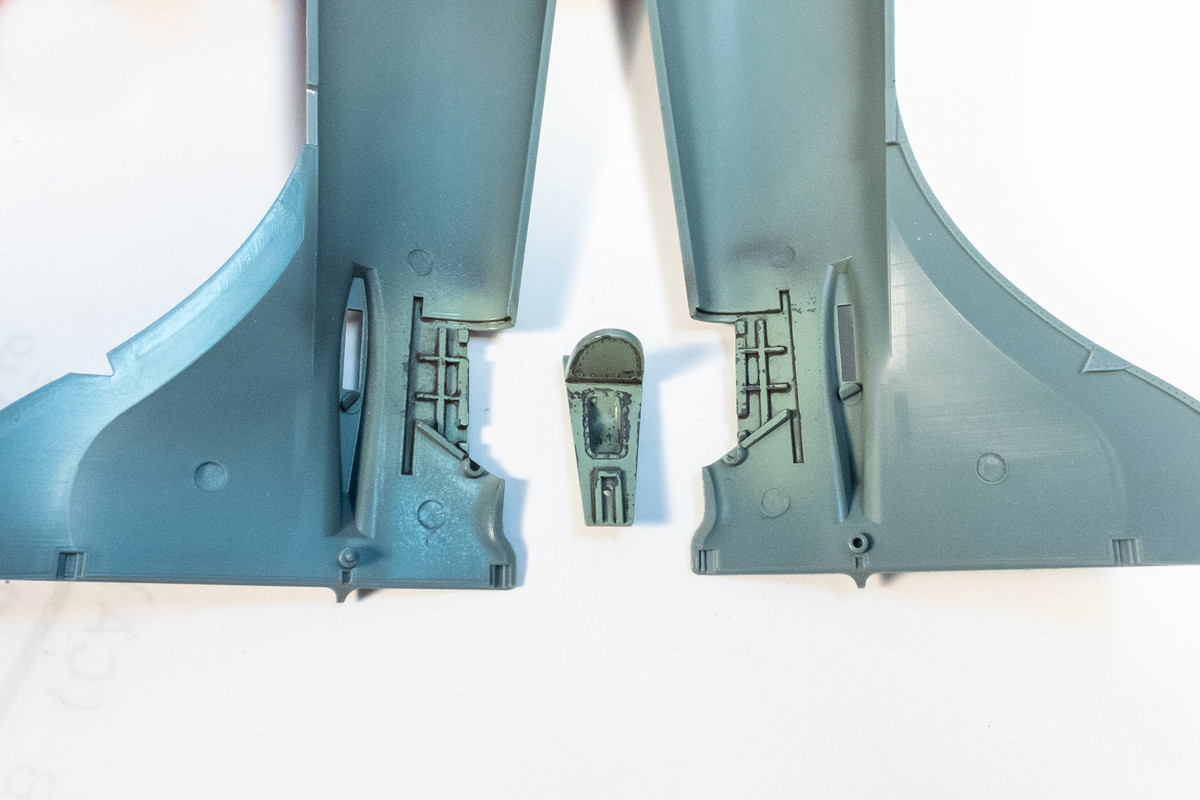
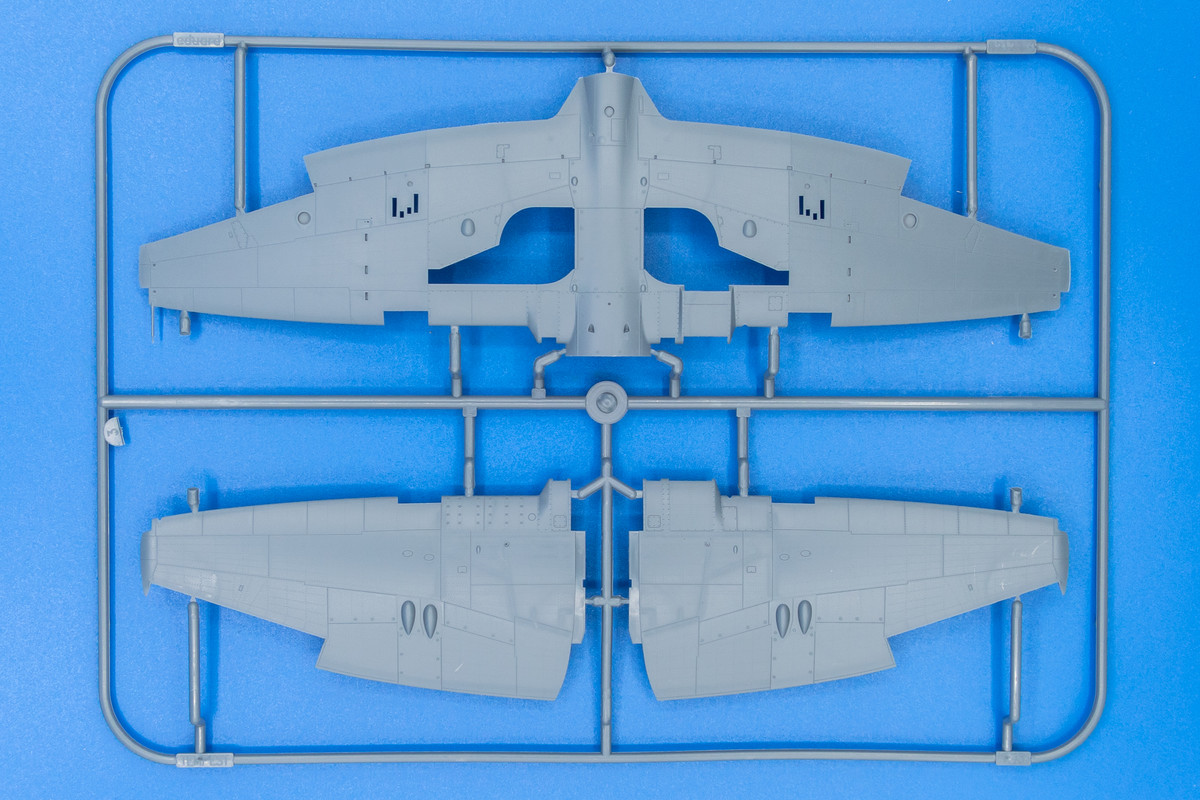
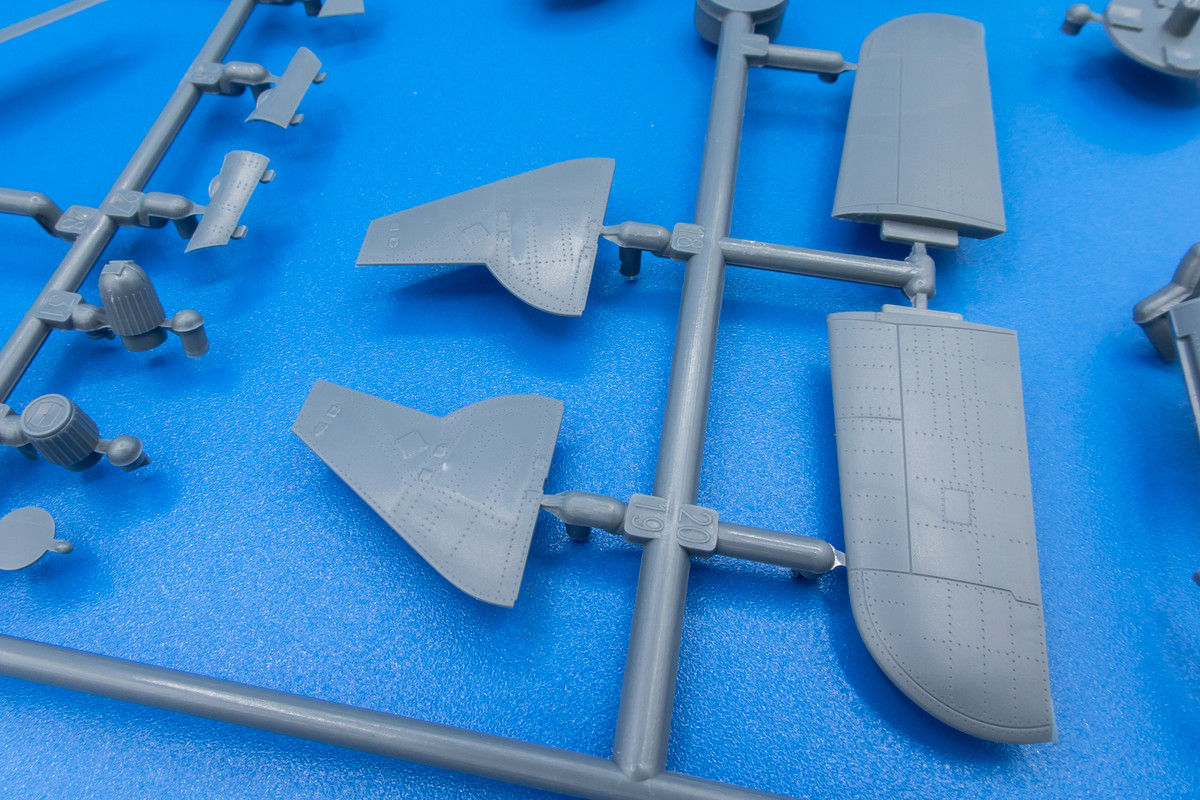
As usual, before I start a build, I like to take a photographic tour of the kit contents. In addition to being a possible interest to readers, it gives me a chance to get familiar with the kit parts. Eduard packs multiple sprues into bags, which allows parts to rub together and cause some damage. My copy had some superficial scratching on the larger parts and a few detached parts. Below are the wing parts for the Tempest II, which was bagged with the fuselage sprue. Unlike some manufacturers, Eduard is not stingy when it comes to molding different variants. So thankfully, there are no problematic inserts for the leading edge intakes and we get a brand new wing for the Tempest II.
Image

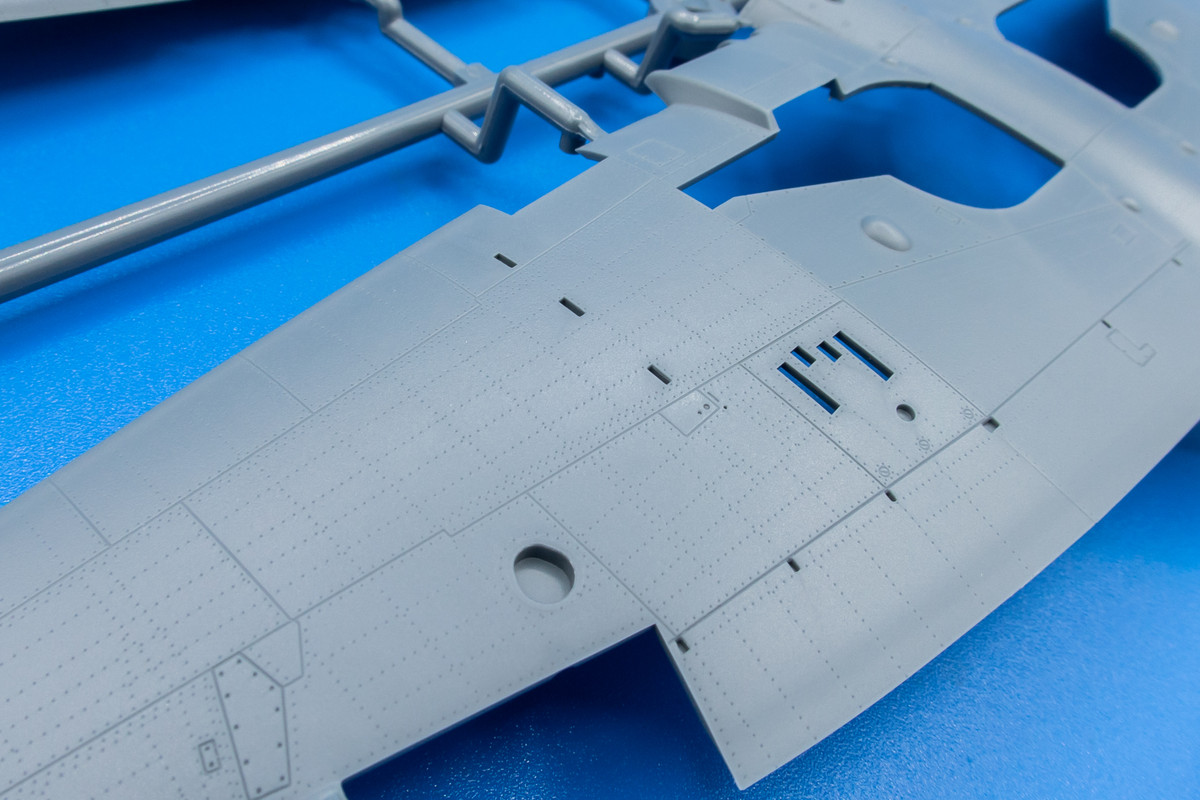
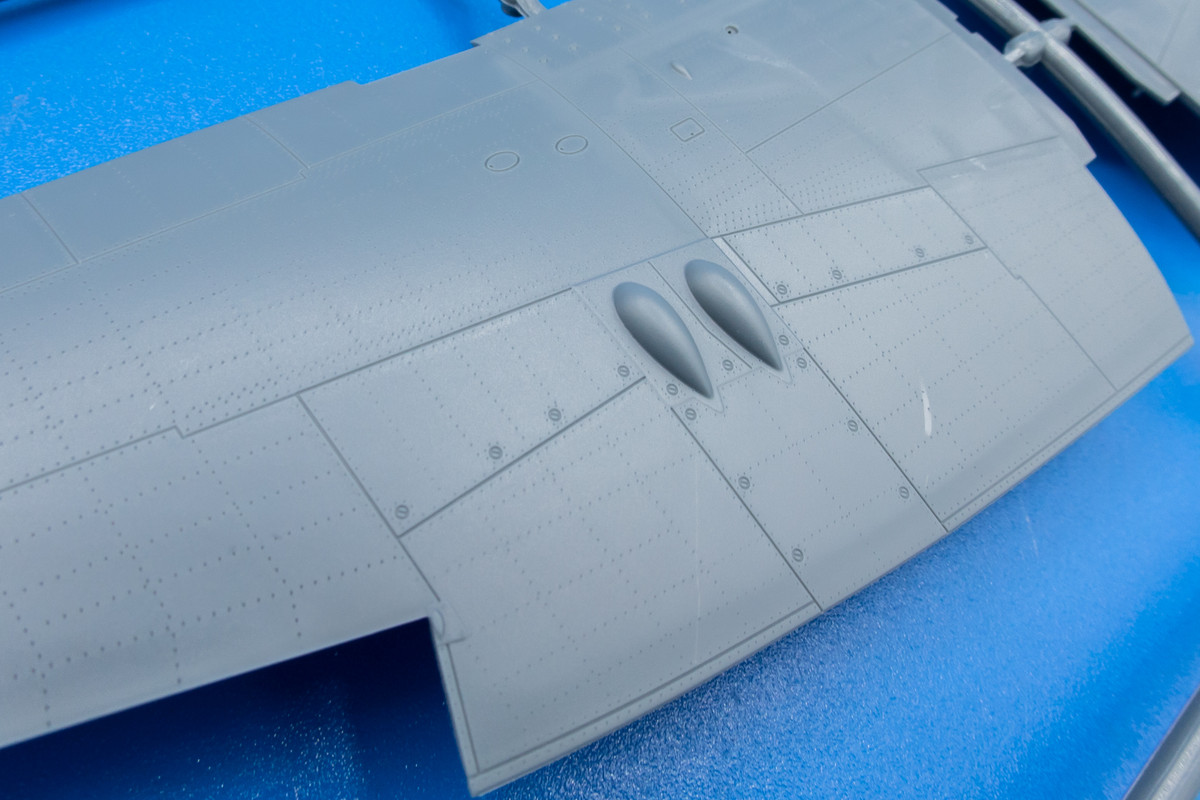
Eduard molding is superb. I really wish that they would do some 1/32 scale kits.
Image
Image

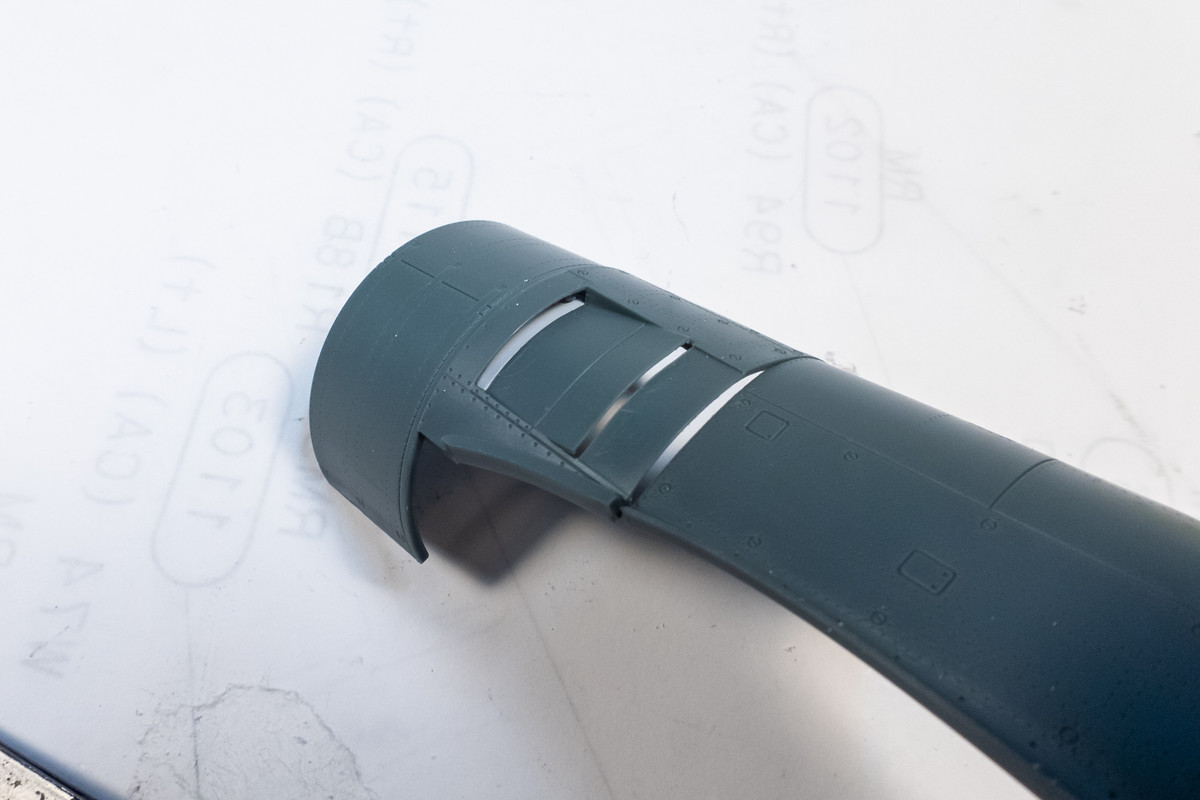
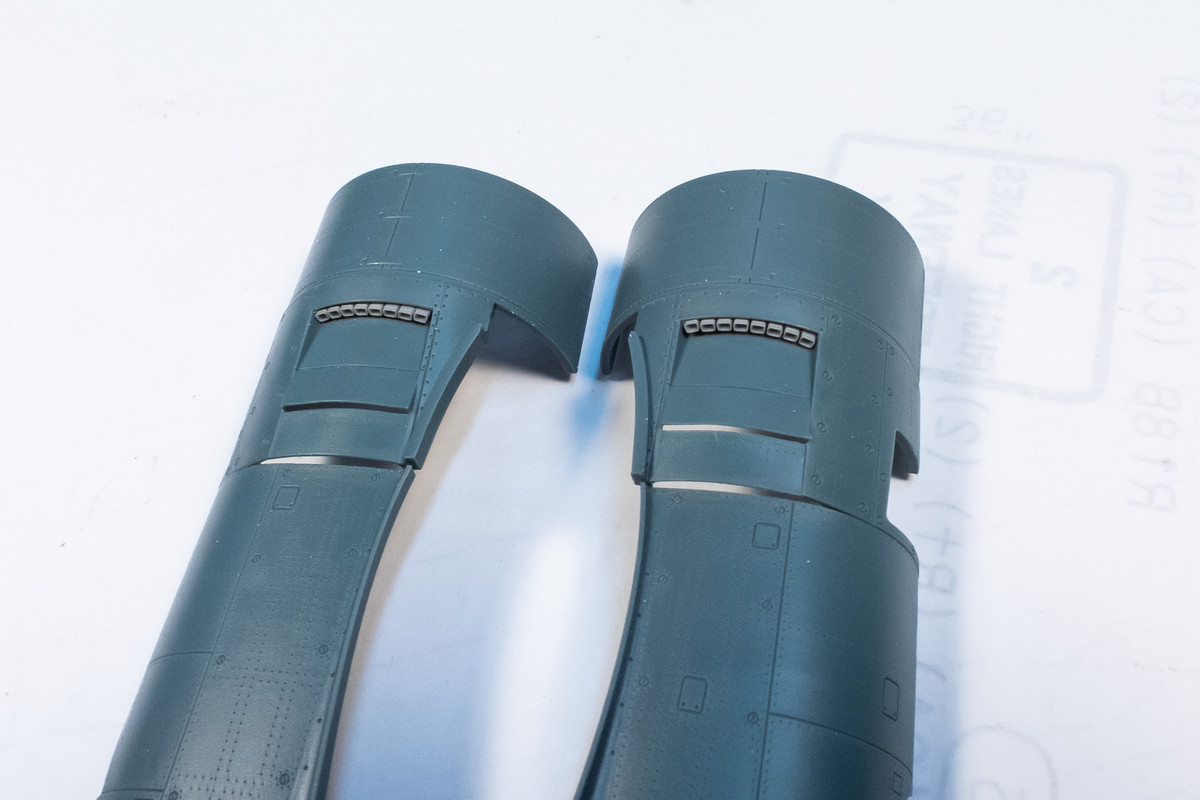
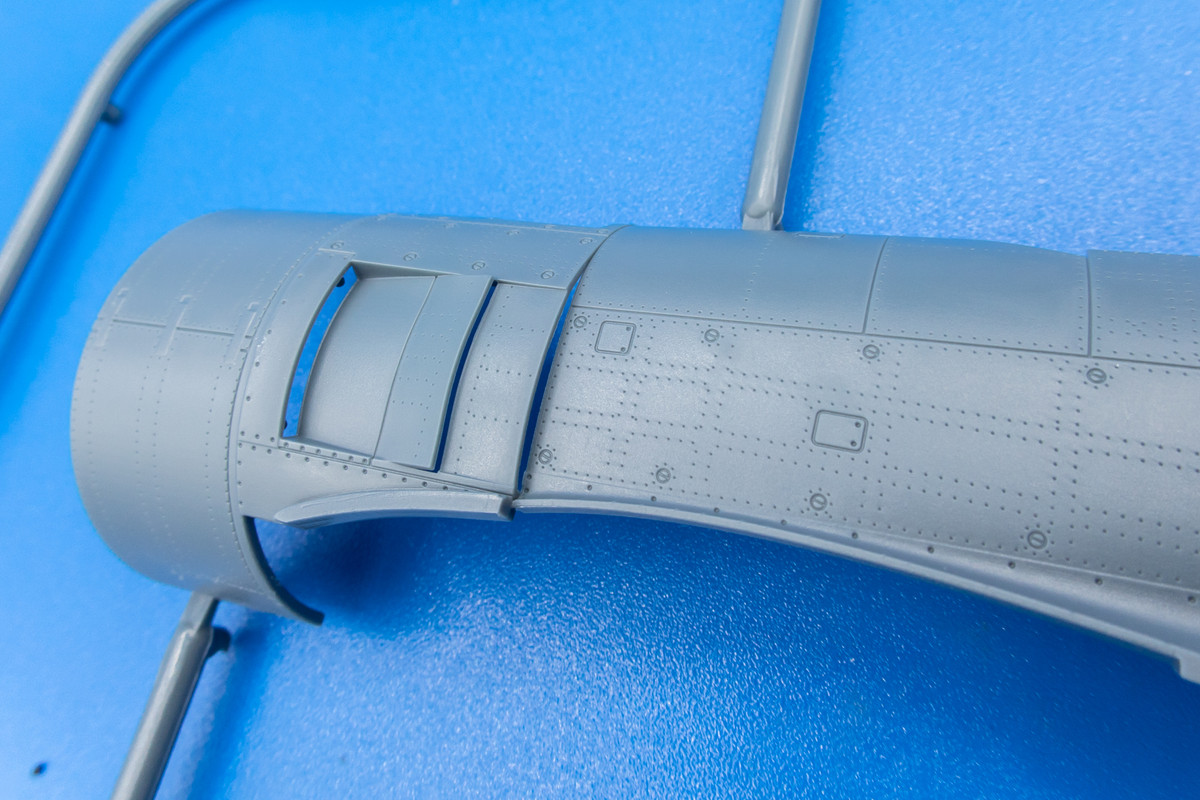
The fuselage parts are also Tempest II-specific and reduces the amount of joints that would need to be corrected if they used a modular approach like Special Hobby did on their 1/32 Tempest releases.
Image
Image
Image

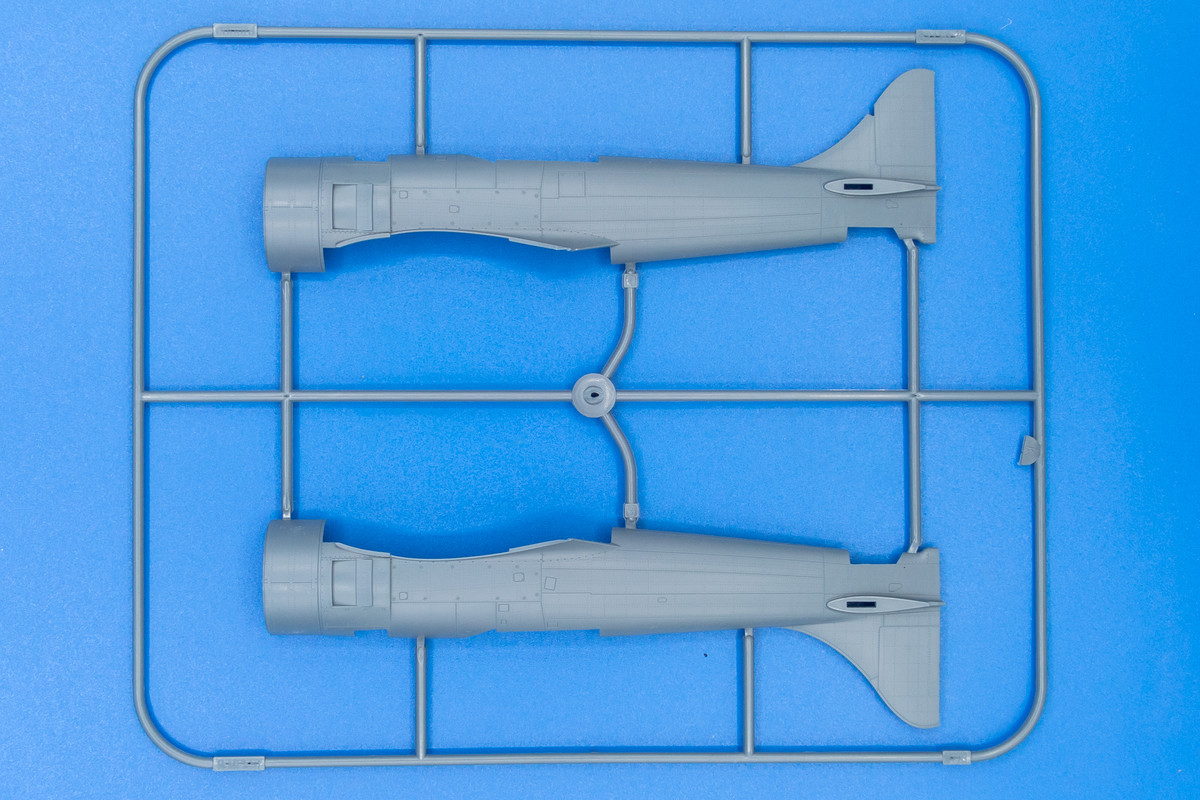
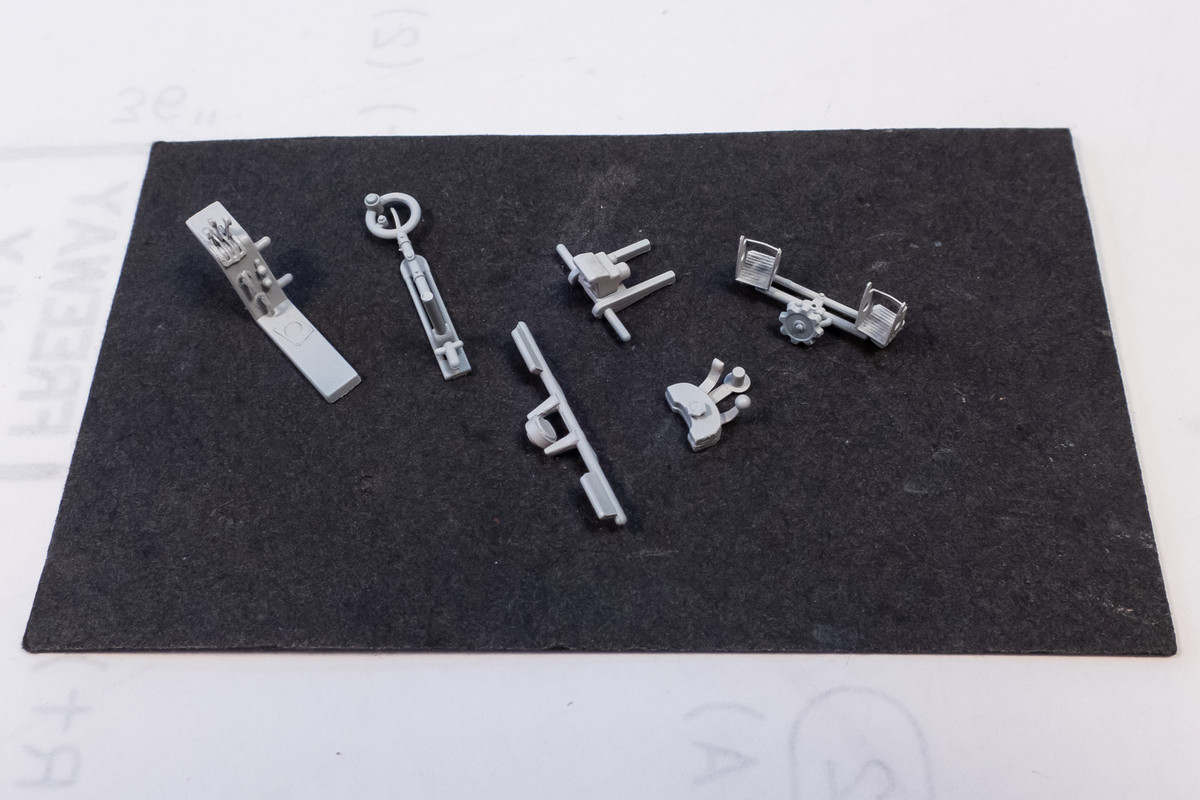
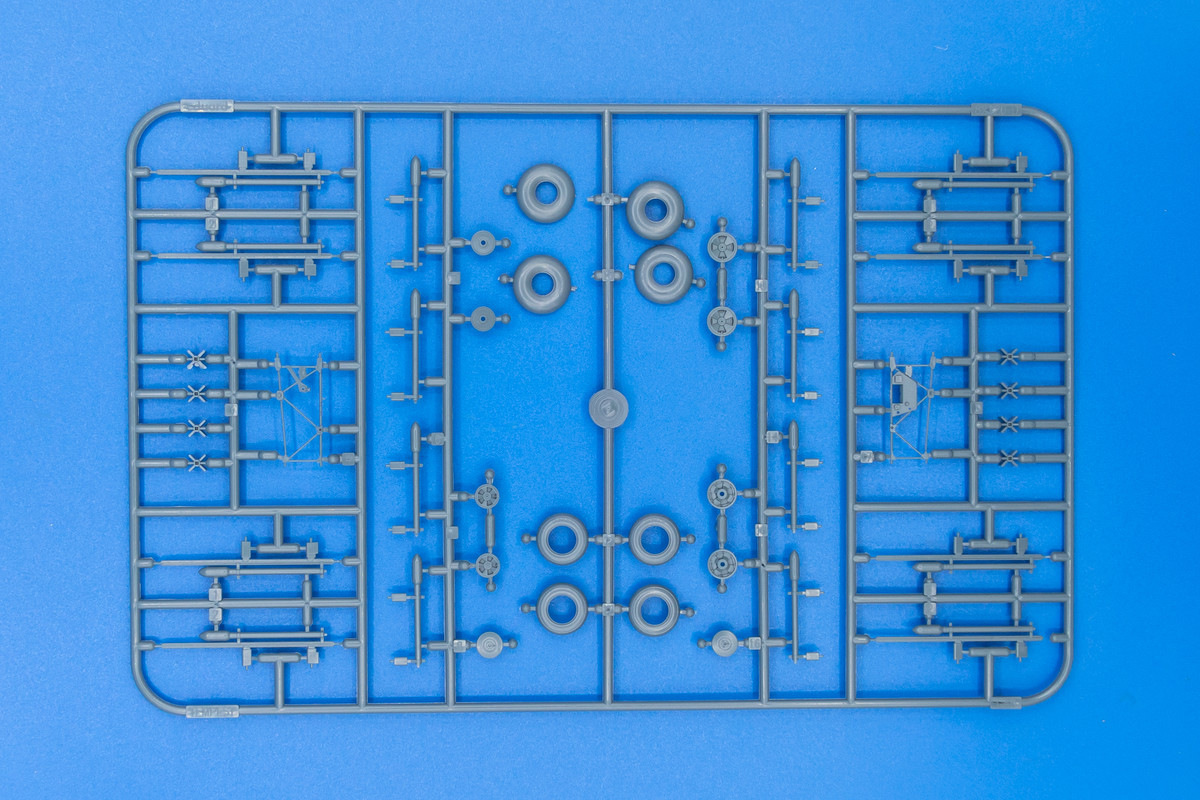
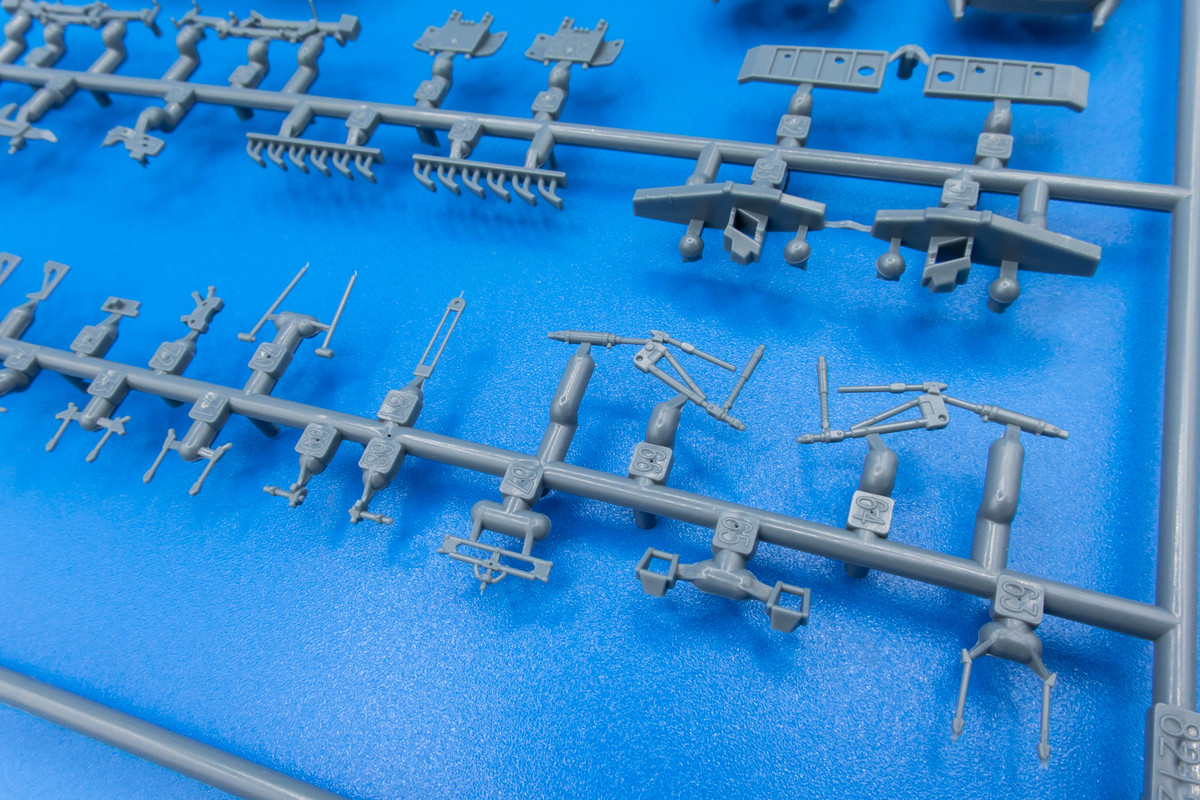
The next four sprues were packaged into a single plastic bag and resulted in a number of detached parts. Given that this sprue has many Tempest II-specific parts such as the radial engine and cowling ring, I assume that the prop here is the one that I'll be using.
Image

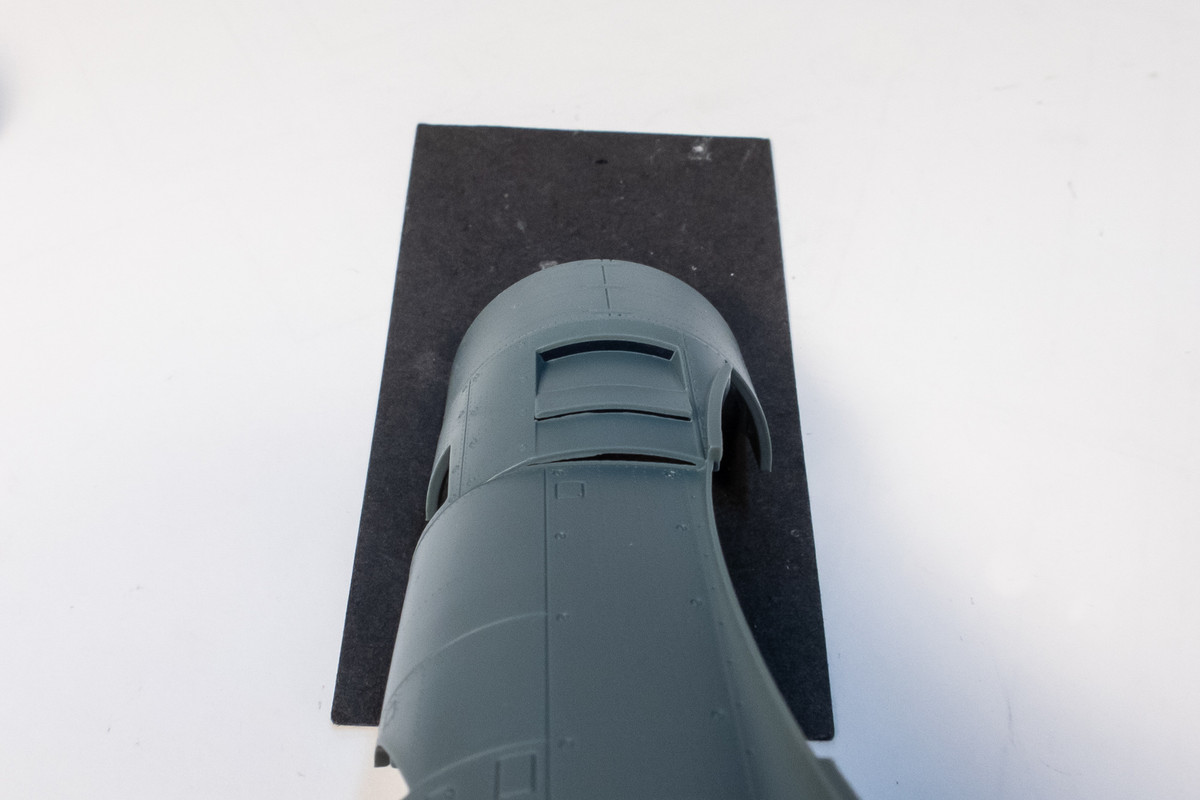
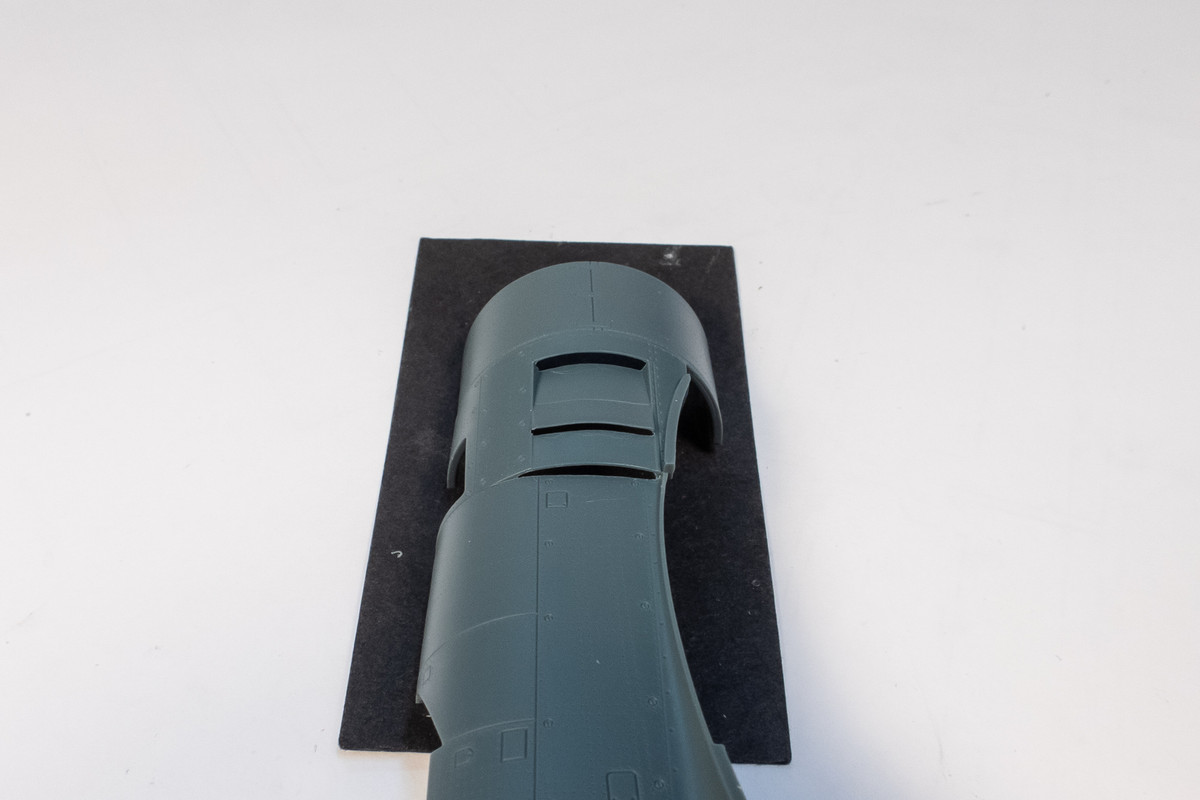
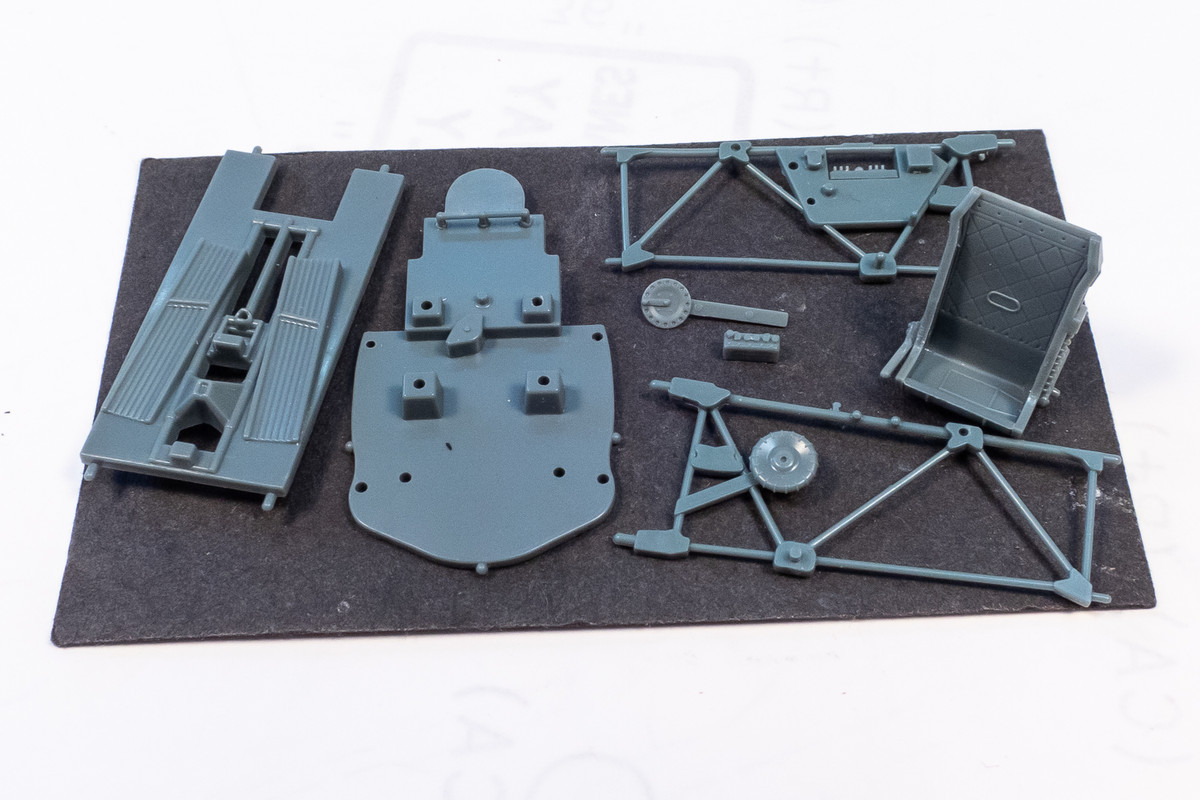
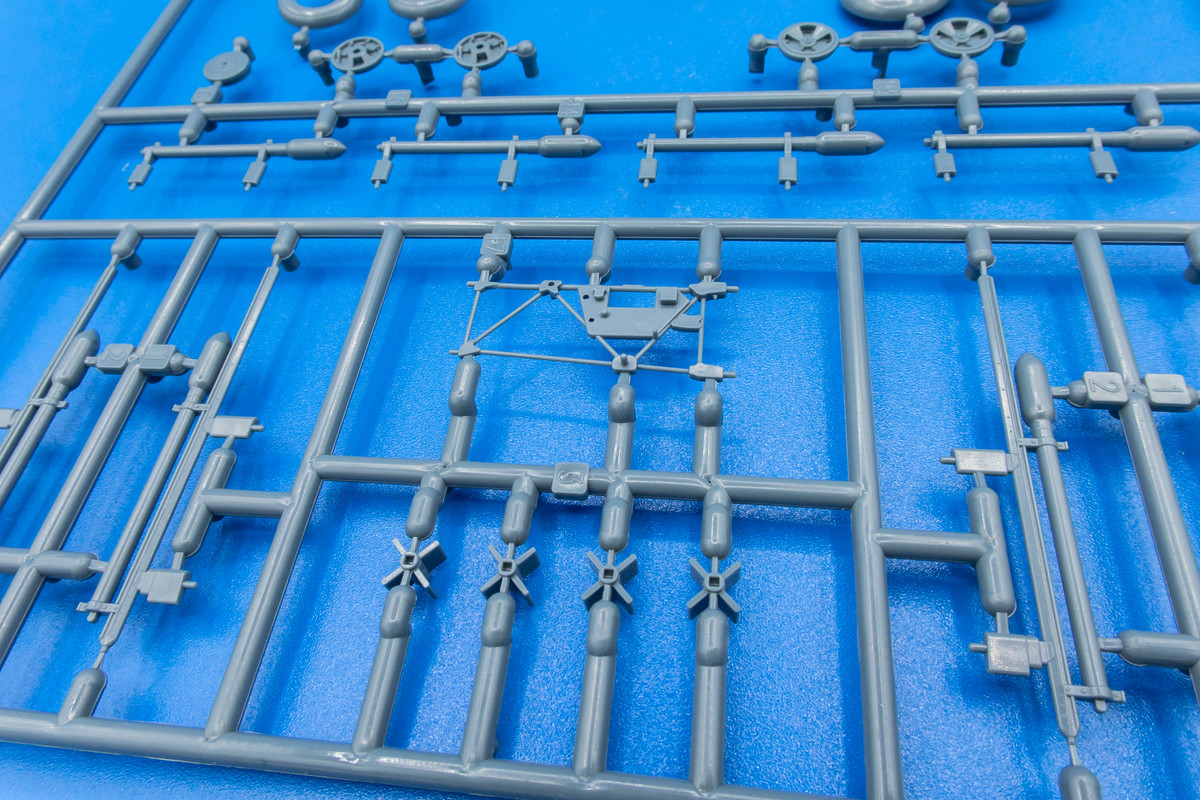
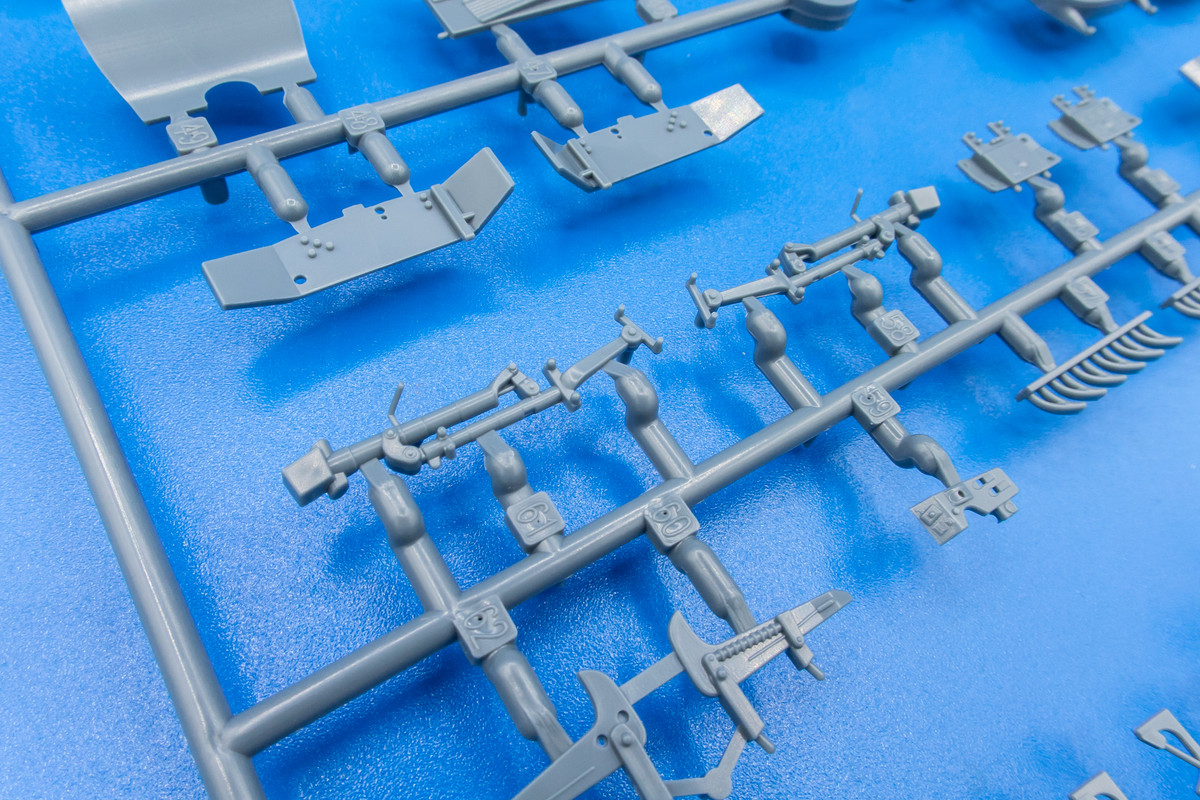
That radial engine is not much to talk about being a very sparse representation of the cylinders. But given the very tight clearances between the spinner and the NACA cowling, this is probably more than adequate. Similarities to the Fw190A are not coincidental and a captured Focke Wulf was closely examined in conjunction with the Tempest II design.
Image

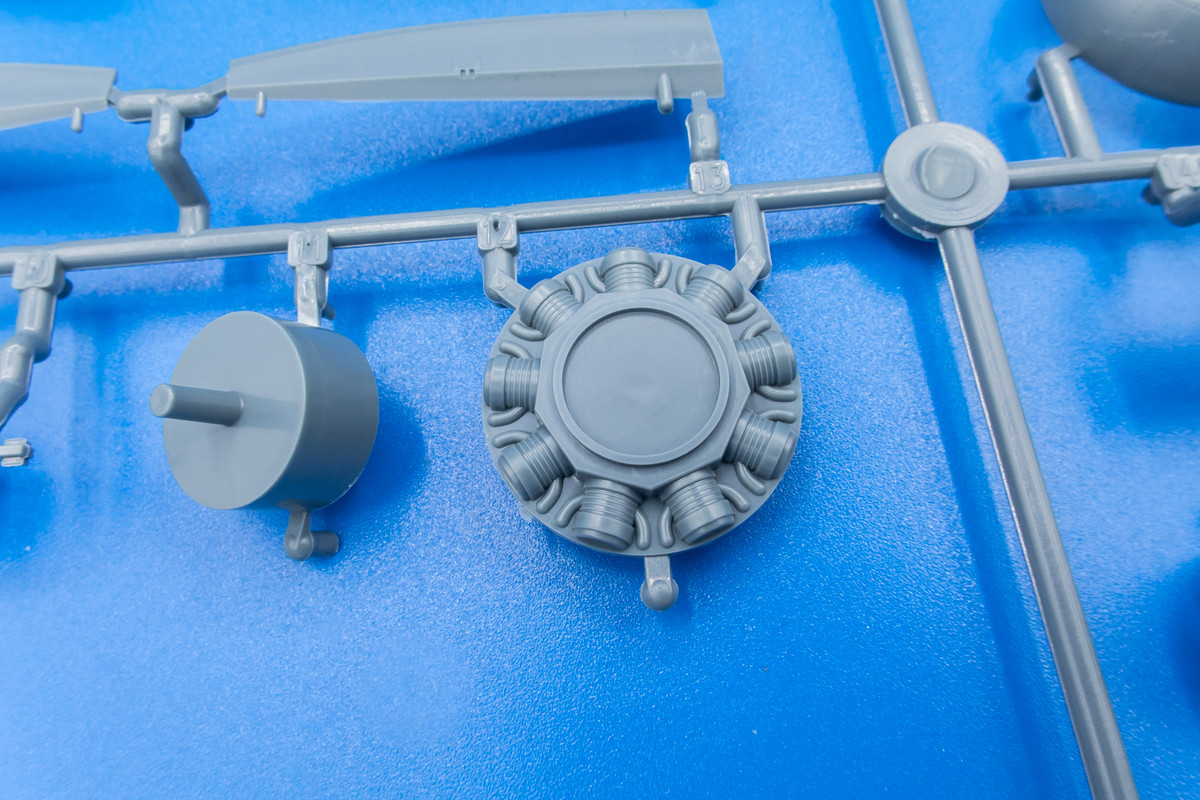
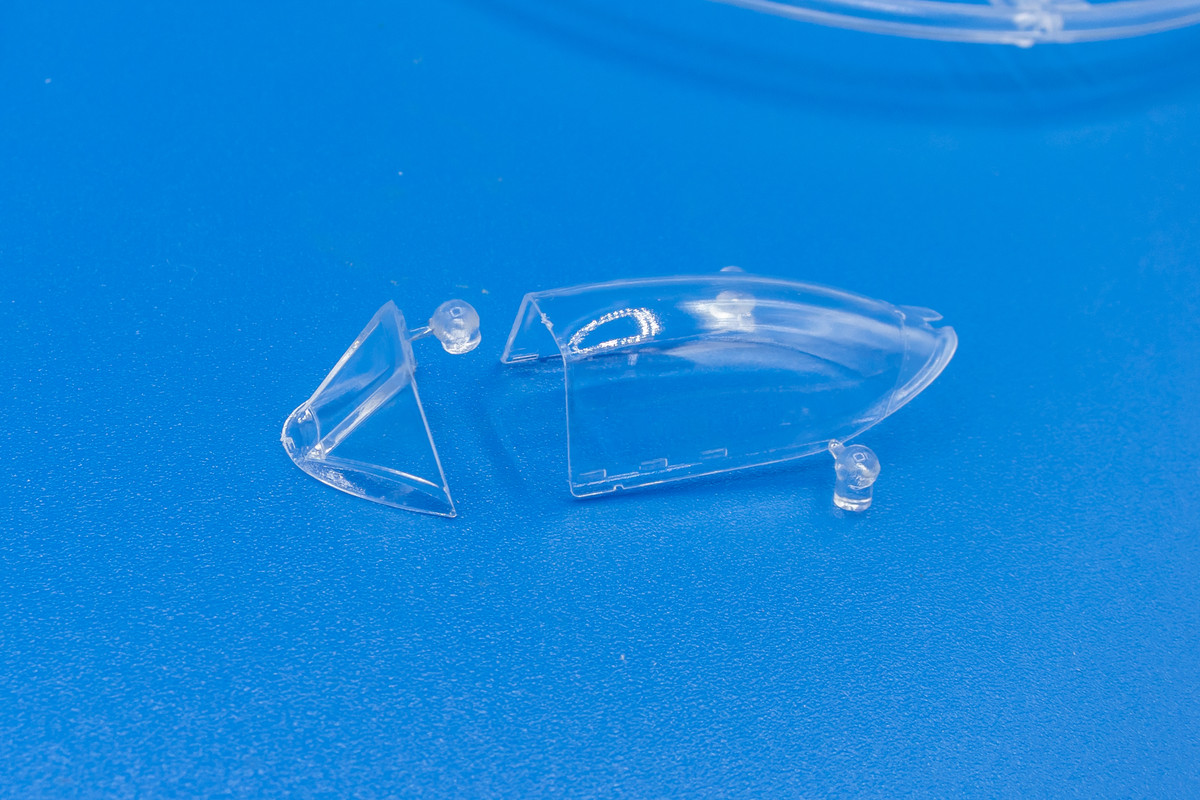
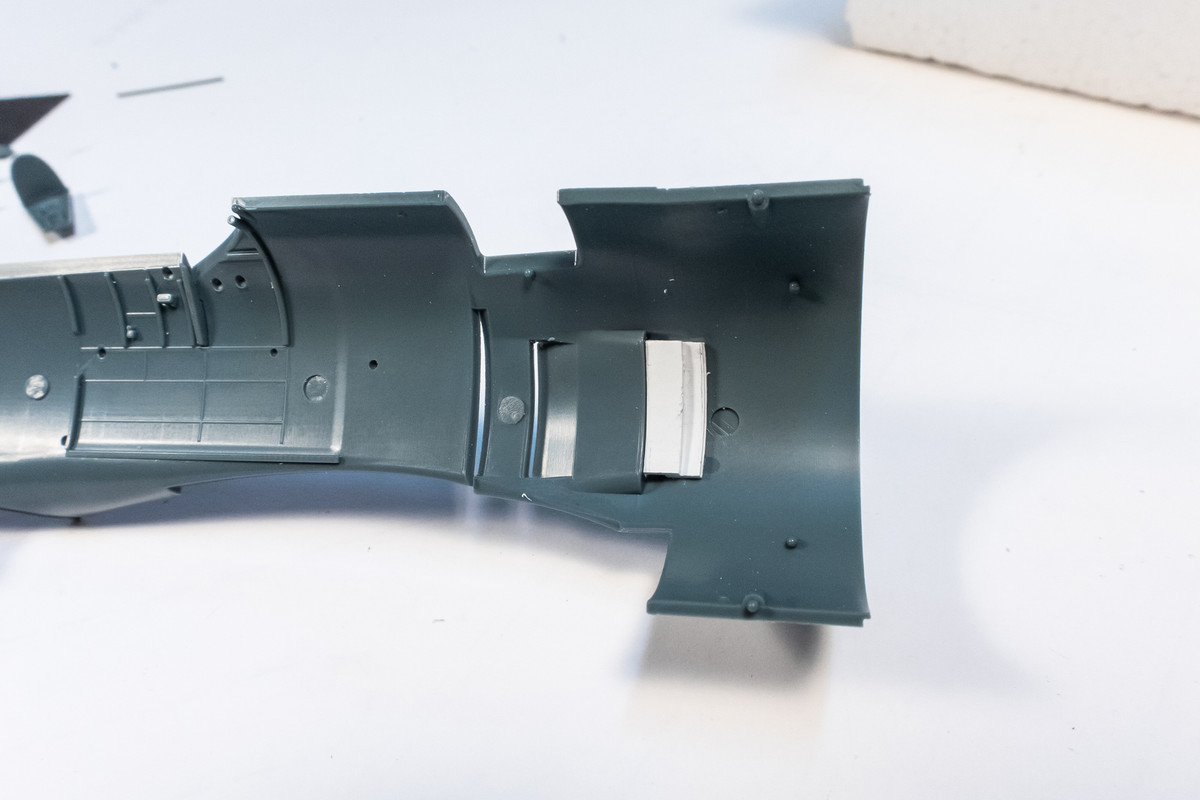
The exhaust tips are solid, unfortunately. And since they are square in shape, not circular, they would be a royal pain to try and hollow out. That is why I opted to buy the Eduard Brassin replacements.
Image

Two more props on this sprue but I'm guessing these are for the Mark V or VI.
Image
Image

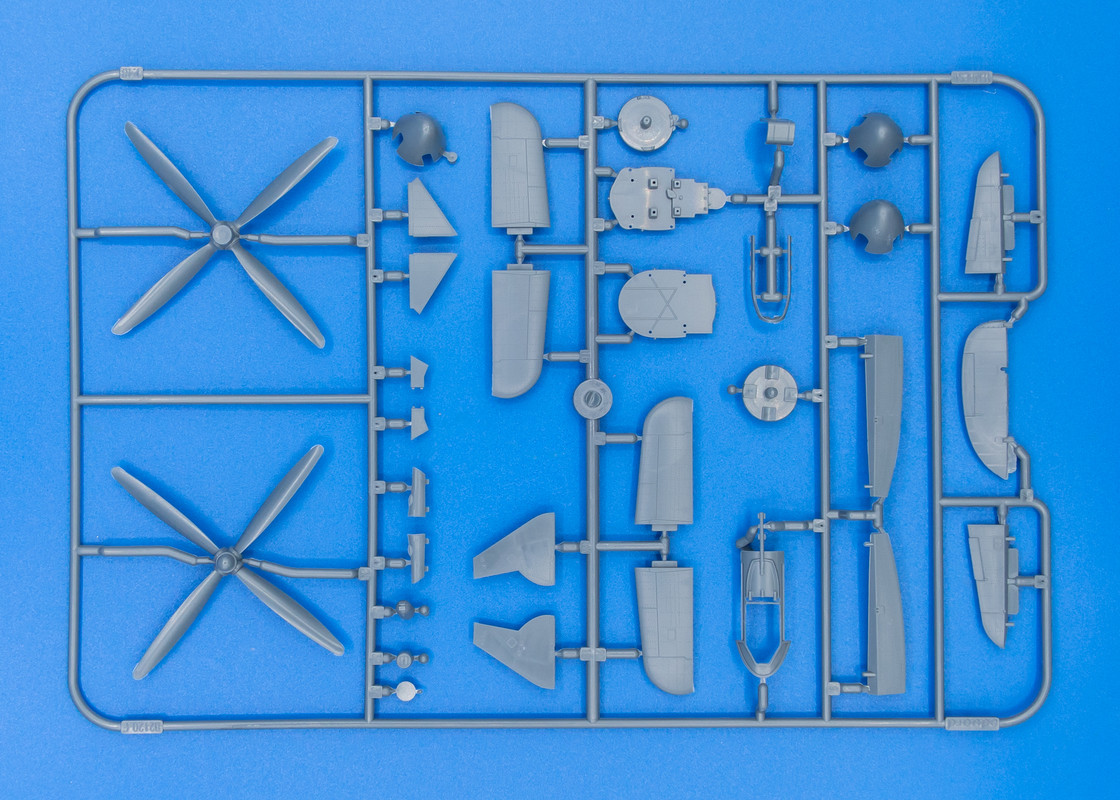
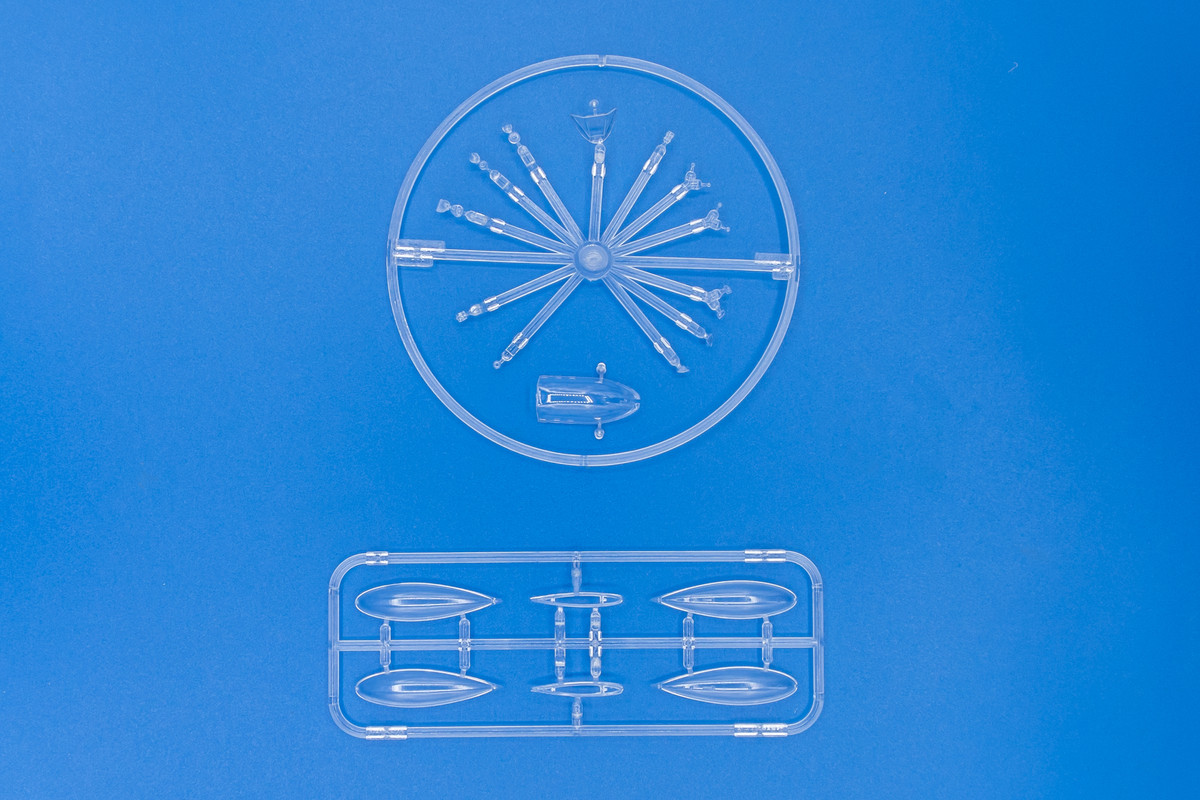
Three loose wheels on this sprue. I am going to use Barracuda block tread resin replacement tires on this build.
Image

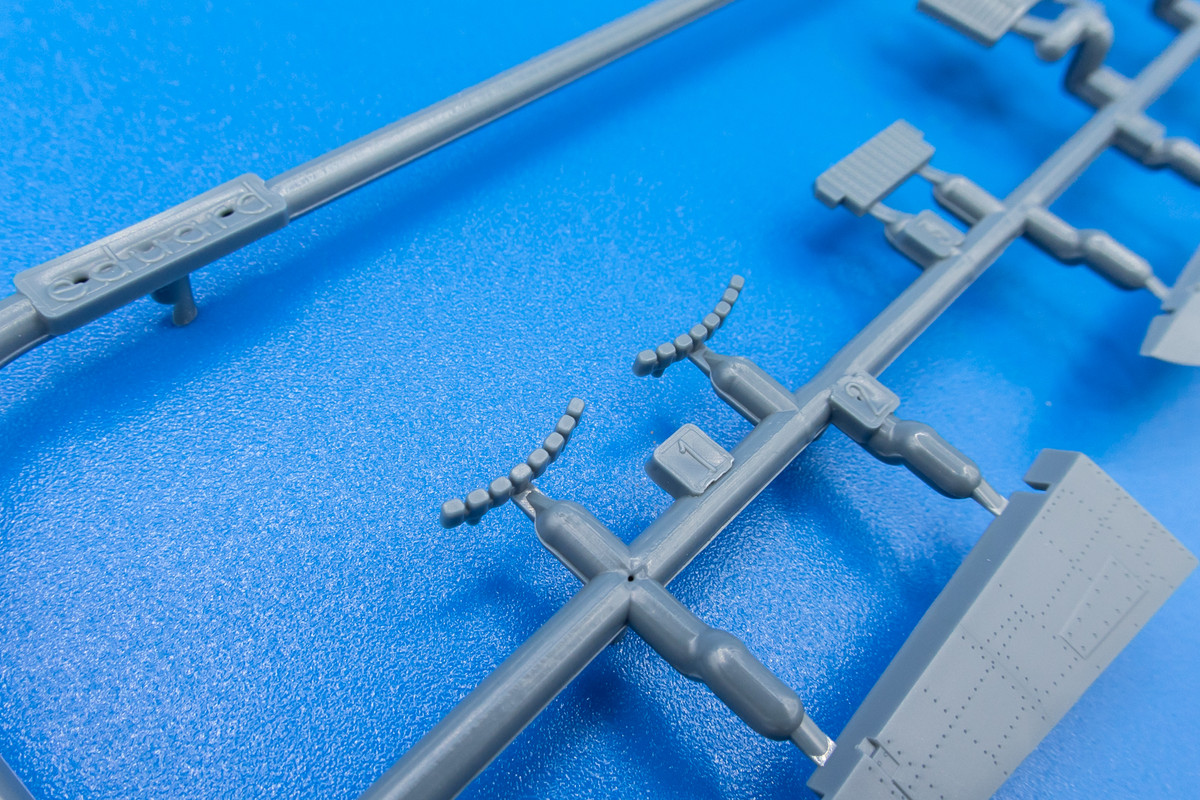
The tail fins on the rockets are quite thick. I'm not sure if the underwing rockets are appropriate for the aircraft that I'm modeling but I picked up Eduard Brassin replacements for the rockets just in case.
Image

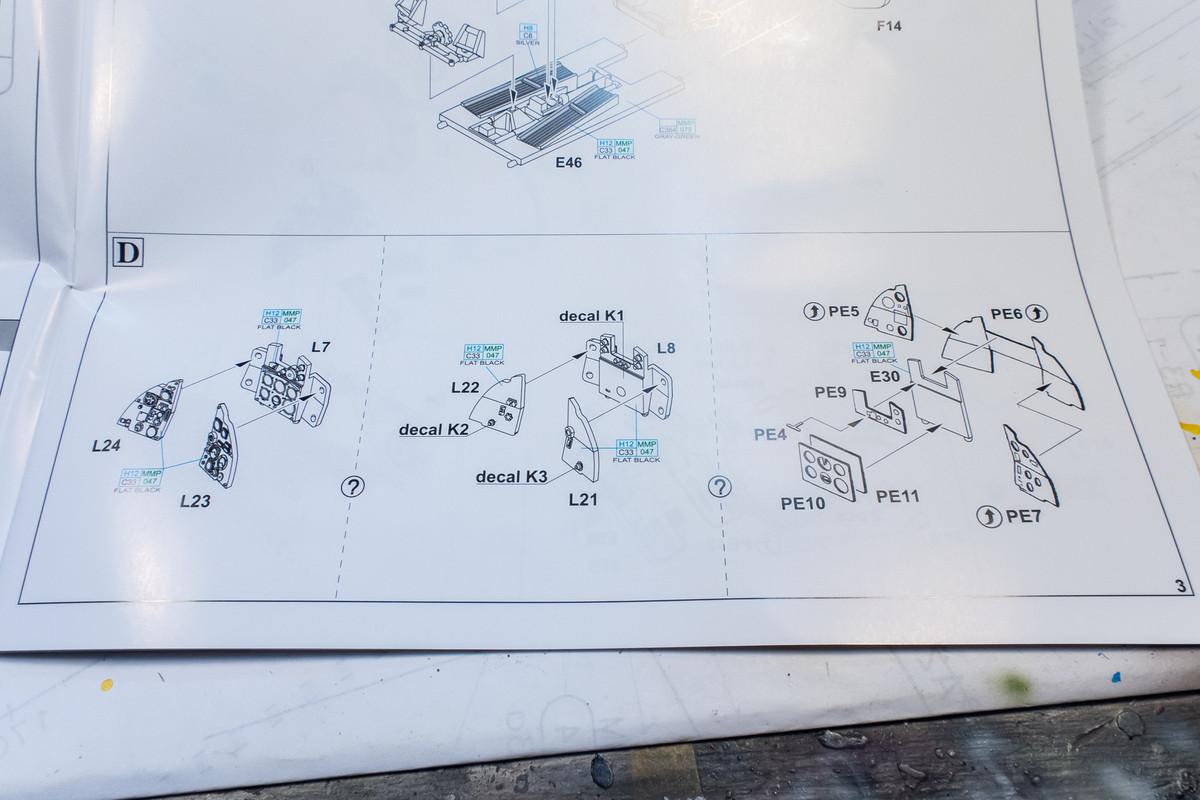
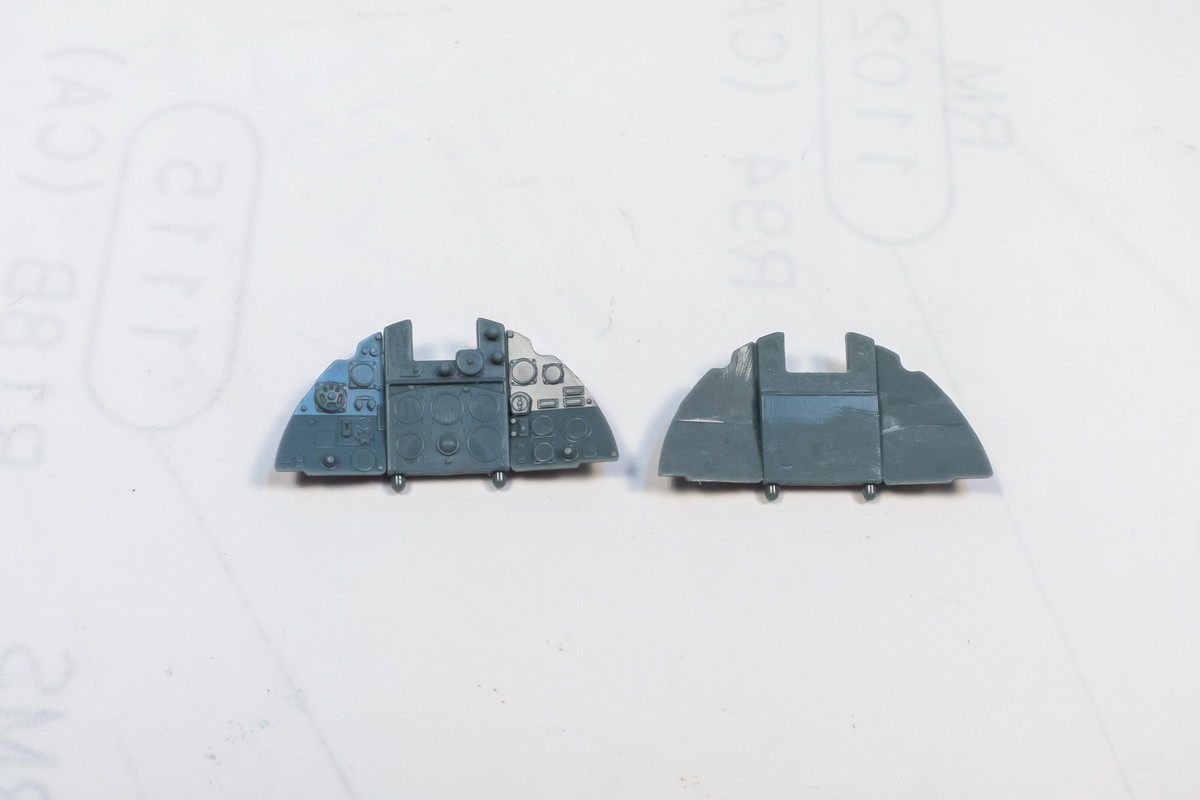
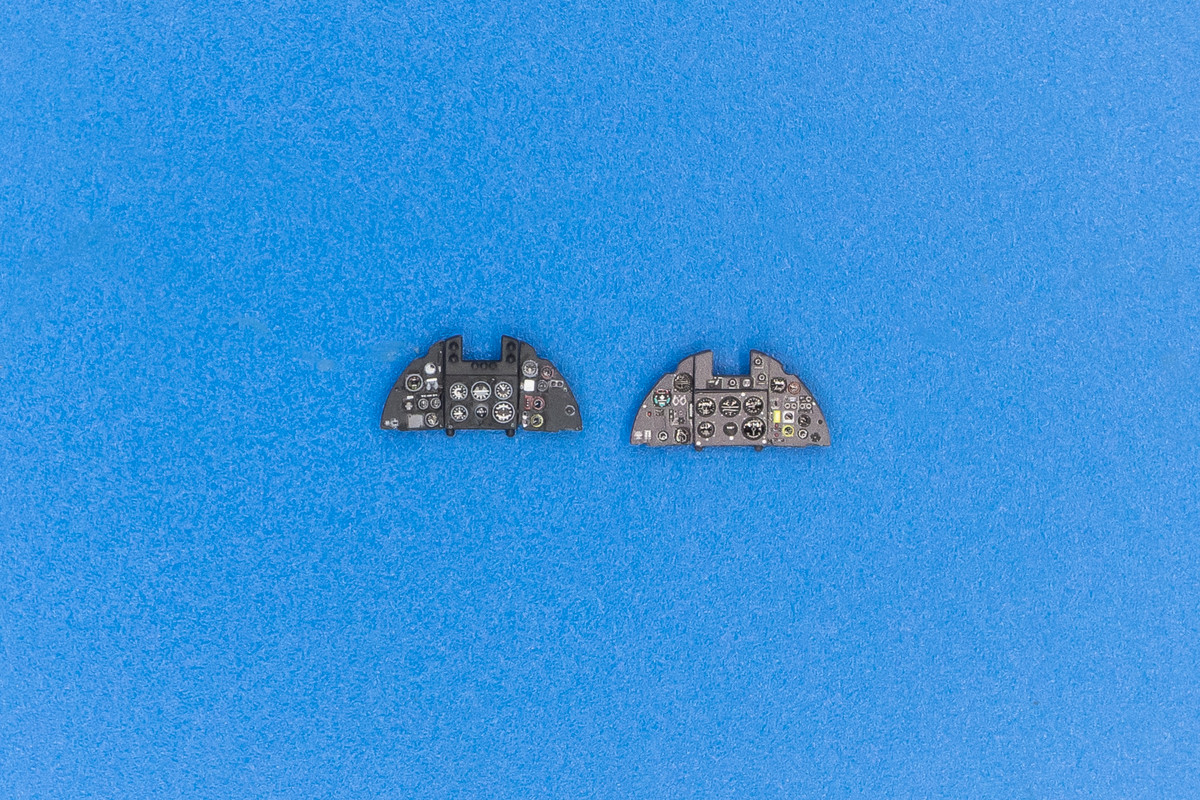
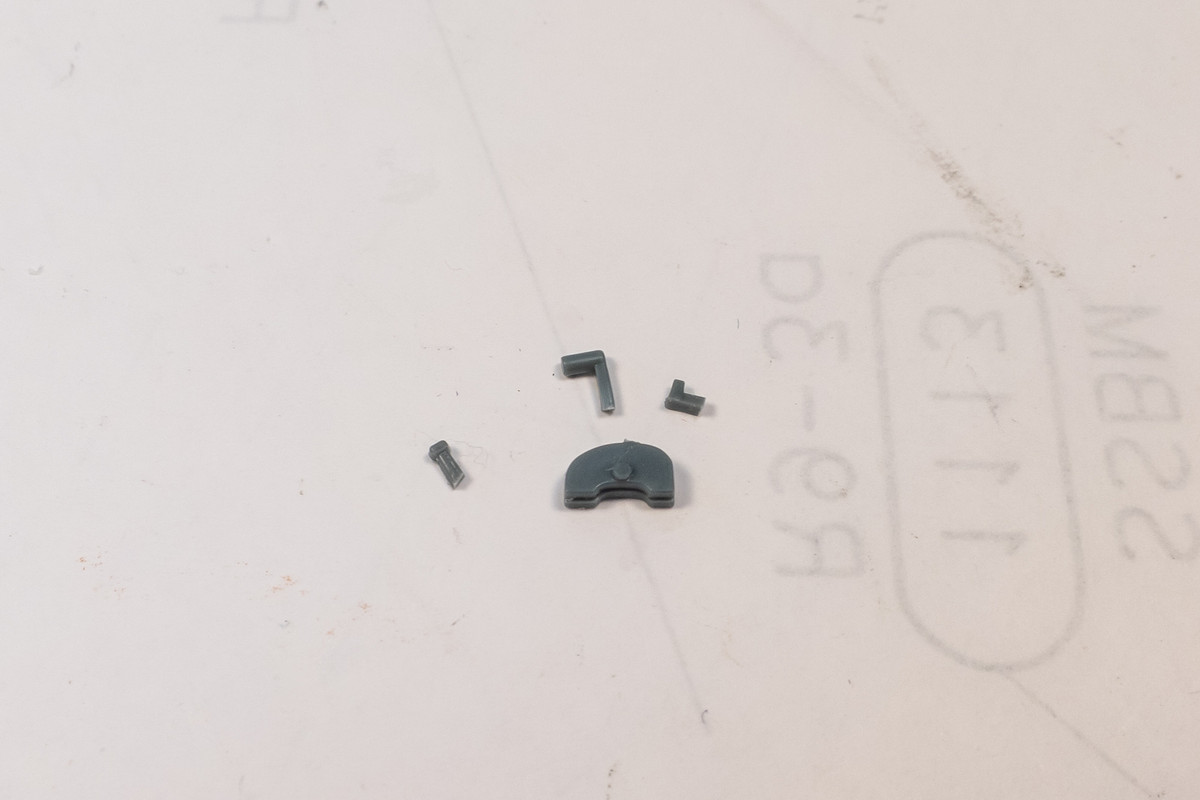
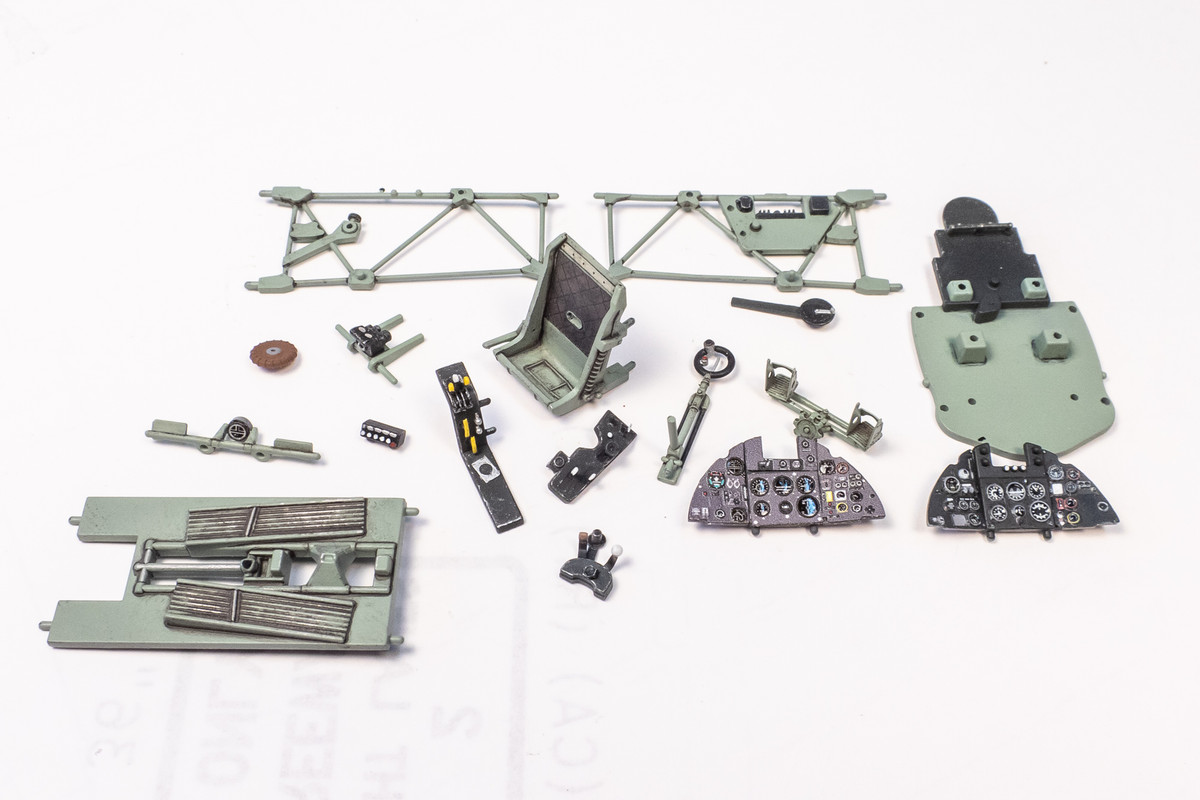
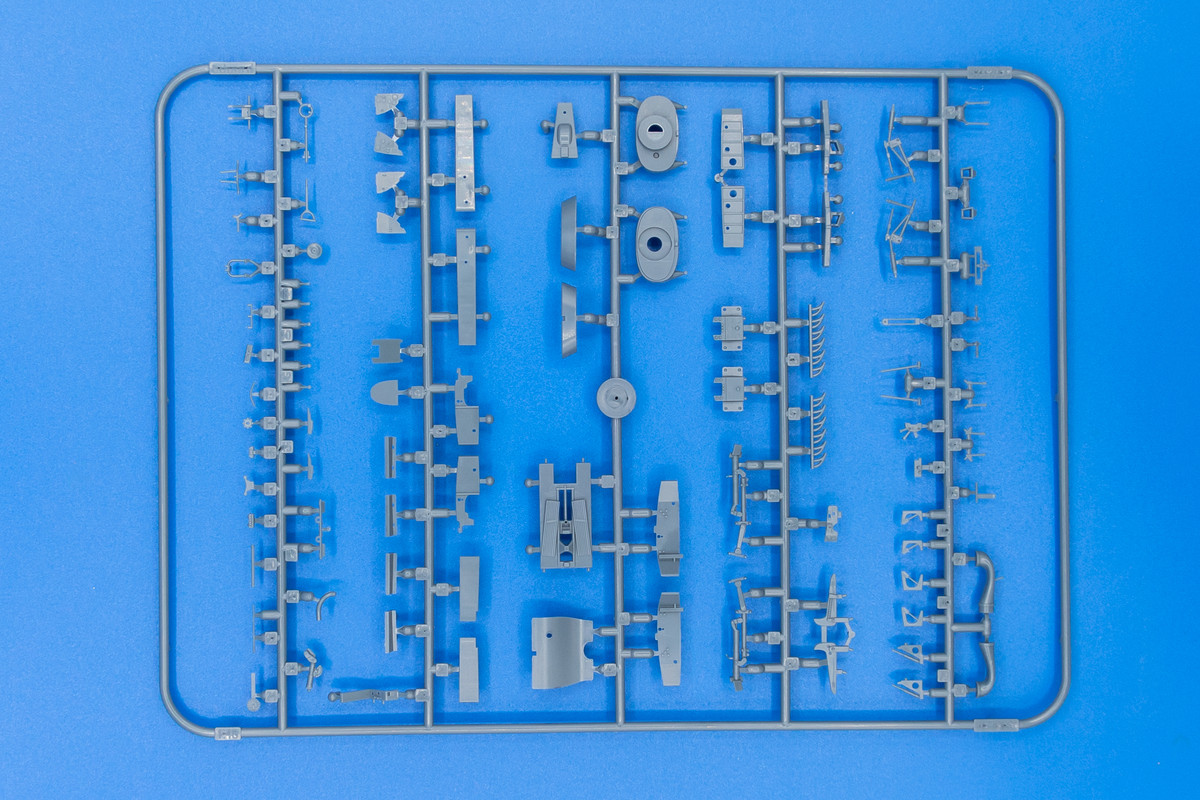
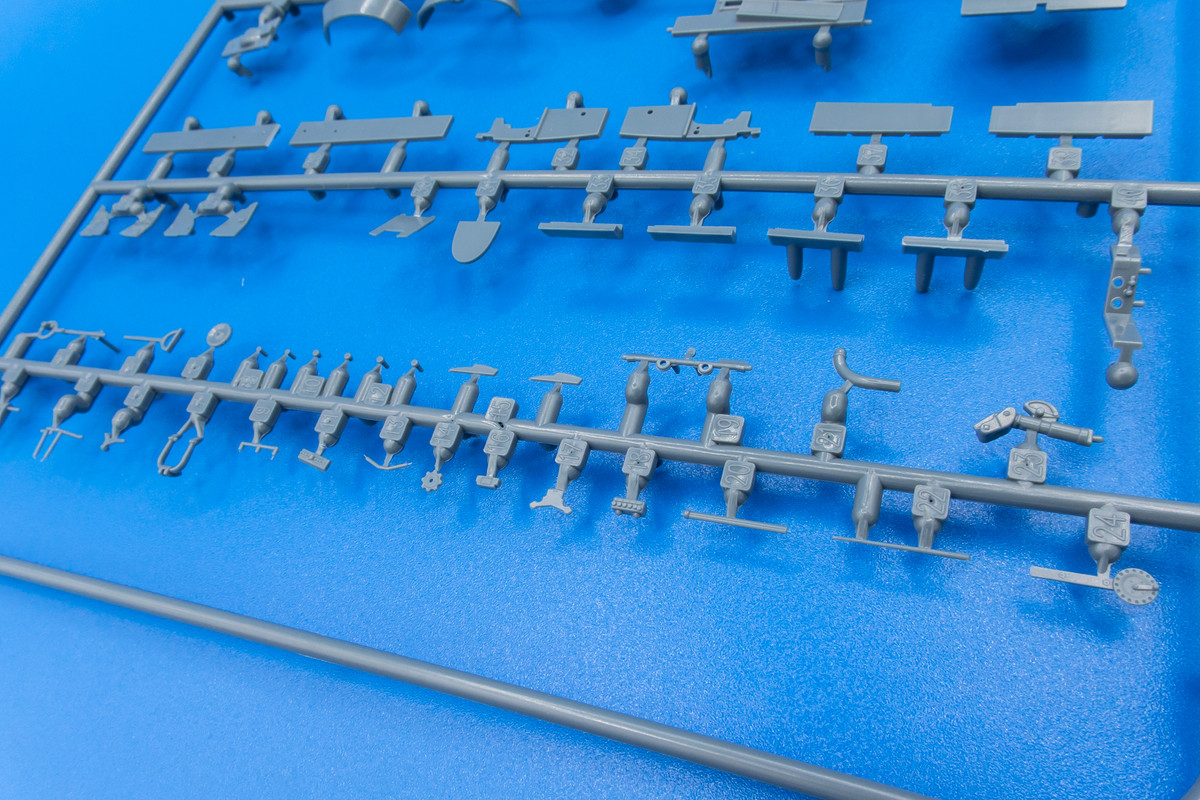
The final grey sprue holds all of the tiny parts. Even without the addition of aftermarket stuff, you get a very detailed model!
Image
Image
Image
Image

To Be Continued...
John aka JKim
-----------<><
Image
User avatar
Stikpusher
Moderator
Posts: 18900
Joined: Sat Apr 05, 2014 8:37 pm
Location: Ceti Alpha 5

Re: Eduard 1/48 Hawker Tempest II

Post by Stikpusher »

What?! John is working in 1/48? On a Post WWII aircraft?! :wow: :tease:
Well, in any case I'm sure that this will be a great looking build to follow along. Man it sure does look to be a beauty of a kit! I wonder if Eduard tackle a Sea Fury in 1/48, since the Tempest II and Sea Fury are rather close cousins in design... :hmm:
"Surely I have made my meaning plain? I intend to avenge myself upon you, Admiral. I have deprived your ship of power, and when I swing 'round, I intend to deprive you of your life."

FLSM
User avatar
jkim
Elite Member
Posts: 3944
Joined: Mon Apr 10, 2017 4:03 pm

Re: Eduard 1/48 Hawker Tempest II

Post by jkim »

Yeah, it's good to try and do something different. And I'm planning on an overall NMF finish, which will be a first for me. From what I've read, its a quality kit so this should be a good way to hone off the rough edges after a long absence. Airfix as a relatively new Sea Fury in 1/48 that seemed to be well received so maybe that's giving Eduard a little hesitation on releasing a version?

Wrapping up with the kit contents, the majority of the clear parts are held on Eduard's signature circular sprue. Even though this circular sprue was held in its own bag, both the windscreen and the bubble canopy were detached and floating in the bag.
Image

Thankfully, there does not appear to be any damage to the canopy parts.
Image

The supplied photoetch includes pre-painted parts for the cockpit and some unpainted detail parts as well.
Image

Markings for six aircraft are supplied on this huge decal sheet. Biggest I've encountered and wouldn't fit on my desktop scanner. These are the newer style decals from Eduard that feature a removable clear carrier, similar to the wet transfer decals from HGW and 1ManArmy.
Image

I am planning to do a natural metal bird from Royal Indian Air Force circa 1947.
Image

Construction will start in the cockpit and my attention is drawn to the three ways Eduard provides for the instrument panel. The first version has molded detail on the instrument faces that are meant to be painted. The second version provides partially flat faces for the panels that are meant to be used with the kit-supplied decals for the instrument faces. The third version uses the pre-painted phototetch parts.
Image

Since the molded detail version lacks the raised instrument dials, I thought I would morph the three version into two alternatives. 1: Using the decals on the molded detail parts and 2: removing all of the raised details on the 2nd version and applying the photo-etch parts onto that.
Image

I'll have to double check to see if the decals actually line up with the molded details as I notice some differences between all three instrument panel version. But I've prepped Version 2 by removing all of the raised details.
Image
John aka JKim
-----------<><
Image
User avatar
Stuart
Elite Member
Posts: 9628
Joined: Sun Apr 06, 2014 1:06 pm
Location: North Wales
Contact:

Re: Eduard 1/48 Hawker Tempest II

Post by Stuart »

This is on my 'to buy' list one day - looking forward to seeing what you do with it John.
Stuart Templeton 'I may not be good but I'm slow...'

My blog: https://stuartsscalemodels.blogspot.com/
User avatar
Medicman71
Elite Member
Posts: 9744
Joined: Mon Apr 07, 2014 9:32 am
Location: Houston, Tx

Re: Eduard 1/48 Hawker Tempest II

Post by Medicman71 »

Very cool! Can't wait to see your build.
Mike

Sponsored by Boeing, Lockheed Martin, Northrop Grumman, Saab, BAE, and Dassault
User avatar
jkim
Elite Member
Posts: 3944
Joined: Mon Apr 10, 2017 4:03 pm

Re: Eduard 1/48 Hawker Tempest II

Post by jkim »

Thanks guys!

I've cobbled together two versions of the instrument panel. One is pre-painted Eduard photoetch panels glued onto the kit plastic parts (right). The other is the kit plastic parts with the molded detail and the kit decals placed over it (left). It took a bit of effort to get the decal to conform to the molded detail using multiple applications of Microsol, Solvaset, a sharp knife and physical pressure. The remaining silvering around the instruments was carefully painted out. The Eduard version is clearly superior in terms of detail but the purplish grey color, which isn't apparent in the picture below, bugs me. Haven't decided yet but I'm leaning towards using the decal version because I like the color better.
Image

I'm slowly working on the cockpit components. It's not as straightforward as it could be since some of the Eduard PE is pre-painted, which means I have to pre-paint some of the plastic parts before the PE is glued on. But it's getting there. In the meantime, I've taken the time to open up the fuselage openings aft of the engine.
Image
Image
Image

I'm not going to do too much extra detailing in the cockpit but I didn't like the throttle quadrant so I've cut off the levers and will make new ones.
Image
John aka JKim
-----------<><
Image
User avatar
BorgR3mc0
Elite Member
Posts: 3252
Joined: Tue Mar 18, 2014 7:16 am
Location: Utereg

Re: Eduard 1/48 Hawker Tempest II

Post by BorgR3mc0 »

Wonderful work on a wonderful kit. And Indian colours will be a nice variation. You don’t see that very often.
ImageImageImageImageImage
User avatar
jkim
Elite Member
Posts: 3944
Joined: Mon Apr 10, 2017 4:03 pm

Re: Eduard 1/48 Hawker Tempest II

Post by jkim »

Thank you Remco!

The parts with PE enhancements have been given a coat of Mr Primer Surfacer 1000 including some scratchbuilt levers on the throttle quadrant.
Image

The other cockpit parts are here including the footrest, tubular sidewall structure, seat and rear cockpit bulkhead.
Image

The fuselage interior has some molded detail in the cockpit area.
Image
John aka JKim
-----------<><
Image
User avatar
jkim
Elite Member
Posts: 3944
Joined: Mon Apr 10, 2017 4:03 pm

Re: Eduard 1/48 Hawker Tempest II

Post by jkim »

The Eduard resin exhausts are nicely detailed despite their small size. Each array is about 1/2 inch long and I was afraid of them dropping into the fuselage when it came time to install them.
Image

So I boxed in the area with small pieces of sheet styrene.
Image
Image

Now I can paint them separately and install them at the end of the build without worry of losing them.
Image
Image
John aka JKim
-----------<><
Image
User avatar
jkim
Elite Member
Posts: 3944
Joined: Mon Apr 10, 2017 4:03 pm

Re: Eduard 1/48 Hawker Tempest II

Post by jkim »

Moving along now, I've painted most of the cockpit components separately. The green color is AK Real Color RAF Cockpit Grey Green (RC293).
Image

The tail wheel well has been painted and weathered.
Image
John aka JKim
-----------<><
Image
Post Reply

Return to “Aircraft Work in Progress”