
1/32 Revell Bf109G-6/AS Hohenjager
-
mustang1989

- Moderator
- Posts: 5044
- Joined: Tue Mar 18, 2014 8:35 pm
Re: 1/32 Revell Bf109G-6/AS Hohenjager
Learning all the way for my next Lufwaffe build......

Re: 1/32 Revell Bf109G-6/AS Hohenjager
That is fantastic John - I love your choice of scheme and it's so nice to see a different kind of luftwaffe camo.
Stuart Templeton 'I may not be good but I'm slow...'

Re: 1/32 Revell Bf109G-6/AS Hohenjager
Thanks guys! Inching along with the markings. The port side decals have been completed. I had to use some heavy-handed techniques to get the Mickey Mouse decal to settle into the panel lines. Multiple applications of different decal solvents (MicroSol and Solvaset), physically cutting the decals along the panel lines and even running the rivet wheel across the decal.

John aka JKim
-----------<><

-----------<><

Re: 1/32 Revell Bf109G-6/AS Hohenjager
Your efforts have paid off, it looks like it settled down in the panel lines really well.
March as one, Don't look back
Odin's sons... Attack!
Unleash hell! Do not repent! Warfare grants us no lament
Let your weapons slash and tear This is no place for fear
Hold the lines! Move as one! In unity our victory's won
Our shields will form a mighty wall
United we shall never fall
Odin's sons... Attack!
Unleash hell! Do not repent! Warfare grants us no lament
Let your weapons slash and tear This is no place for fear
Hold the lines! Move as one! In unity our victory's won
Our shields will form a mighty wall
United we shall never fall
-
BlackSheep214

- Elite Member
- Posts: 13596
- Joined: Sun Apr 06, 2014 8:47 pm
Re: 1/32 Revell Bf109G-6/AS Hohenjager
Wow...looking pretty damn good!
I’m looking to get this stuff. VMS Vantage Modelling Solutions Decal Set and Soften 2 in 1.
https://www.michtoy.com/item-VMS-AX09-V ... _in_1.html
Or even this... Walthers Solvaset Setting Solution.
https://www.michtoy.com/item-WAL-904-47 ... ution.html
I’m looking to get this stuff. VMS Vantage Modelling Solutions Decal Set and Soften 2 in 1.
https://www.michtoy.com/item-VMS-AX09-V ... _in_1.html
Or even this... Walthers Solvaset Setting Solution.
https://www.michtoy.com/item-WAL-904-47 ... ution.html
“Who controls the skies, controls the fate of this Earth”
Author unknown- 352nd Fighter Group, Blue-Nosed Bastards of Bodney
“Send one plane it’s a sortie; send two planes it’s a flight; send four planes it’s a test of airpower. - Richard Kohn
Author unknown- 352nd Fighter Group, Blue-Nosed Bastards of Bodney
“Send one plane it’s a sortie; send two planes it’s a flight; send four planes it’s a test of airpower. - Richard Kohn
-
speedgraflex

- Moderator
- Posts: 11534
- Joined: Fri Feb 10, 2017 11:08 pm
- Contact:
Re: 1/32 Revell Bf109G-6/AS Hohenjager
“Running the rivet roller across the decal...” wow! Looks brilliant, John! What guts you have to pull that off so well!!! The final effect is extremely convincing.
Make more models!
Re: 1/32 Revell Bf109G-6/AS Hohenjager
With a little "help", yeah, I got that decal to conform!Floki wrote:Your efforts have paid off, it looks like it settled down in the panel lines really well.
It's good to have an assortment of different decal solutions if the standard Microset/Microsol don't do the job. I've got about five but usually default to Microset/Microsol for most situations. The Solvaset is a little "hotter" so I bust that out when I have really stubborn decals.BlackSheep214 wrote:Wow...looking pretty damn good!
I’m looking to get this stuff. VMS Vantage Modelling Solutions Decal Set and Soften 2 in 1.
https://www.michtoy.com/item-VMS-AX09-V ... _in_1.html
Or even this... Walthers Solvaset Setting Solution.
https://www.michtoy.com/item-WAL-904-47 ... ution.html
When the solutions don't work, I resort to the physical. Once you get used to the riveting tool, it's not too hard to set it into the existing hole pattern.speedgraflex wrote:“Running the rivet roller across the decal...” wow! Looks brilliant, John! What guts you have to pull that off so well!!! The final effect is extremely convincing.
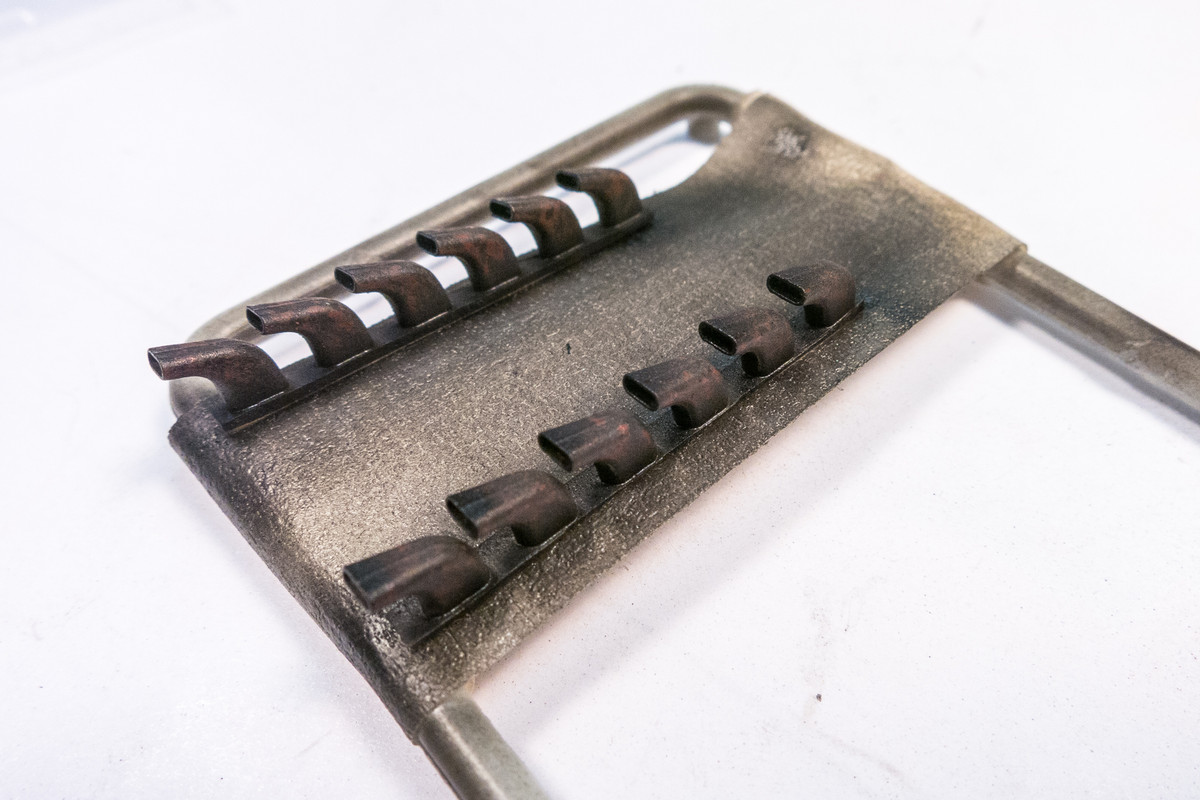
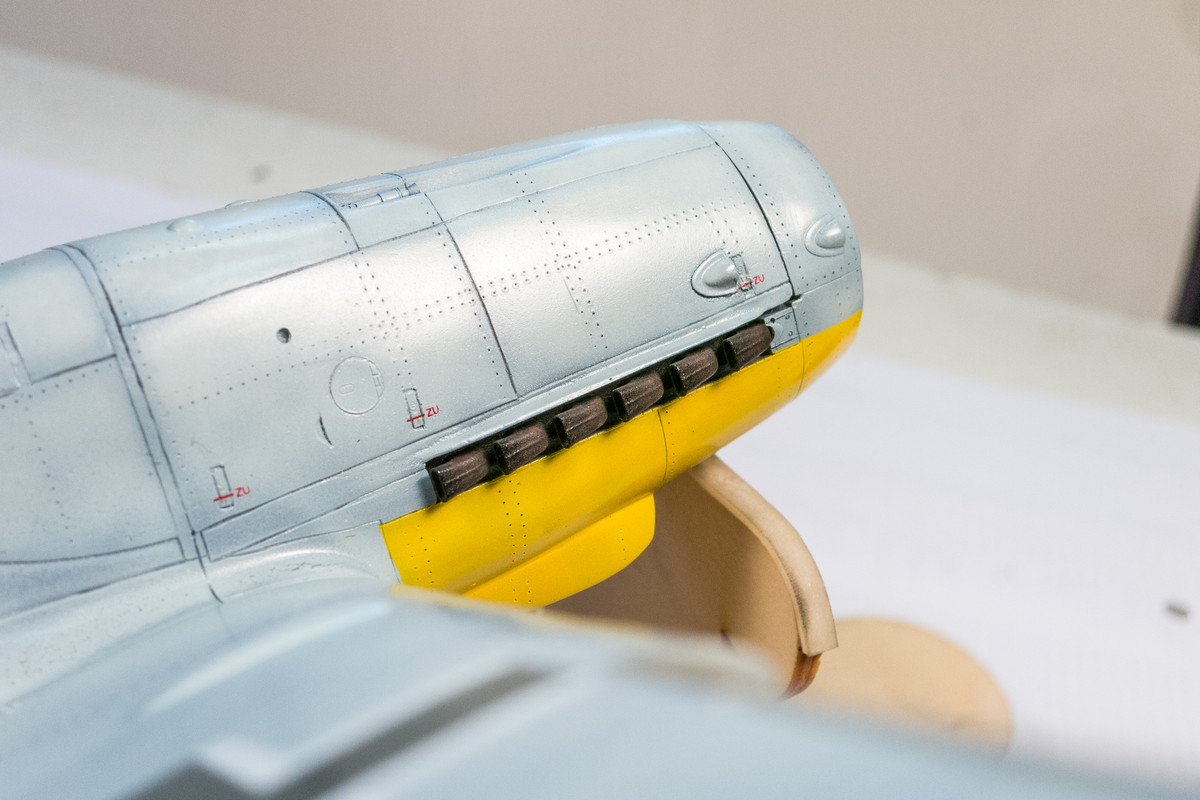
Work continues on the G-6. The exhausts have been painted. Alclad Steel sprayed straight onto the resin as a base. Tinted with Alclad Exhaust Manifold, drybrushed with some rusty reddish brown color and then the tips were sprayed black.
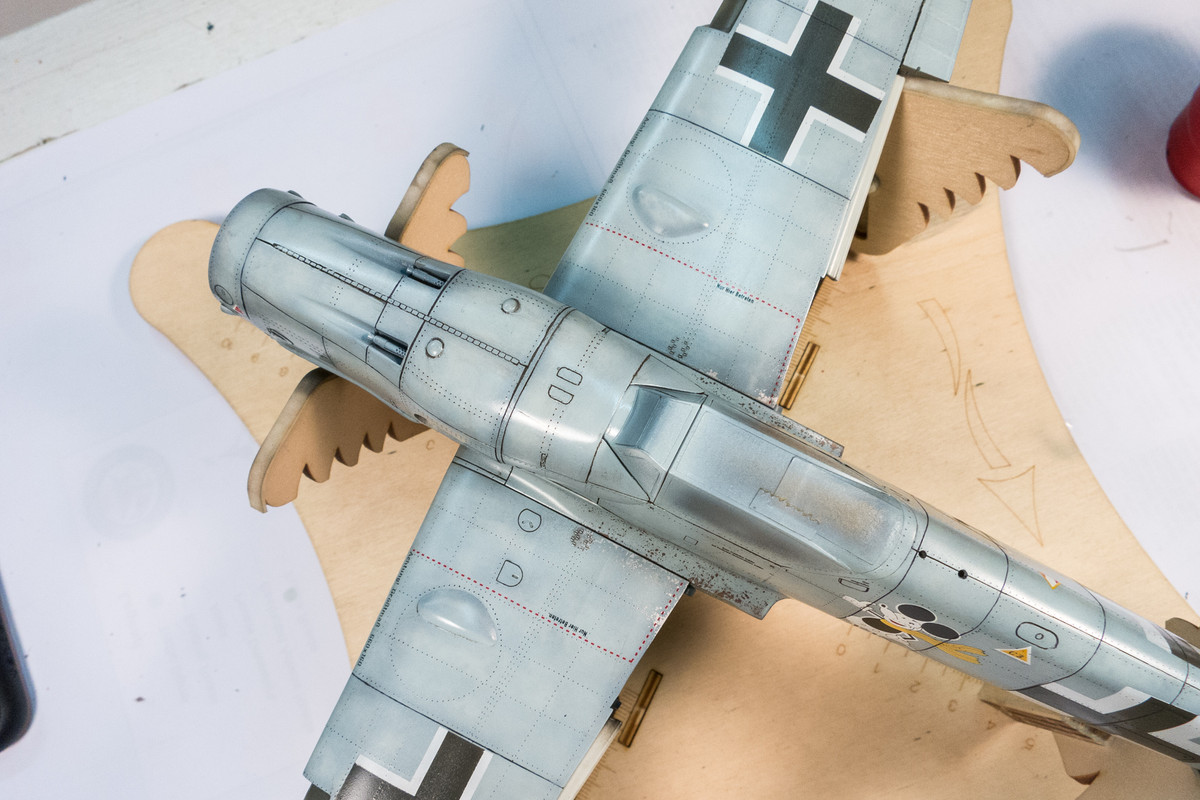
After the starboard side decals were completed, I sprayed the model with a light coat of Alclad Aqua Gloss.
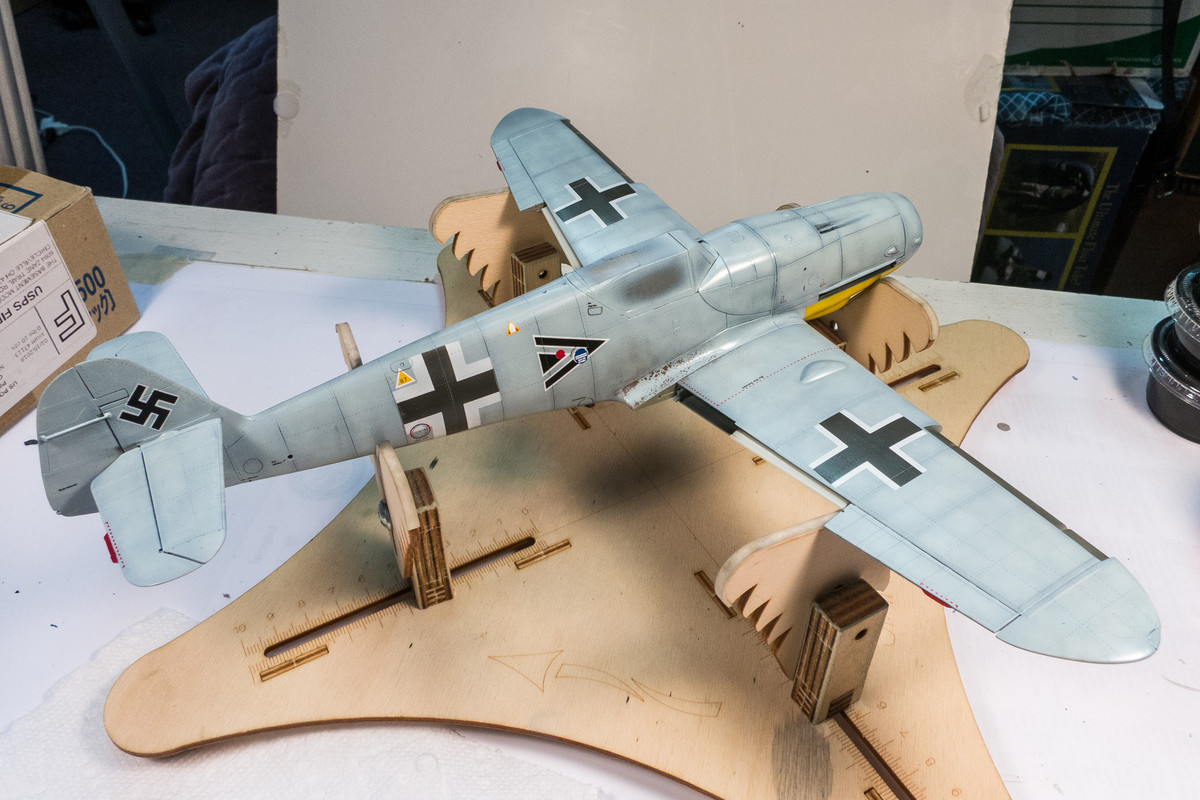
I use a custom-mixed, water-based pastel wash. All of the past riveting, filling and re-scribing comes to the surface.
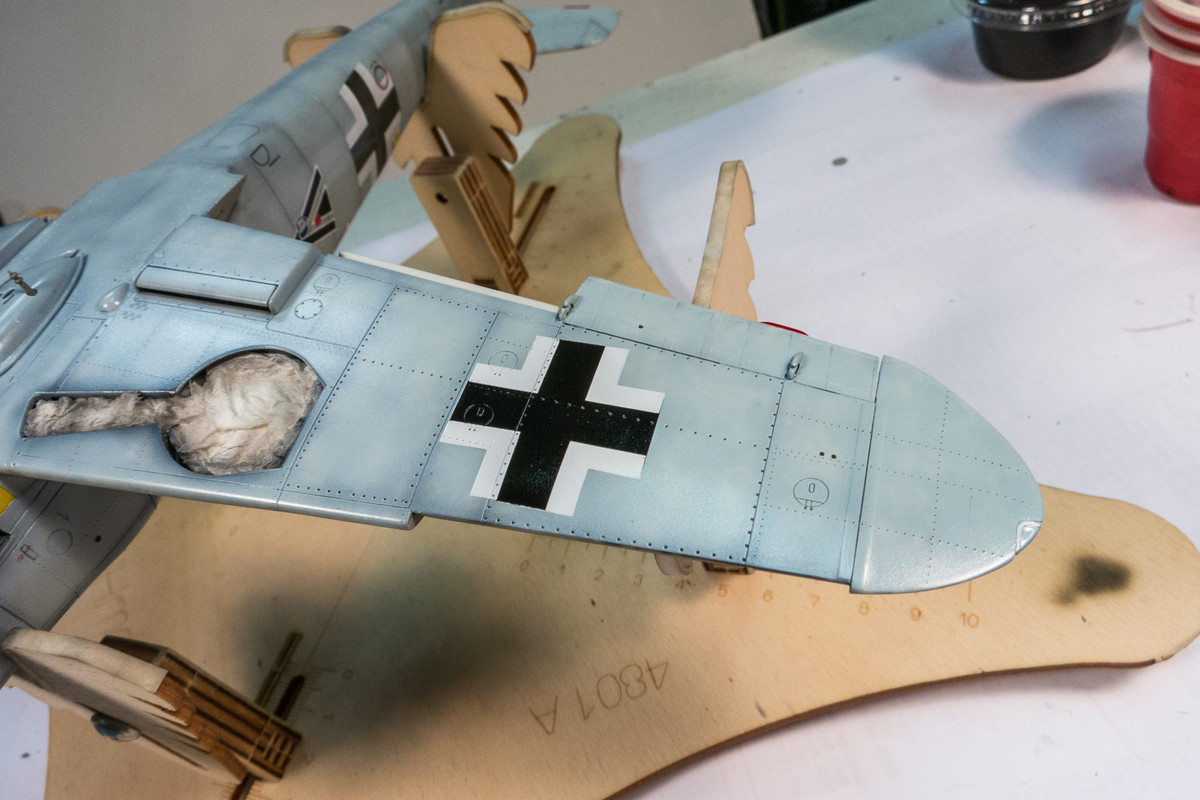
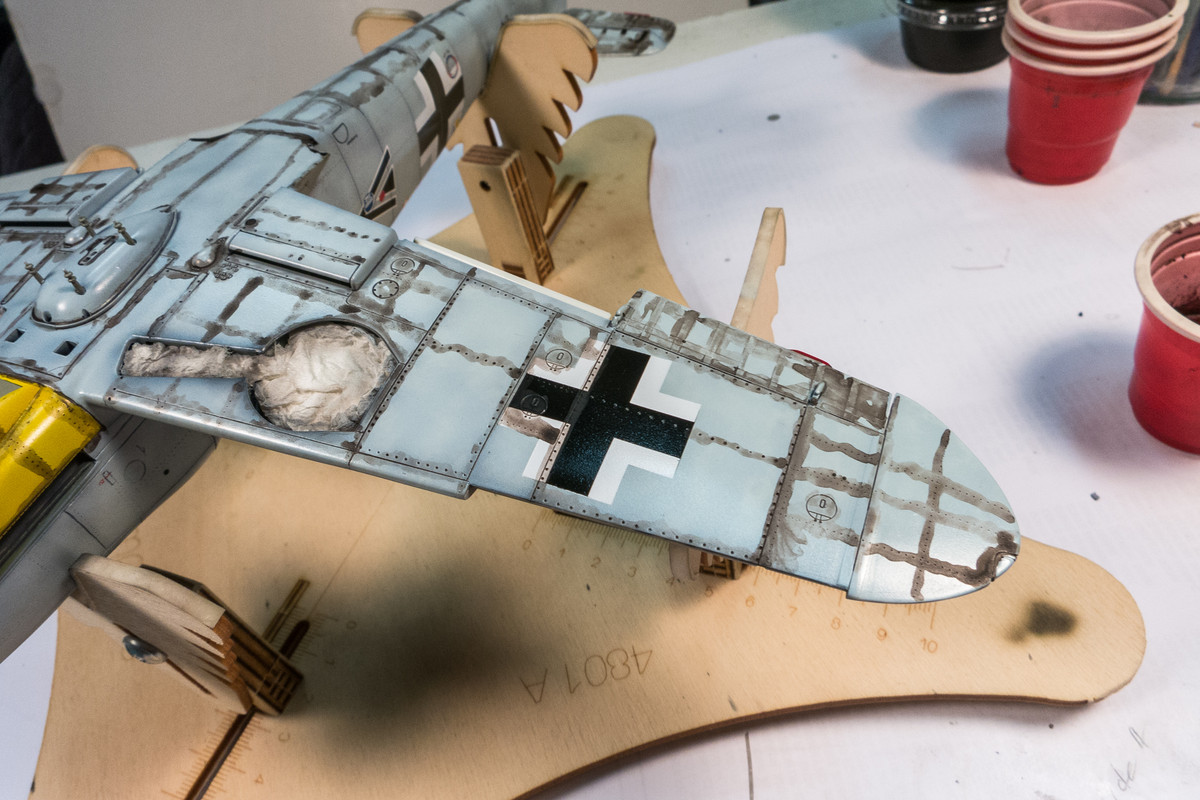
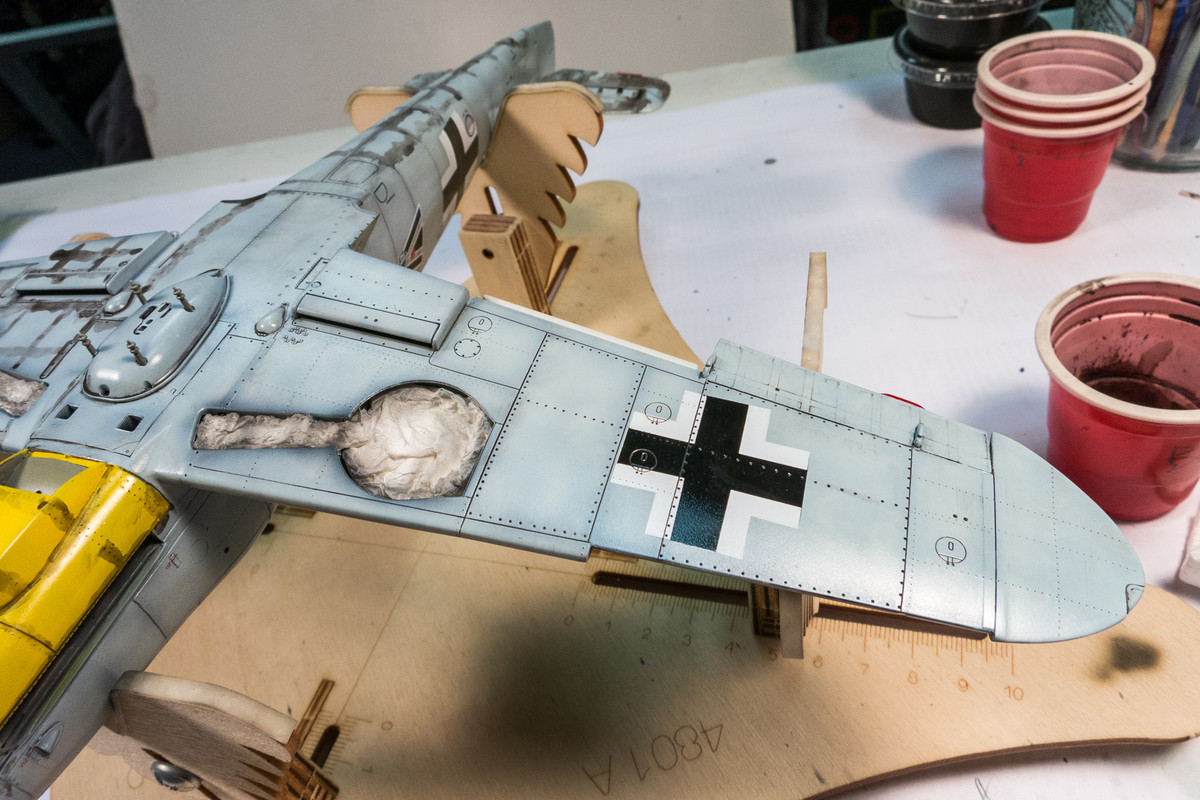
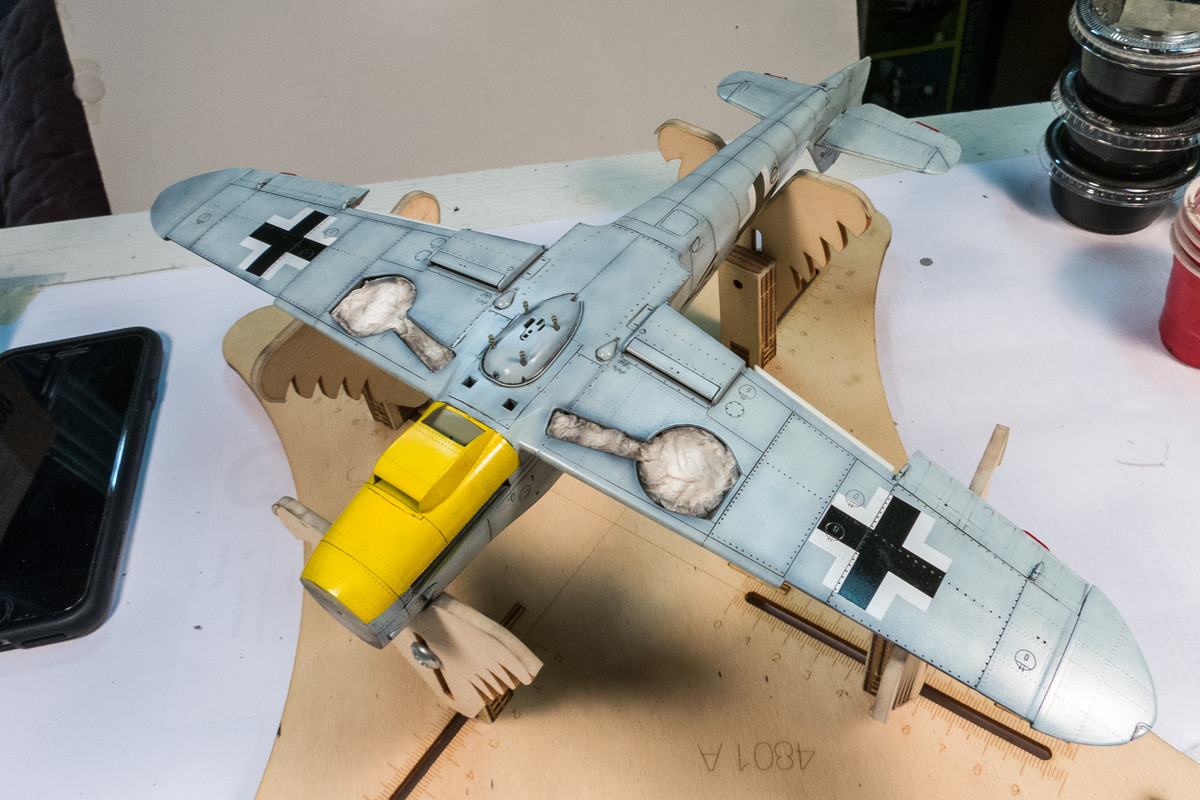
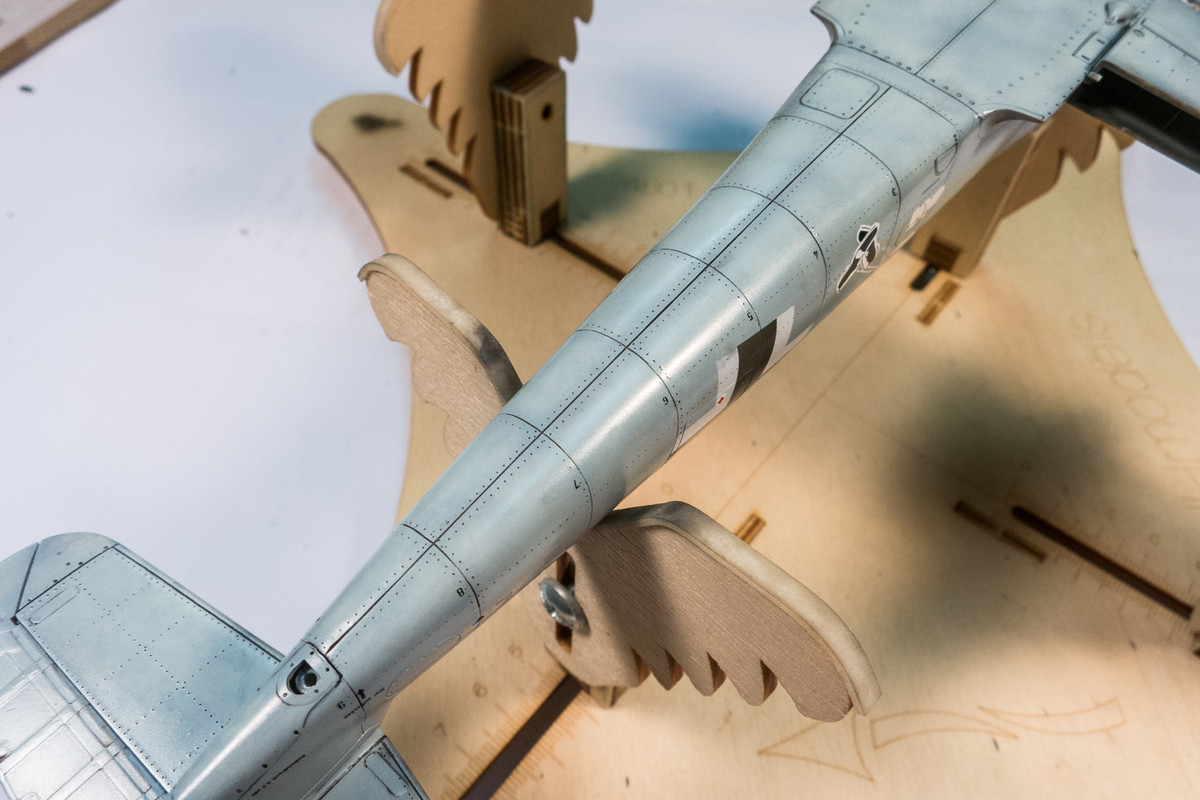
After the applied wash is dry, the model is wiped clean with a damp paper towel. It's funny that its called a wash when you are actually dirtying up things.
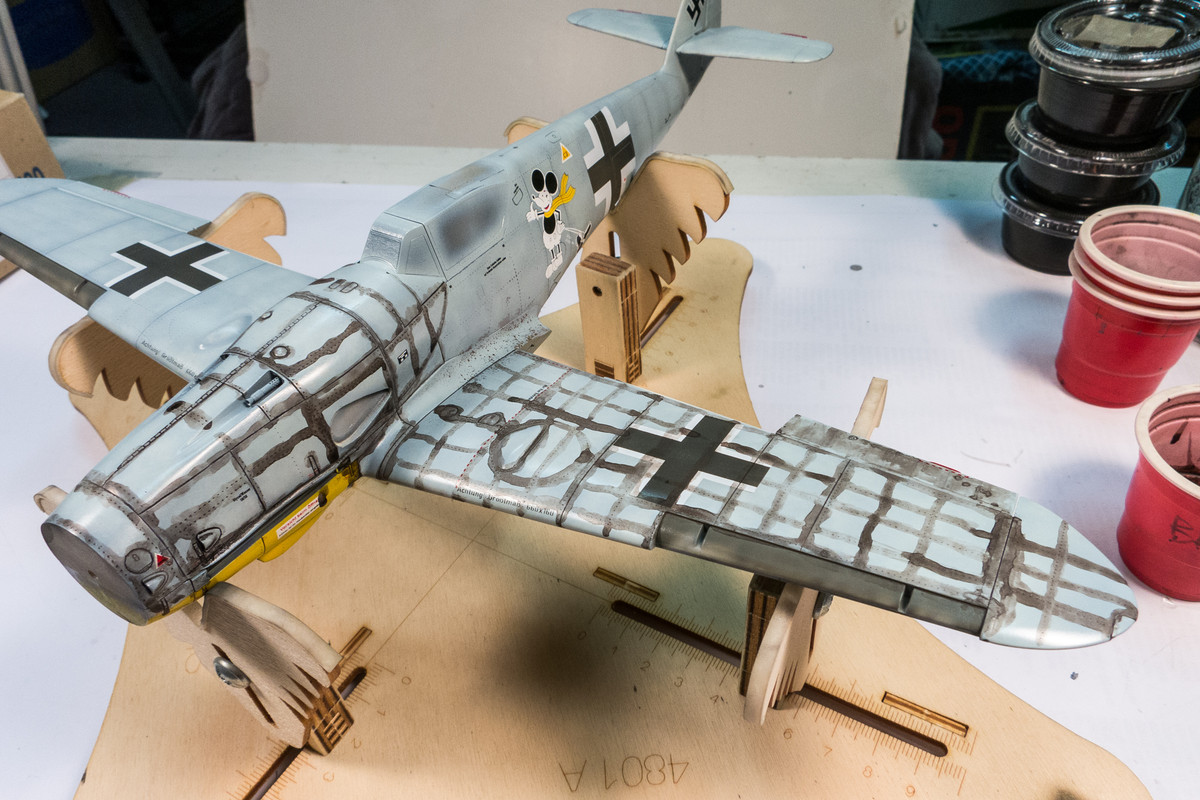
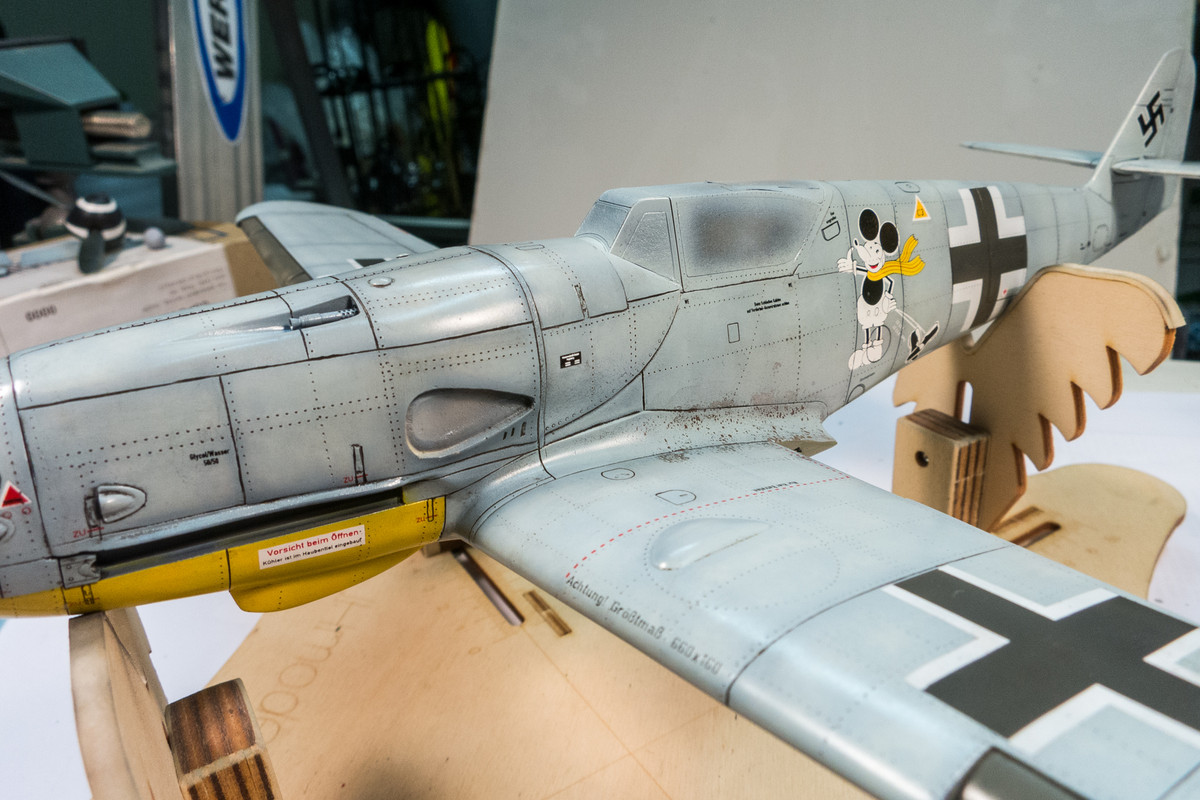
I'm going to let this sit for a day. Before the wash is sealed with a clear coat, it's good to step away and then come back to make sure you clean off all of the wash. Some inadvertent stains are good, others will detract so I'll take a look with fresh eyes tomorrow.
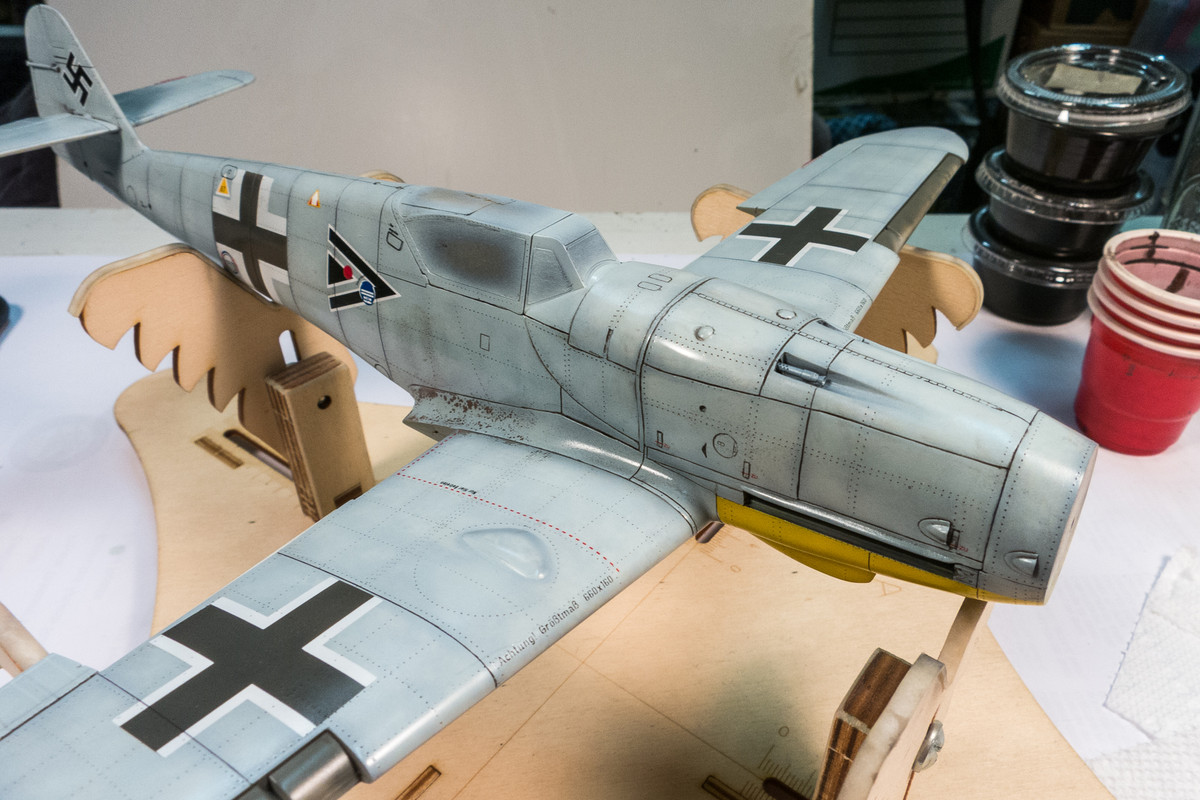

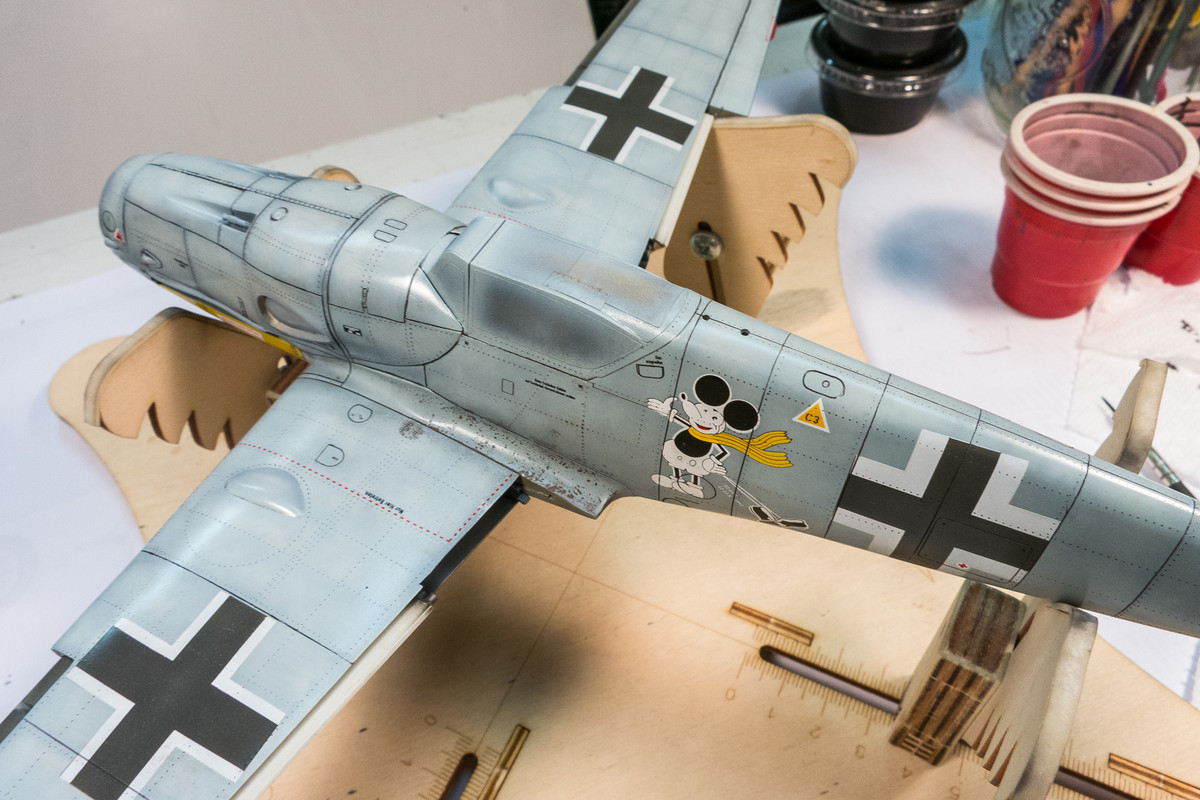
I love the look of the AMUR Reaver G-6/AS cowling. It has those bulged muscular proportions that made the DB605 aircraft so cool.
John aka JKim
-----------<><
-----------<><
Re: 1/32 Revell Bf109G-6/AS Hohenjager
I don't know what to say John I'm amazed how you took this one color and through your process of preshading/mottle and now the wash, have turned it into this. I love how it turned out!
March as one, Don't look back
Odin's sons... Attack!
Unleash hell! Do not repent! Warfare grants us no lament
Let your weapons slash and tear This is no place for fear
Hold the lines! Move as one! In unity our victory's won
Our shields will form a mighty wall
United we shall never fall
Odin's sons... Attack!
Unleash hell! Do not repent! Warfare grants us no lament
Let your weapons slash and tear This is no place for fear
Hold the lines! Move as one! In unity our victory's won
Our shields will form a mighty wall
United we shall never fall
Re: 1/32 Revell Bf109G-6/AS Hohenjager
 You know what - I think this might be my favourite of your builds I've seen so far. Such a great looking beast, I agree that that cowling really gives it a purposeful look. The scheme is excellent - I love the one all over colour with just the yellow lower cowl on to break it up - so unusual for the Luftwaffe aircraft.
 Excellent stuff John!
Stuart Templeton 'I may not be good but I'm slow...'
Re: 1/32 Revell Bf109G-6/AS Hohenjager
Thanks guys! It has been an interesting build so far. The single color scheme has its advantages, especially highlighting the shape of airframe but it has simplified the painting process to a point where it is not wowing me personally. So it is encouraging to hear positive comments. The thing that I am most proud of at this moment is how the AMUR Reaver cowling has been integrated into the build. It stood out in that yellow resin for the longest time but now has disappeared in a sea of light blue and that has made me smile. Final clean up of the wash is next and then a flat coat. That should really push the model into its finished look. I may do some pre-shading before the flat coat.
John aka JKim
-----------<><
-----------<><