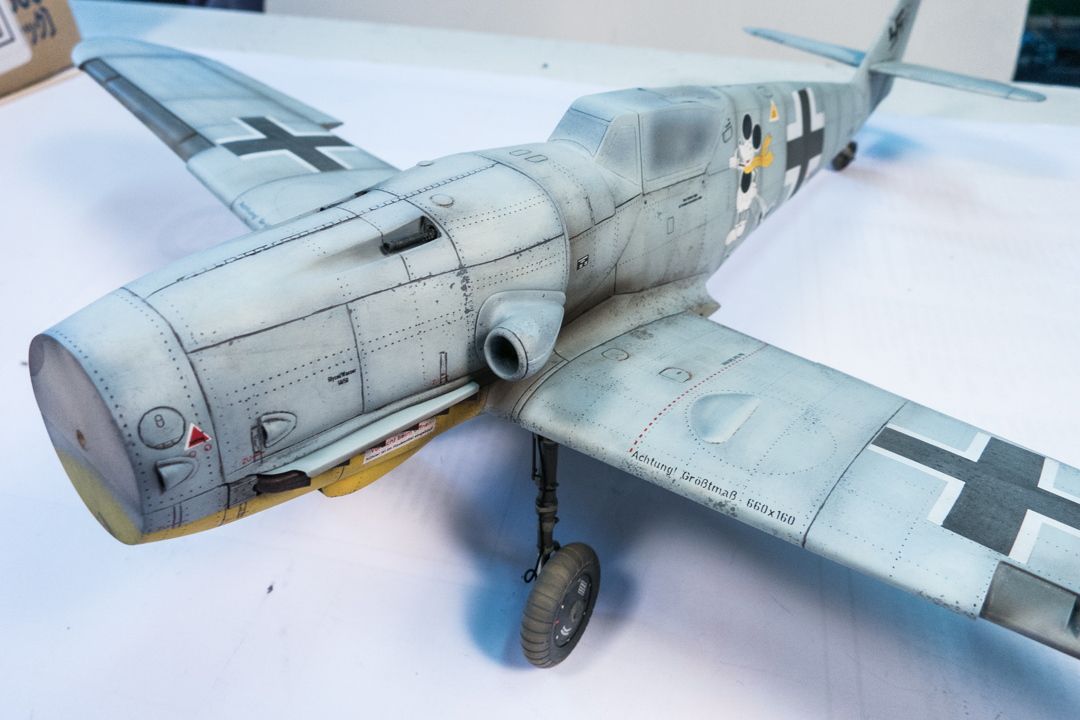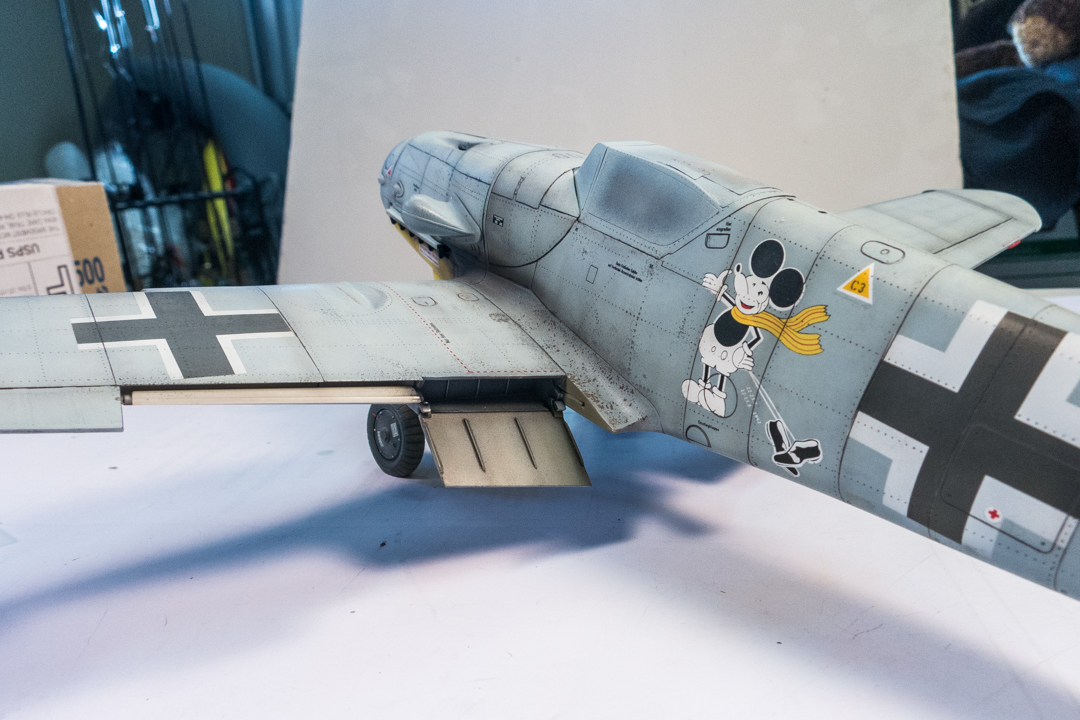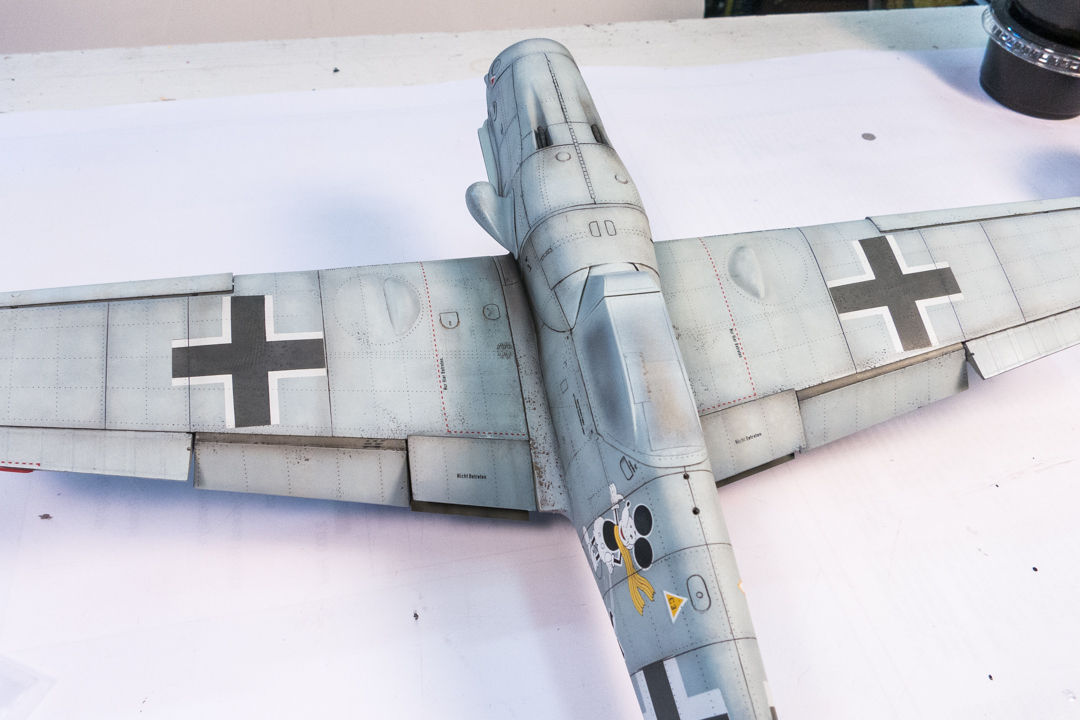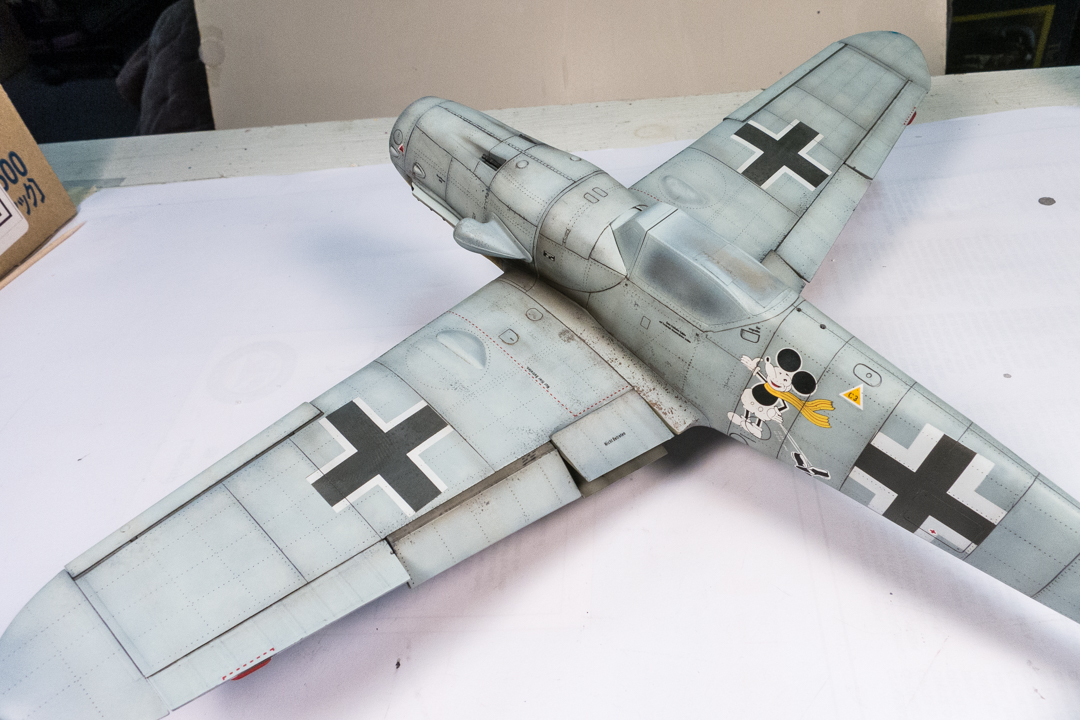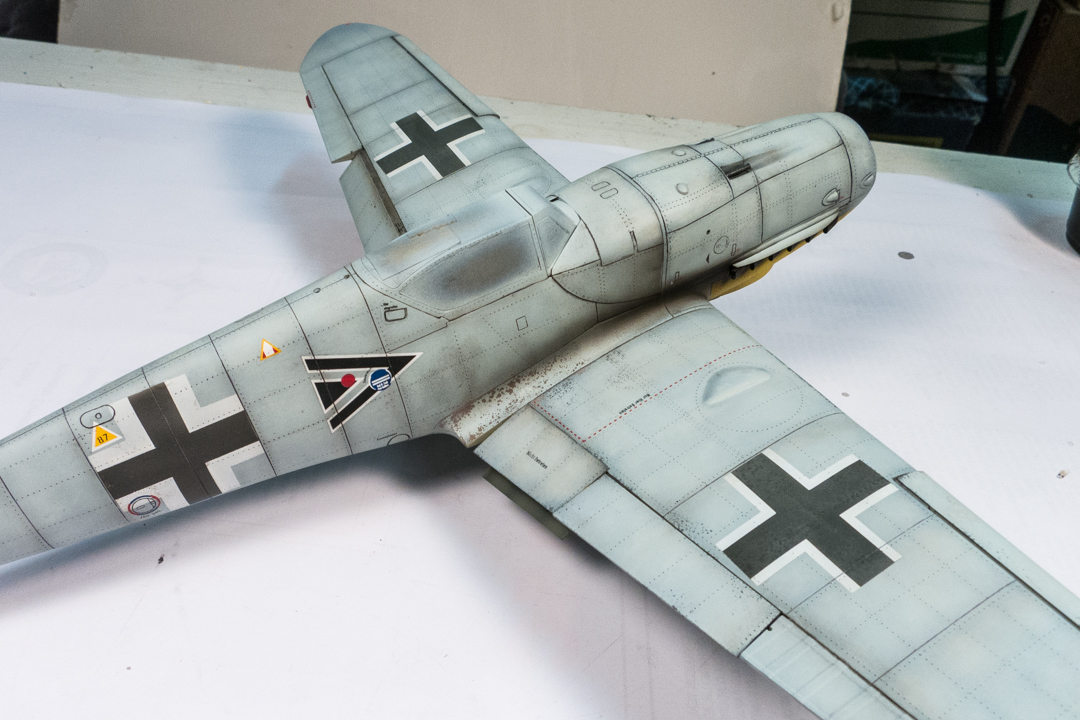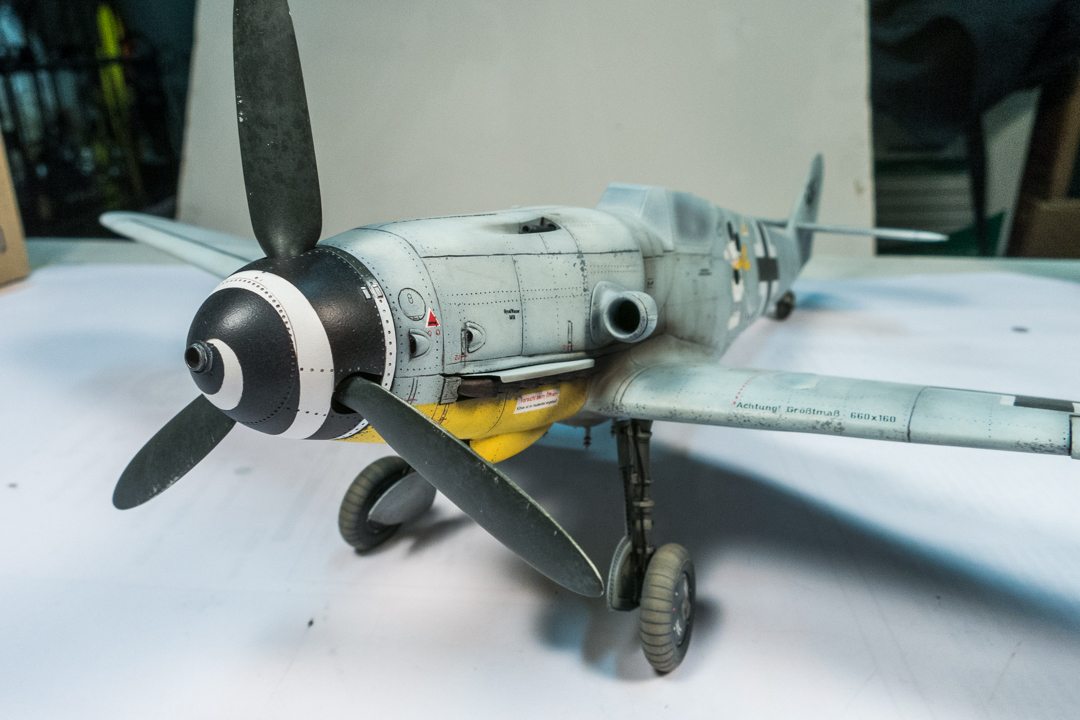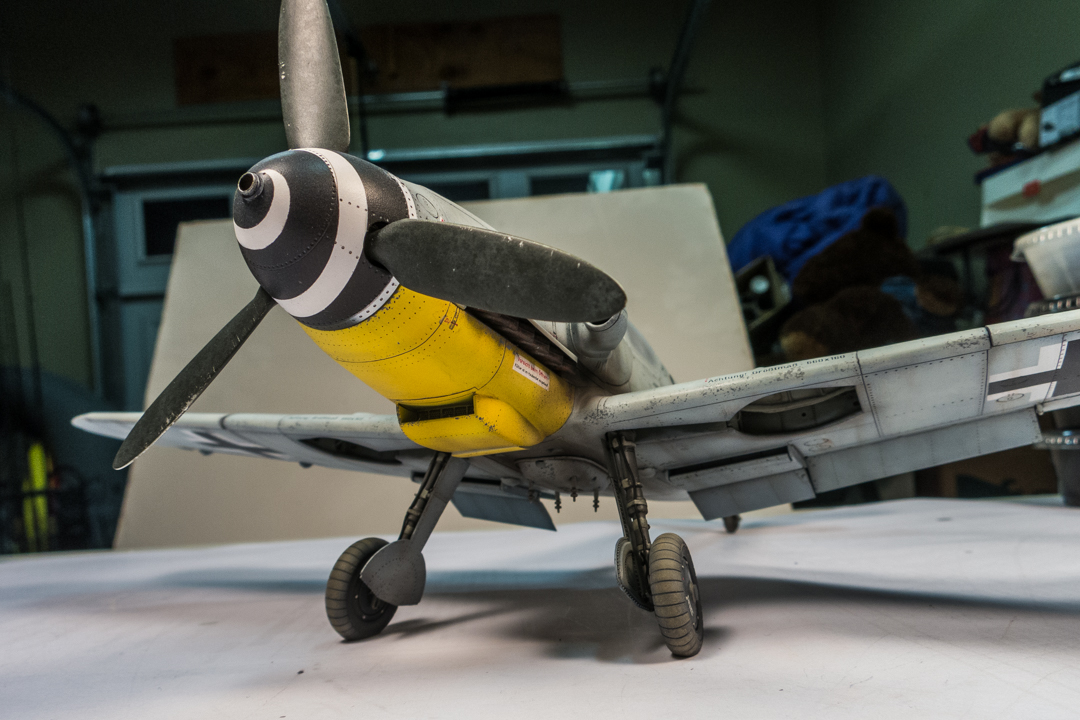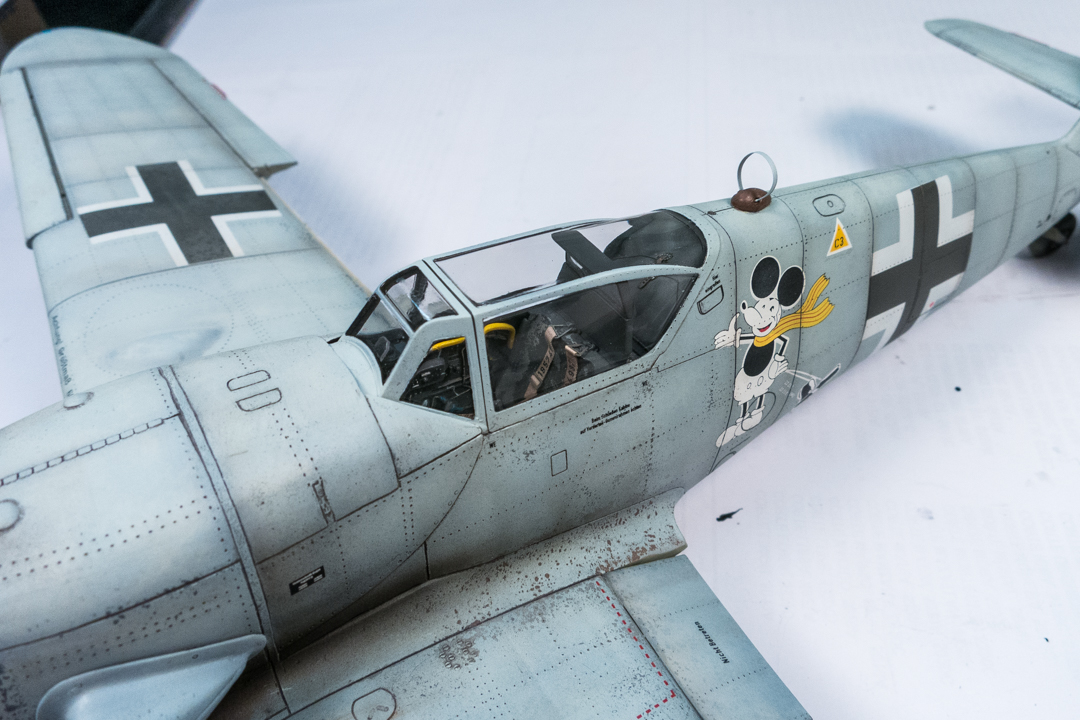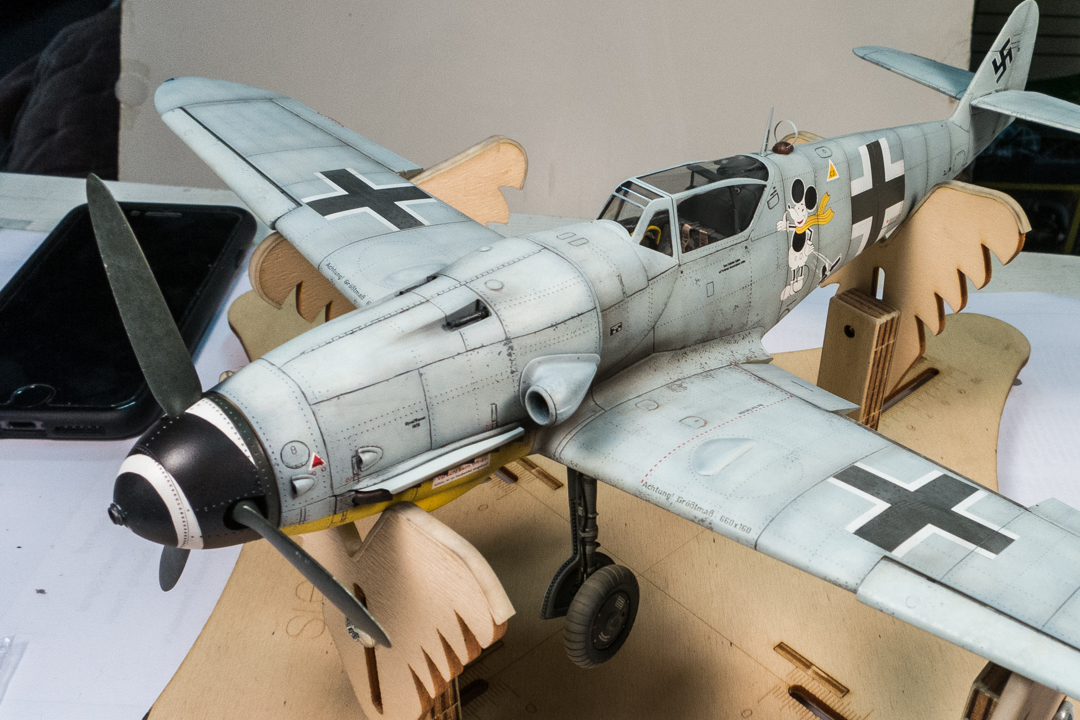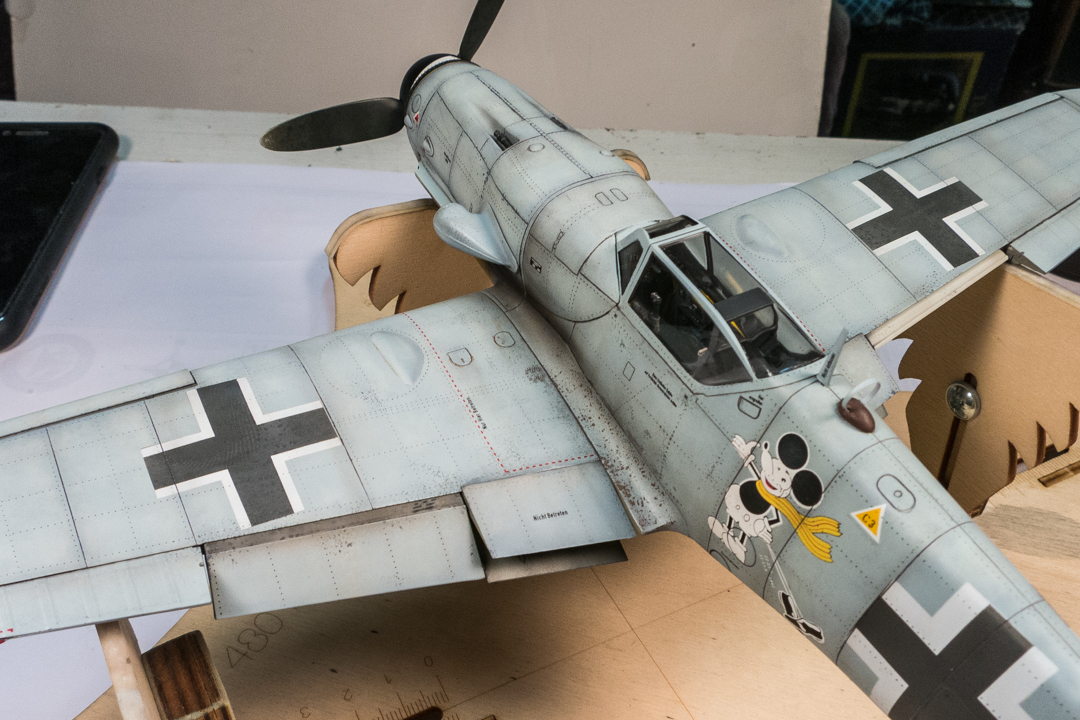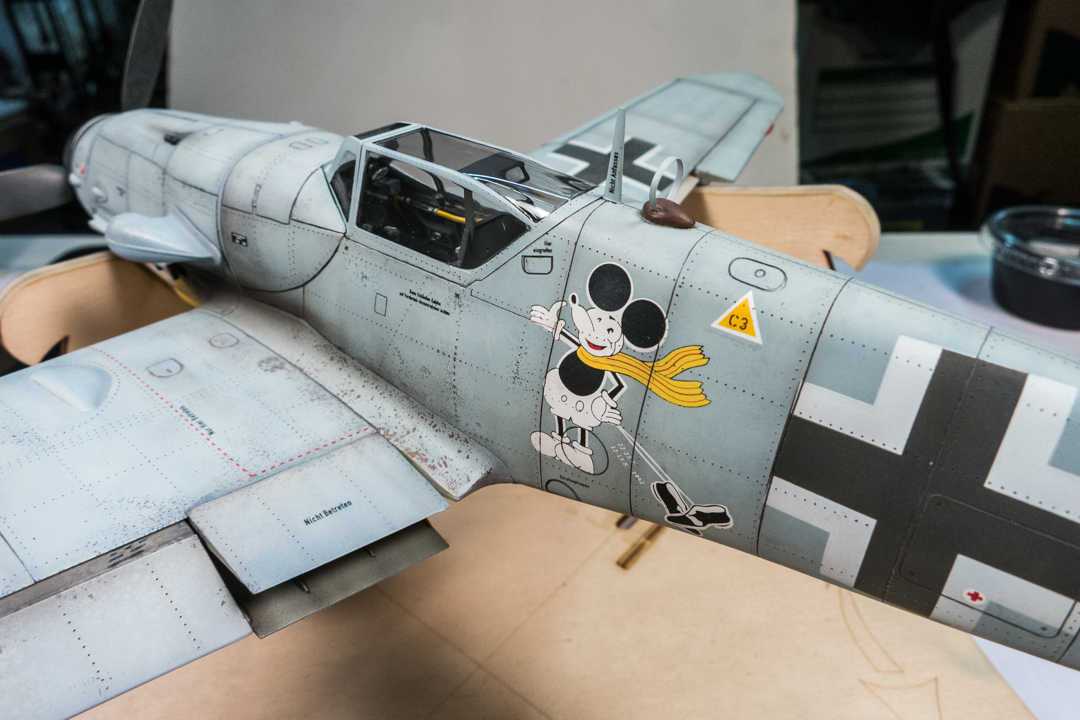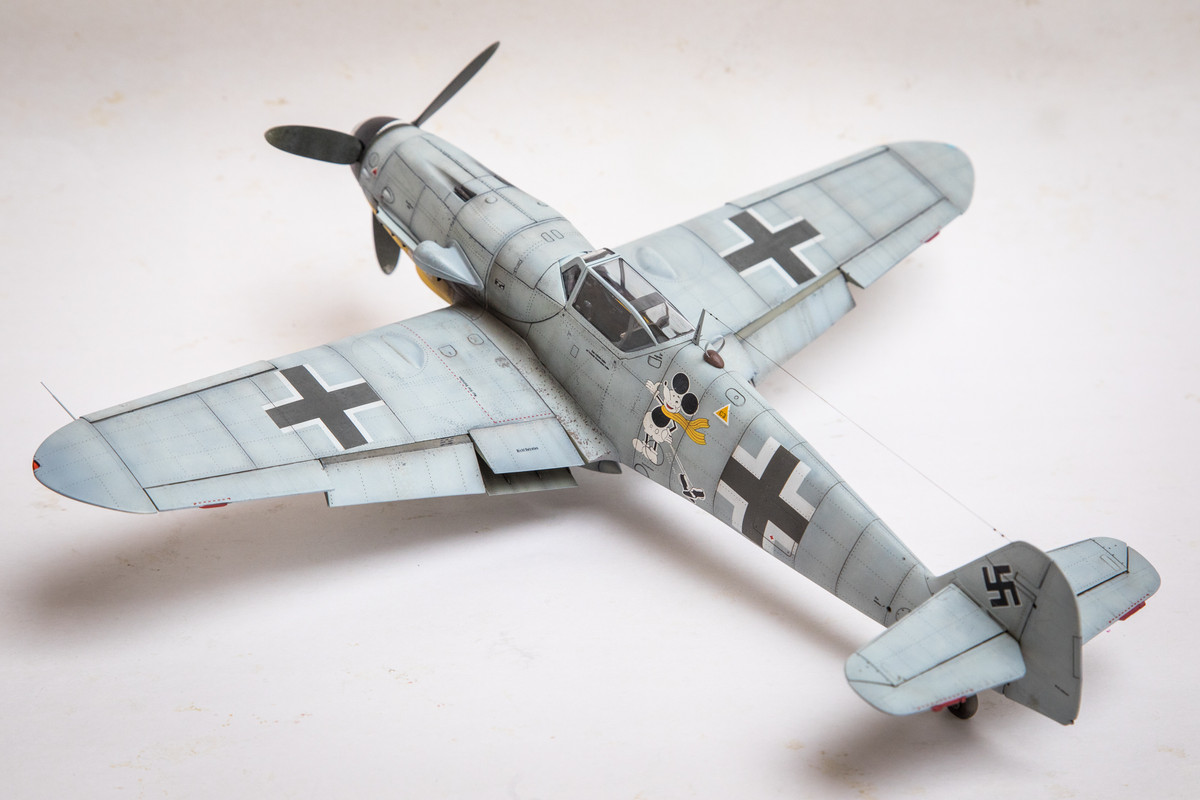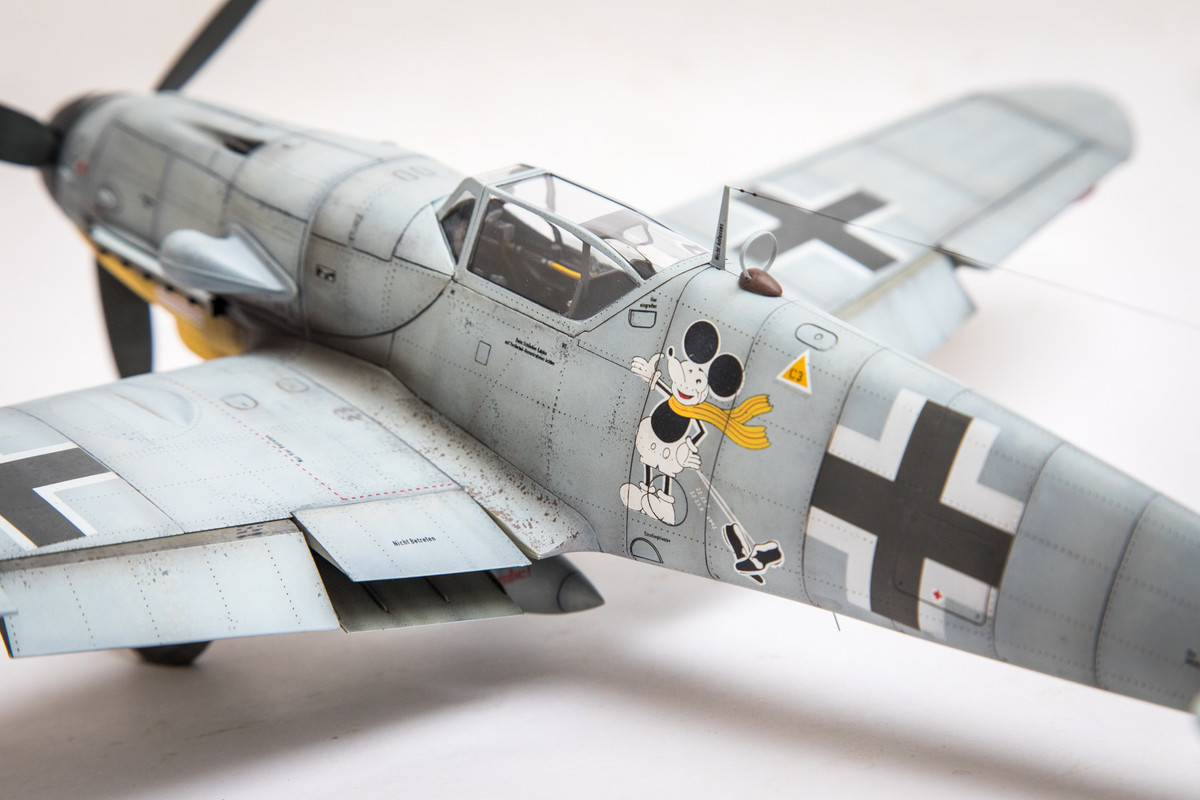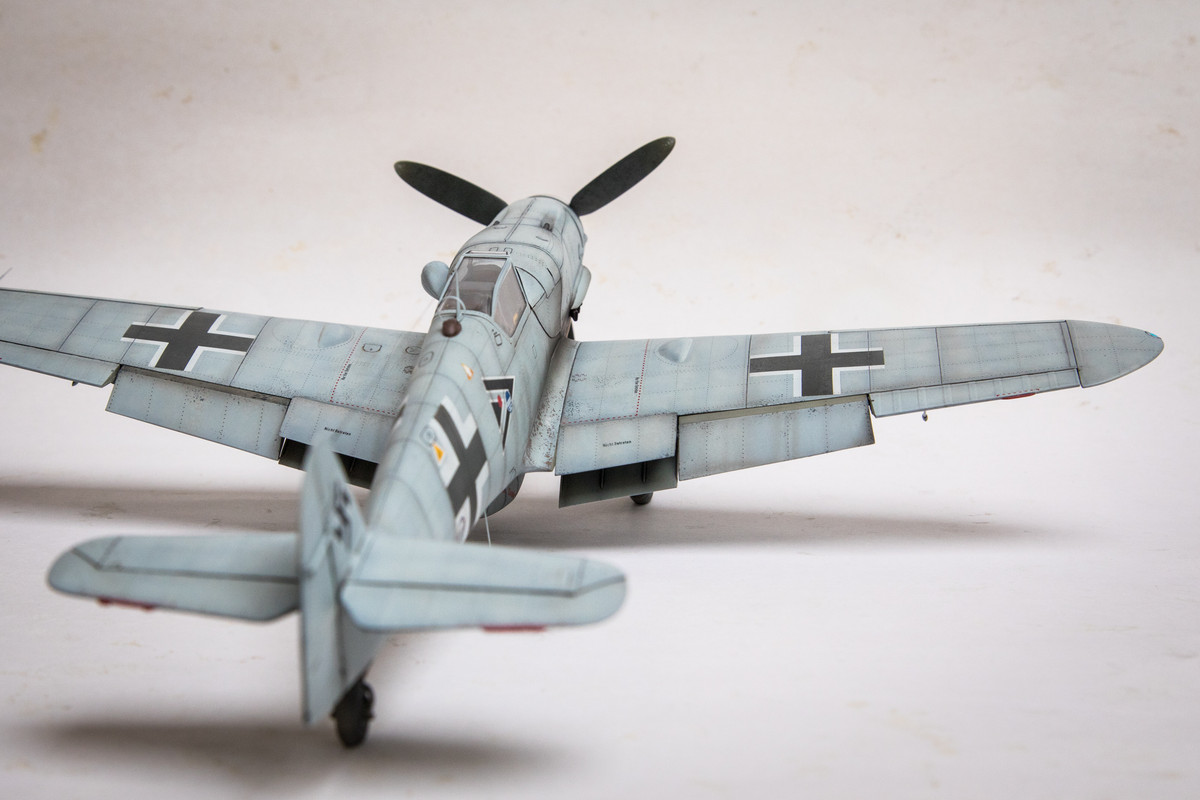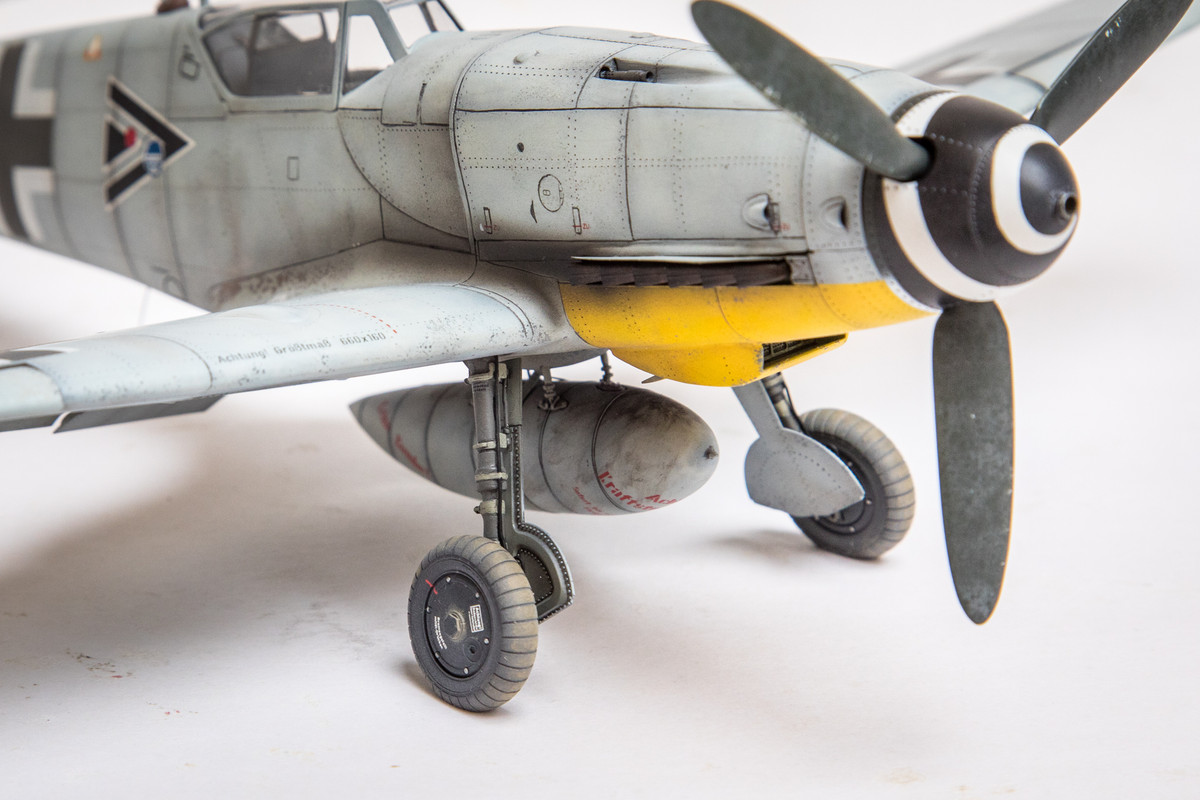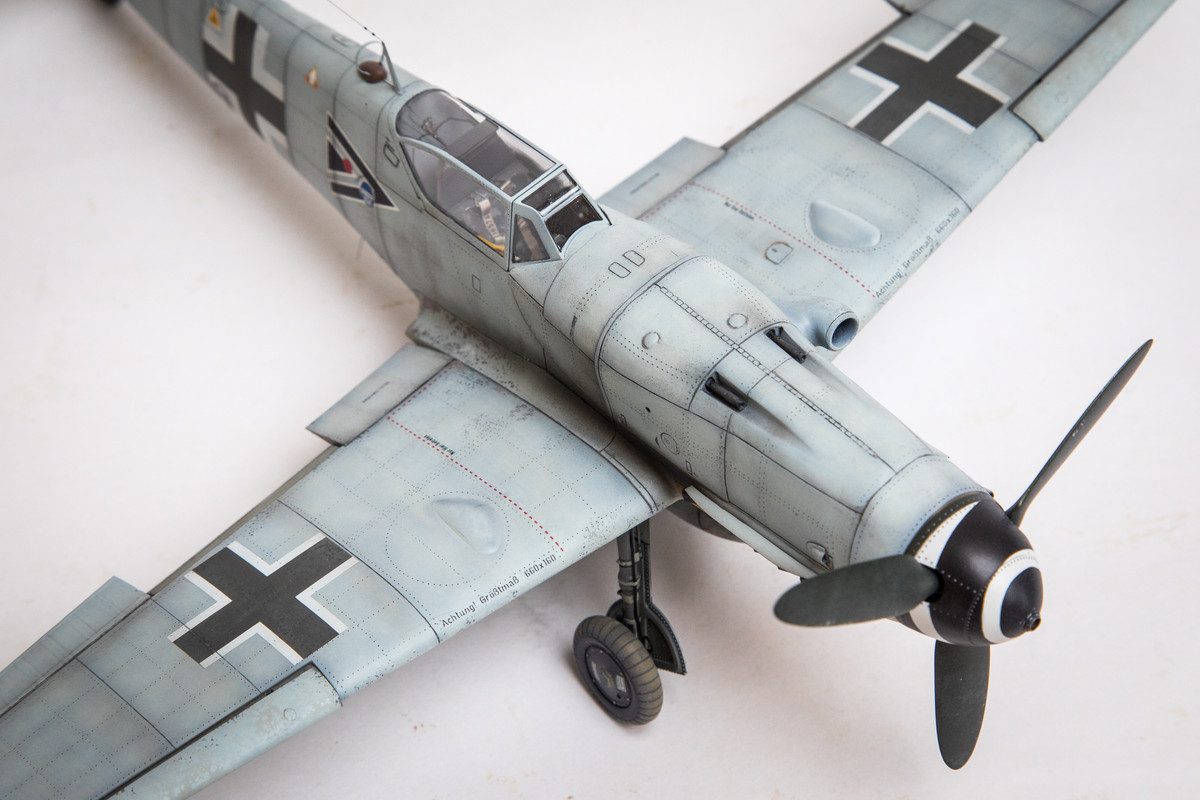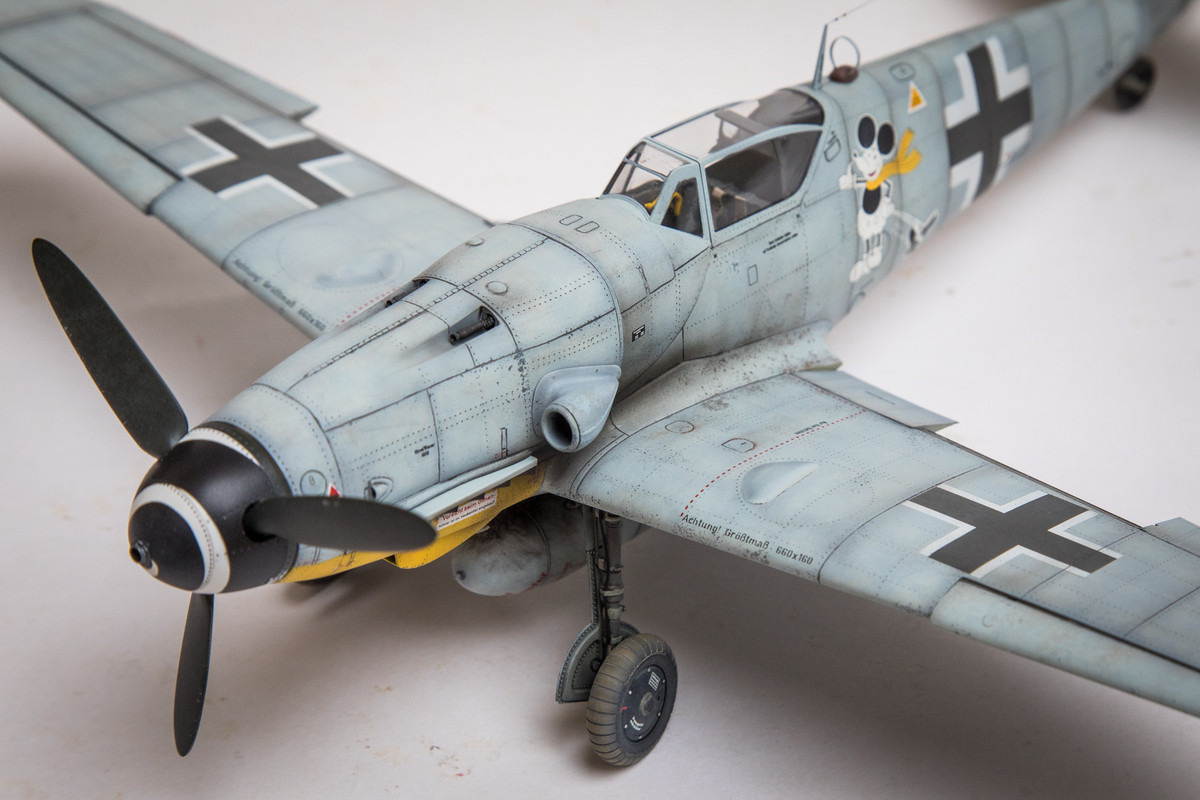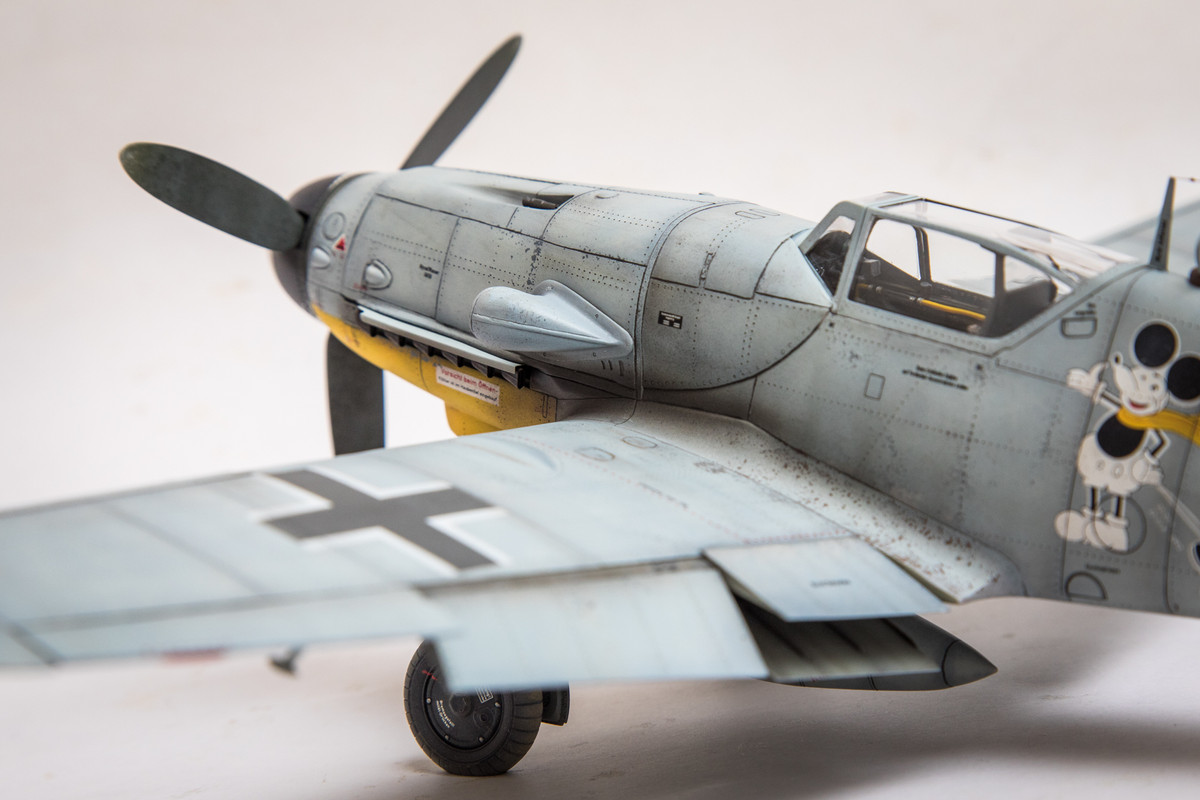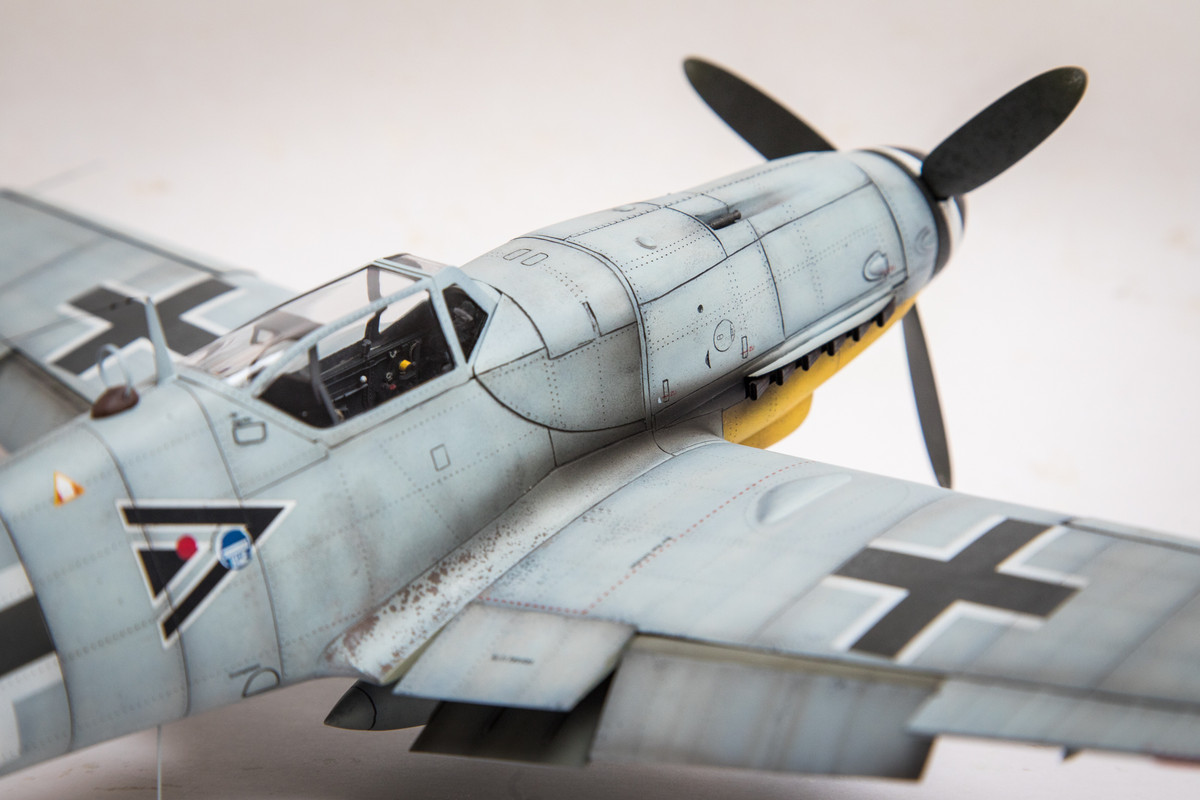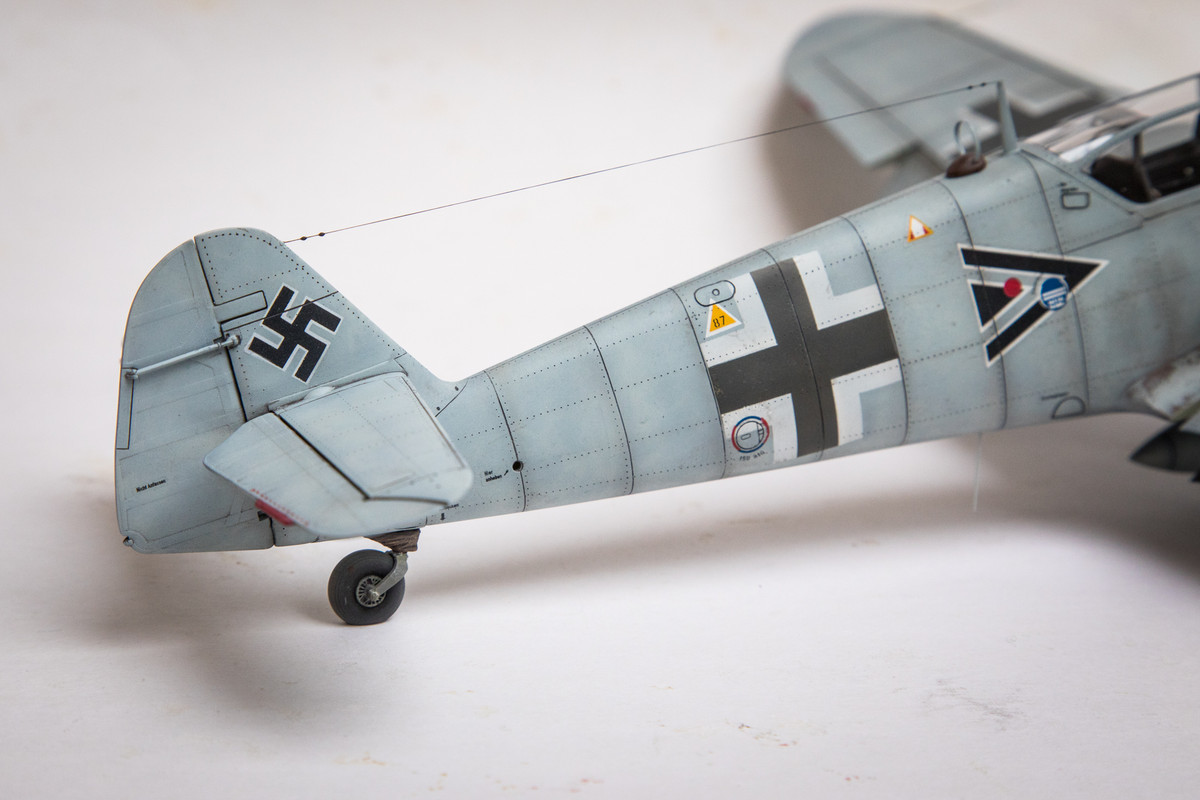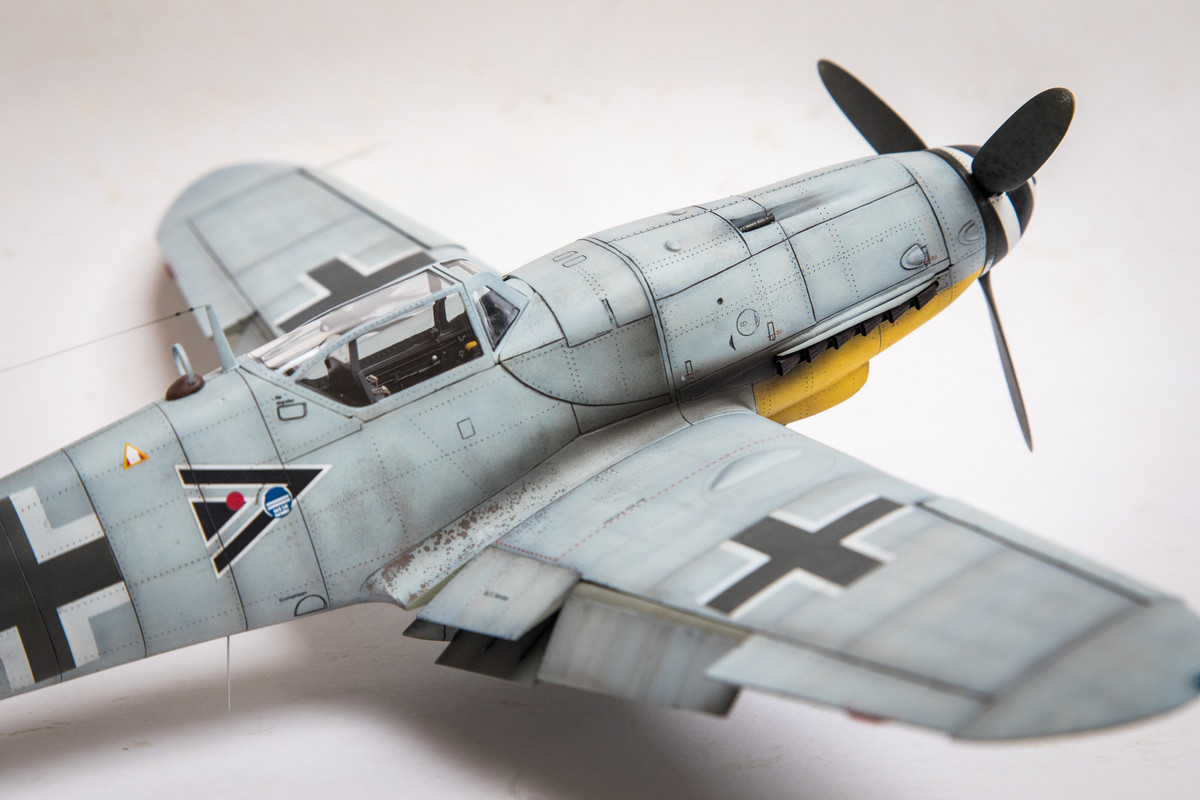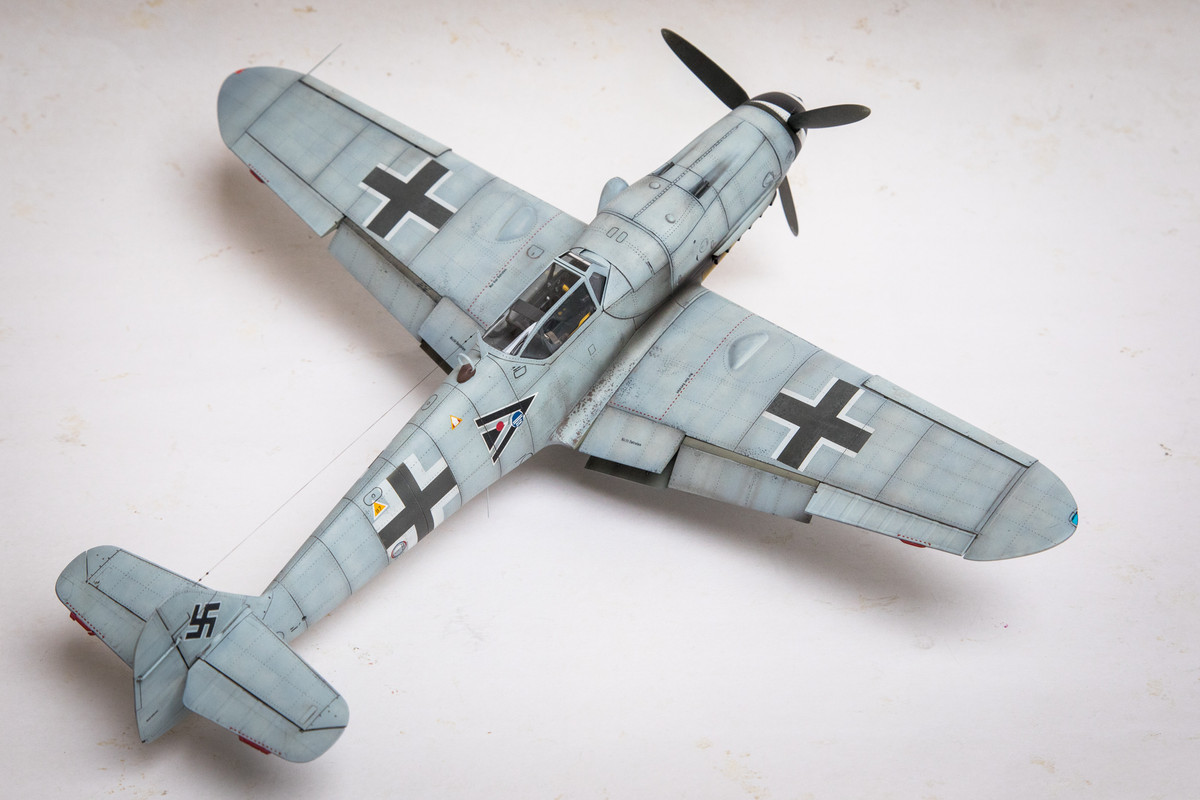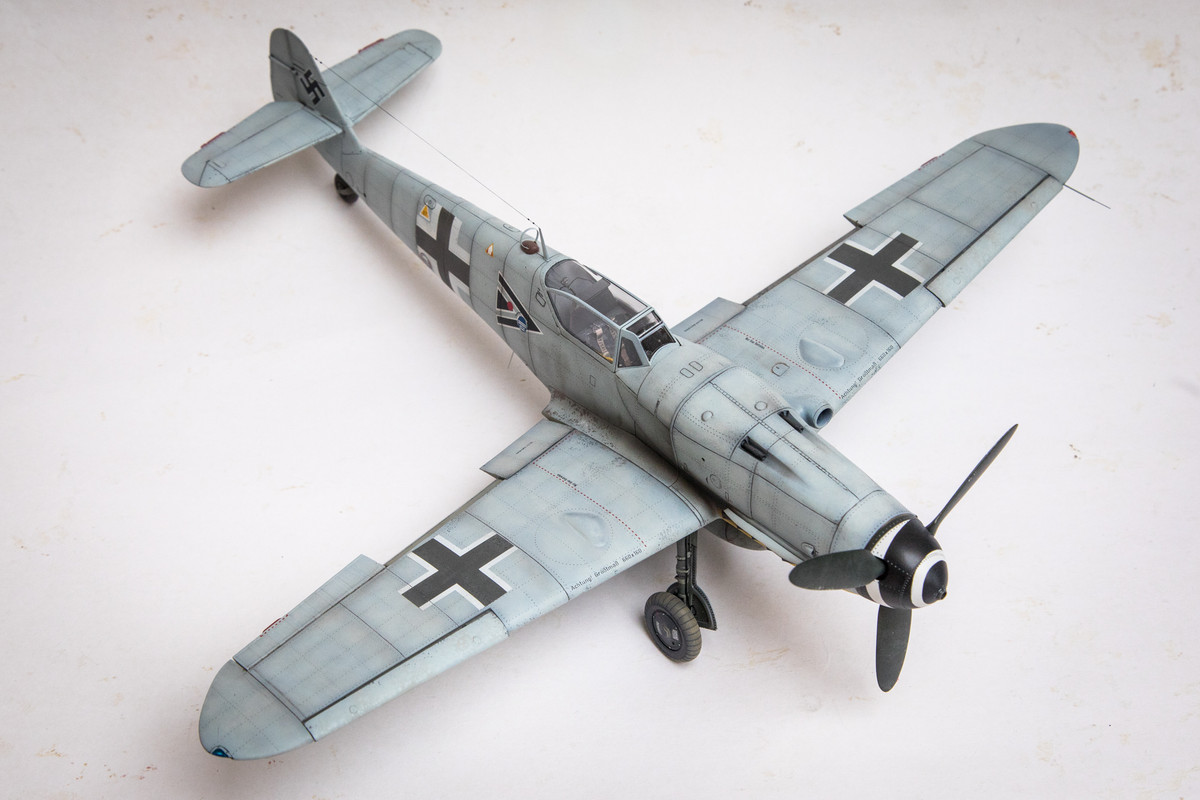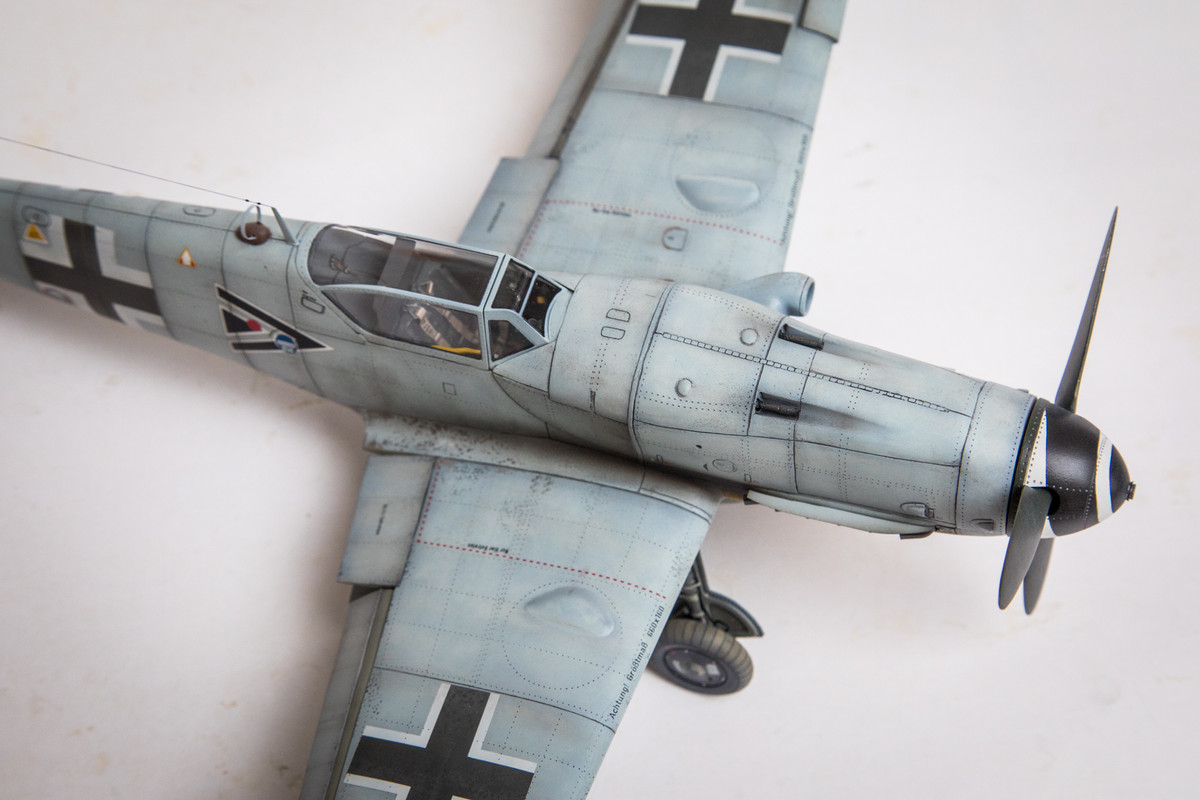

1/32 Revell Bf109G-6/AS Hohenjager

Post your work in progress of your aircraft builds in here.
User avatar
BlackSheep214
Elite Member
Posts: 13418
Joined: Sun Apr 06, 2014 8:47 pm

Re: 1/32 Revell Bf109G-6/AS Hohenjager

Post by BlackSheep214 »

It’s always a joy to watch your progress and learn your methods. You make it look to easy yet I’m intimidated to try it on my own kits out of fear of screwing it up. Well done! :shoutout: :shoutout: :shoutout: :shoutout:
“Who controls the skies, controls the fate of this Earth”

Author unknown- 352nd Fighter Group, Blue-Nosed Bastards of Bodney

“Send one plane it’s a sortie; send two planes it’s a flight; send four planes it’s a test of airpower. - Richard Kohn
User avatar
jkim
Elite Member
Posts: 4073
Joined: Mon Apr 10, 2017 4:03 pm

Re: 1/32 Revell Bf109G-6/AS Hohenjager

Post by jkim »

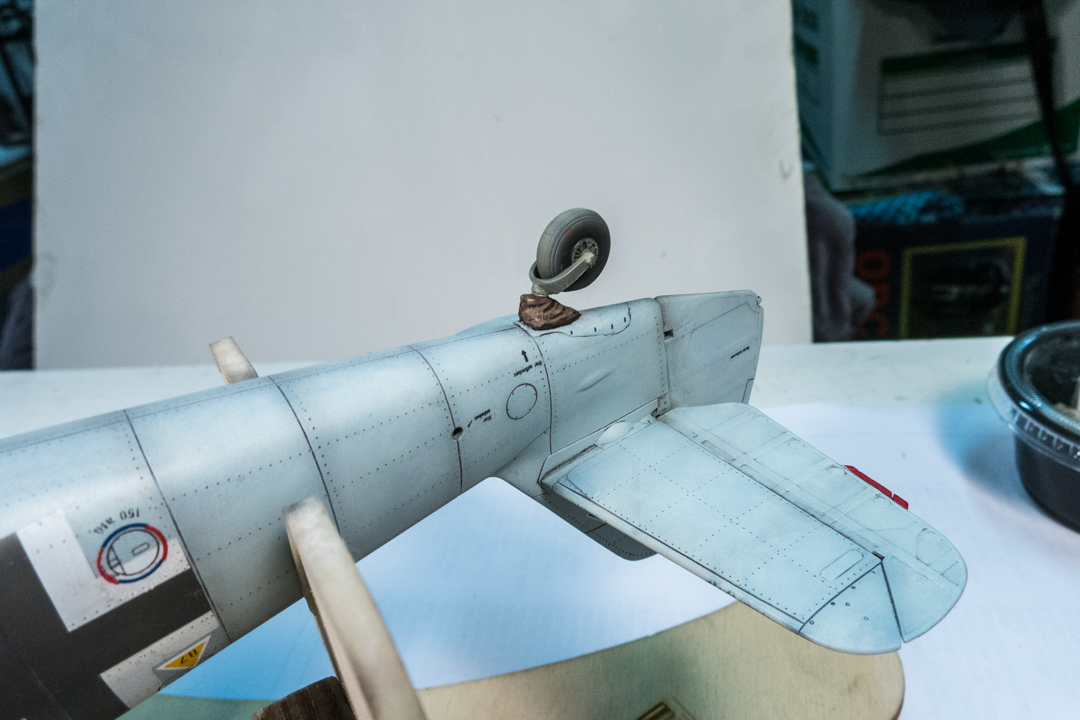
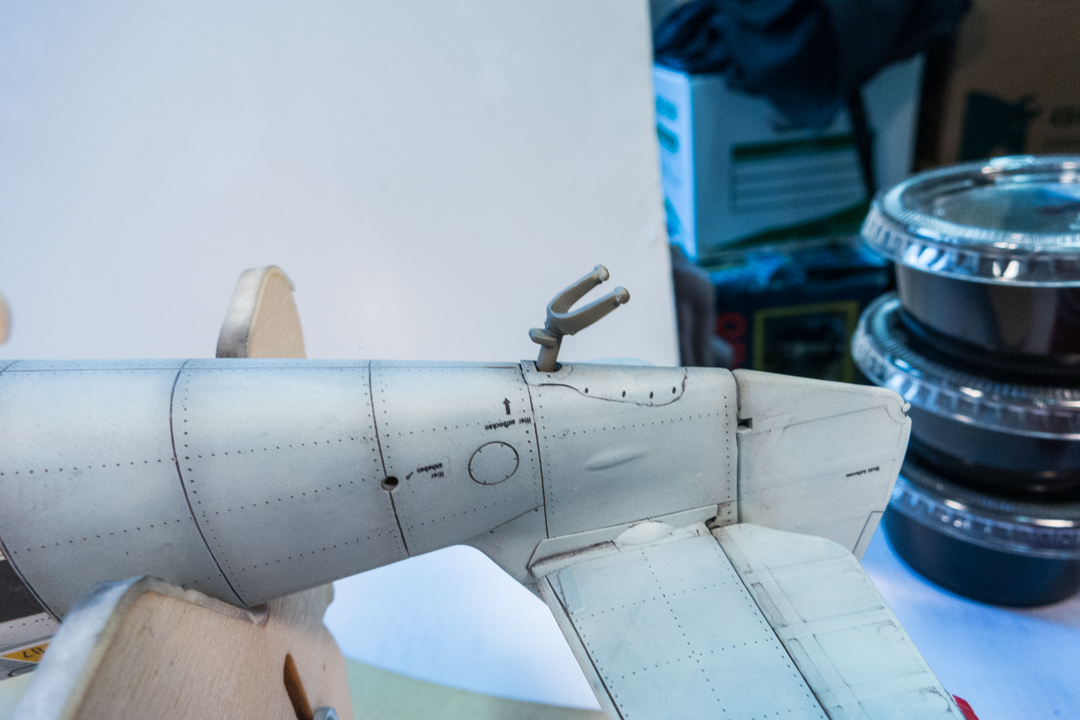
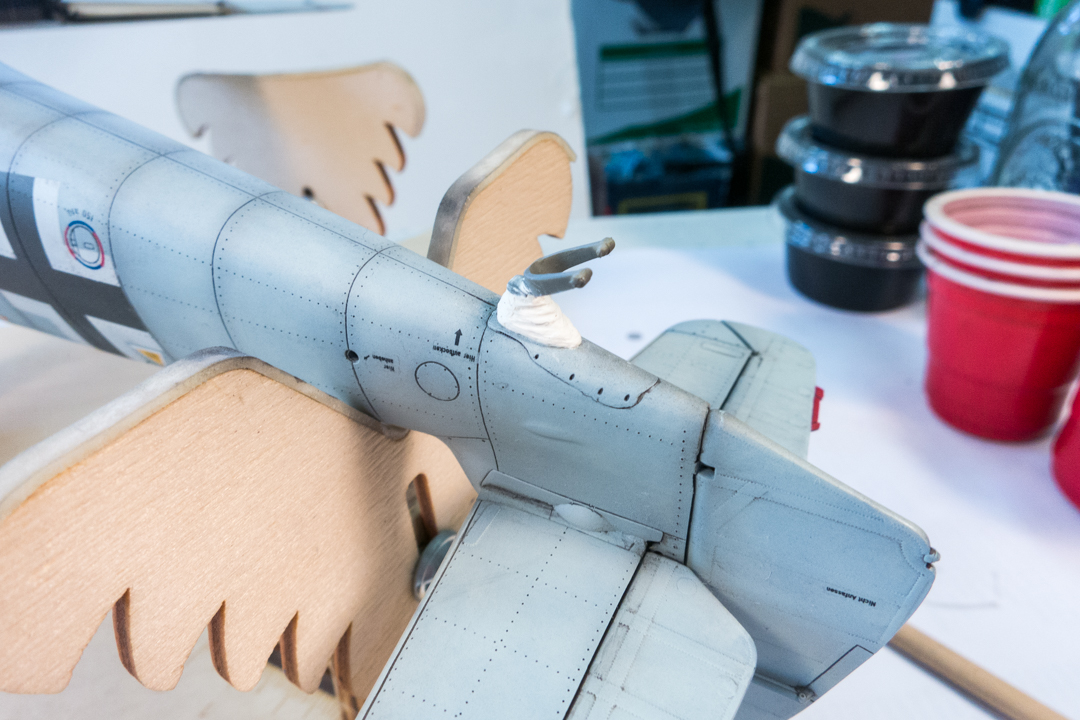
The tail wheel strut doesn't come with the fabric boot that was common on many G-6's. So I decided to sculpt a simple boot using Milliput.
Image
Image

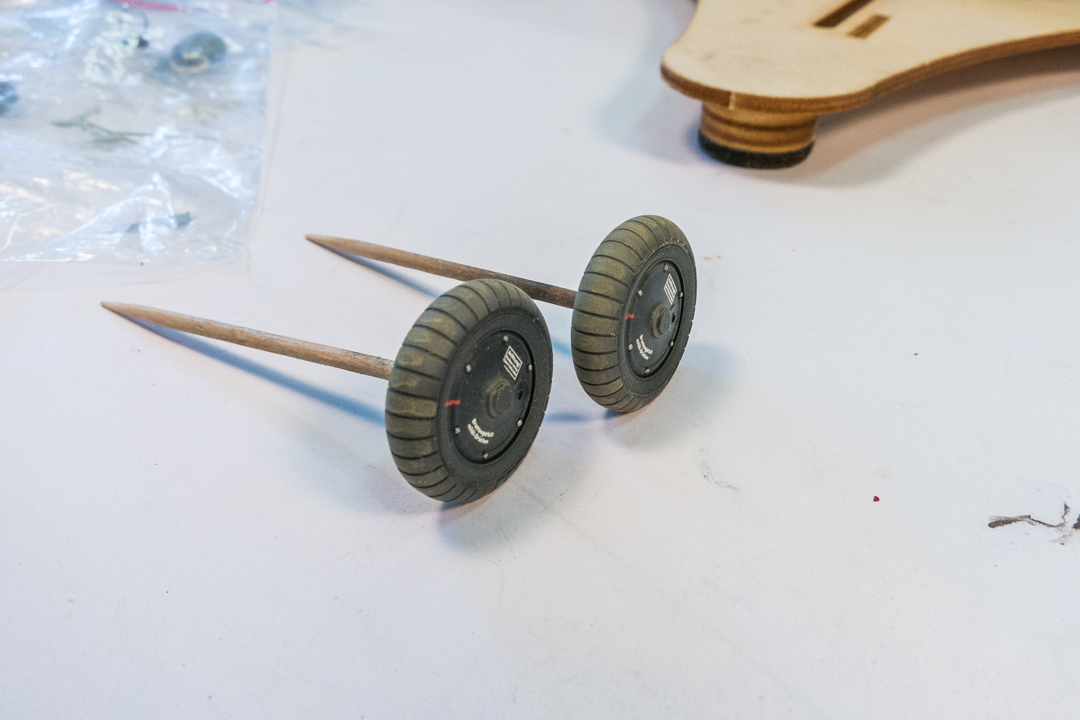
I've finished painting the wheels...
Image

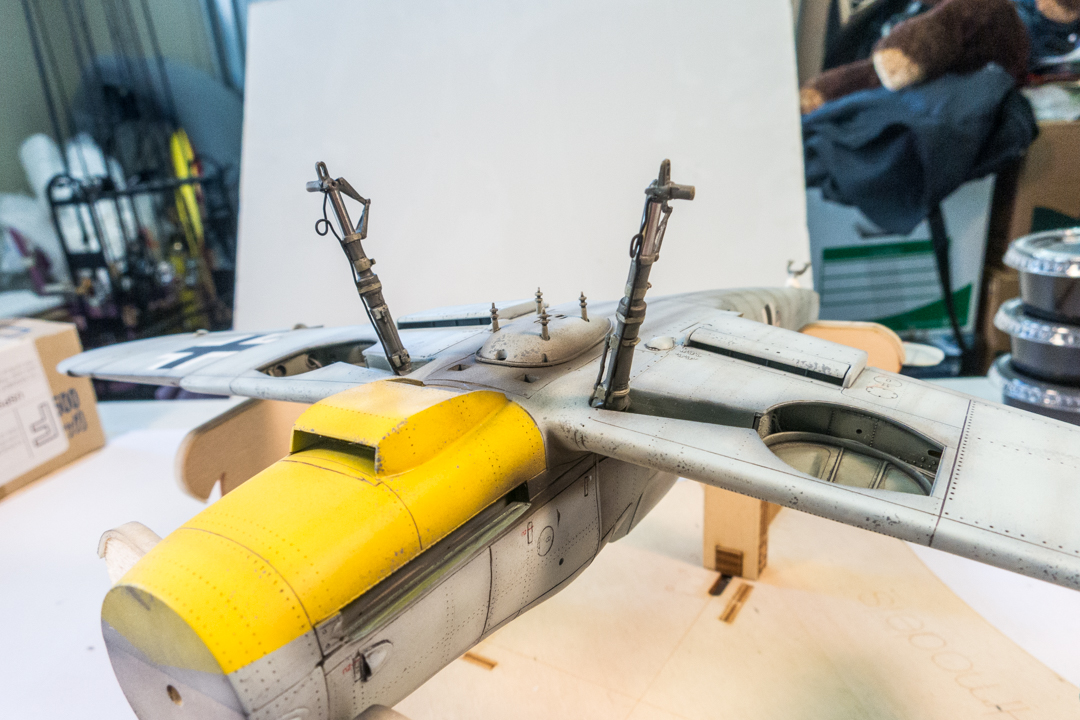
The landing gear legs from Synthetic Ordnance Works have been glued into place.
Image
Last edited by jkim on Sat Apr 11, 2020 5:22 pm, edited 1 time in total.
John aka JKim
-----------<><
Image
User avatar
jkim
Elite Member
Posts: 4073
Joined: Mon Apr 10, 2017 4:03 pm

Re: 1/32 Revell Bf109G-6/AS Hohenjager

Post by jkim »

BlackSheep214 wrote:It’s always a joy to watch your progress and learn your methods. You make it look to easy yet I’m intimidated to try it on my own kits out of fear of screwing it up. Well done! :shoutout: :shoutout: :shoutout: :shoutout:
Thank you! Most of the weathering stuff I do is on the subtle side so its really easy to try out. For example, I actually did a second round of salt fading on the wings and again... it didn't register visually.
John aka JKim
-----------<><
Image
User avatar
jkim
Elite Member
Posts: 4073
Joined: Mon Apr 10, 2017 4:03 pm

Re: 1/32 Revell Bf109G-6/AS Hohenjager

Post by jkim »

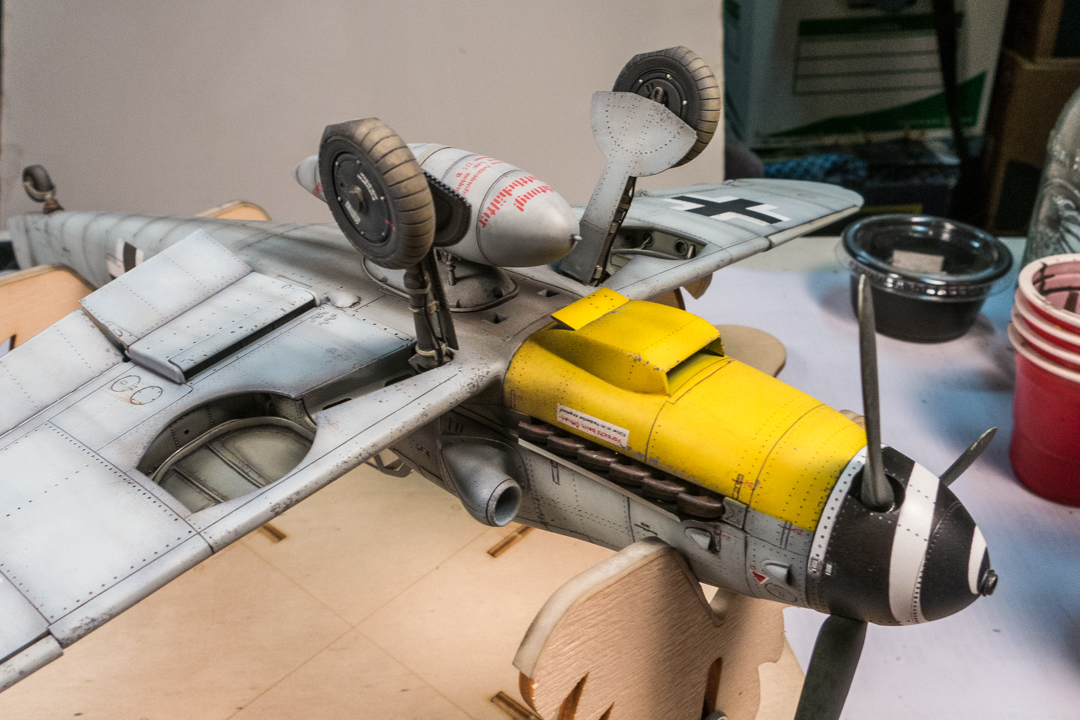
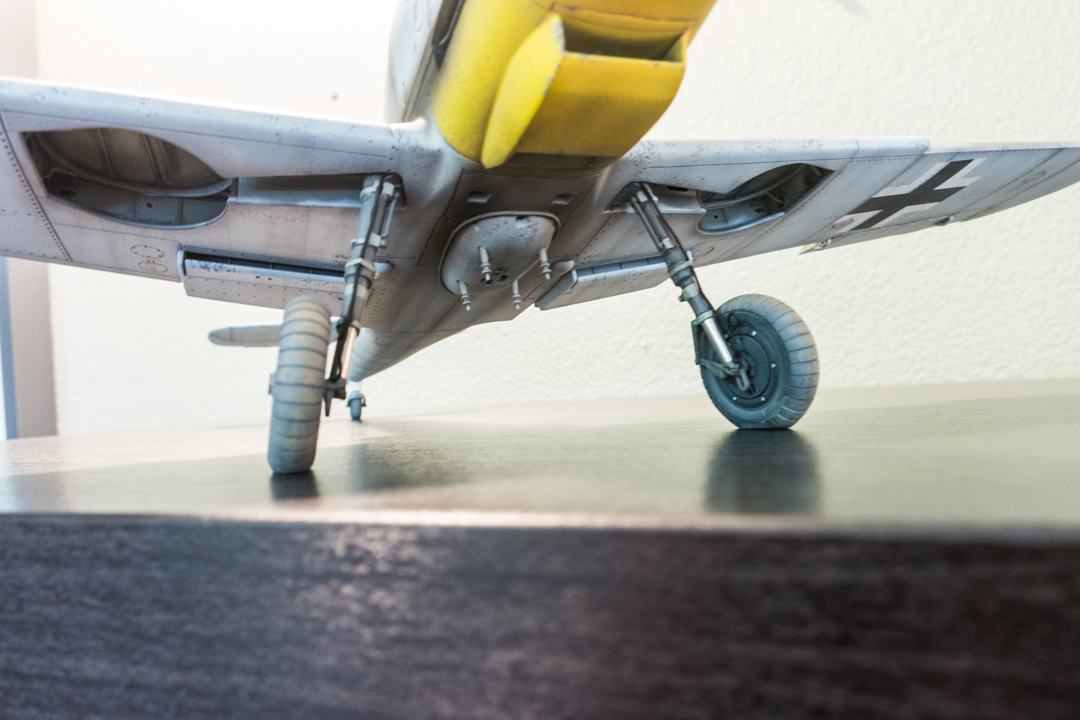
I think I'm approaching the finish line for the Hohenjager. With the SAC landing gear legs firmly glued into place, I've attached the Barracuda wheels using JB Kwik Weld to make sure the flat spots connect with the ground.
Image

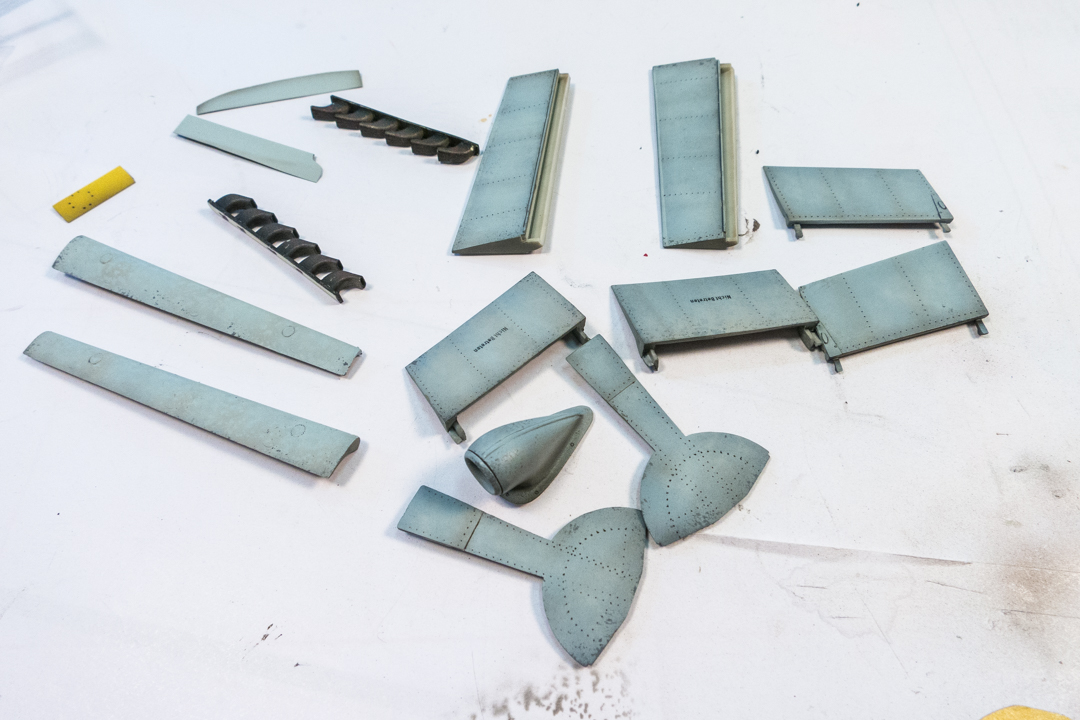
All of these bits need to be attached now.
Image

The AMUR Reaver supercharger, the Barracuda exhausts and the brass sheet exhaust deflectors are glued into place.
Image

The lower inner flaps are put on first and the other control surfaces follow. The middle elevators are still poseable per Revell's instructions but the rest of the control surfaces have been glued.
Image
Image
Image
Image

Let's stick the Barracuda prop assembly on and she how she looks.
Image
Image

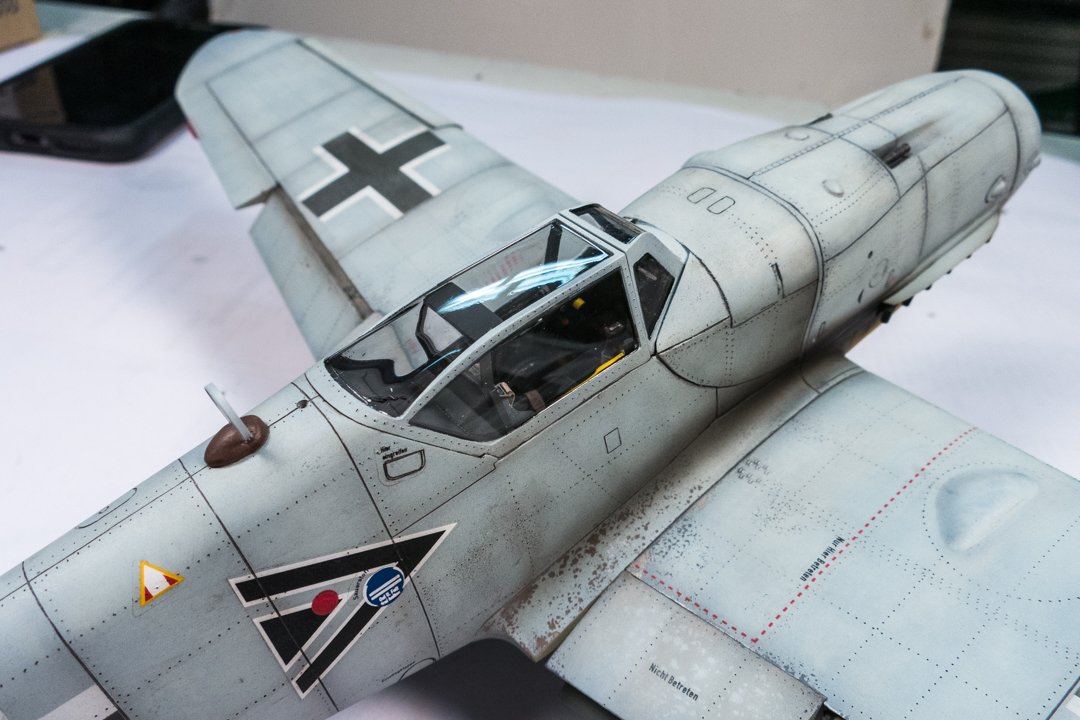
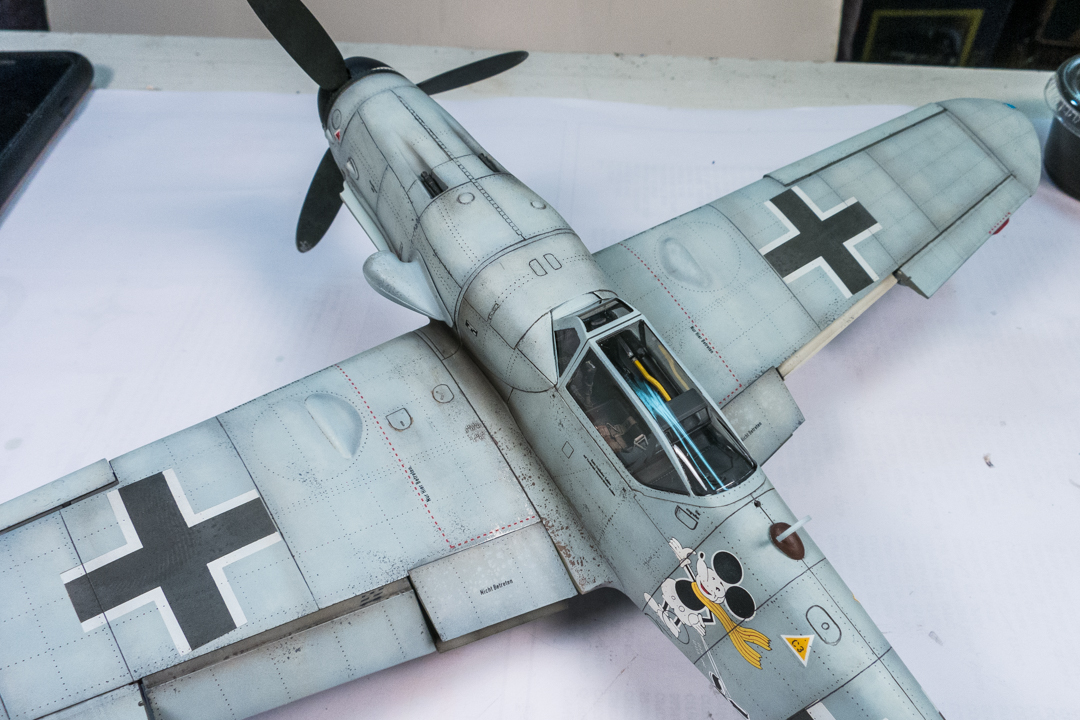
All of the spray work is done so I can finally take off the canopy masks. Always a nerve-racking reveal at this stage.
Image
Image
Image
Image

The sculpted boot on the tail wheel is painted.
Image

The drop tank has not yet been attached. I'm still deciding whether or not to add some more stains to it.
Image

You know you're close to the finish when you see the antenna mast and loop antenna attached.
Image
Image
Image

The only things remaining are the small antenna on the bottom of the fuselage, the aileron balancers and the antenna aerial.
John aka JKim
-----------<><
Image
User avatar
Floki
Elite Member
Posts: 3548
Joined: Wed Dec 12, 2018 2:23 am
Location: Muncie, Indiana

Re: 1/32 Revell Bf109G-6/AS Hohenjager

Post by Floki »

With the supercharger and prop in place she sure does look mean! Always a good feeling to remove the canopy masks and find that everything is how you left it. Not much more to go now.
March as one, Don't look back
Odin's sons... Attack!
Unleash hell! Do not repent! Warfare grants us no lament
Let your weapons slash and tear This is no place for fear
Hold the lines! Move as one! In unity our victory's won
Our shields will form a mighty wall
United we shall never fall
User avatar
LyleW
Admin
Posts: 15035
Joined: Fri Dec 13, 2013 7:25 am
Location: Mt. Washington KY

Re: 1/32 Revell Bf109G-6/AS Hohenjager

Post by LyleW »

That is a masterpiece! I am awestruck by the crisp masking and clarity on the canopy. You are a wizard!
To make each build less crappy than the last one. Or, put another way, "Better than the last one, not as good as the next one!"..
User avatar
BlackSheep214
Elite Member
Posts: 13418
Joined: Sun Apr 06, 2014 8:47 pm

Re: 1/32 Revell Bf109G-6/AS Hohenjager

Post by BlackSheep214 »

LyleW wrote:That is a masterpiece! I am awestruck by the crisp masking and clarity on the canopy. You are a wizard!
:that: :beau:
“Who controls the skies, controls the fate of this Earth”

Author unknown- 352nd Fighter Group, Blue-Nosed Bastards of Bodney

“Send one plane it’s a sortie; send two planes it’s a flight; send four planes it’s a test of airpower. - Richard Kohn
User avatar
Stikpusher
Moderator
Posts: 21188
Joined: Sat Apr 05, 2014 8:37 pm
Location: Ceti Alpha 5

Re: 1/32 Revell Bf109G-6/AS Hohenjager

Post by Stikpusher »

Floki wrote:With the supercharger and prop in place she sure does look mean! Always a good feeling to remove the canopy masks and find that everything is how you left it. Not much more to go now.

It looks like Mickey is presenting the newly revealed cockpit!

And yes, this looks gorgeous!
"Surely I have made my meaning plain? I intend to avenge myself upon you, Admiral. I have deprived your ship of power, and when I swing 'round, I intend to deprive you of your life."

FLSM
User avatar
speedgraflex
Moderator
Posts: 11358
Joined: Fri Feb 10, 2017 11:08 pm
Contact:

Re: 1/32 Revell Bf109G-6/AS Hohenjager

Post by speedgraflex »

Exquisite work!!
Make more models!
User avatar
jkim
Elite Member
Posts: 4073
Joined: Mon Apr 10, 2017 4:03 pm

Re: 1/32 Revell Bf109G-6/AS Hohenjager

Post by jkim »

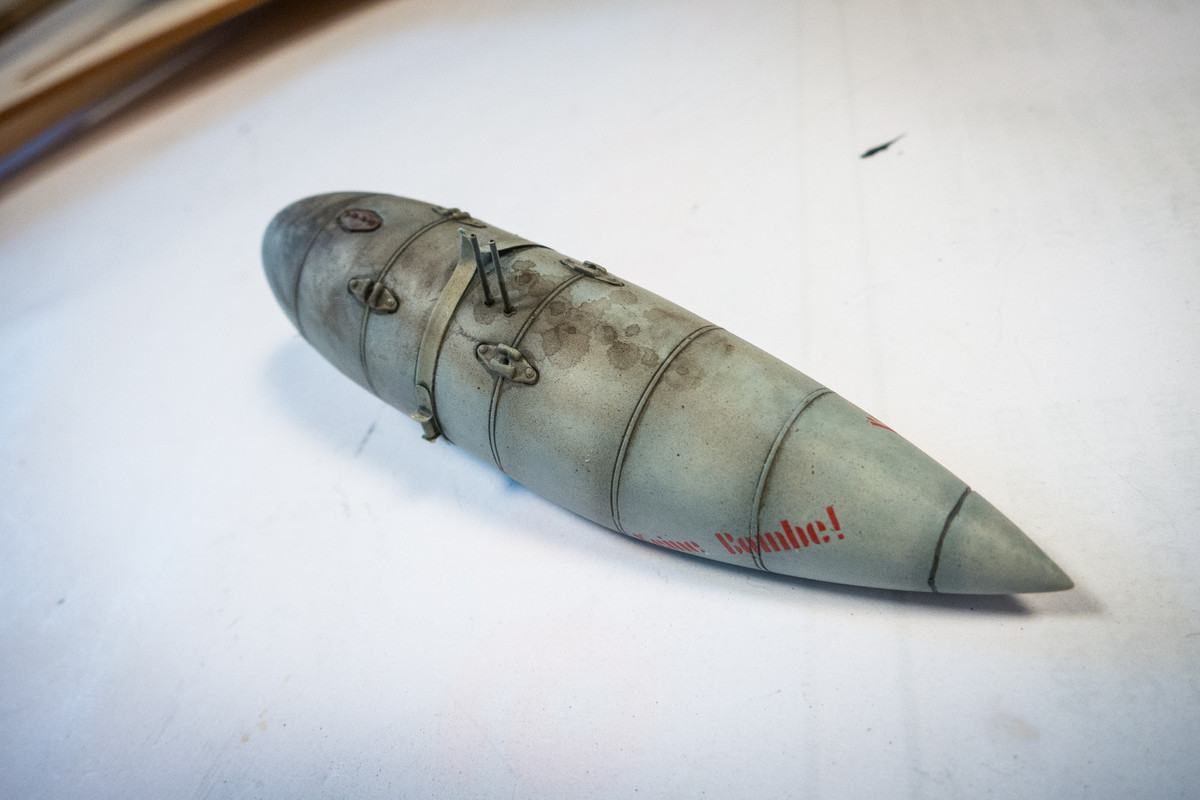
Thanks guys! The G-6/AS is wrapping up. I've added some additional weathering to the drop tank, which you won't be able to see since it will be on the top side. Experimenting with intentional pastel wash staining on a matt surface...
Image

The drop tank is the last significant hardware to be added to the G-6. The pitot tube, which was built out of brass tubing, is added and the aerial, using Uschi's elastic thread is the final touch.
Image
Image

The Bf109G-6/AS is complete! The clouds started gathering again here in SoCal so I rushed some outdoor shots with the DSLR before the rain comes again. I'll probably re-do the final shots when there is some ambient sunlight but here are some pics with the good camera...

Image
Image
Image
Image
Image
Image
Image
Image
Image
Image
Image
Image
Image
Image
John aka JKim
-----------<><
Image
Post Reply

Return to “Aircraft Work in Progress”