Thanks guys! I wish your wife the speediest recovery, Joe! All is well on the Kim Family Front, I'm happy to report and I hope that everyone here at SPAM stays safe and healthy.
Modeling mode is starting to slowly kick in with the small amounts of progress that I'm making on this build. It's like rolling a snowball... starts off small and slow but eventually builds enough mass to initiate its own inertia. That is what I'm hoping happens here. Temporary distraction when I purchased a wild-looking, hand-made bait from Japan and tested it at a local lake yesterday.
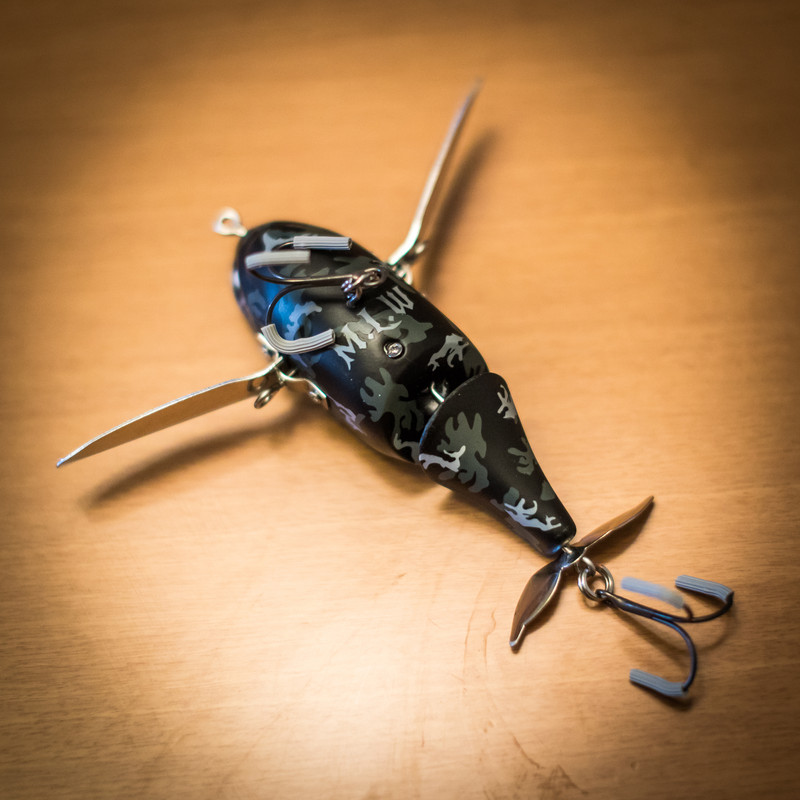
I didn't catch anything on it but I have high hopes of nailing a bass on this thing next season. Ok... back to business.
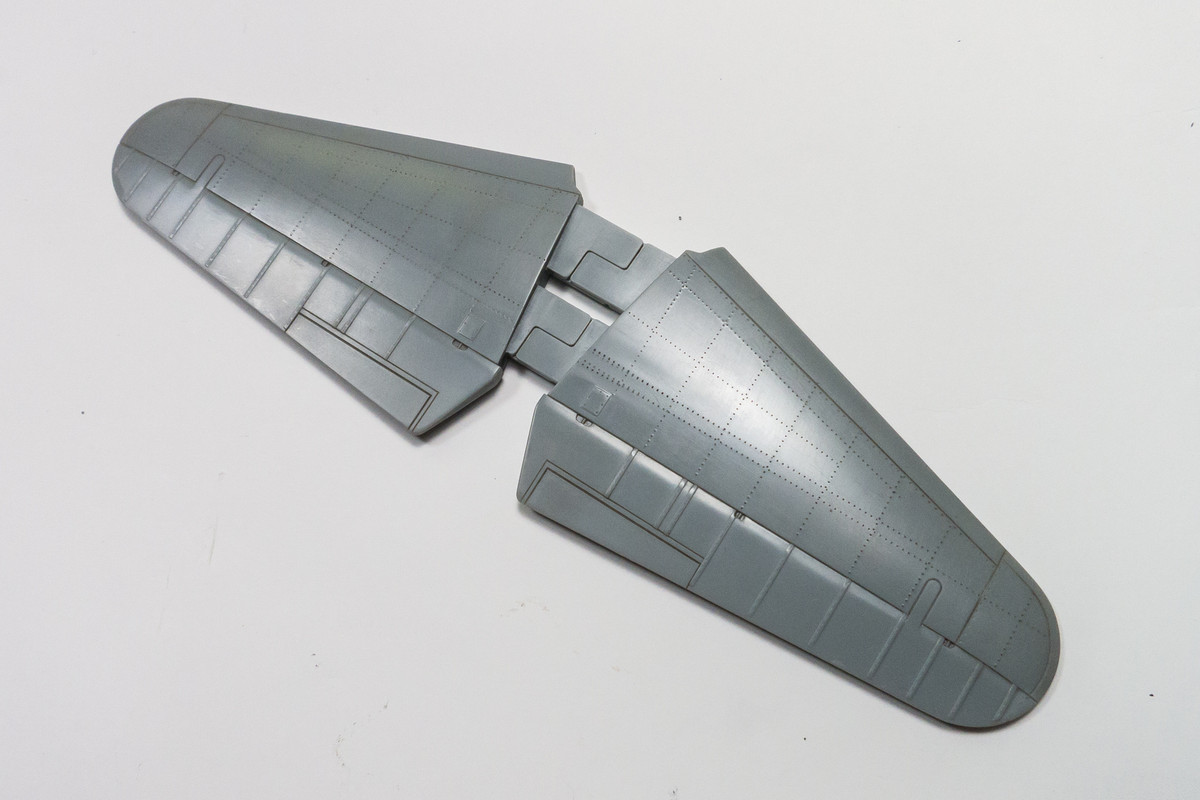
As I mentioned, I'm working on finishing up the seam between the bottom of the wing and the fuselage. The bulk of the seam was filled with black CA glue and the surface surrounding the joint was leveled out using Mr Surfacer 1000. The other black line is an errant panel line that needed to be re-scribed.
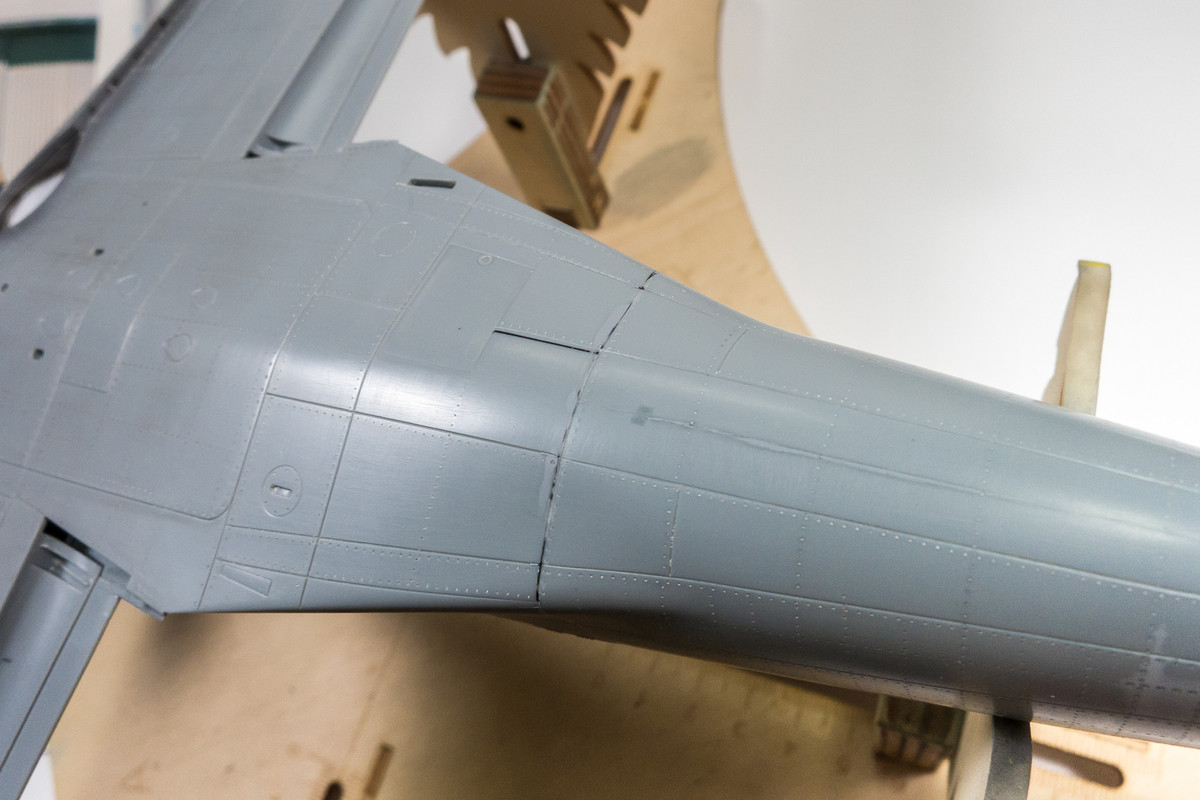
Once the surface was sanded and polished, the panel lines were re-scribed and rivets were applied. A thin coat of Mr Primer Surfacer 1000 was sprayed to check my work. The rough edges of the re-scribed panel line at the glue joint need to be smoothed out but overall, I am checking this area off as addressed.

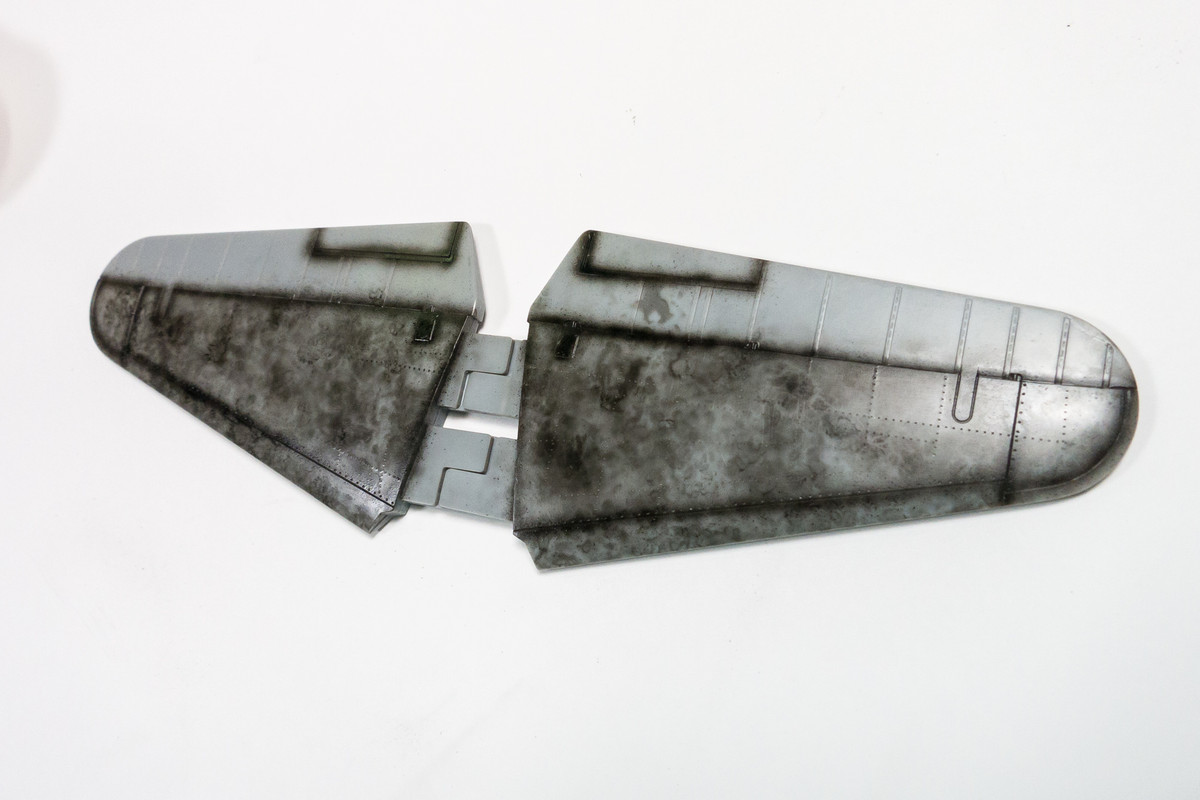
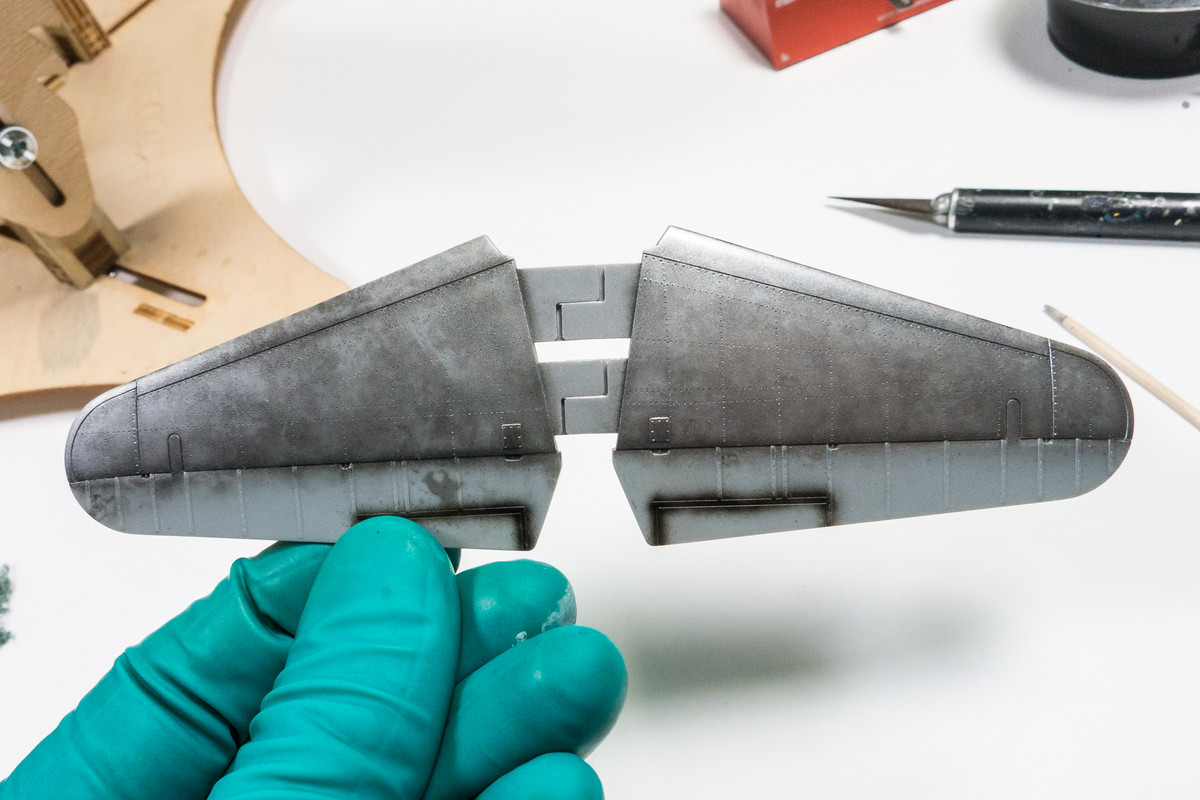
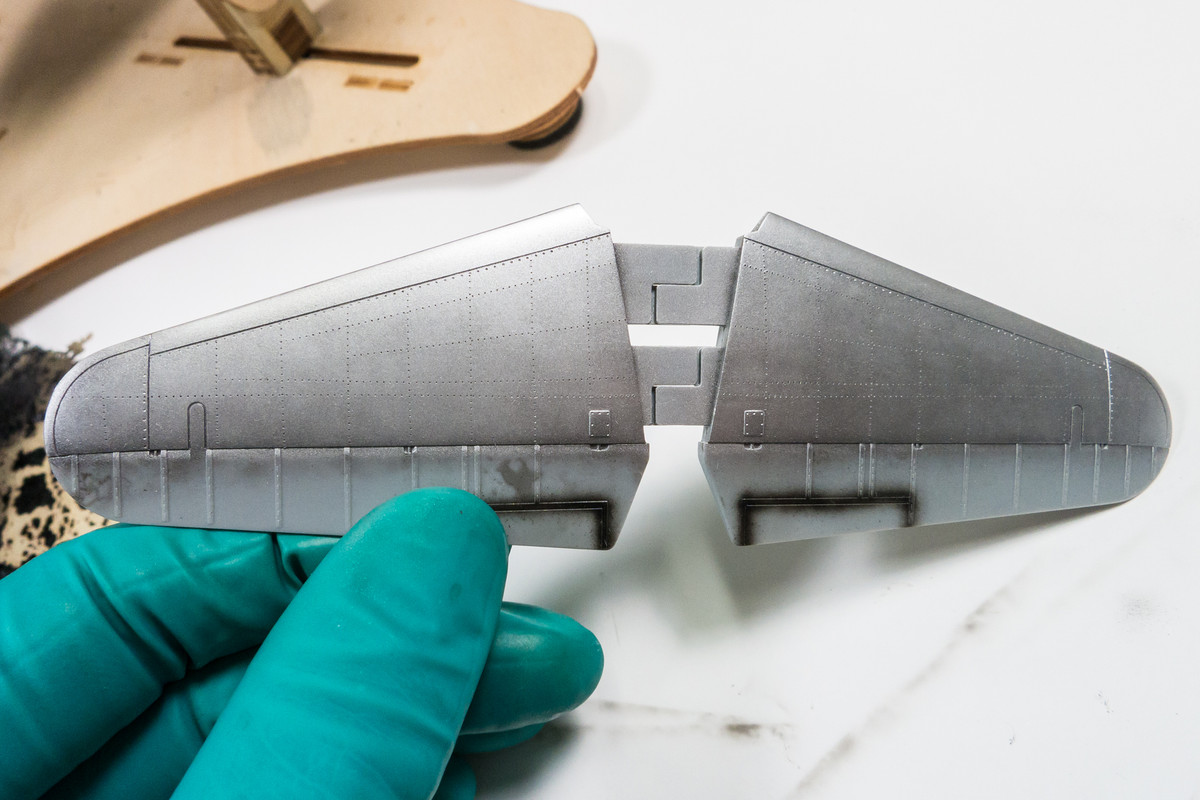
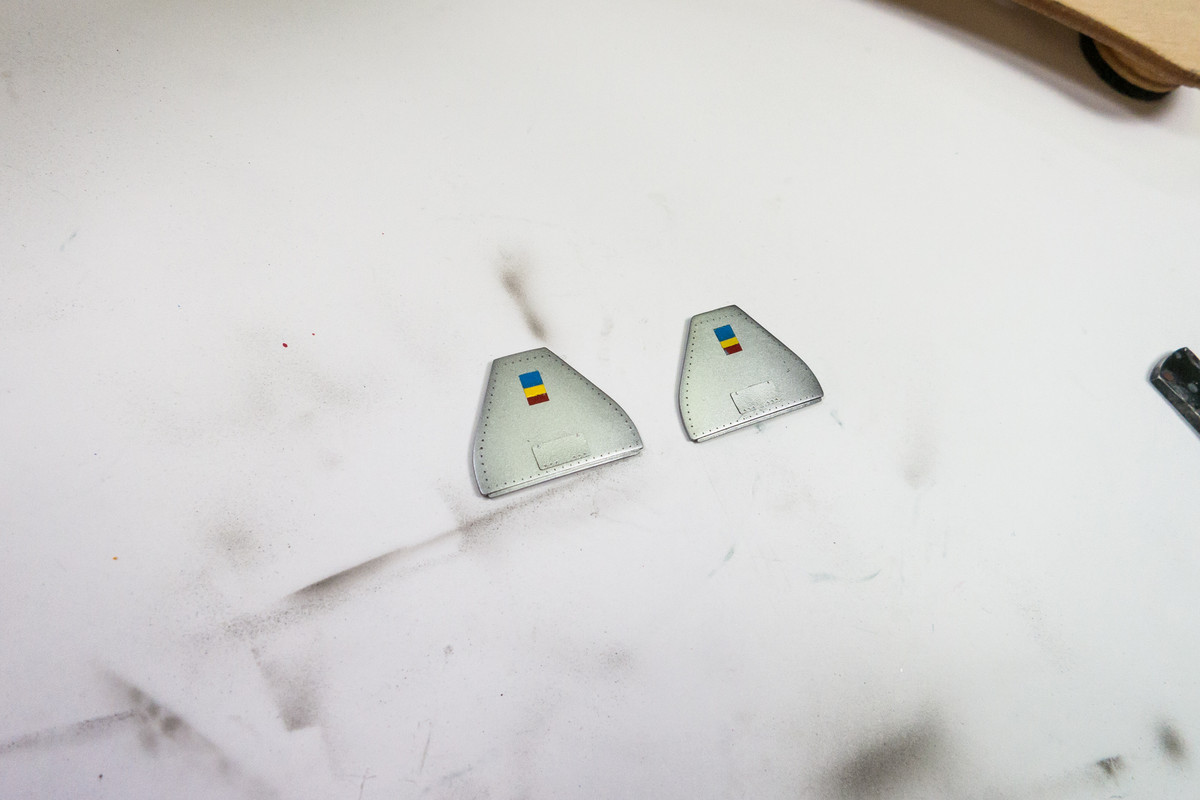
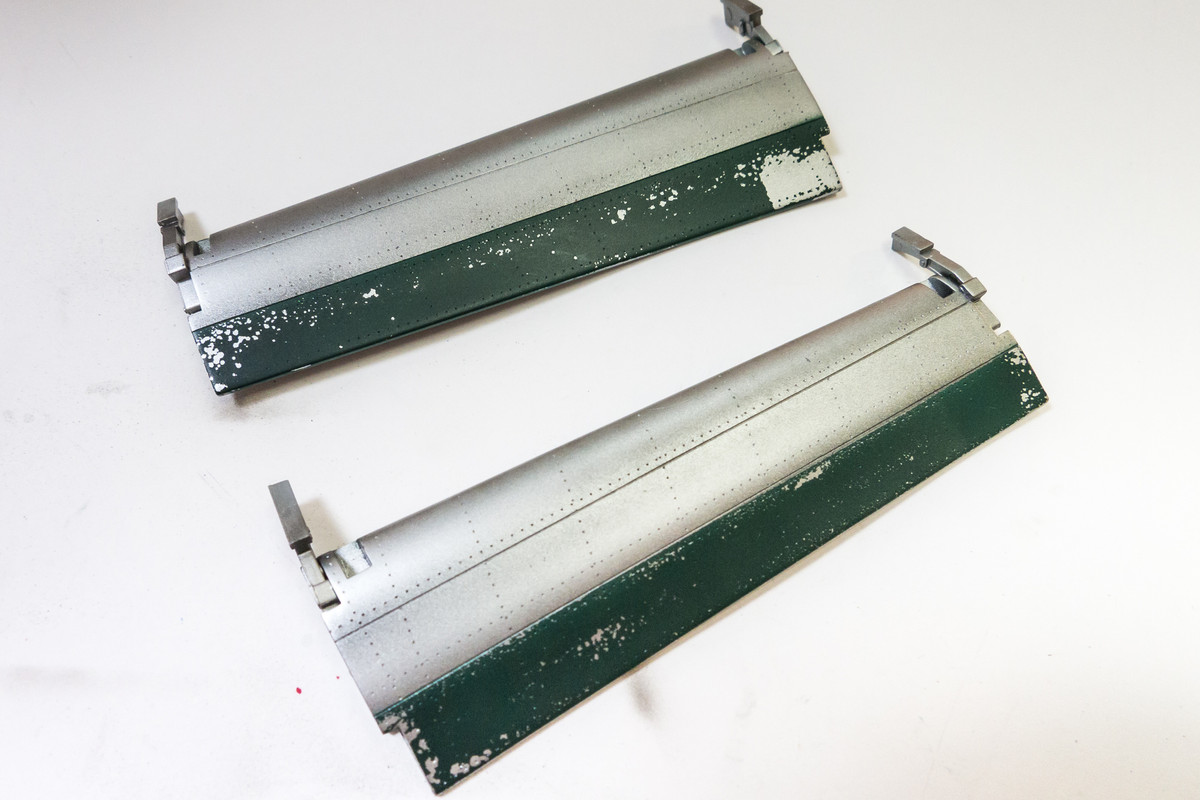
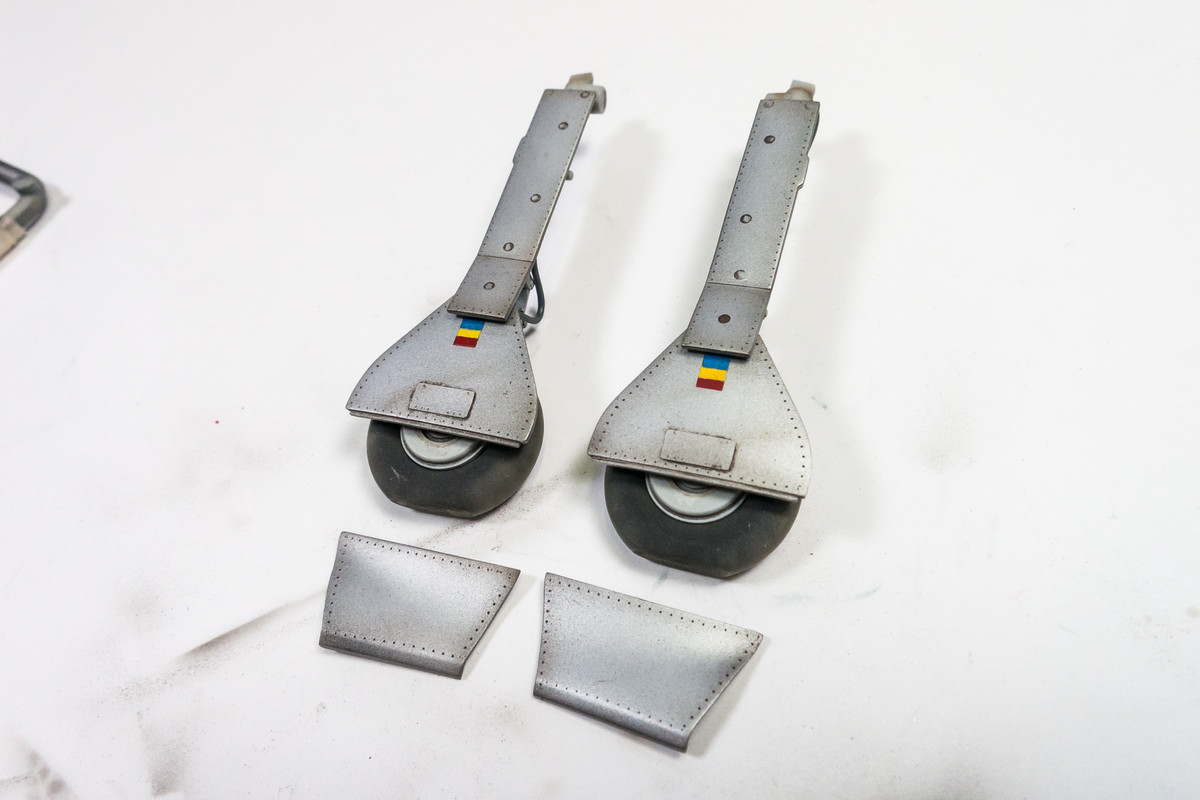
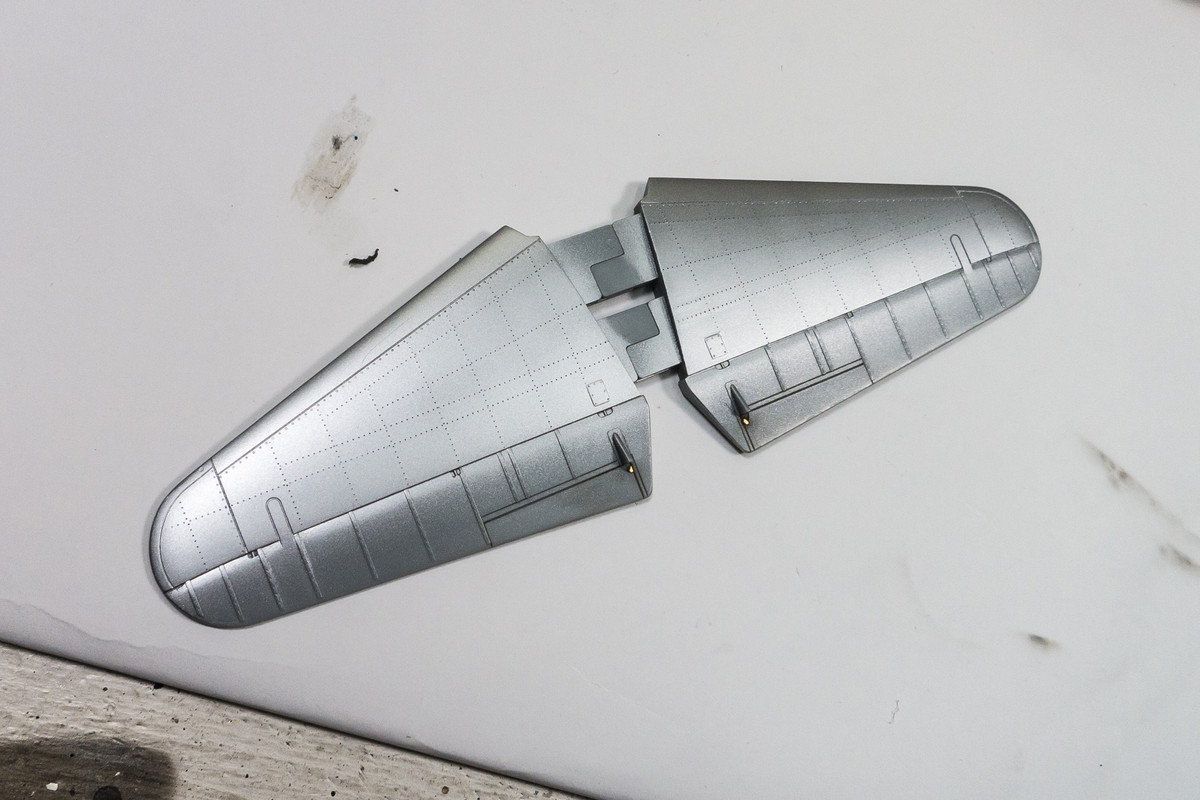
Back to the stabilizers. My work here will be a microcosm of the procedure that I'll be using to paint the overall aircraft. Previously, I played with using a mottle pre-shade and Aclad to create some tonal variation in the natural metal finish of the bottom, which turned out fairly well. The topside will be treated differently. The base will be metal to serve as a base for hairspray chipping. I like to use Tamiya AS-12 Silver, decanted from the spray can, in these situations. I simply squirt a small amount of the paint from the can into the airbrush cup, add a few drops of Tamiya Lacquer Thinner, stir away some of the bubbles and spray away.
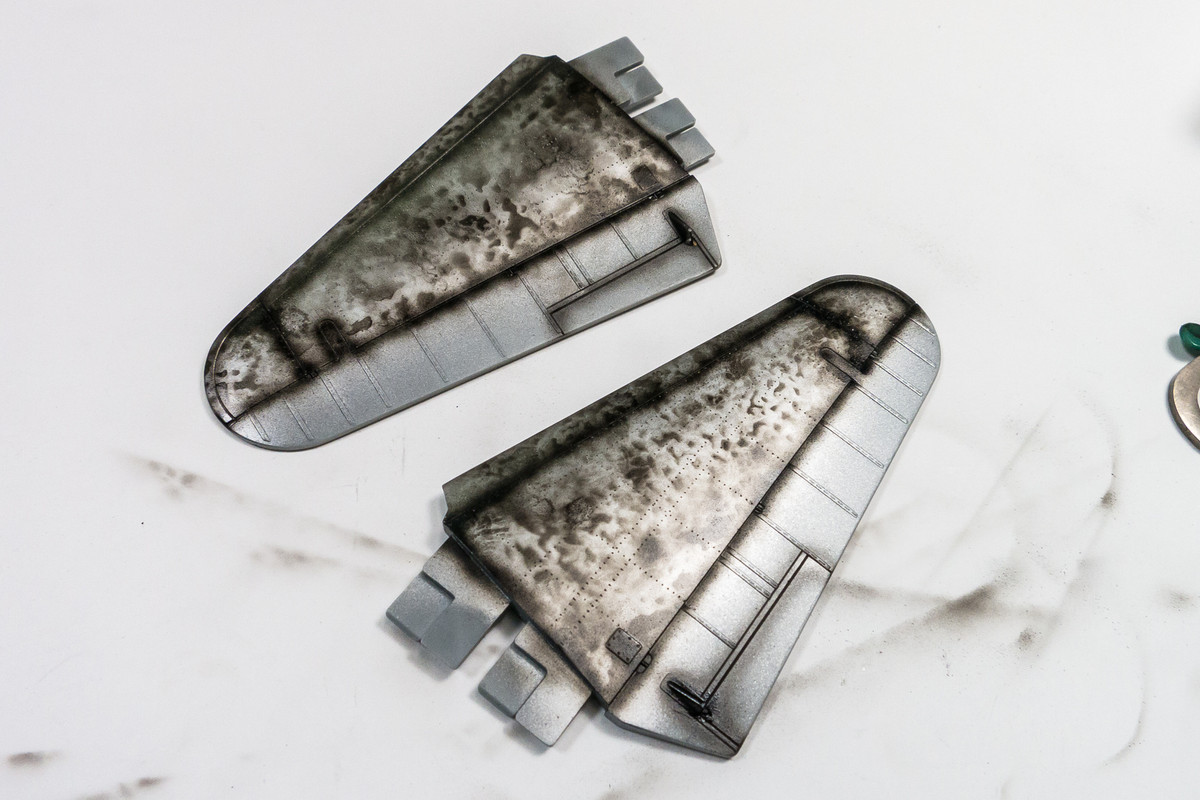
A coat of hairspray is sprayed over the silver and allowed to dry. A mottle pre-shade is applied over the hairspray/metal layer.
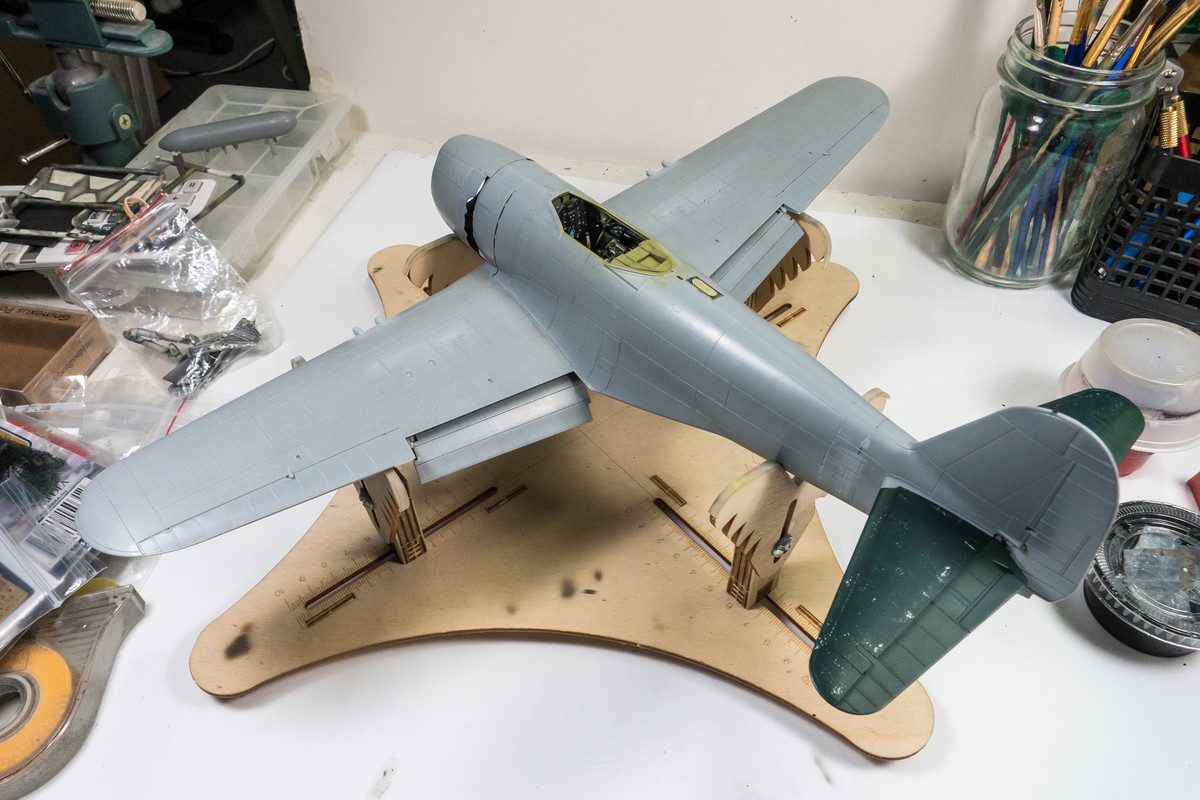
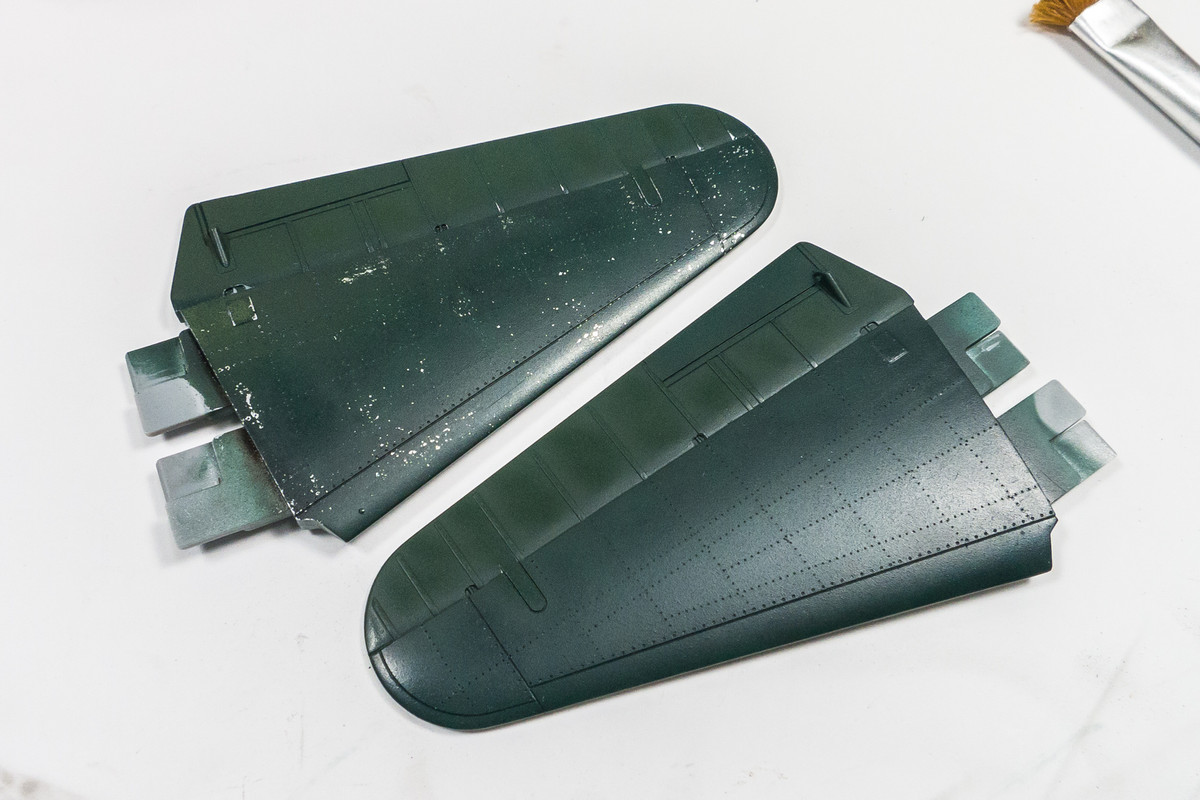
My version of the Green was established when I painted the spinner a few months ago. It is a mixture of two AK Real Colors: IJN D2 Green Black (RC305) and Luftwaffe RLM 83 Blue (RC327) mixed at a 3:1 ratio. Straight IJN D2 Green Black is used on the fabric portion of the stabilizer for a slight color variation. The photo below shows one stabilizer after chipping. The chipping at this stage looks rather spread out and unrealistically random but it will be enhanced later using other techniques.
I'm going to use a grey/green color for the undersides of the fabric-covered stabilizers and ailerons. Tamiya JA Grey (XF-14), to be exact. I scanned the stabilizers and made a custom mask using the Silhouette Portrait cutter.

The mask allows me to apply pre-shading and the grey/green color without impacting the Alclad.
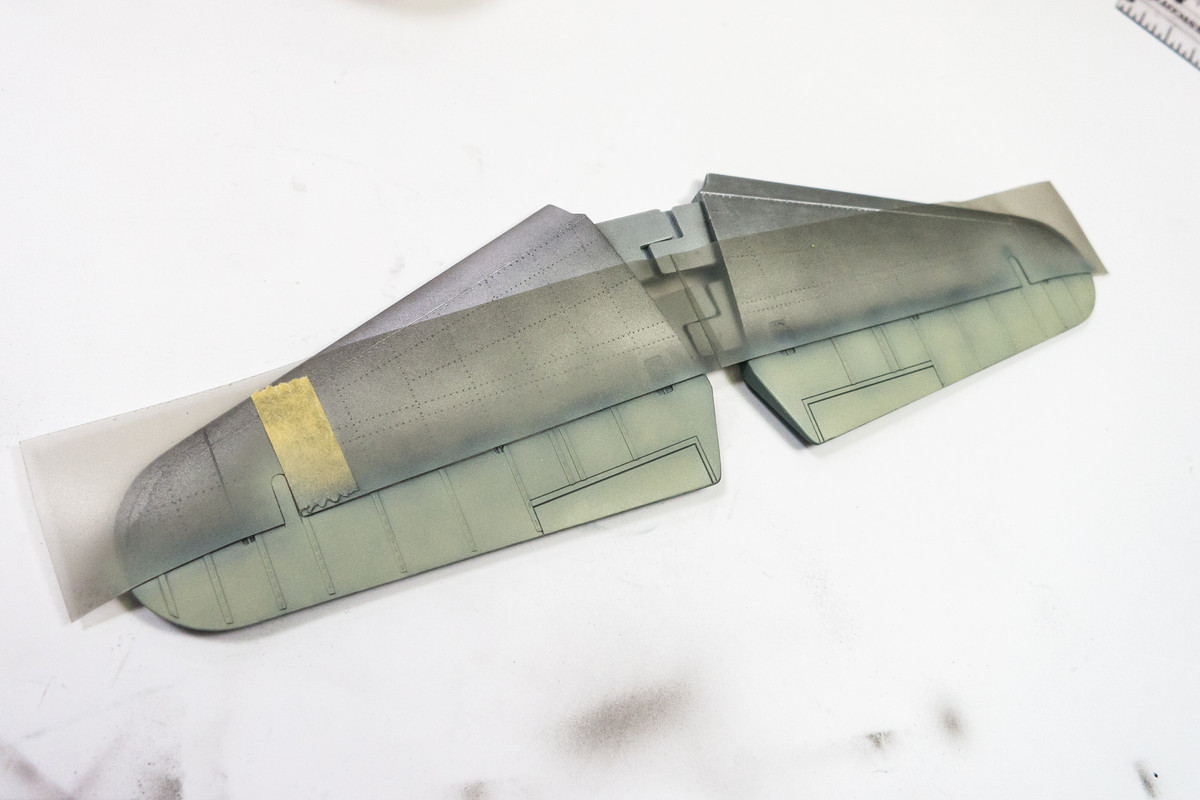
The basic painting of the horizontal stabilizers, top and bottom are finished.