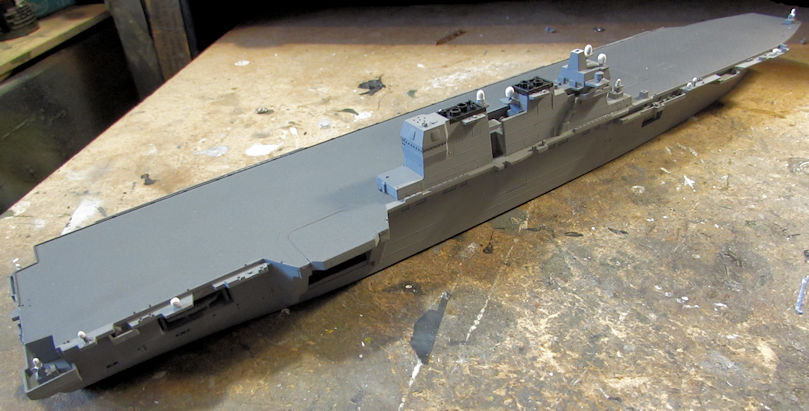
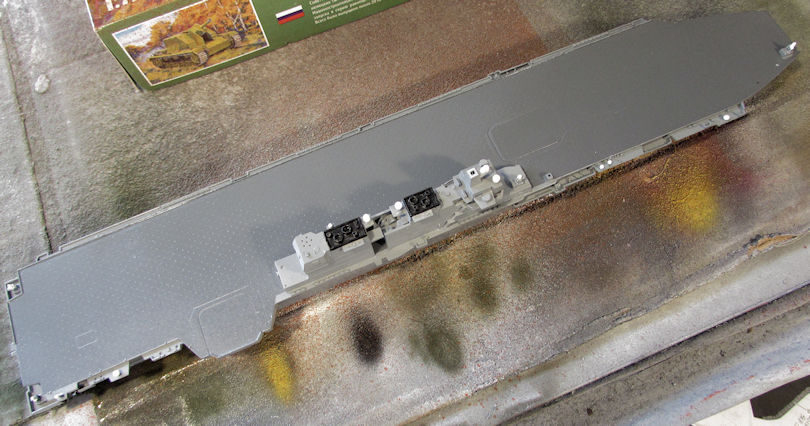
Well, this has been neglected for far too long, I know. I decided it was time to move forward on this one. As you can see from the following pics, I did manage to get the decals on. They were very thin and in register and went down exceptionally well. I rarely had to use any kind of solvent for them. Later I sprayed everything with a semi-dullcoat to blend everything in.
What had stopped me for all this time was that I was at the P/E stage and didn't want to deal with it. Well, I took this to our mini-Hobby Day and buckled down to get this done.
First I did the main mast and added the P/E rails to the island:
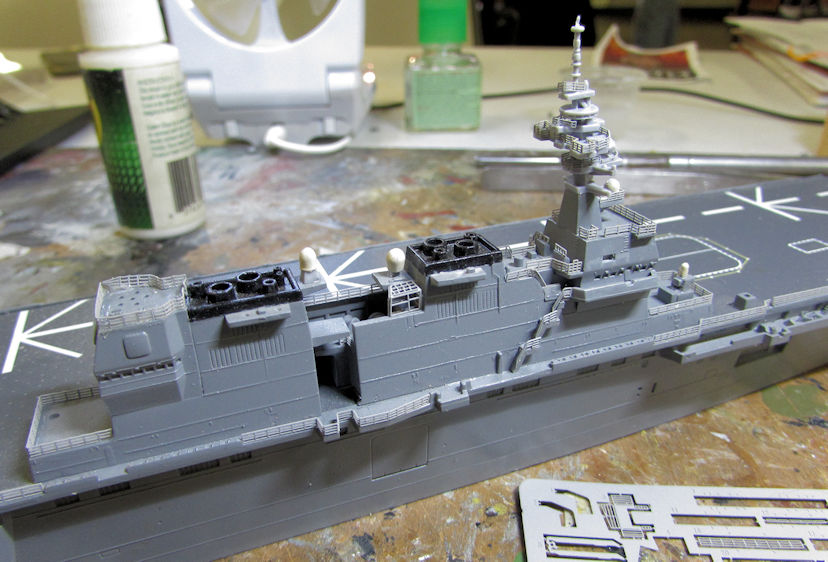
That's gonna take some doing painting that mast. I also figure I'll have to semi-drybrush the rails to bring them closer to the grey of the rest of the ship.
I then got started on the surrounding rail of the sponsons and deck edge. I only got one side mostly done before it was time to pack up and leave:
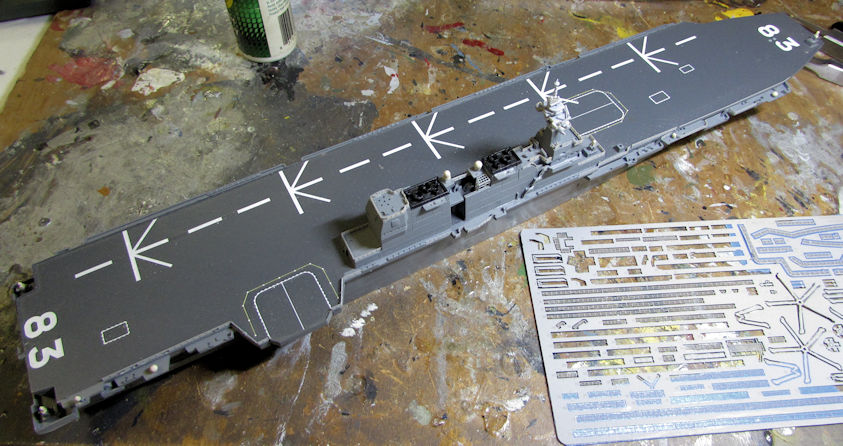
Yeah, they are a bit hard to see in that pic. Trust me, they are there. You'll also notice that I have blue tape underneath the P/E sprue. That is because the attachment points for these parts are so delicate that some of them are falling off the sprue before I can get to them. So, I added the tape to one side and taped them back in place until I need them.
Folding the photo-etch was helped by the diagrams shown at the beginning of this Thread where they had the lines laid out for you to compare and bend perfectly to fit. I used the Gator Grip glue to add these to the ship. That was a good thing since at least one railing kept getting pressed down. All I had to do was lift it back into place and it stayed. Overall, the application of the photo-etch was not as big an issue as I had anticipated it to be, thanks to the extensive diagrams and build aids included in this kit.
I do hope to do more on this ship soon. I want it done. Until then, take care and thanks for looking in. Comments are always welcome.