KennyX wrote:John,
I’m with you on the “completeness” thing. I just add what I want, taking it as far as I care to with what I’m capable of with my primitive tools. Sometimes I go bananas, other times just an addition here or there. Ultimately I want to achieve a superdetailing effect, but one which is harmonious, like what you achieved in the photo you shared.
Very similar, you and I. I have to draw lines between effort and enjoyment and I feel quite comfortable knowing that my line for these small details may fall short of others.
speedgraflex wrote:I had to look up “completist,” so as much as I like to learn new words, I feel badly if there was the hint of negative implication. In art school, some finished the interiors of their canvases with gesso. Yes, this is obsessive behavior, but it also is a form of consideration: what lies beneath being worthy of the same care as what exists on top. In many ways, this is something to admire. All the best.
I take it as neither good nor bad. Just another form of obsession. Most of us here have some obsessive qualities. Unique to the individual. Some shared, some not. When someone told me to look at reference materials to see what the battery box under the seat should look like, I thanked him but never considered doing anything about it. It just didn't register as important in my mind, being totally hidden from view. But I understand the dude that takes the reference materials and decks out that hidden battery.
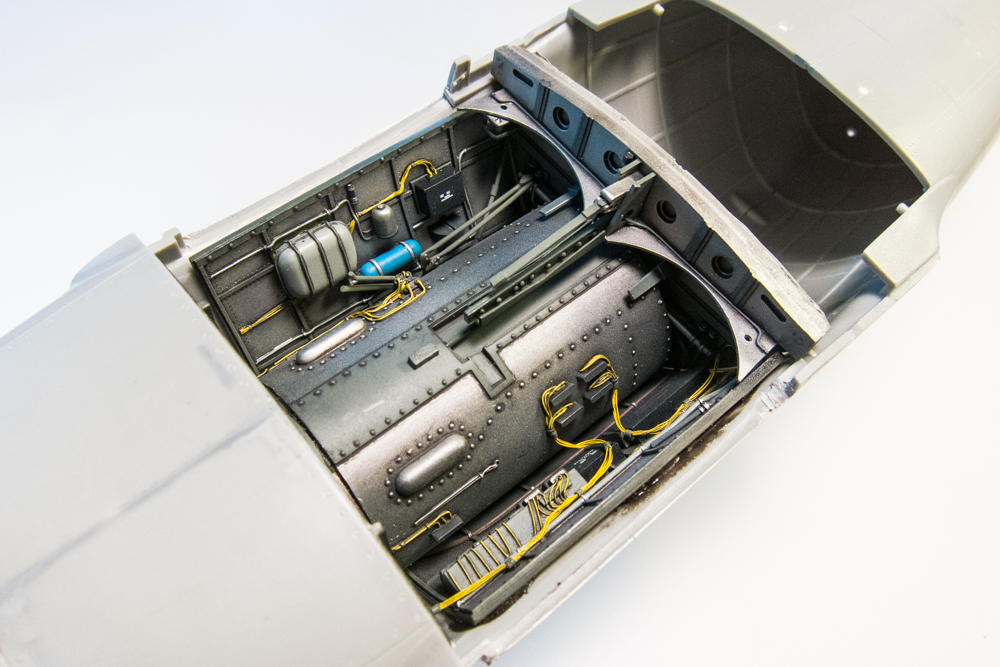
I was playing around with the wiring today. I wanted to replicate Aires approach which was to depict the wiring from the four electrical terminals on the outer tube but terminate it at a wiring harness right next to the terminals. To create the wiring that spans across from the terminals to the outer wall, I could glue my pre-painted wiring bundles at the wiring harness. I was going for this...
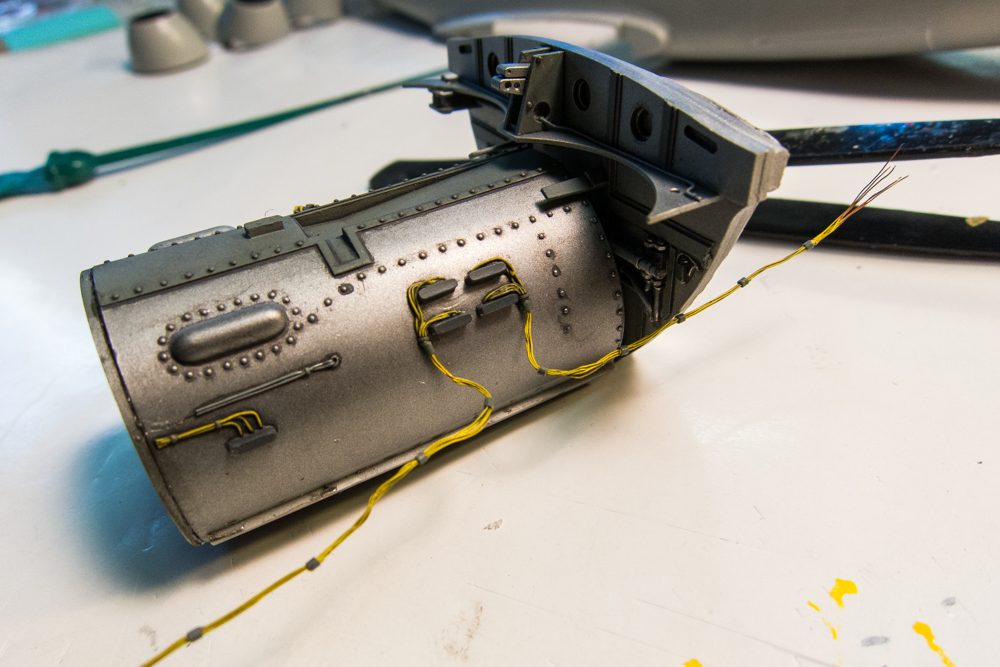
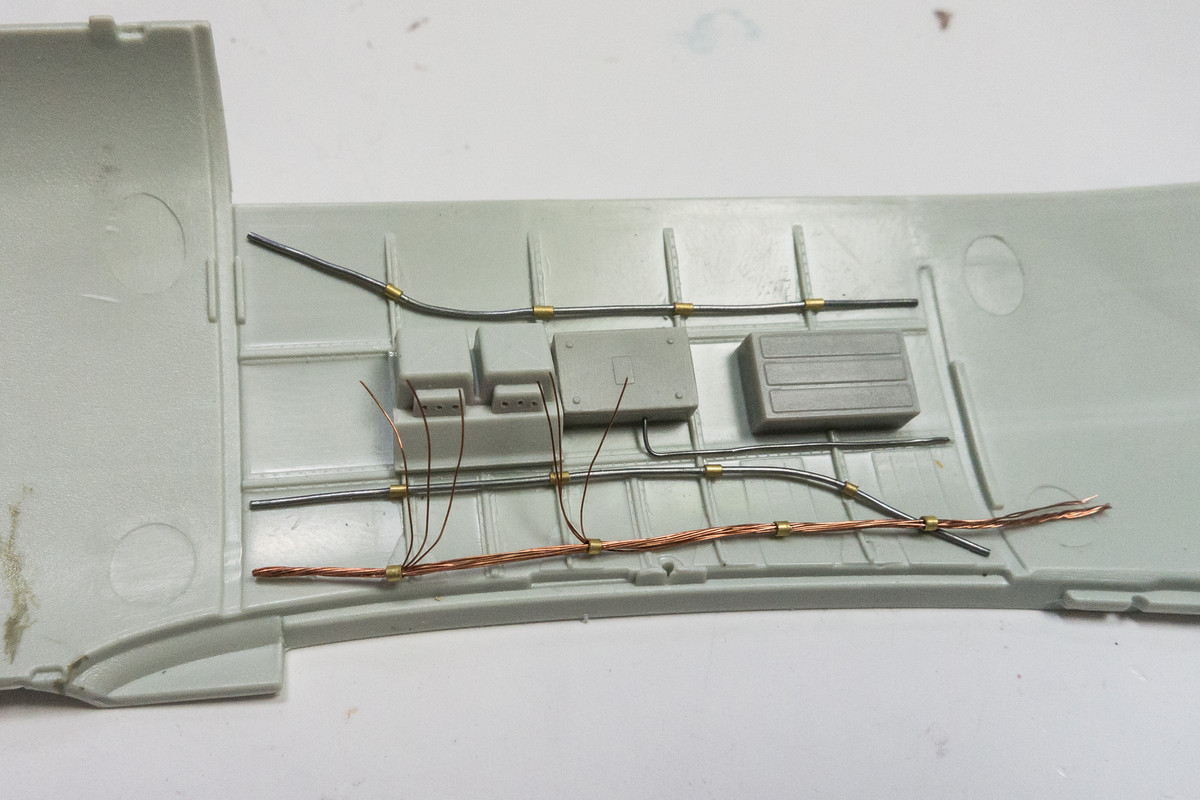
This is what I got. It looked pretty decent until I sprayed that primer on. The electrical terminals are very small and trying to butt up wiring right up to the terminals was too difficult to pull off.
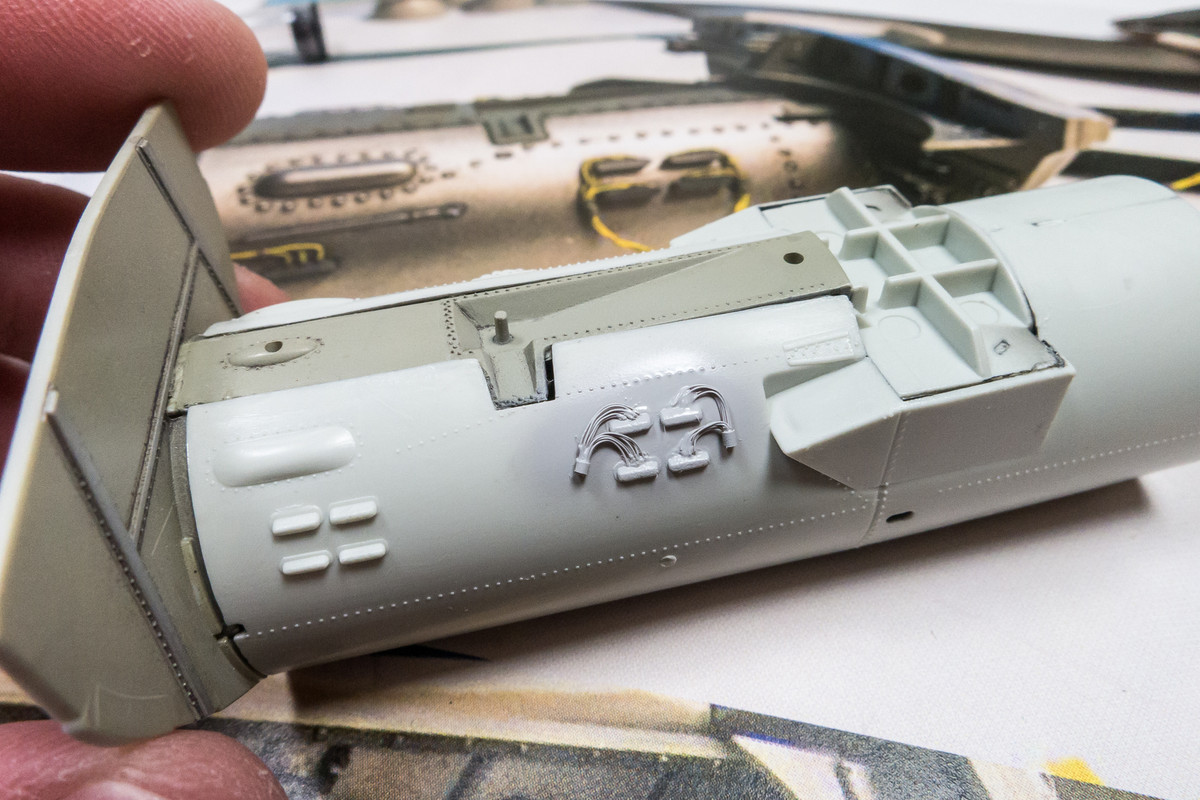
So I had to try a different way. This time, I started with a strip of sheet styrene whose thickness approximated the width of the terminals. I only needed a short length of this but kept it long so it would be easier to handle.
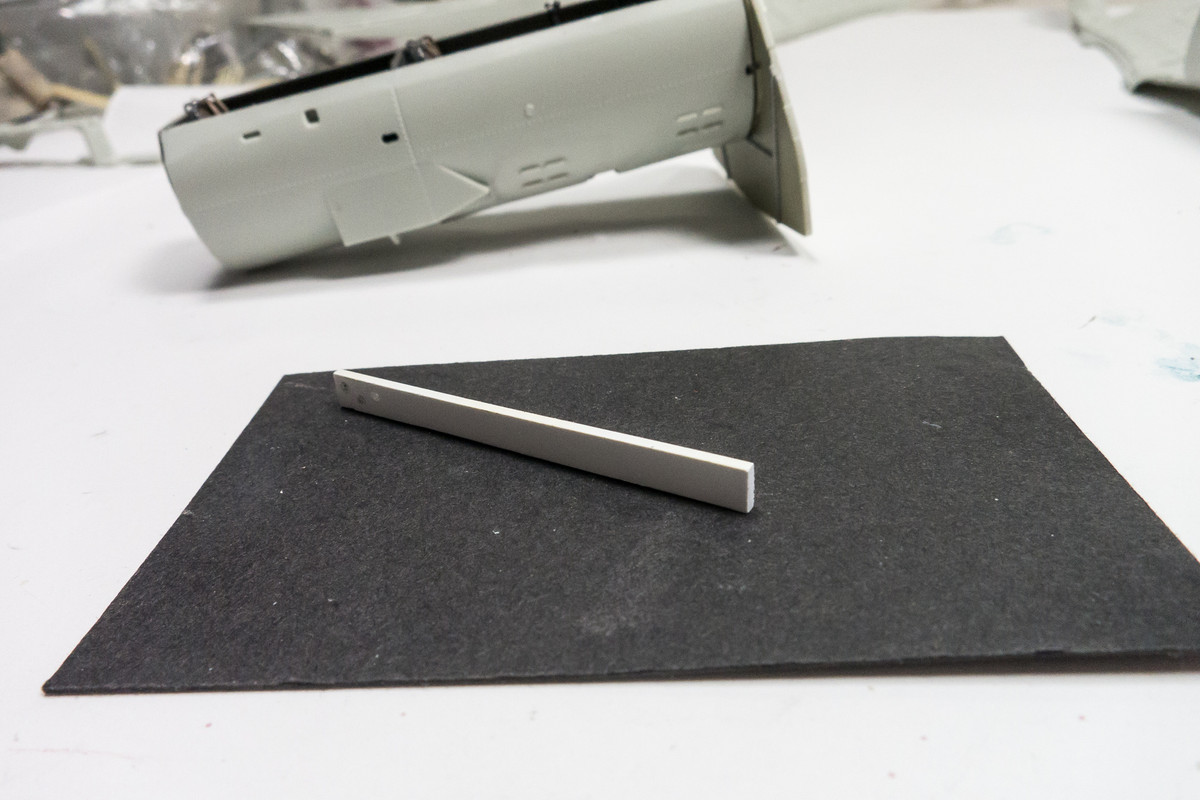
I rounded off the edges of the strip. From the top, you can see that the shape is similar to the terminal.
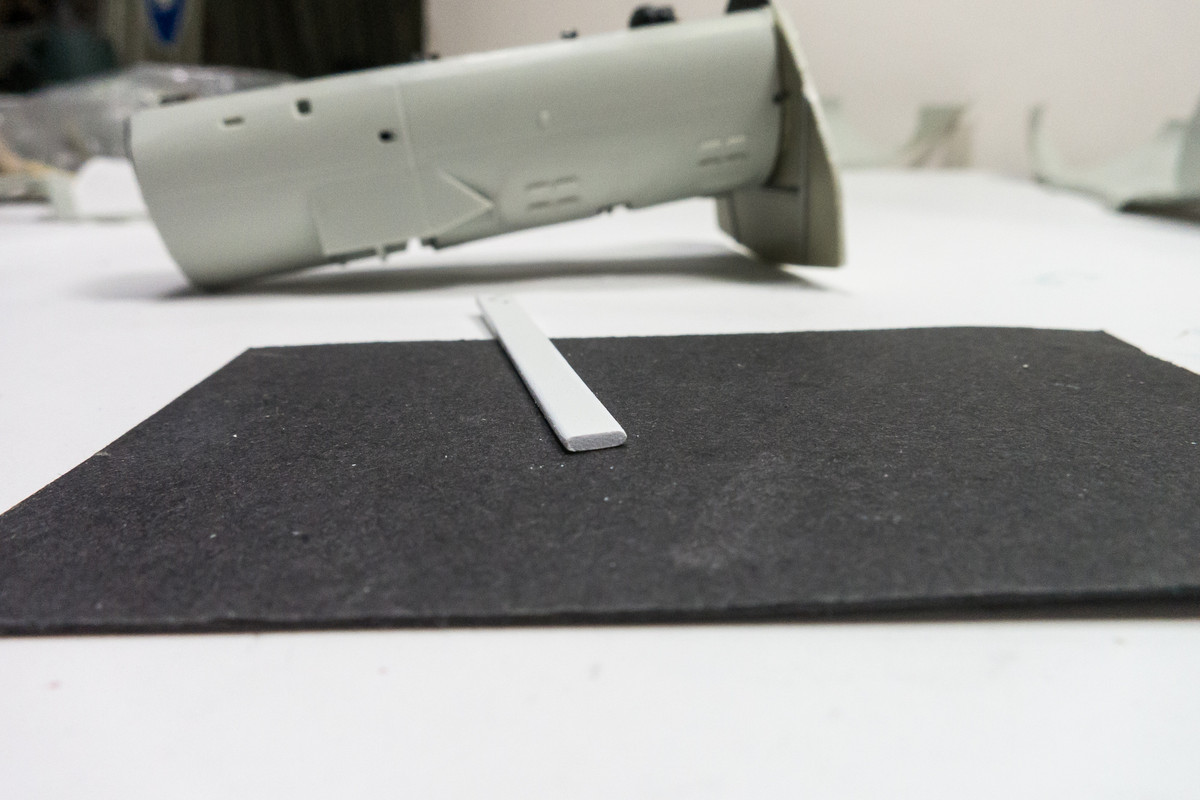
I marked the strip to ensure some uniformity. I need four pieces with a row of drilled holes across each one so eight lines across.
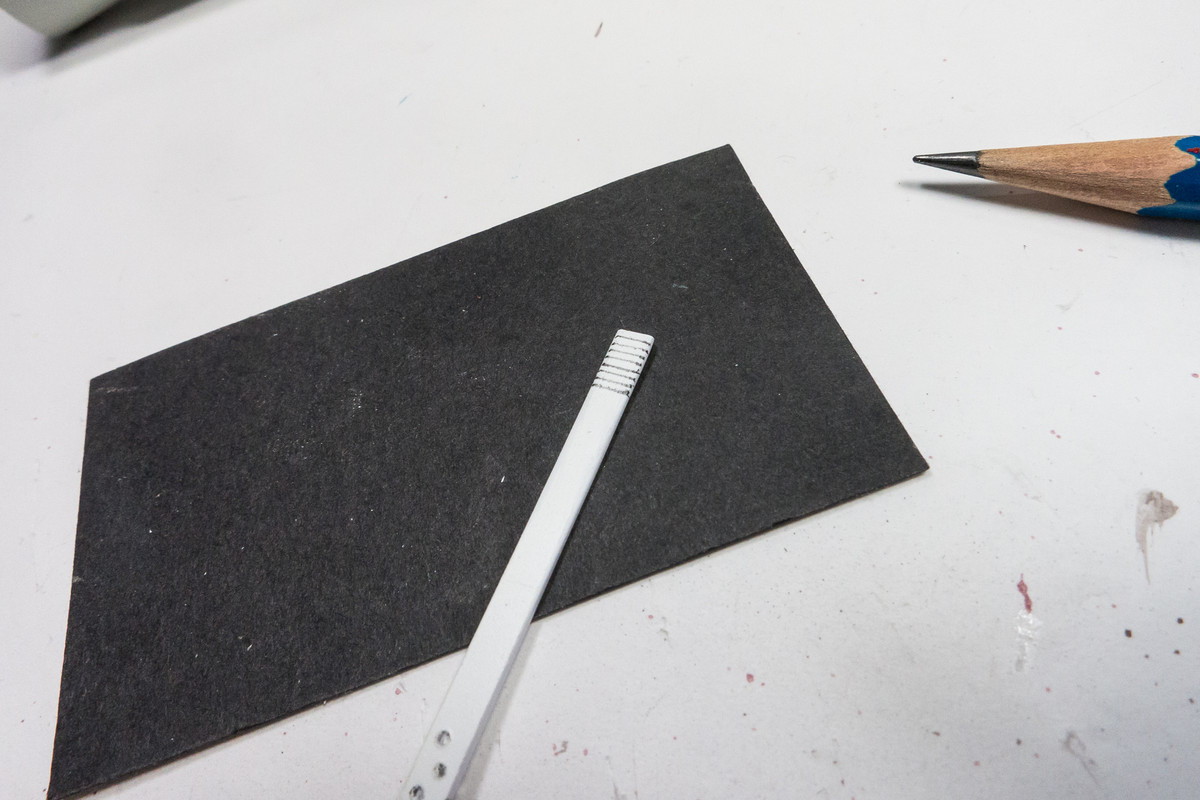
I could fit five holes using my smallest drill bit.
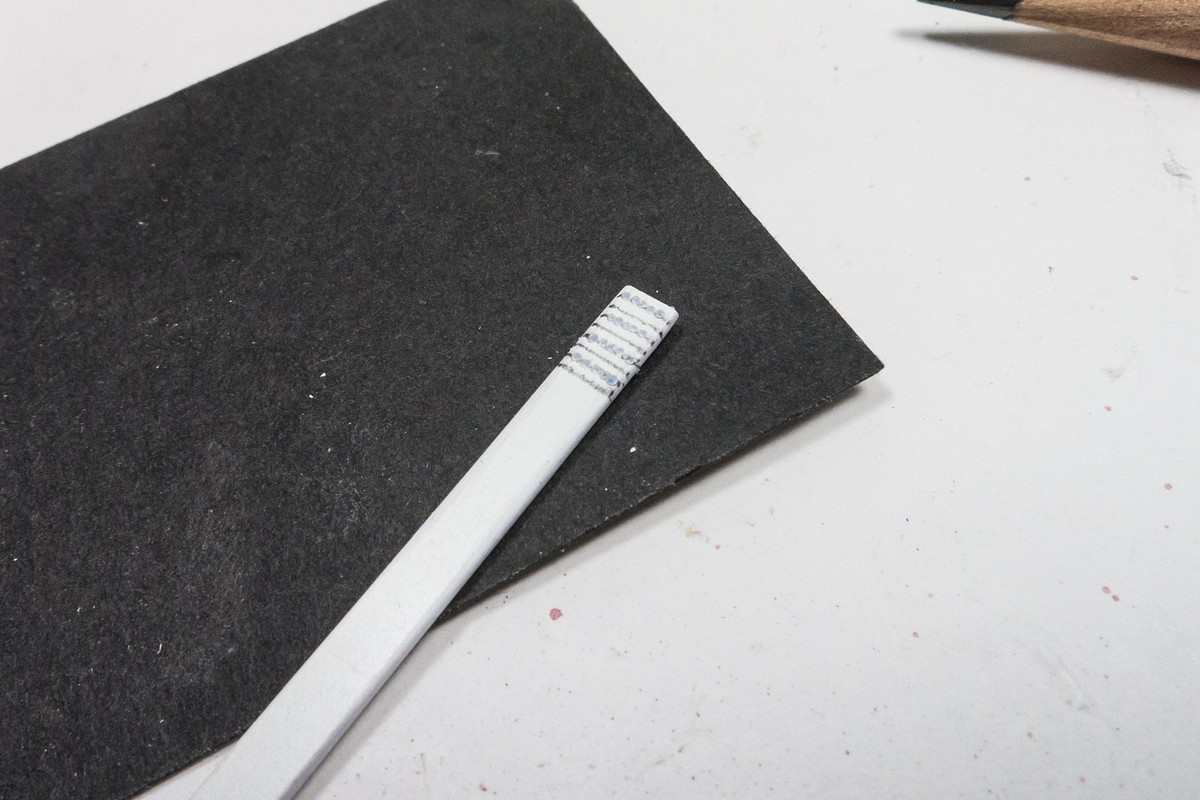
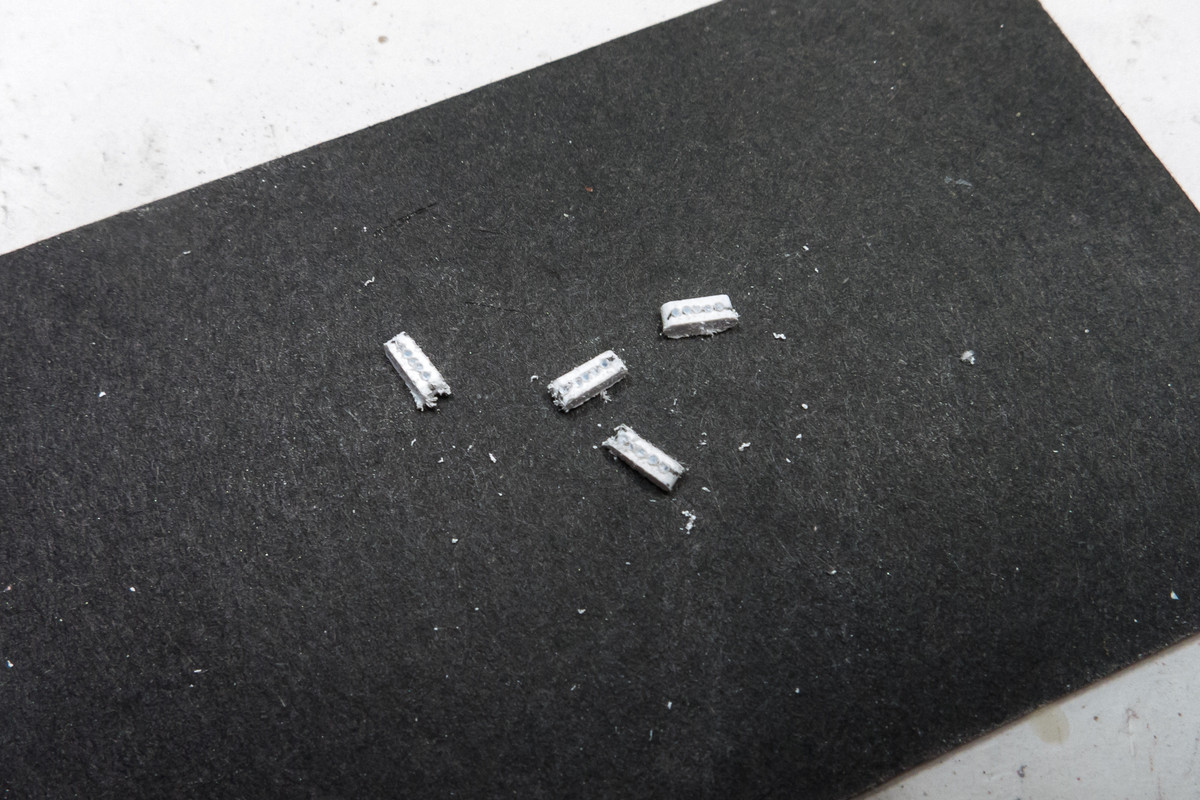
A razor saw was used to cut each piece. Pretty messy but the excess plastic from the sawing and drilling can be cleaned up.
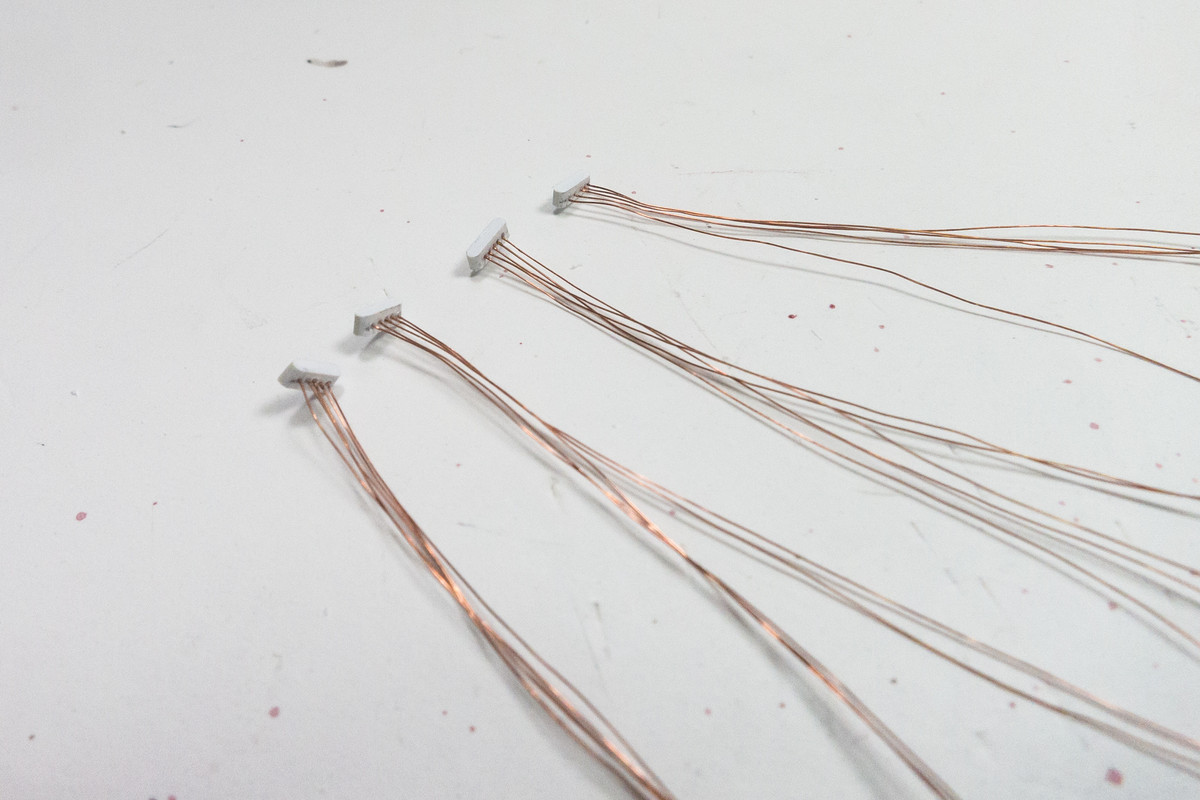
Individual strands copper wire from a spare speaker cable were glued into each of the holes.
The existing terminals were removed from the outer tube.
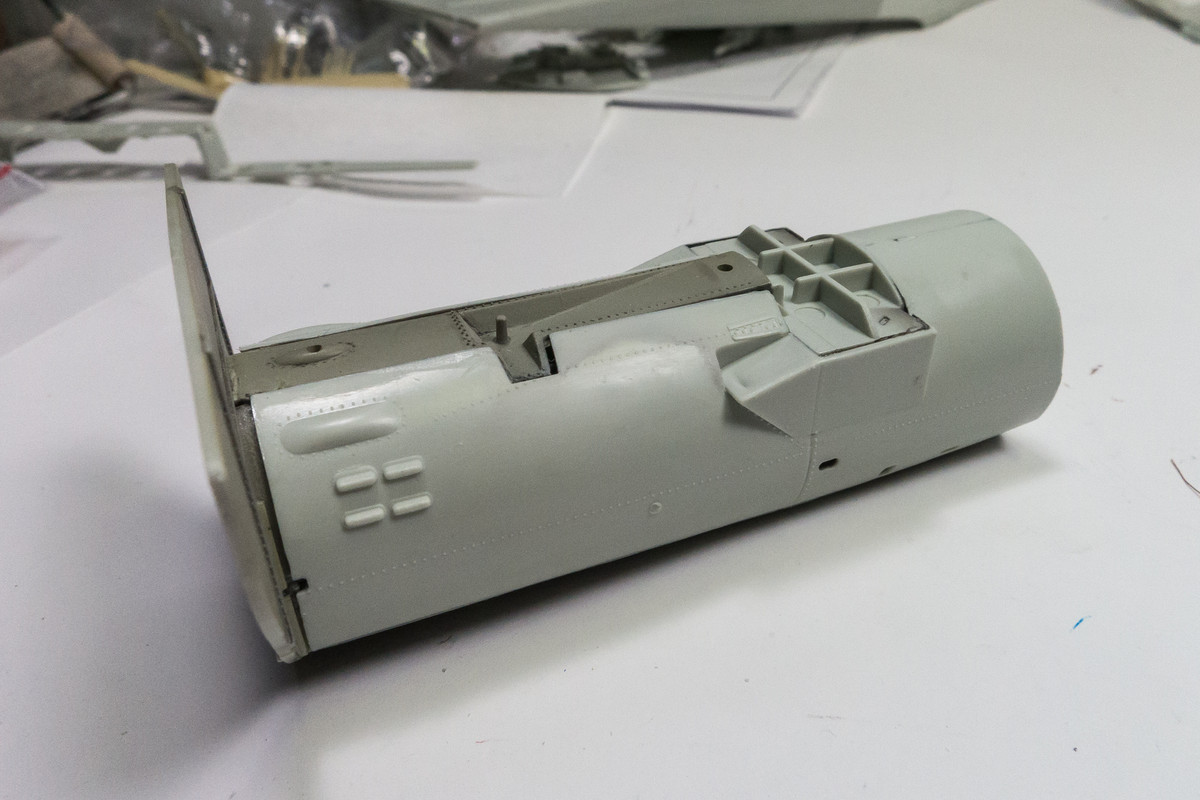
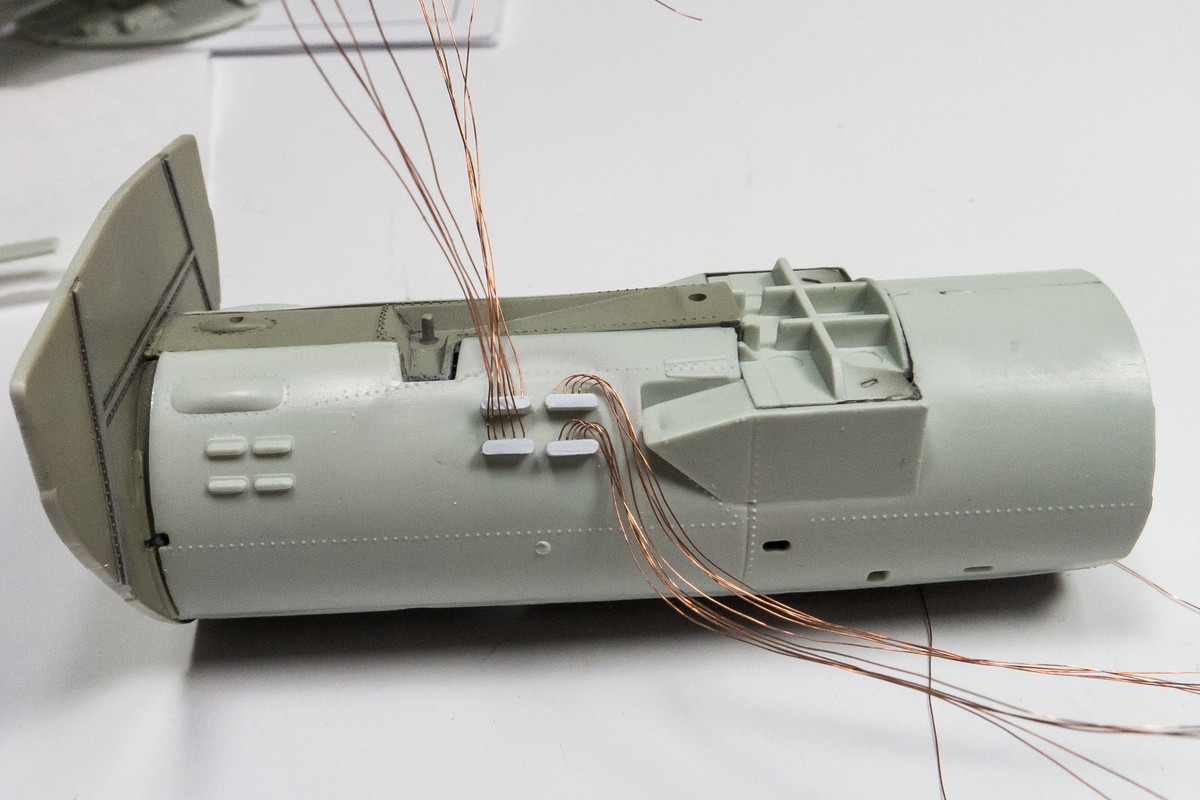
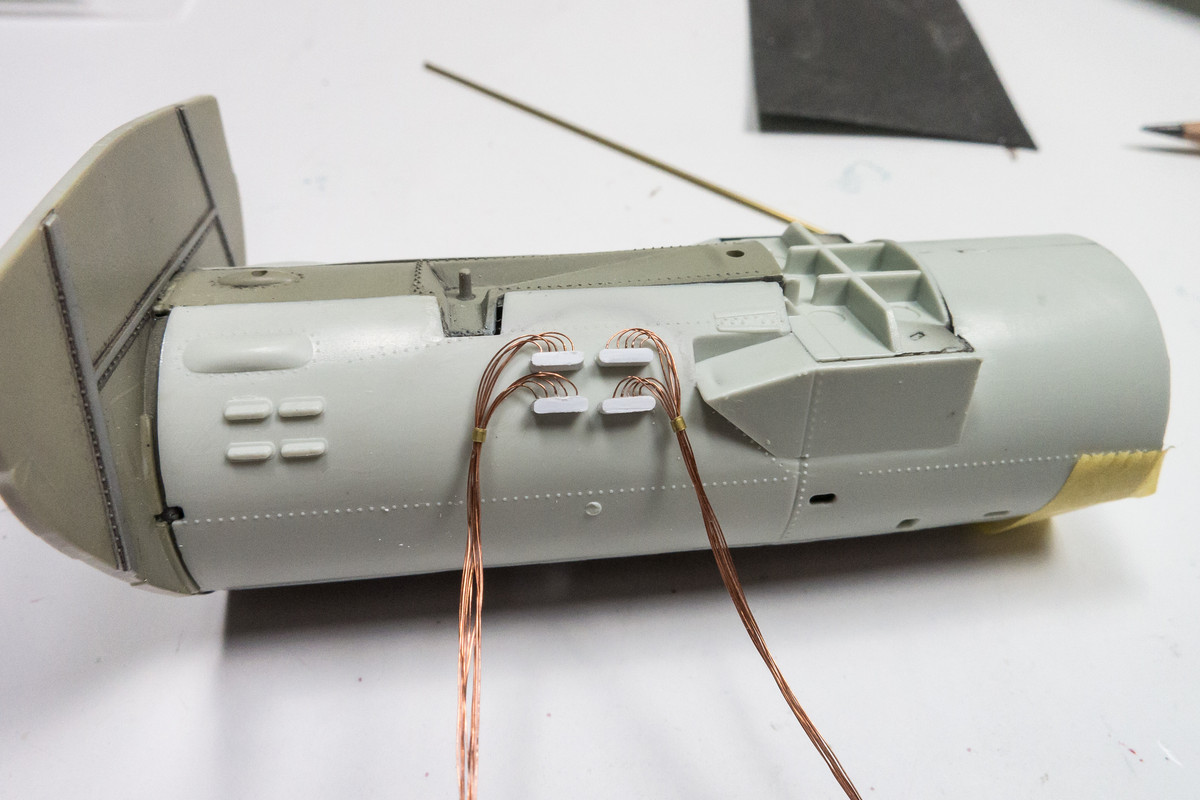
The new terminals are glued into place. To accommodate the wiring, the terminals are larger than the originals but not noticeably so.
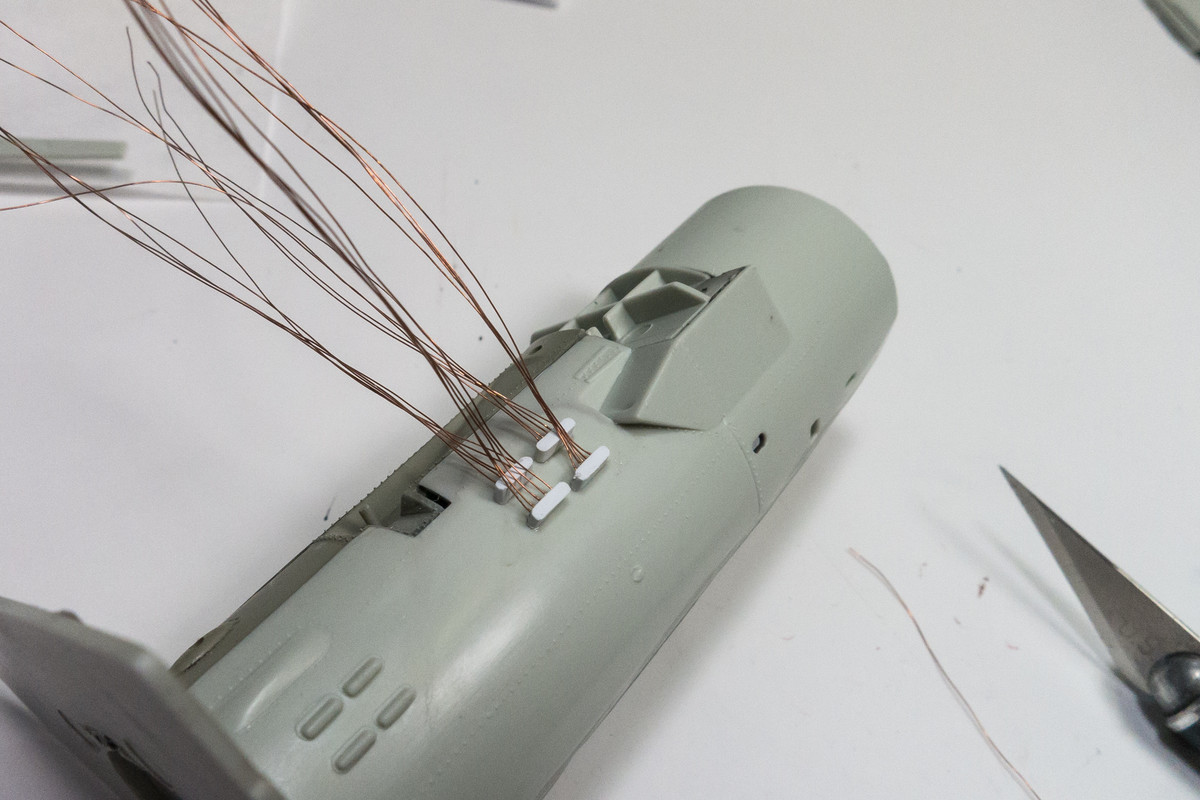
Now I have to gently push the wire strands to the proper orientation and then attach wire harnesses around the bundles.