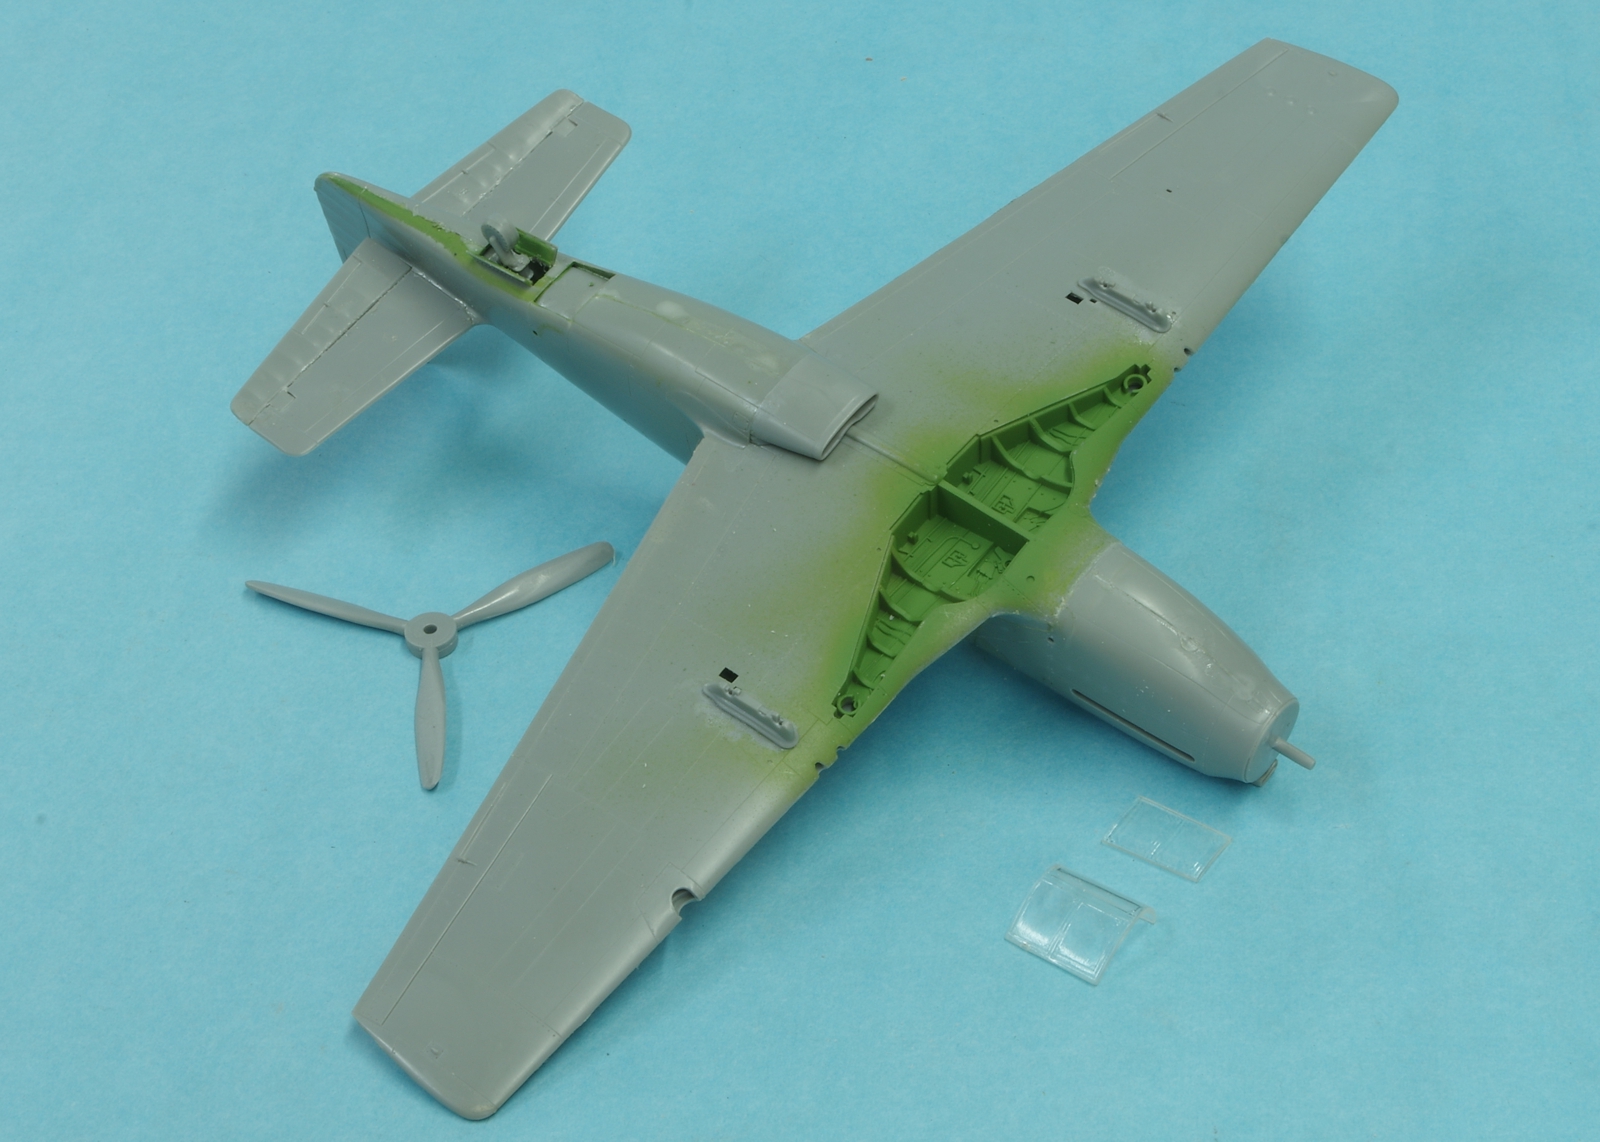
Some progress to report. I previously built an Accurate Miniatures P-51C which was similar in many ways, but the cockpit was better engineered on it in the radio area especially. I cut away most of the lower shelf of the right fuselage under the cockpit so I could access the bottom of the radio area and that allowed me to make sure the radio and battery shelves were located properly. The wing covers that area so the only down side is a little loss of rigidity until the wing is attached. The battery and radio look reasonably accurate but on the back of the lower shelf is what looks like an oxygen tank and there is nothing like that in the P-51 maintenance manual I have. Whatever, you can't see it. I think AM could have done a better job on the cockpit sidewalls, they obviously made an effort but missed the width of the left console so there is not enough room for the aileron and rudder trim wheels. I simulated the trim wheels with black spots. They give you two levers that both resemble the gear lever but the second lever is supposed to be for the bomb release for which there is no console area, it should be at the lower left of the instrument panel. I left it out. AM supplied no armor plating behind the pilot's seat, I faked one using plastic card. The instructions tell you to put the aft fuselage together with all the internals, and then assemble the two forward fuselage halves, then attach them to the aft fuselage. That looked like a recipe for trouble to me, so I joined the front and aft sides first. That made it a bit harder to install the instrument panel but it worked out OK. There is a bit of a width mismatch just in front of the cockpit due the width of the forward fuselage parts being a bit greater than the aft at that point, I put a little plastic card in the gap. The windscreen seems to fit fine with that adjustment. I have most of an extra kit, can't recall where it came from, but that made it easy to lower the elevators, by using the stabilizers from one kit and the elevators from the other. When adding the wings, just a bit of Aves Epoxy Clay was needed at the right wing root on top.
I cut loose the left side panel of the center cockpit canopy so I could pose it open, the optics of the clear parts could be better. The top hinged open on the right side but I chose to leave it in the closed position. The propeller blades looked too wide in the outer two thirds of prop diameter so I filed and sanded them to a shape more like photos.