1/32 Revell Me262B-1/U1 Nachtjager

Re: 1/32 Revell Me262B-1/U1 Nachtjager
Nice fit...masking is great, too!
To make each build less crappy than the last one. Or, put another way, "Better than the last one, not as good as the next one!"..

Re: 1/32 Revell Me262B-1/U1 Nachtjager
Thanks for checking in guys! I hope everyone is having a wonderful winter!
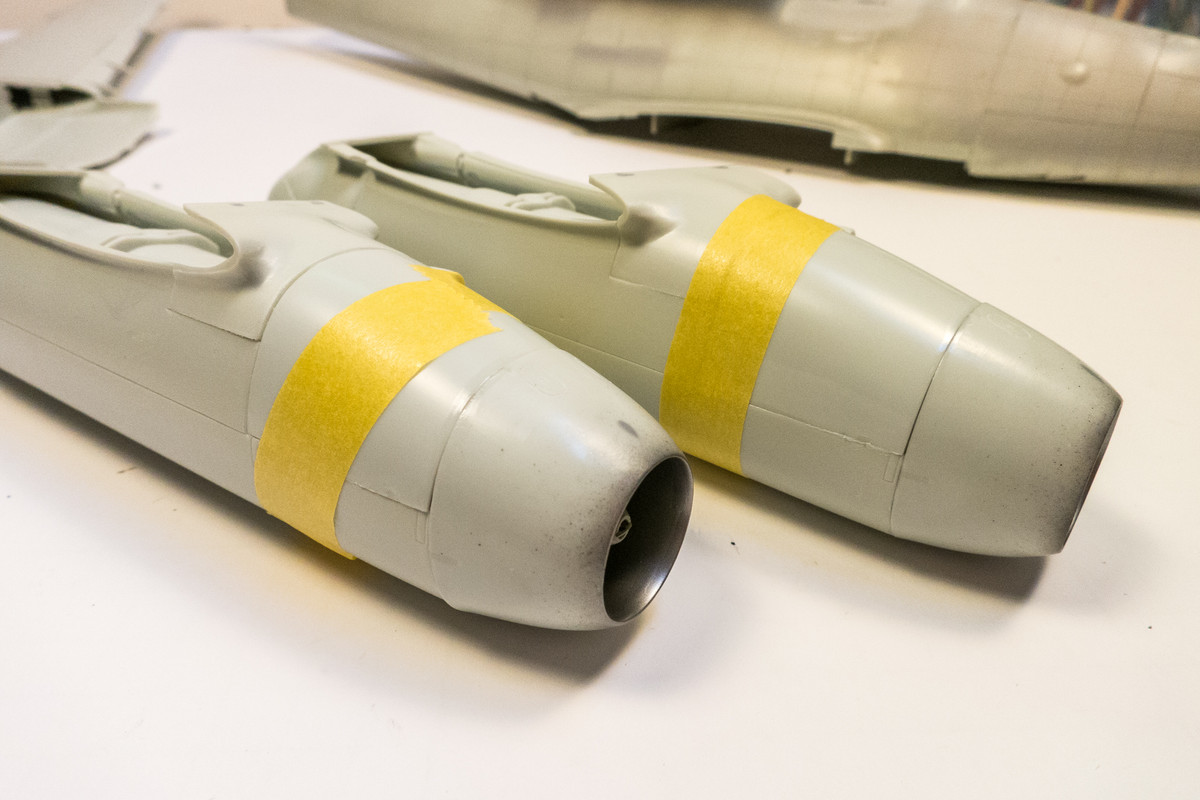
Only engine components at the intake end and exhaust end are going to be painted.
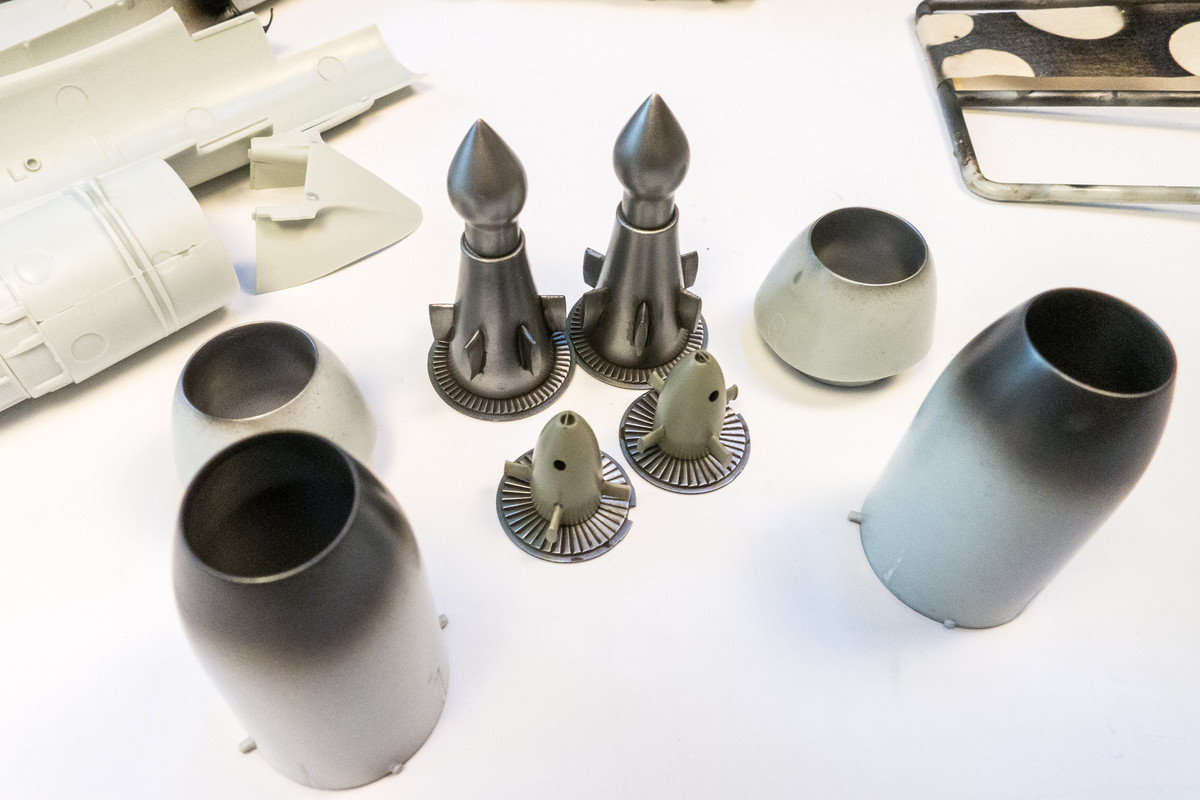
And only the basic structure of the engine will be constructed. Revell includes some detail bits and pieces that I am leaving off since the engine will be sealed off from view.
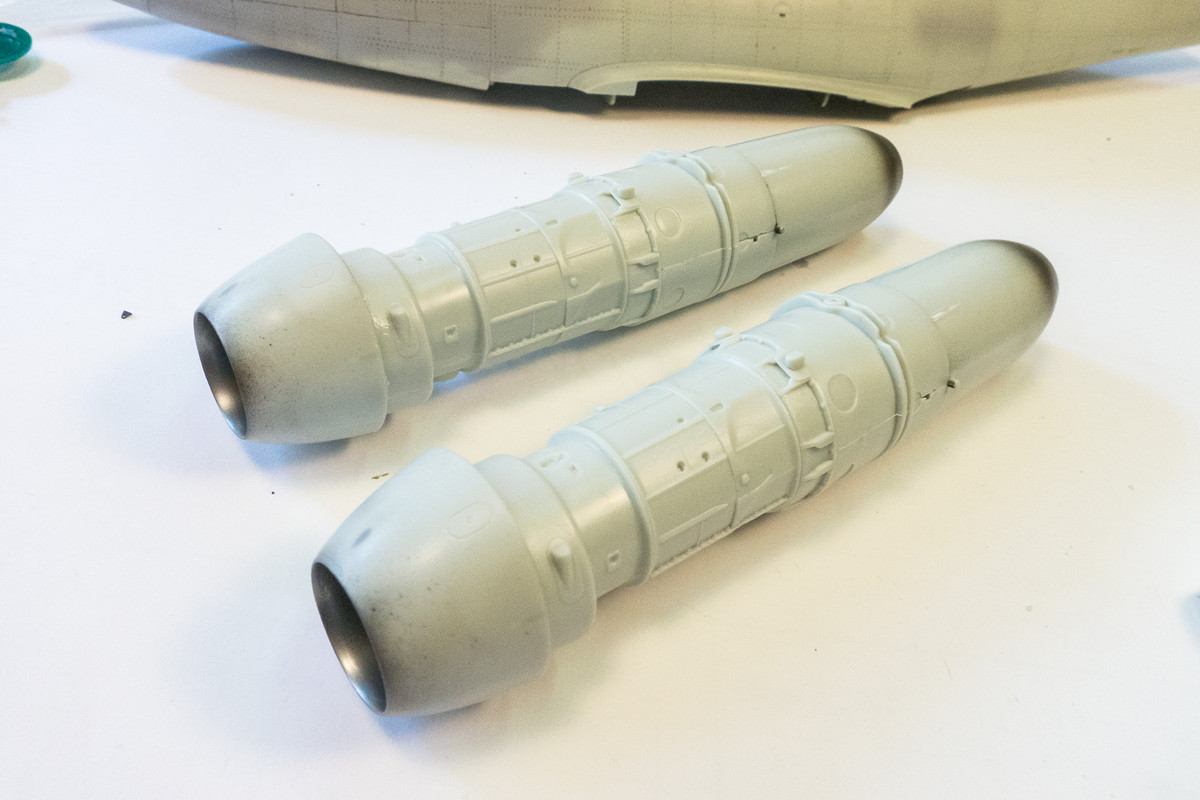
The initial gluing the halves of the engine nacelles together feels very vague. But each additional piece adds a bit more rigidity to the structure.
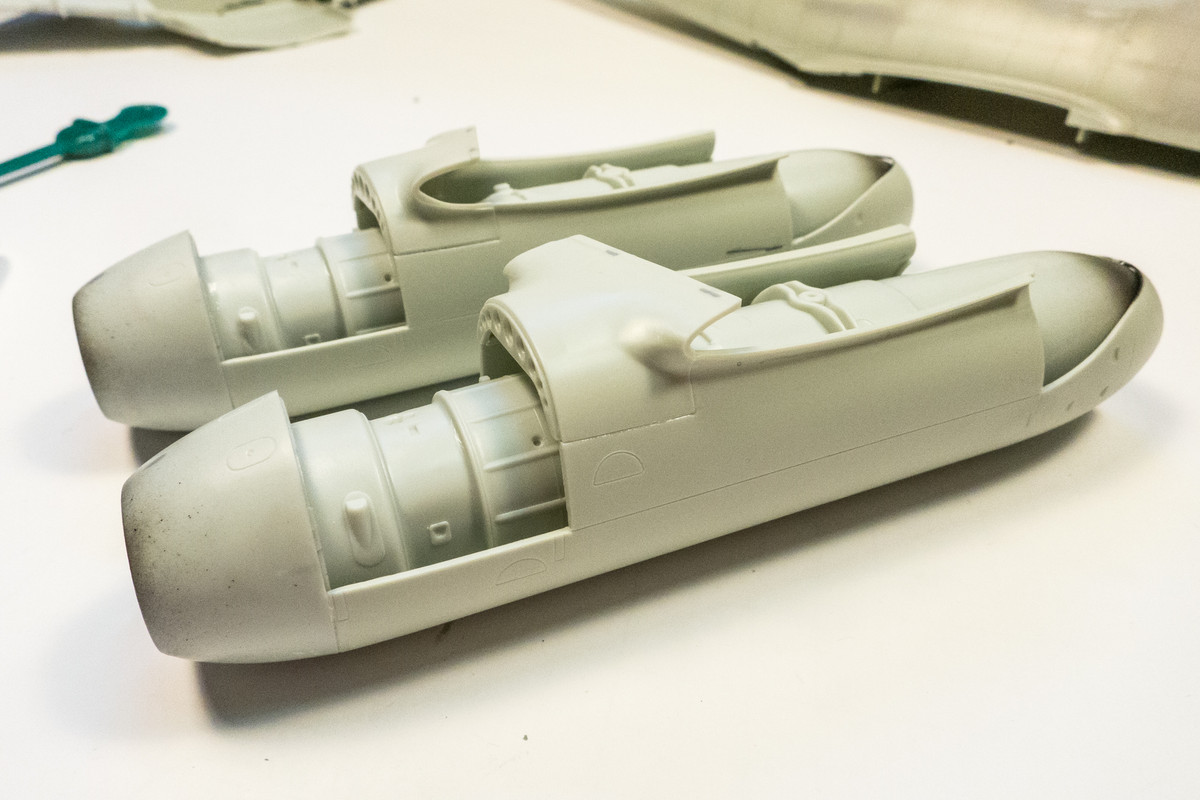
The fit of the engine nacelles is not very good. Methinks I'll be spending quite a bit of time smoothing out the joints and re-scribing and riveting both nacelles.
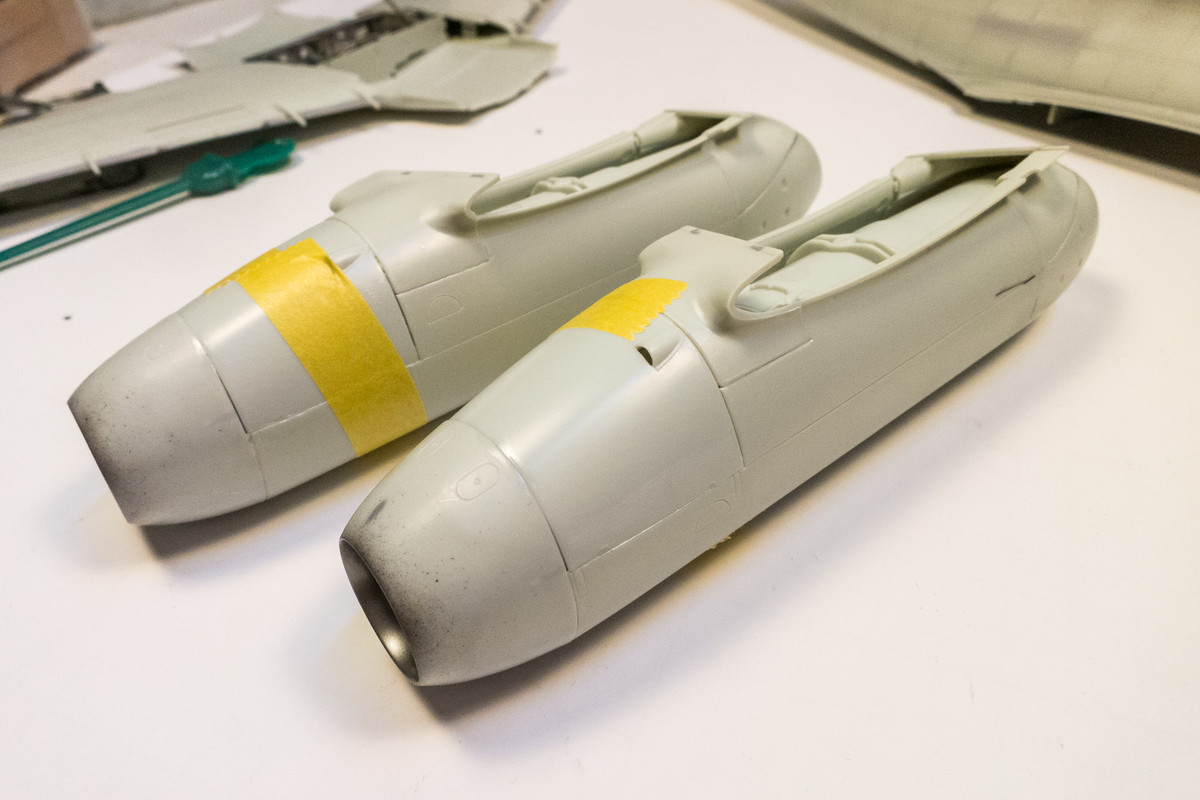
Work on the fuselage is wrapping up as I finish fairing in the clear parts. No work on the wings is needed until the engine nacelles are joined.
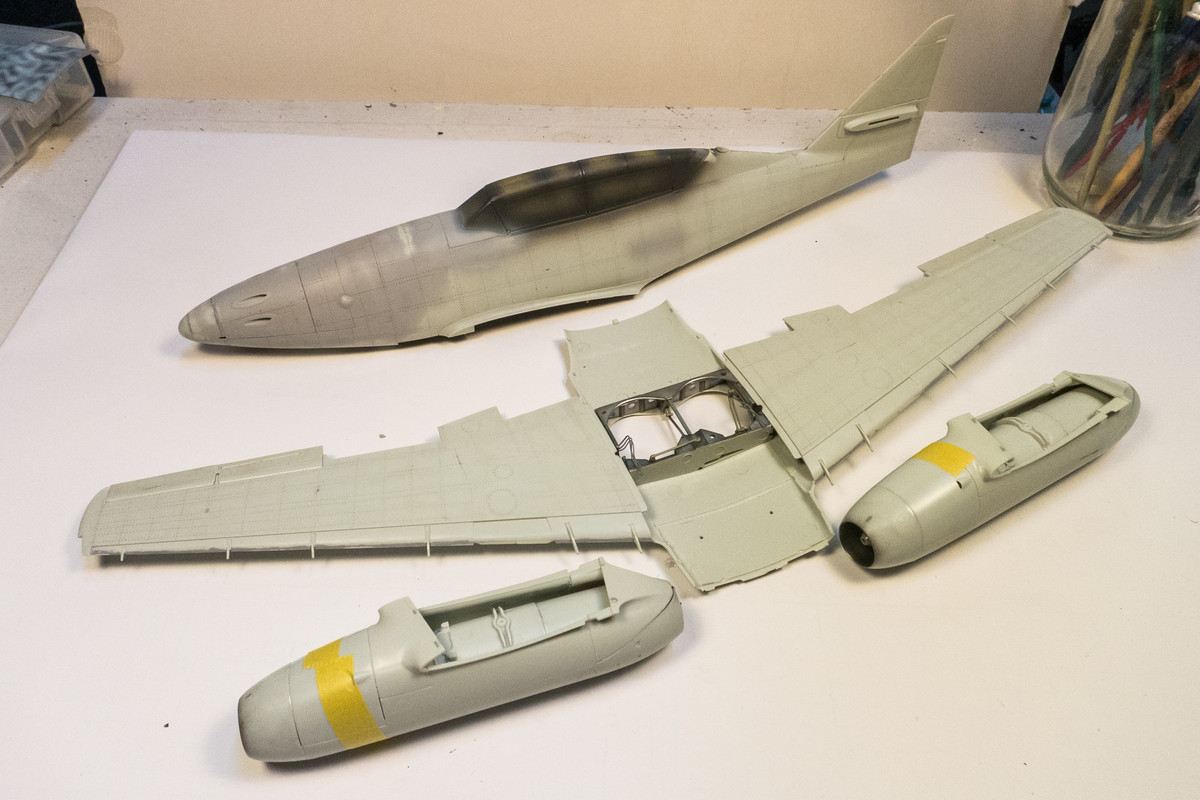
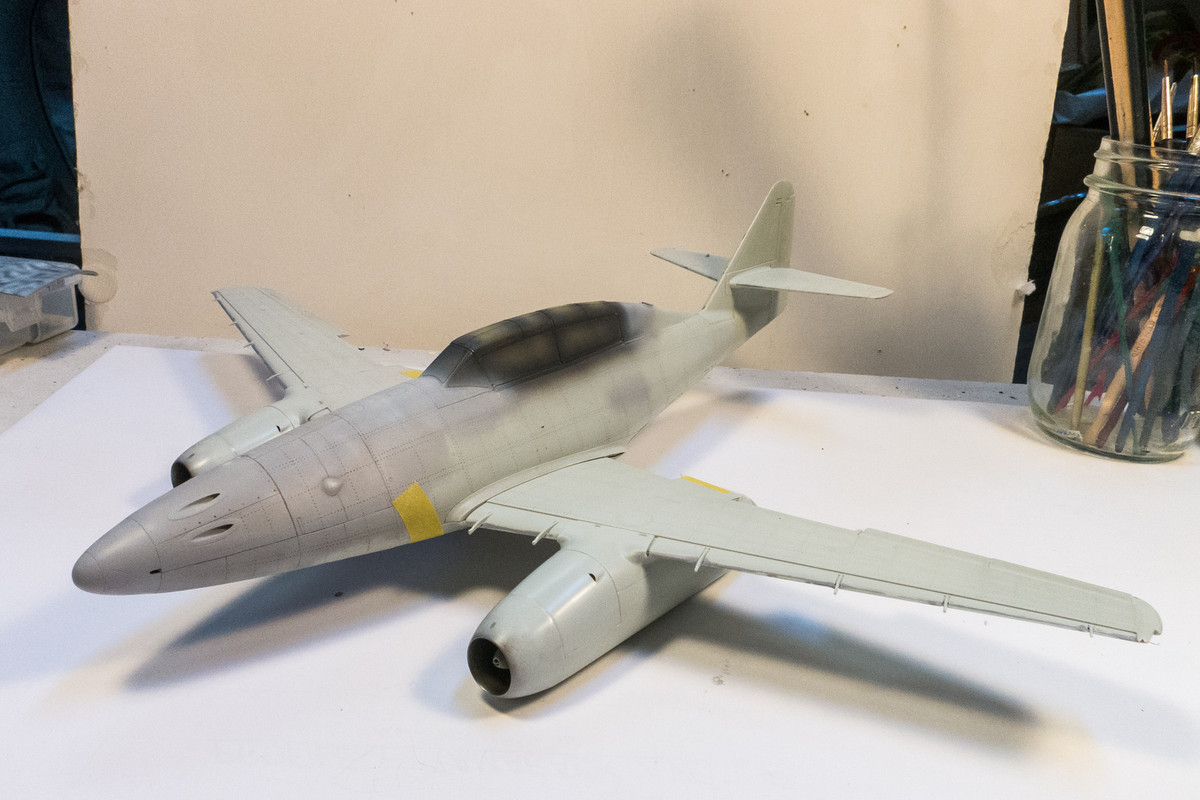
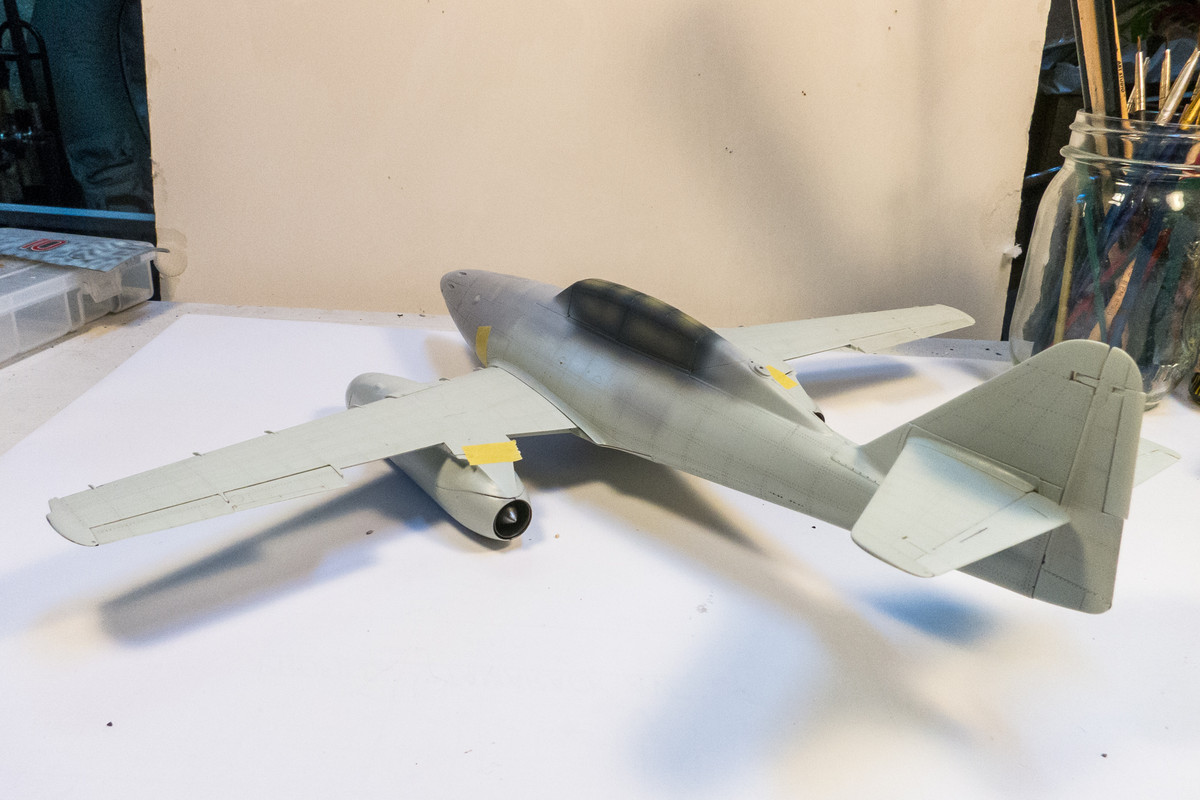
Here's a dry-fit of all of the major components. The wing/fuselage fit looks pretty good with some minor gaps at the wing root that might go away once the proper wing dihedral is established.
Only engine components at the intake end and exhaust end are going to be painted.
And only the basic structure of the engine will be constructed. Revell includes some detail bits and pieces that I am leaving off since the engine will be sealed off from view.
The initial gluing the halves of the engine nacelles together feels very vague. But each additional piece adds a bit more rigidity to the structure.
The fit of the engine nacelles is not very good. Methinks I'll be spending quite a bit of time smoothing out the joints and re-scribing and riveting both nacelles.
Work on the fuselage is wrapping up as I finish fairing in the clear parts. No work on the wings is needed until the engine nacelles are joined.
Here's a dry-fit of all of the major components. The wing/fuselage fit looks pretty good with some minor gaps at the wing root that might go away once the proper wing dihedral is established.
John aka JKim
-----------<><

-----------<><

Re: 1/32 Revell Me262B-1/U1 Nachtjager
Seeing it all dry fit together looks great! Really looking like a swallow now.
March as one, Don't look back
Odin's sons... Attack!
Unleash hell! Do not repent! Warfare grants us no lament
Let your weapons slash and tear This is no place for fear
Hold the lines! Move as one! In unity our victory's won
Our shields will form a mighty wall
United we shall never fall
Odin's sons... Attack!
Unleash hell! Do not repent! Warfare grants us no lament
Let your weapons slash and tear This is no place for fear
Hold the lines! Move as one! In unity our victory's won
Our shields will form a mighty wall
United we shall never fall
Re: 1/32 Revell Me262B-1/U1 Nachtjager
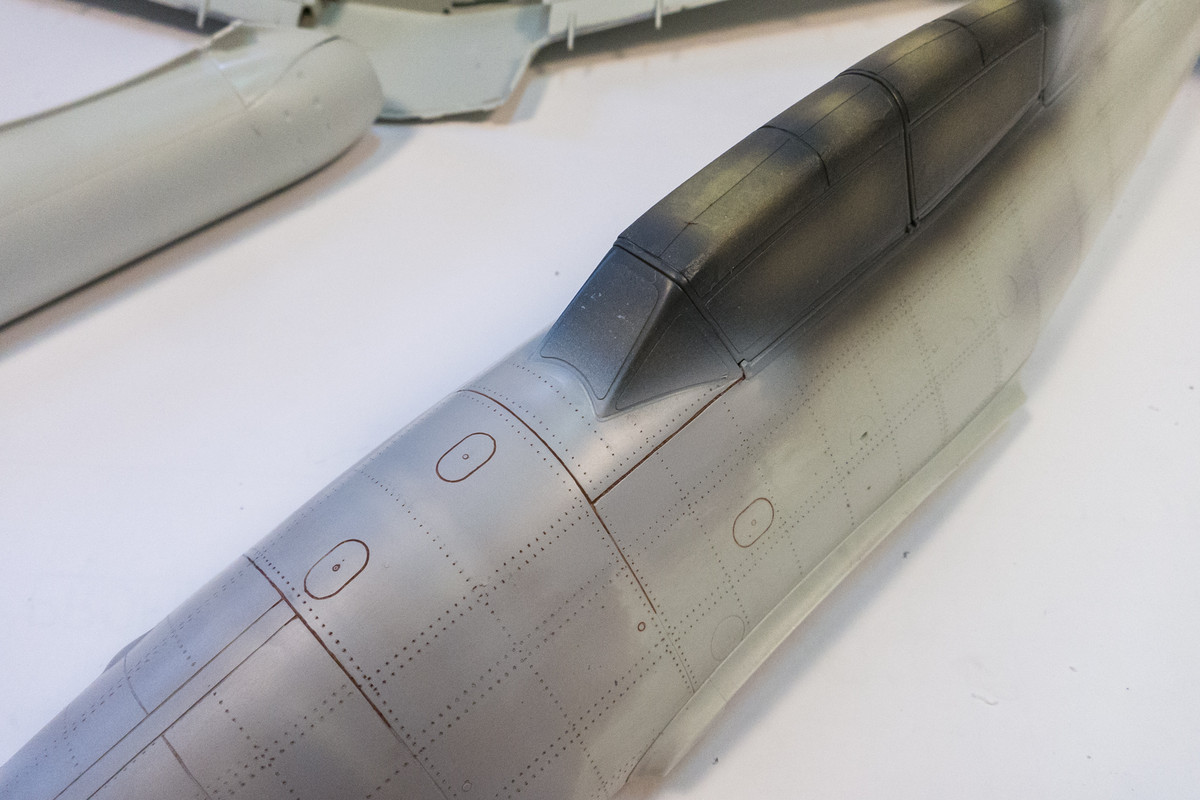
The cleanup around the windscreen is just about finished.

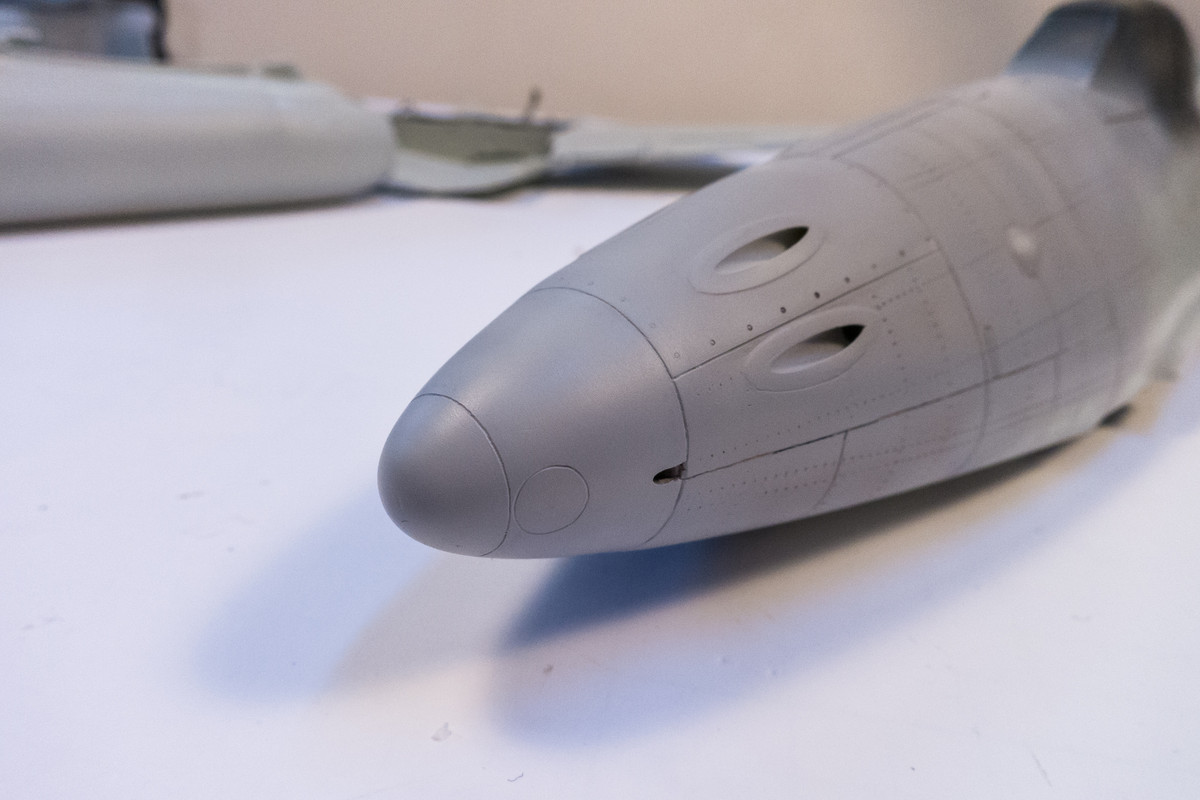
The rivets around the nose cap have been removed to reflect the wood construction in this area.
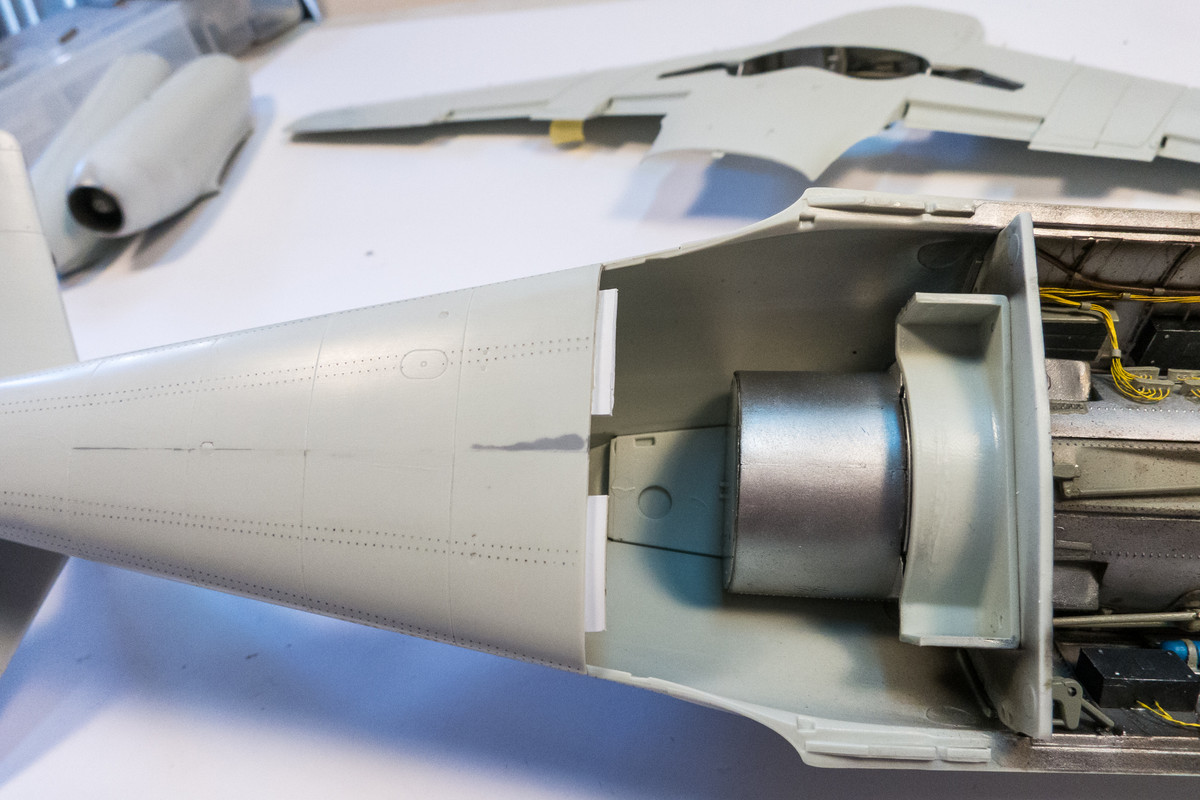
Prior to gluing the wings into place, I've placed tabs to reinforce the joint.
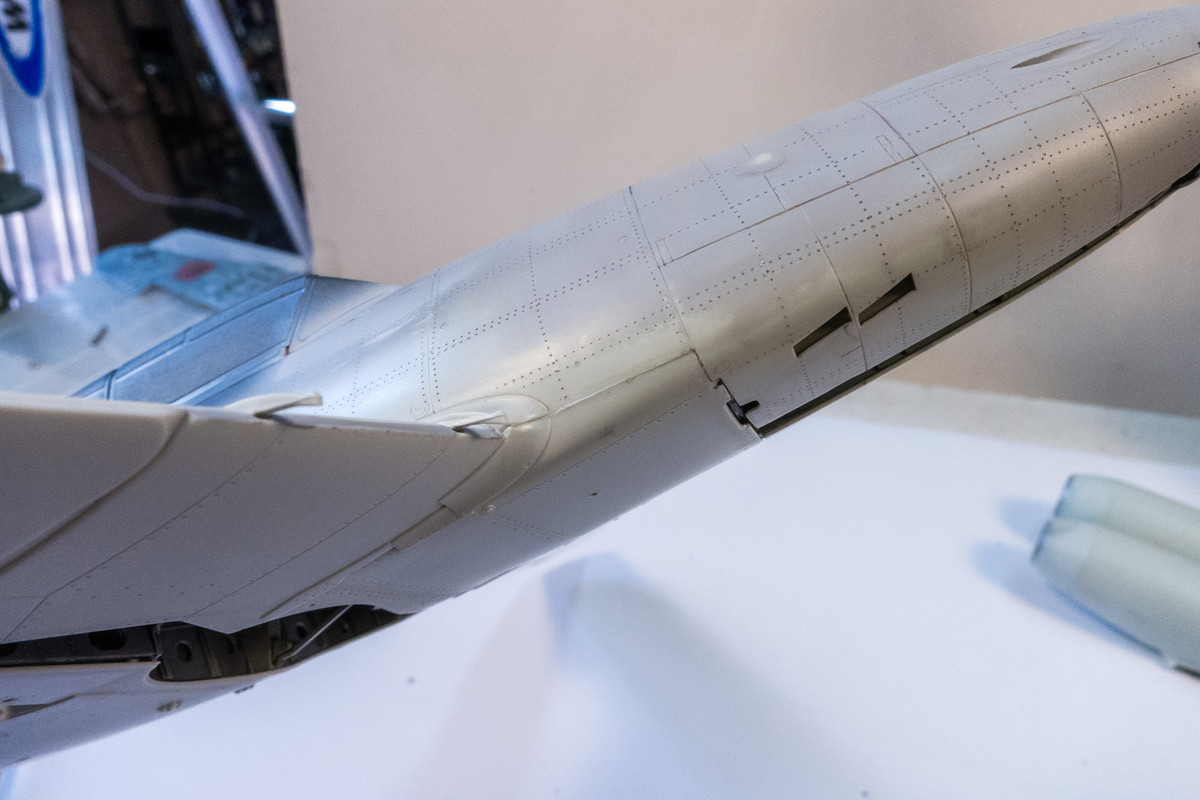
The wings are glued into place and the fit is very good all around. Just some minor sanding and finishing with a little bit of putty work on the port wing root joint.

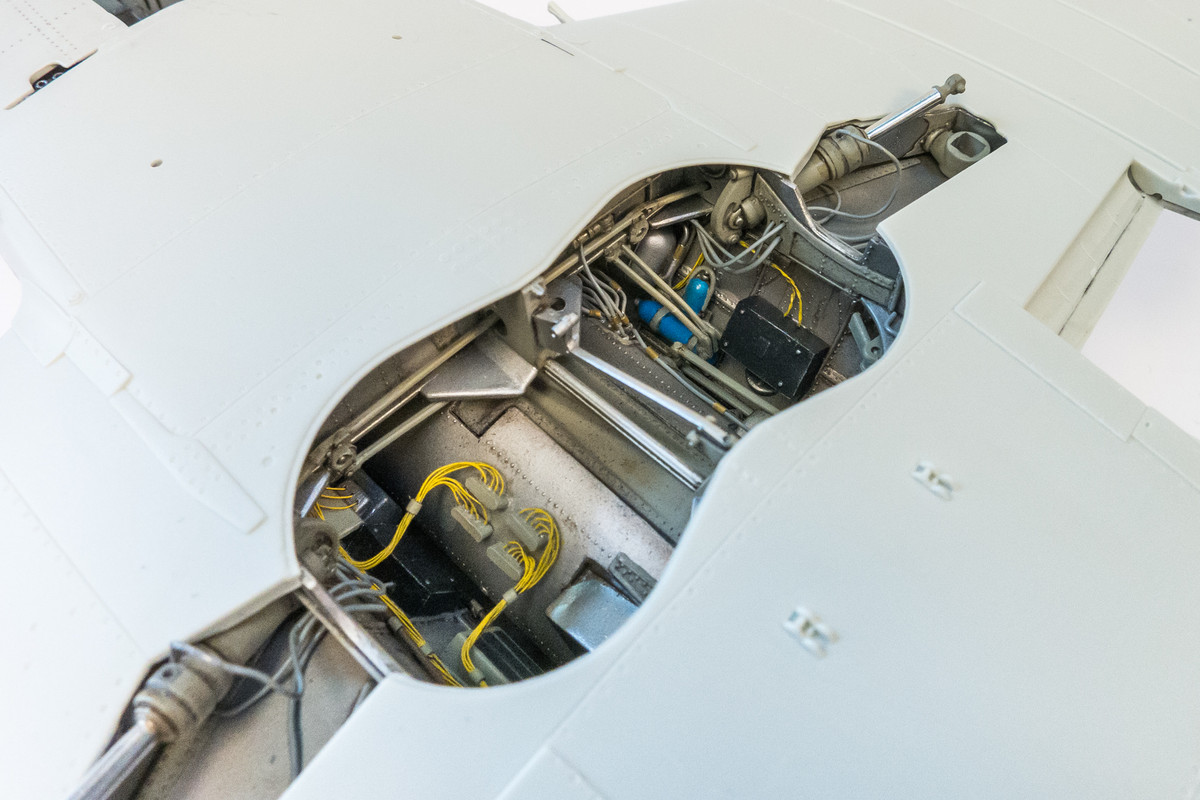
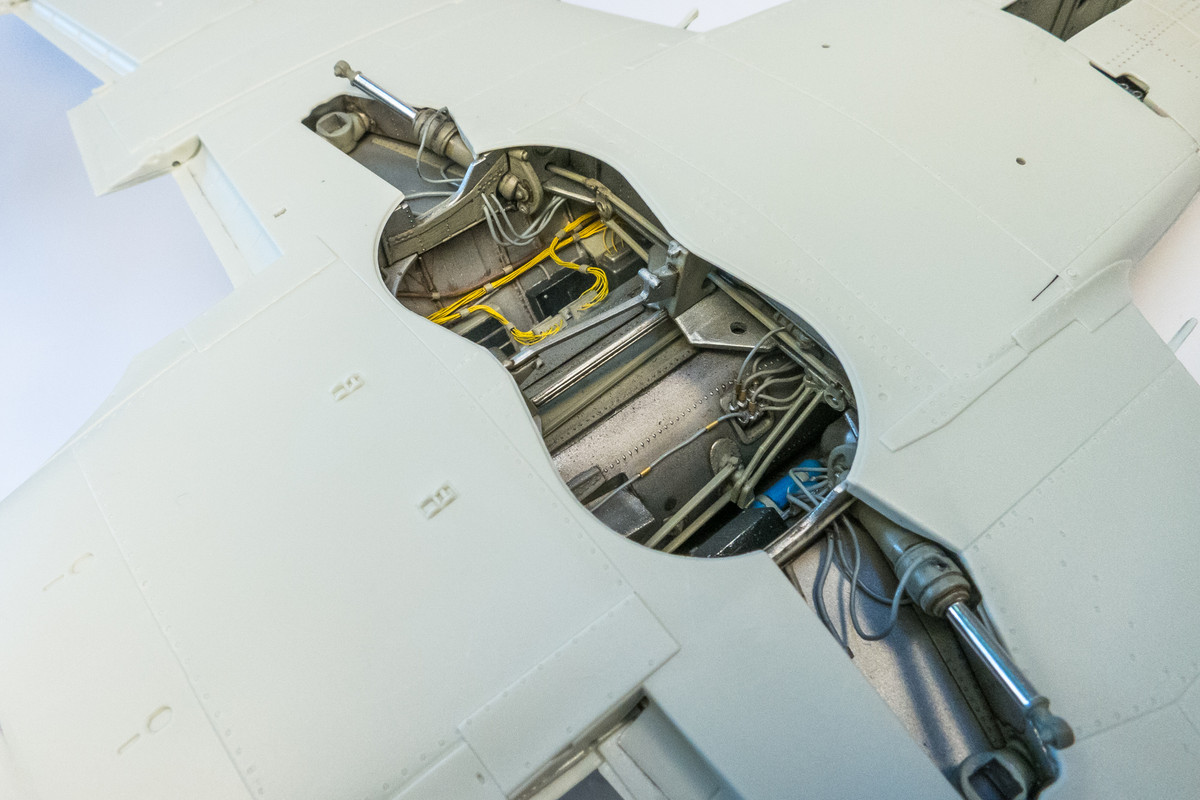
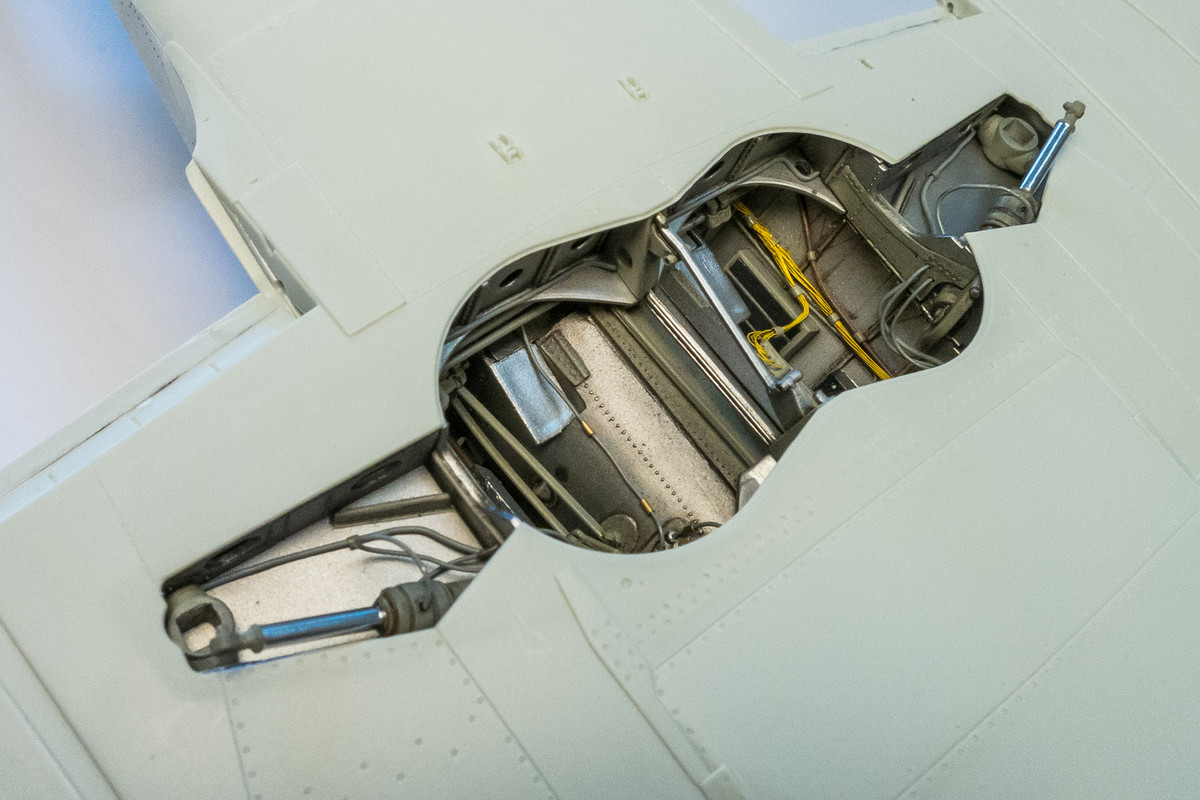
With the wings finally attached, I can secure the loose ends of the wiring in the wheel wells. There will be one set of hydraulic lines hanging loose which will be attached to the landing gear leg actuators, which will be glued in later.
The rivets around the nose cap have been removed to reflect the wood construction in this area.
Prior to gluing the wings into place, I've placed tabs to reinforce the joint.
The wings are glued into place and the fit is very good all around. Just some minor sanding and finishing with a little bit of putty work on the port wing root joint.
With the wings finally attached, I can secure the loose ends of the wiring in the wheel wells. There will be one set of hydraulic lines hanging loose which will be attached to the landing gear leg actuators, which will be glued in later.
John aka JKim
-----------<><
-----------<><
-
BlackSheep214

- Elite Member
- Posts: 13598
- Joined: Sun Apr 06, 2014 8:47 pm
Re: 1/32 Revell Me262B-1/U1 Nachtjager
I got nothing except... 
“Who controls the skies, controls the fate of this Earth”
Author unknown- 352nd Fighter Group, Blue-Nosed Bastards of Bodney
“Send one plane it’s a sortie; send two planes it’s a flight; send four planes it’s a test of airpower. - Richard Kohn
Author unknown- 352nd Fighter Group, Blue-Nosed Bastards of Bodney
“Send one plane it’s a sortie; send two planes it’s a flight; send four planes it’s a test of airpower. - Richard Kohn
-
Stikpusher

- Moderator
- Posts: 21386
- Joined: Sat Apr 05, 2014 8:37 pm
- Location: Ceti Alpha 5
Re: 1/32 Revell Me262B-1/U1 Nachtjager
Everything is looking good. But I am still totally blown away by all the wiring and plumbing in the main gear wheel wells.
"Surely I have made my meaning plain? I intend to avenge myself upon you, Admiral. I have deprived your ship of power, and when I swing 'round, I intend to deprive you of your life."
FLSM
FLSM

Re: 1/32 Revell Me262B-1/U1 Nachtjager
jkim wrote:

Re: 1/32 Revell Me262B-1/U1 Nachtjager
Thanks Fermis! That sums up my feelings pretty well! It's not the most complete wheel well but perhaps a notch above what I did on the Trumpeter 262 build and I'm grateful for any increment of improvement. I'm most happy that MOST of the additional details that I added, especially the plumbing, were rooted in photographs of the actual aircraft, either preserved or restored.
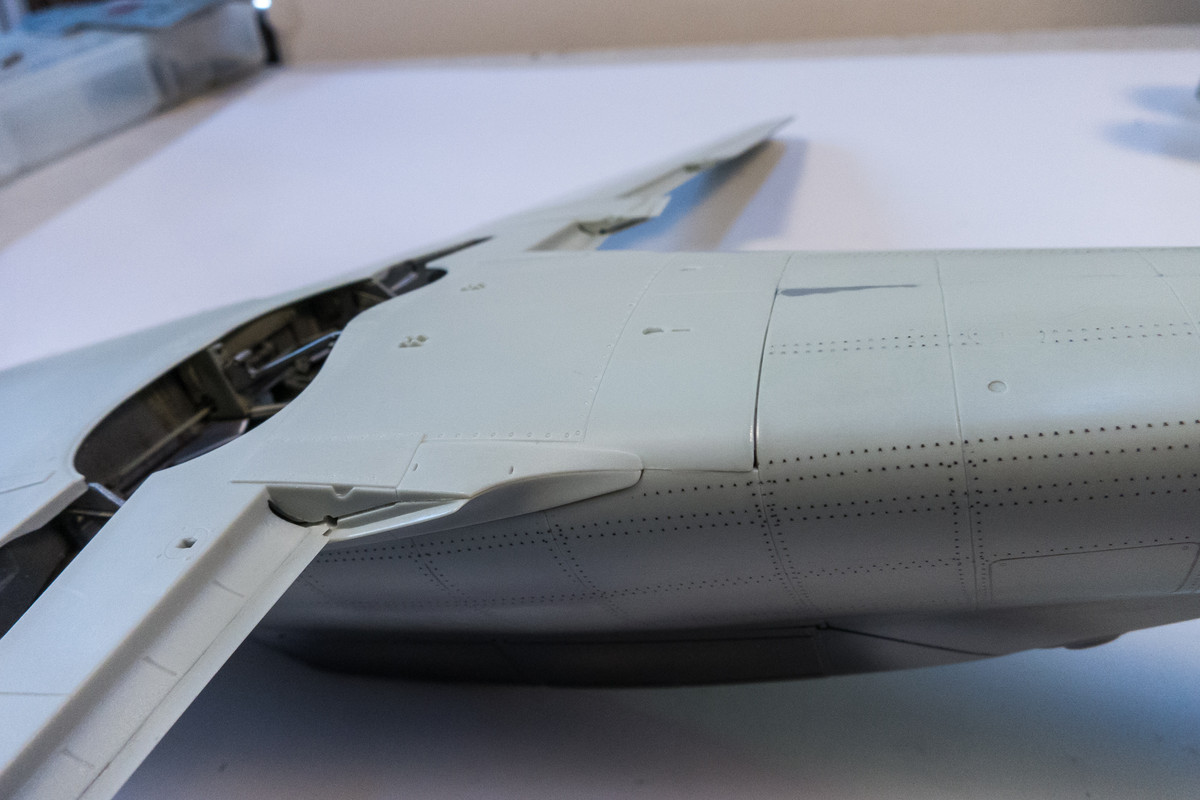
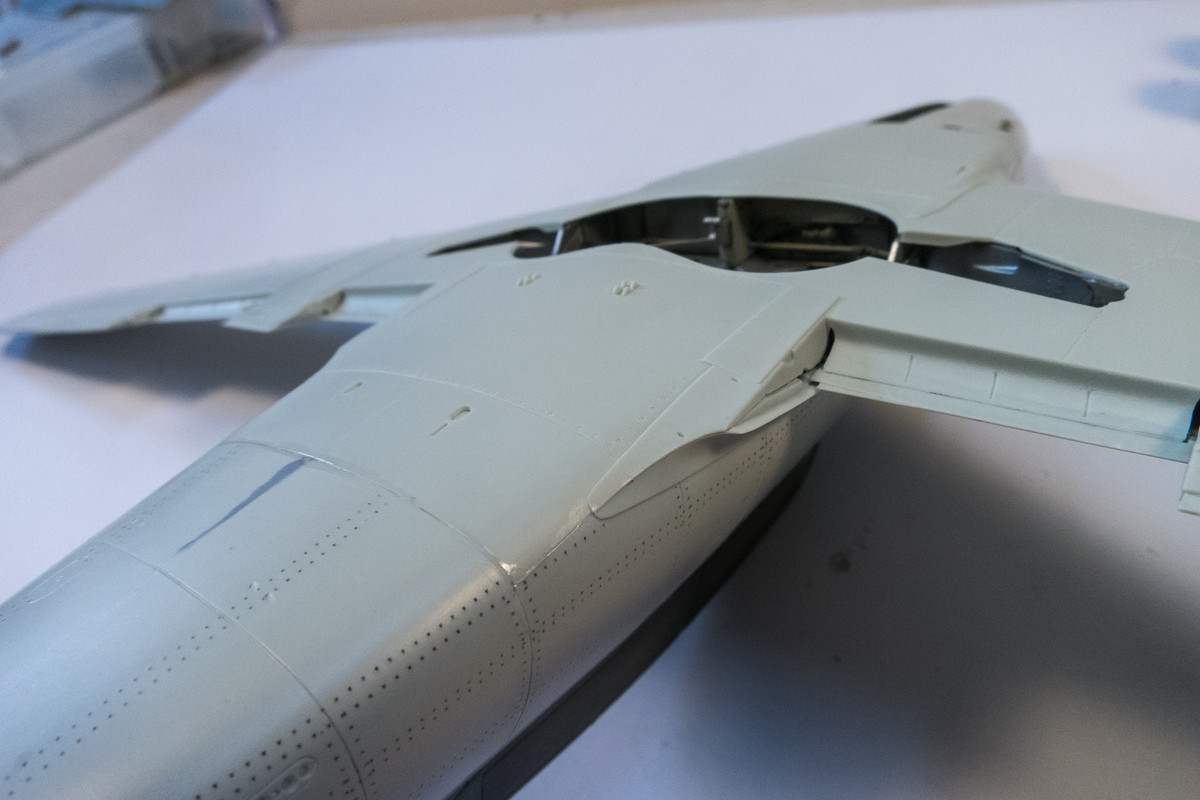
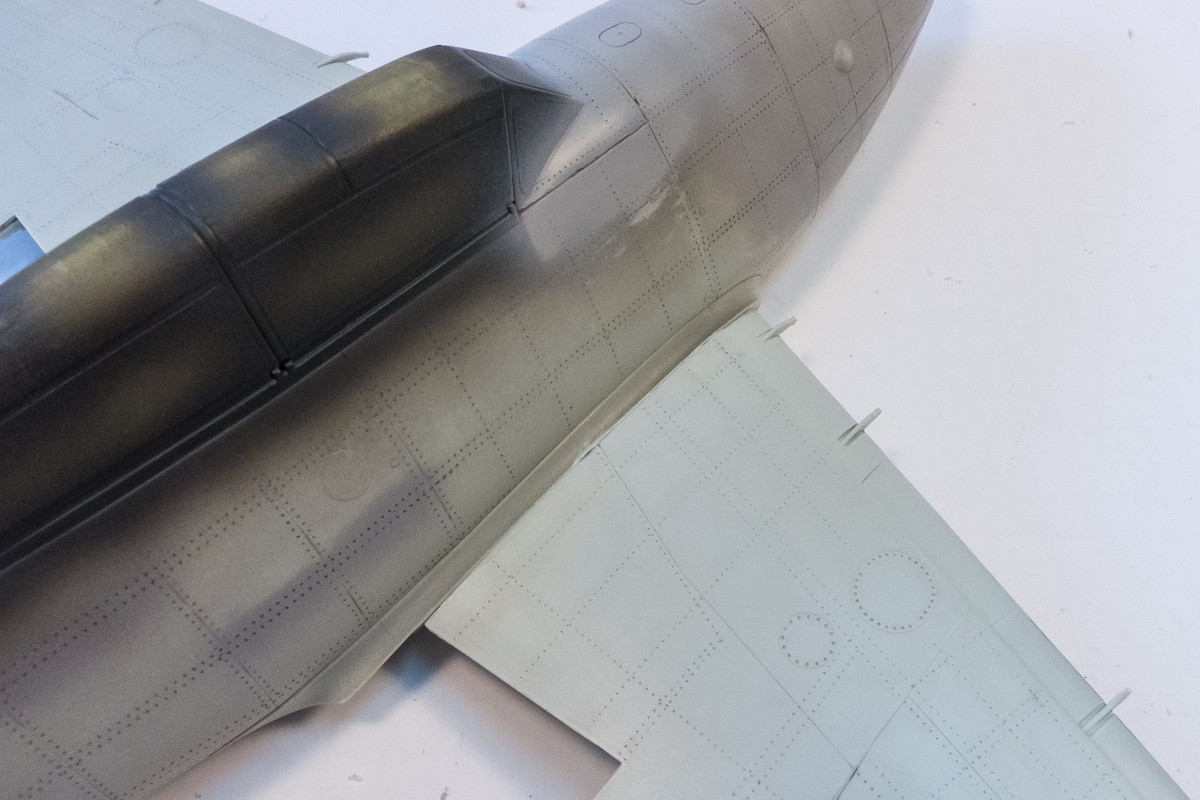
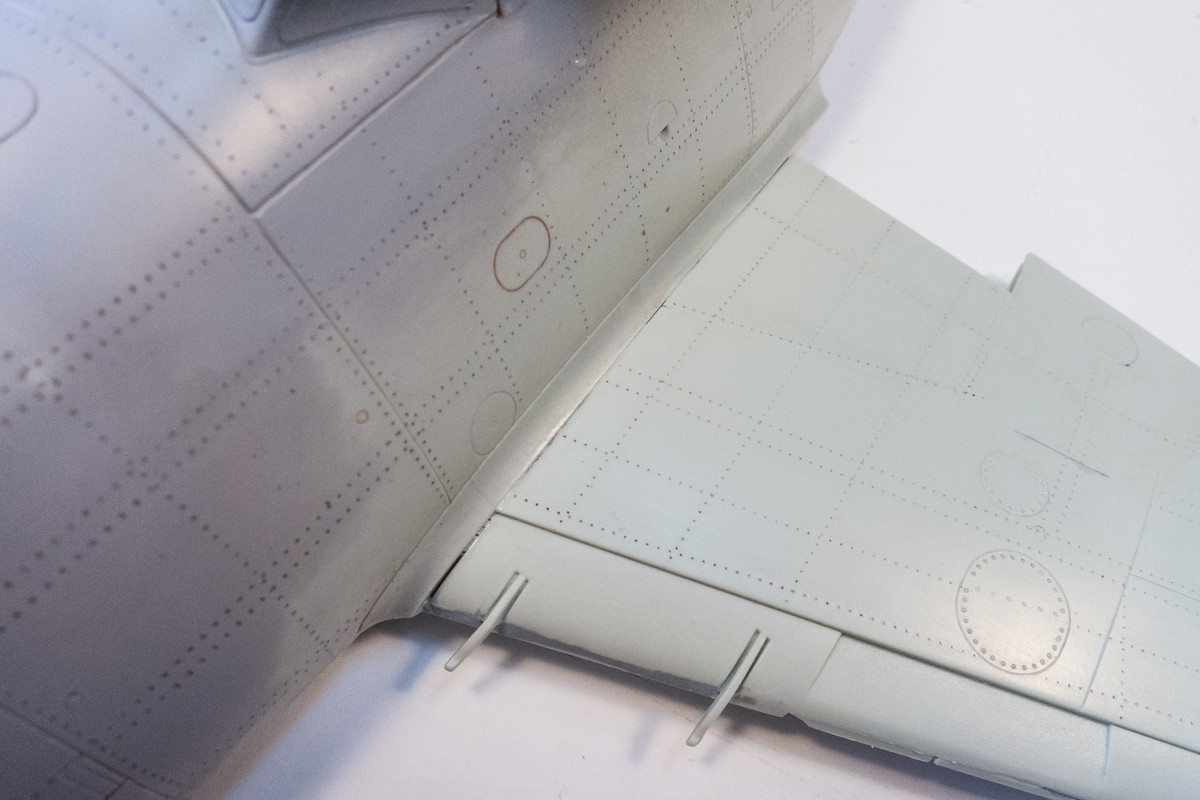
The biggest gap in the wing/fuselage fit is the easiest to address. Some White Milliput forced into the gap at the forward wing root and then cleaned up with a paper towel moistened with water. No further work will be necessary here.
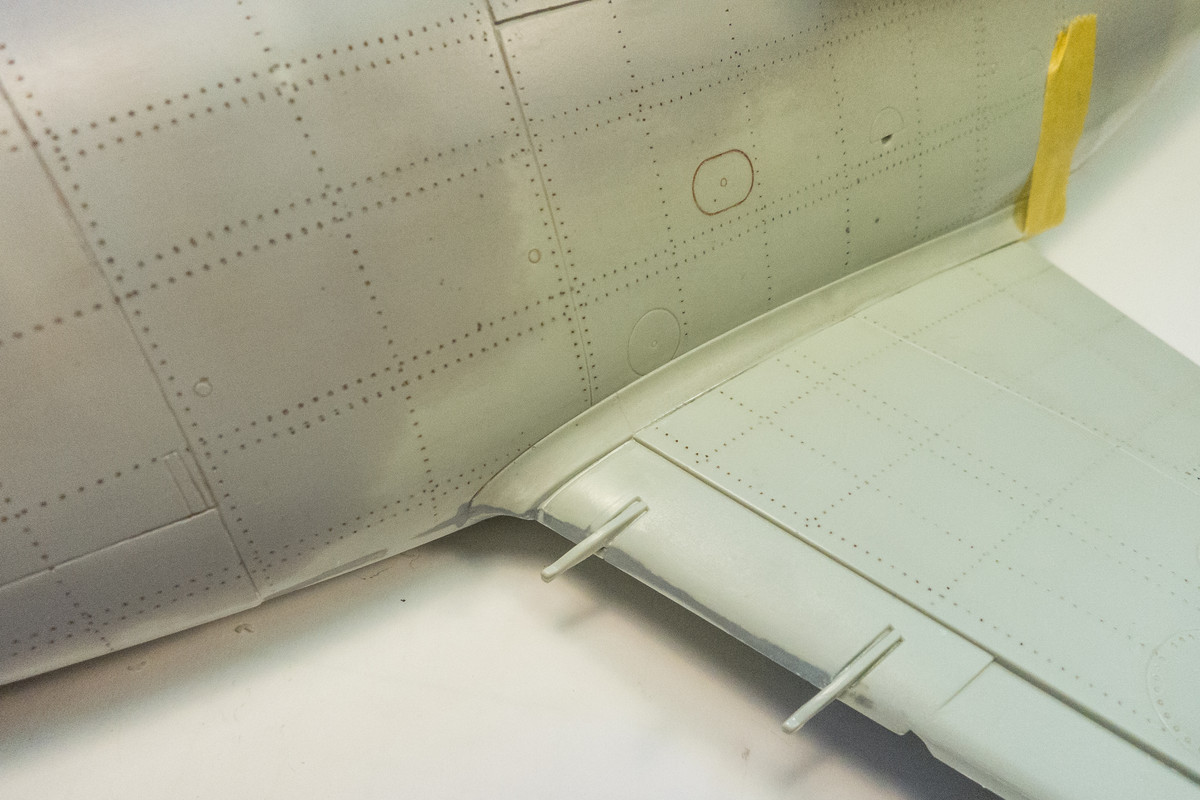
The other areas are being refined with putty work, re-scribing and riveting.
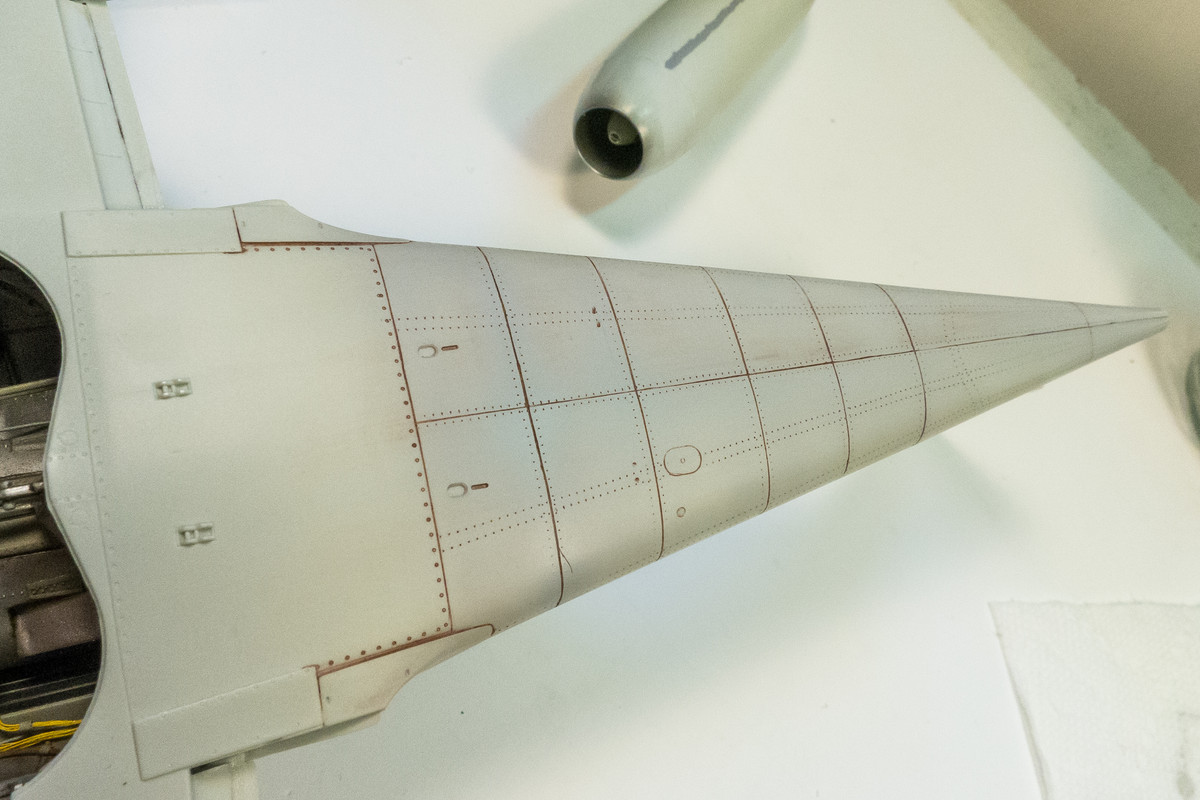
The biggest gap in the wing/fuselage fit is the easiest to address. Some White Milliput forced into the gap at the forward wing root and then cleaned up with a paper towel moistened with water. No further work will be necessary here.
The other areas are being refined with putty work, re-scribing and riveting.
John aka JKim
-----------<><
-----------<><

Re: 1/32 Revell Me262B-1/U1 Nachtjager
Wonderful work John!
- Kari
- Kari
---
On the bench:
Eduard 1:48 - Fokker D.VII OAW
https://www.facebook.com/GrundAsk-Scale ... 721218708/
On the bench:
Eduard 1:48 - Fokker D.VII OAW
https://www.facebook.com/GrundAsk-Scale ... 721218708/

Re: 1/32 Revell Me262B-1/U1 Nachtjager
I really dig those curtains. It's the little things that make the difference.
Cheers,
Torben
Torben