1/32 Revell Me262B-1/U1 Nachtjager

Re: 1/32 Revell Me262B-1/U1 Nachtjager
This is looking fantastic John, another masterpiece in the making!
Stuart Templeton 'I may not be good but I'm slow...'
-
Stikpusher

- Moderator
- Posts: 21386
- Joined: Sat Apr 05, 2014 8:37 pm
- Location: Ceti Alpha 5
Re: 1/32 Revell Me262B-1/U1 Nachtjager
mostrich wrote:I really dig those curtains. It's the little things that make the difference.

Yes indeed!
"Surely I have made my meaning plain? I intend to avenge myself upon you, Admiral. I have deprived your ship of power, and when I swing 'round, I intend to deprive you of your life."
FLSM
FLSM

Re: 1/32 Revell Me262B-1/U1 Nachtjager
Thanks guys! Committing to those small things is one of those double-edged knife things. I do think the result is a better model but sometimes you get sucked into a ever-deepening hole!
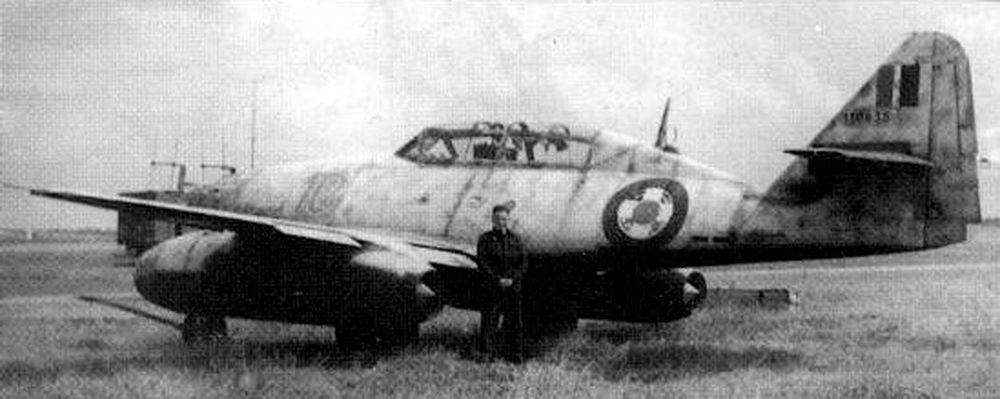
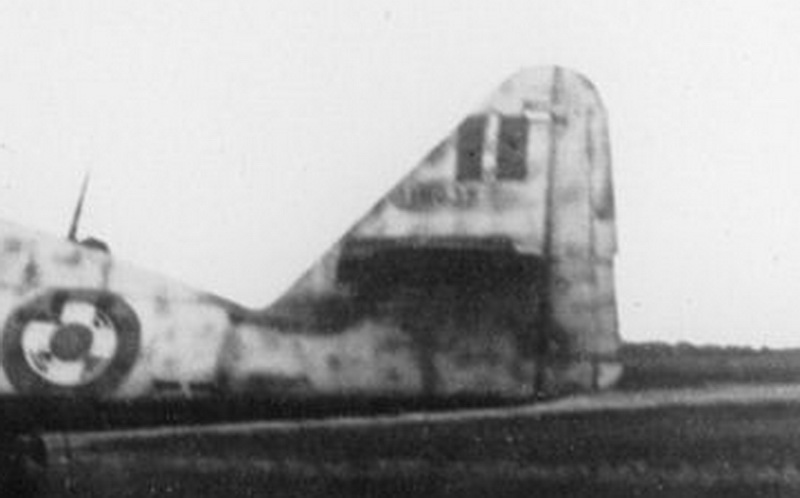
My analysis of the photos of Red 10 leads me to believe that it had the older style enclosed tail light while the Revell kit depicts the later exposed bulb tail light.
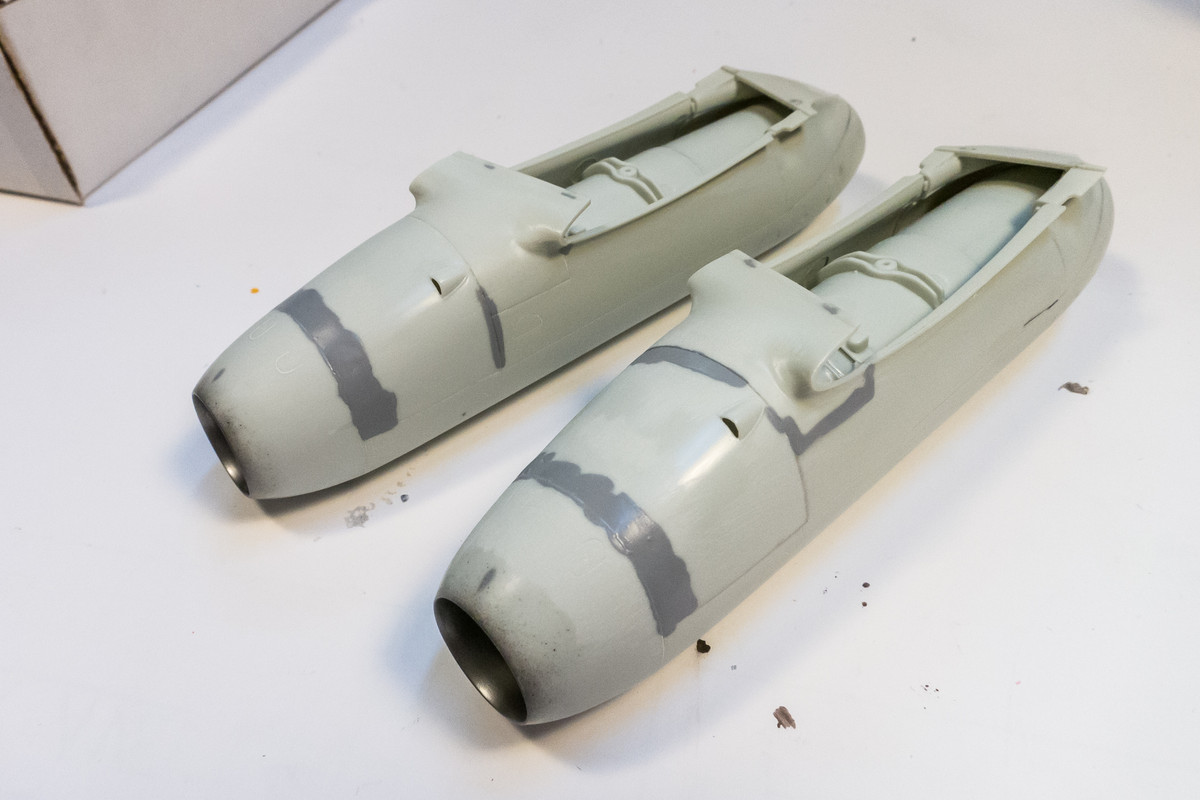
The fuselage/wing assembly is in good shape but the engine nacelles need a lot of cleaning up.
My analysis of the photos of Red 10 leads me to believe that it had the older style enclosed tail light while the Revell kit depicts the later exposed bulb tail light.
The fuselage/wing assembly is in good shape but the engine nacelles need a lot of cleaning up.
John aka JKim
-----------<><

-----------<><
-
Medicman71

- Elite Member
- Posts: 11396
- Joined: Mon Apr 07, 2014 9:32 am
- Location: Houston, Tx
Re: 1/32 Revell Me262B-1/U1 Nachtjager
Man those gear bays are insane!
Mike
Sponsored by Boeing, Lockheed Martin, Northrop Grumman, Saab, BAE, and Dassault
Sponsored by Boeing, Lockheed Martin, Northrop Grumman, Saab, BAE, and Dassault
-
mustang1989

- Moderator
- Posts: 5044
- Joined: Tue Mar 18, 2014 8:35 pm
Re: 1/32 Revell Me262B-1/U1 Nachtjager
Yeah...LOTS of eye candy in there John.Medicman71 wrote:Man those gear bays are insane!

-
BlackSheep214

- Elite Member
- Posts: 13596
- Joined: Sun Apr 06, 2014 8:47 pm
Re: 1/32 Revell Me262B-1/U1 Nachtjager
Who doesn't like eye candy? Hell, all his builds are eye candy. 
“Who controls the skies, controls the fate of this Earth”
Author unknown- 352nd Fighter Group, Blue-Nosed Bastards of Bodney
“Send one plane it’s a sortie; send two planes it’s a flight; send four planes it’s a test of airpower. - Richard Kohn
Author unknown- 352nd Fighter Group, Blue-Nosed Bastards of Bodney
“Send one plane it’s a sortie; send two planes it’s a flight; send four planes it’s a test of airpower. - Richard Kohn
Re: 1/32 Revell Me262B-1/U1 Nachtjager
Thanks guys! I've cleaned up the engine nacelles enough to start the re-scribing process so an update should be posted soon!
John aka JKim
-----------<><
-----------<><
Re: 1/32 Revell Me262B-1/U1 Nachtjager
I've been working to smooth out the glue joints on the engine nacelles this week. It's been a tedious process and honestly, I've been staying out of the hobby room because of it. But slowly, the layers of Mr Surfacer 1000 have been leveling off and I've gotten to a point where I could start re-scribing.
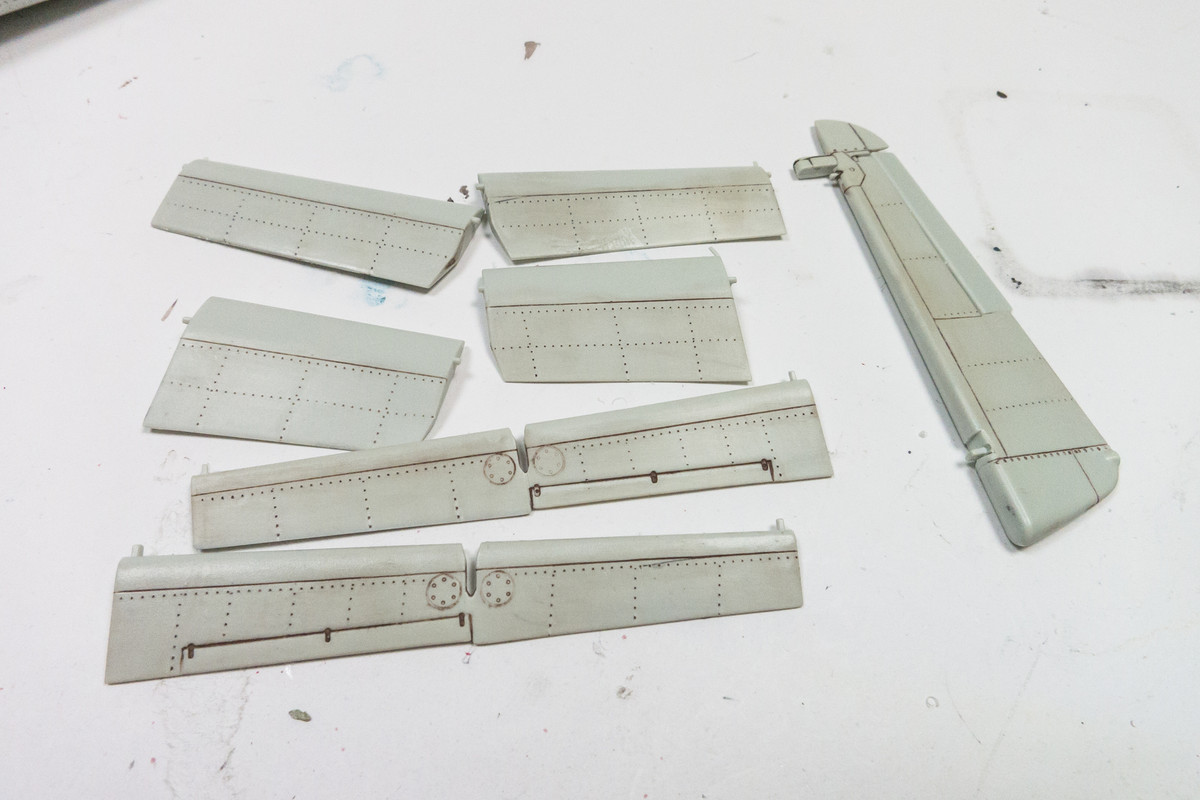
Riveting was next. The rivet lines were sketched on using flexible white Tamiya tape.
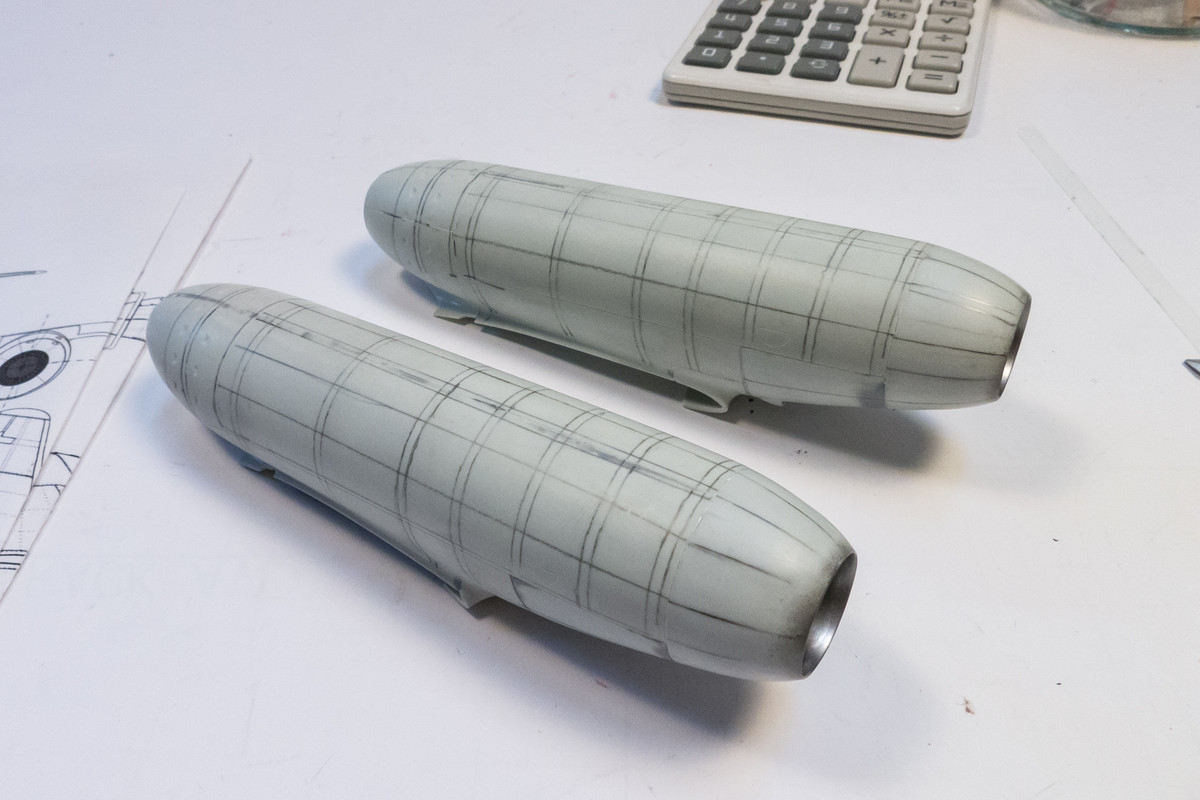
During the riveting, I could hear many a seam pop and crack. I felt I had no choice but to seep some Tamiya Extra Thin cement into the seams to re-establish some structural integrity to the nacelles. So the primer with the pastel wash routine to check the scribing and riveting work will have to wait.
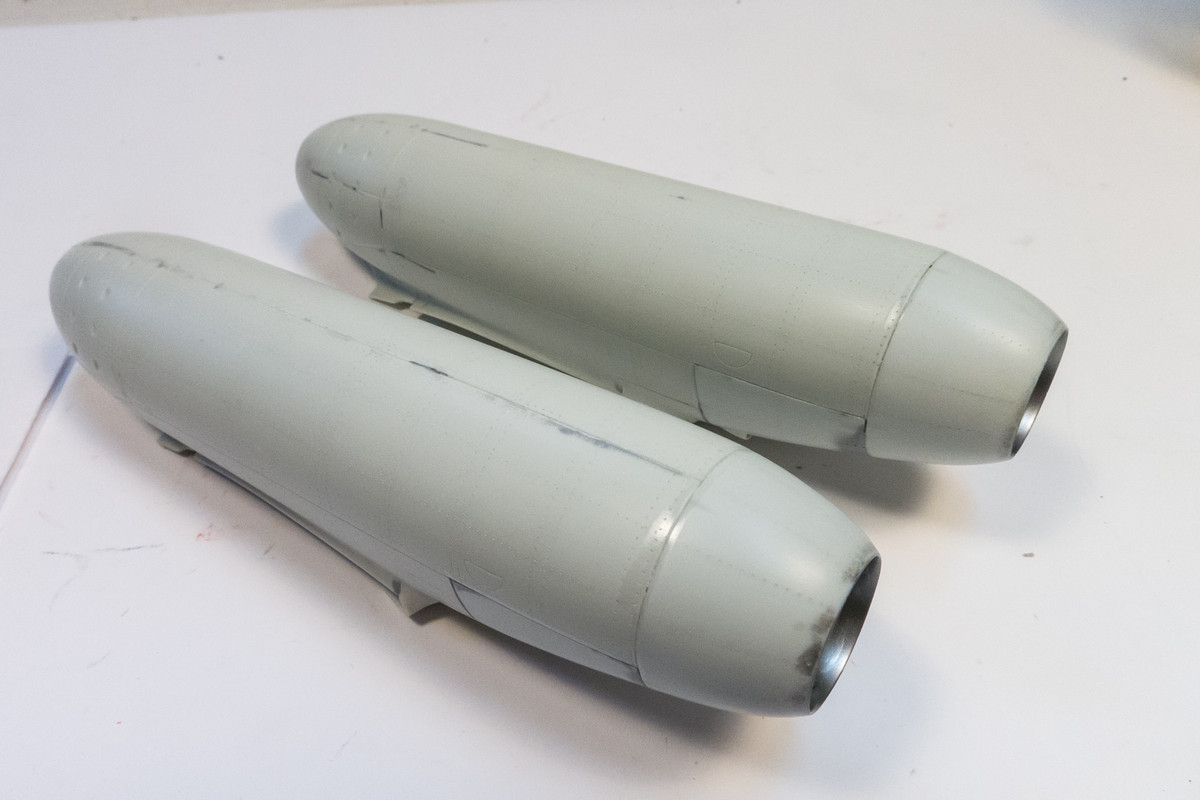
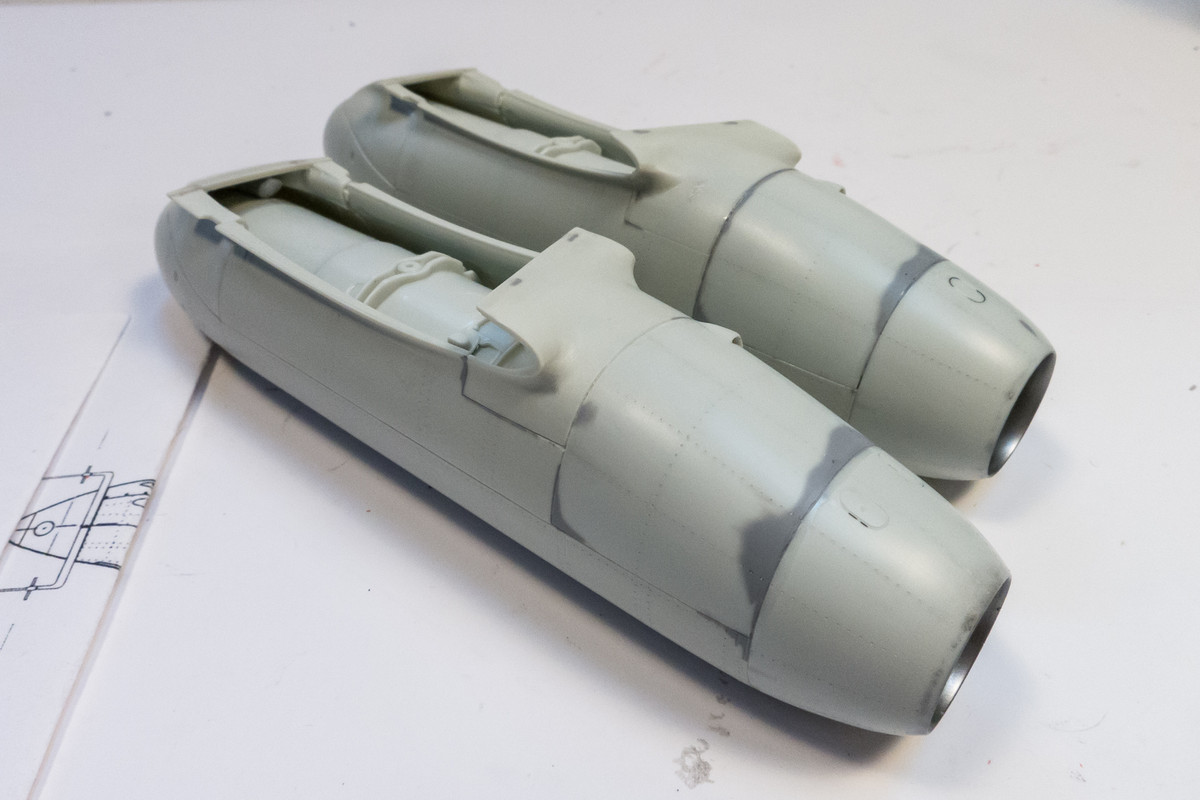
Riveting was next. The rivet lines were sketched on using flexible white Tamiya tape.
During the riveting, I could hear many a seam pop and crack.
I felt I had no choice but to seep some Tamiya Extra Thin cement into the seams to re-establish some structural integrity to the nacelles. So the primer with the pastel wash routine to check the scribing and riveting work will have to wait.John aka JKim
-----------<><
-----------<><

Re: 1/32 Revell Me262B-1/U1 Nachtjager
Hate to hear you're having problems with the seams nothing takes the fun out of a build faster than constantly having to fix seam work
March as one, Don't look back
Odin's sons... Attack!
Unleash hell! Do not repent! Warfare grants us no lament
Let your weapons slash and tear This is no place for fear
Hold the lines! Move as one! In unity our victory's won
Our shields will form a mighty wall
United we shall never fall
Odin's sons... Attack!
Unleash hell! Do not repent! Warfare grants us no lament
Let your weapons slash and tear This is no place for fear
Hold the lines! Move as one! In unity our victory's won
Our shields will form a mighty wall
United we shall never fall
Re: 1/32 Revell Me262B-1/U1 Nachtjager
It's not a big bother. I was mentally prepared for such an outcome. In fact, I purposefully treated the panel lines with this in mind and did not fill them completely and rescribe over a flush surface. Instead, I kept the existing joint lines open which simplified my re-scribing. Open closer inspection, it doesn't appear too bad and I should have the seams cleaned up in the a day or two, methinks.
While putty dries, I replaced the tail light. First, I found a suitable piece of clear plastic. This was one of those greeting card holders you get with a bouquet of flowers.
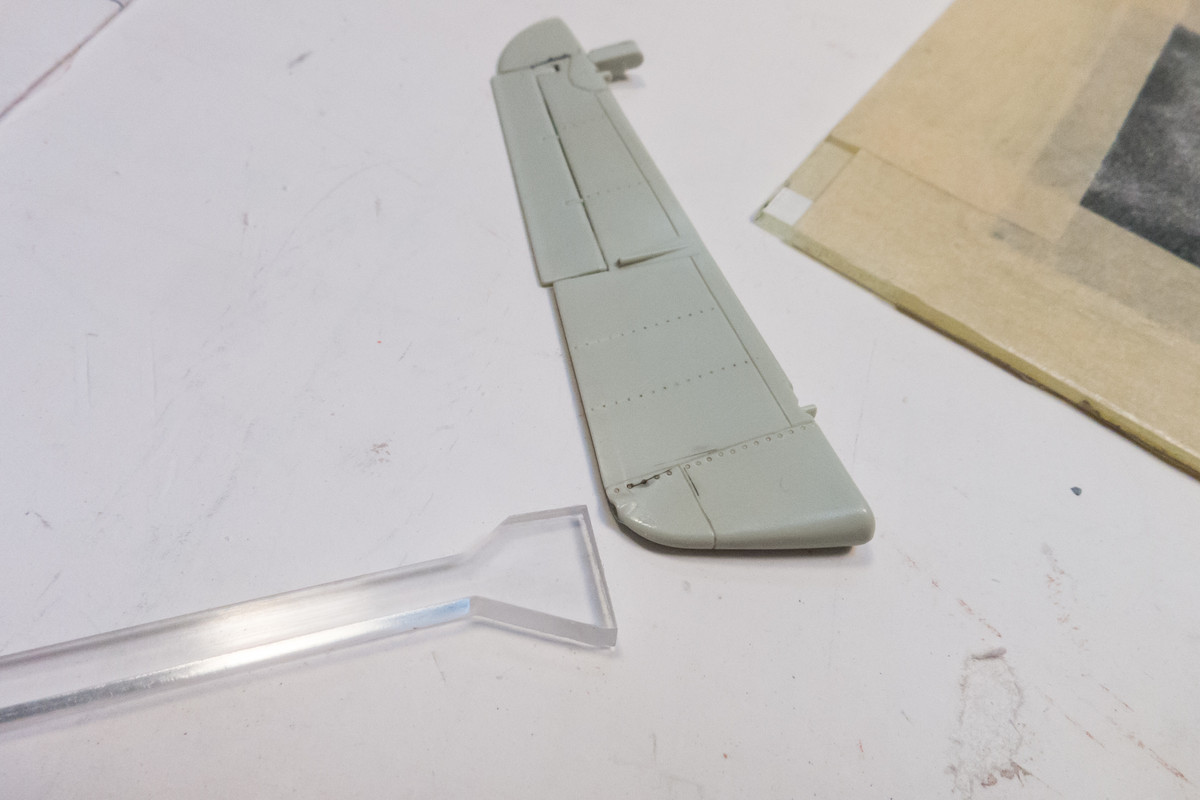
The existing tail light is cut out with a razor saw.
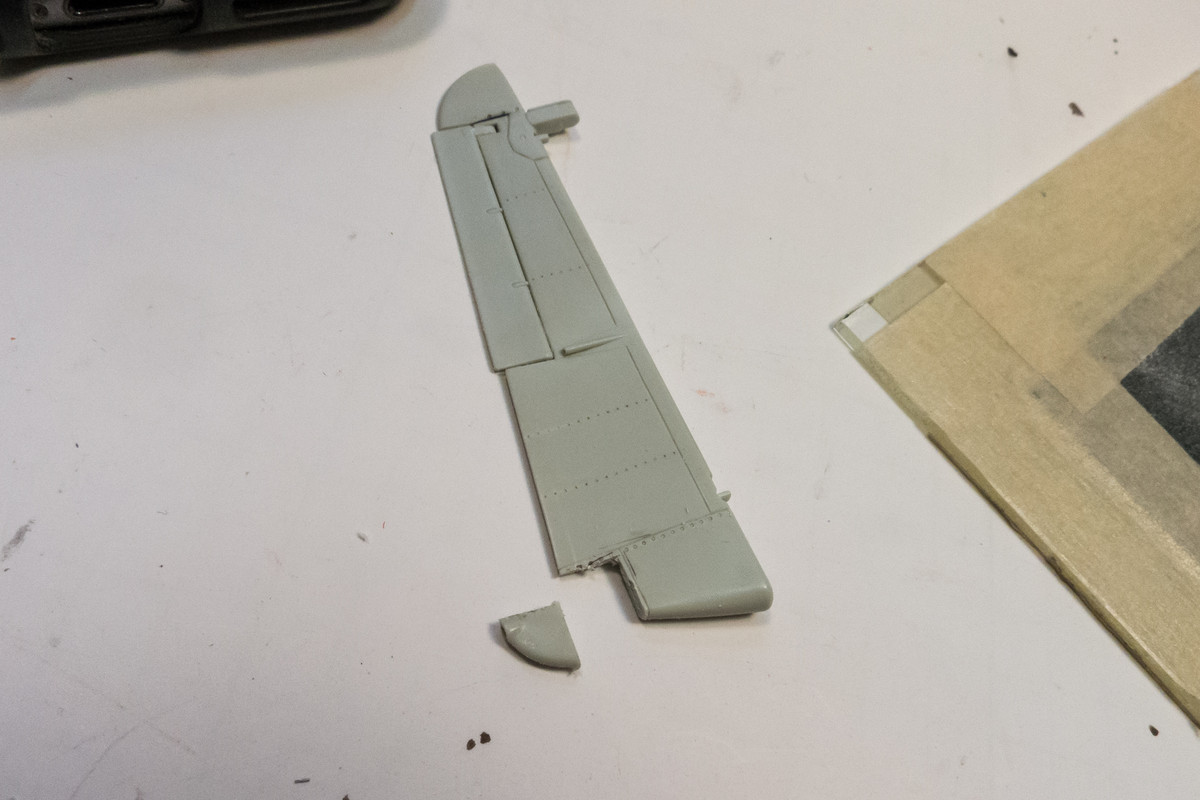
The replacement piece of plastic is glued into place with UV-activated clear epoxy. A partially drilled hole serves as the bulb.
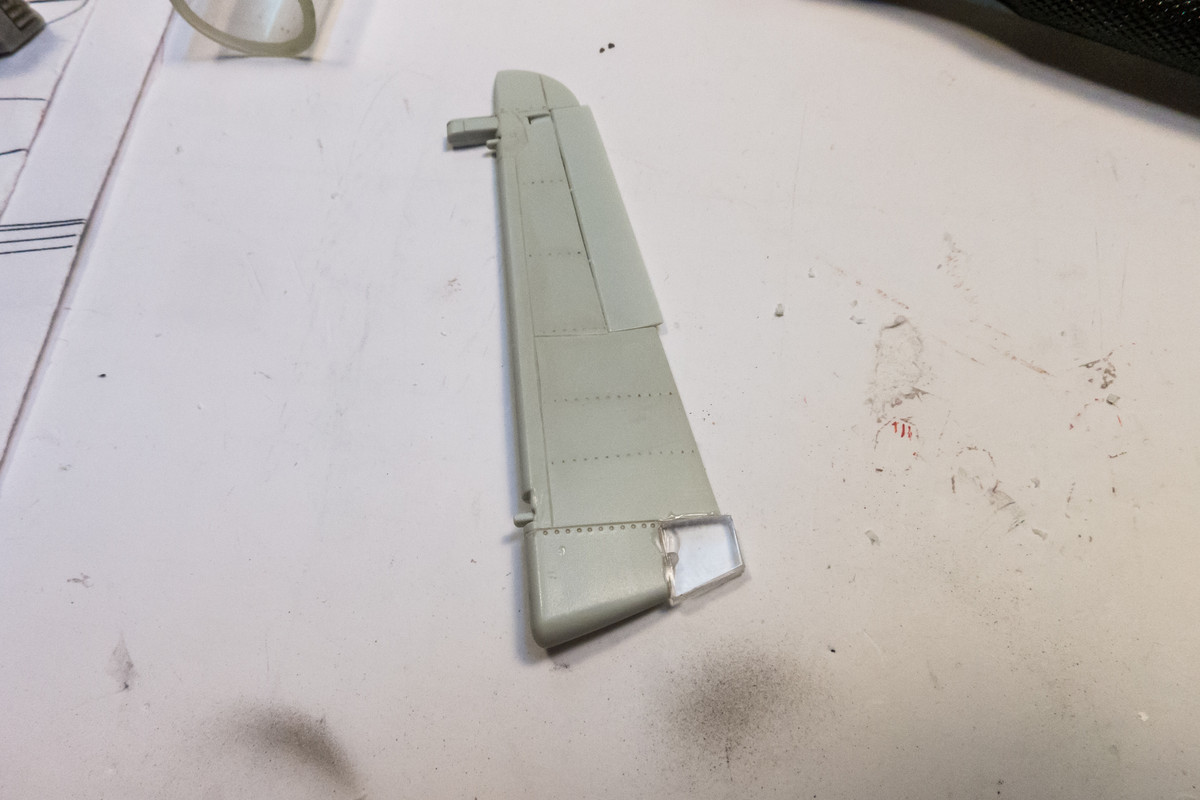
New tail light after sanding and polishing.
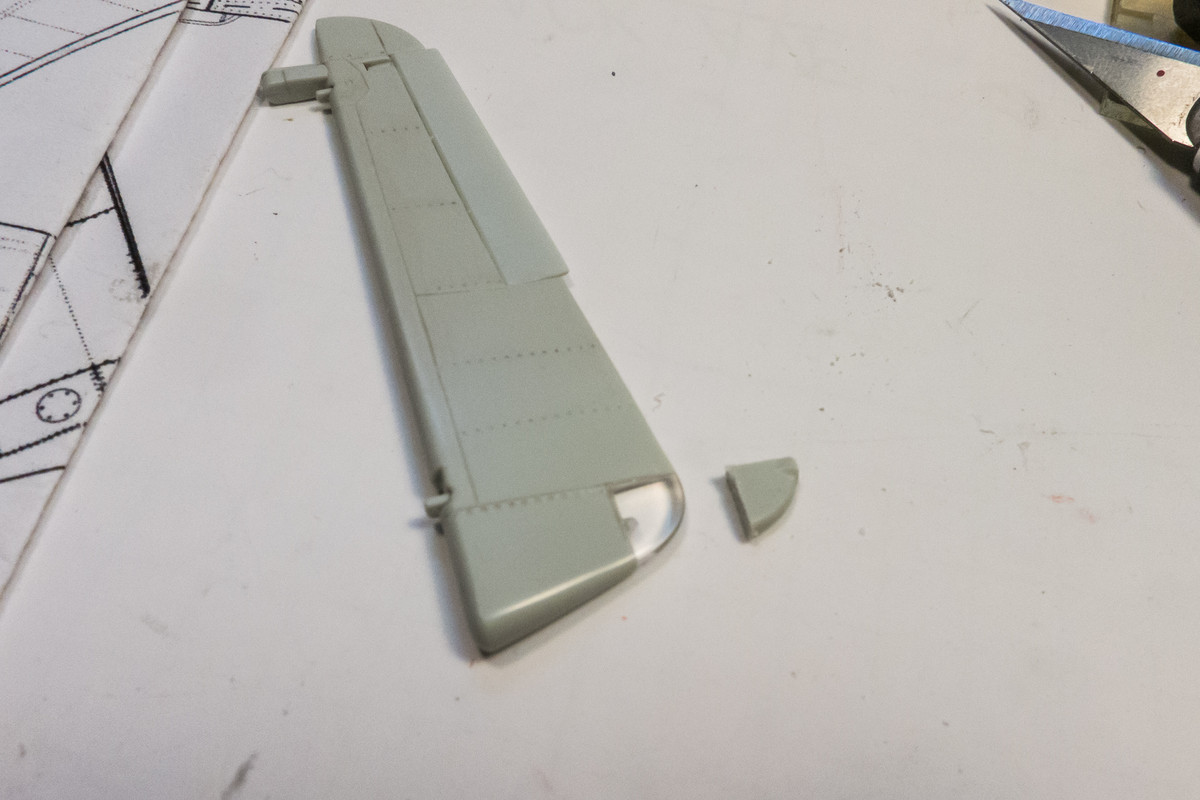
While putty dries, I replaced the tail light. First, I found a suitable piece of clear plastic. This was one of those greeting card holders you get with a bouquet of flowers.
The existing tail light is cut out with a razor saw.
The replacement piece of plastic is glued into place with UV-activated clear epoxy. A partially drilled hole serves as the bulb.
New tail light after sanding and polishing.
John aka JKim
-----------<><
-----------<><