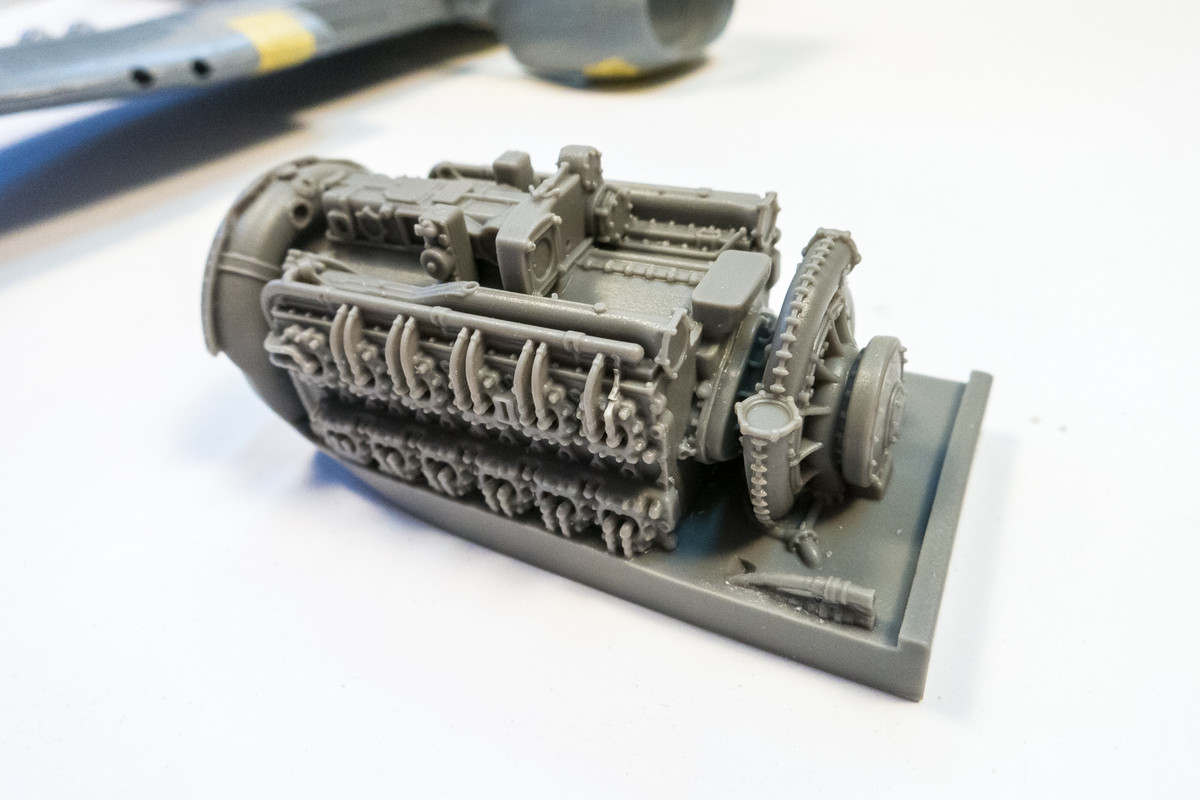
1/32 Special Hobby Hawker Tempest Mk V

Post your work in progress of your aircraft builds in here.
User avatar
jkim
Elite Member
Posts: 4073
Joined: Mon Apr 10, 2017 4:03 pm

Re: 1/32 Special Hobby Hawker Tempest Mk V

Post by jkim »

KennyX wrote:Holy cow what a great looking resin engine! This’ll be a fun build to watch for sure!
Yes, which is the big reason why I bought this kit. So it makes sense that I approach this build with an exposed engine in mind, right from the start.

LyleW wrote:John, a GB is simply a group of builders doing model real aged to the topic or title, in this case Hawker aircraft. Easy-peas to join in. Just say so. Since you already have a WIP thread, I can move it to the group build area. It just keeps it all together and makes it easier.

Scroll down to Member Group Builds, open that area. There is a schedule of the GBs that have started and those that will be starting.

The one you are looking for for this is the “Hawkerlypse” group build.
I see but no thanks! It sounds very interesting and fun but also limits viewership of the build too. Lots activity in these sub-forums that I just don't have the time to check out. I actually think it would be beneficial to reduce the number of these sub-forums. But that's just me. I'm going to keep this build here.

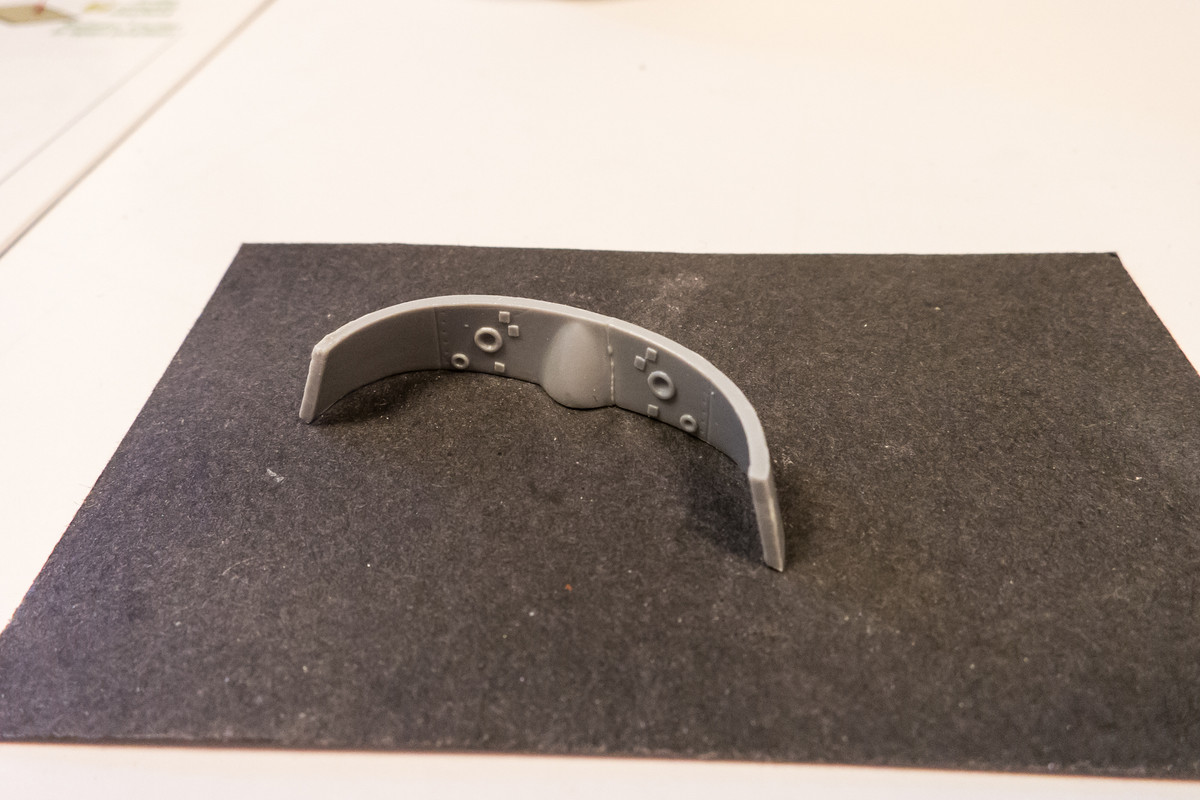
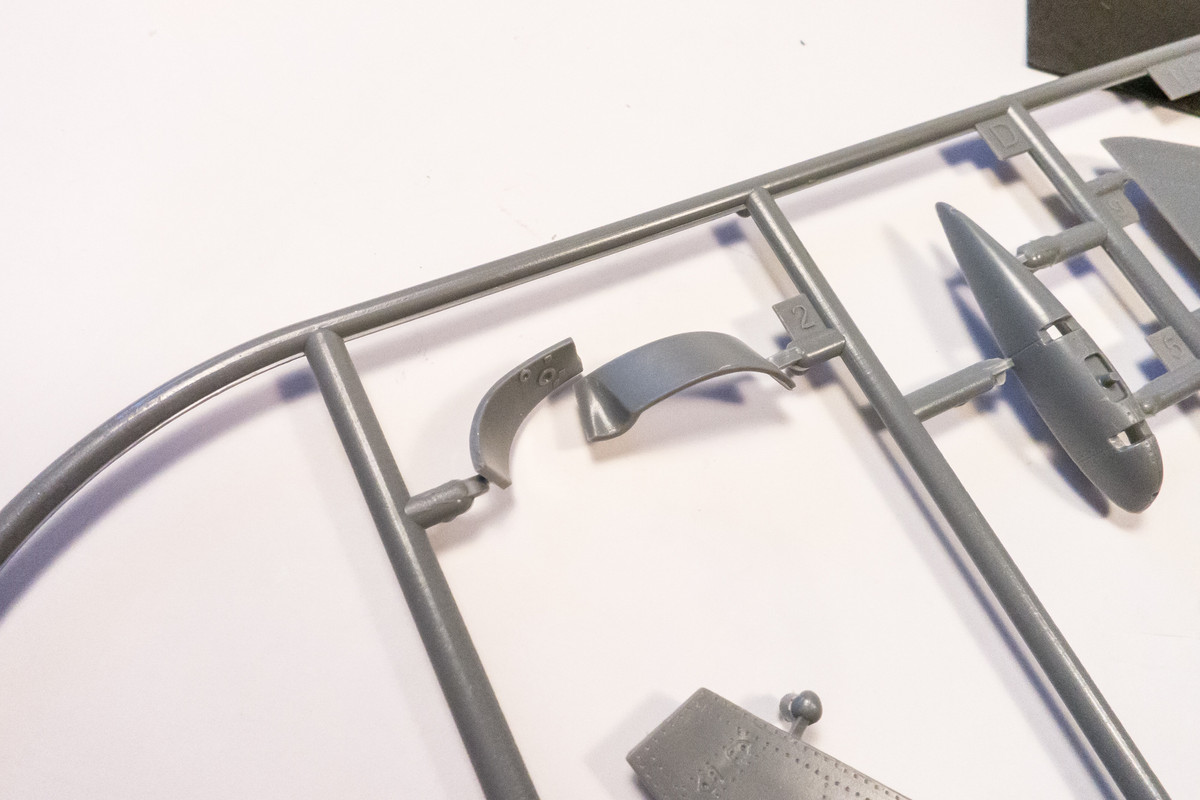
Some parts breakage that I just noticed. This ring part forms the upper roof of the big chin intake. I was going to check to see if the casting block interfered with the install of this part but found it broken.
Image
Image

After some consideration and some encouragement from Anthony Galbraith, who designed the masters for the Barracuda Tempest V Nose Correction set, I've ordered that resin set and will attempt to implant the Special Hobby resin engine into the Barracuda resin nose. Incidentally, if it works, I won't have to deal with that broken part above as the Barracuda nose has that area molded in place.

John aka JKim
-----------<><
Image
User avatar
Stikpusher
Moderator
Posts: 21172
Joined: Sat Apr 05, 2014 8:37 pm
Location: Ceti Alpha 5

Re: 1/32 Special Hobby Hawker Tempest Mk V

Post by Stikpusher »

Actually, whether the build is in one section of the forum or another won’t affect the number of views. I think most everybody here just looks at the recent activity and responds accordingly.
"Surely I have made my meaning plain? I intend to avenge myself upon you, Admiral. I have deprived your ship of power, and when I swing 'round, I intend to deprive you of your life."

FLSM
User avatar
KennyX
Elite Member
Posts: 2631
Joined: Sun Dec 24, 2017 11:19 am

Re: 1/32 Special Hobby Hawker Tempest Mk V

Post by KennyX »

I cannot wait to see that bird completed with that engine on display. That’s going to be amazing.
Kenny X
Head Mother Trucker In-Charge @ Kenny X’s Reichs Winzigkleines Flugzeugewerks *and now* Airboat Records, too!
User avatar
Medicman71
Elite Member
Posts: 11287
Joined: Mon Apr 07, 2014 9:32 am
Location: Houston, Tx

Re: 1/32 Special Hobby Hawker Tempest Mk V

Post by Medicman71 »

Wow! That resin is just beautiful!! Can't wait to see this build.

Oh and I agree with those rivets. They look like they were just thrown on there and don't look real at all.
Mike

Sponsored by Boeing, Lockheed Martin, Northrop Grumman, Saab, BAE, and Dassault
User avatar
Paul
Addicted Member
Posts: 1069
Joined: Mon Mar 17, 2014 9:09 am
Location: Under your bed, muwahahahaha

Re: 1/32 Special Hobby Hawker Tempest Mk V

Post by Paul »

When I built mine, John, I used the barracuda set as well as the chin scoop insert. I think that you will be pleased with their product. I have another one in the stash but I am not going to start it anytime soon and will enjoy how far you get with this one.
Image
User avatar
jkim
Elite Member
Posts: 4073
Joined: Mon Apr 10, 2017 4:03 pm

Re: 1/32 Special Hobby Hawker Tempest Mk V

Post by jkim »

Thanks guys! Appreciate the feedback!
Paul wrote:When I built mine, John, I used the barracuda set as well as the chin scoop insert. I think that you will be pleased with their product. I have another one in the stash but I am not going to start it anytime soon and will enjoy how far you get with this one.
Good to know Paul! I have used lots of Barracuda stuff in the past so they are not an unknown quantity to me. The big unknown is whether or not I can get the resin engine to fit within the Barracuda nose.

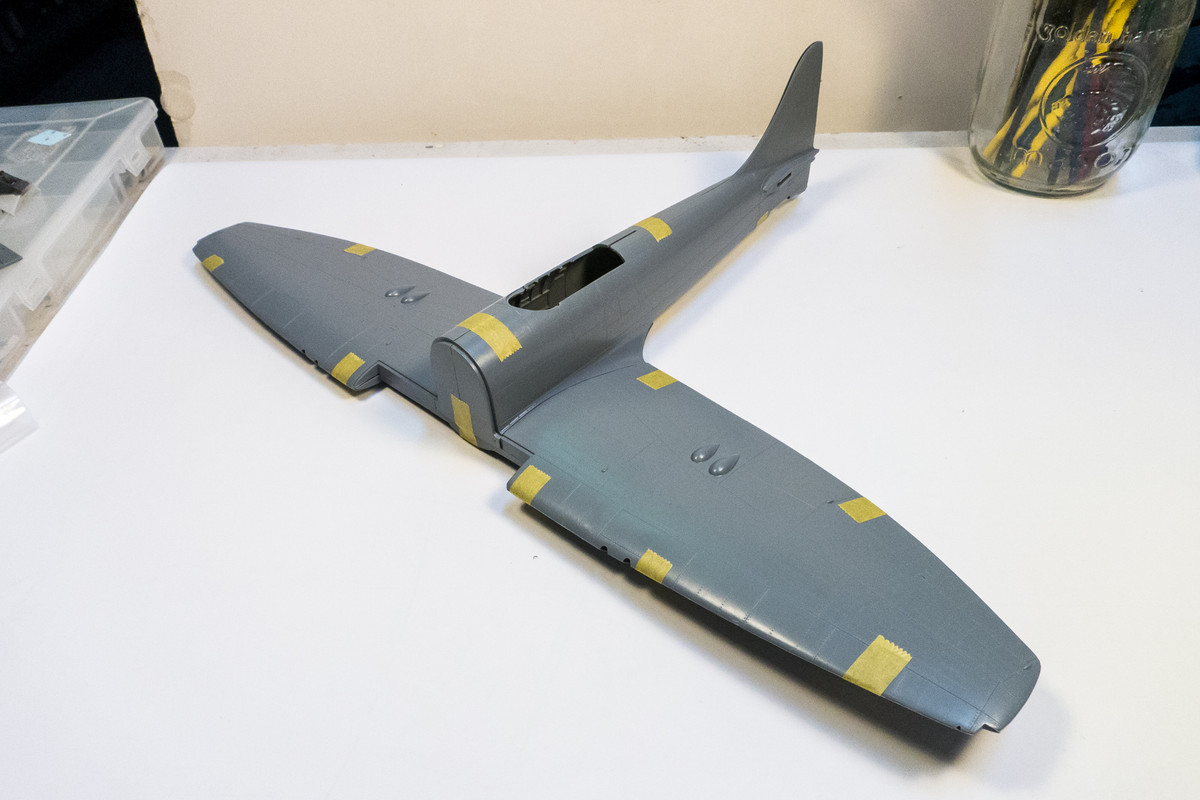
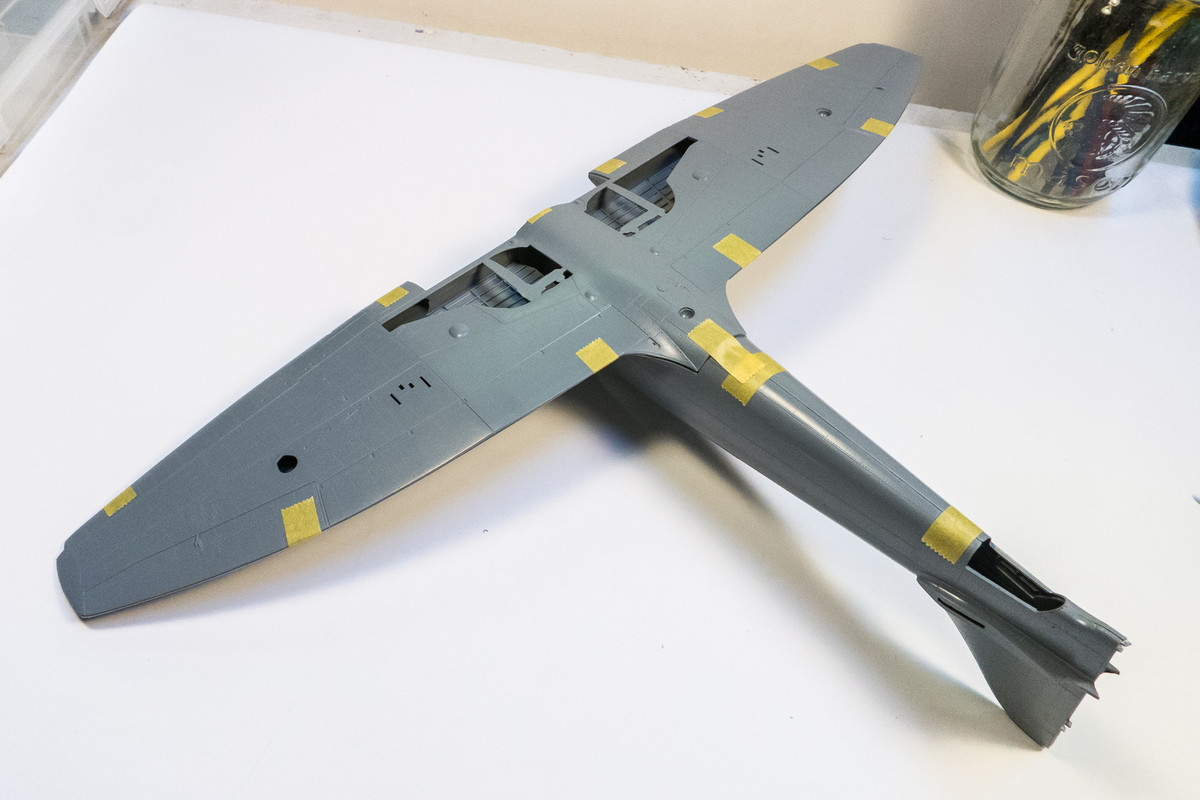
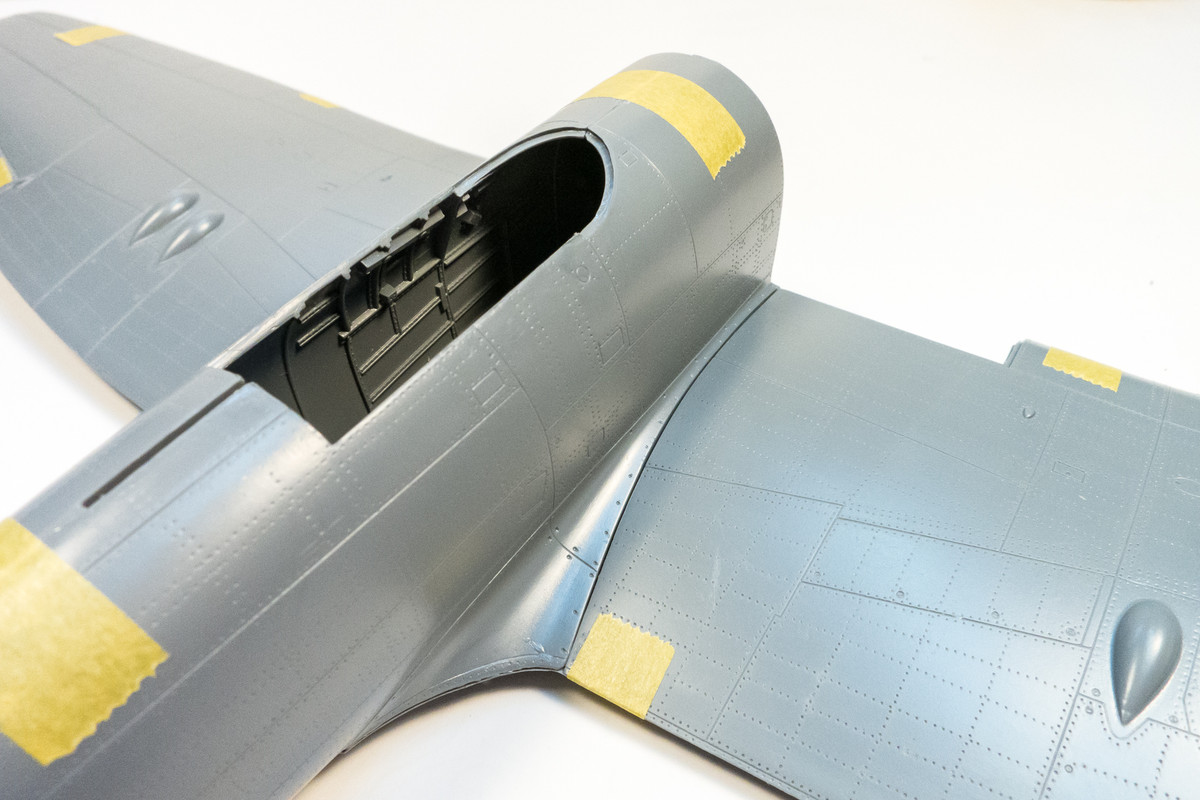
I'm not going to get much deeper into this build until I figure out what I want to do with the surface details. My options range from (a) do-nothing all the way to (b) sand everything away and rescribe-rivet it all over. I want to make improvements but I don't have the desire or resolve to do (b). I've tested the rivet dot pitch pattern against my riveting tools (RB Productions, Galaxy Tools, Trumpeter) and they don't match so fixing the kit rivets will have to be one at a time. I am toying with the idea of filling all of the rivets with black CA glue and punching new rivets with one of my tools. The black CA would give me the visual pattern of the rivet lines without having to re-draw them. But I don't know how the filled rivets would respond to having a rivet tool run directly over them and I'm afraid of creating a mess. And there are a TON of rivets... lots of filling and sanding.

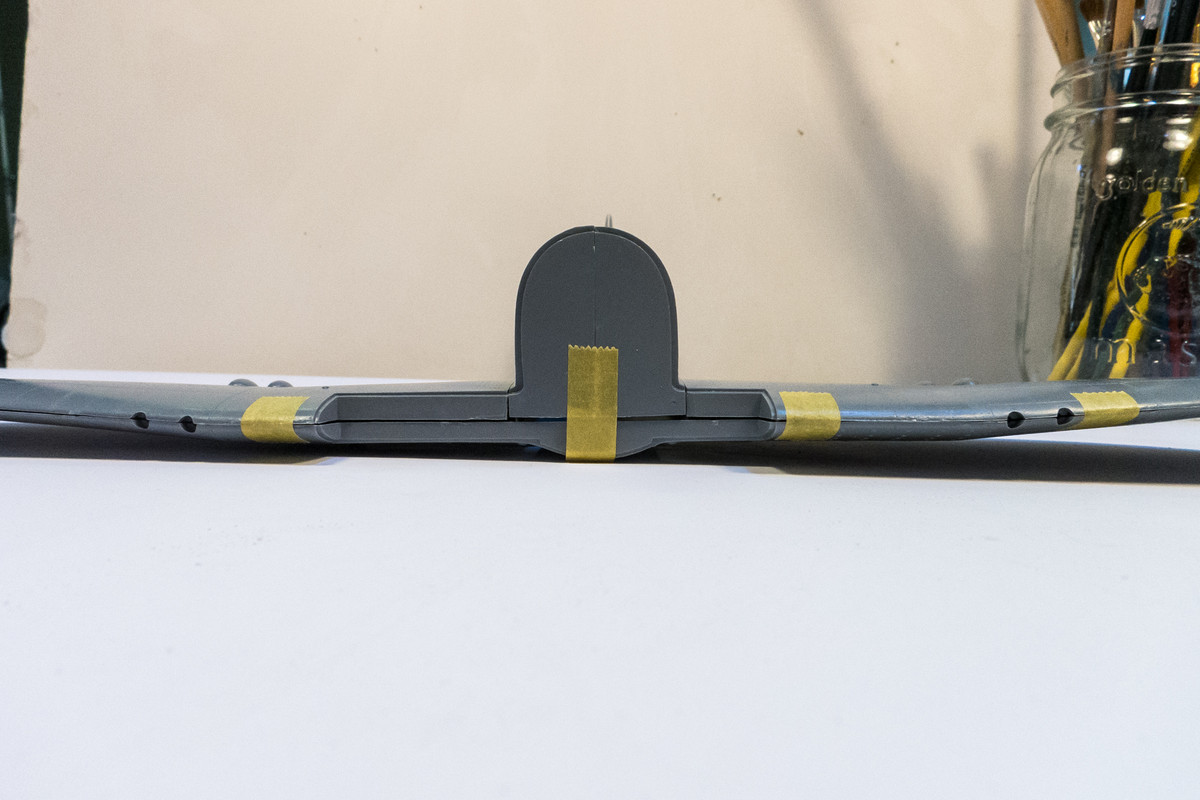
I did some preliminary dry-fitting with the major fuselage and wing components. Fit is not especially great but not horrible either.
Image
Image
Image

Checking the wing geometry to make sure that center section is flat. Will have to pay attention to this area as internal components are added to make sure that the fuselage doesn't push the wings out, causing an anhedral condition.
Image

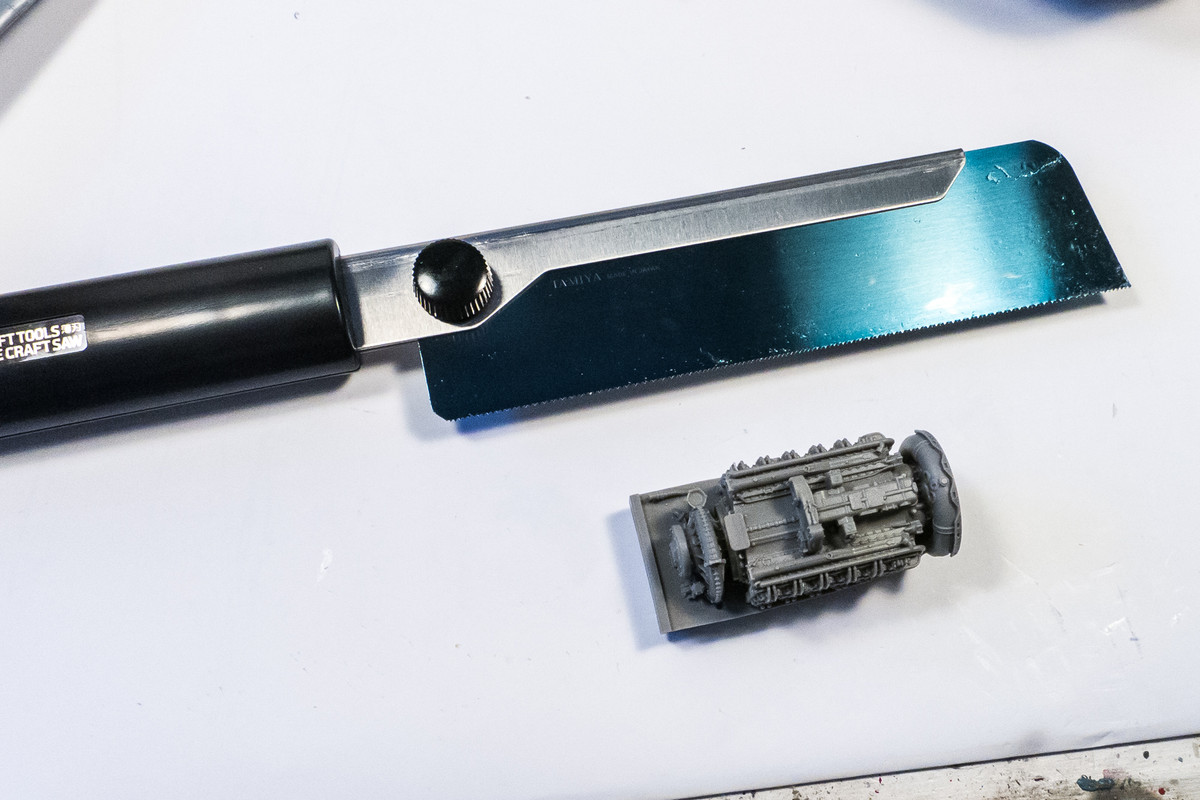
Got a new tool in the mail today to deal with the big casting block. Tamiya Thin Blade Craft Saw #74024 About the size as a big kitchen knife!
Image

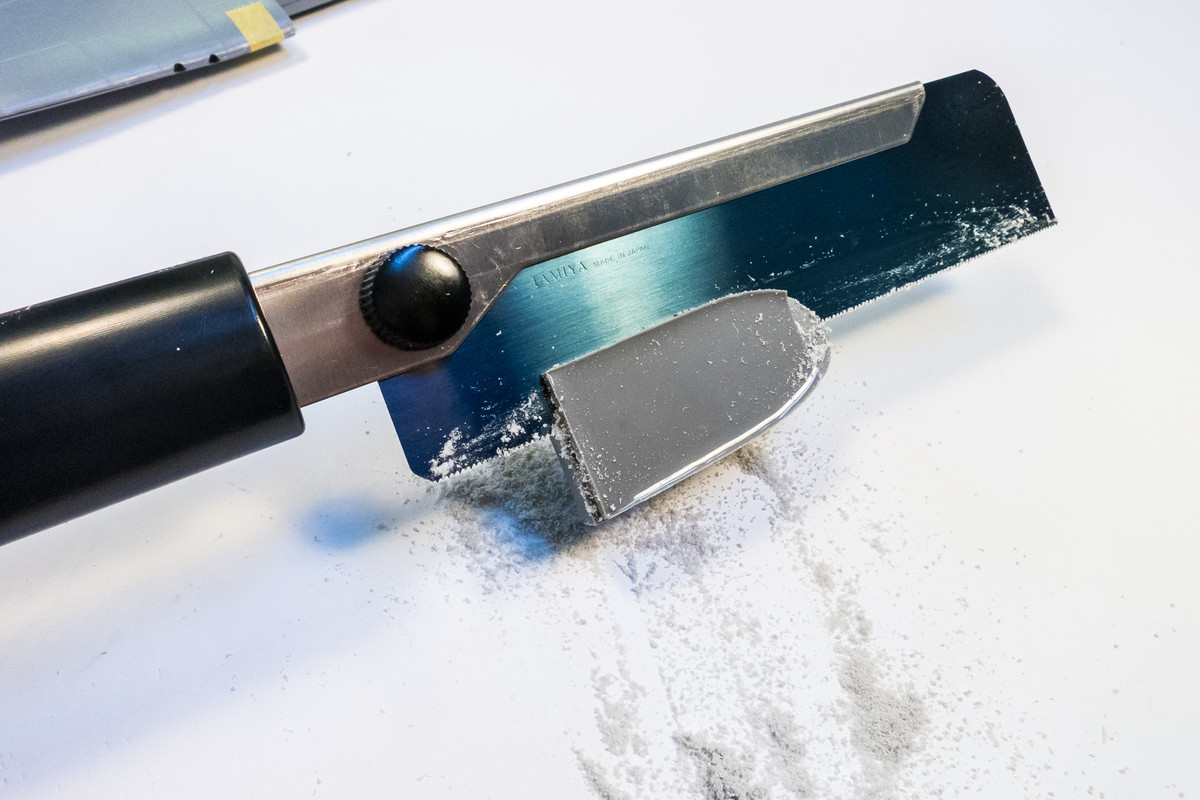
Plenty of blade clearance to cut through this piece.
Image

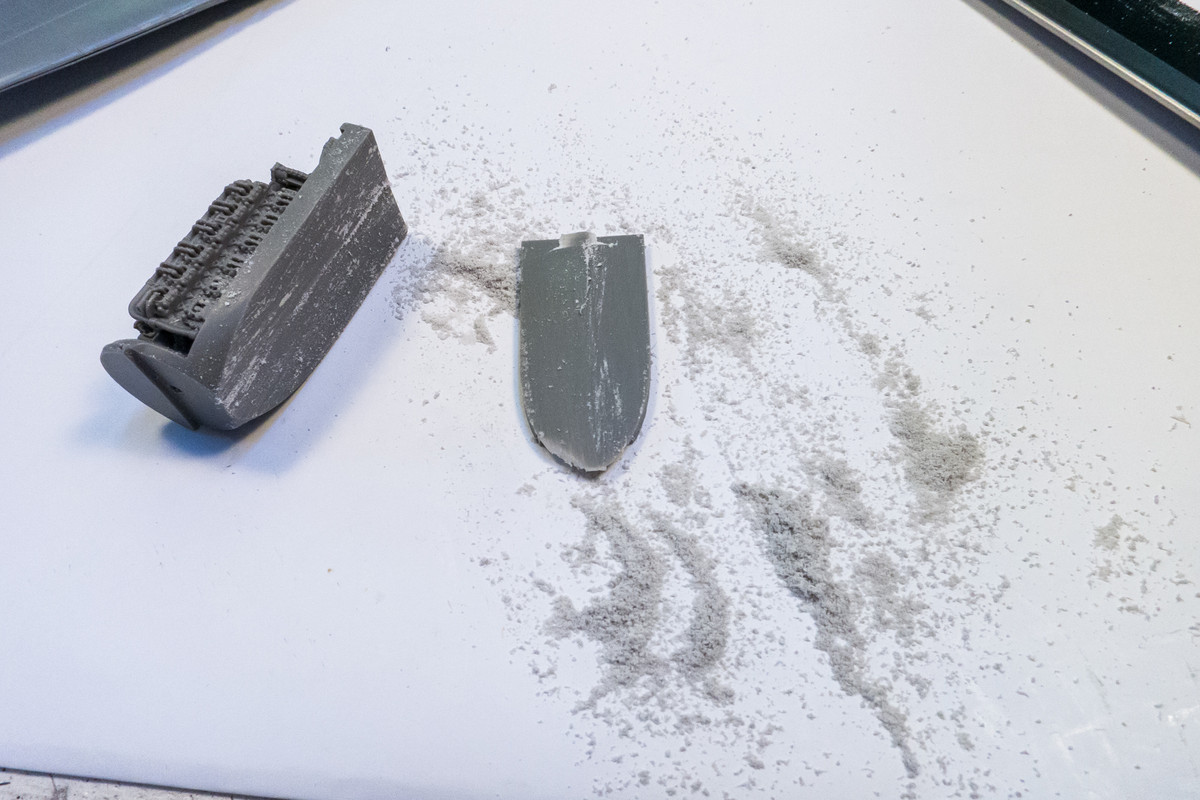
Life is so much easier with the right tools. Thank you Damian for this excellent recommendation. Make sure you wear a mask when cutting resin!
Image

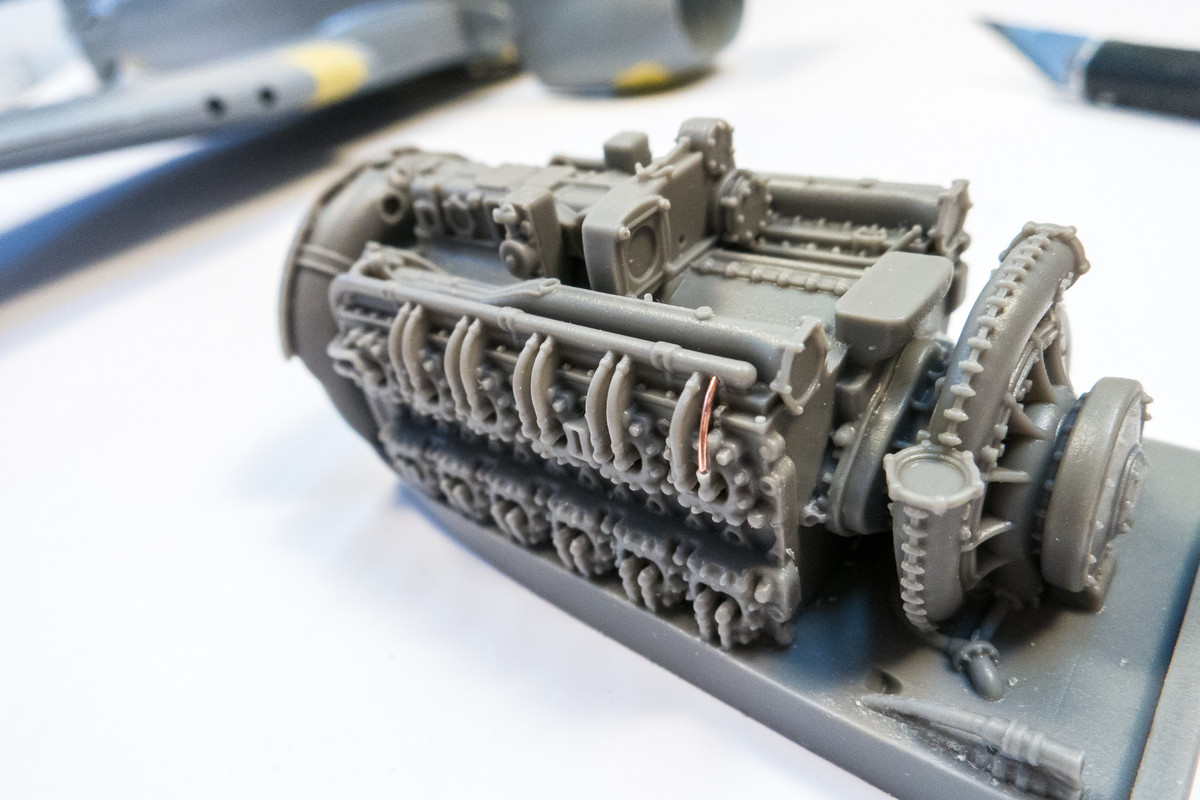
One of the things I noticed after taking my first photos of the resin block (meaning it wasn't caused by the sawing process), was a broken ignition wire.
Image

That got me to thinking... what if I replaced all of the ignition wires? Very do-able!
Image
John aka JKim
-----------<><
Image
User avatar
BlackSheep214
Elite Member
Posts: 13402
Joined: Sun Apr 06, 2014 8:47 pm

Re: 1/32 Special Hobby Hawker Tempest Mk V

Post by BlackSheep214 »

jkim wrote:One of the things I noticed after taking my first photos of the resin block (meaning it wasn't caused by the sawing process), was a broken ignition wire.
Image

That got me to thinking... what if I replaced all of the ignition wires? Very do-able!
Image
Do it!! Ya gotta tempt a Tempest from time to time. :giggles:
“Who controls the skies, controls the fate of this Earth”

Author unknown- 352nd Fighter Group, Blue-Nosed Bastards of Bodney

“Send one plane it’s a sortie; send two planes it’s a flight; send four planes it’s a test of airpower. - Richard Kohn
User avatar
Stuart
Elite Member
Posts: 11885
Joined: Sun Apr 06, 2014 1:06 pm
Location: North Wales

Re: 1/32 Special Hobby Hawker Tempest Mk V

Post by Stuart »

Those Sabre's were beasts! Looking forward to seeing what you do with this build John
Stuart Templeton 'I may not be good but I'm slow...'
User avatar
jkim
Elite Member
Posts: 4073
Joined: Mon Apr 10, 2017 4:03 pm

Re: 1/32 Special Hobby Hawker Tempest Mk V

Post by jkim »

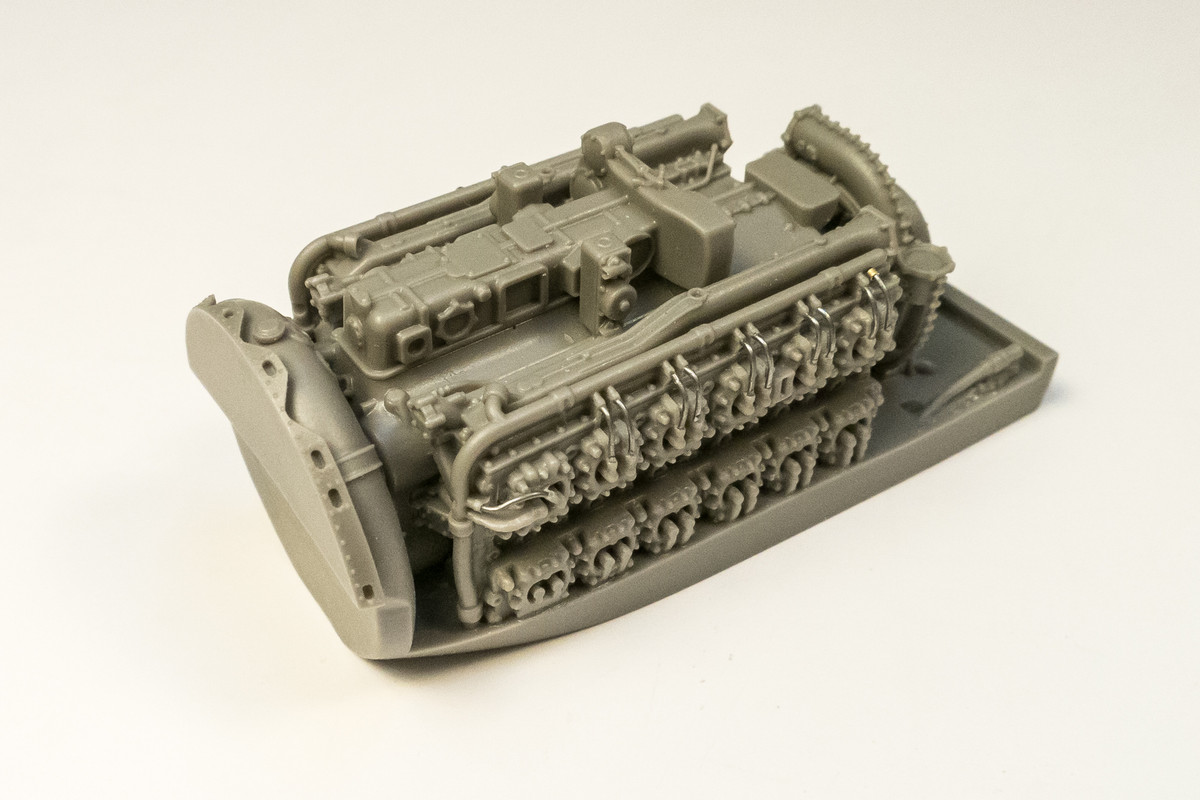
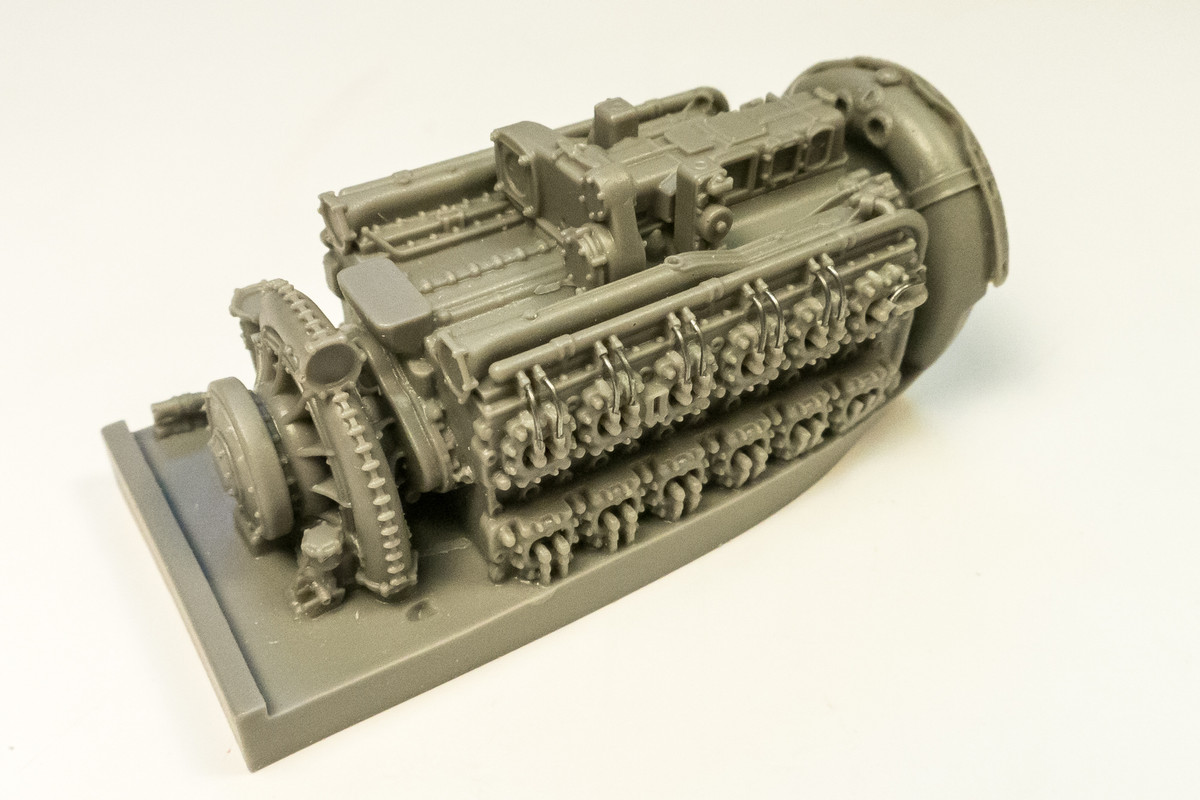
Thanks guys! Haven't made any decision regarding the surface details but I did replace the molded ignition lines on the resin engine with lead wire.

Image
Image
John aka JKim
-----------<><
Image
User avatar
Stuart
Elite Member
Posts: 11885
Joined: Sun Apr 06, 2014 1:06 pm
Location: North Wales

Re: 1/32 Special Hobby Hawker Tempest Mk V

Post by Stuart »

Looks good!
Stuart Templeton 'I may not be good but I'm slow...'
Post Reply

Return to “Aircraft Work in Progress”