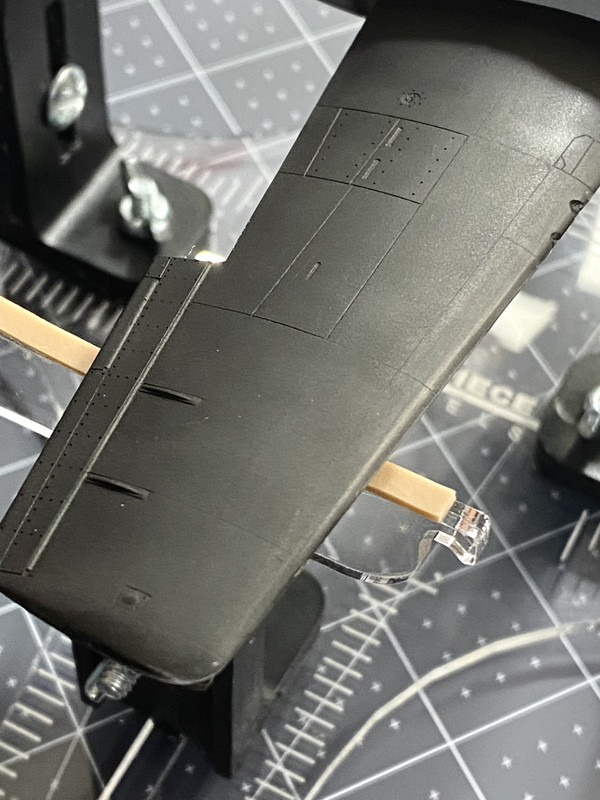
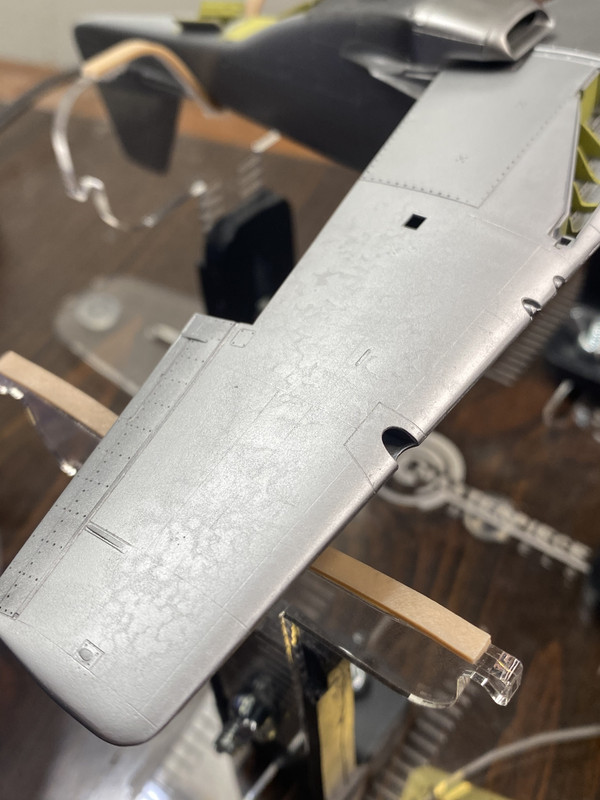
John,jkim wrote:Looks good! Even if the puttied seams settle a bit and start showing, I wouldn't even sweat it since that probably happened on the real aircraft as well.
Thank you for bringing that part up. In a case like that I think it’d probably fall under my “Don’t sweat the small stuff” directive. This subject is a rebuilt station hack. So all ideas of making it pristine kinda go right out the window. I kinda just figured it like as you said— the putty probably settled and even got chipped out here and there in real life, and if it happens on the model I won’t worry too much about it as long as it looks cool.
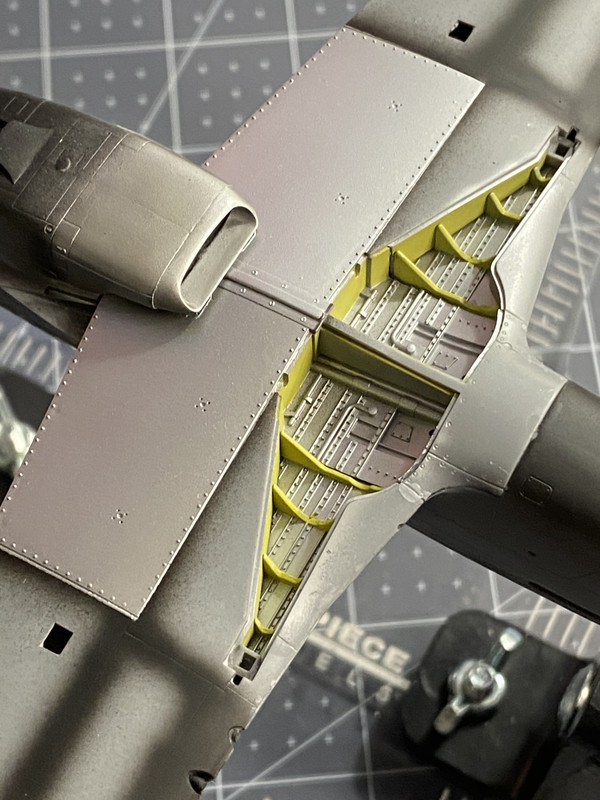
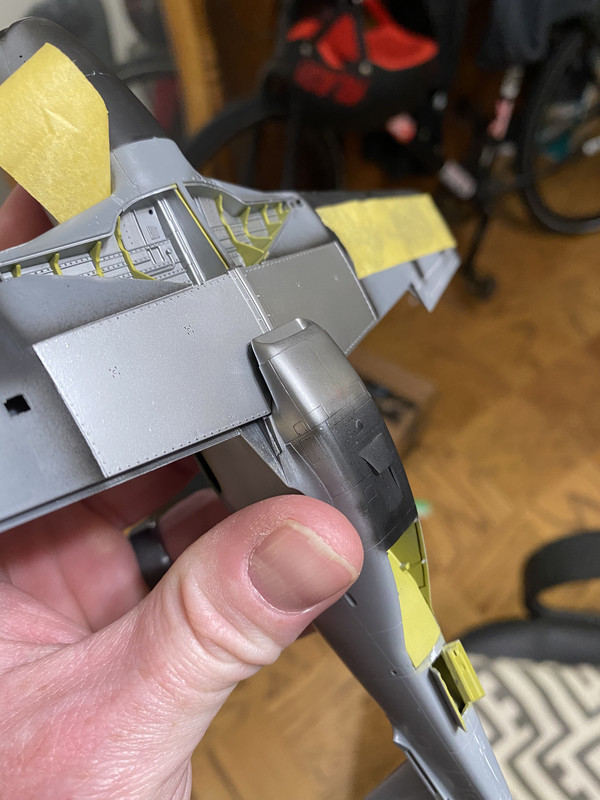
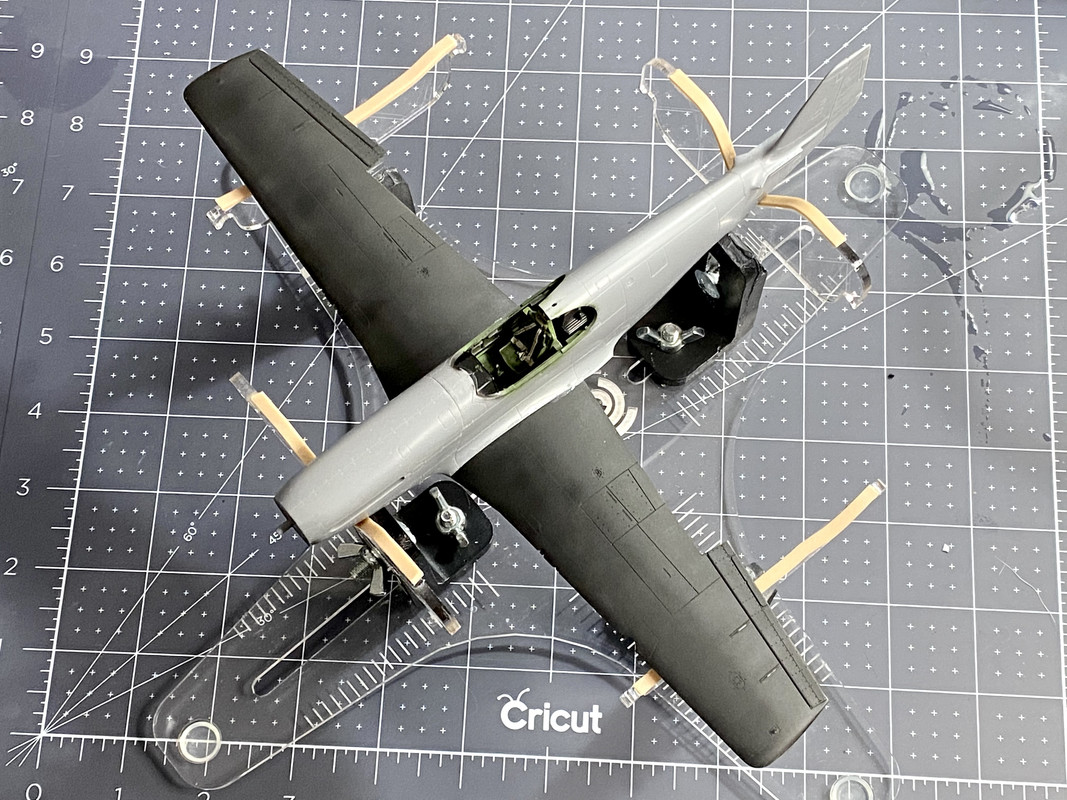
Now, getting back to what you mentioned before about consistency in the surface it’s self overall and how bare metal can reveal all kinds of issues, *that* I’m sweating big time. The wings have been buffed out as thoroughly as I could get them with the micro mesh pads. I like going from 3200 to 12000 for a job like that. Ans before I get on attaching the wings I’m going to go ahead and do the rest of the airframe. And I did forget about one thing— I have to paint the intake before I attach the wings. I honestly have no idea how I’d paint that area if it were assembled together already. So I’ll take care of that, and buffing-out the fuselage, and then I’ll get the wings on there and get the canopy done. After that I’m really counting on the Mr. Surfacer to give me hints at trouble spots on the aircraft so I can address them before I start painting.
As to the painting it’s self, I’m going to hit it with gloss black after priming and then take it slow and work section by section with the various Alclad shades. It’ll be an adventure, that’s for sure. I’ll do a dry run or two on spare plastic first like how I did when I was testing clots for my Zeros.
I’m pretty excited.