1/32 Meng Me163 Komet
-
speedgraflex

- Moderator
- Posts: 11534
- Joined: Fri Feb 10, 2017 11:08 pm
- Contact:
Re: 1/32 Meng Me163 Komet
Subscribed. I have this kit as well, so I will study your approach vector closely. (I don’t want to be crucified by those who love modern jets, but… I am excited to follow their predecessor more so than the offspring.)
Make more models!

Re: 1/32 Meng Me163 Komet
Thanks guys! The more online builds I read, the more I'm resigning to the prospect of major putty work ahead. I think I'm gonna need some encouragement on this one. Hopefully I can report on the actual kit... UPS Tracking says Saturday!
John aka JKim
-----------<><

-----------<><
Re: 1/32 Meng Me163 Komet
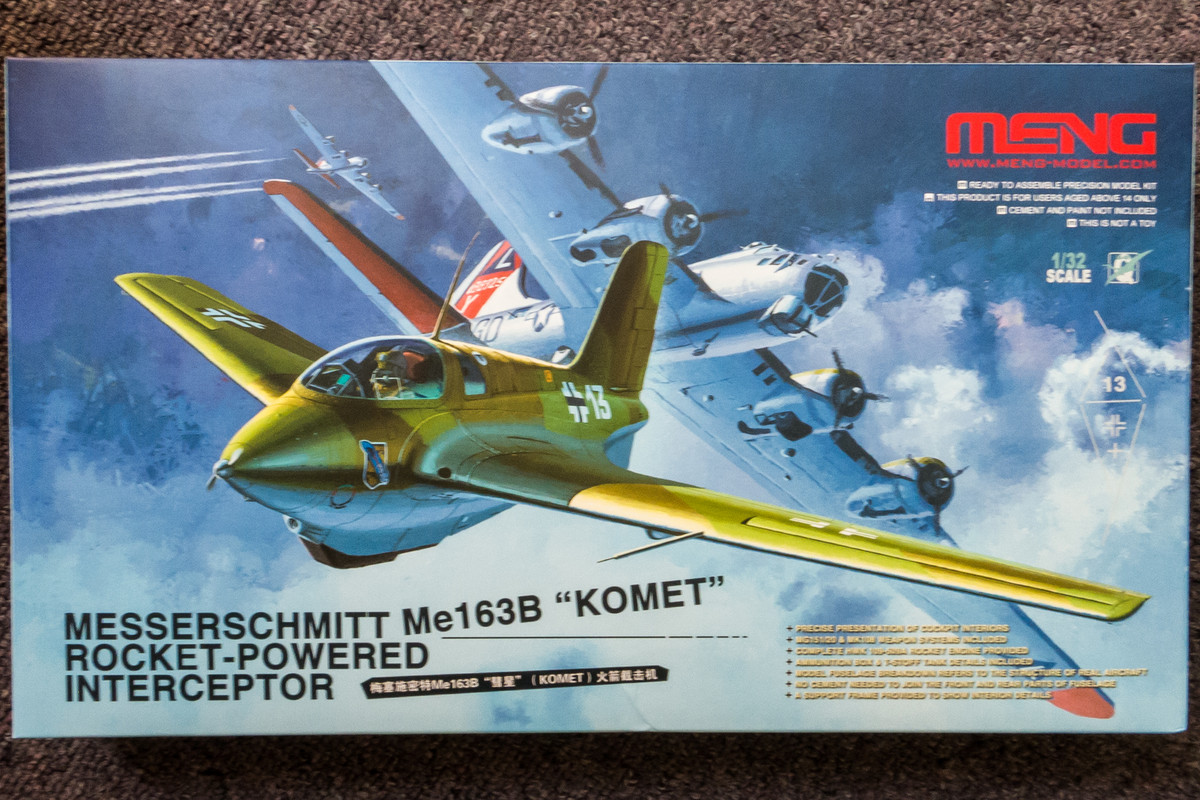
Well well well... the kit arrived this afternoon so the mojo building process has officially begun. Can't really dive in since Step 1 is usually the cockpit and the Aires resin cockpit is still on its way. So I decided to take a closer look at the kit and do a little sprue review. The box is pretty small, which I guess is appropriate for the size of the subject... the Komet is a wee aircraft!
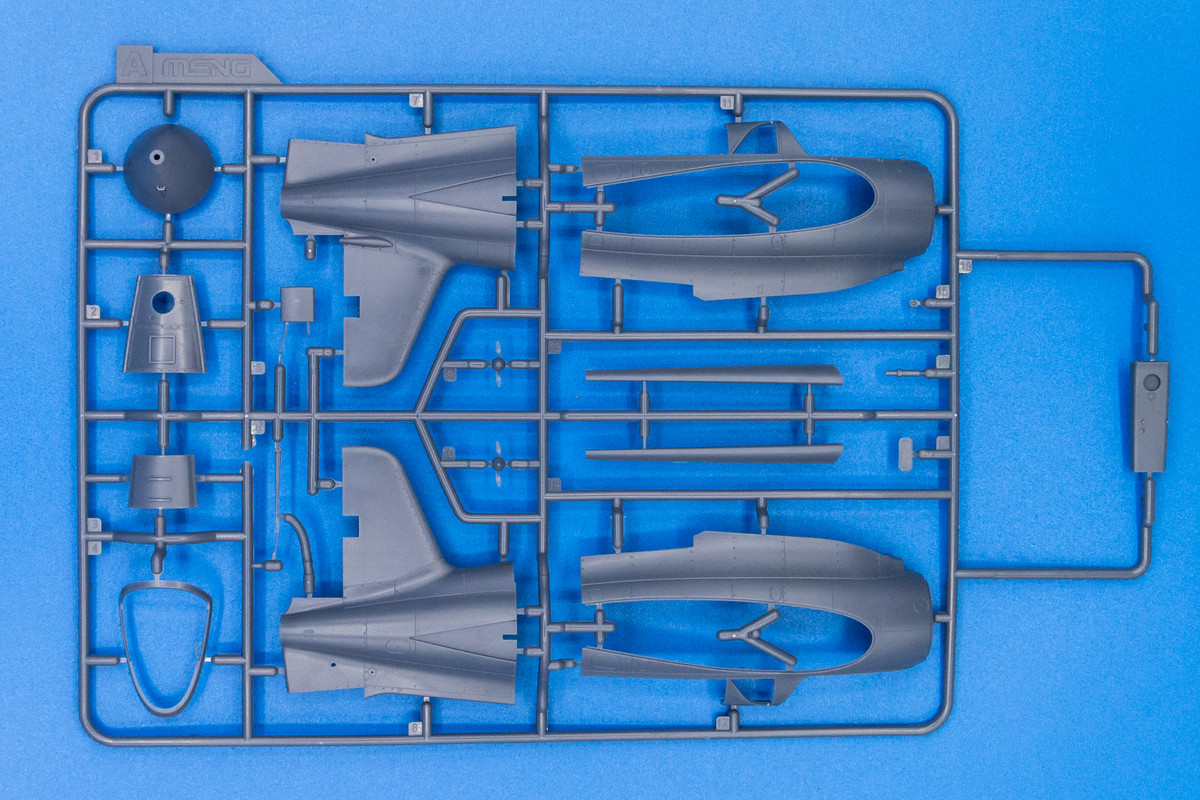
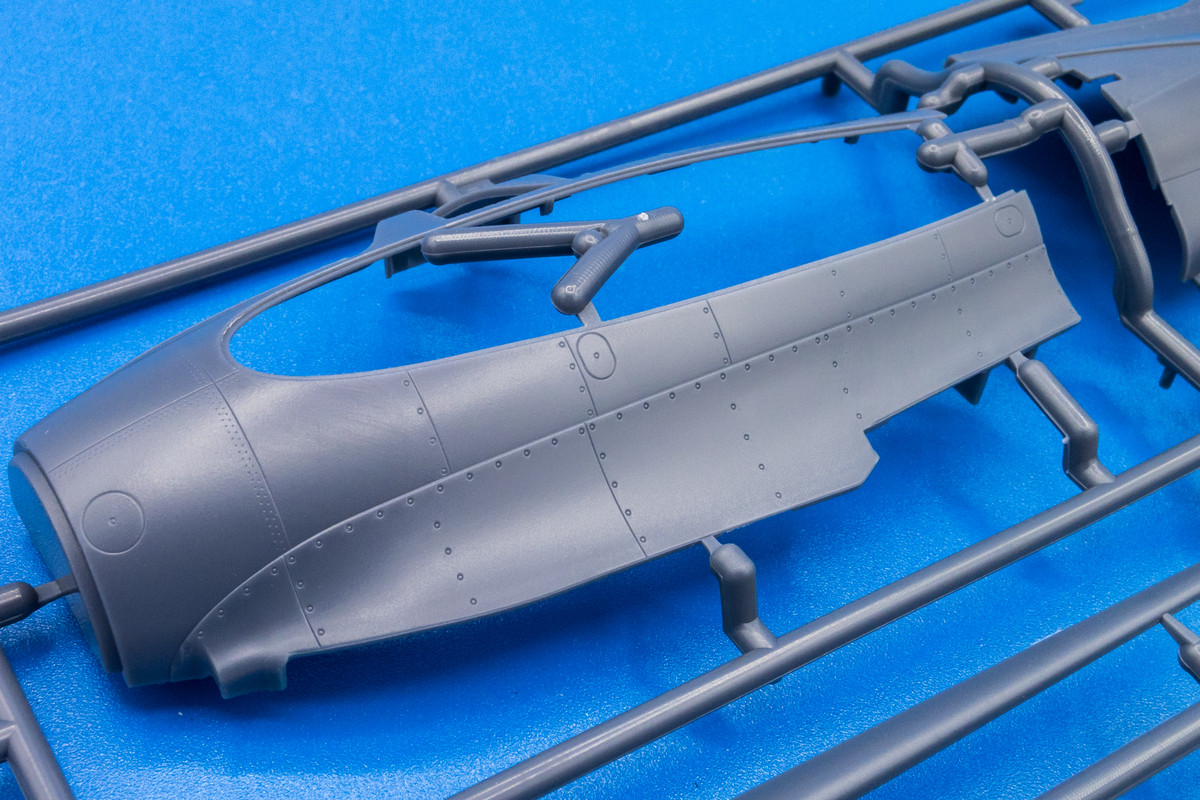
The majority of the model is molded in dark grey plastic, which suits me just fine. Much better than the light grey used on the Tamiya Tomcat. Sprue A holds the major fuselage parts. Panel lines are finely recessed and the surface detail is very nicely done. There are some nicely riveted areas as well. Note the separate canopy frame in the lower left.
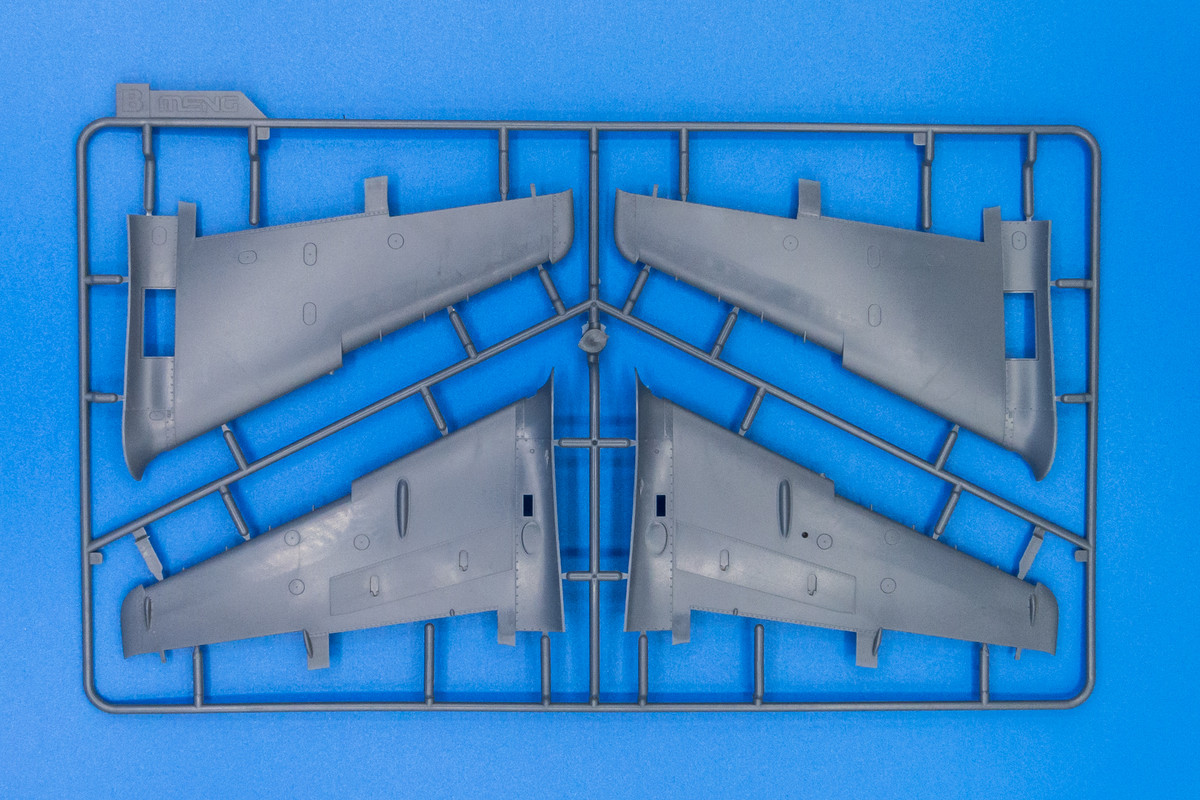
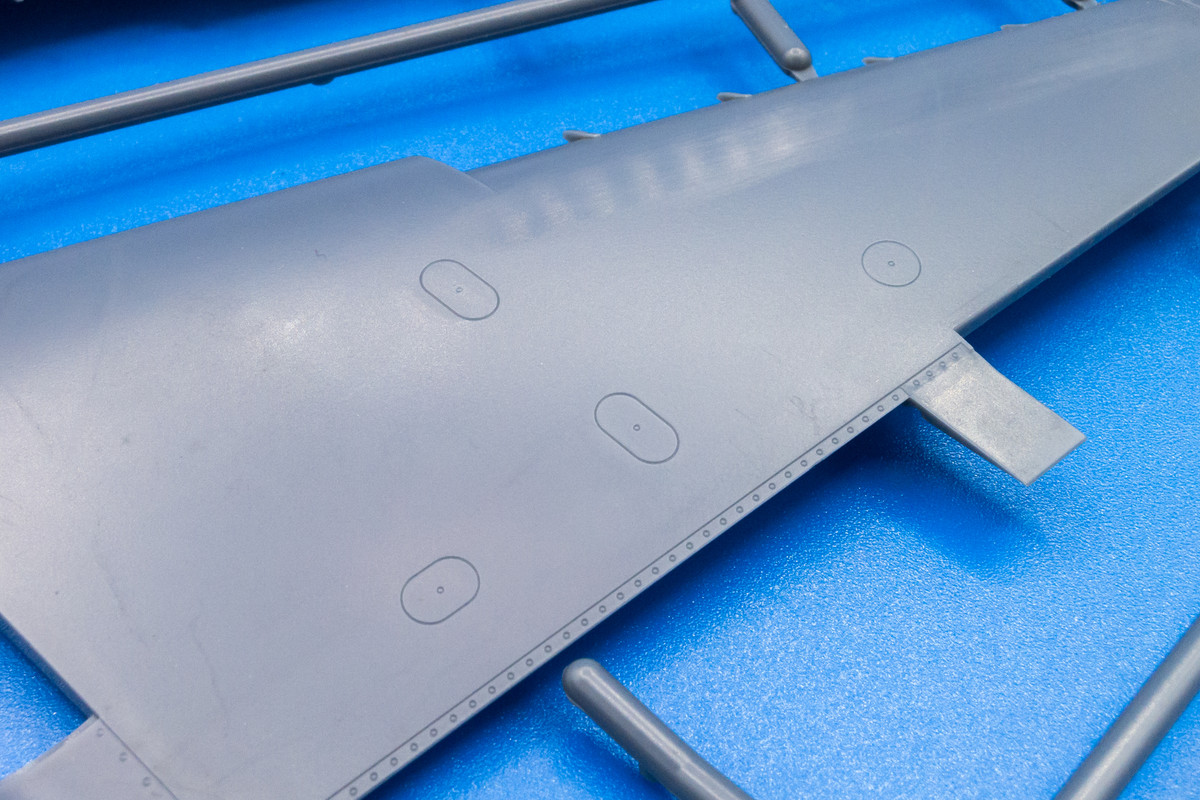
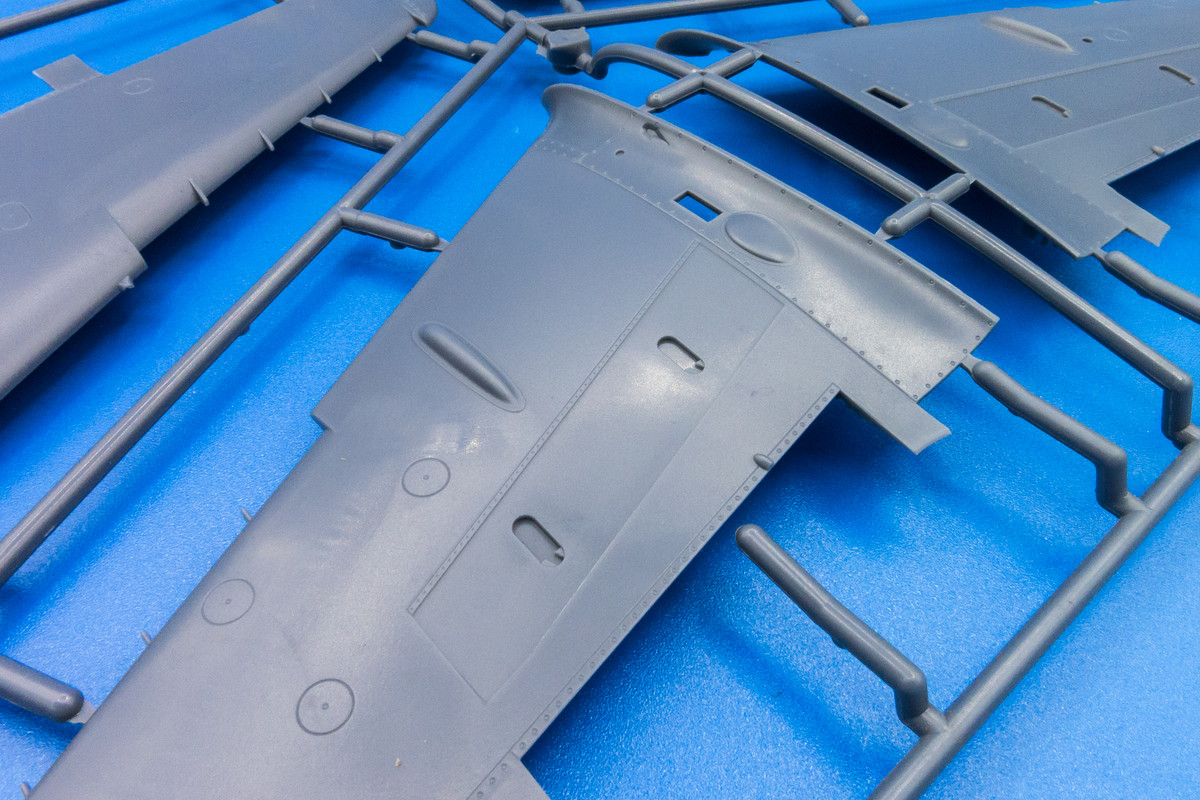
Sprue B has the swept wing components. Surface detailing is minimized since wood was used extensively here. All control surfaces are molded separately, including the flaps which drop from the middle of the wing bottom.
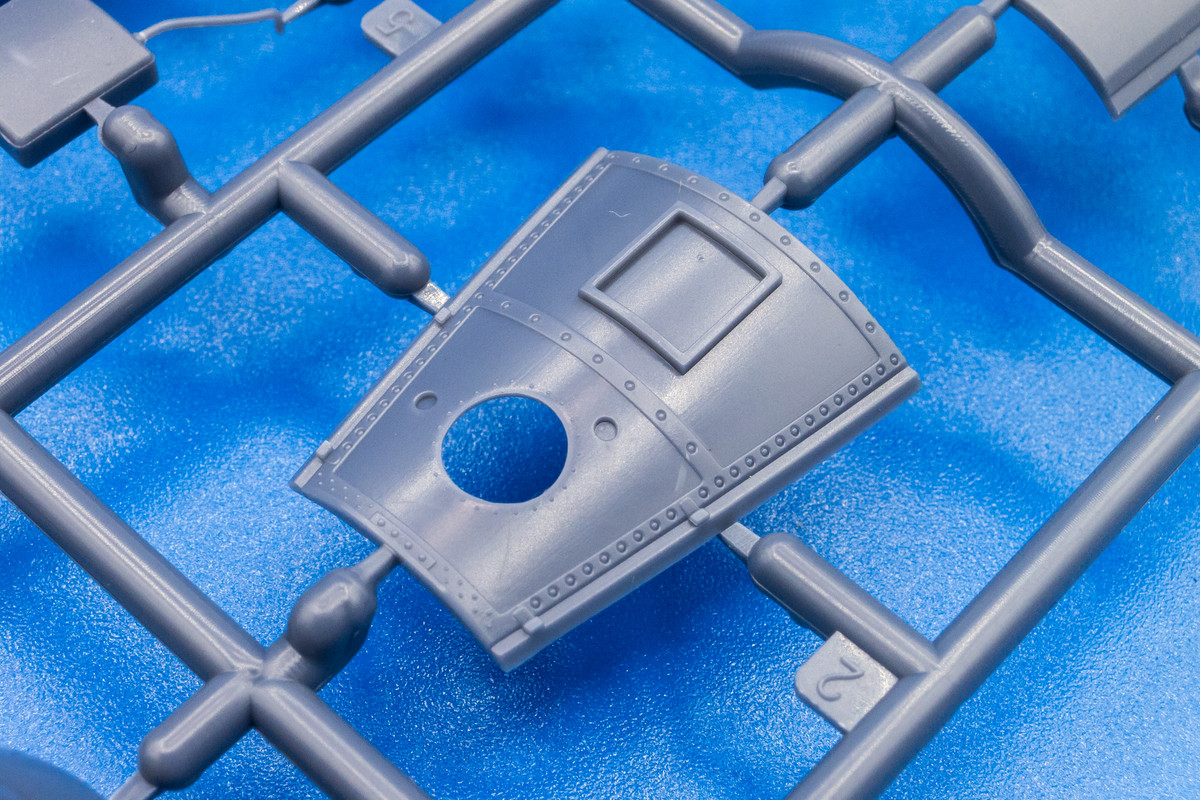
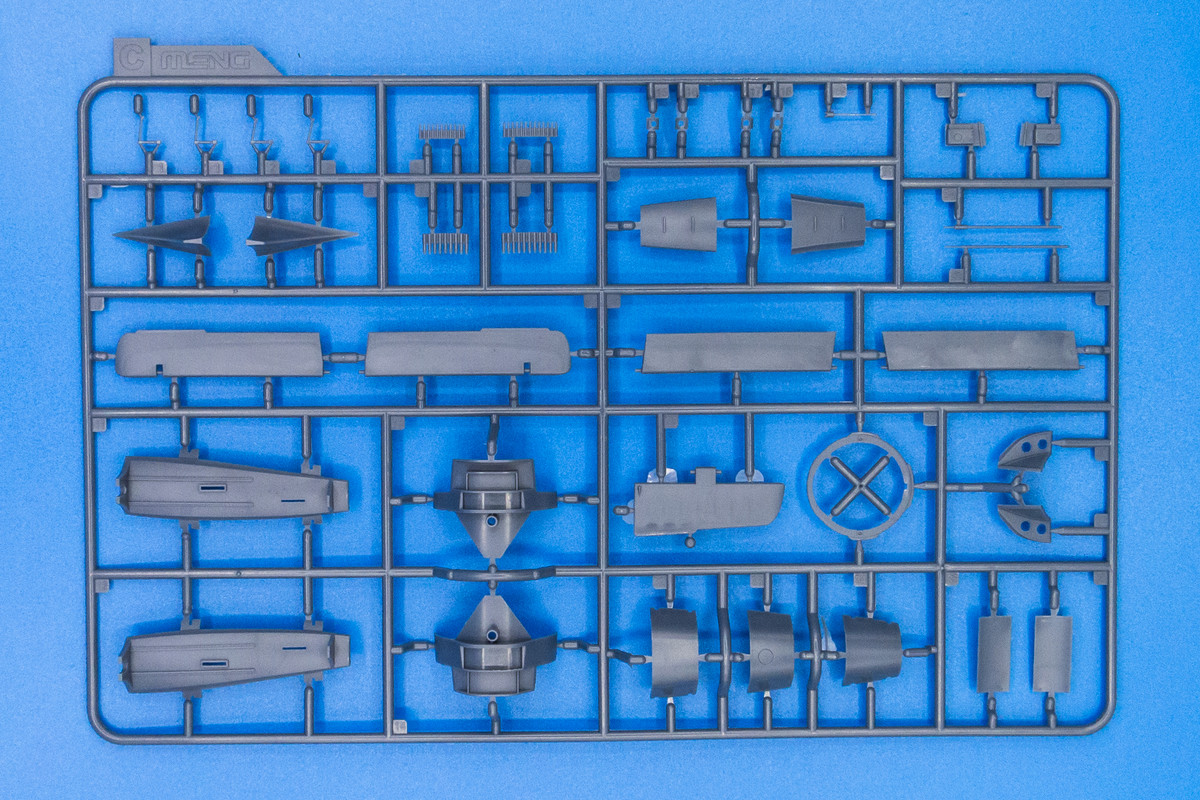
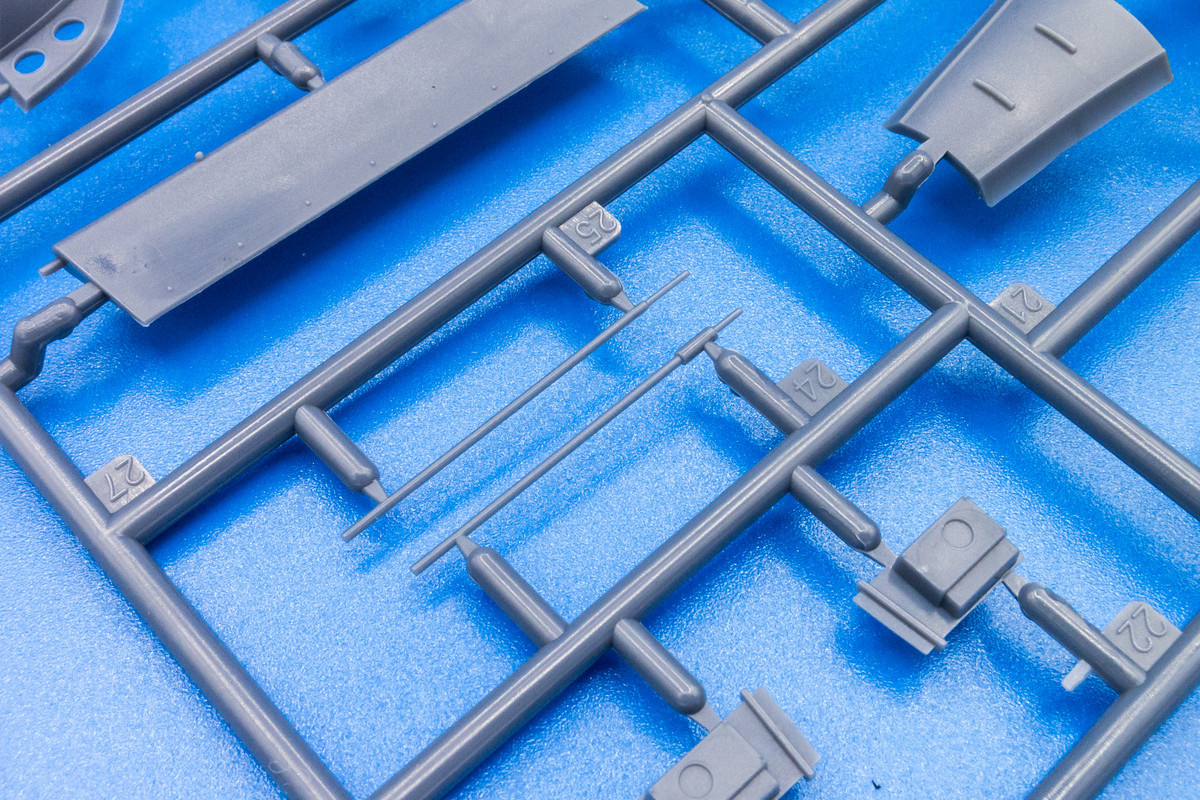
Sprue C contains some of the smaller external components including multiple covers for the top of the fuselage. Since the external airframe is comprised of so many parts, I can see how fit issues might arise during this build, especially if the covers and panels are posed shut.
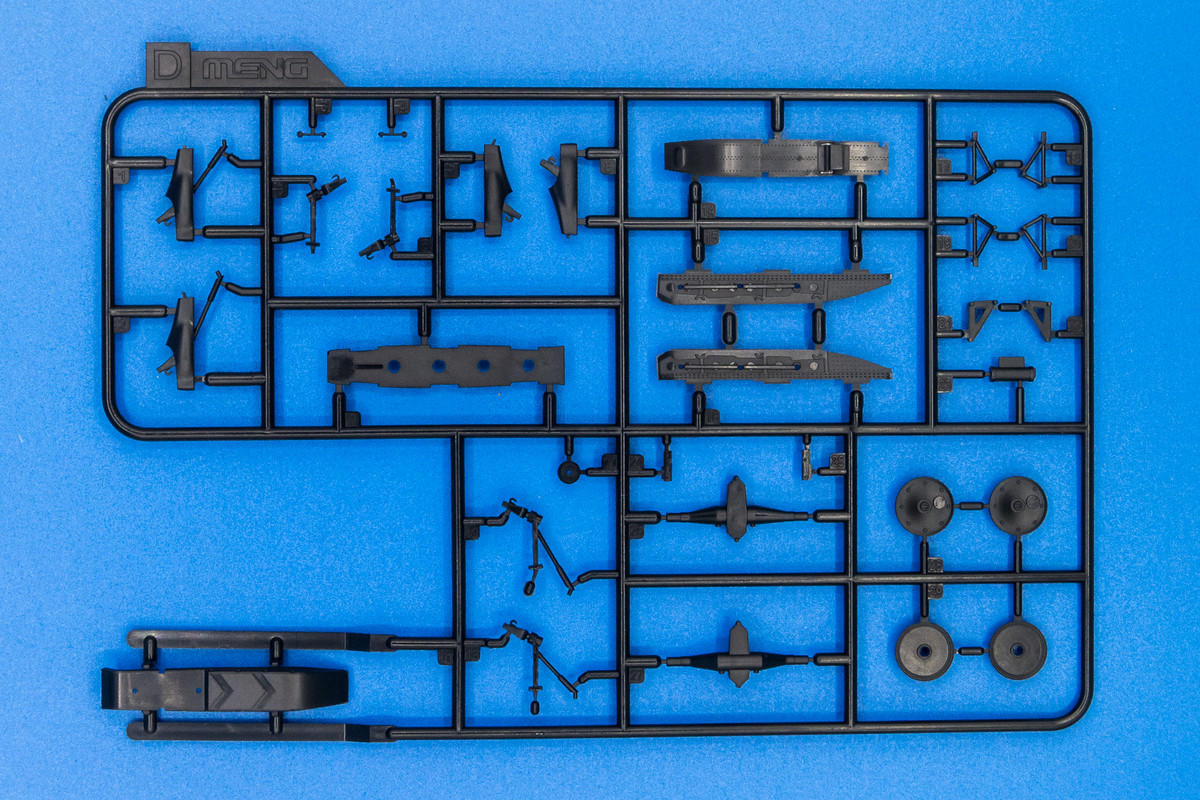
Sprue D is molded in black for some reason. The landing gear, which is comprised of jettisonable wheels for take-off, a retractable metal skid for landings and a small tailwheel, are found on this sprue.
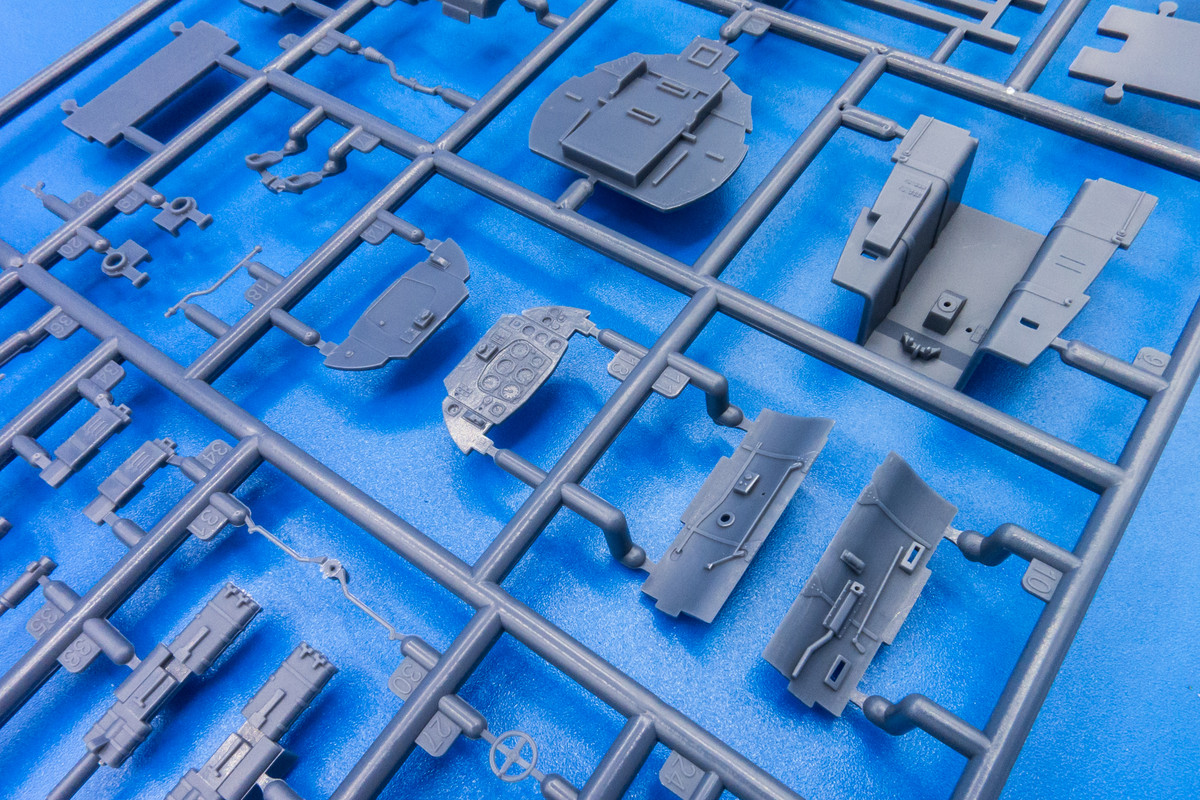
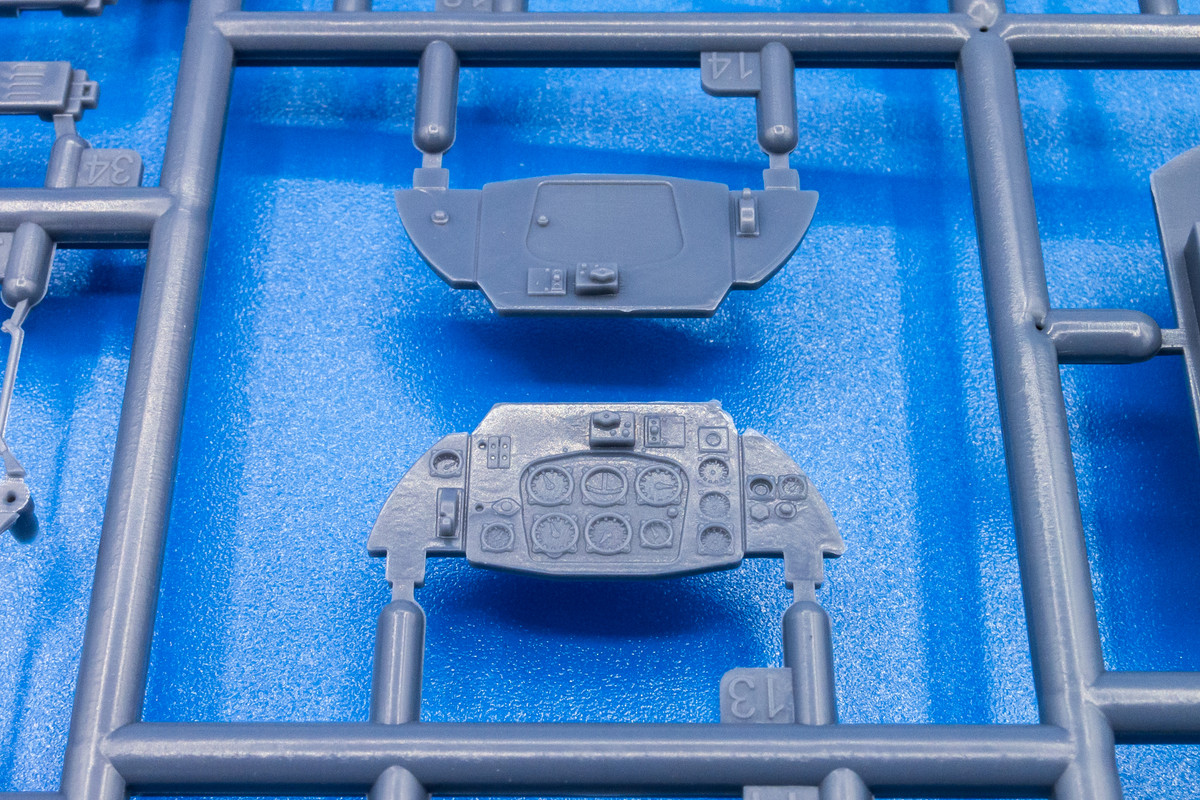
Back to the dark grey with Sprue E. This one has the cockpit parts and other internal components such as the guns. Both 20mm and 30mm cannons are provided for the wing gun positions. The kit provides two options for the instrument panel. One is a fully detailed instrument panel that can be painted by hand or you can opt for the multi-media approach using the smooth-faced plastic panel, brass instrument panel surfaces and decals for the dials.

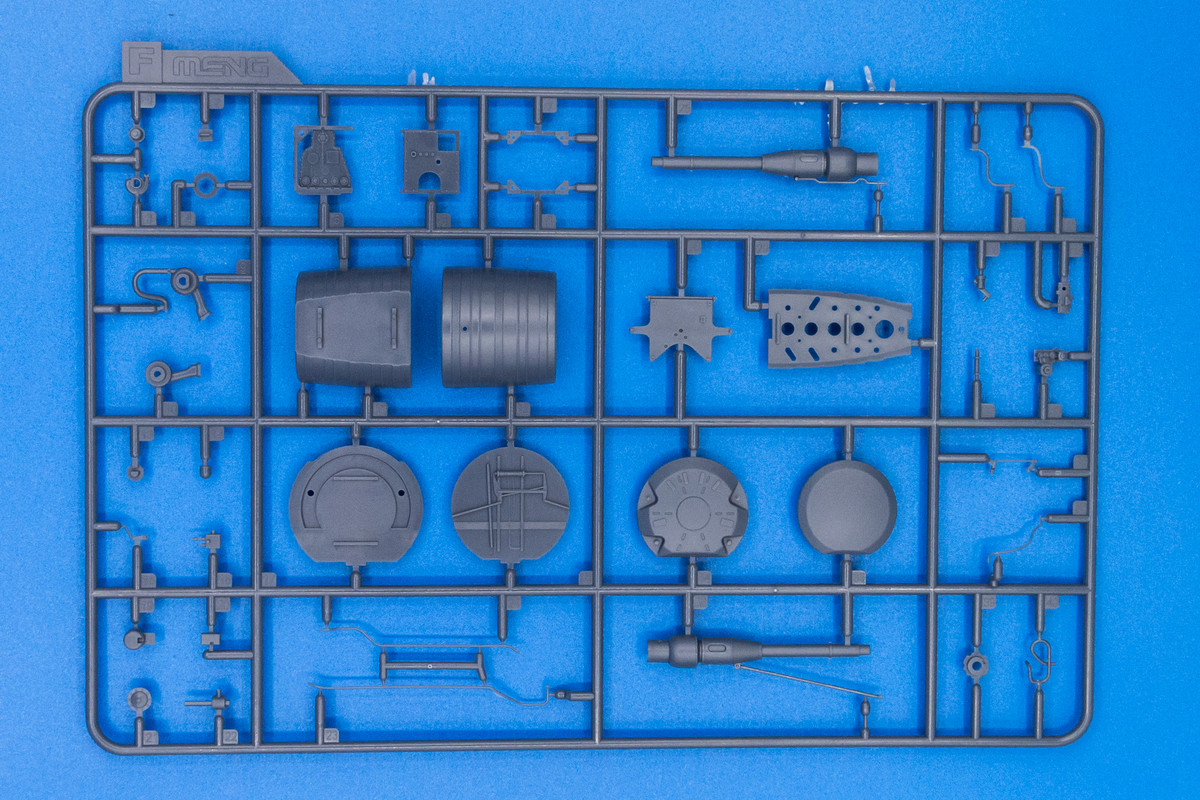
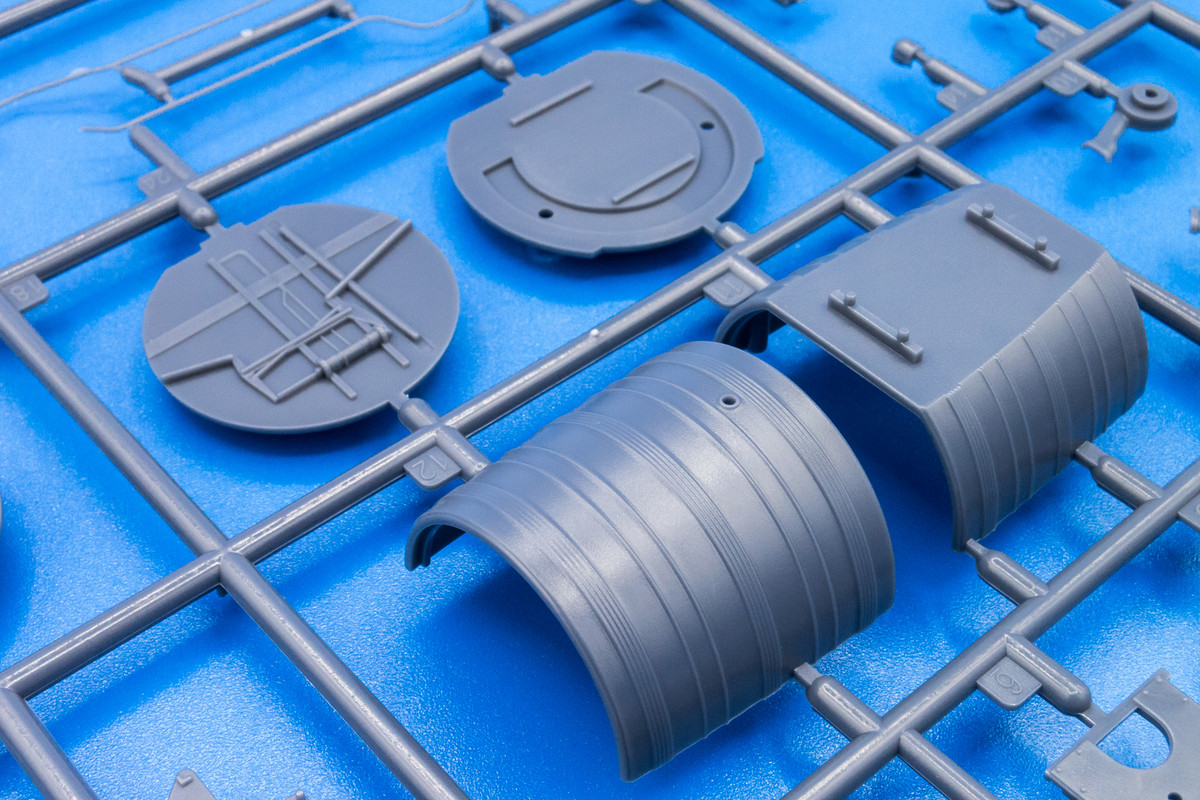
Sprue F houses the engine components including a large cylindrical fuel tank. There are some very fine... very breakable... parts to represent hydraulic/fuel lines, which will be a challenge to remove from the sprue and clean up.
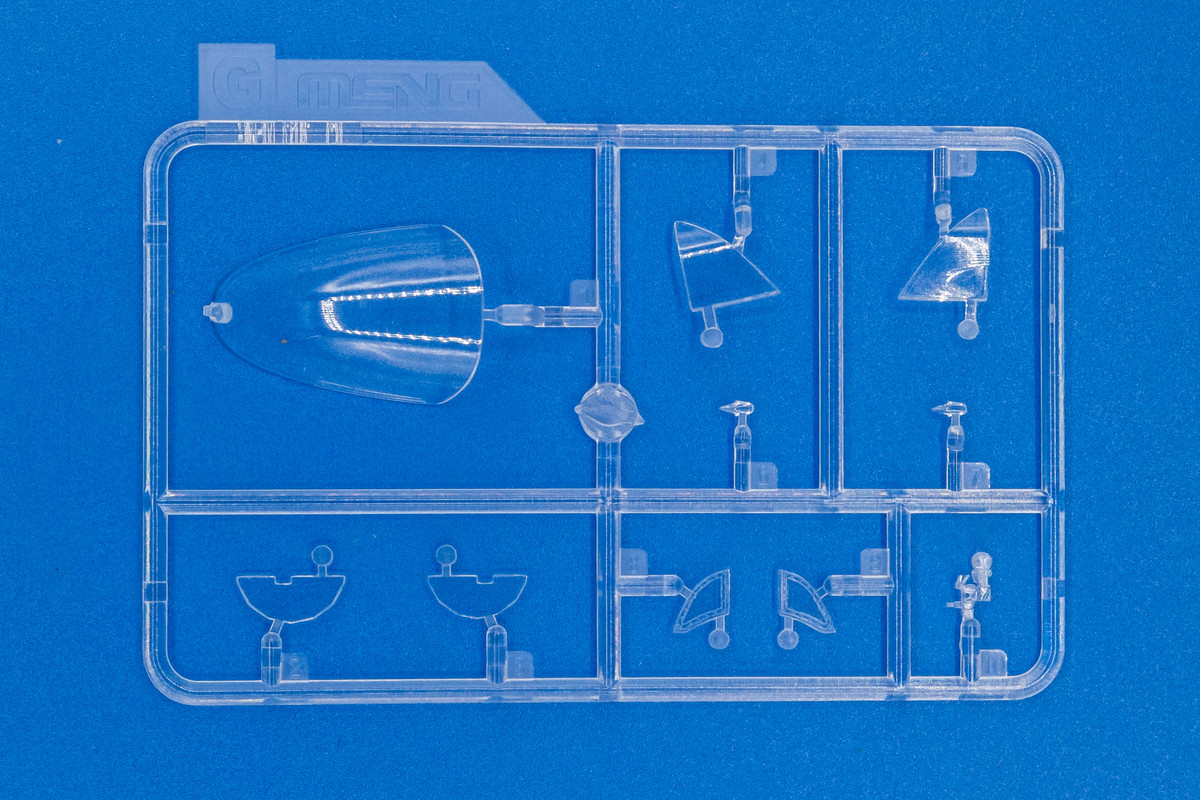
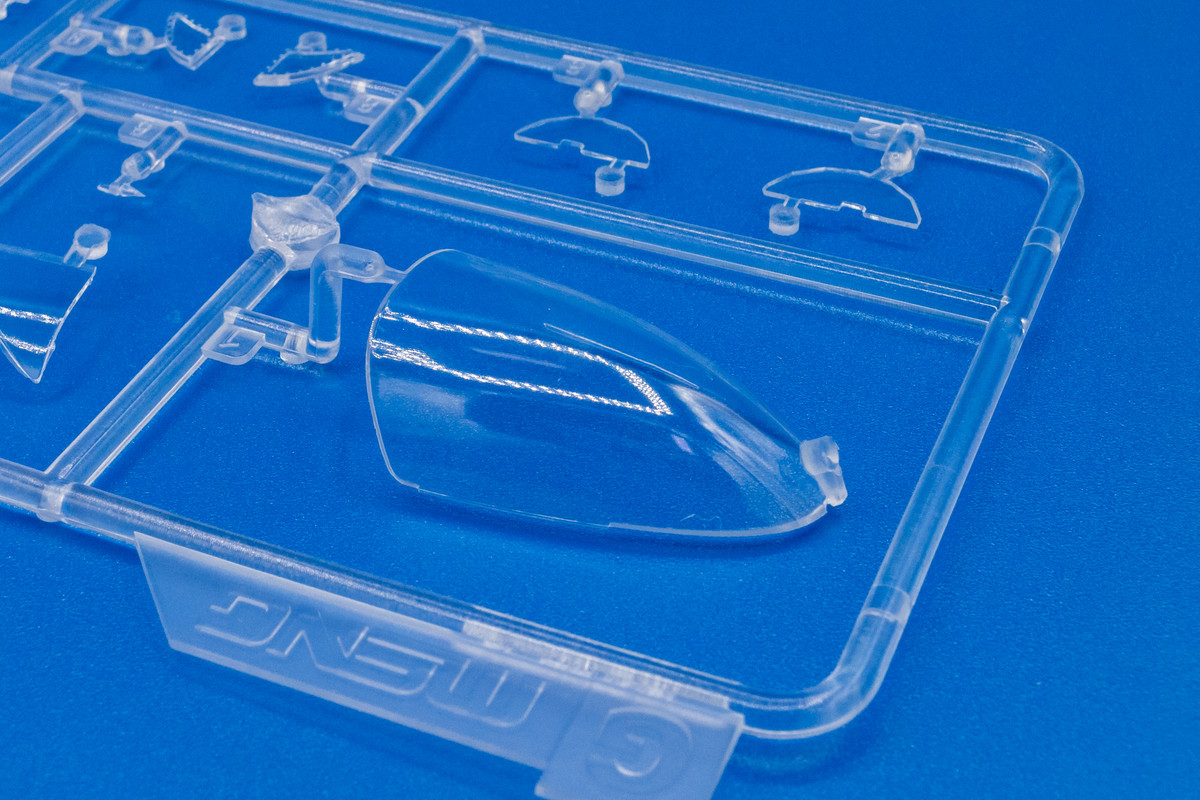
The clear parts are on Sprue G. A couple of issues here. First of all, I do not like having the canopy frame as a separate part. It's a cute idea on paper but hard to execute cleanly... really nowhere to hide that glue seam. Secondly, you can see that the sprue tab on the front of the canopy is bent and taking a small chunk of the canopy with it. I've already sent off an email to Meng to request a new clear sprue.
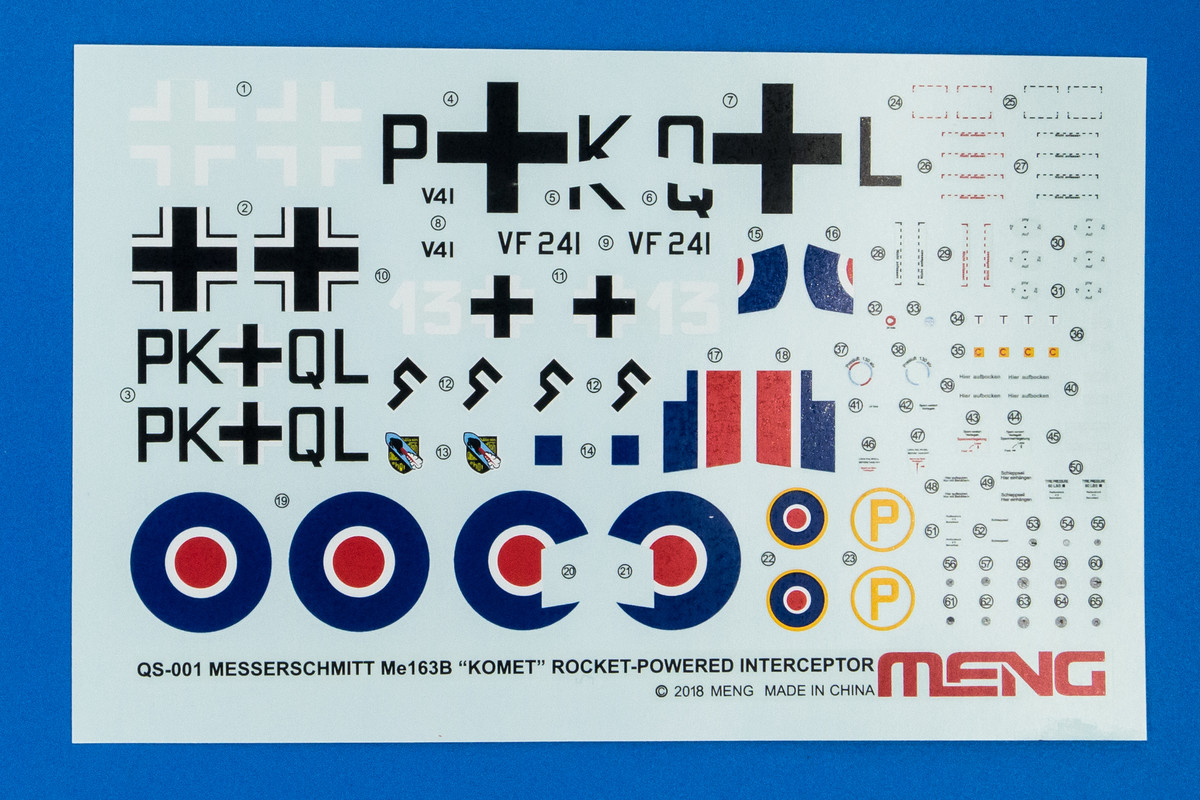
The decals look ok, except I don't like the light grey they used for the instrument panel dials. No biggie since I'll most likely be using a third alternative from Aires. The major markings will be painted using custom masks so I'll only be using the data stencils. Online reviews of this kit showed decals by Cartograph but these appear to be made in-house by Meng.
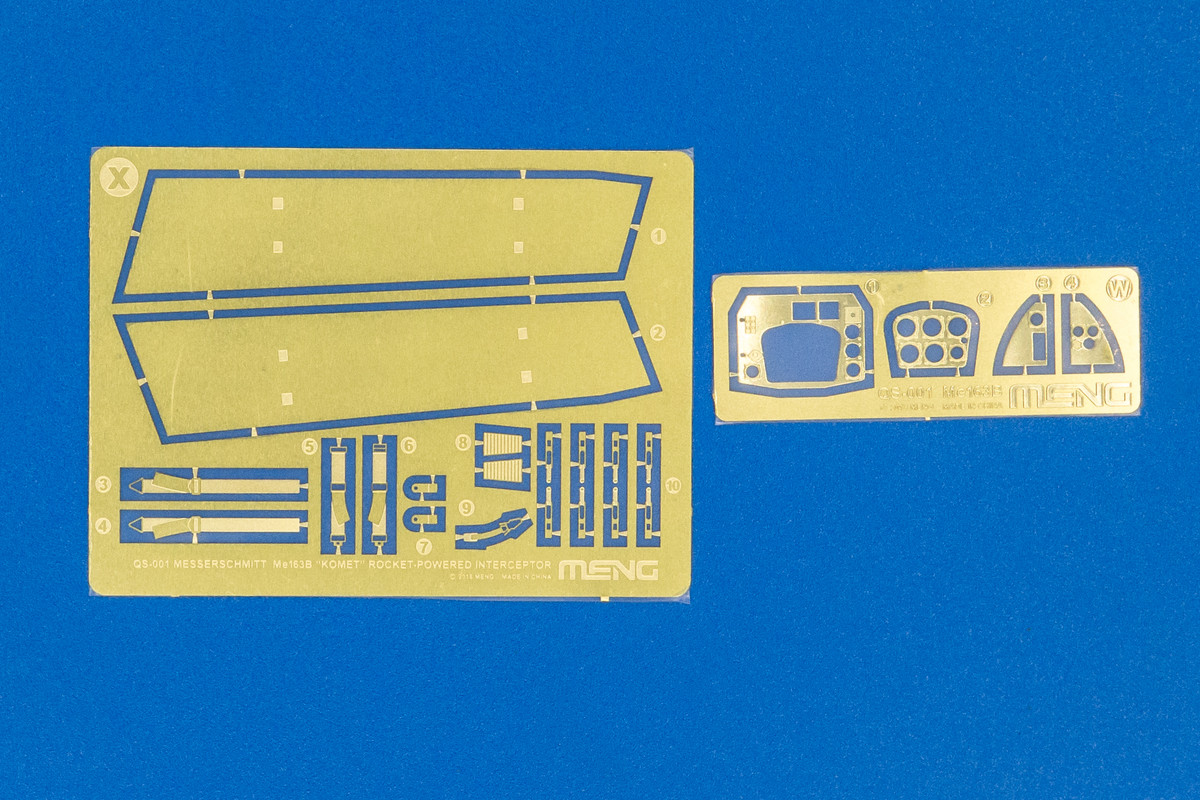
The kit comes with a couple of photoetch frets. The larger one has the flaps, seatbelts and some hatches for those multiple covers on the top of the fuselage. The smaller fret has the instrument panel components that I mentioned before.

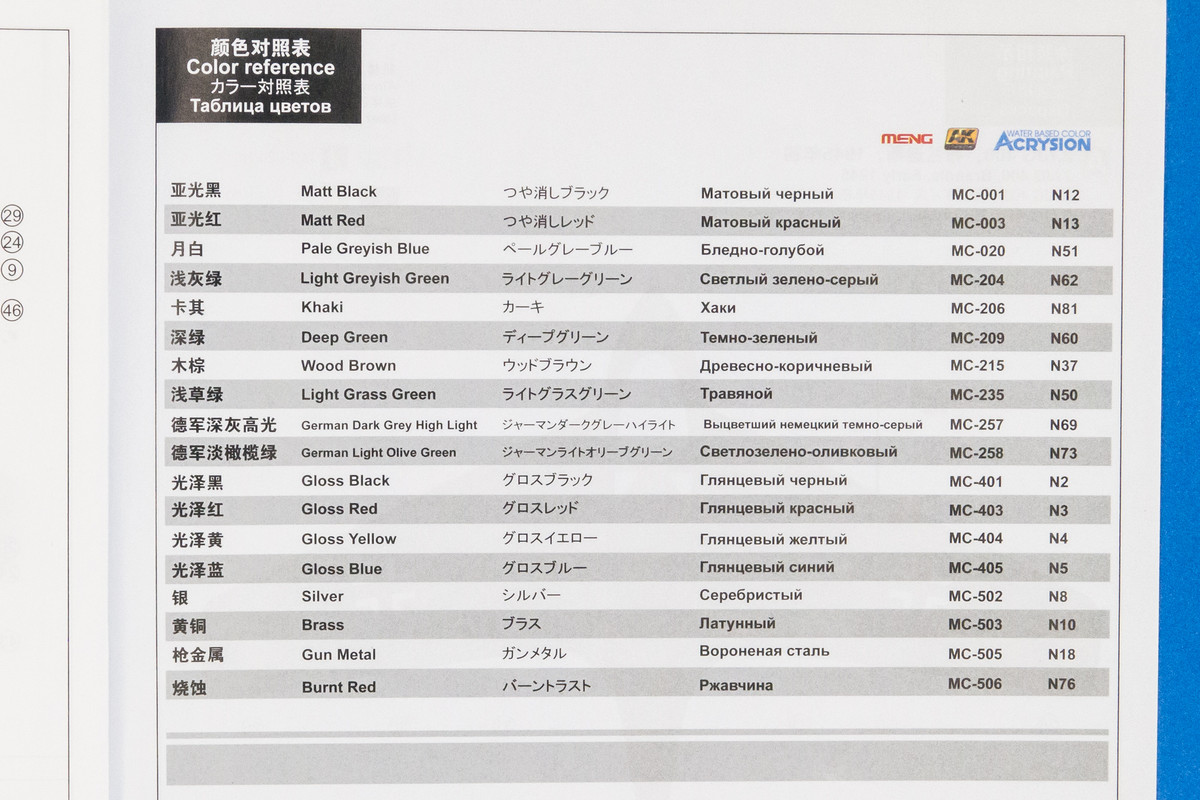
In addition to the assembly instructions, which are in black and white, Meng provides a nice color sheet for the three markings options.

The color call-outs refer to paint lines that I am not familiar with and, strangely, do not use RLM designations either.
The majority of the model is molded in dark grey plastic, which suits me just fine. Much better than the light grey used on the Tamiya Tomcat. Sprue A holds the major fuselage parts. Panel lines are finely recessed and the surface detail is very nicely done. There are some nicely riveted areas as well. Note the separate canopy frame in the lower left.
Sprue B has the swept wing components. Surface detailing is minimized since wood was used extensively here. All control surfaces are molded separately, including the flaps which drop from the middle of the wing bottom.
Sprue C contains some of the smaller external components including multiple covers for the top of the fuselage. Since the external airframe is comprised of so many parts, I can see how fit issues might arise during this build, especially if the covers and panels are posed shut.
Sprue D is molded in black for some reason. The landing gear, which is comprised of jettisonable wheels for take-off, a retractable metal skid for landings and a small tailwheel, are found on this sprue.
Back to the dark grey with Sprue E. This one has the cockpit parts and other internal components such as the guns. Both 20mm and 30mm cannons are provided for the wing gun positions. The kit provides two options for the instrument panel. One is a fully detailed instrument panel that can be painted by hand or you can opt for the multi-media approach using the smooth-faced plastic panel, brass instrument panel surfaces and decals for the dials.
Sprue F houses the engine components including a large cylindrical fuel tank. There are some very fine... very breakable... parts to represent hydraulic/fuel lines, which will be a challenge to remove from the sprue and clean up.
The clear parts are on Sprue G. A couple of issues here. First of all, I do not like having the canopy frame as a separate part. It's a cute idea on paper but hard to execute cleanly... really nowhere to hide that glue seam. Secondly, you can see that the sprue tab on the front of the canopy is bent and taking a small chunk of the canopy with it. I've already sent off an email to Meng to request a new clear sprue.
The decals look ok, except I don't like the light grey they used for the instrument panel dials. No biggie since I'll most likely be using a third alternative from Aires. The major markings will be painted using custom masks so I'll only be using the data stencils. Online reviews of this kit showed decals by Cartograph but these appear to be made in-house by Meng.
The kit comes with a couple of photoetch frets. The larger one has the flaps, seatbelts and some hatches for those multiple covers on the top of the fuselage. The smaller fret has the instrument panel components that I mentioned before.
In addition to the assembly instructions, which are in black and white, Meng provides a nice color sheet for the three markings options.
The color call-outs refer to paint lines that I am not familiar with and, strangely, do not use RLM designations either.
John aka JKim
-----------<><
-----------<><
-
Stikpusher

- Moderator
- Posts: 21383
- Joined: Sat Apr 05, 2014 8:37 pm
- Location: Ceti Alpha 5
Re: 1/32 Meng Me163 Komet
Looks quite a bit more intricate than the old 1/32 Hasegawa Komet.
"Surely I have made my meaning plain? I intend to avenge myself upon you, Admiral. I have deprived your ship of power, and when I swing 'round, I intend to deprive you of your life."
FLSM
FLSM
Re: 1/32 Meng Me163 Komet
The first thing I did was cut the wing and fuselage parts from the sprues and see if I could dry-fit these major components together. Assembly is a little more complicated than that and there are some internal components that need to be in place before that happens.
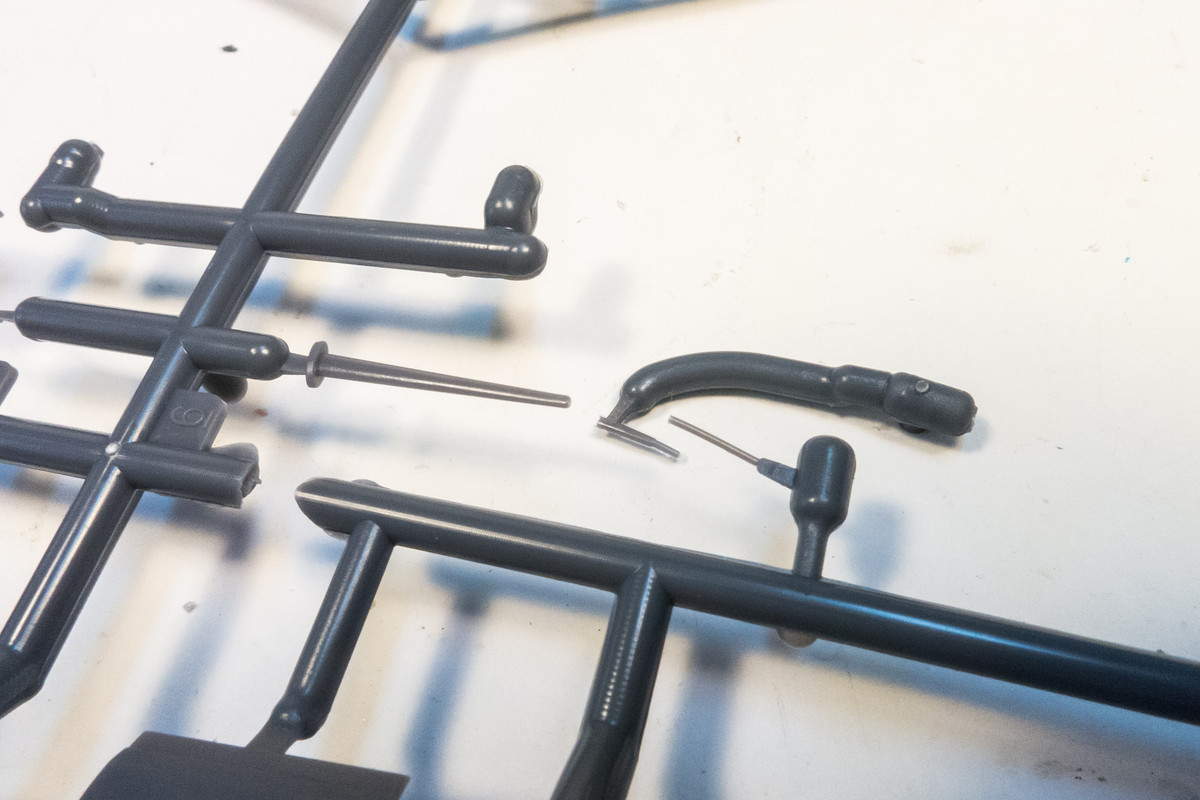
First mishap of the build... The delicate whip antenna got snapped when I failed to recognize a sprue connection between the tail and antenna. I usually replace the tip with wire so this shouldn't be an issue.
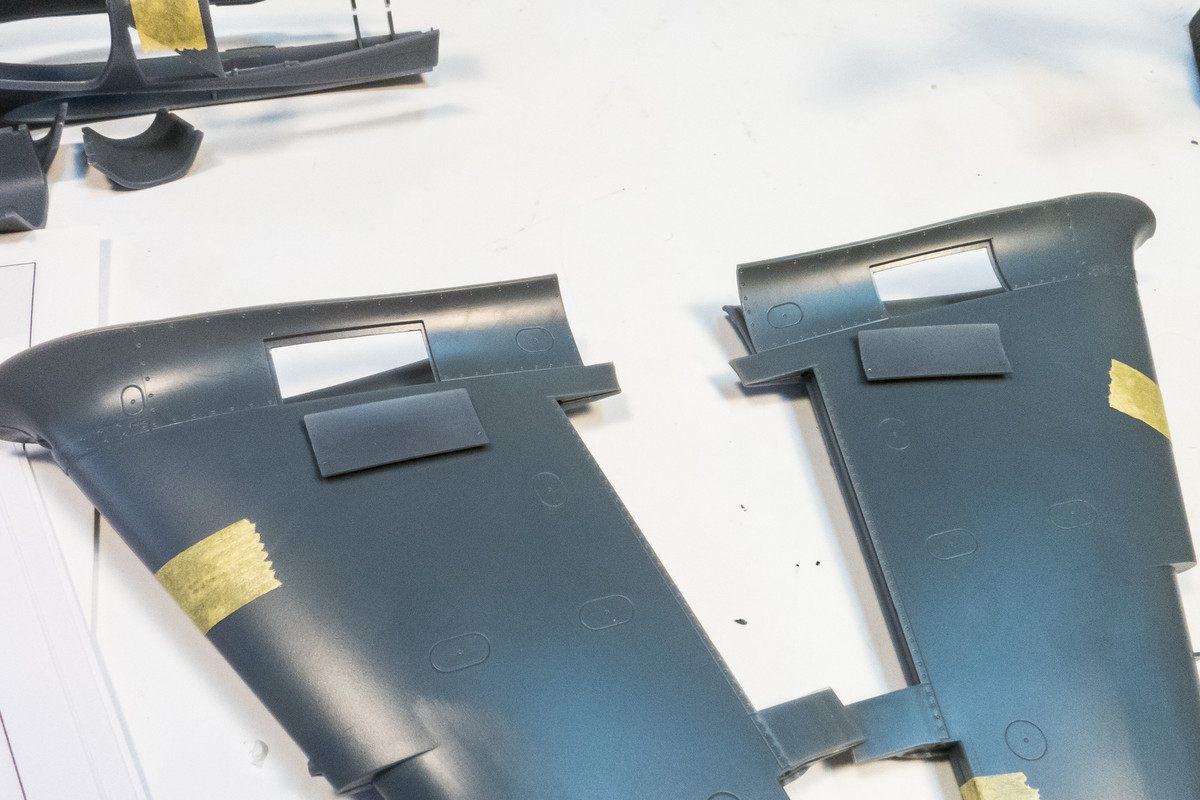
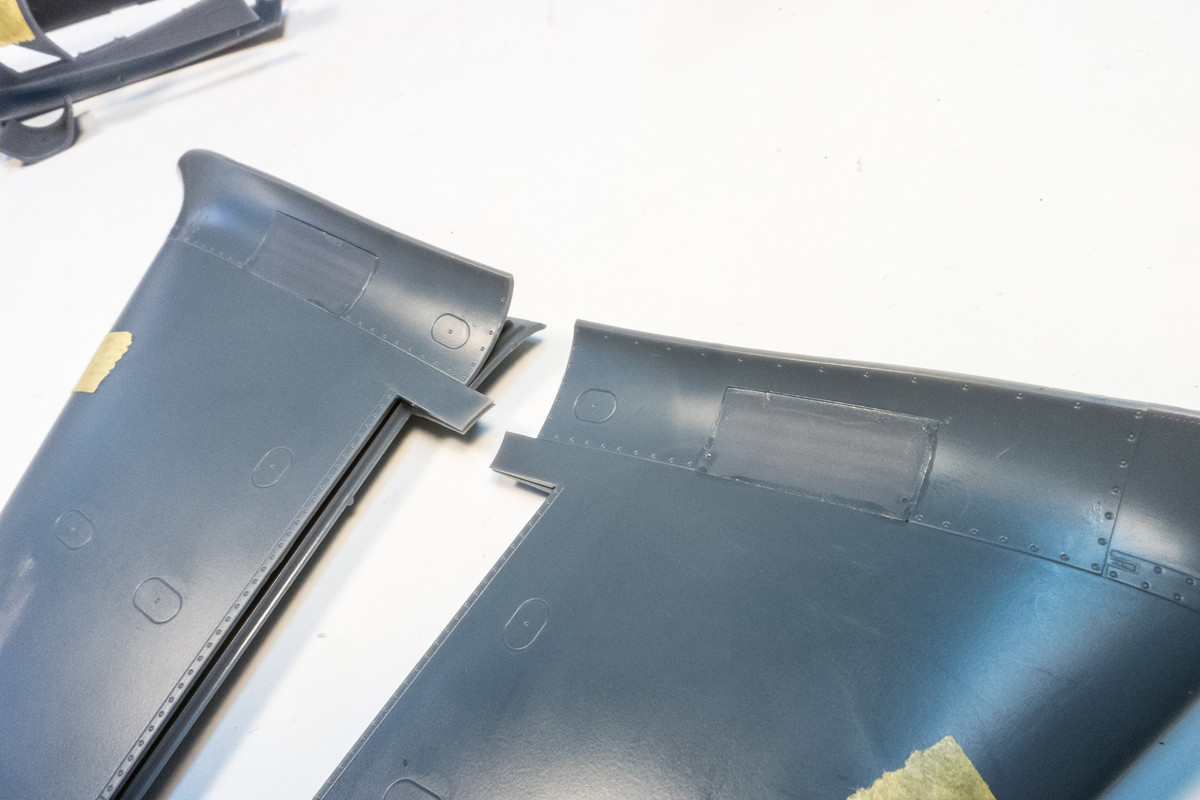
The wing cannon covers can be posed open but I'm going to shut them so I thought I could glue the covers in place.
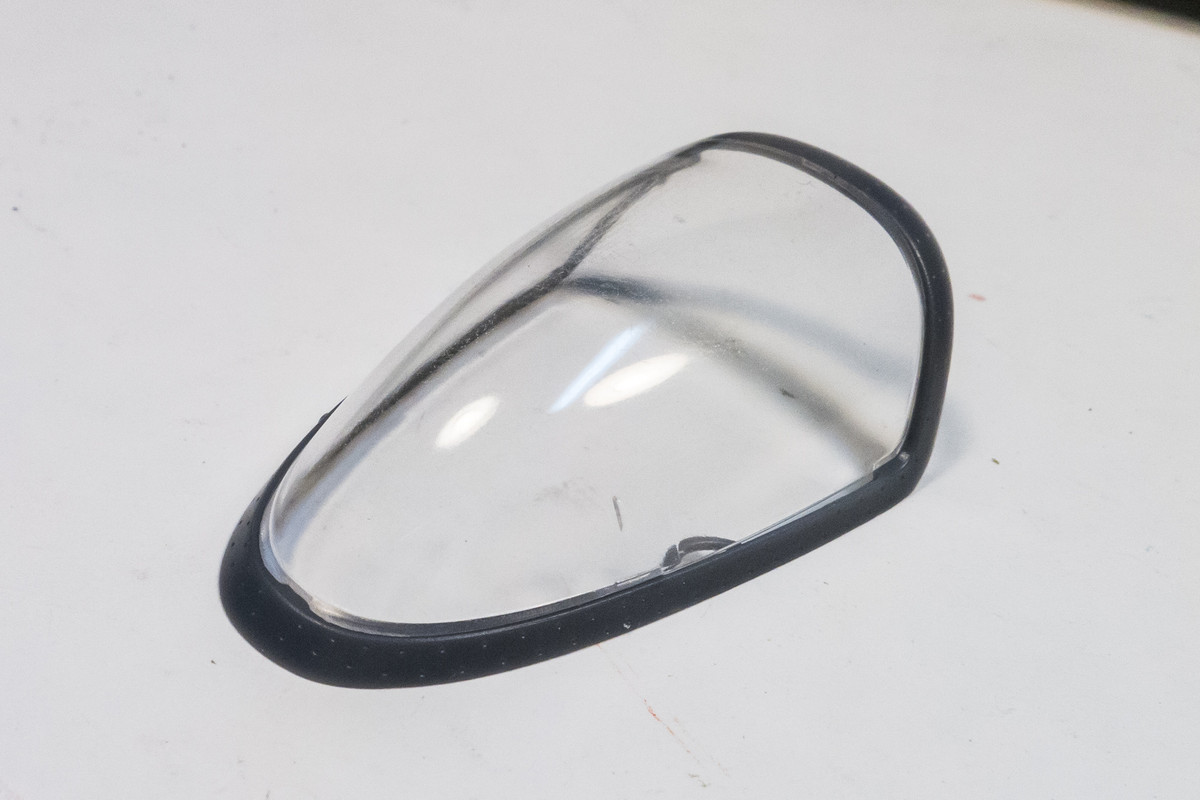
Here's the clear canopy resting on the canopy frame. You can see the small divot missing from the front edge of the canopy. It's not a huge deal but I'm hoping that Meng sends me a replacement sprue. Ignore the apparent distortion... those are just fingerprints.
First mishap of the build... The delicate whip antenna got snapped when I failed to recognize a sprue connection between the tail and antenna. I usually replace the tip with wire so this shouldn't be an issue.
The wing cannon covers can be posed open but I'm going to shut them so I thought I could glue the covers in place.
Here's the clear canopy resting on the canopy frame. You can see the small divot missing from the front edge of the canopy. It's not a huge deal but I'm hoping that Meng sends me a replacement sprue. Ignore the apparent distortion... those are just fingerprints.
John aka JKim
-----------<><
-----------<><

Re: 1/32 Meng Me163 Komet
Got this one on my shopping list so will deffinetly be following along.
'I am a Norfolk man and i glory in being so'
On the bench: Revell 1/72nd Type VIIc U-Boat
On the bench: Revell 1/72nd Type VIIc U-Boat

Re: 1/32 Meng Me163 Komet
Great pictures and review of the kit !
- Kari
- Kari
---
On the bench:
Eduard 1:48 - Fokker D.VII OAW
https://www.facebook.com/GrundAsk-Scale ... 721218708/
On the bench:
Eduard 1:48 - Fokker D.VII OAW
https://www.facebook.com/GrundAsk-Scale ... 721218708/

Re: 1/32 Meng Me163 Komet
Looks like a very nice kit. When I reached out to kitty hawk about the Voodoo canopy being cracked right down the middle, they wanted $15+shipping just for that one part. I could see if I broke it but it came brand new in the box that way. Hopefully Meng has better customer service.
March as one, Don't look back
Odin's sons... Attack!
Unleash hell! Do not repent! Warfare grants us no lament
Let your weapons slash and tear This is no place for fear
Hold the lines! Move as one! In unity our victory's won
Our shields will form a mighty wall
United we shall never fall
Odin's sons... Attack!
Unleash hell! Do not repent! Warfare grants us no lament
Let your weapons slash and tear This is no place for fear
Hold the lines! Move as one! In unity our victory's won
Our shields will form a mighty wall
United we shall never fall
-
Handiabled
- Master Member
- Posts: 591
- Joined: Sat Mar 15, 2014 7:13 am
Re: 1/32 Meng Me163 Komet
I'll be watching this one!