1/32 Special Hobby Hawker Tempest Mk V
-
jeaton01

- Elite Member
- Posts: 2374
- Joined: Thu Apr 23, 2020 9:20 am
- Location: Northern California
- Contact:
Re: 1/32 Special Hobby Hawker Tempest Mk V
Lots of "moving" parts to keep track of!
-
tempestjohnny

- Elite Member
- Posts: 3825
- Joined: Sat Oct 15, 2016 4:51 am
- Location: Naples. FL
Re: 1/32 Special Hobby Hawker Tempest Mk V
Great save. Even if it was kind of unintentional 

Re: 1/32 Special Hobby Hawker Tempest Mk V
Thanks guys! Like John said, there are a lot of "moving parts" to this build that is throwing my comfort level off. I feel incrementally better when I'm able to lock down one of the variables like getting the wheel well walls set. Just have to keep pushing forward.
John aka JKim
-----------<><

-----------<><
Re: 1/32 Special Hobby Hawker Tempest Mk V
Trying to tie down another variable... adding one more contact point to secure the upper wing flap assemblies into place.
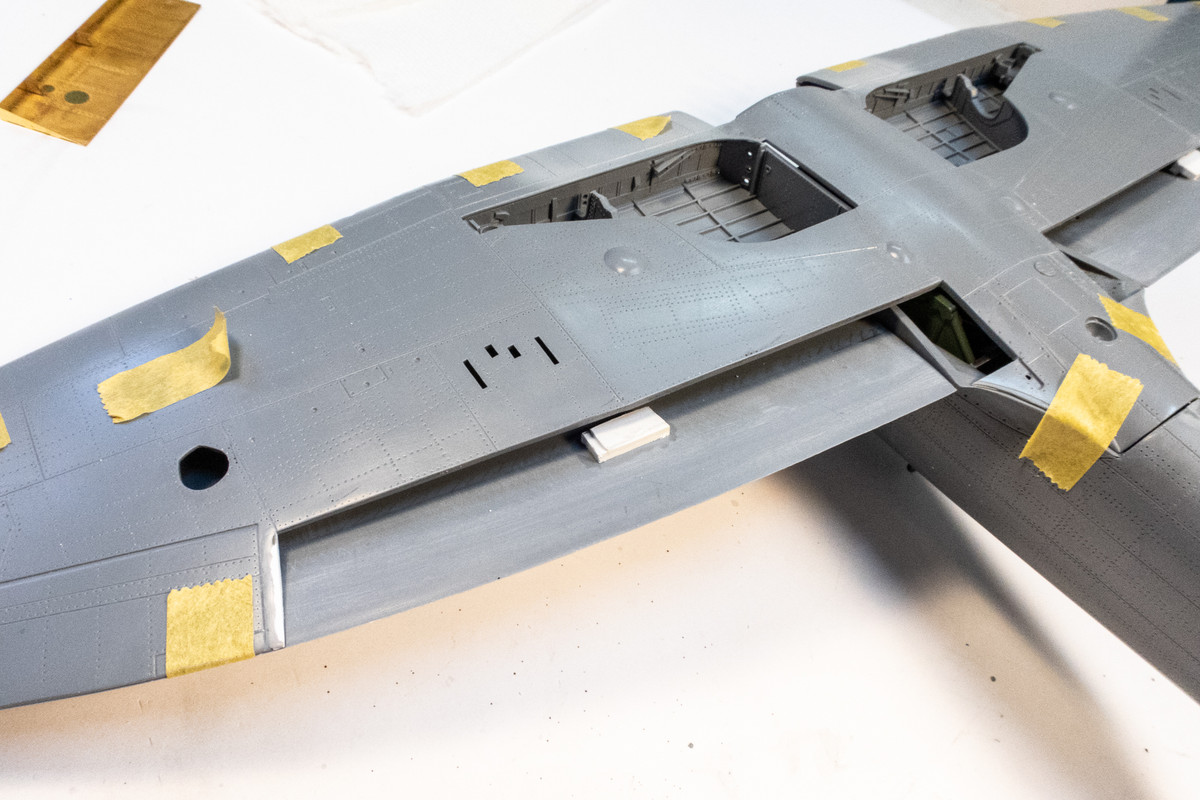
When the time comes, I can place these assemblies and use my free hands to seep CA glue into the edges to secure them into place.
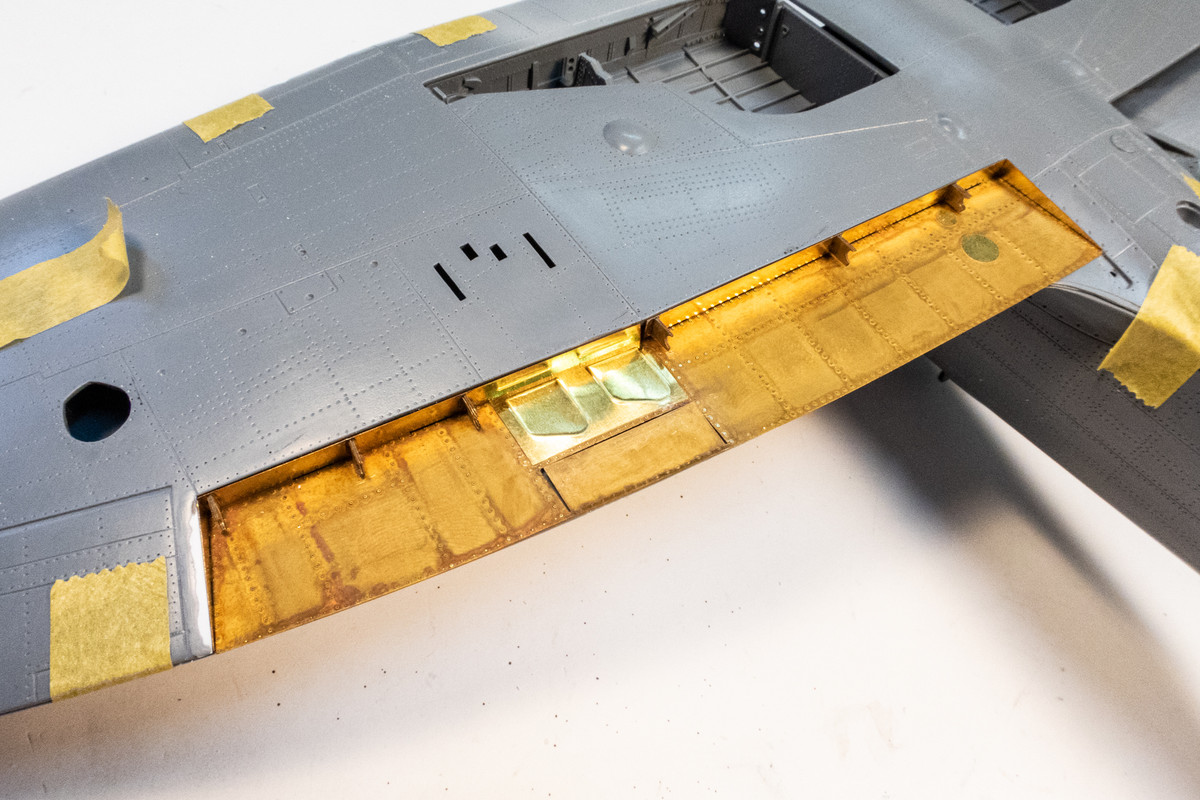
Same idea on the other side but this one wanted an angled shelf. You can also see another sliver of white shim that I used to repair an overzealous saw removal along the wing trailing edge.
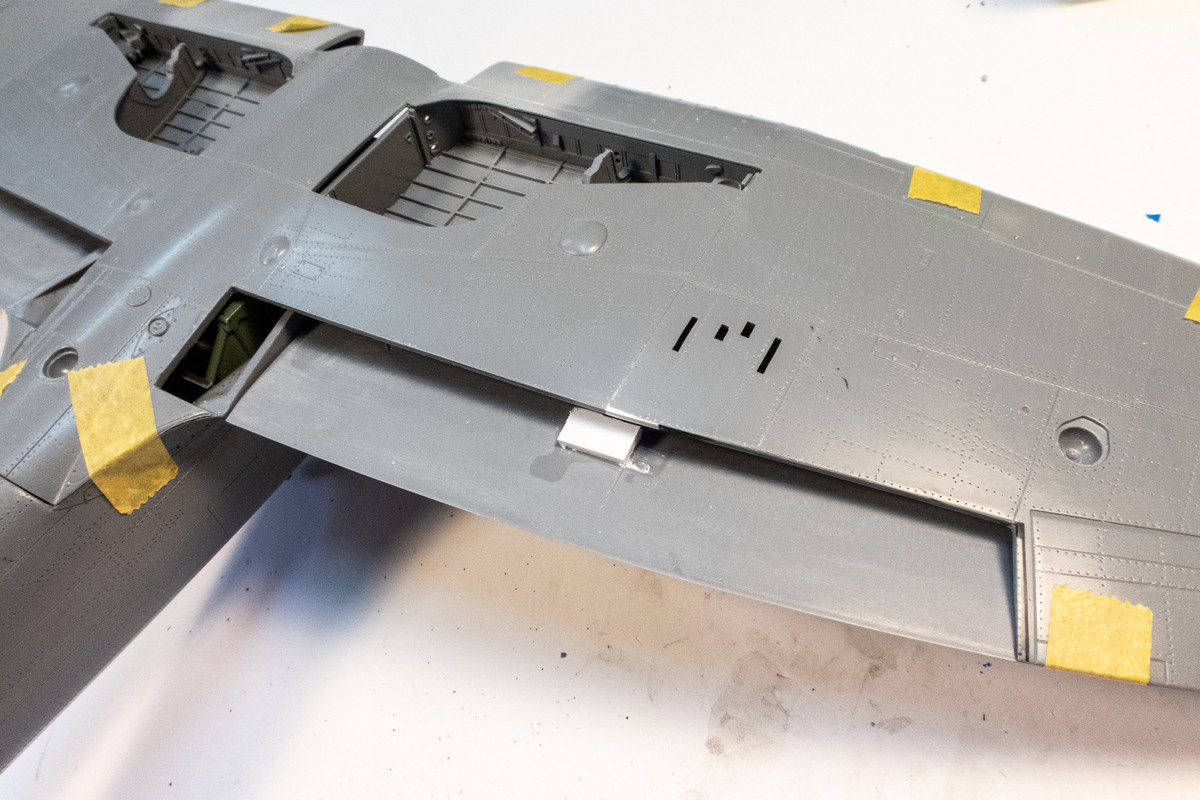

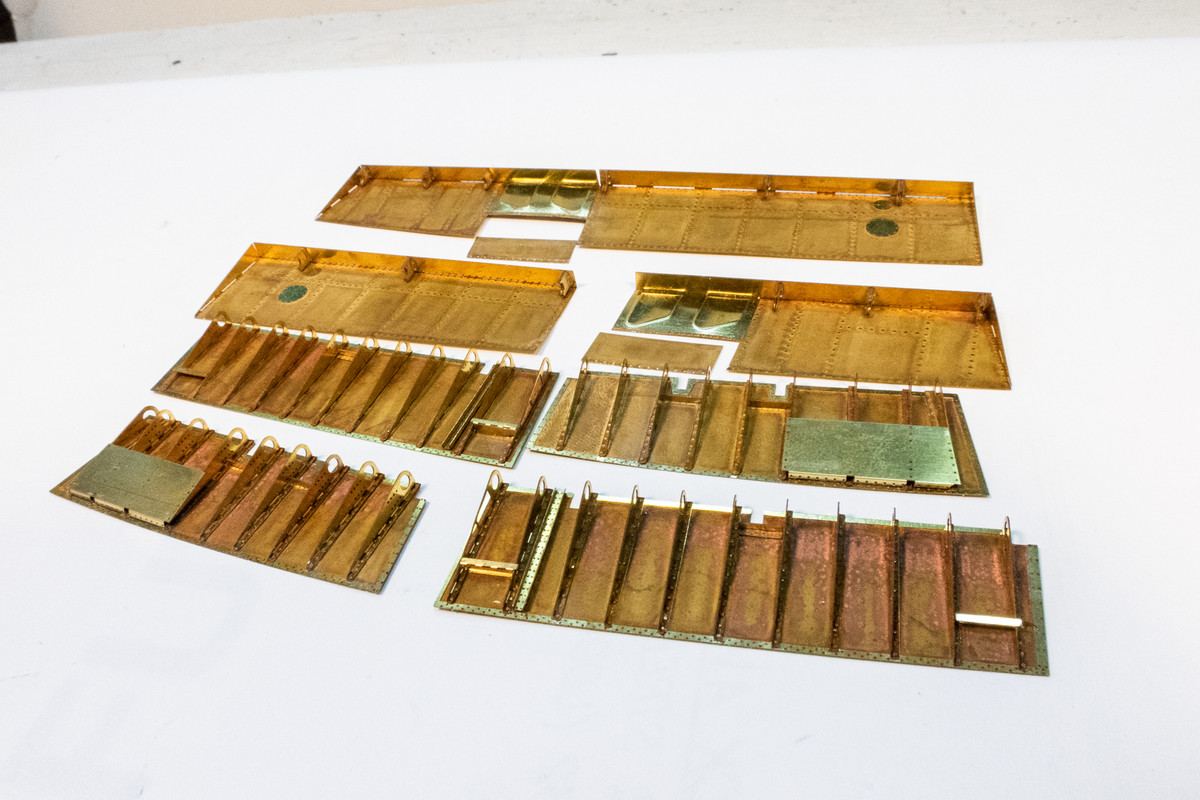
The flaps have all been folded. I'm still waiting for the appropriate sized plastic rod to complete the lower flaps. Once I add those rods, I can prime and maybe even paint the flap assemblies.
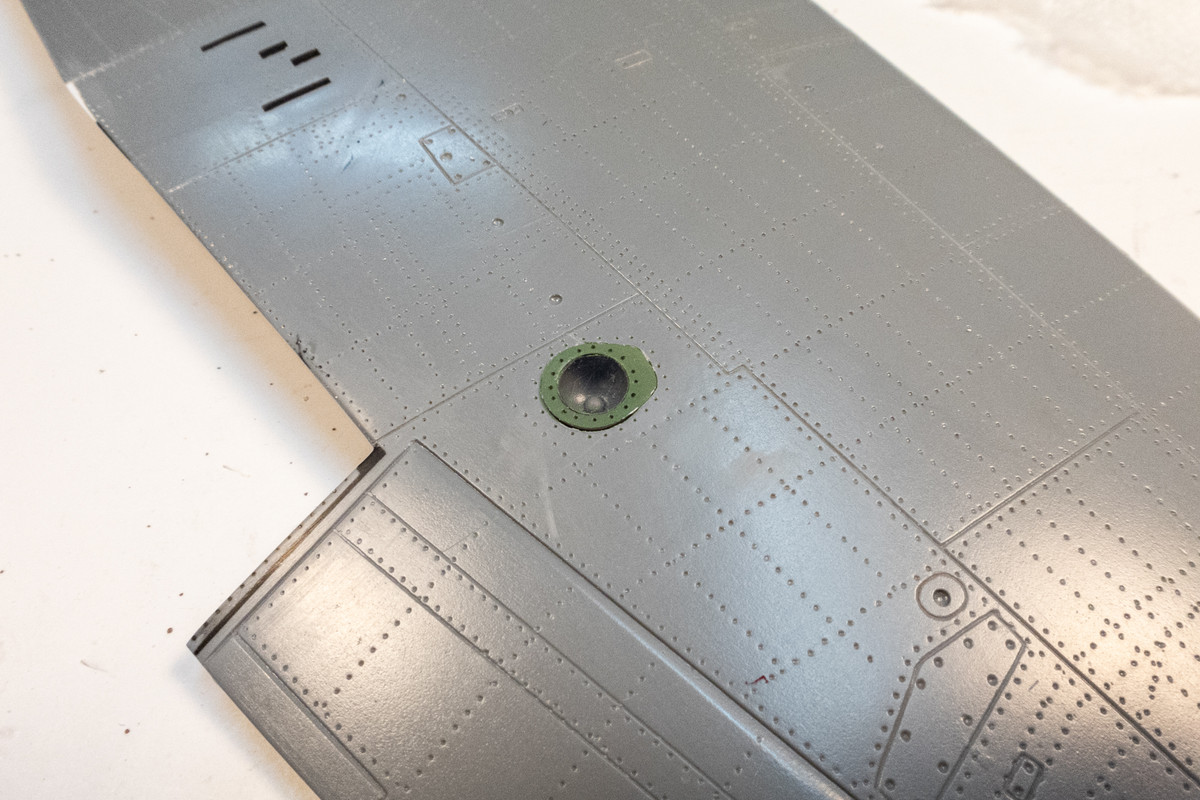
Most of today was spent on this little light cover. The clear piece does not fit well at all and in the shaping and fitting process, I ended up putting a crack down the middle of it. I immediately sent an email to Special Hobby but my brain started thinking about crafting a replacement in case I can't get another clear part. I scanned the wing bottom and traced the outline of the light cover. I then used my Silhouette Portrait cutter to cut a piece of thin sheet styrene. I couldn't get the blade to cut all the way through the plastic but it was scored deep enough that I was able to snap out the shape. A hole punch was used to create the circular opening and also a clear cover from a piece of acetate. I think this will be acceptable.
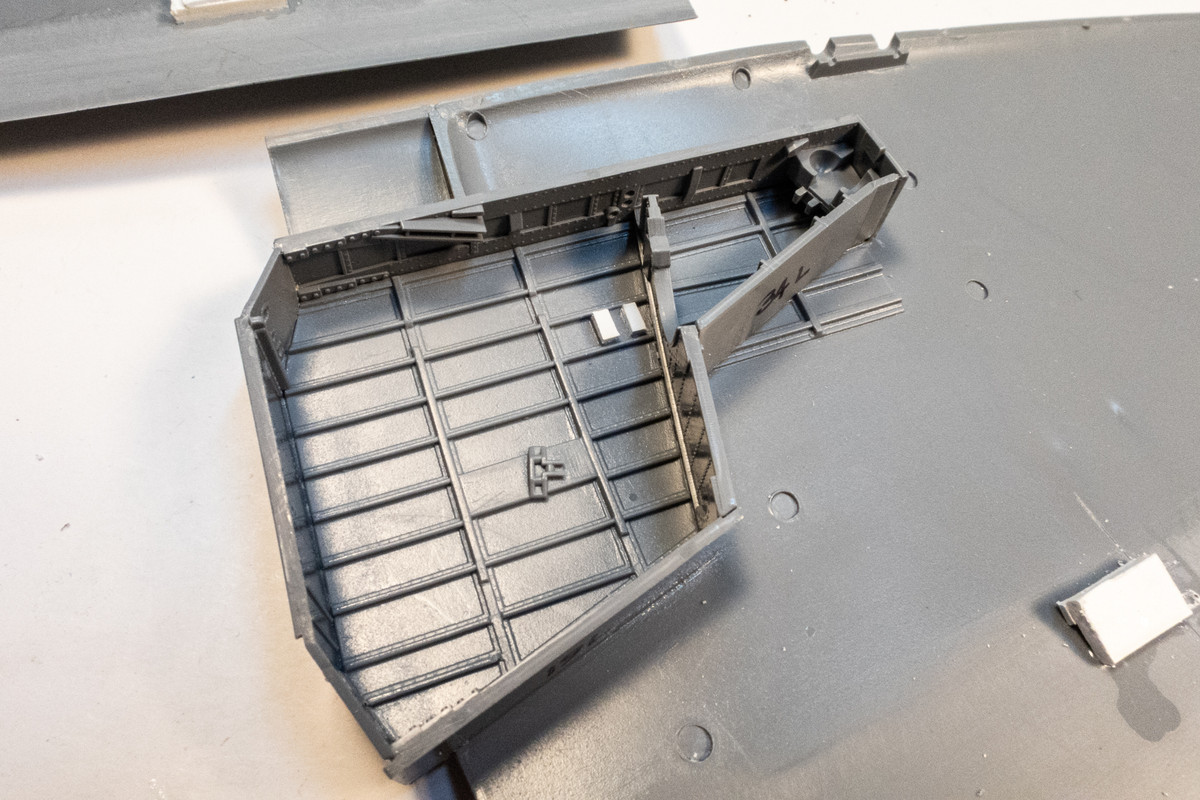
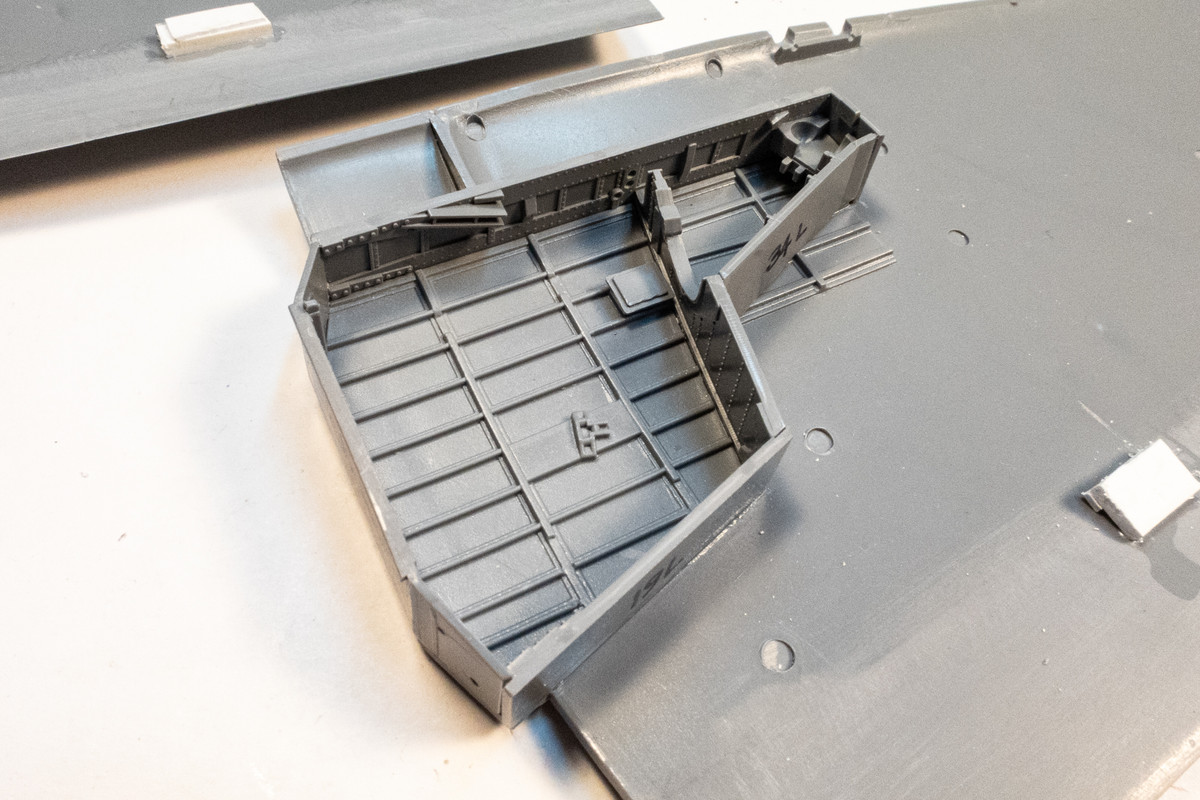
Inching my way toward wiring the wheel wells. I took a page out of Chuck540z3's Tempest build and created a base for the box that is to be installed in this position. The base has a gap so that I can pass wiring through it. The box itself was sanded down so that only the top remained and will be used as a cover after the wiring is placed.
When the time comes, I can place these assemblies and use my free hands to seep CA glue into the edges to secure them into place.
Same idea on the other side but this one wanted an angled shelf. You can also see another sliver of white shim that I used to repair an overzealous saw removal along the wing trailing edge.
The flaps have all been folded. I'm still waiting for the appropriate sized plastic rod to complete the lower flaps. Once I add those rods, I can prime and maybe even paint the flap assemblies.
Most of today was spent on this little light cover. The clear piece does not fit well at all and in the shaping and fitting process, I ended up putting a crack down the middle of it. I immediately sent an email to Special Hobby but my brain started thinking about crafting a replacement in case I can't get another clear part. I scanned the wing bottom and traced the outline of the light cover. I then used my Silhouette Portrait cutter to cut a piece of thin sheet styrene. I couldn't get the blade to cut all the way through the plastic but it was scored deep enough that I was able to snap out the shape. A hole punch was used to create the circular opening and also a clear cover from a piece of acetate. I think this will be acceptable.
Inching my way toward wiring the wheel wells. I took a page out of Chuck540z3's Tempest build and created a base for the box that is to be installed in this position. The base has a gap so that I can pass wiring through it. The box itself was sanded down so that only the top remained and will be used as a cover after the wiring is placed.
John aka JKim
-----------<><
-----------<><
-
tempestjohnny
- Elite Member
- Posts: 3825
- Joined: Sat Oct 15, 2016 4:51 am
- Location: Naples. FL


Re: 1/32 Special Hobby Hawker Tempest Mk V
That's a smart idea for the wire junction box
March as one, Don't look back
Odin's sons... Attack!
Unleash hell! Do not repent! Warfare grants us no lament
Let your weapons slash and tear This is no place for fear
Hold the lines! Move as one! In unity our victory's won
Our shields will form a mighty wall
United we shall never fall
Odin's sons... Attack!
Unleash hell! Do not repent! Warfare grants us no lament
Let your weapons slash and tear This is no place for fear
Hold the lines! Move as one! In unity our victory's won
Our shields will form a mighty wall
United we shall never fall

Re: 1/32 Special Hobby Hawker Tempest Mk V
Nice fixes!
To make each build less crappy than the last one. Or, put another way, "Better than the last one, not as good as the next one!"..
Re: 1/32 Special Hobby Hawker Tempest Mk V
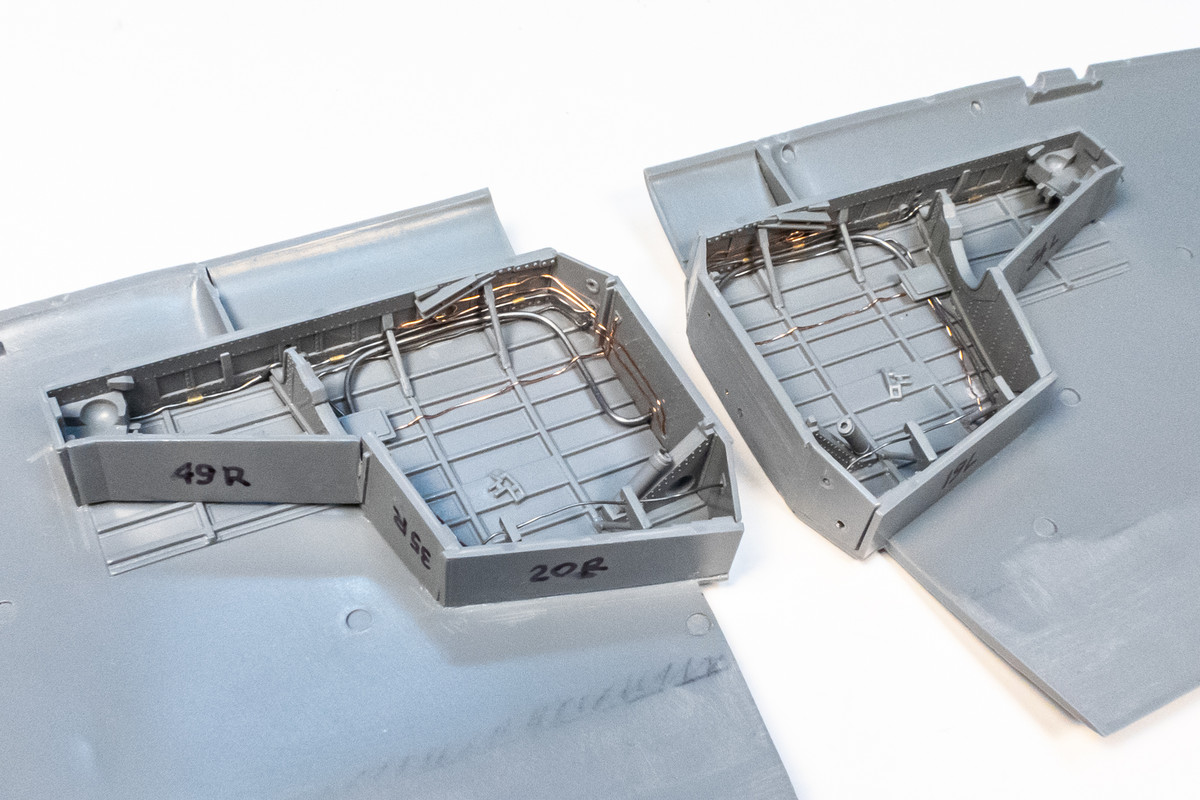
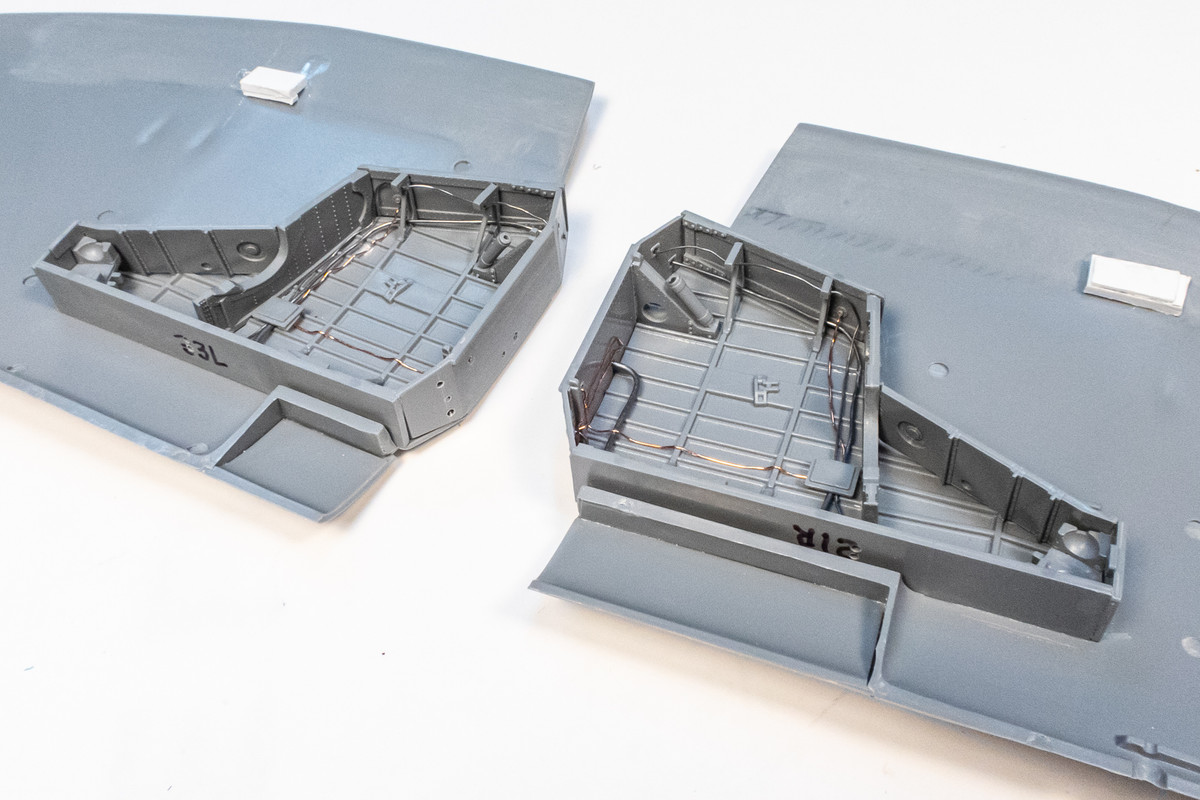
Thanks guys! My initial attempt at wiring the wheel wells. Not very accurate but adds a little bit of visual interest.
John aka JKim
-----------<><
-----------<><
-
mustang1989

- Moderator
- Posts: 5044
- Joined: Tue Mar 18, 2014 8:35 pm
Re: 1/32 Special Hobby Hawker Tempest Mk V
I ended up going through the whole thread to find out that I was following this last year bud John.....you are a frickin' wildman!! Love the progress and love the subject matter too.
Saw that Kenny X was following along early in the build but just dropped off the map last year. Hope he's doin' alright.
Saw that Kenny X was following along early in the build but just dropped off the map last year. Hope he's doin' alright.
-
BlackSheep214

- Elite Member
- Posts: 13596
- Joined: Sun Apr 06, 2014 8:47 pm
Re: 1/32 Special Hobby Hawker Tempest Mk V
Wow!
A side track on this thread.... Can you imagine the magic jkim working on the newest 1/32 scale Avro Lancaster kit....
A side track on this thread.... Can you imagine the magic jkim working on the newest 1/32 scale Avro Lancaster kit....
“Who controls the skies, controls the fate of this Earth”
Author unknown- 352nd Fighter Group, Blue-Nosed Bastards of Bodney
“Send one plane it’s a sortie; send two planes it’s a flight; send four planes it’s a test of airpower. - Richard Kohn
Author unknown- 352nd Fighter Group, Blue-Nosed Bastards of Bodney
“Send one plane it’s a sortie; send two planes it’s a flight; send four planes it’s a test of airpower. - Richard Kohn