1/32 Special Hobby Hawker Tempest Mk V

Post your work in progress of your aircraft builds in here.
User avatar
Stikpusher
Moderator
Posts: 21179
Joined: Sat Apr 05, 2014 8:37 pm
Location: Ceti Alpha 5

Re: 1/32 Special Hobby Hawker Tempest Mk V

Post by Stikpusher »

:hmm: Yes I could see John building one of the 1/32 Lancs… :wink:
"Surely I have made my meaning plain? I intend to avenge myself upon you, Admiral. I have deprived your ship of power, and when I swing 'round, I intend to deprive you of your life."

FLSM
User avatar
LyleW
Admin
Posts: 15035
Joined: Fri Dec 13, 2013 7:25 am
Location: Mt. Washington KY

Re: 1/32 Special Hobby Hawker Tempest Mk V

Post by LyleW »

Stikpusher wrote::hmm: Yes I could see John building one of the 1/32 Lancs… :wink:
Or, the B+36!
To make each build less crappy than the last one. Or, put another way, "Better than the last one, not as good as the next one!"..
User avatar
jkim
Elite Member
Posts: 4073
Joined: Mon Apr 10, 2017 4:03 pm

Re: 1/32 Special Hobby Hawker Tempest Mk V

Post by jkim »

:lol:

Nice try fellas but if you want a see a big four engine bomber in 1/32 scale, you need to looks elsewhere. I won't say never but bombers just aren't my thing. I'm very specific.. WW2 fighter aircraft with the very occasional foray into something else. That WNW/Border Lancaster DOES look incredible though. Does anyone know anyone that purchased that kit?

I thought I posted this but I must've not hit the SUBMIT button...

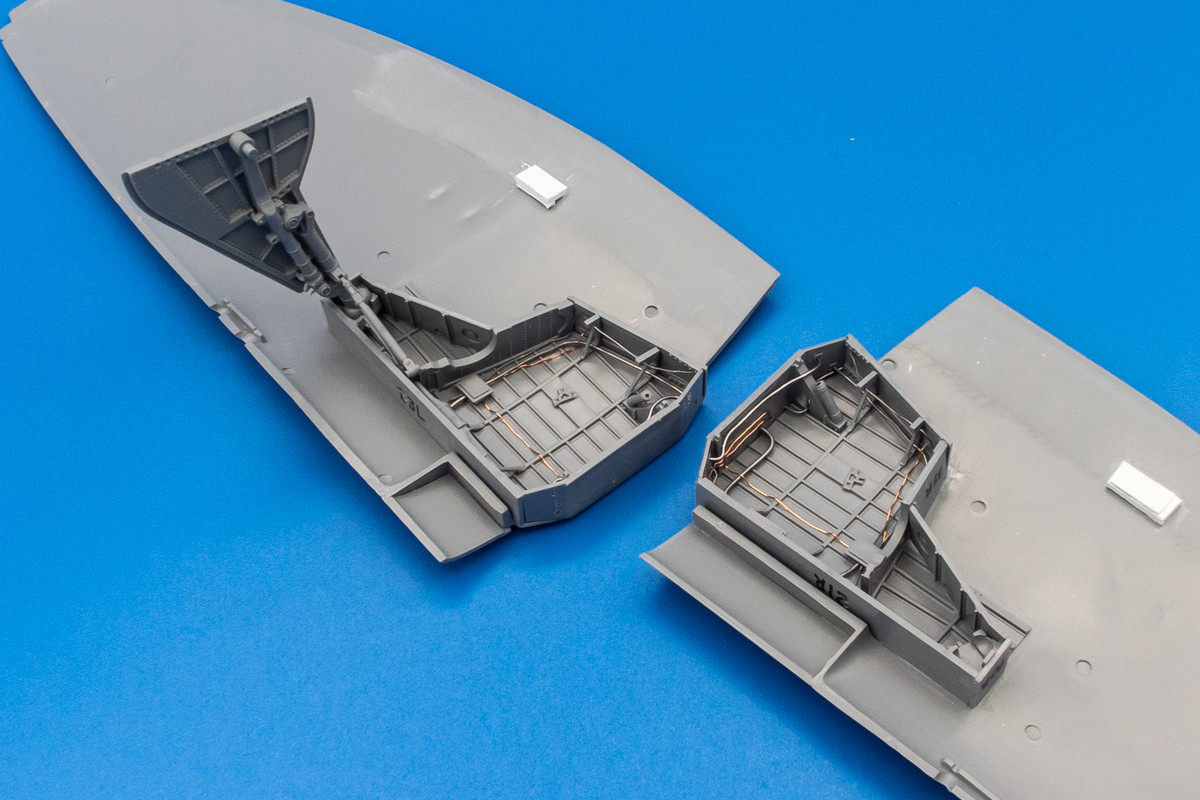
A little more wiring work has been added but I think I'm just about done. I may add a bit to the portion around the landing gear legs but maybe not. Due to the looseness of the ball/joint fixture of the landing gear legs, dry-fitting is very difficult but I managed to get one of the legs in place. I may try adding a metal pin to help place the landing gear legs. I've temporarily glued the landing gear cover onto the leg because I was curious about getting the right stance and I'll be using the bottom edge of the landing gear cover in relation to the rest of the aircraft as a reference point. It doesn't really help without the fuselage attached so I'll have to figure that out later.
Image
Image
John aka JKim
-----------<><
Image
User avatar
jkim
Elite Member
Posts: 4073
Joined: Mon Apr 10, 2017 4:03 pm

Re: 1/32 Special Hobby Hawker Tempest Mk V

Post by jkim »

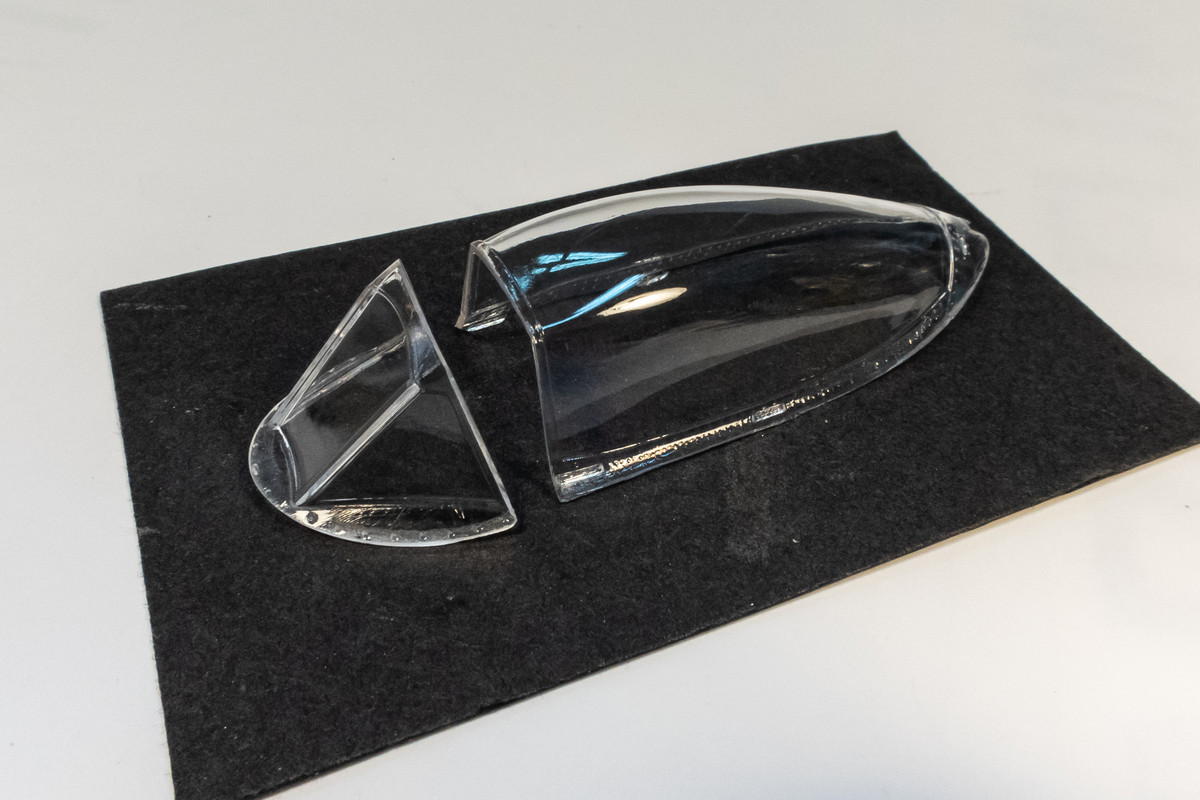
The windscreen and canopy has been polished since they were both scuffed slightly. The clear parts were then given my customary bath in Future.
Image

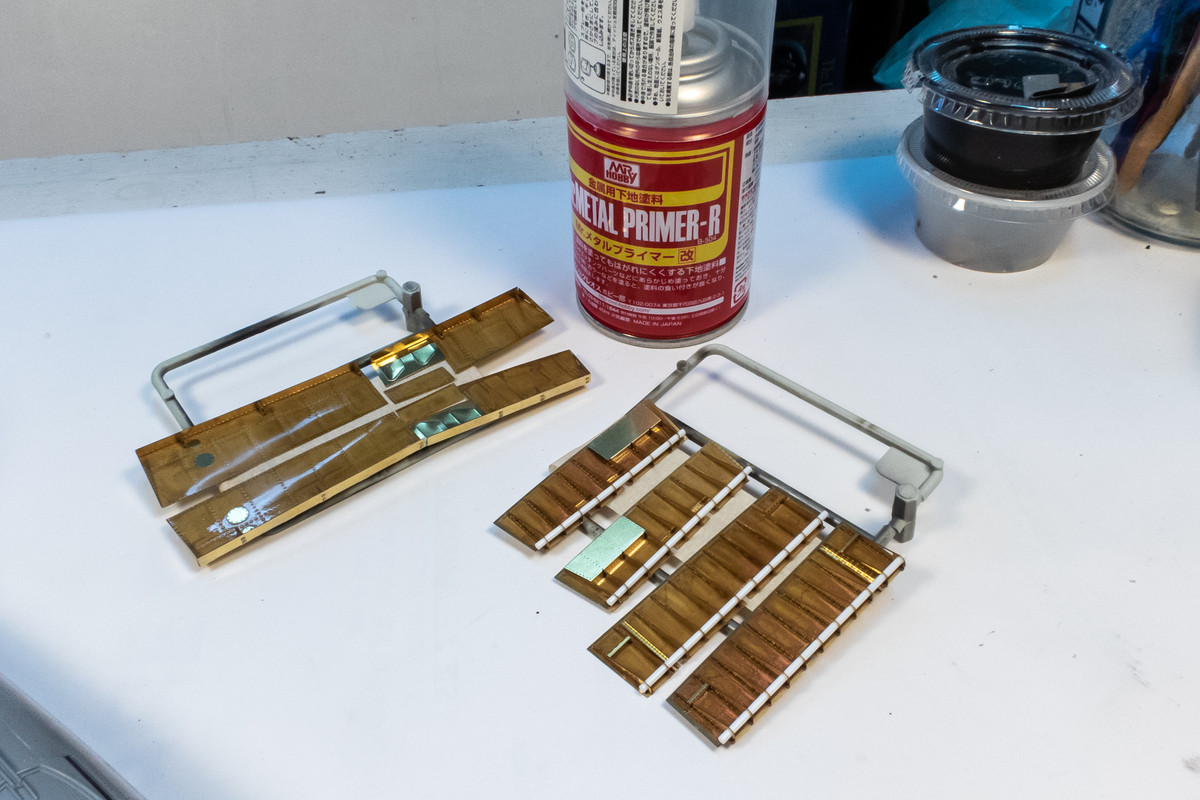
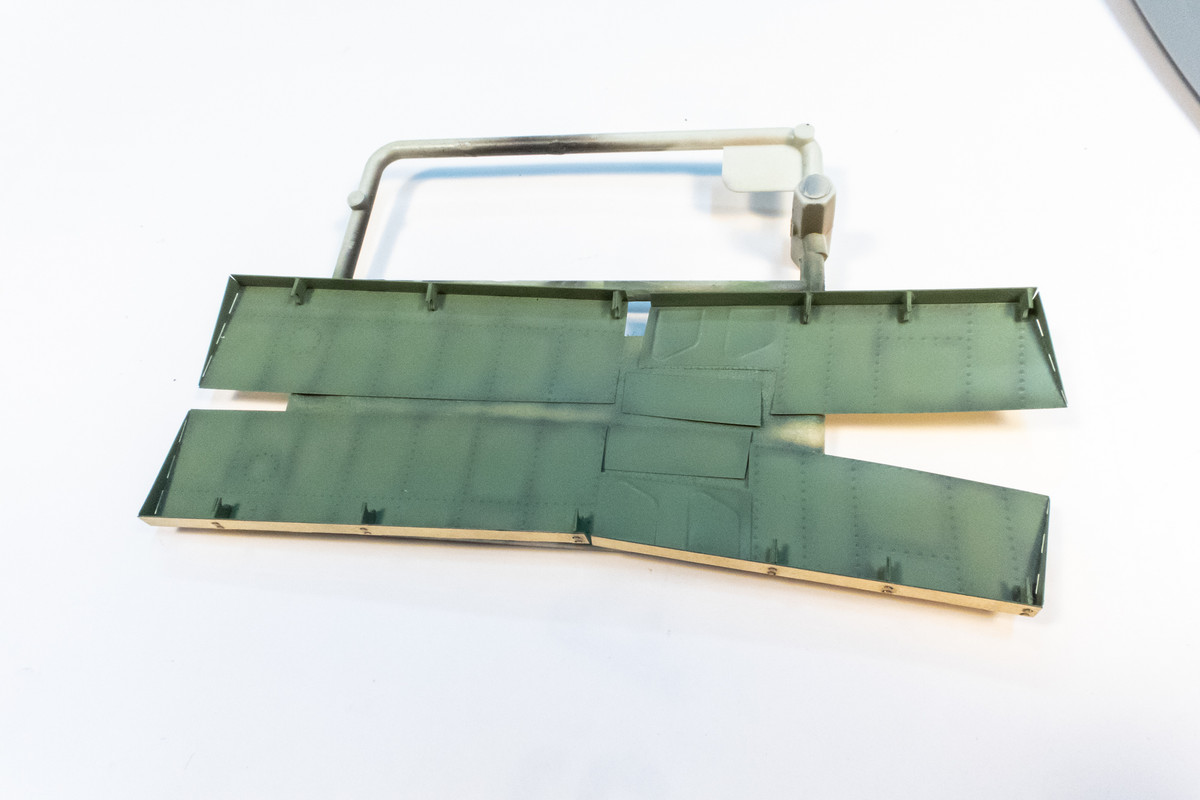
I got the plastic rod today so I was able to complete the flaps. I'm going shoot them with a metal primer so the paint sticks to them better.
Image

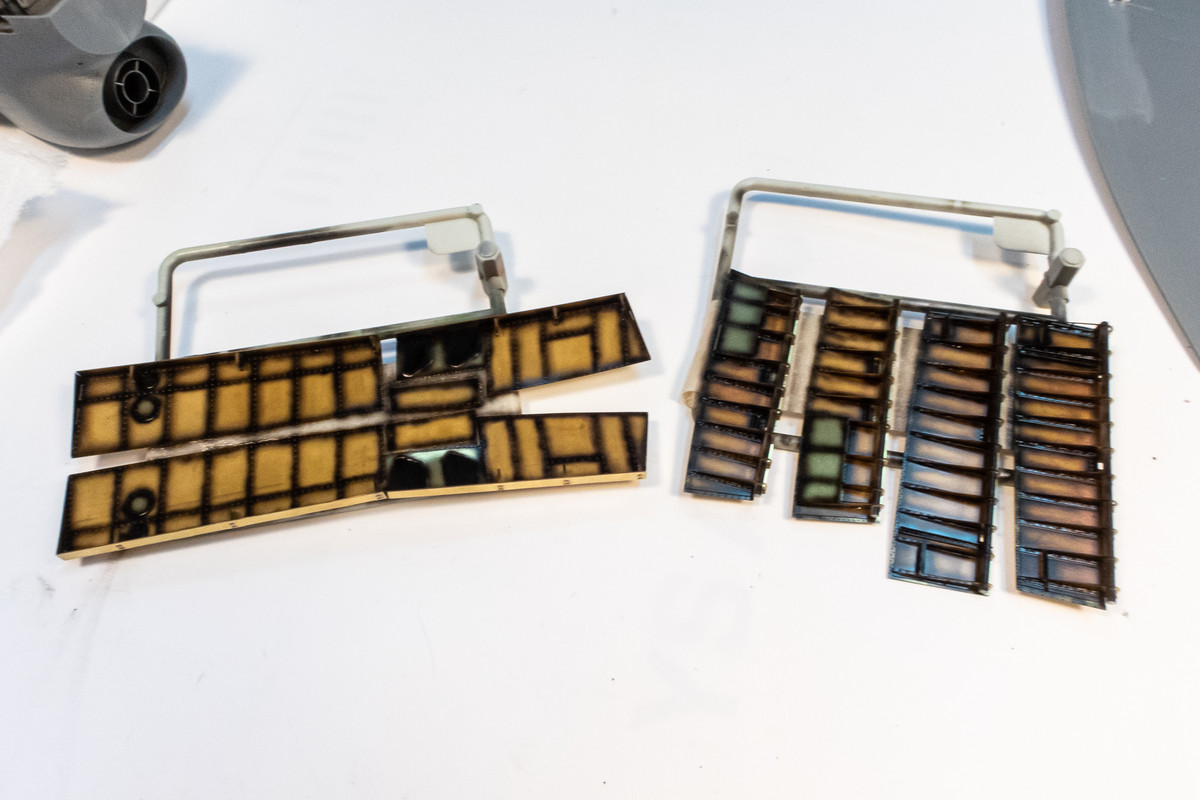
I decided to give the flaps a preshade before painting. The brass background may give the interior green a slightly different shade but I'm ok with that... a little color variation is a good thing.
Image

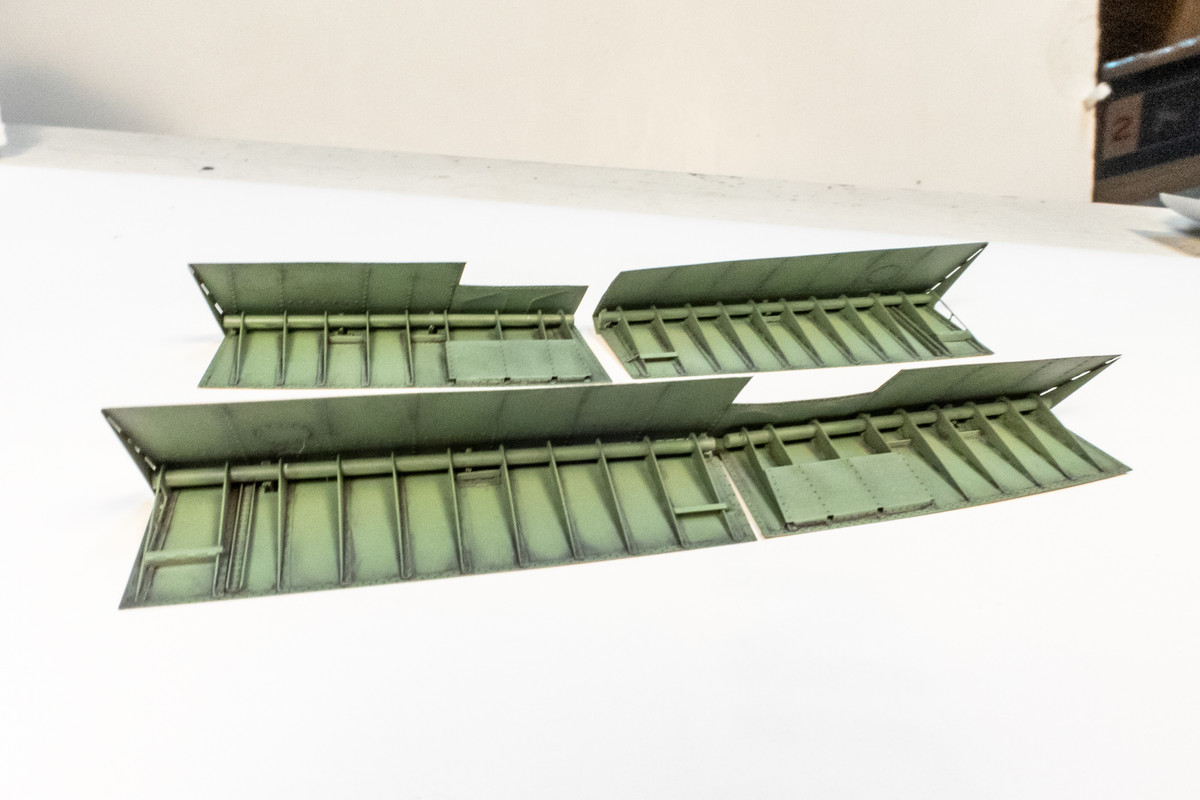
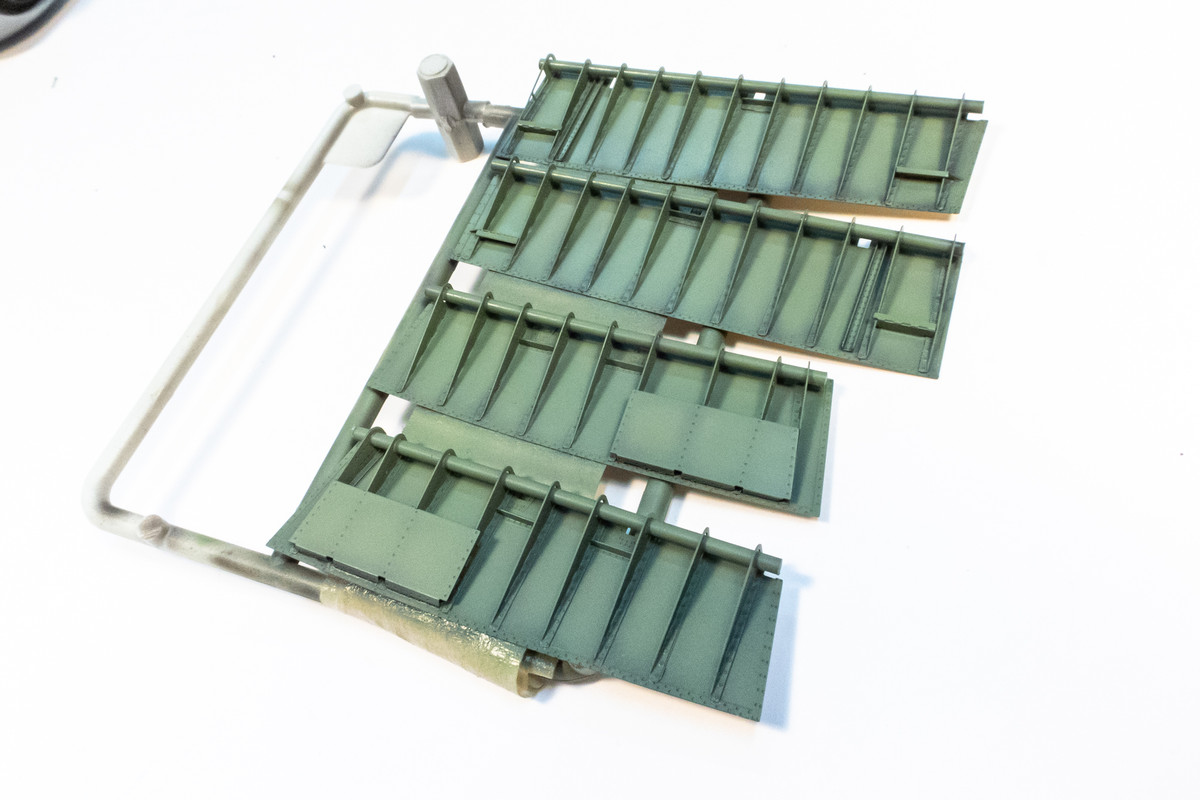
Here are the interior of the flaps after a coat of Interior Green. I have to remember to primer the reverse side of the lower flaps before I paint them.
Image
Image

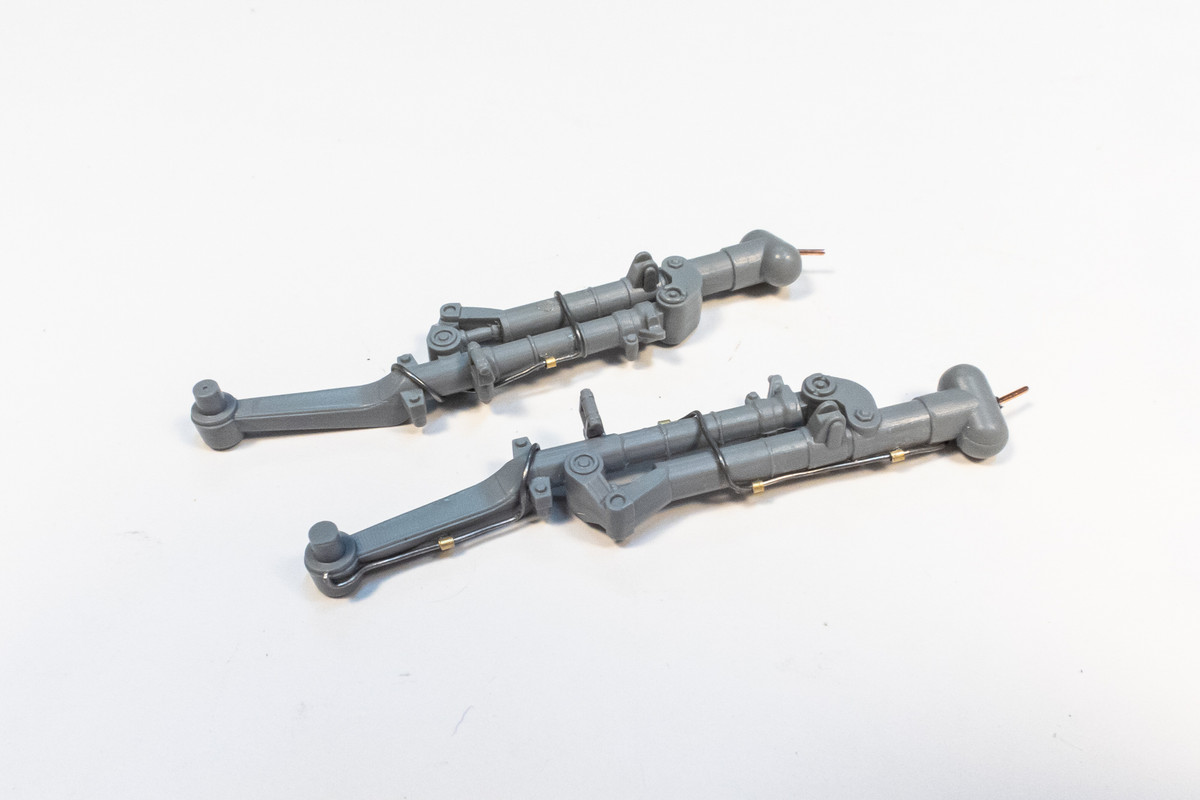
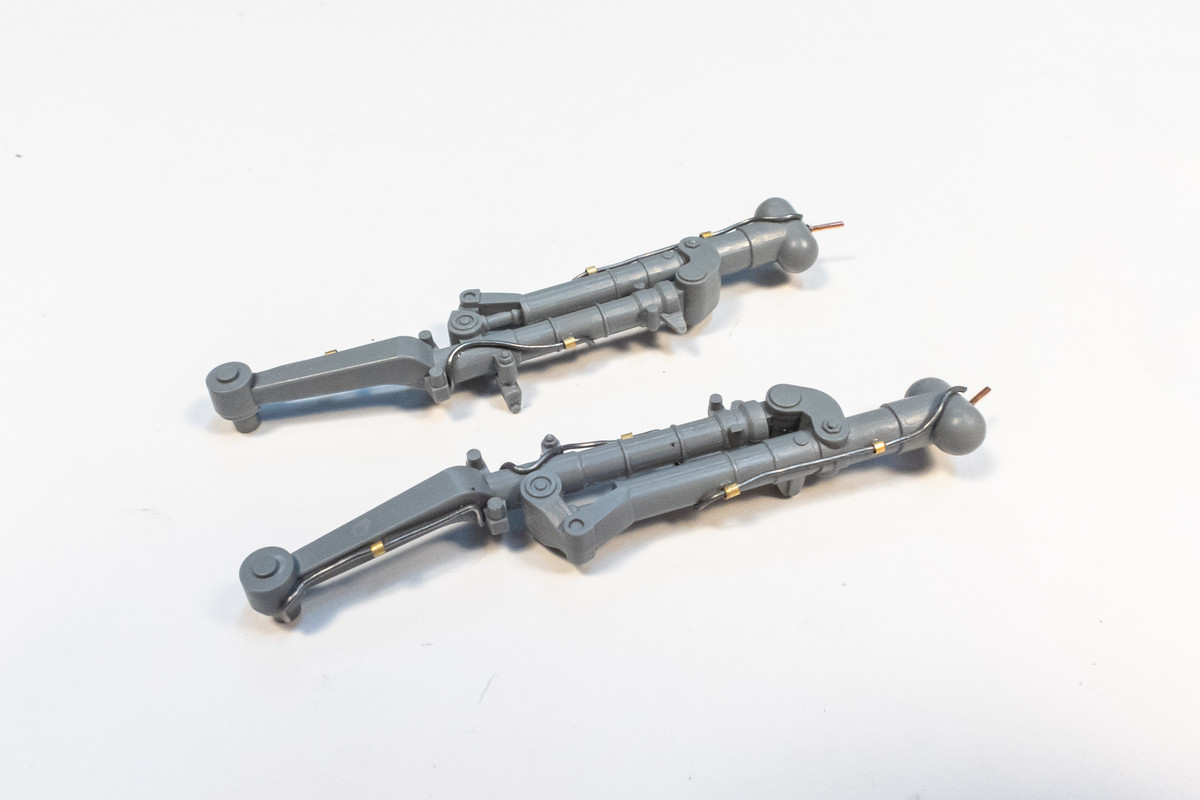
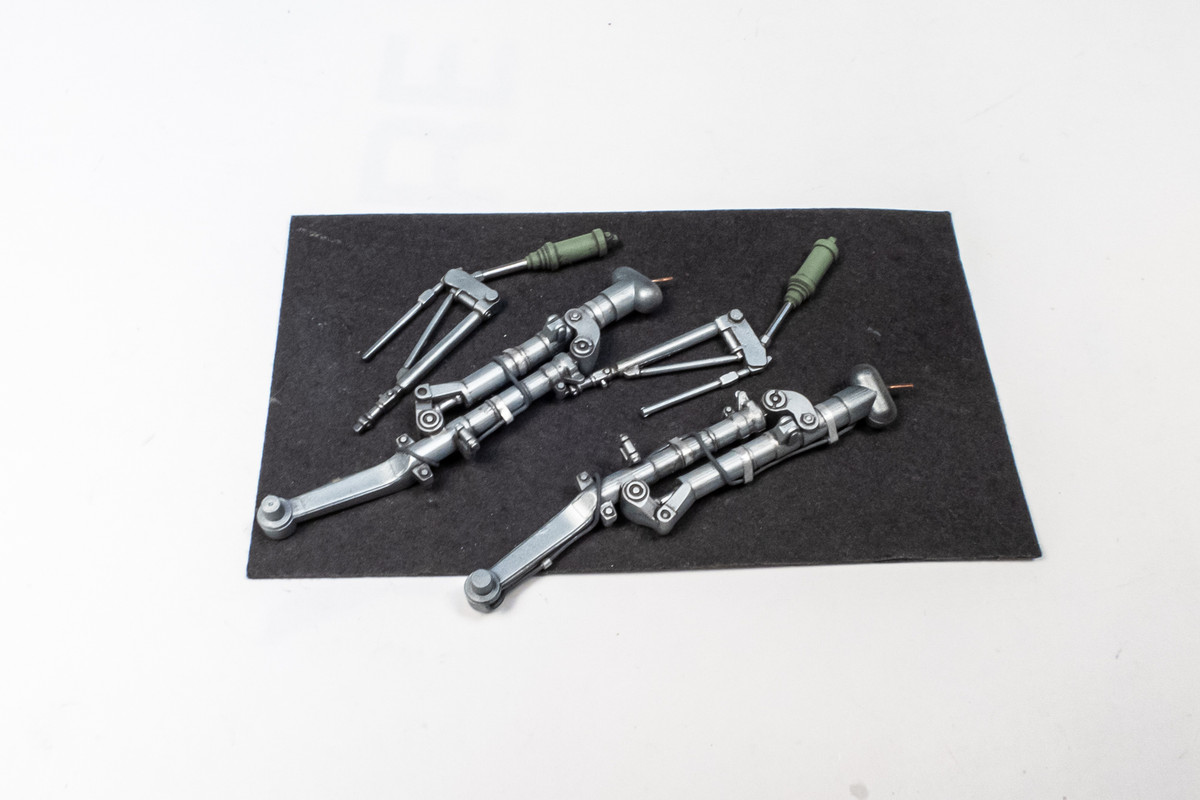
The main landing gear legs have been enhanced with a brake line made from lead wire and attached using wee sections of brass tubing.
Image
Image
John aka JKim
-----------<><
Image
User avatar
keavdog
Elite Member
Posts: 4777
Joined: Thu Jan 10, 2019 1:14 am
Location: Earth

Re: 1/32 Special Hobby Hawker Tempest Mk V

Post by keavdog »

The flaps looked great in brass... fantastic with color on them. And the gear look amazing. :shoutout:
Thanks,
John
User avatar
jkim
Elite Member
Posts: 4073
Joined: Mon Apr 10, 2017 4:03 pm

Re: 1/32 Special Hobby Hawker Tempest Mk V

Post by jkim »

Thanks John... appreciate it!

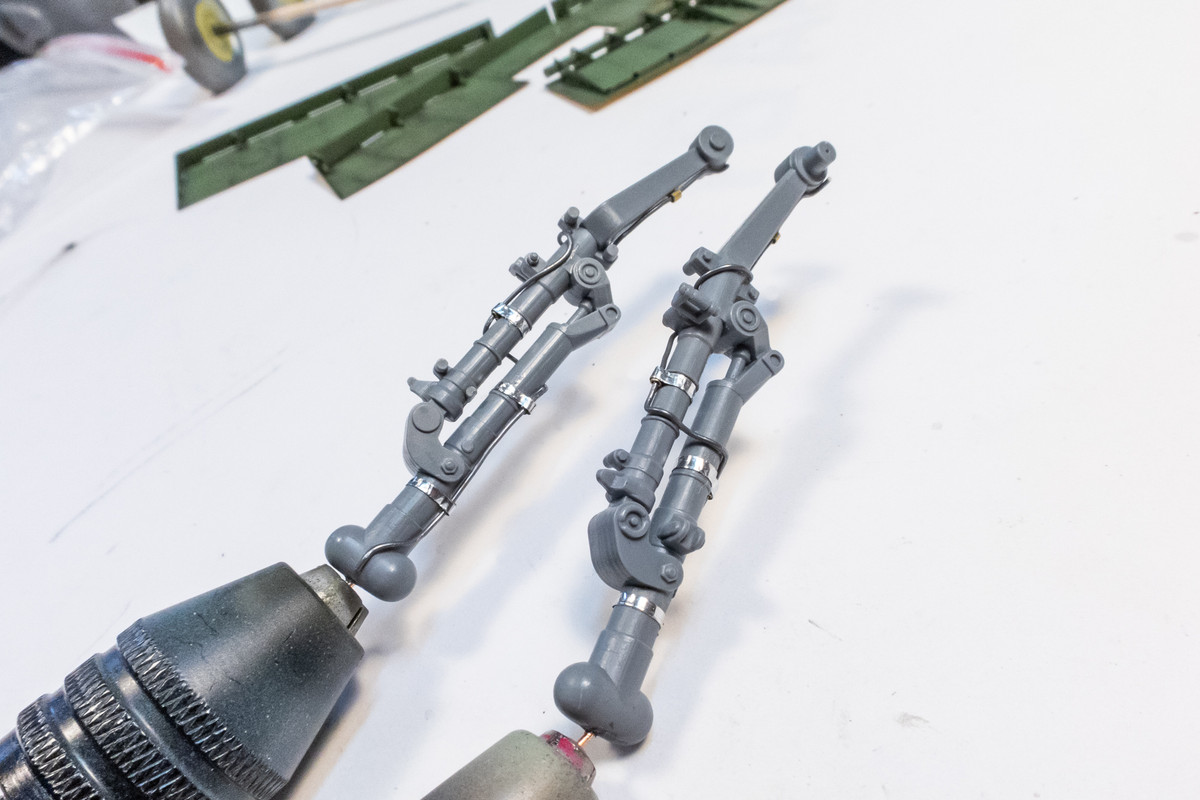
Using thin strips of aluminum tape, I've added straps to the brake lines at the locations where I have the brass tubing. I have a hard time cutting really thin strips of this aluminum tape without it wrinkling like an accordion. I thought I had smoothed it out but after a coat of White Aluminum on the gear legs, the straps still looks a bit wrinkly so I may have to address.
Image

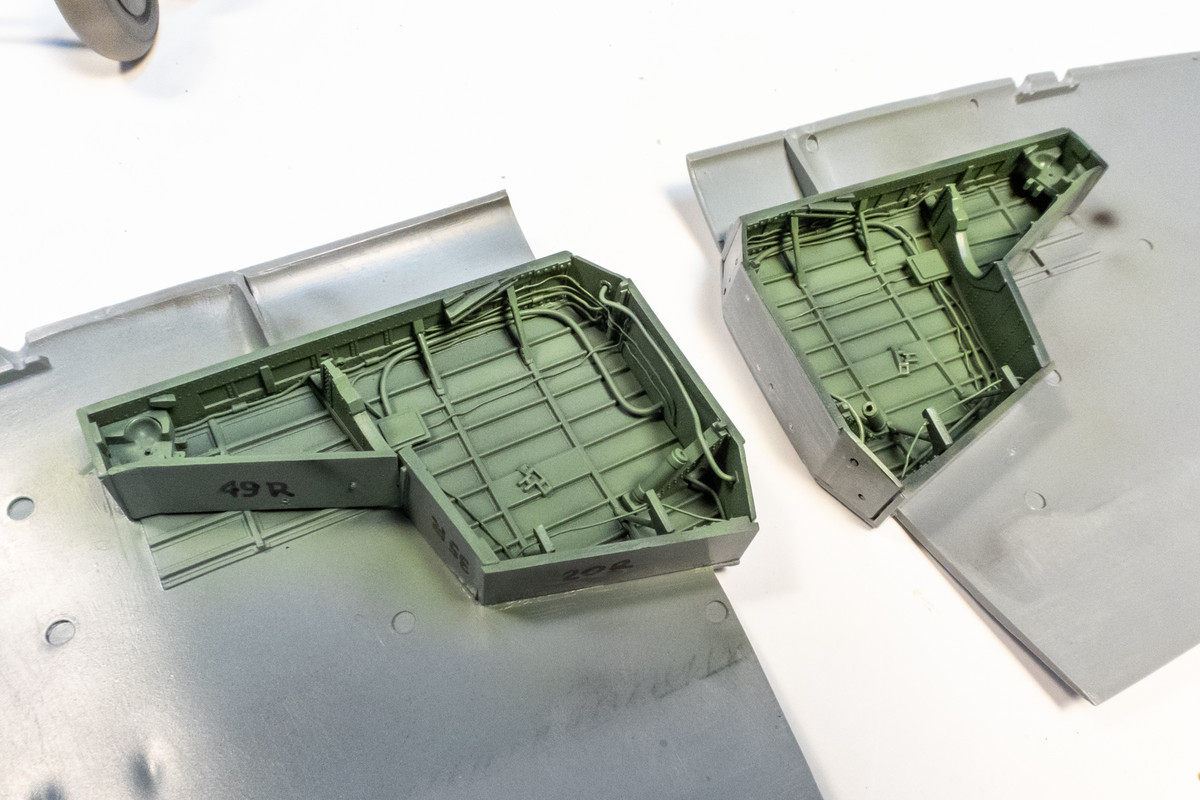
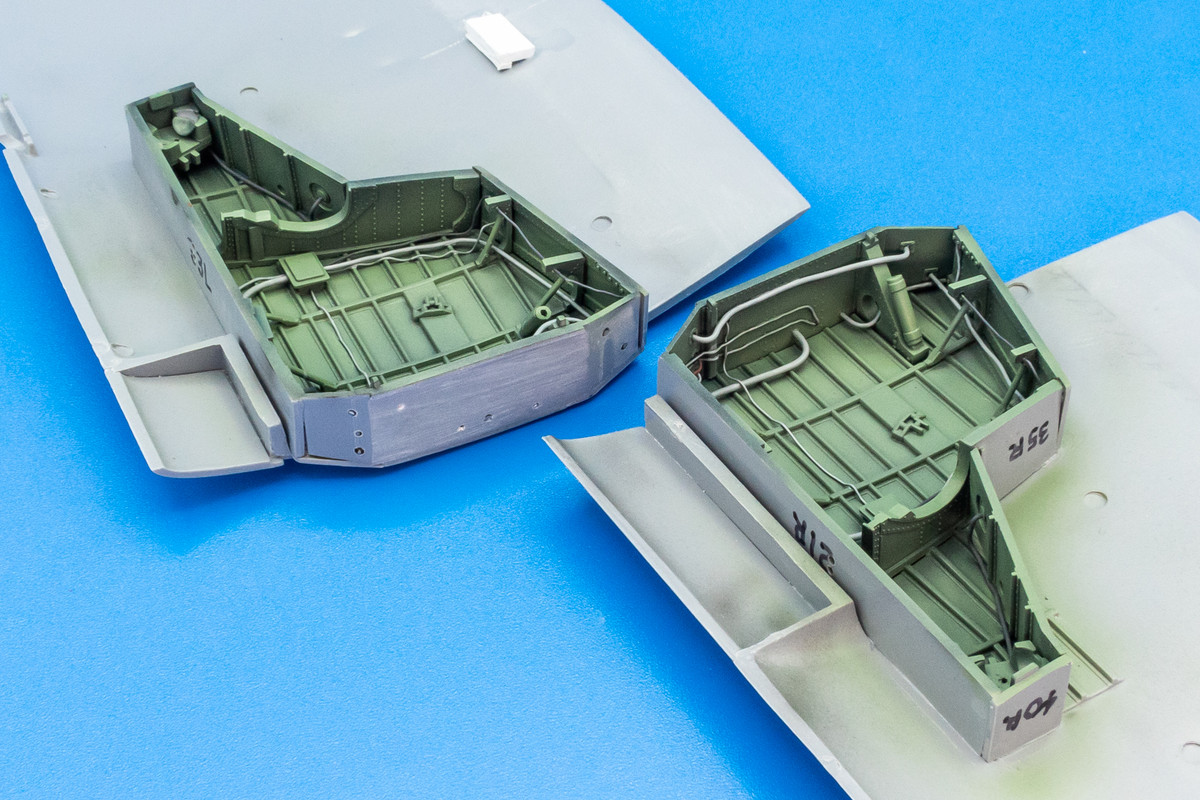
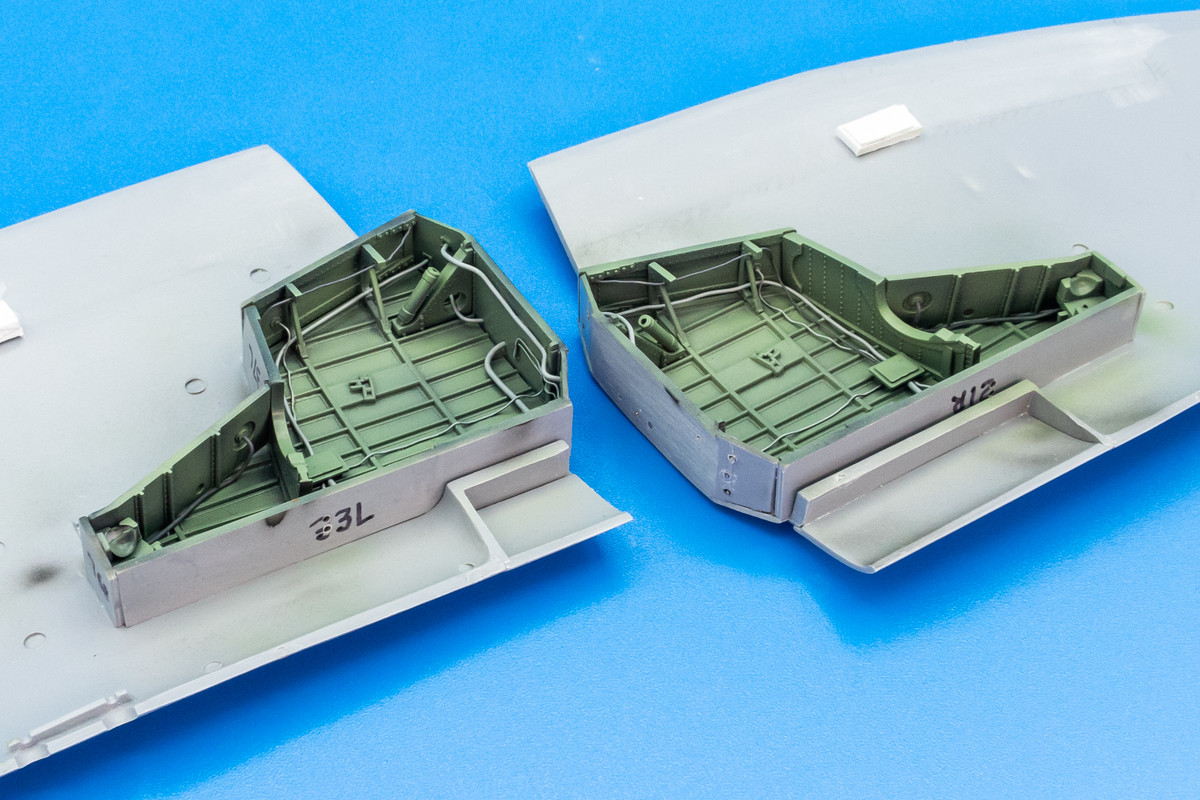
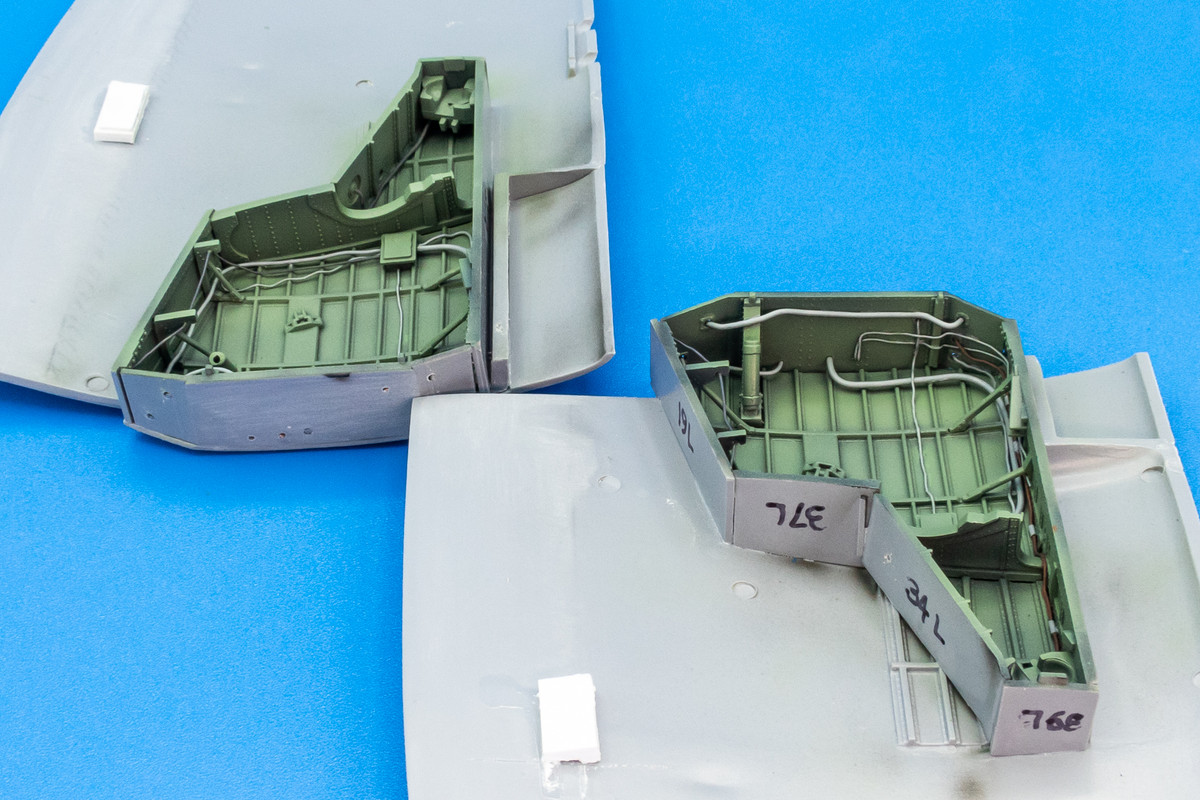
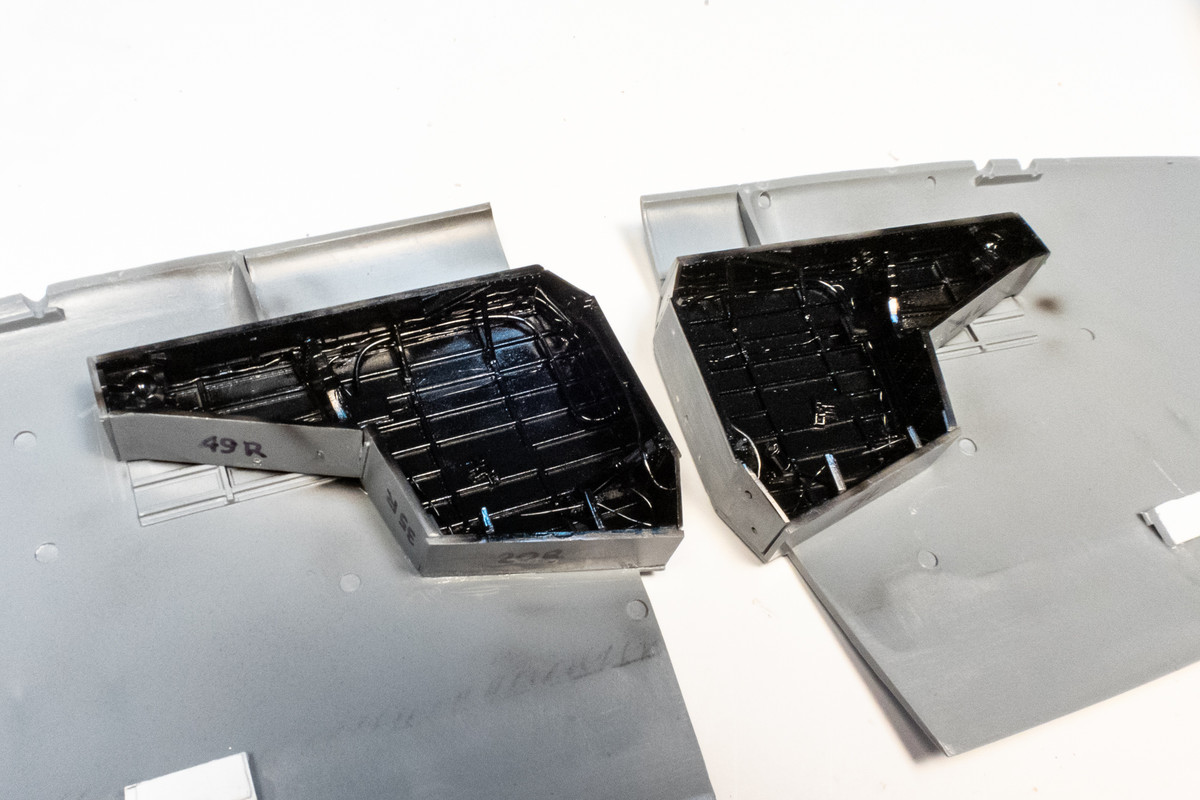
The wheel well bays were given a base coat of black and then Interior Green on top of that. Gonna jump in there and do some detail painting but am not looking forward to working in those tight quarters!
Image
Image

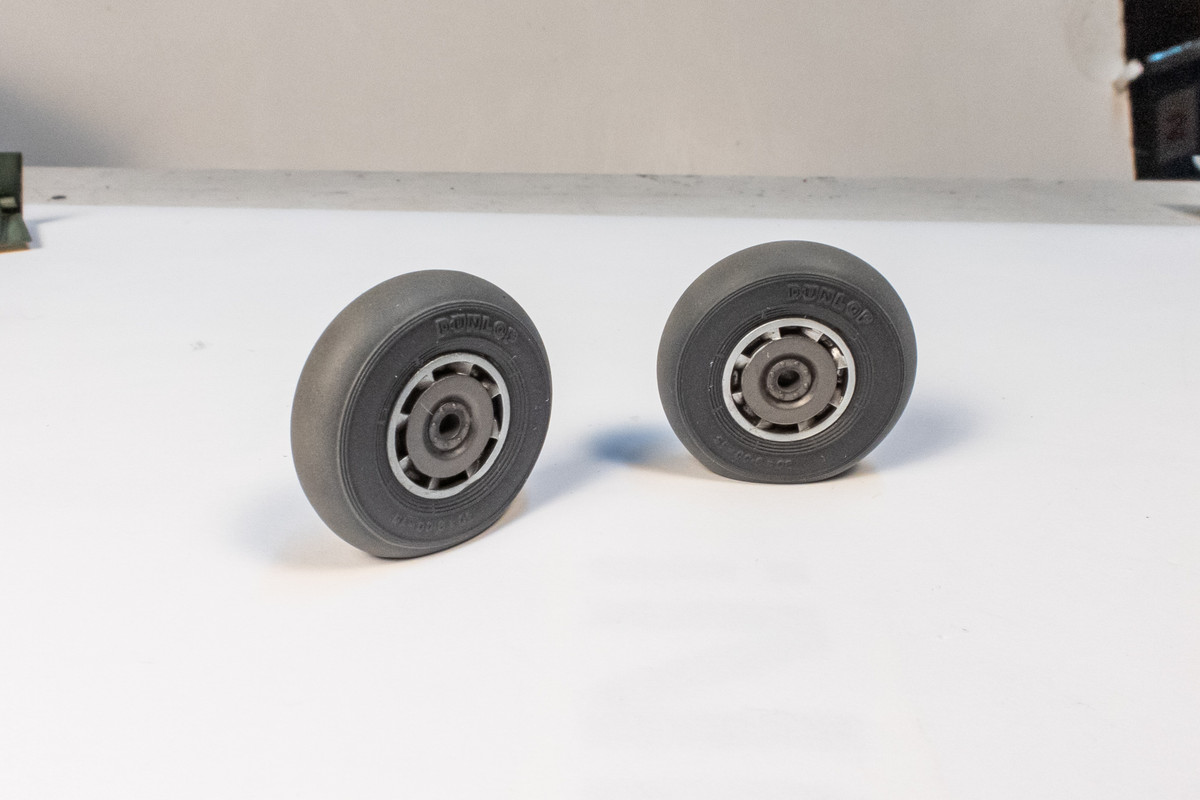
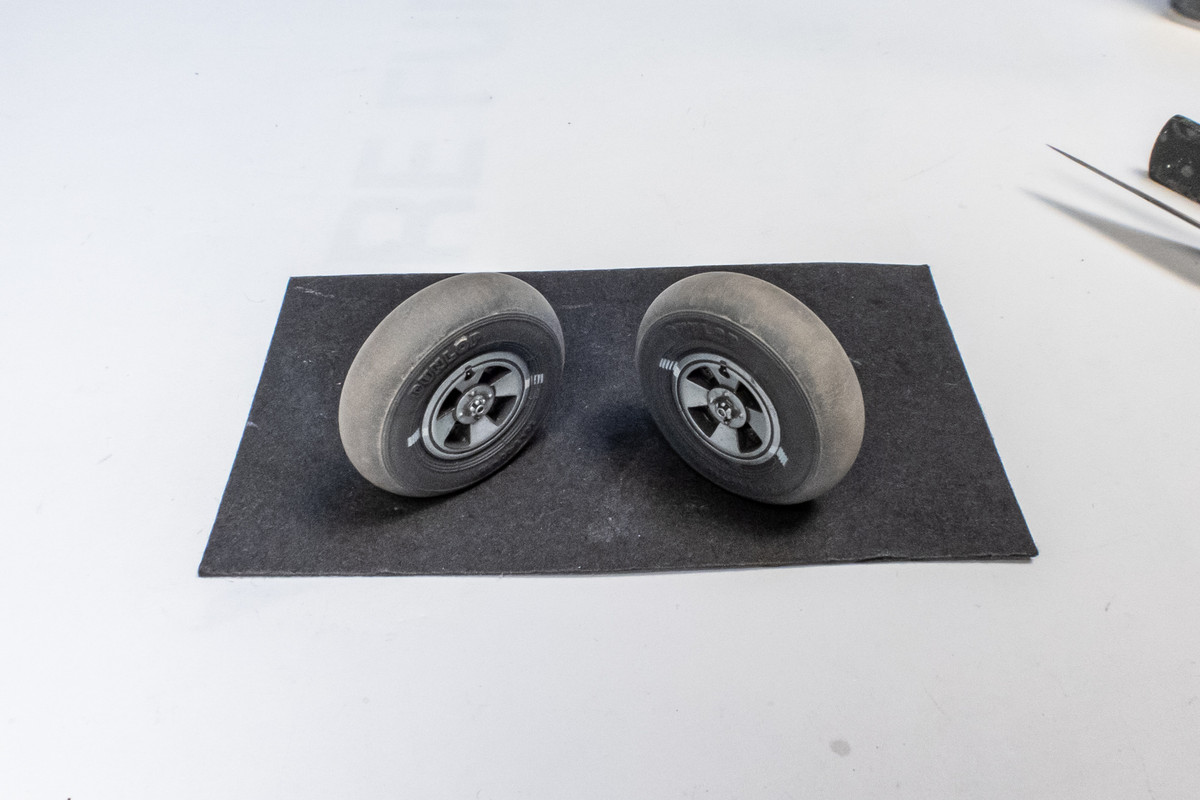
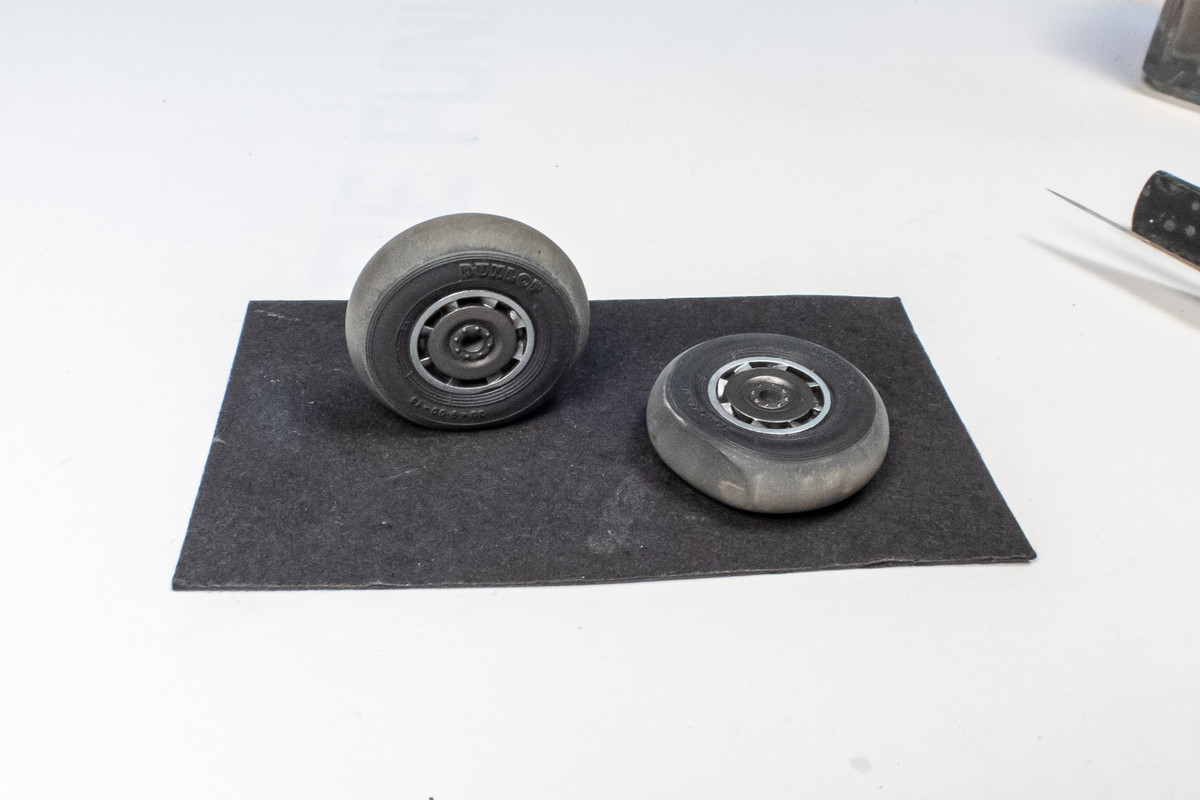
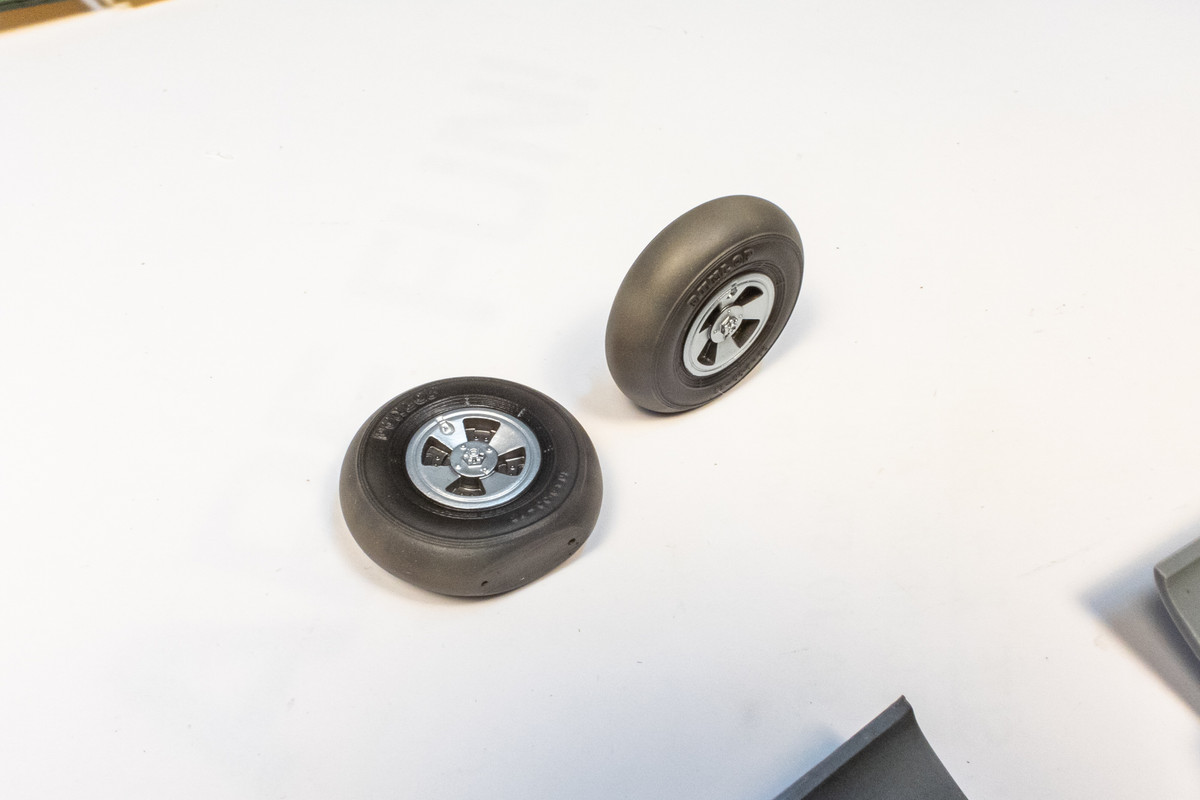
The wheel hubs were painted White Aluminum and then masked off. . The tires were painted a mixture of Red Brown and Black. A lighter tan color was added to the mix in stages and this was applied to the contact surface of the tire in subsequent layers.
Image

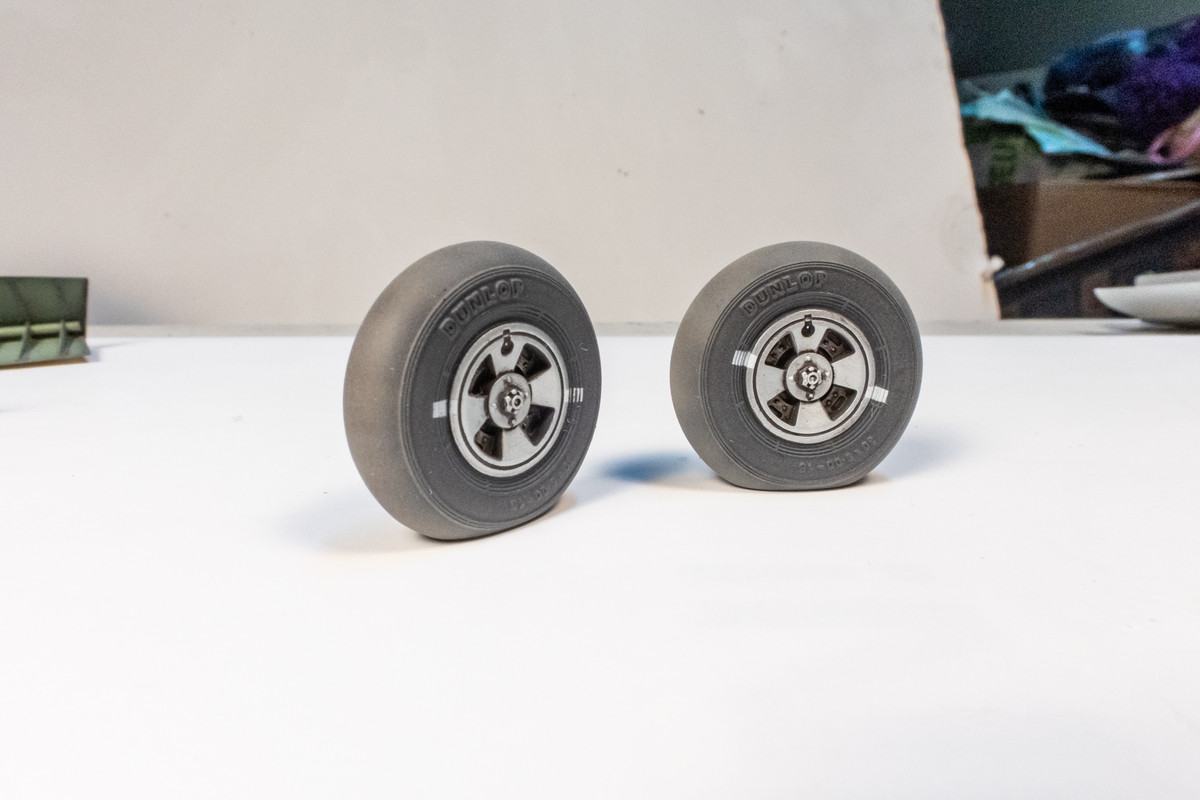
After the base colors, I painted the white alignment marks and gave the wheels a dark pastel wash. This is what the tires look like after a flat coat. There is still one more round of weathering that I am going to perform.
Image
Image

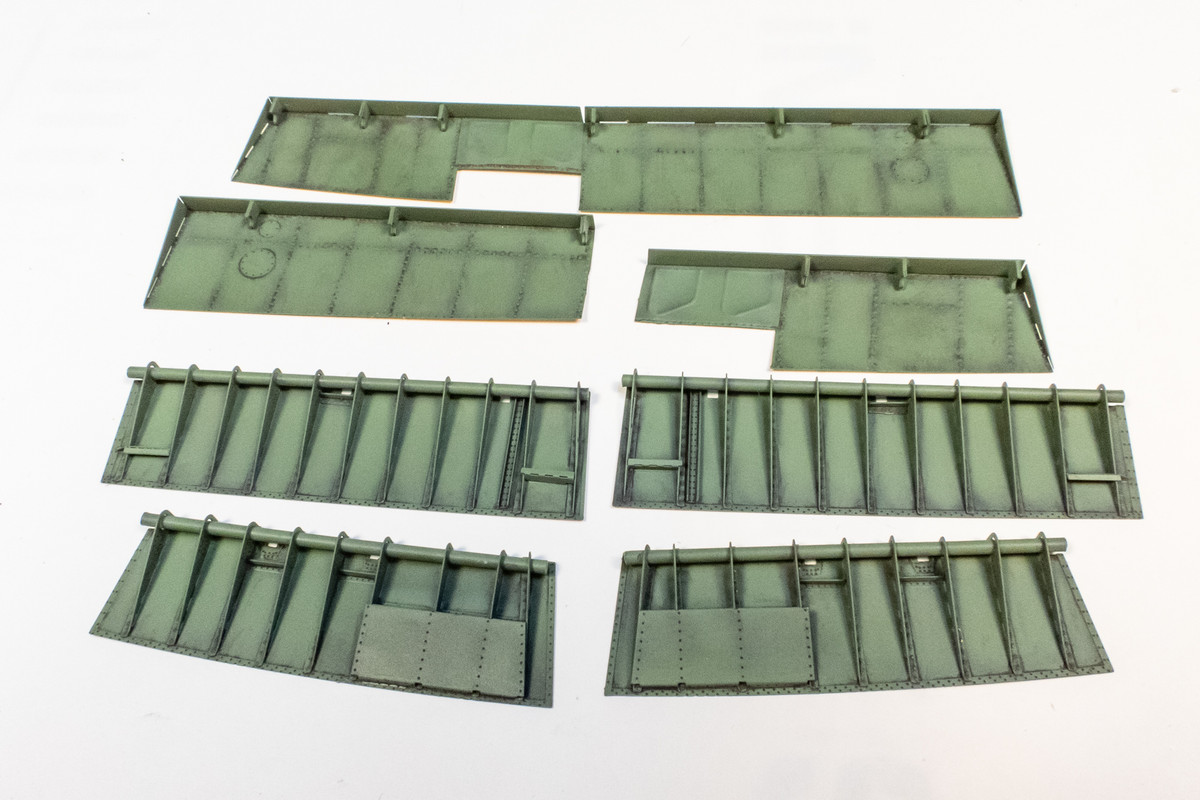
The flap interiors were given a gloss coat and then a dark brown pastel wash to highlight the rivet details. I may do some light post-shading here and then I'll prime the outsides of the lower flaps for exterior painting.
Image
Image
John aka JKim
-----------<><
Image
User avatar
Medicman71
Elite Member
Posts: 11295
Joined: Mon Apr 07, 2014 9:32 am
Location: Houston, Tx

Re: 1/32 Special Hobby Hawker Tempest Mk V

Post by Medicman71 »

Wow! Such incredible work! :shoutout: :shoutout:
Mike

Sponsored by Boeing, Lockheed Martin, Northrop Grumman, Saab, BAE, and Dassault
User avatar
BlackSheep214
Elite Member
Posts: 13409
Joined: Sun Apr 06, 2014 8:47 pm

Re: 1/32 Special Hobby Hawker Tempest Mk V

Post by BlackSheep214 »

Medicman71 wrote:Wow! Such incredible work! :shoutout: :shoutout:
:that:
“Who controls the skies, controls the fate of this Earth”

Author unknown- 352nd Fighter Group, Blue-Nosed Bastards of Bodney

“Send one plane it’s a sortie; send two planes it’s a flight; send four planes it’s a test of airpower. - Richard Kohn
User avatar
Floki
Elite Member
Posts: 3548
Joined: Wed Dec 12, 2018 2:23 am
Location: Muncie, Indiana

Re: 1/32 Special Hobby Hawker Tempest Mk V

Post by Floki »

Excellent work
March as one, Don't look back
Odin's sons... Attack!
Unleash hell! Do not repent! Warfare grants us no lament
Let your weapons slash and tear This is no place for fear
Hold the lines! Move as one! In unity our victory's won
Our shields will form a mighty wall
United we shall never fall
User avatar
jkim
Elite Member
Posts: 4073
Joined: Mon Apr 10, 2017 4:03 pm

Re: 1/32 Special Hobby Hawker Tempest Mk V

Post by jkim »

Thanks guys! I appreciate the feedback!

I stained the tires a bit more with some drops of tan pastel wash. If you do this on a flat coat, the wash dries and creates light-colored tide marks on the tire. Gently wipe them off with a moist paper towel but not completely. If you do this several times, you start building some subtle but discrete staining that removes that airbrushed look on the tires.
Image
Image

The gear legs were painted in White Aluminum, given a pastel wash and then a flat coat. The aluminum tape strips were replaced after painting and I liked the way the the aluminum tape contrasted with the color of the legs that I left them unpainted.
Image

Here are the tires posed on the landing gear legs.
Image

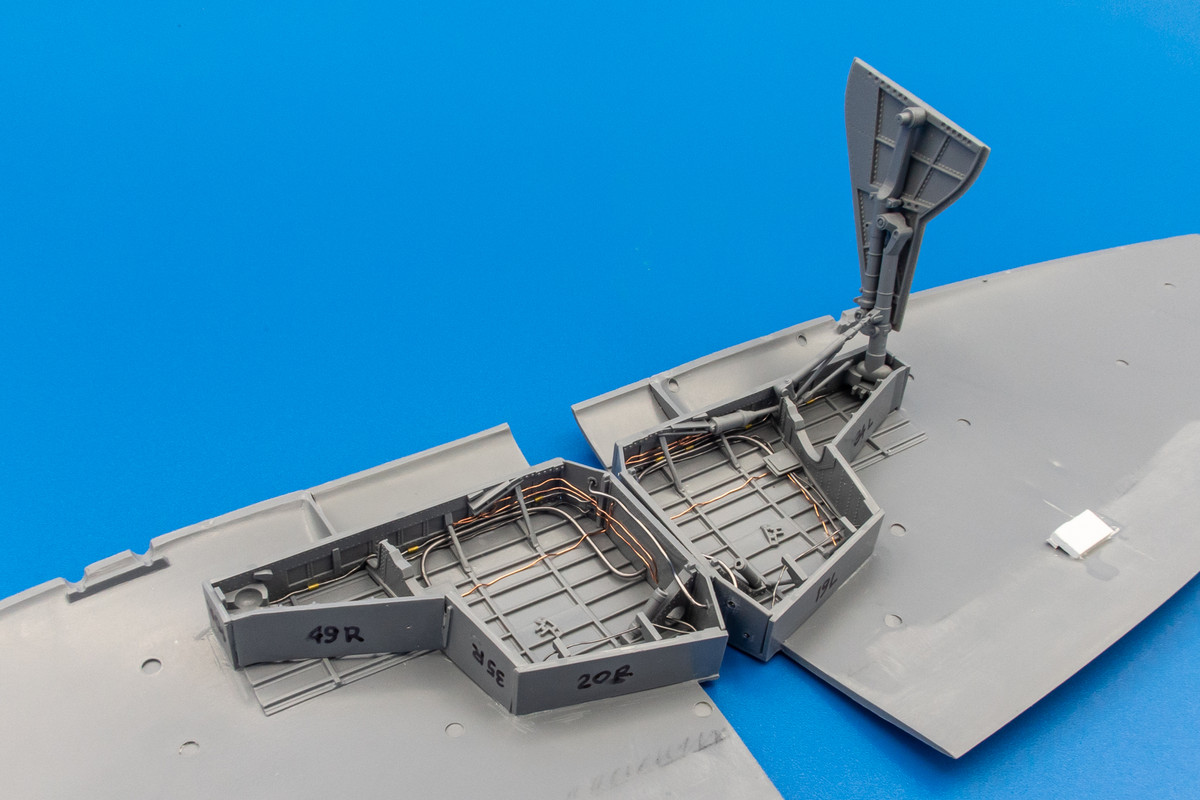
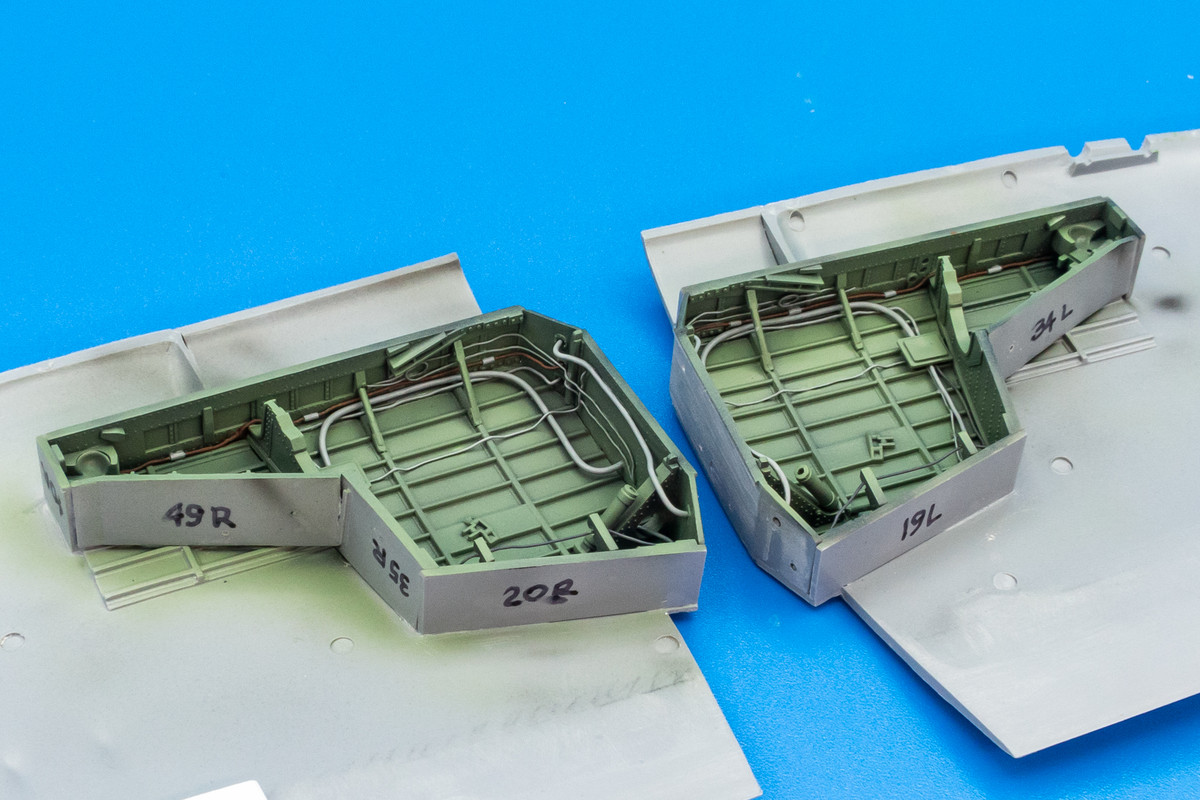
I bit the bullet and painted the wiring in the wheel wells. It actually was not as difficult as I thought it was going to be. Fairly good access to all of the wiring at this stage and the walls gave me great resting spots for my fingers to steady the brush. I stayed with greys and browns here, lacking any concrete references. After painting is completed, I'll seal it with a gloss goat and then give certain accessible areas a pastel wash.
Image
Image
Image
Image
John aka JKim
-----------<><
Image
Post Reply

Return to “Aircraft Work in Progress”