Tamiya M41 Walker Bulldog-Ending at last!

Re: Tamiya M41 Walker Bulldog
Wowser, that is coming along wonderfully!
To make each build less crappy than the last one. Or, put another way, "Better than the last one, not as good as the next one!"..

Re: Tamiya M41 Walker Bulldog
Doing some really excellent work on this
March as one, Don't look back
Odin's sons... Attack!
Unleash hell! Do not repent! Warfare grants us no lament
Let your weapons slash and tear This is no place for fear
Hold the lines! Move as one! In unity our victory's won
Our shields will form a mighty wall
United we shall never fall
Odin's sons... Attack!
Unleash hell! Do not repent! Warfare grants us no lament
Let your weapons slash and tear This is no place for fear
Hold the lines! Move as one! In unity our victory's won
Our shields will form a mighty wall
United we shall never fall
-
Stikpusher

- Moderator
- Posts: 21381
- Joined: Sat Apr 05, 2014 8:37 pm
- Location: Ceti Alpha 5
Re: Tamiya M41 Walker Bulldog
Looking good Gary! I’m really liking your multi layer weathering effects.
"Surely I have made my meaning plain? I intend to avenge myself upon you, Admiral. I have deprived your ship of power, and when I swing 'round, I intend to deprive you of your life."
FLSM
FLSM
-
Gary Brantley

- Elite Member
- Posts: 2771
- Joined: Tue Apr 08, 2014 9:40 pm
- Location: Cameron, Texas
Re: Tamiya M41 Walker Bulldog
Thanks Lyle!LyleW wrote:Wowser, that is coming along wonderfully!

Clint, I really appreciate the encouragement!Floki wrote:Doing some really excellent work on this
Thanks Carlos, I admit that it's turned out better than I hoped.Stikpusher wrote:Looking good Gary! I’m really liking your multi layer weathering effects.
 Let's hope I don't screw it up now...

-
Gary Brantley
- Elite Member
- Posts: 2771
- Joined: Tue Apr 08, 2014 9:40 pm
- Location: Cameron, Texas
Re: Tamiya M41 Walker Bulldog
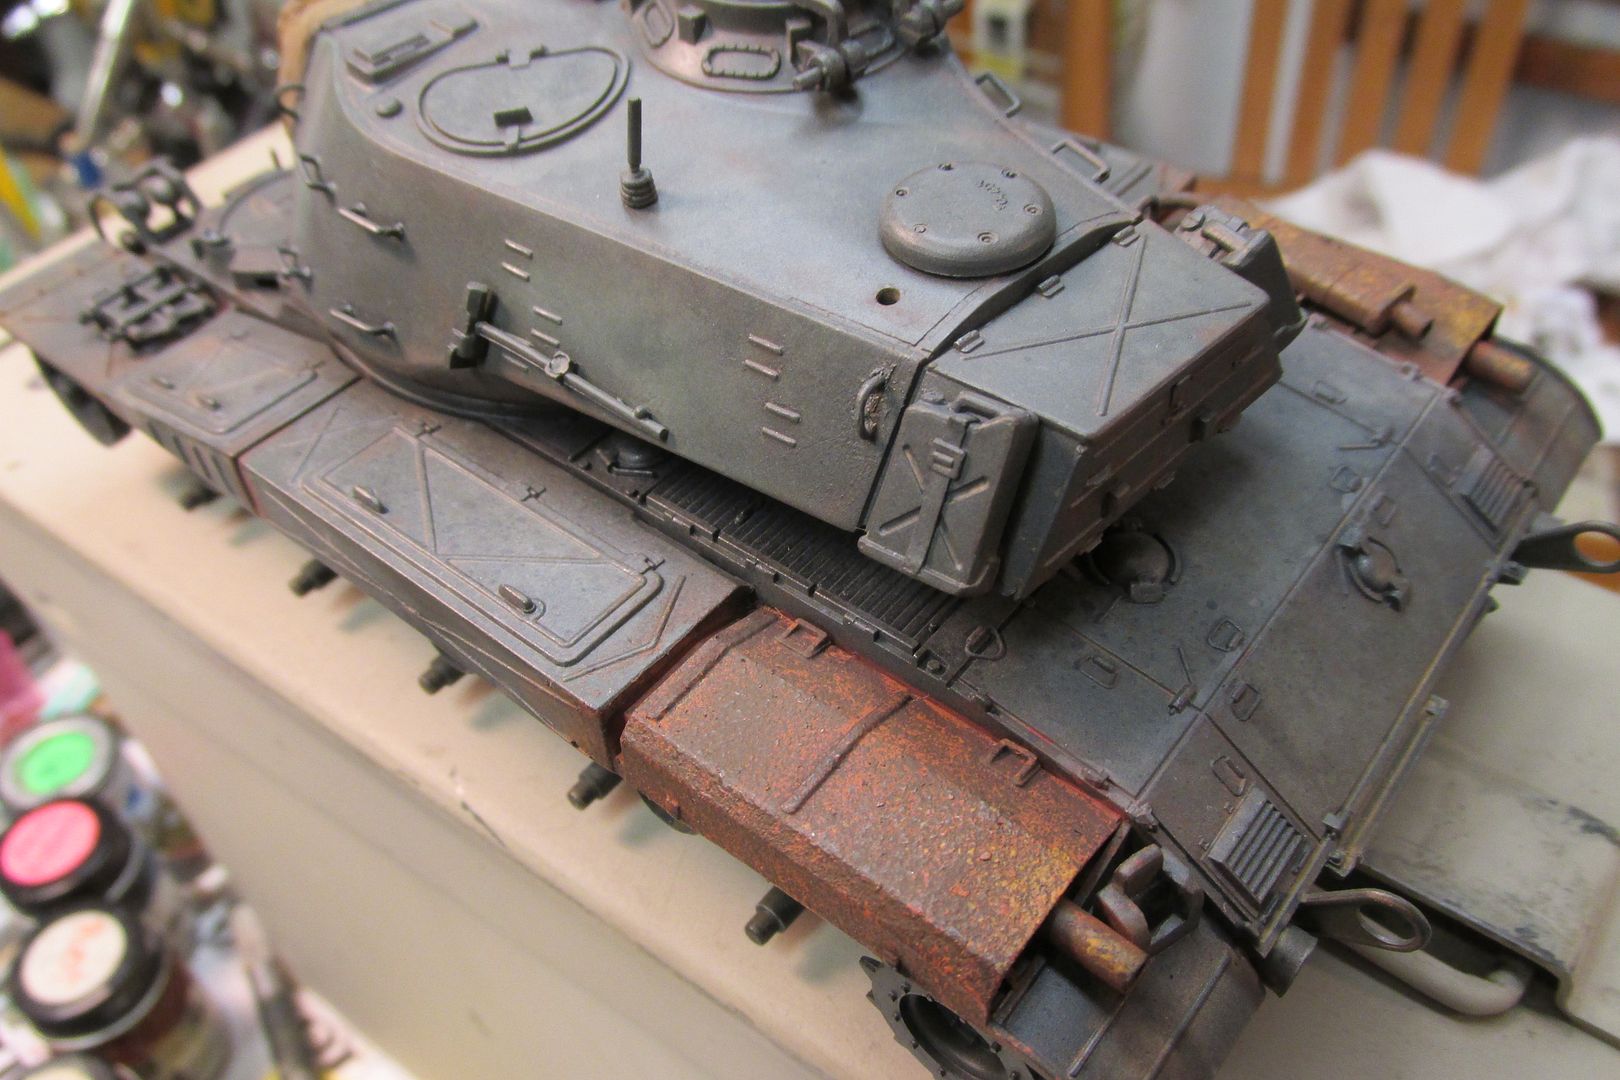
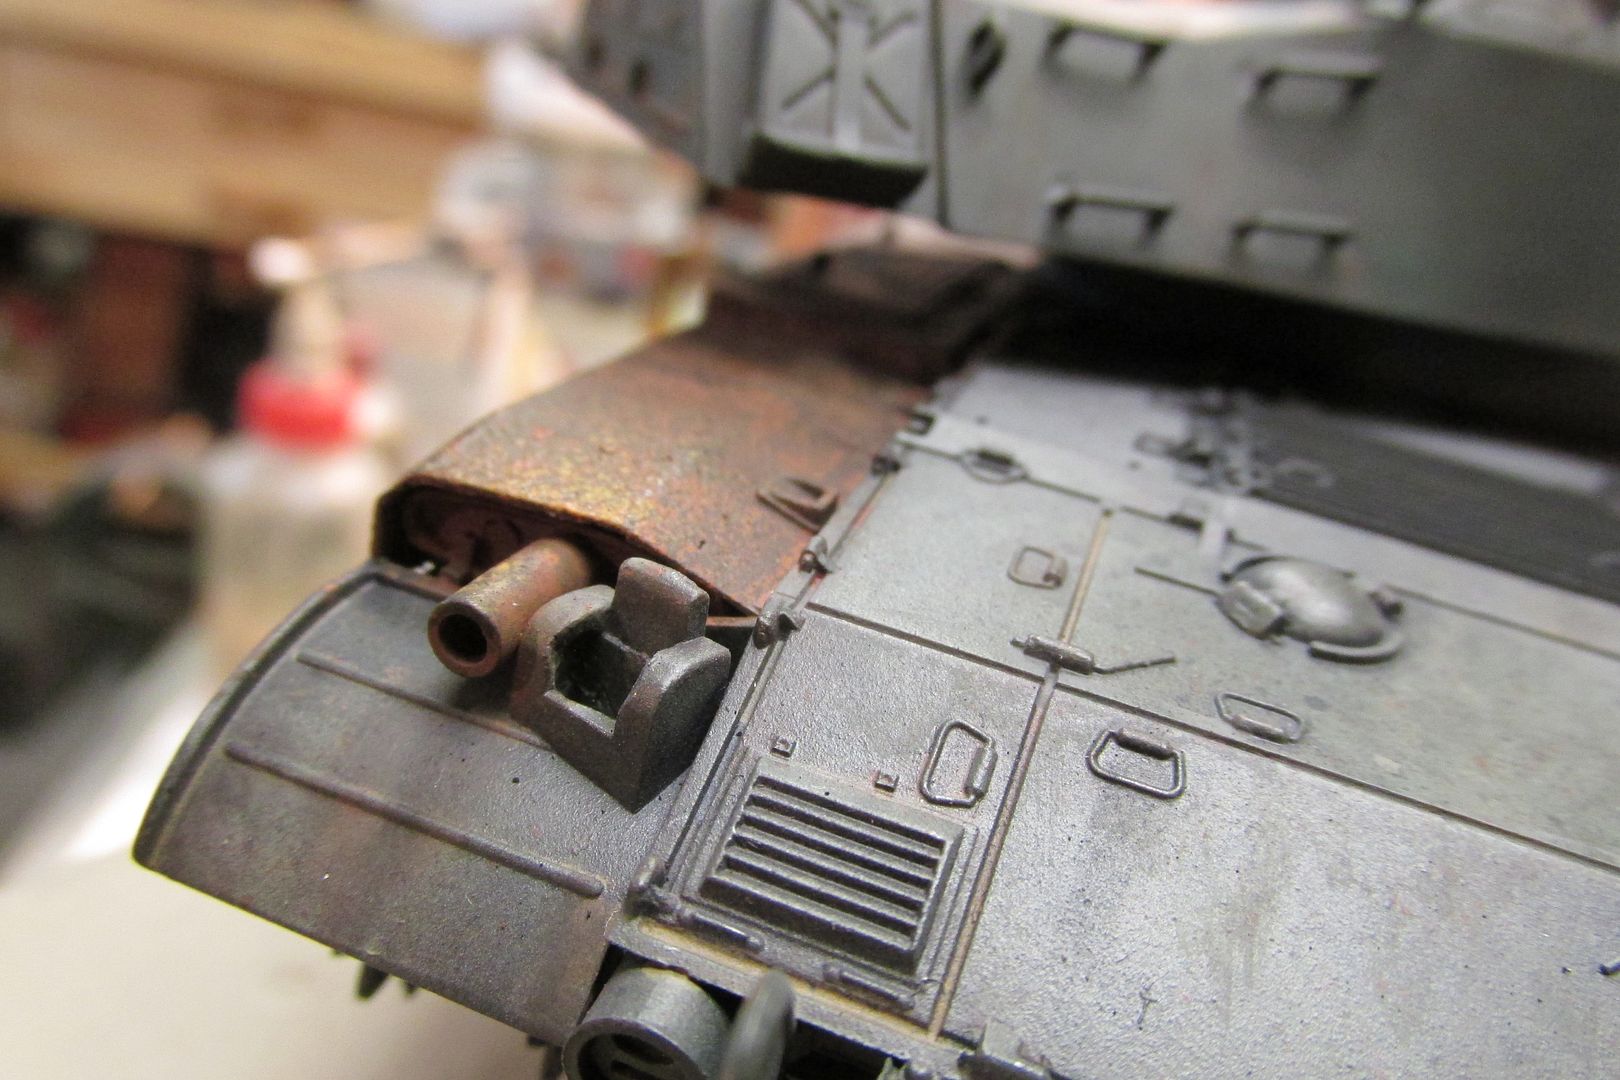
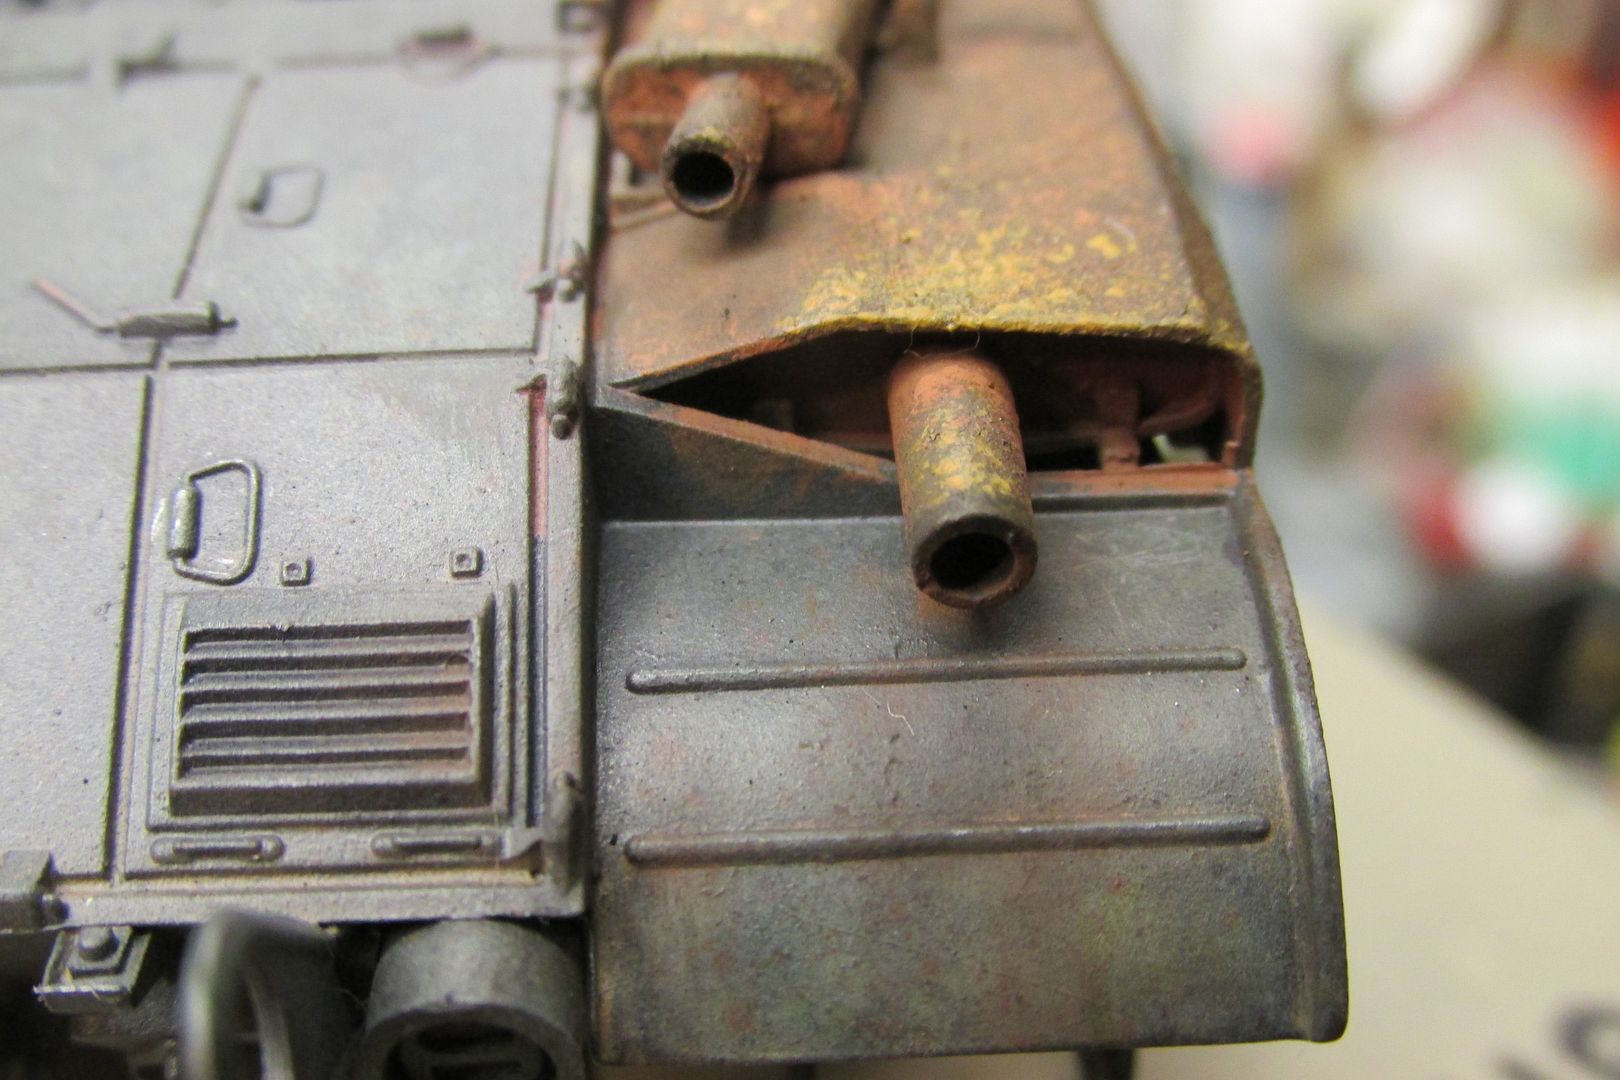
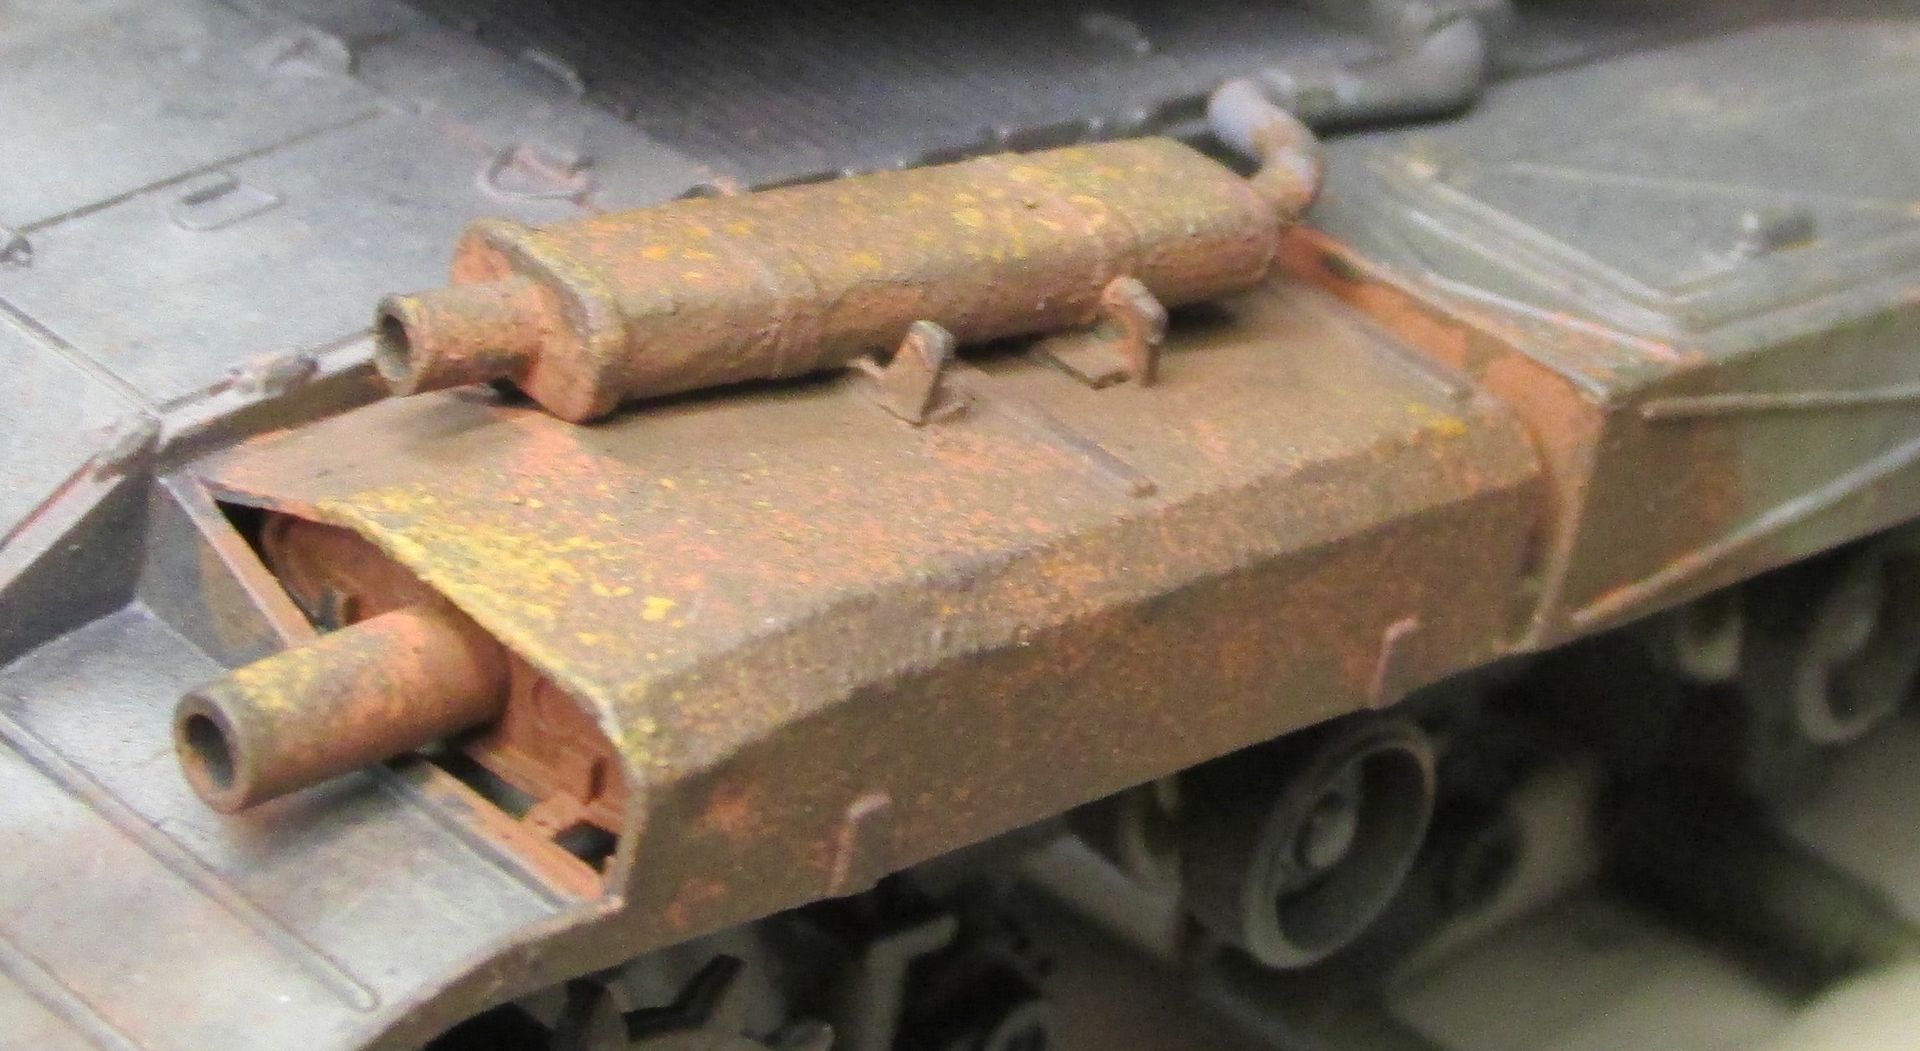
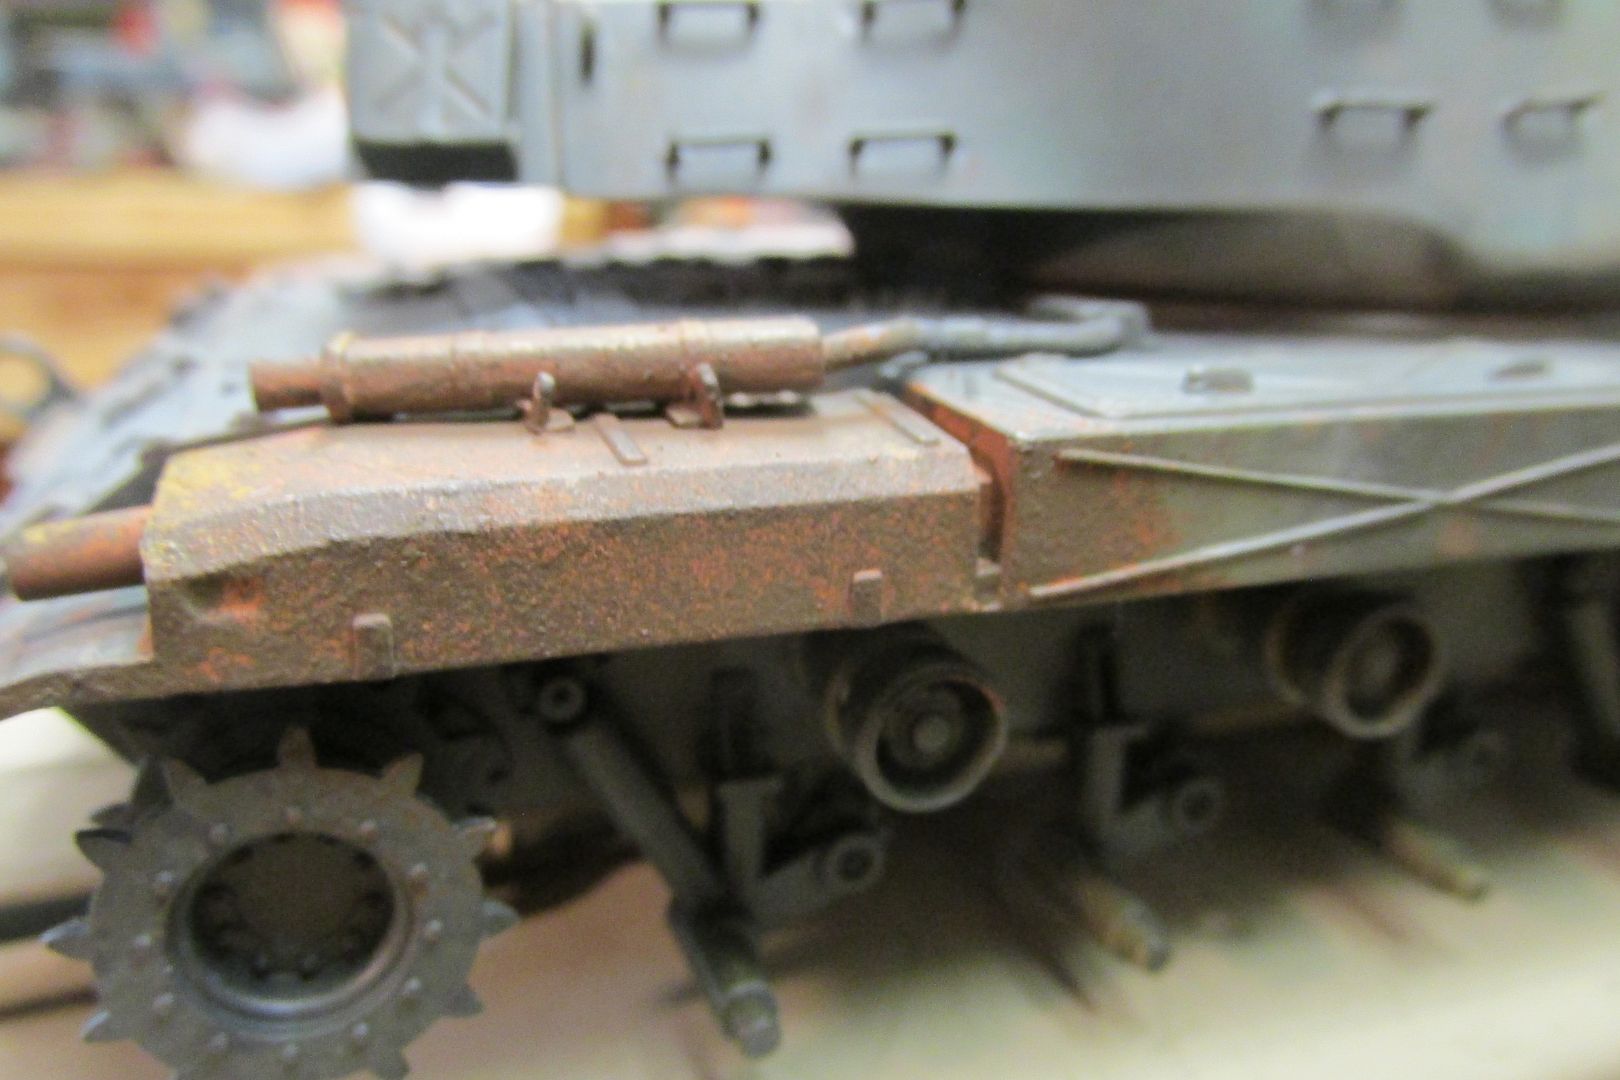
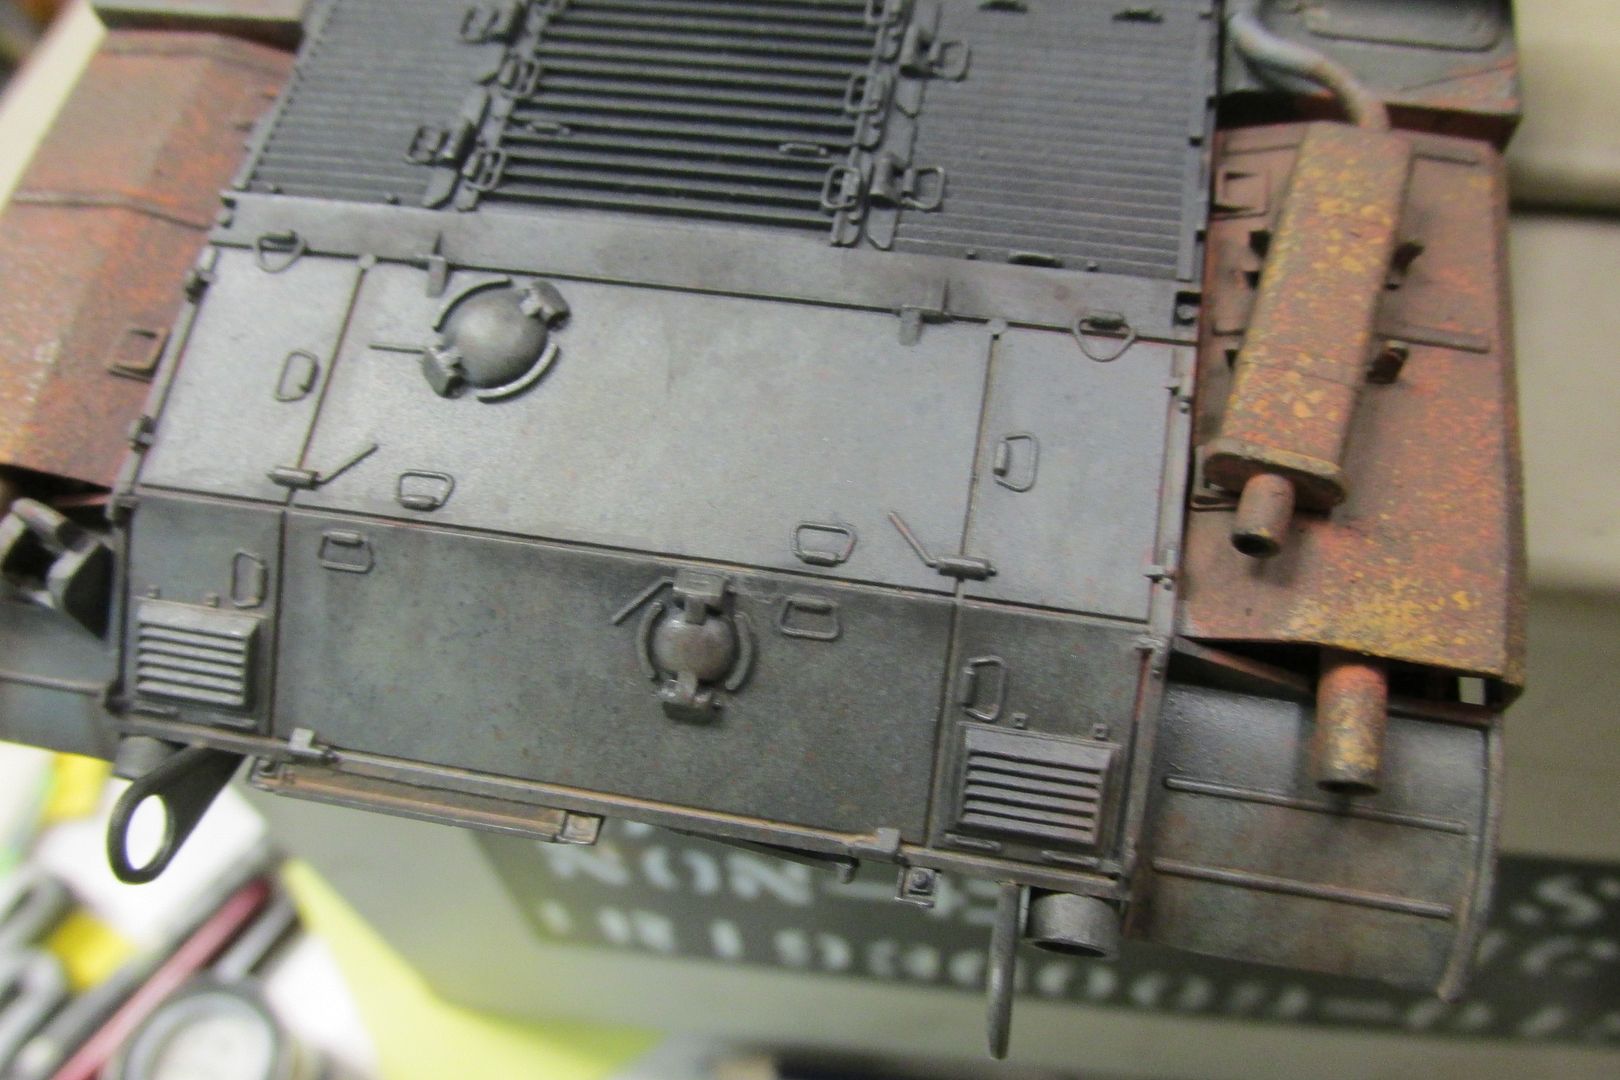
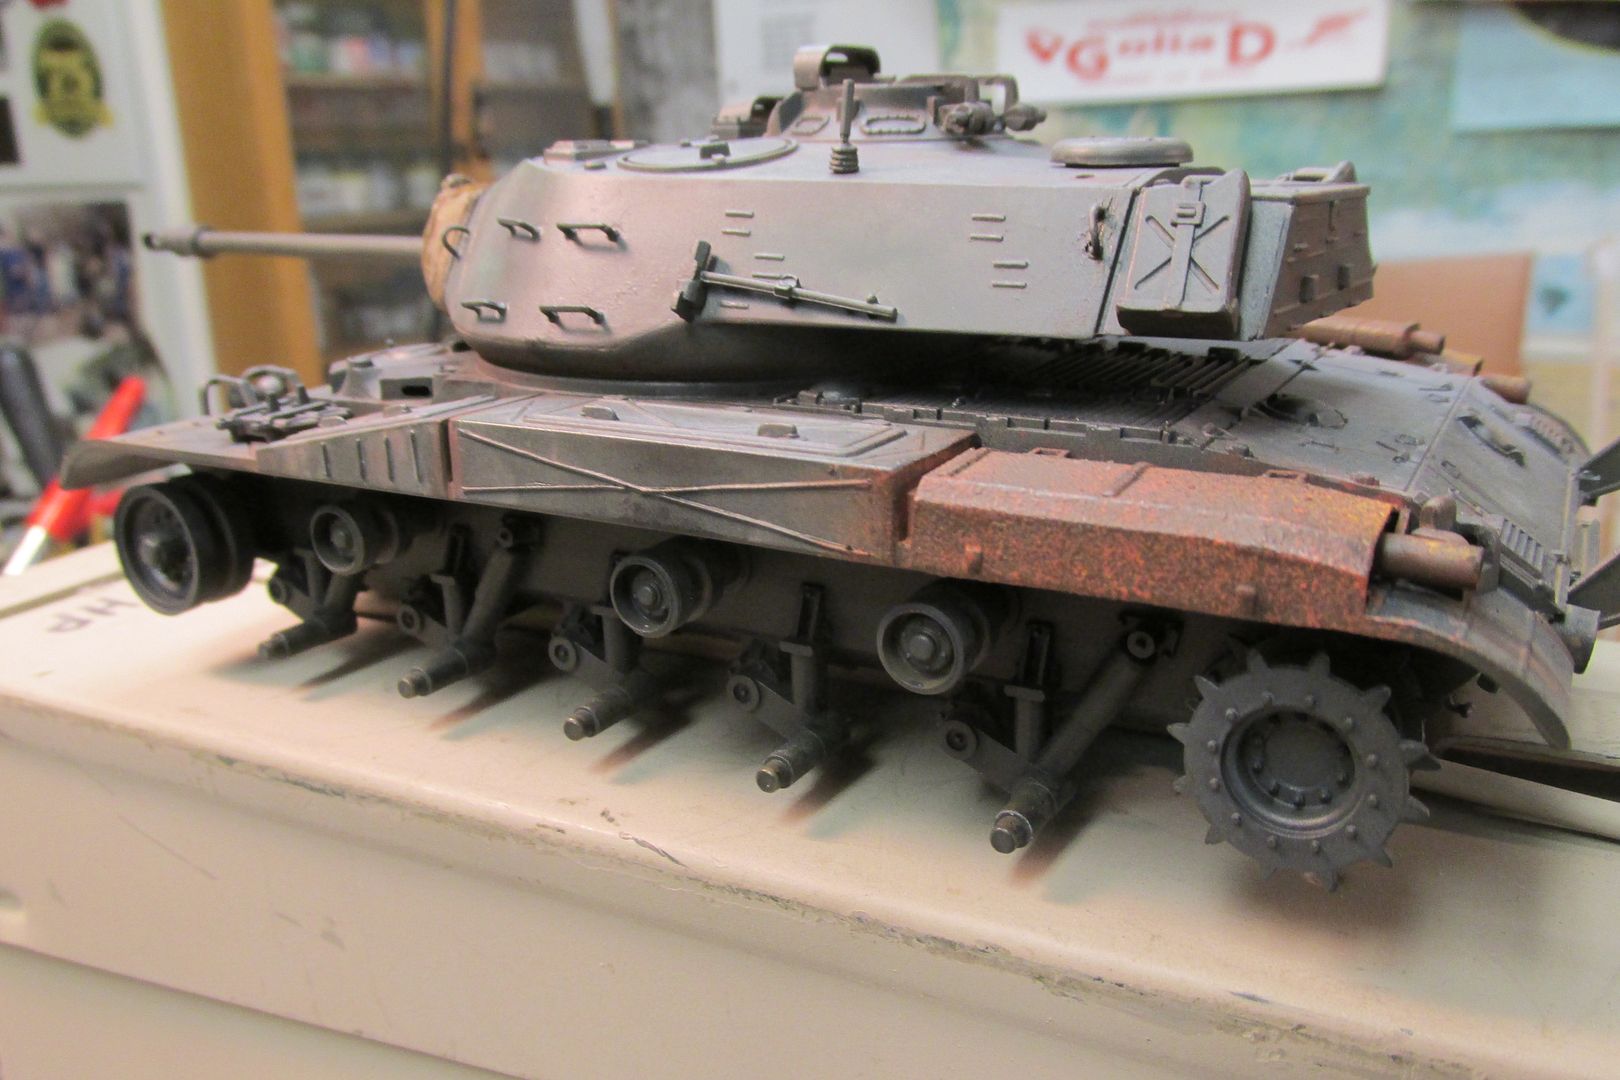
Back again with some slight progress my friends. After much trepidation and viewing of Youtube videos, I tackled the rust project for those prominent mufflers on the Bulldog that rusted so badly in use. I followed the work of a gentleman on Youtube who did indeed make his technique seem easy. I bought the products recommended and practiced several attempts on a paint hulk helicopter model. Then, I tried it on the tank. It turned out okay,I guess. I probably applied way too much paint on the first side attempted, the port one, as I went over it too much I'm sure. It just looks a bit too "corroded" to me, but hey, who know?
Rust never sleeps and that sheet metal might get cobby pretty soon in that AO. But the techniques seemed to work better on the starboard mufflers. I probably should have made more practice attempts before trying it for real. Since applying it, the texture of the stipple seems to have diminished somewhat, thankfully.
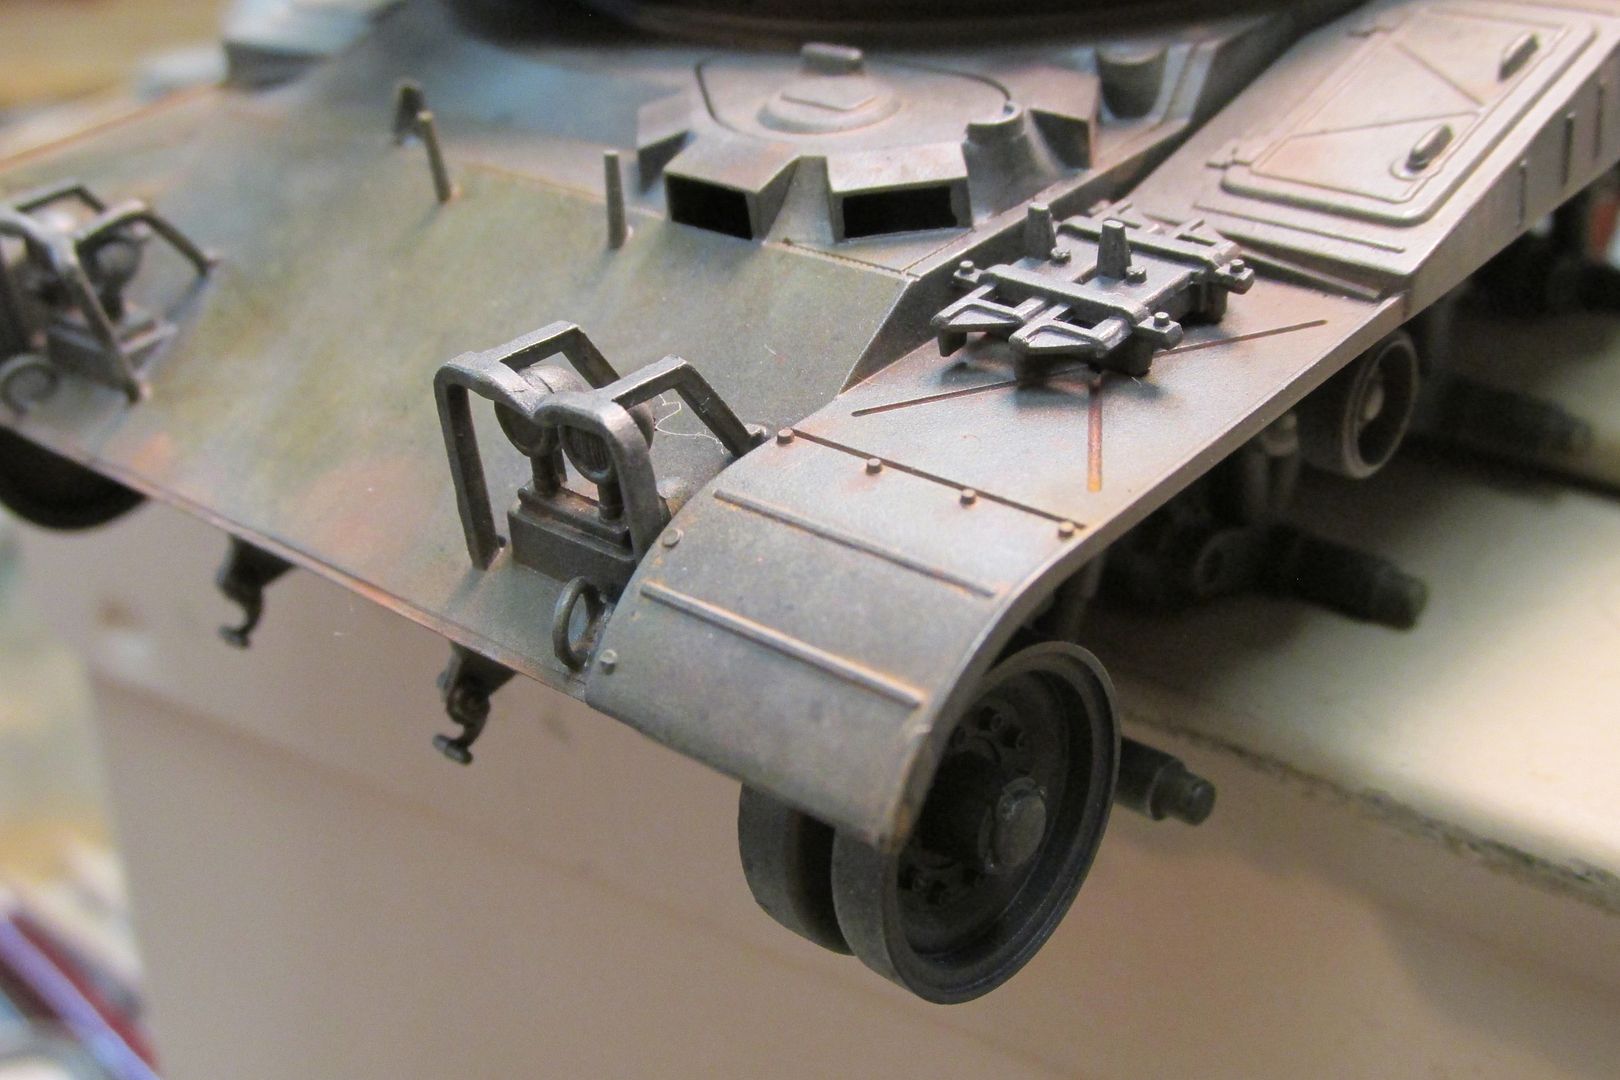
Other weathering has been done with pastel chalks and some Florry washes. I tried two different techniques to simulate collected rust in the two recessed "cross-brace" stiffeners on the rear of the front fenders. Port side was done with Florry wash, while I used Vallejo acrylic on the SB side. I don't really like the SB look as well as the port side and may well paint over the SB part and try again.
I also took a few pics of some stowage items, sort of "mocked up" where I'll probably place them. They, and the tracks, need attention soon!
But next step is applying some mud and splatters on the lower hull and running gear. The best color reference pic I've found of an ARVN M41 shows the tank in an urban setting, actually having just crushed a car. There is almost no mud evident on the tracks (just rather dusty), and some is seen inside the road wheel rims. I'm sure there must have been some behind the running gear, on the hull sides, as well as splashes and splatters on the hull front, rear and fender edges. So, that thought will guide me through the mud work!
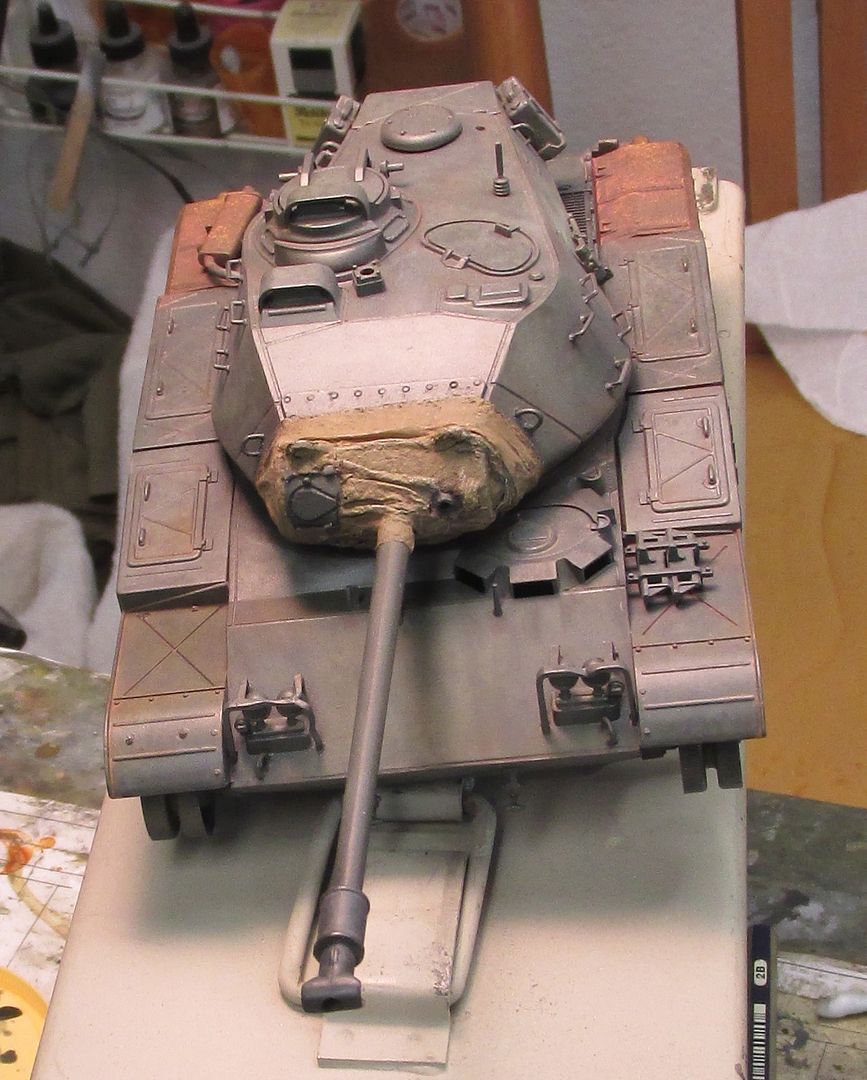
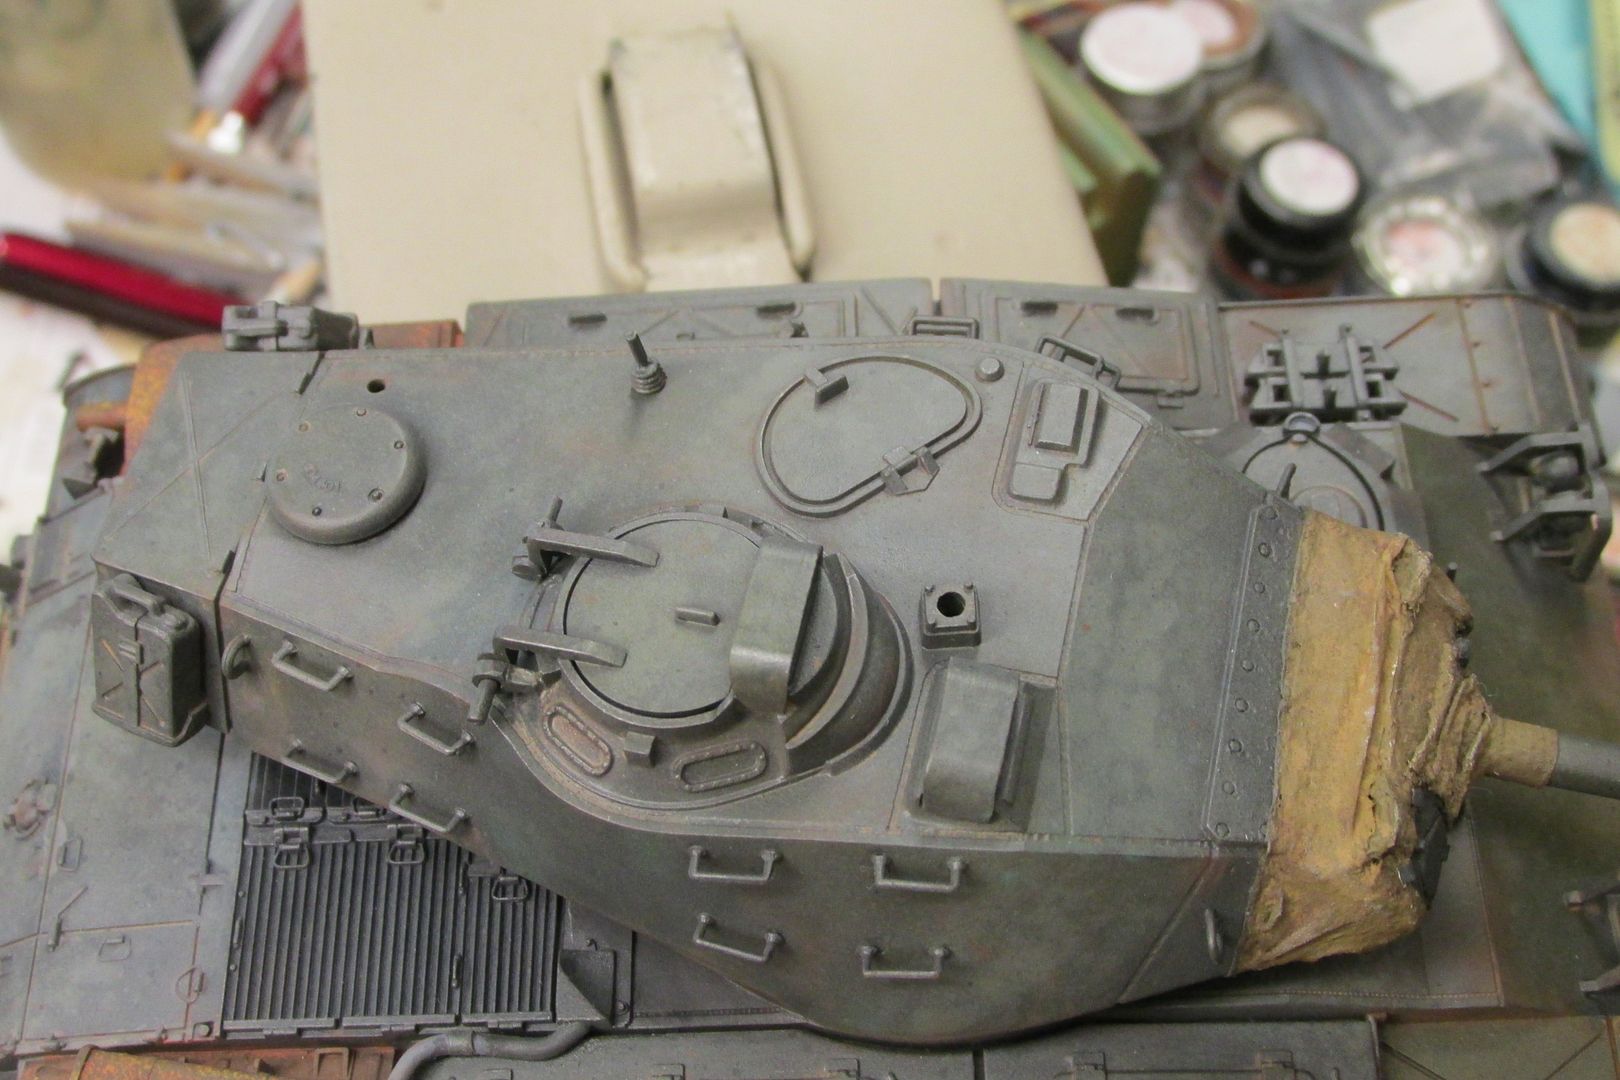
stowage mock up pics:
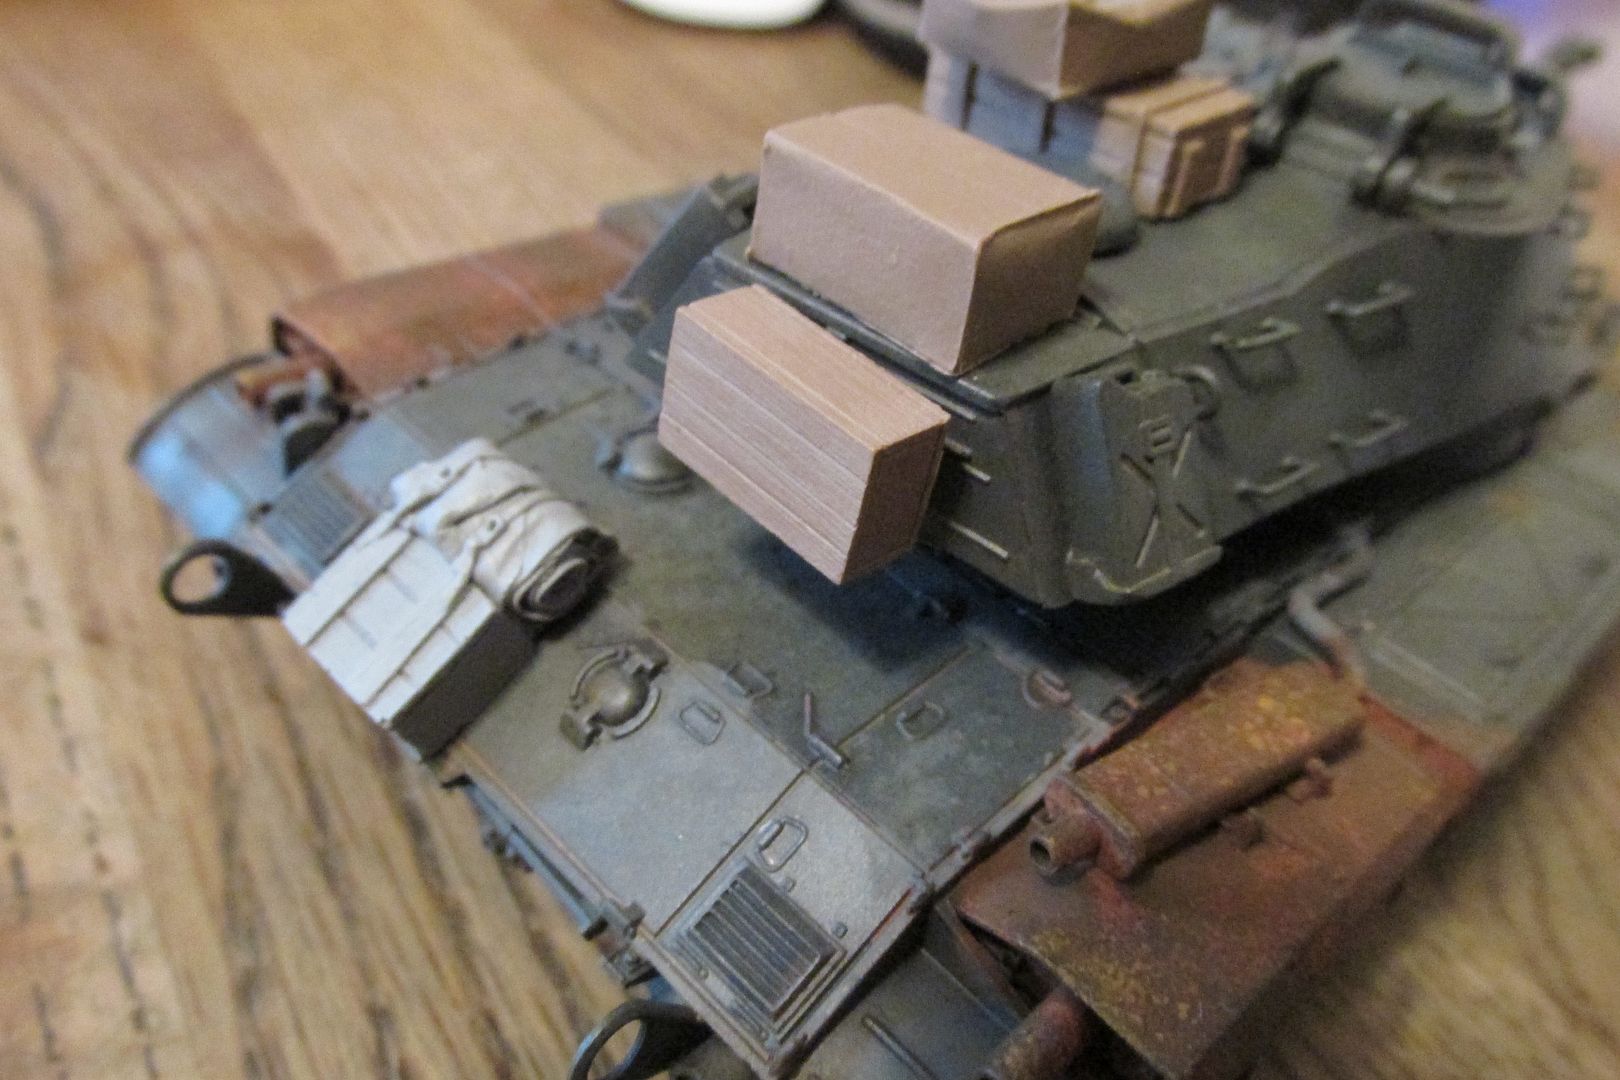
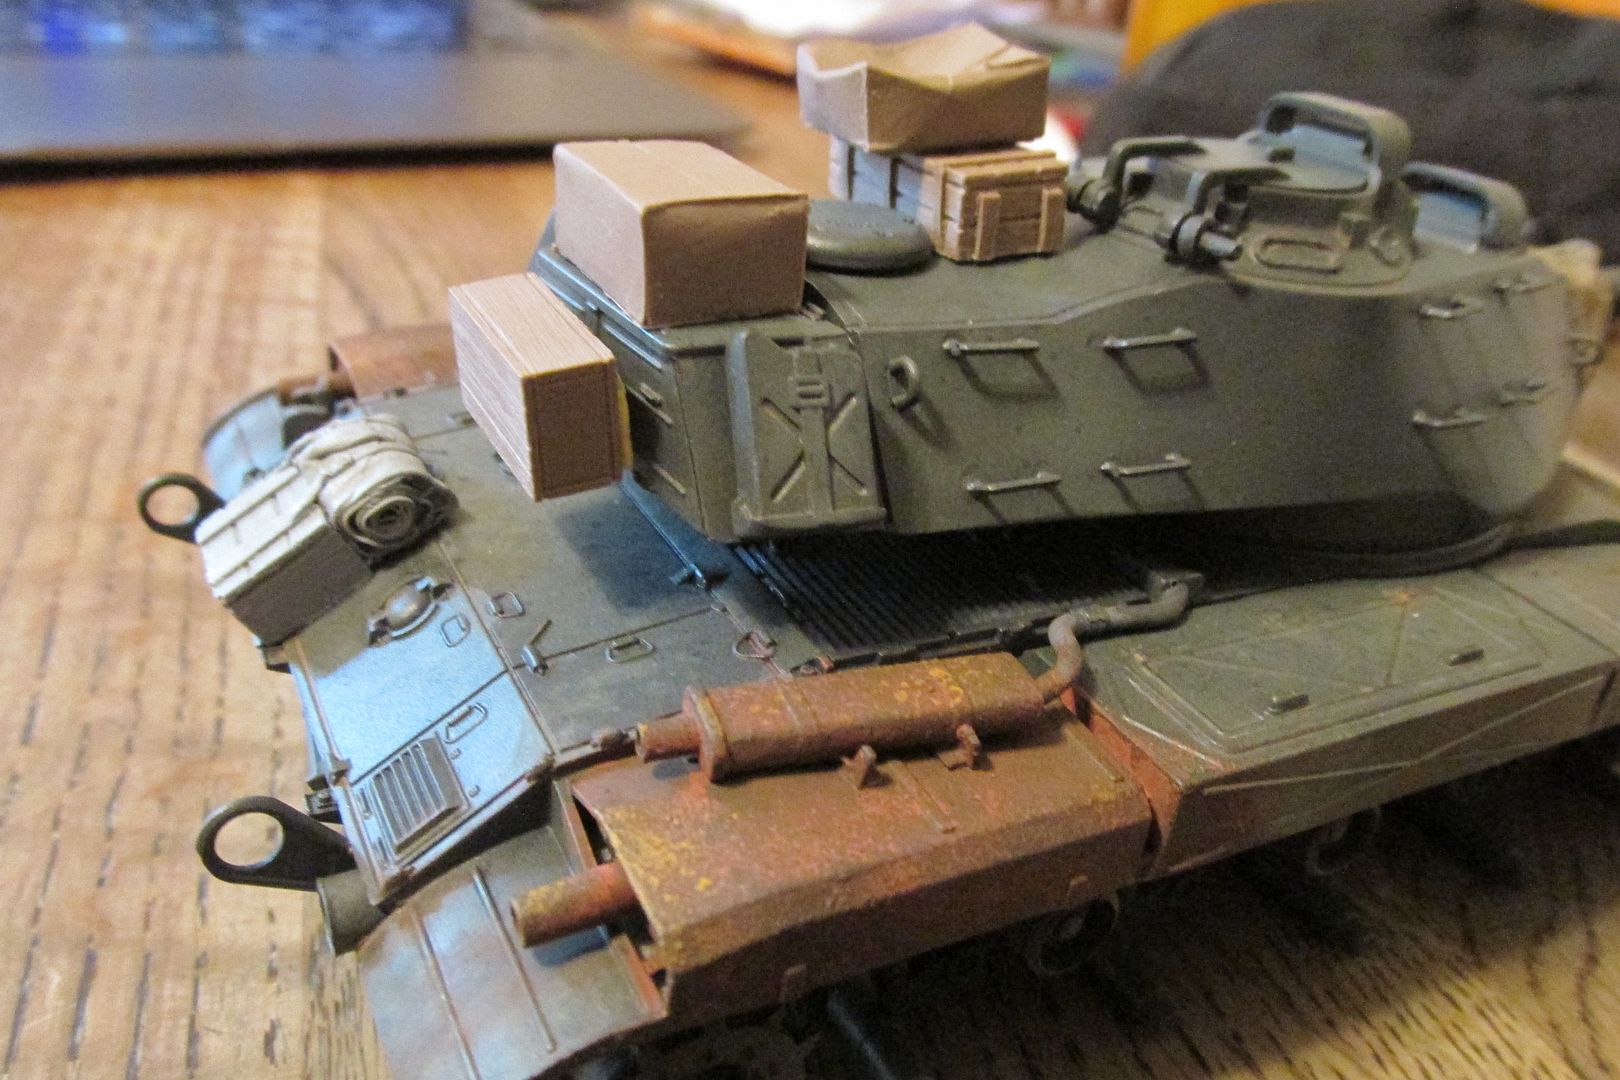
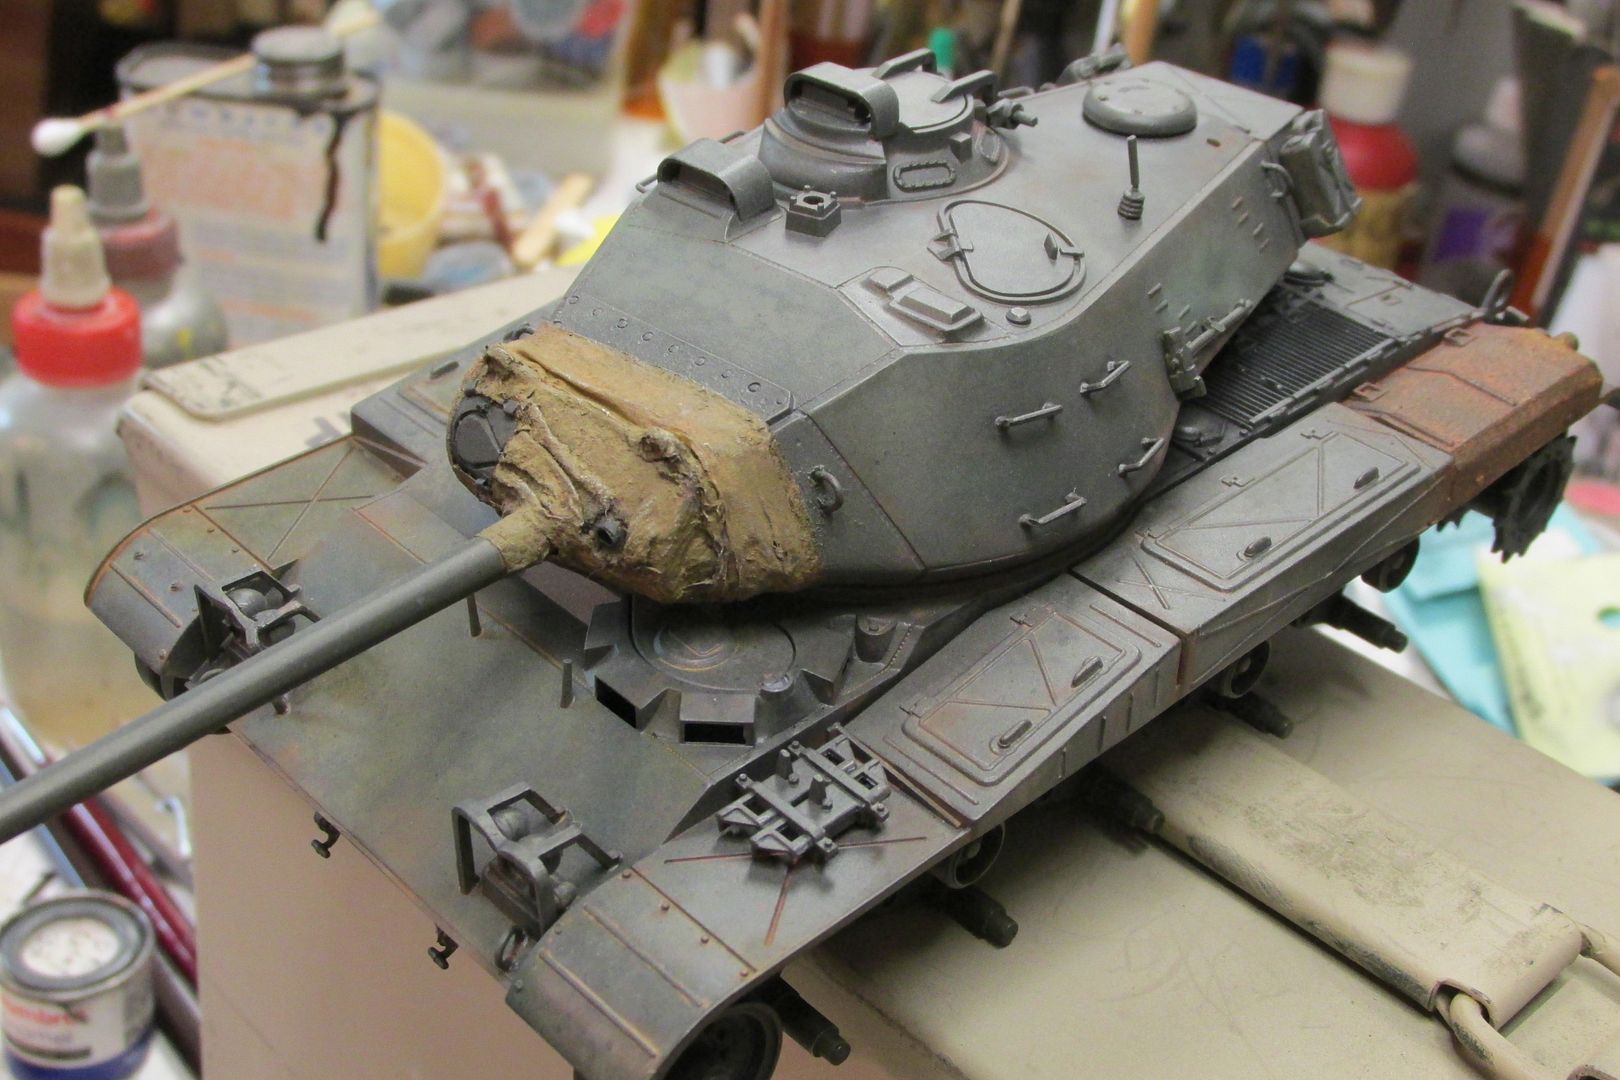
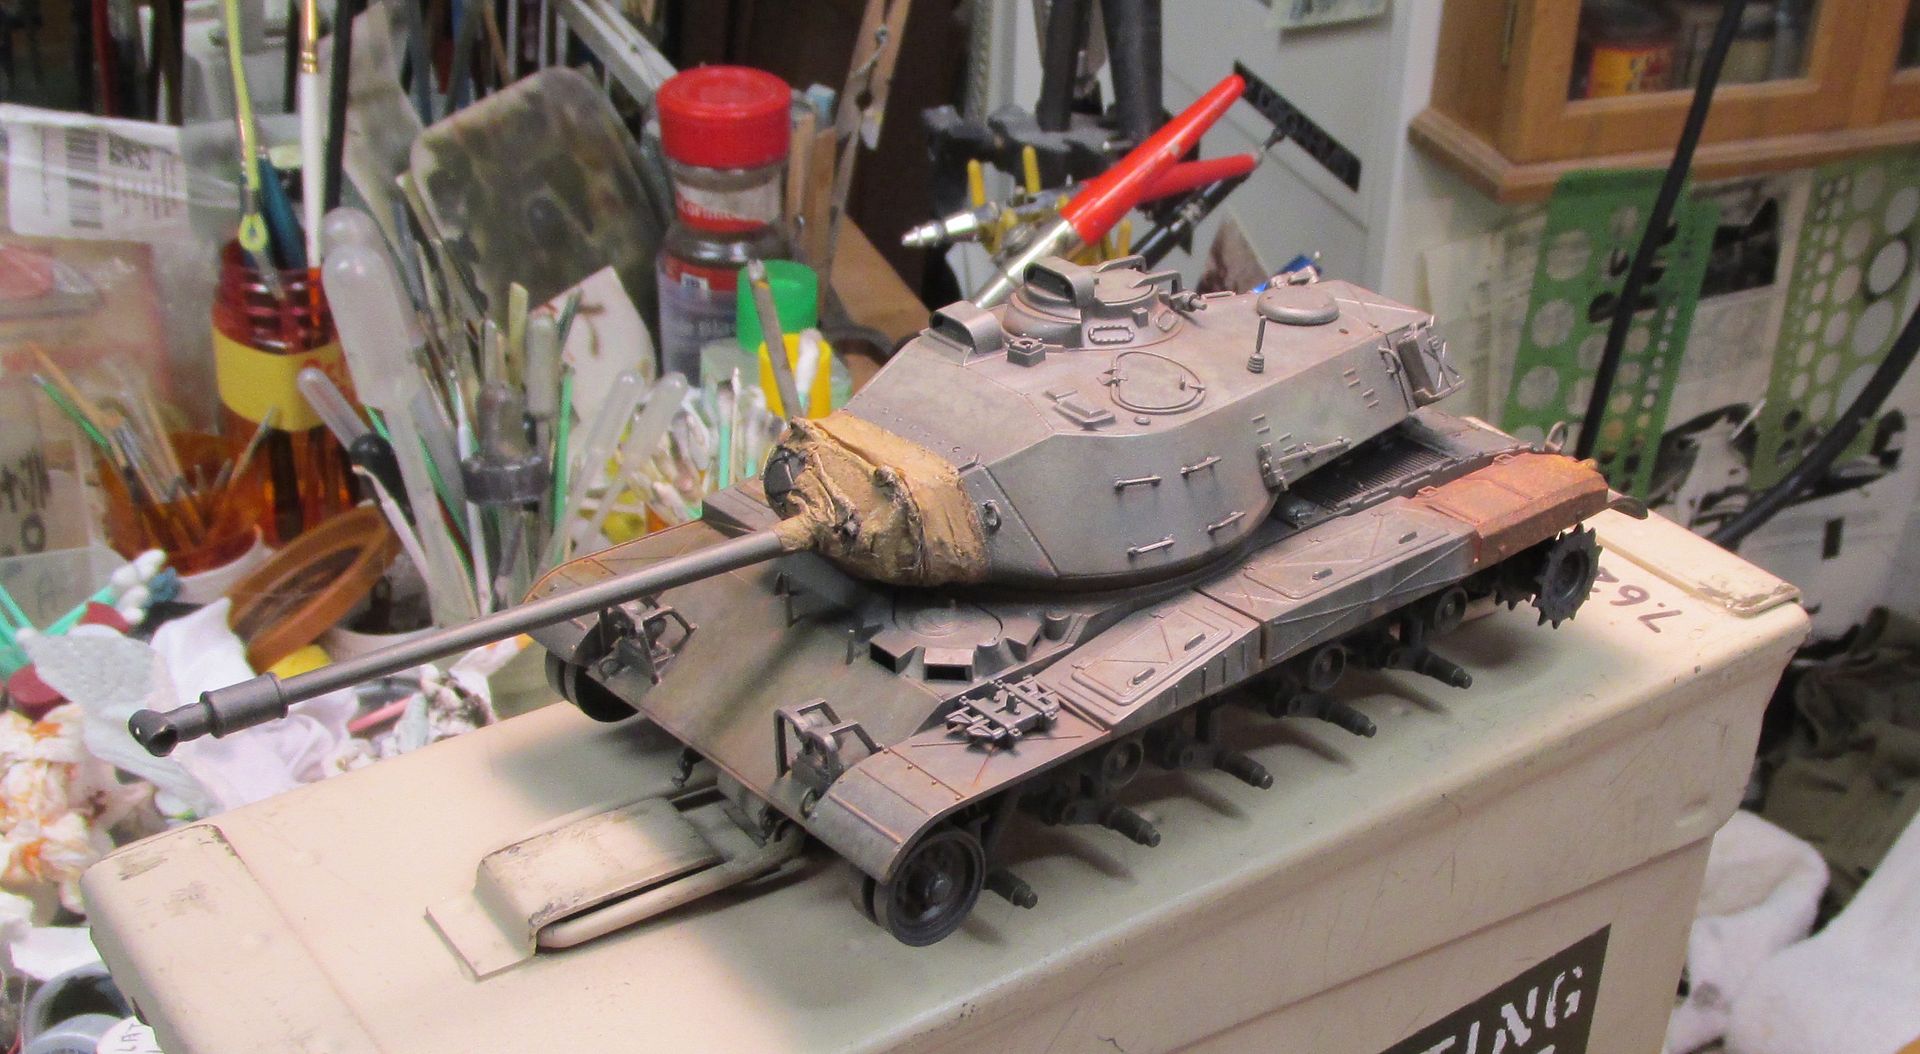
That's about it for now folks. I'll be trying to "mud" my way through the next step soon and will report back on any progress. Thanks for following along!
Rust never sleeps and that sheet metal might get cobby pretty soon in that AO. But the techniques seemed to work better on the starboard mufflers. I probably should have made more practice attempts before trying it for real. Since applying it, the texture of the stipple seems to have diminished somewhat, thankfully.
Other weathering has been done with pastel chalks and some Florry washes. I tried two different techniques to simulate collected rust in the two recessed "cross-brace" stiffeners on the rear of the front fenders. Port side was done with Florry wash, while I used Vallejo acrylic on the SB side. I don't really like the SB look as well as the port side and may well paint over the SB part and try again.
I also took a few pics of some stowage items, sort of "mocked up" where I'll probably place them. They, and the tracks, need attention soon!
But next step is applying some mud and splatters on the lower hull and running gear. The best color reference pic I've found of an ARVN M41 shows the tank in an urban setting, actually having just crushed a car. There is almost no mud evident on the tracks (just rather dusty), and some is seen inside the road wheel rims. I'm sure there must have been some behind the running gear, on the hull sides, as well as splashes and splatters on the hull front, rear and fender edges. So, that thought will guide me through the mud work!
stowage mock up pics:
That's about it for now folks. I'll be trying to "mud" my way through the next step soon and will report back on any progress. Thanks for following along!
Last edited by Gary Brantley on Sun May 01, 2022 7:40 pm, edited 1 time in total.
-
Medicman71

- Elite Member
- Posts: 11396
- Joined: Mon Apr 07, 2014 9:32 am
- Location: Houston, Tx
Re: Tamiya M41 Walker Bulldog
Nice! The rust looks great!
Mike
Sponsored by Boeing, Lockheed Martin, Northrop Grumman, Saab, BAE, and Dassault
Sponsored by Boeing, Lockheed Martin, Northrop Grumman, Saab, BAE, and Dassault
-
Stikpusher
- Moderator
- Posts: 21381
- Joined: Sat Apr 05, 2014 8:37 pm
- Location: Ceti Alpha 5
Re: Tamiya M41 Walker Bulldog
A couple pieces of advice on stowage. Don’t forget tie down straps for items… they don’t just hold on place by magic, and AFVs tend to vibrate a bit while moving, so stuff needs to be secured in place to prevent loss… I obtained more than few excess items of gear in the field from duffel bags that were not properly tied down…. also the items should not be placed where they will interfere with hatches, weapons, or block vision blocks/periscopes.
"Surely I have made my meaning plain? I intend to avenge myself upon you, Admiral. I have deprived your ship of power, and when I swing 'round, I intend to deprive you of your life."
FLSM
FLSM
Re: Tamiya M41 Walker Bulldog
Great rust! Nice.
Would you share the technique?
Would you share the technique?
To make each build less crappy than the last one. Or, put another way, "Better than the last one, not as good as the next one!"..
-
Gary Brantley
- Elite Member
- Posts: 2771
- Joined: Tue Apr 08, 2014 9:40 pm
- Location: Cameron, Texas
Re: Tamiya M41 Walker Bulldog
Thanks Mike, much appreciated!Medicman71 wrote:Nice! The rust looks great!
Great advice and good points to remember. I had encountered the clearance issue considering turret traverse and the rear-most crate/pack. I had already been pondering how some of it would be attached; the crushed cardboard box and wooden crate on turret top will be tied down with rope (PVA-soaked thread), going over from a hand-hold on the starboard side to the sledge mount on the port side. I'd like to place another cardboard box on top of the bustle, tied from one jerrycan handle to the other. But I've been wondering about other strap material; what sort would've been used circa '69-'73? Were any sort of bungie cords available then Carlos? I thought about using lead foil to simulate flat straps of some sort; what material do you use to secure tank stowage?Stikpusher wrote:A couple pieces of advice on stowage. Don’t forget tie down straps for items… they don’t just hold on place by magic, and AFVs tend to vibrate a bit while moving, so stuff needs to be secured in place to prevent loss… I obtained more than few excess items of gear in the field from duffel bags that were not properly tied down…. also the items should not be placed where they will interfere with hatches, weapons, or block vision blocks/periscopes.
I want to place another smaller, wooden crate on the SB side front fender, where the pioneer tools usually are. But where to secure it? I thought about drilling a hole in the front side of the sponson storage box just behind that and mounting a small eye-bolt type attachment; was this sort of thing ever done? I'm sorry to bombard you with so many questions, but I don't have the great experience that you have! Thanks for any more light you can shed on this!!
Thank you so much Lyle! I've had a love/hate relationship with that rust; one time it will look too rough, next time I look, it seems about right.LyleW wrote:Great rust! Nice.
Would you share the technique?
 In fact, the entire tank looks much different to me depending on what sort of light in which its viewed. In pure natural light, the nuances and weathering touches look better to me. As for that technique, I can't do better than posting this link to the Youtube video. It's less than 10 minutes long and makes it look pretty easy.
https://www.youtube.com/watch?v=Tr2aNYO ... yL&index=1
Re: Tamiya M41 Walker Bulldog
That rust came out great
March as one, Don't look back
Odin's sons... Attack!
Unleash hell! Do not repent! Warfare grants us no lament
Let your weapons slash and tear This is no place for fear
Hold the lines! Move as one! In unity our victory's won
Our shields will form a mighty wall
United we shall never fall
Odin's sons... Attack!
Unleash hell! Do not repent! Warfare grants us no lament
Let your weapons slash and tear This is no place for fear
Hold the lines! Move as one! In unity our victory's won
Our shields will form a mighty wall
United we shall never fall