1/32 Special Hobby Hawker Tempest Mk V

Re: 1/32 Special Hobby Hawker Tempest Mk V
Very nice. Incredible detail and great shading
Thanks,
John
John

Re: 1/32 Special Hobby Hawker Tempest Mk V
Thanks John! I appreciate the feedback!
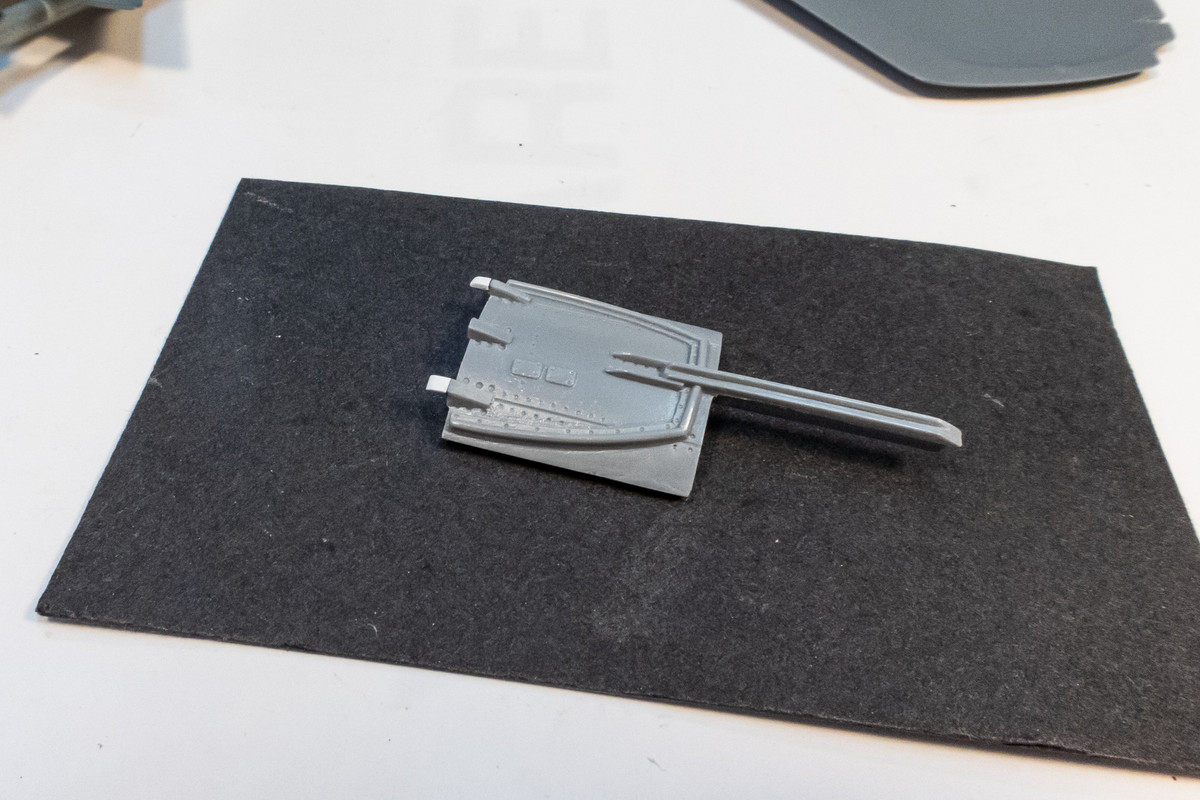
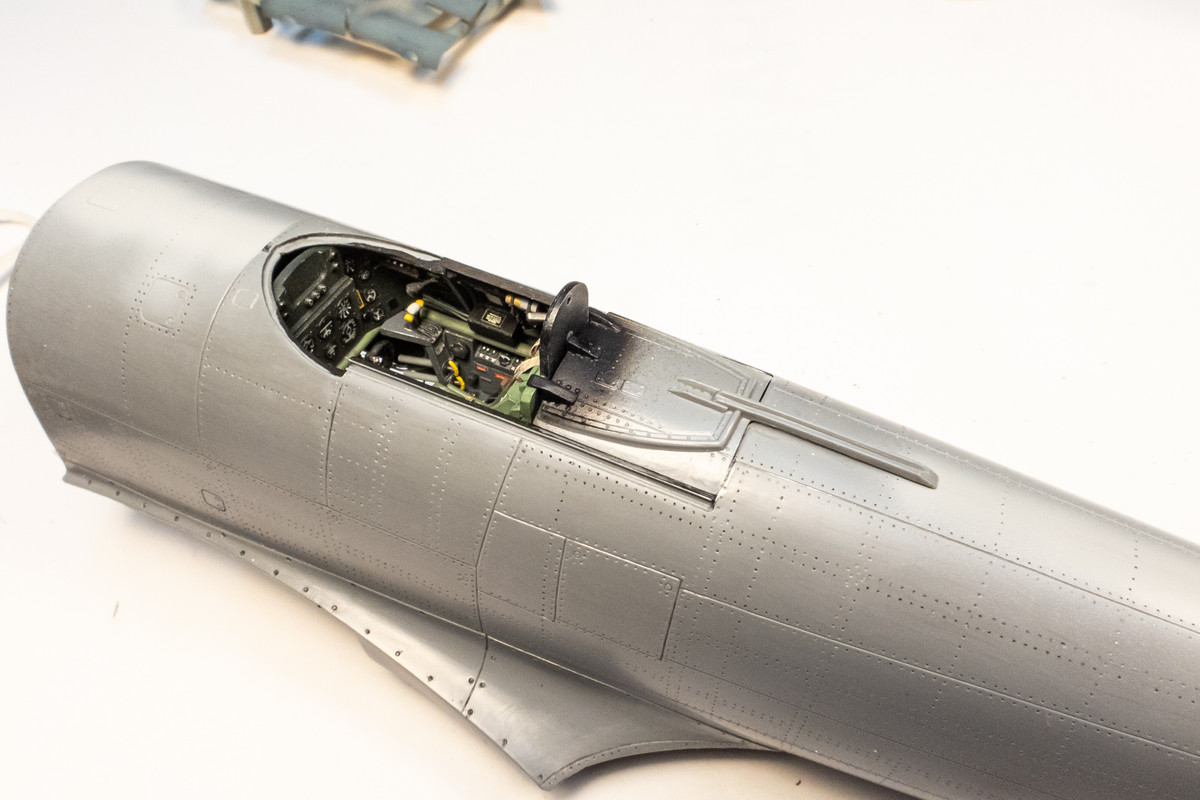
I decided to glue the rear deck behind the cockpit. There is a gap between the seat supports and the back of the seat so I added some small plastic shims to bridge the distance.
The wheel wells were given a dark brown pastel wash. This took much longer than normal because of all of the stuff in the wheel wells that I had to work around. Extra attention was making sure to eradicate any telltale stains and to repair any paint damaged by the wash operation. A flat coat was applied to seal the deal and I temporarily mounted some of the landing gear components in place for these pics.
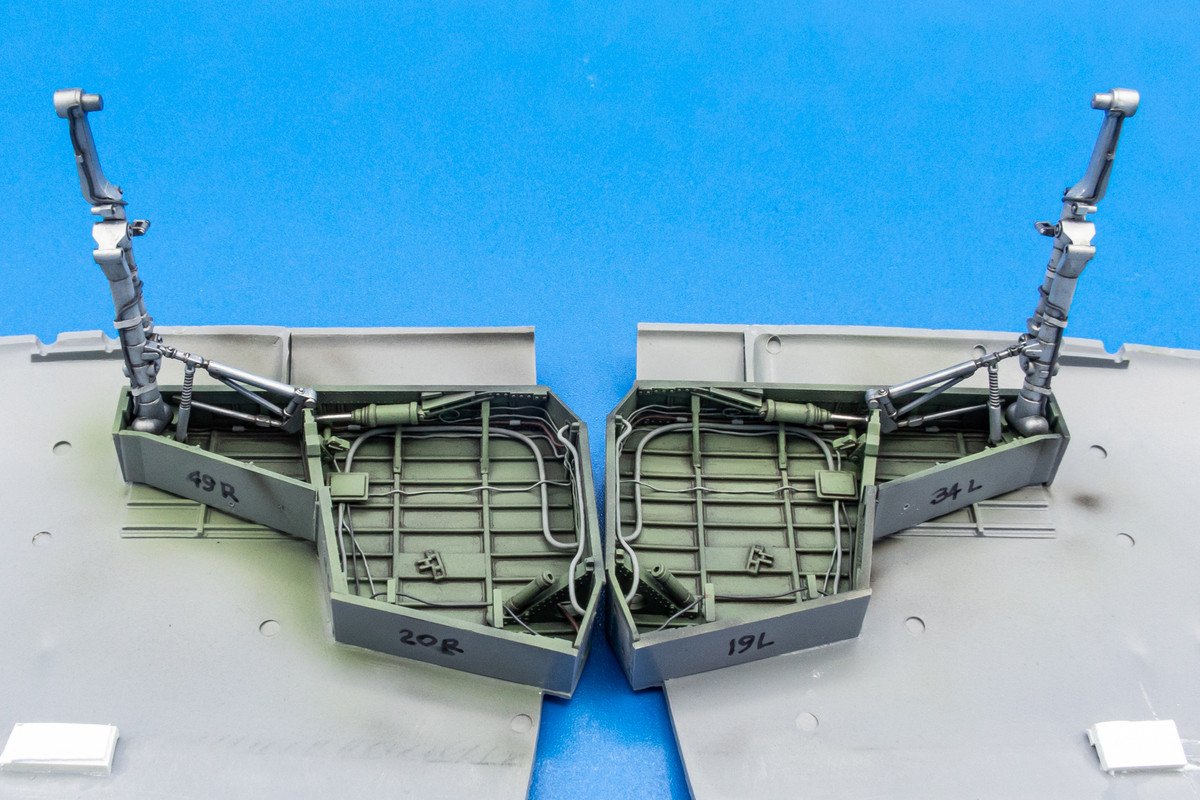
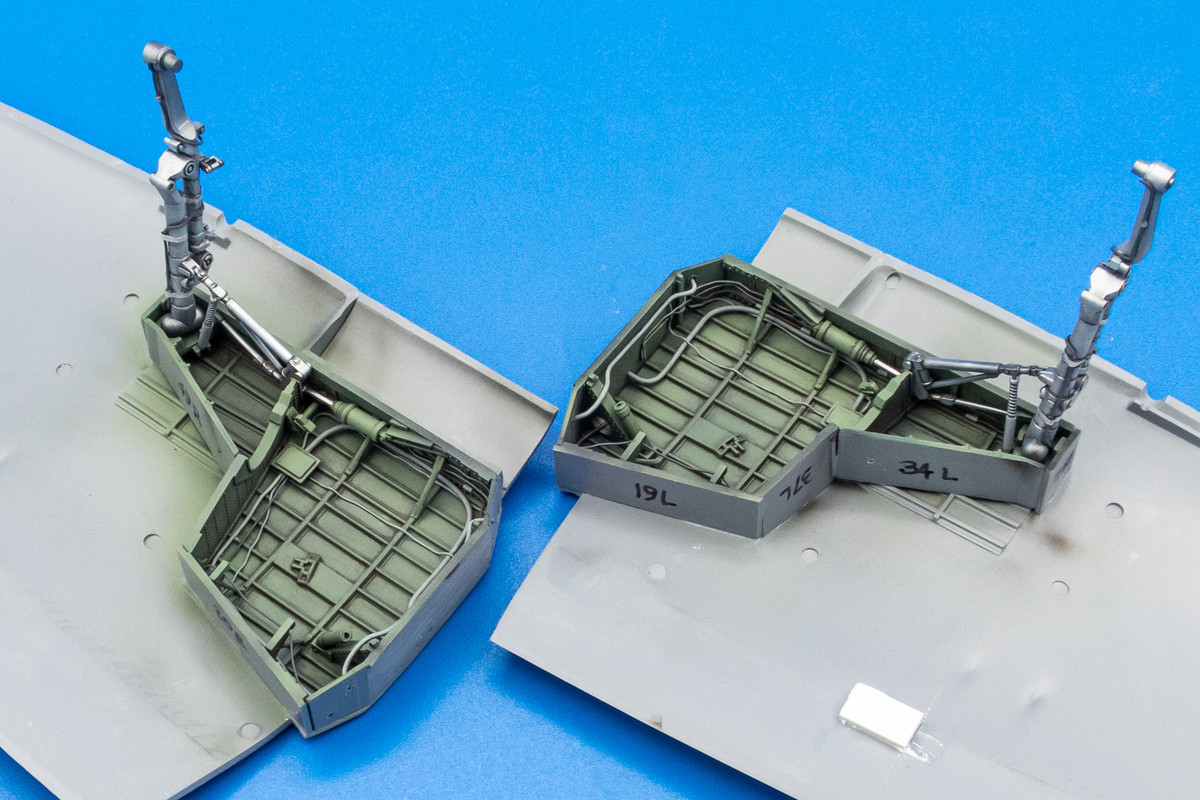
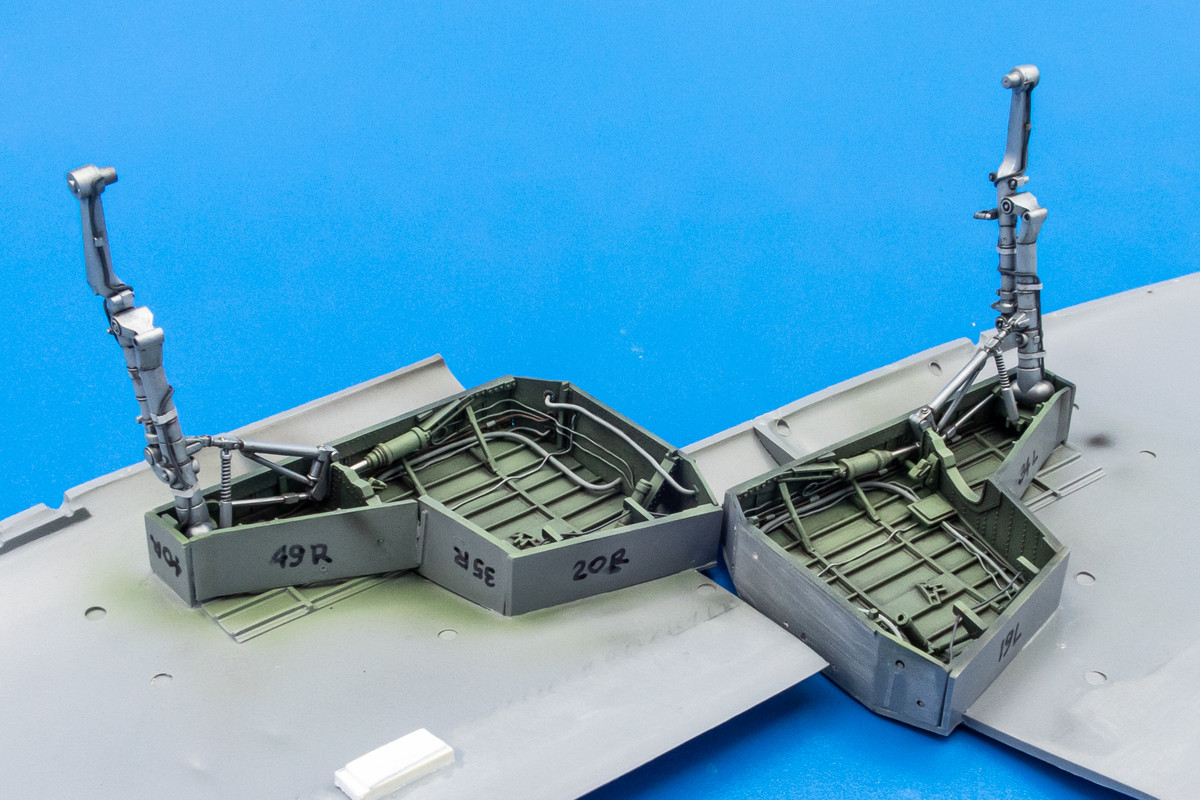
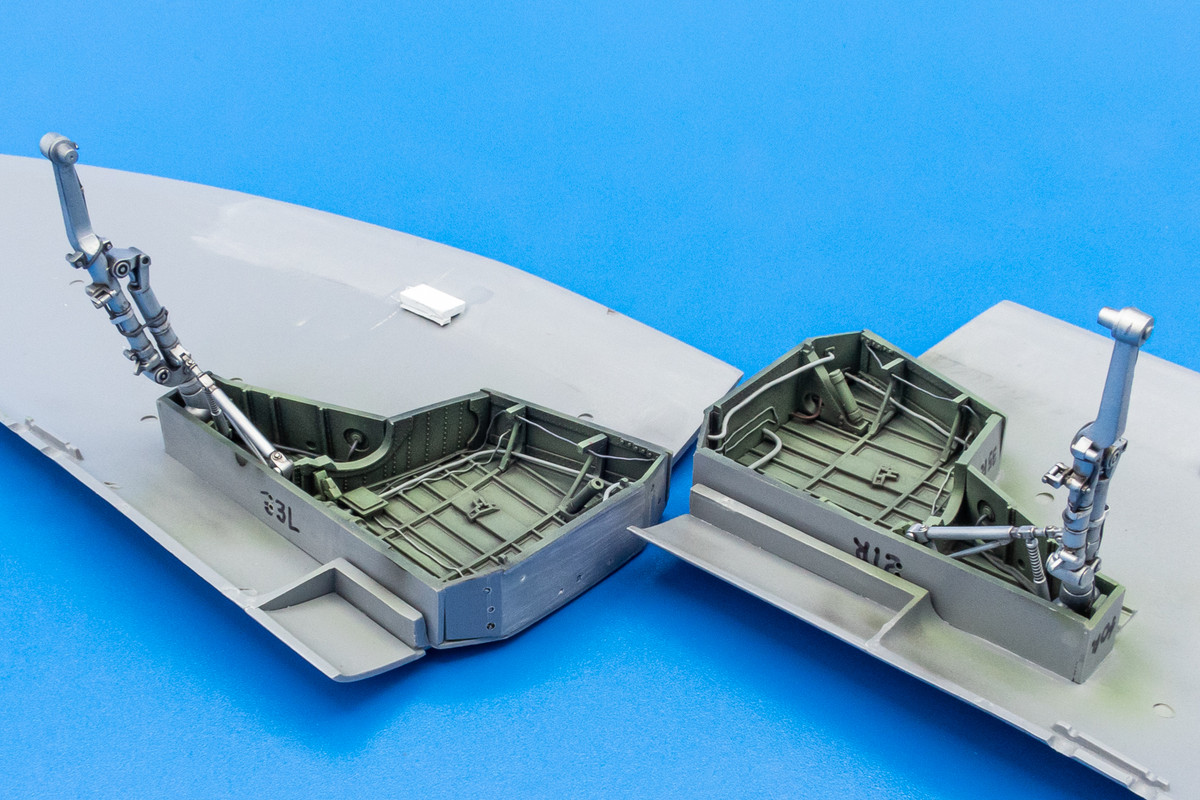
Weathering is not quite done on the wheel wells but they are close to being finished.
I decided to glue the rear deck behind the cockpit. There is a gap between the seat supports and the back of the seat so I added some small plastic shims to bridge the distance.
The wheel wells were given a dark brown pastel wash. This took much longer than normal because of all of the stuff in the wheel wells that I had to work around. Extra attention was making sure to eradicate any telltale stains and to repair any paint damaged by the wash operation. A flat coat was applied to seal the deal and I temporarily mounted some of the landing gear components in place for these pics.
Weathering is not quite done on the wheel wells but they are close to being finished.
John aka JKim
-----------<><

-----------<><
-
tempestjohnny

- Elite Member
- Posts: 3825
- Joined: Sat Oct 15, 2016 4:51 am
- Location: Naples. FL
Re: 1/32 Special Hobby Hawker Tempest Mk V
I'm waiting to see if the retract mechanism works  Looks like the real thing
Looks like the real thing
Re: 1/32 Special Hobby Hawker Tempest Mk V

That's how I feel, looking at all that glory.
Cheers,
Torben
Torben
Re: 1/32 Special Hobby Hawker Tempest Mk V
Thank you gentlemen! Always great to hear feedback!
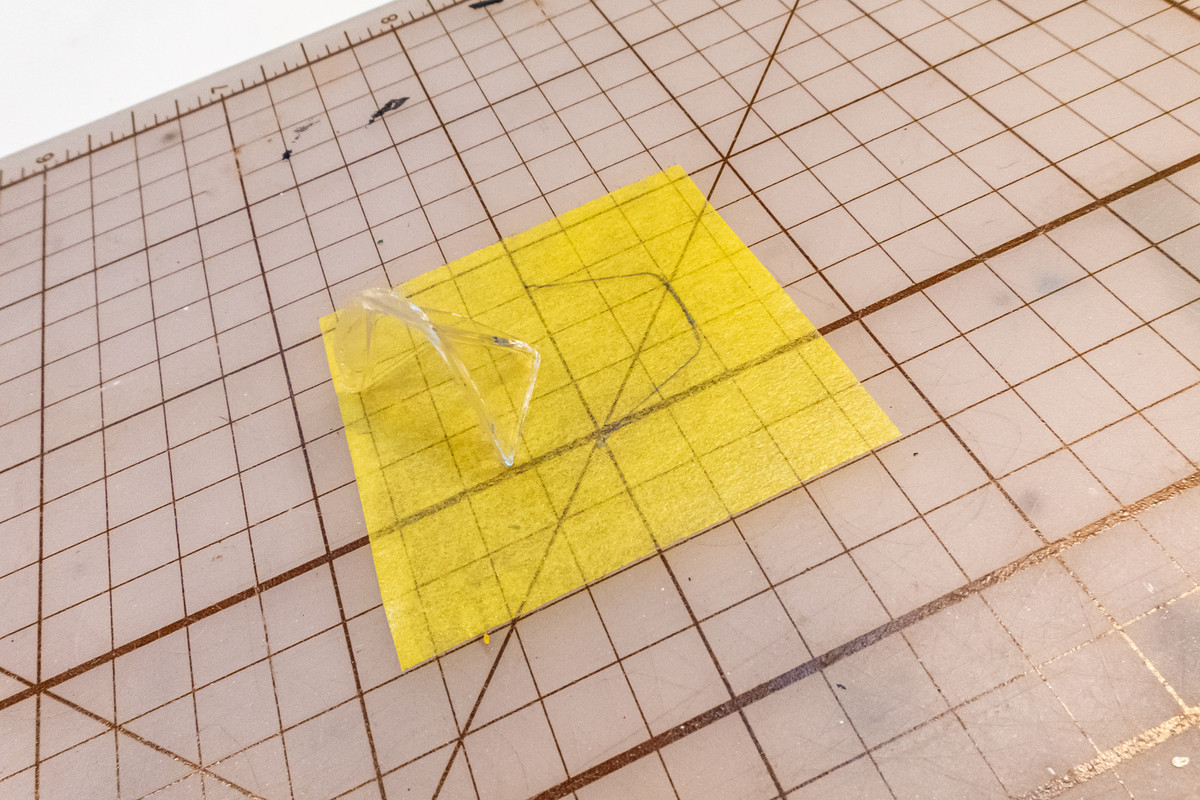
I used the windscreen to manually trace a mask that can be used to help seal the cockpit prior to painting.
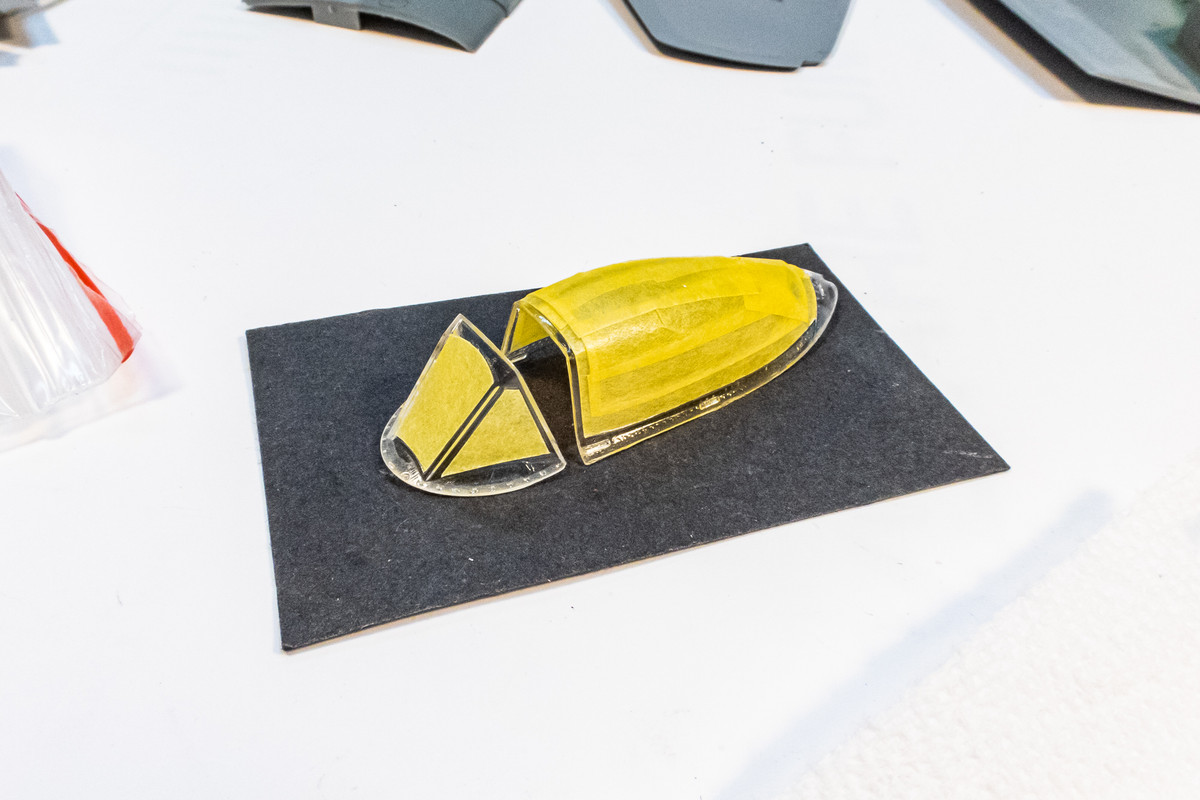
The clear parts have been masked. The Special Hobby kit comes with masks but they are of the black vinyl variety ala Montex, which I do not trust. I much prefer the yellow Tamiya-style tape that Eduard uses for its masks. So I used the kit mask as a template and cut new masks on a Tamiya Tape sheet using the Silhouette Portrait Cutter.
I had trouble getting the gun sight mount to fit within the windscreen. This is probably my doing... the resin part had both of its forward pointing braces broken off and I cut off the braces from the plastic part to replace. Most likely the orientation was wrong. Anyways, I snapped off those braces and replaced them with sections of brass tubing, which were sized and placed AFTER the gun sight mount was temporarily glued with PVA glue.
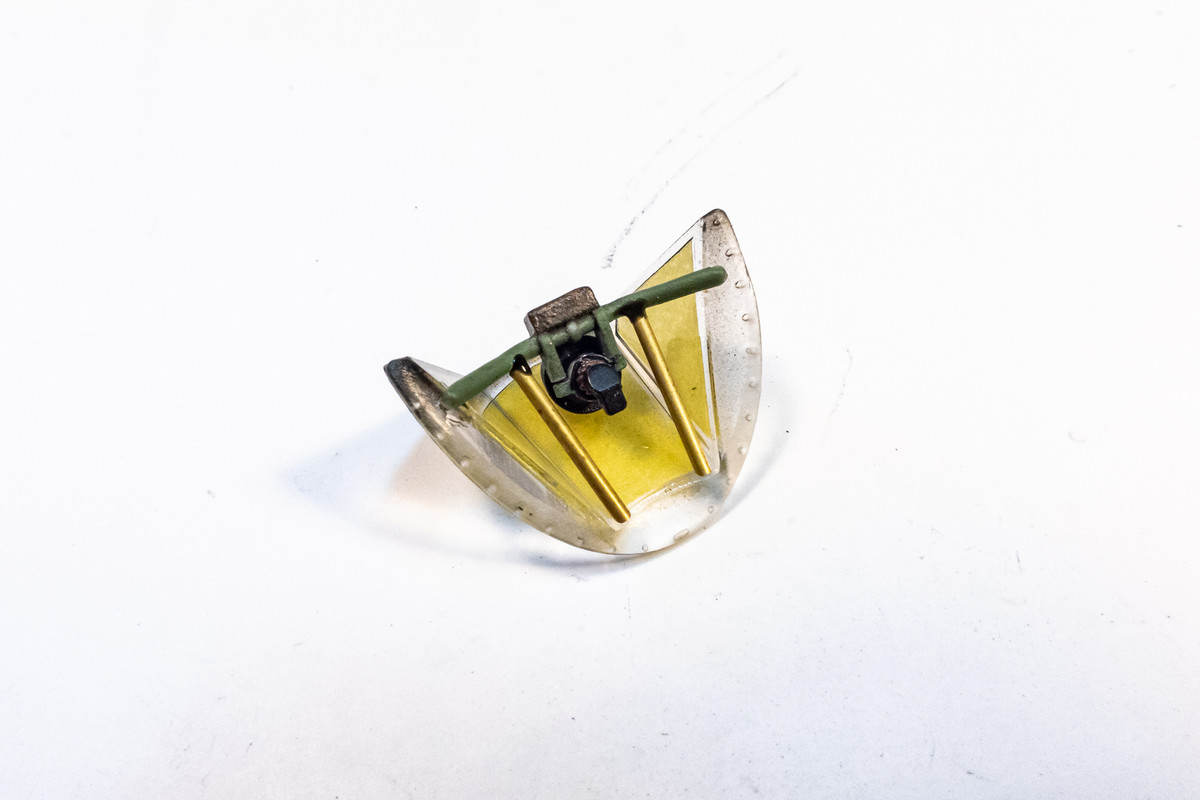
The gun sight assembly was then removed and the glue joints reinforced with CA glue.
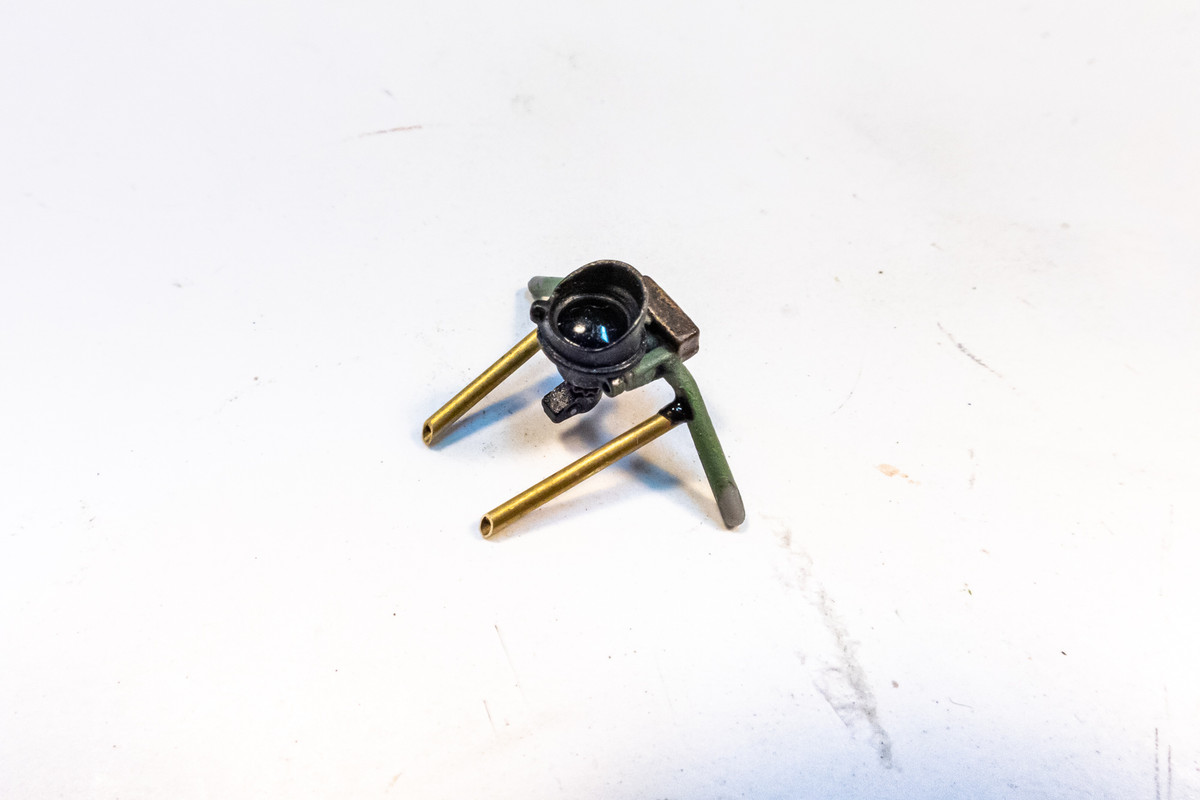
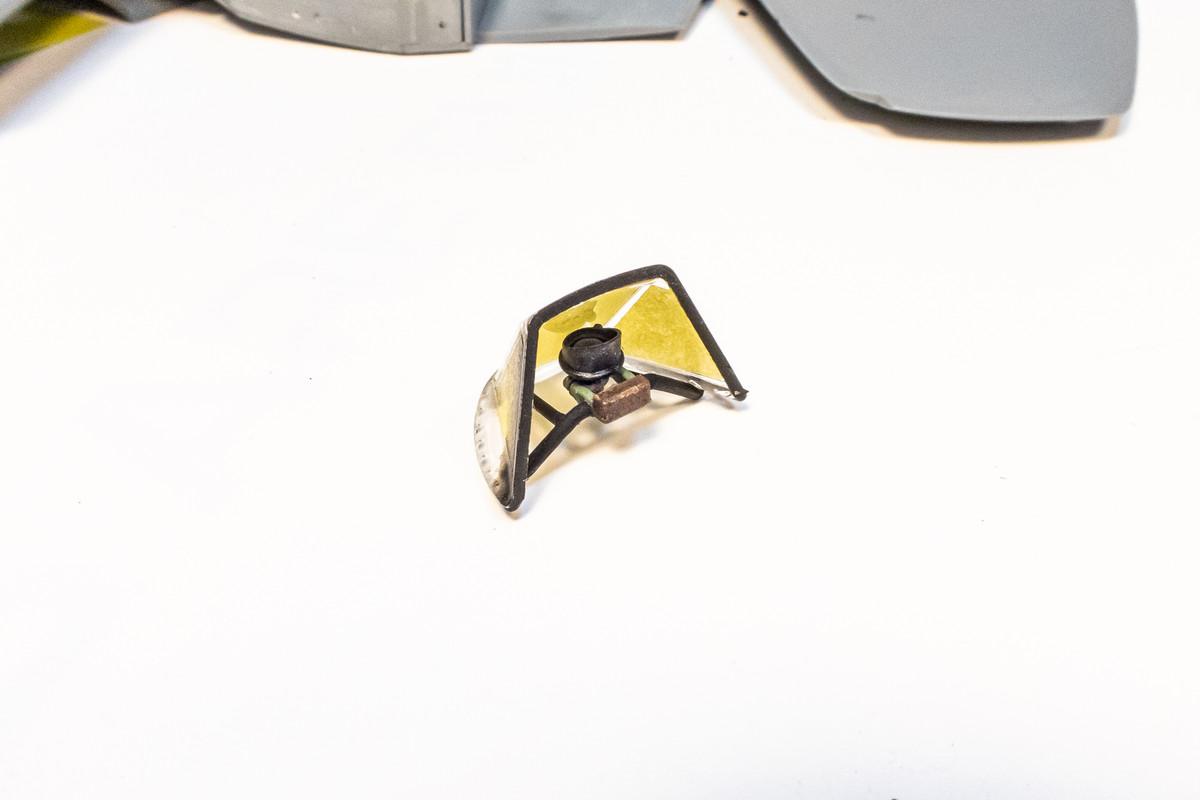
I repainted the arms black to help hide the glue joint and glued the gun sight back into the windshield permanently. I've elected not to paint the interior frames of the canopy and windshield but have masked painted the exposed edge of the windshield black.
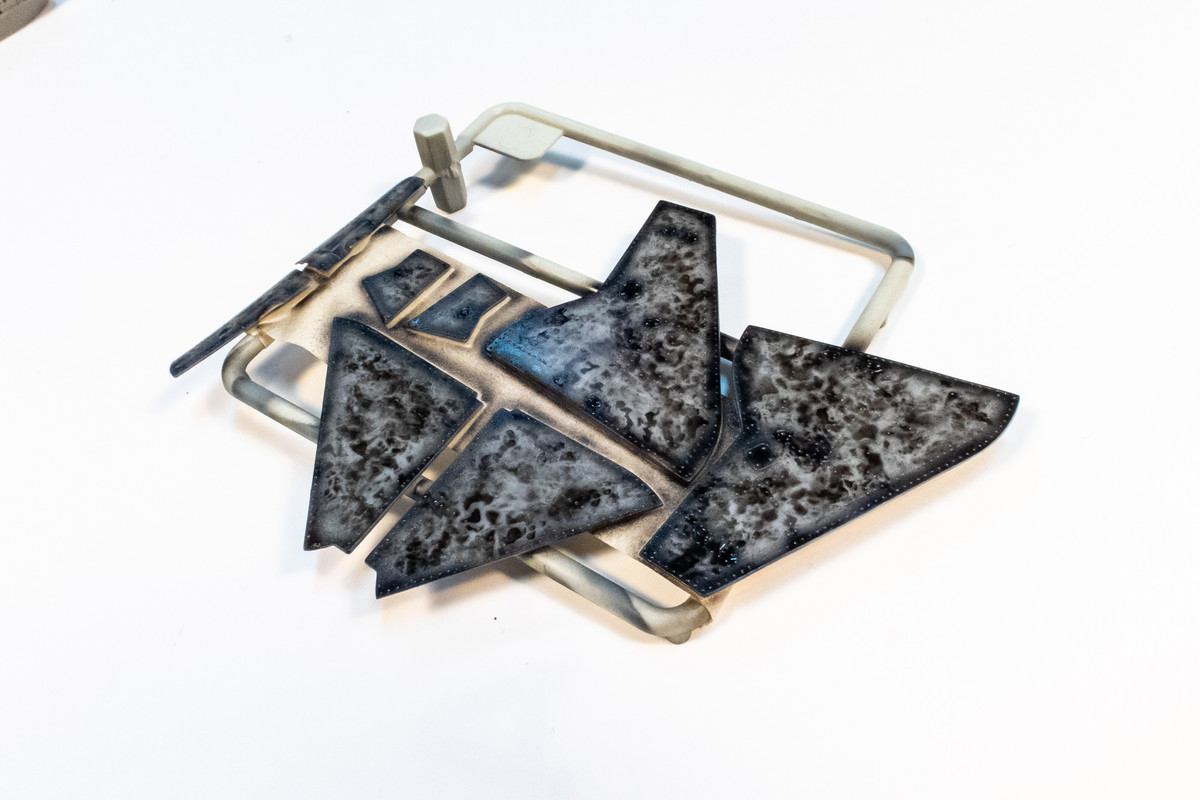
The outer surfaces of the landing gear covers have been painted Medium Sea Grey (Mr Color C363) lightened with some white.over my normal black mottle preshade.
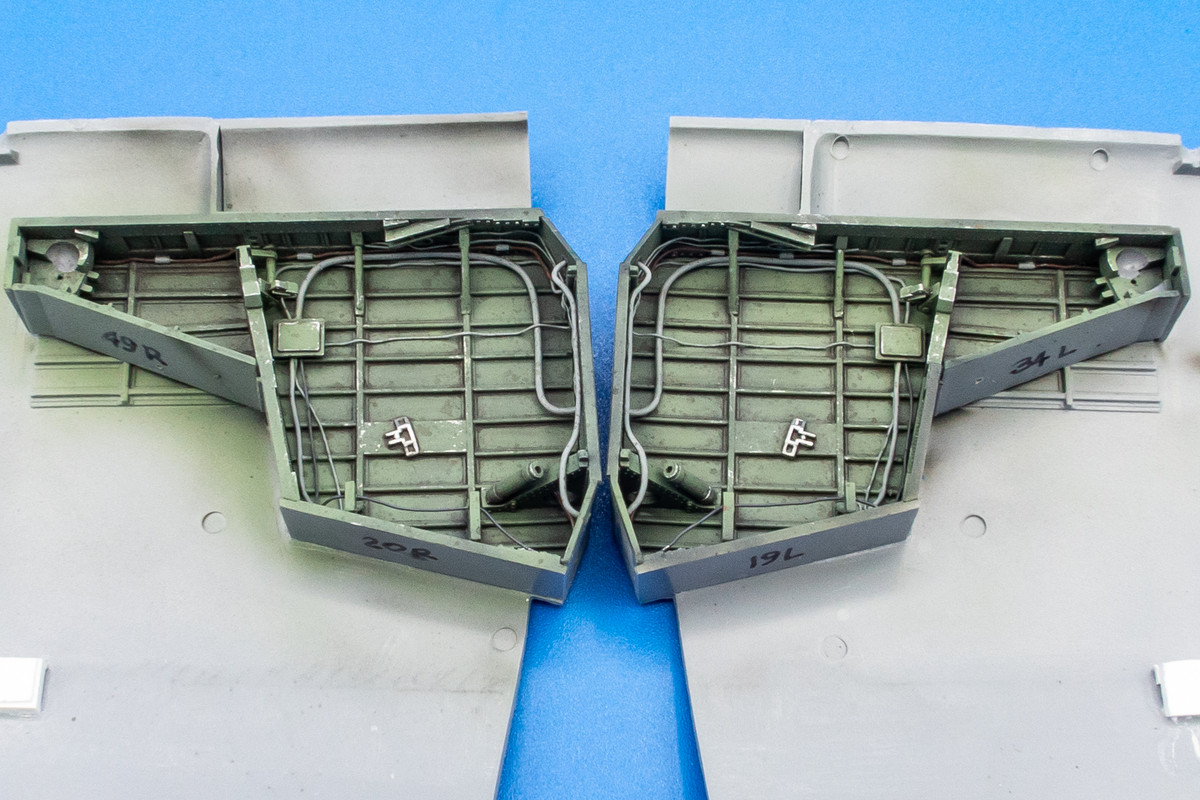
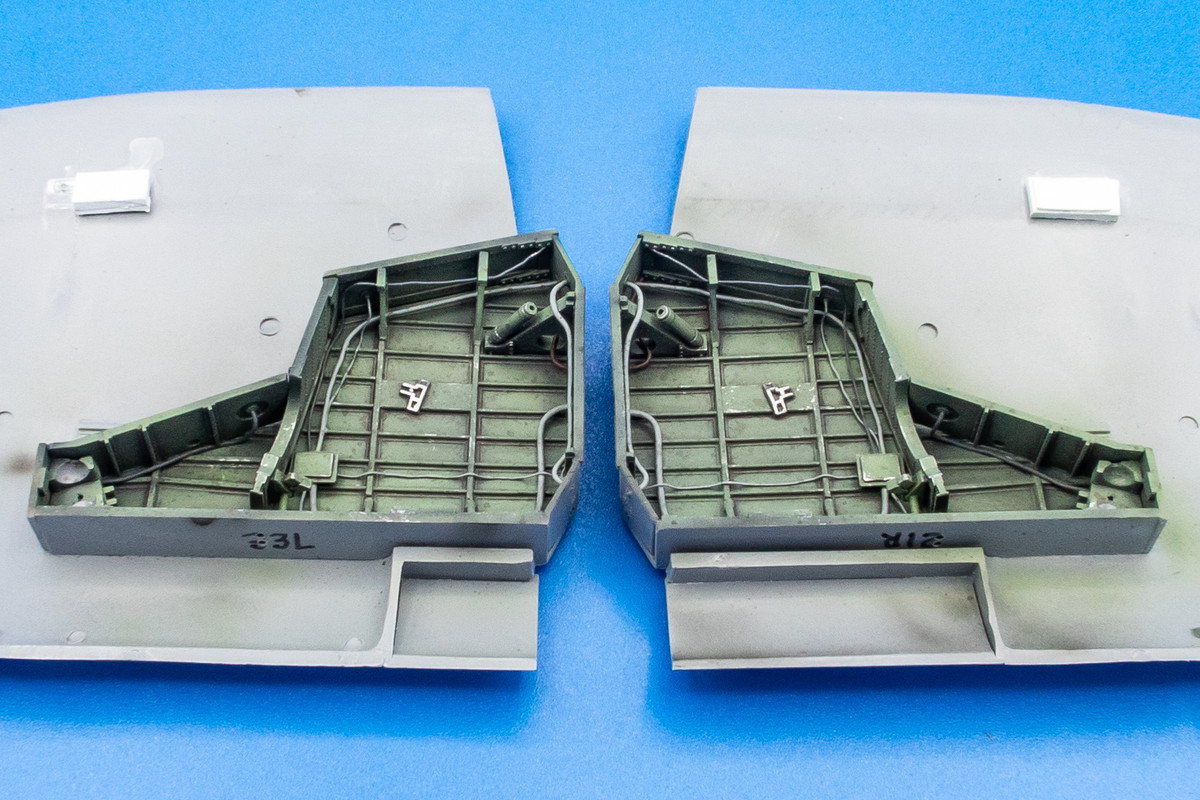
Additional weathering has been applied to the wheel wells. First, I gave it some light chipping by dry-brushing Testors Silver along exposed edges and bolt heads. And then a watered-down mix of brown pastel wash was splattered into the wheel well. Subtlety is the key here and any obviously big spots of wash are wiped away.
I used the windscreen to manually trace a mask that can be used to help seal the cockpit prior to painting.
The clear parts have been masked. The Special Hobby kit comes with masks but they are of the black vinyl variety ala Montex, which I do not trust. I much prefer the yellow Tamiya-style tape that Eduard uses for its masks. So I used the kit mask as a template and cut new masks on a Tamiya Tape sheet using the Silhouette Portrait Cutter.
I had trouble getting the gun sight mount to fit within the windscreen. This is probably my doing... the resin part had both of its forward pointing braces broken off and I cut off the braces from the plastic part to replace. Most likely the orientation was wrong. Anyways, I snapped off those braces and replaced them with sections of brass tubing, which were sized and placed AFTER the gun sight mount was temporarily glued with PVA glue.
The gun sight assembly was then removed and the glue joints reinforced with CA glue.
I repainted the arms black to help hide the glue joint and glued the gun sight back into the windshield permanently. I've elected not to paint the interior frames of the canopy and windshield but have masked painted the exposed edge of the windshield black.
The outer surfaces of the landing gear covers have been painted Medium Sea Grey (Mr Color C363) lightened with some white.over my normal black mottle preshade.
Additional weathering has been applied to the wheel wells. First, I gave it some light chipping by dry-brushing Testors Silver along exposed edges and bolt heads. And then a watered-down mix of brown pastel wash was splattered into the wheel well. Subtlety is the key here and any obviously big spots of wash are wiped away.
John aka JKim
-----------<><
-----------<><

Re: 1/32 Special Hobby Hawker Tempest Mk V
That gunsight is a beautiful piece of work.
March as one, Don't look back
Odin's sons... Attack!
Unleash hell! Do not repent! Warfare grants us no lament
Let your weapons slash and tear This is no place for fear
Hold the lines! Move as one! In unity our victory's won
Our shields will form a mighty wall
United we shall never fall
Odin's sons... Attack!
Unleash hell! Do not repent! Warfare grants us no lament
Let your weapons slash and tear This is no place for fear
Hold the lines! Move as one! In unity our victory's won
Our shields will form a mighty wall
United we shall never fall
-
BlackSheep214

- Elite Member
- Posts: 13596
- Joined: Sun Apr 06, 2014 8:47 pm
Re: 1/32 Special Hobby Hawker Tempest Mk V
You oughta get Clint do a video of your work progress. Just sayin’....
That is some incredible work.

That is some incredible work.
“Who controls the skies, controls the fate of this Earth”
Author unknown- 352nd Fighter Group, Blue-Nosed Bastards of Bodney
“Send one plane it’s a sortie; send two planes it’s a flight; send four planes it’s a test of airpower. - Richard Kohn
Author unknown- 352nd Fighter Group, Blue-Nosed Bastards of Bodney
“Send one plane it’s a sortie; send two planes it’s a flight; send four planes it’s a test of airpower. - Richard Kohn
Re: 1/32 Special Hobby Hawker Tempest Mk V
Thanks guys! The Type I Mark III gun sight is resin and has some nice detail on it but it's hard to see because of the angles.
Not much of an update as today was more of a looking/thinking type of session. Still trying to figure out the engine attachment sequence and I'm taking a look at the wing drop tanks with their weird clear pylons and trying to decide if I want to use them. Playing around with one of the pylon parts resulted in a crack but Special Hobby said that a new clear sprue is on its way so I may still be in business.
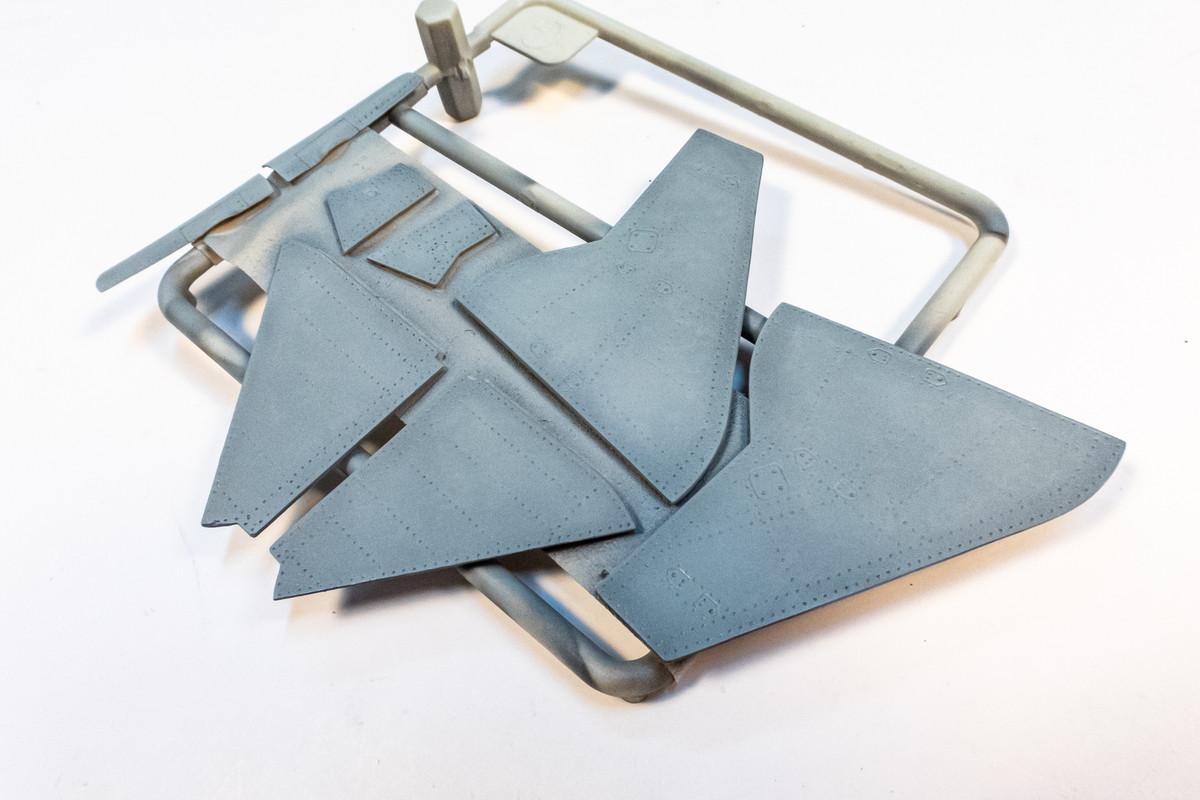
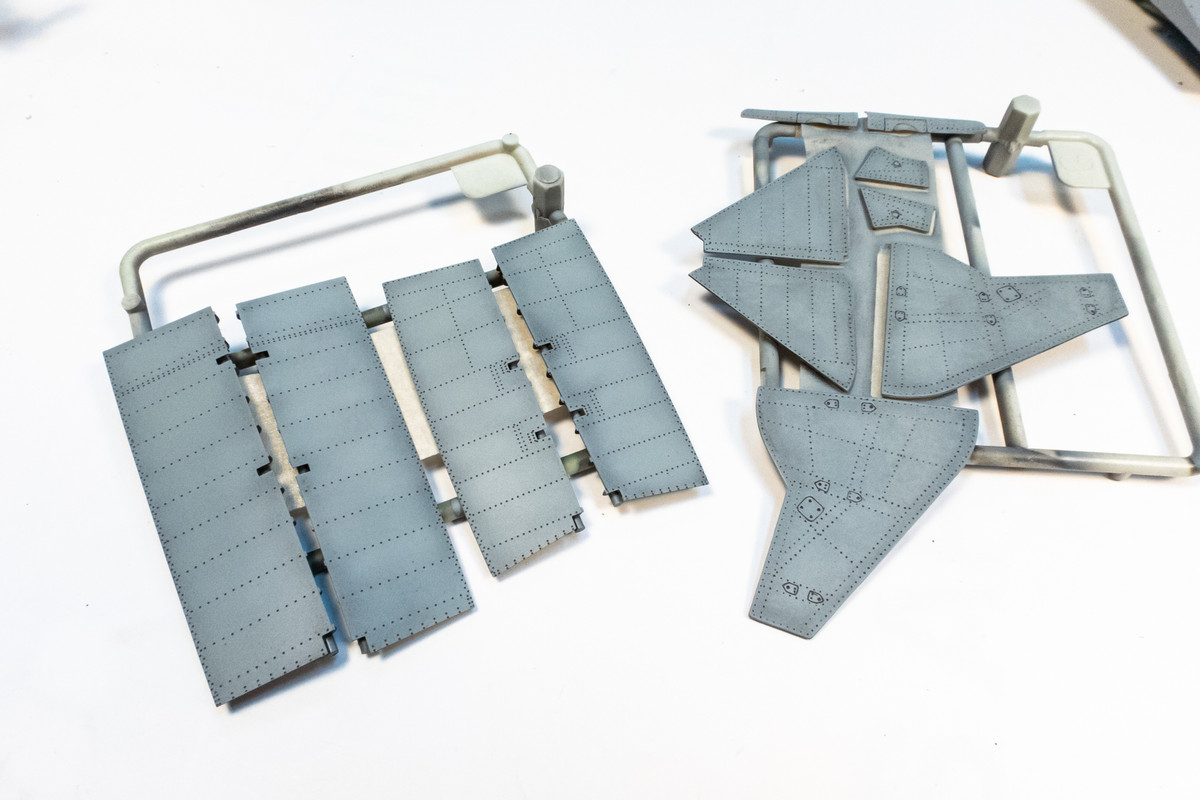
The outsides of the flaps and landing gear covers have been painted, given a brown pastel wash and then sealed with a flat coat. Not sure how I am going to weather the undersides of this Tempest so I'm holding off on weathering these for now. I can flip the gear covers over and paint the interior sides and weather them if I need something to work on.
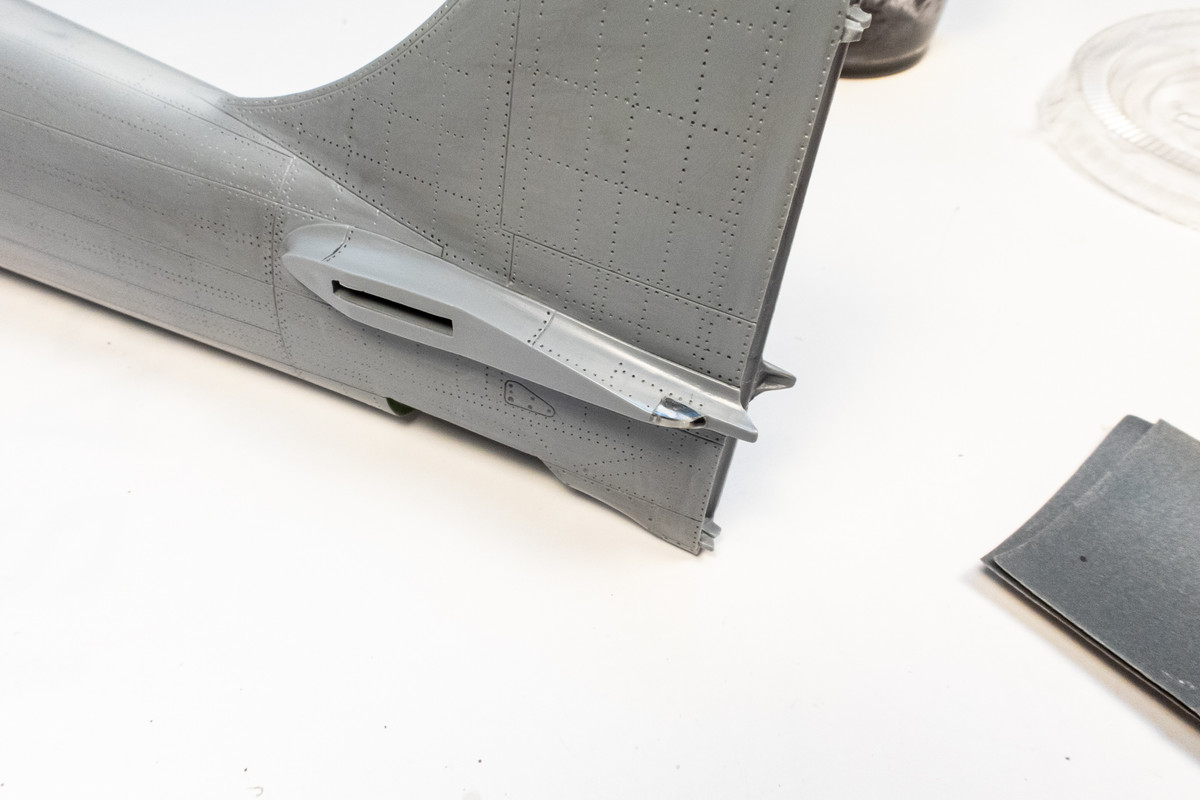
The clear lamps on the tail were glued into place. Not the greatest fit here so I had to do some sanding and get them flush. Obviously, these will have to be masked prior to painting.
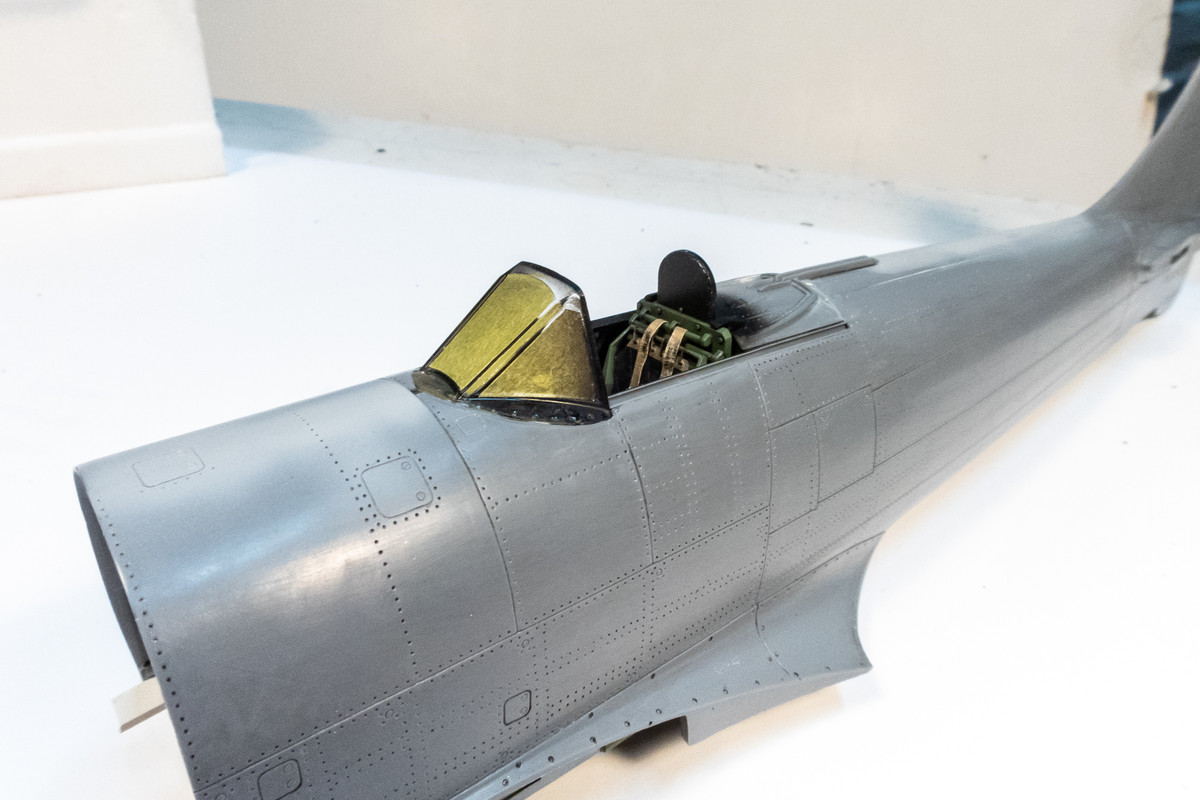
The windscreen, with the gun sight secured, has been glued into place. I'll give this a coat of black and then clean up the joint to make it nice and tidy.
Not much of an update as today was more of a looking/thinking type of session. Still trying to figure out the engine attachment sequence and I'm taking a look at the wing drop tanks with their weird clear pylons and trying to decide if I want to use them. Playing around with one of the pylon parts resulted in a crack but Special Hobby said that a new clear sprue is on its way so I may still be in business.
The outsides of the flaps and landing gear covers have been painted, given a brown pastel wash and then sealed with a flat coat. Not sure how I am going to weather the undersides of this Tempest so I'm holding off on weathering these for now. I can flip the gear covers over and paint the interior sides and weather them if I need something to work on.
The clear lamps on the tail were glued into place. Not the greatest fit here so I had to do some sanding and get them flush. Obviously, these will have to be masked prior to painting.
The windscreen, with the gun sight secured, has been glued into place. I'll give this a coat of black and then clean up the joint to make it nice and tidy.
John aka JKim
-----------<><
-----------<><
-
mustang1989

- Moderator
- Posts: 5044
- Joined: Tue Mar 18, 2014 8:35 pm
Re: 1/32 Special Hobby Hawker Tempest Mk V
This is all a whole lot of work all pointing in the right direction. That gunsight has to take it all though.
-
tempestjohnny
- Elite Member
- Posts: 3825
- Joined: Sat Oct 15, 2016 4:51 am
- Location: Naples. FL
Re: 1/32 Special Hobby Hawker Tempest Mk V
The lights on the tail are very interesting. Never knew about that