BlackSheep214 wrote:I have no words except...
![]()
![]()
![]()
![]()
![]()
![]()
![]()
![]()
![]()
![]()
![]()
1/32 Special Hobby Hawker Tempest Mk V
Re: 1/32 Special Hobby Hawker Tempest Mk V
Stuart Templeton 'I may not be good but I'm slow...'
Re: 1/32 Special Hobby Hawker Tempest Mk V
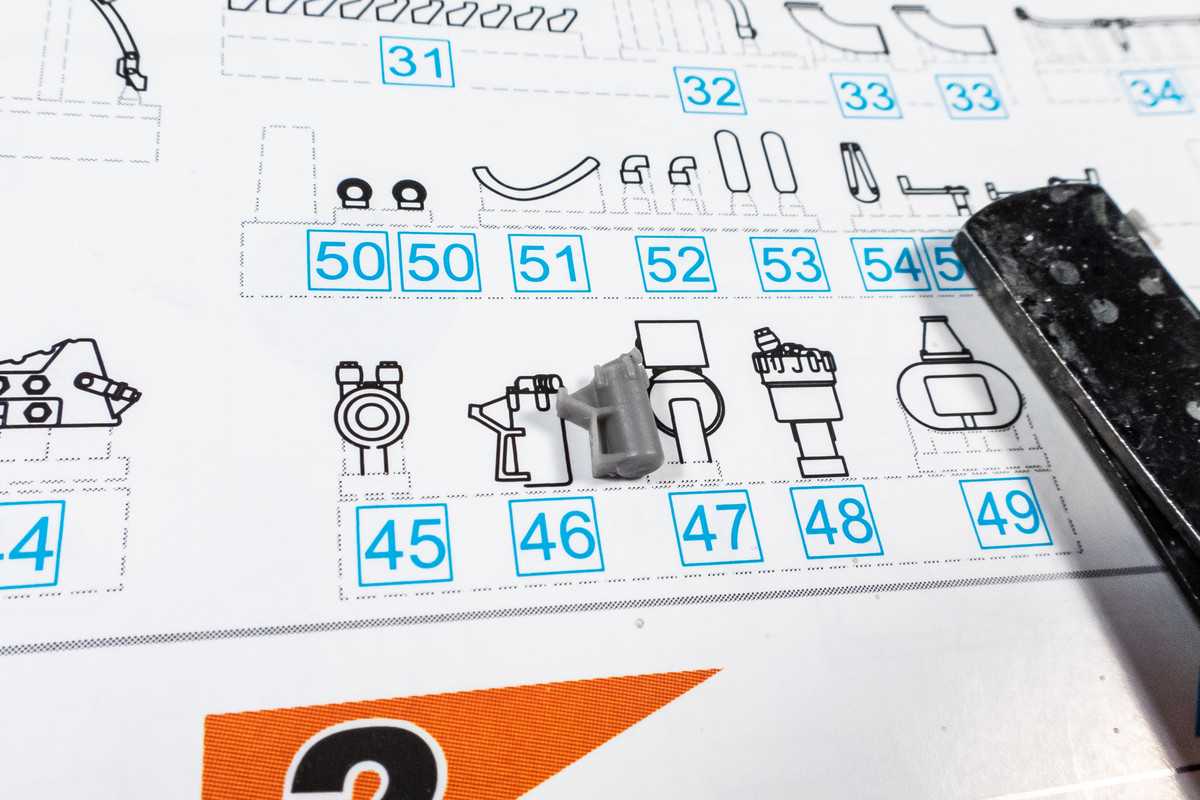
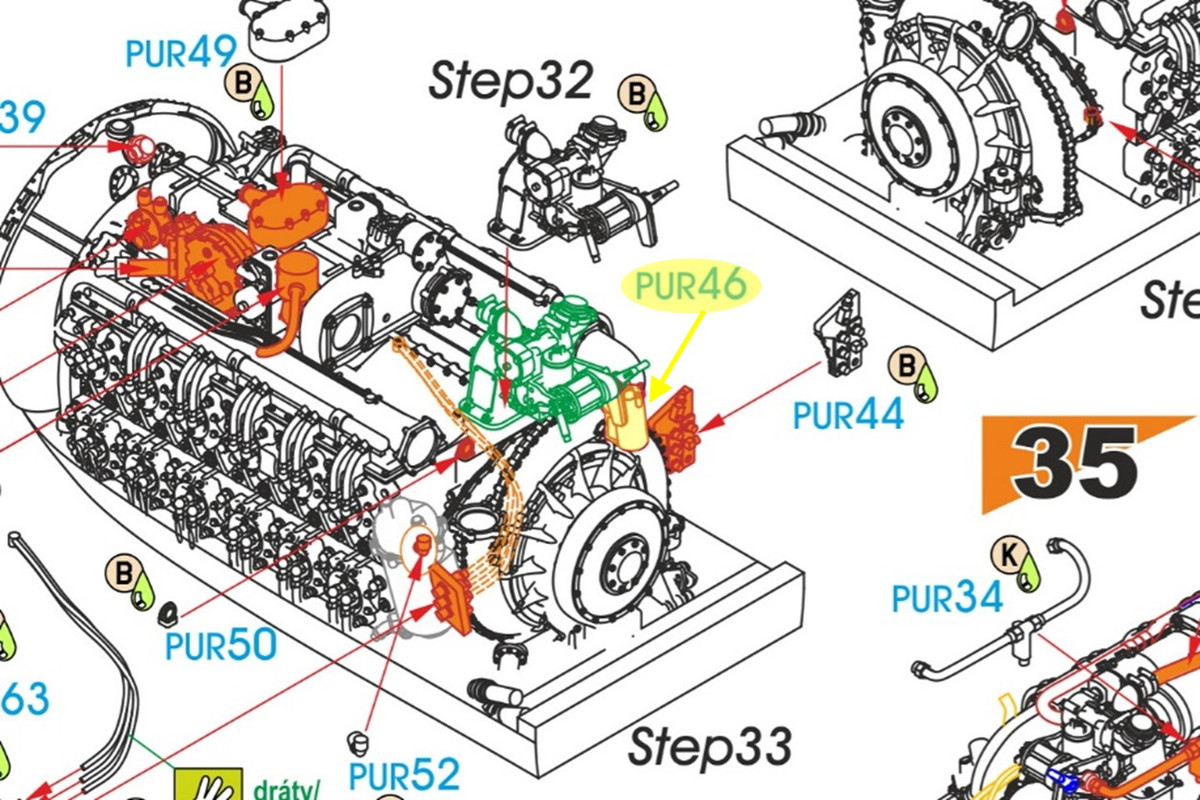
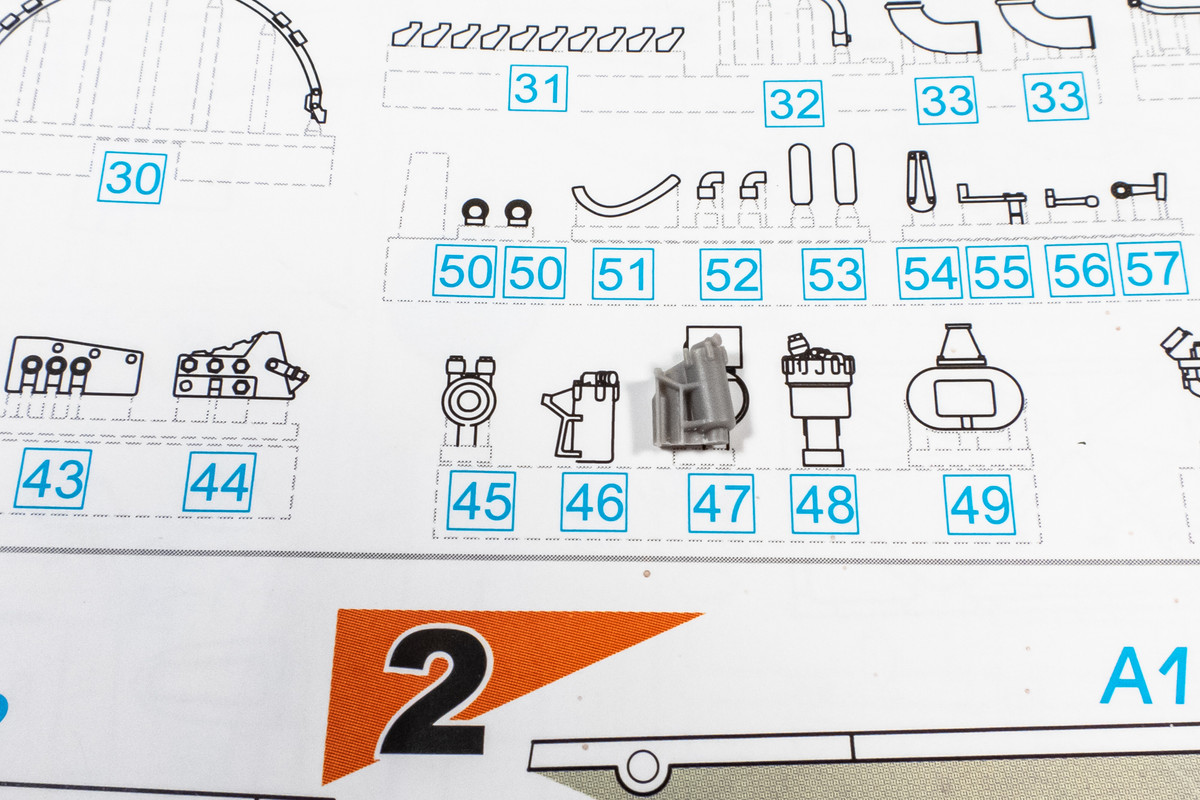
Mystery part has been solved. I think. A sharp pair of eyes at LSP saw what appears to be the shape of PUR46 outlined in red on the drawing beneath the letters. I've highlighted in yellow. Looks like the shape of PUR46.

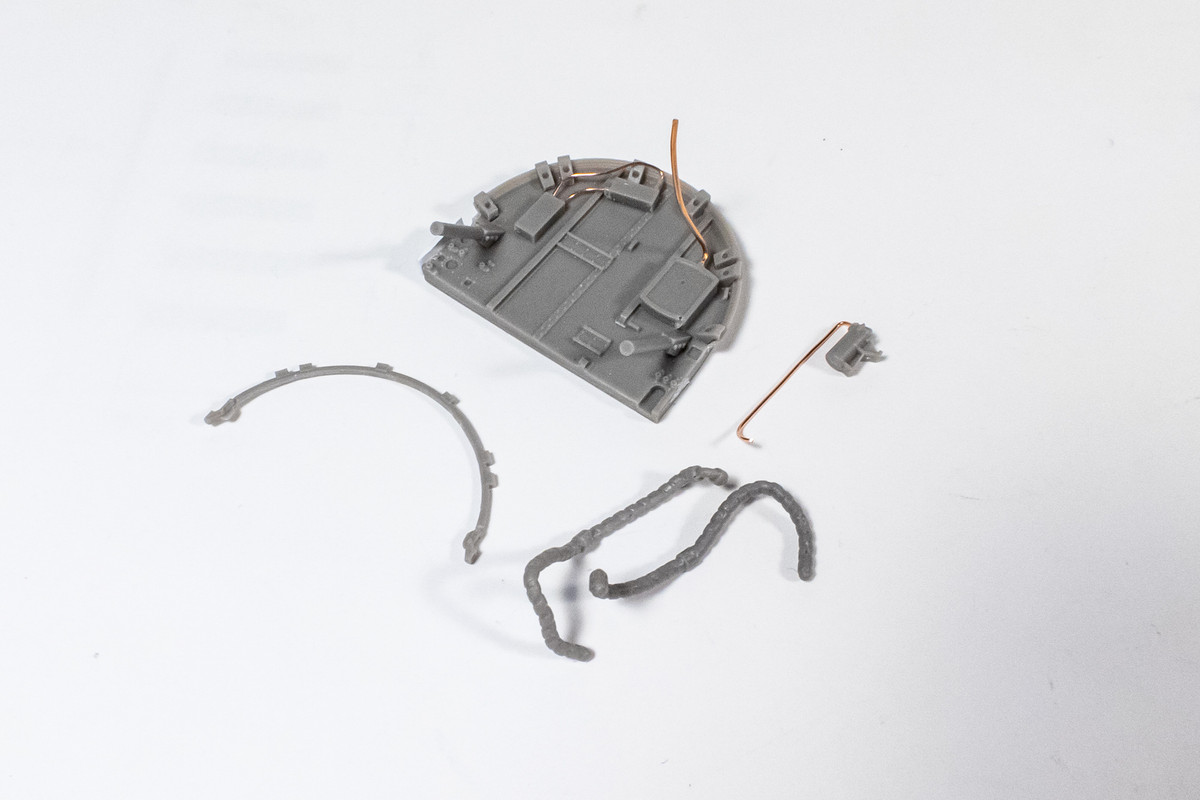
One of the important things to do before separating the resin part from its casting block is to compare it to the parts graphic parts list. Good thing I did this because my initial thought was to remove all of the framework and leave just the cannister.

So I trimmed off the excess resin flash per the graphic.

What I initially thought was excess resin flash actually allows for a more secure attachment to the back of the engine, which I've temporarily accomplished with a bit of Blue Tack.

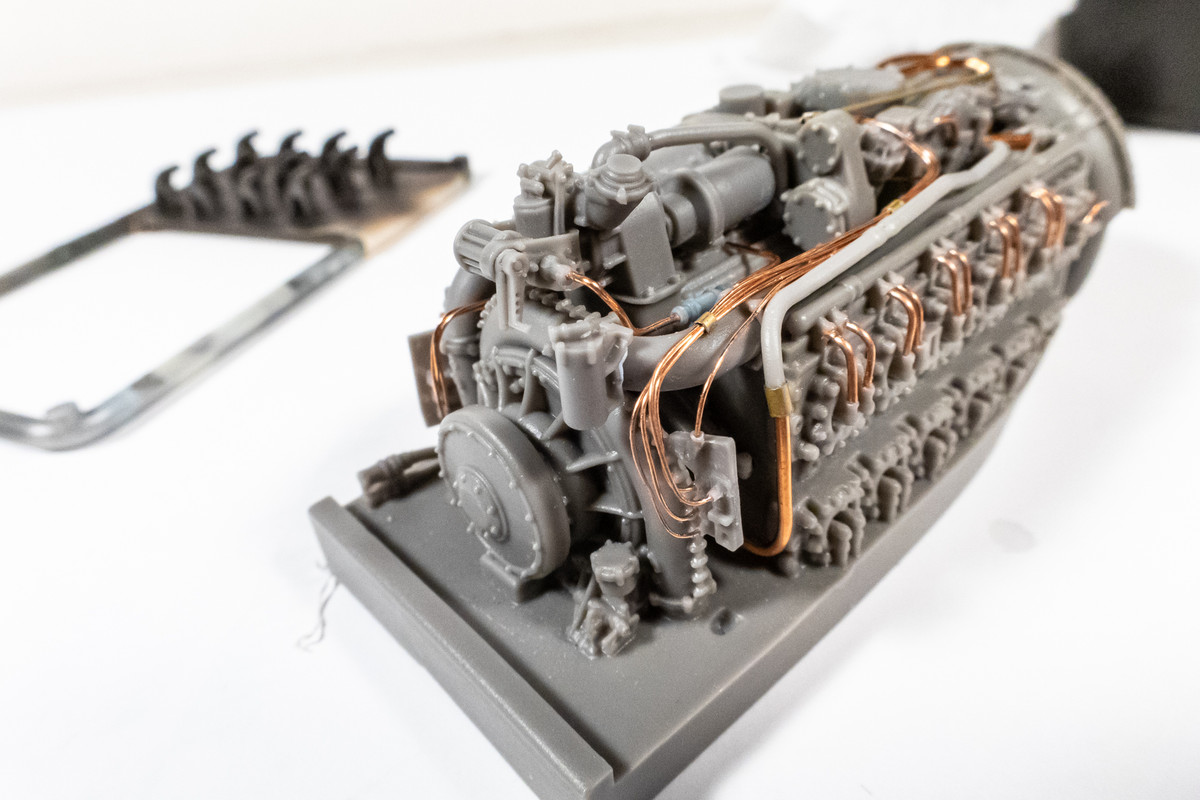
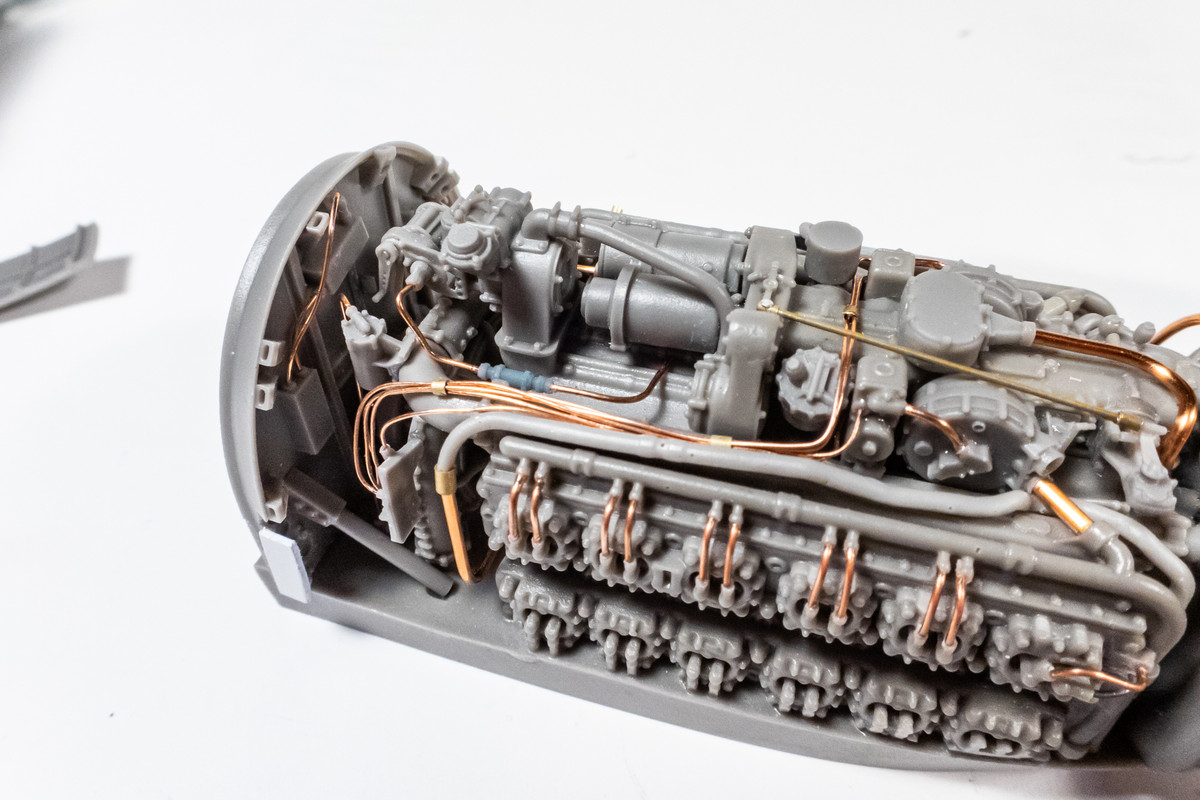
Here is PUR46 in place from the same perspective as the instructions... seems to be a match!

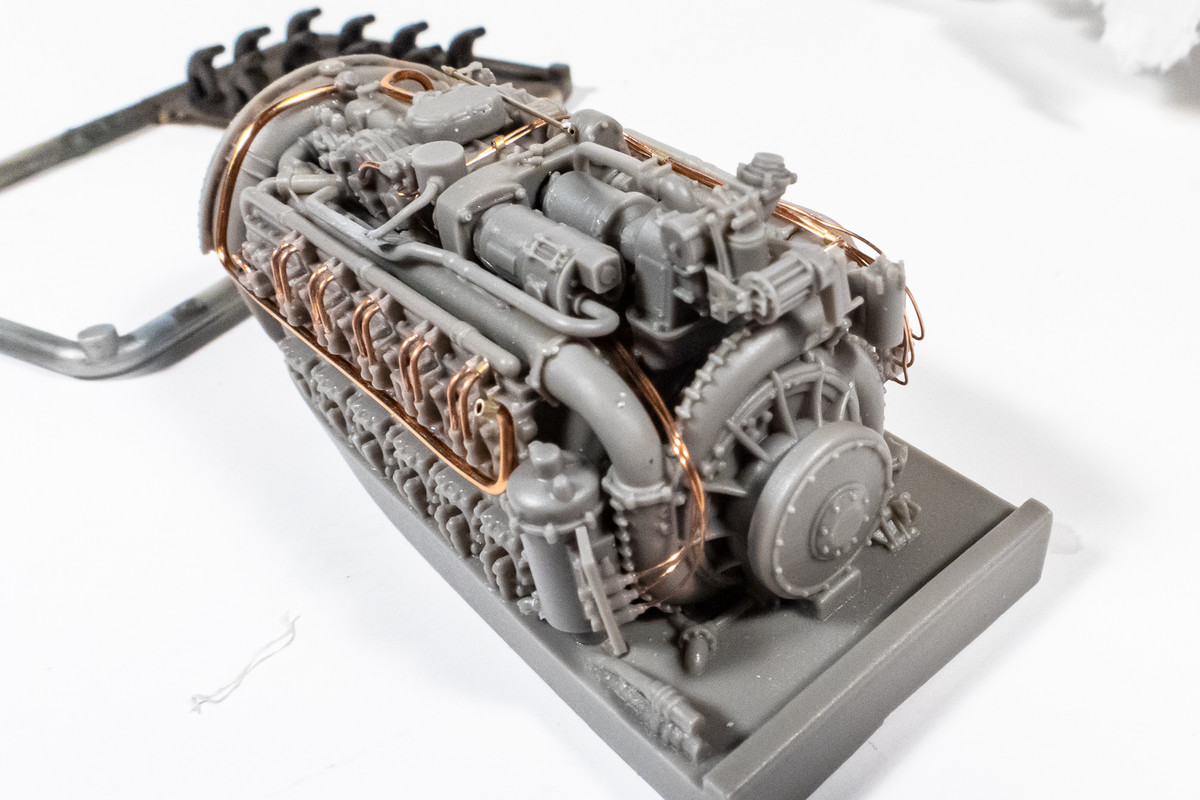
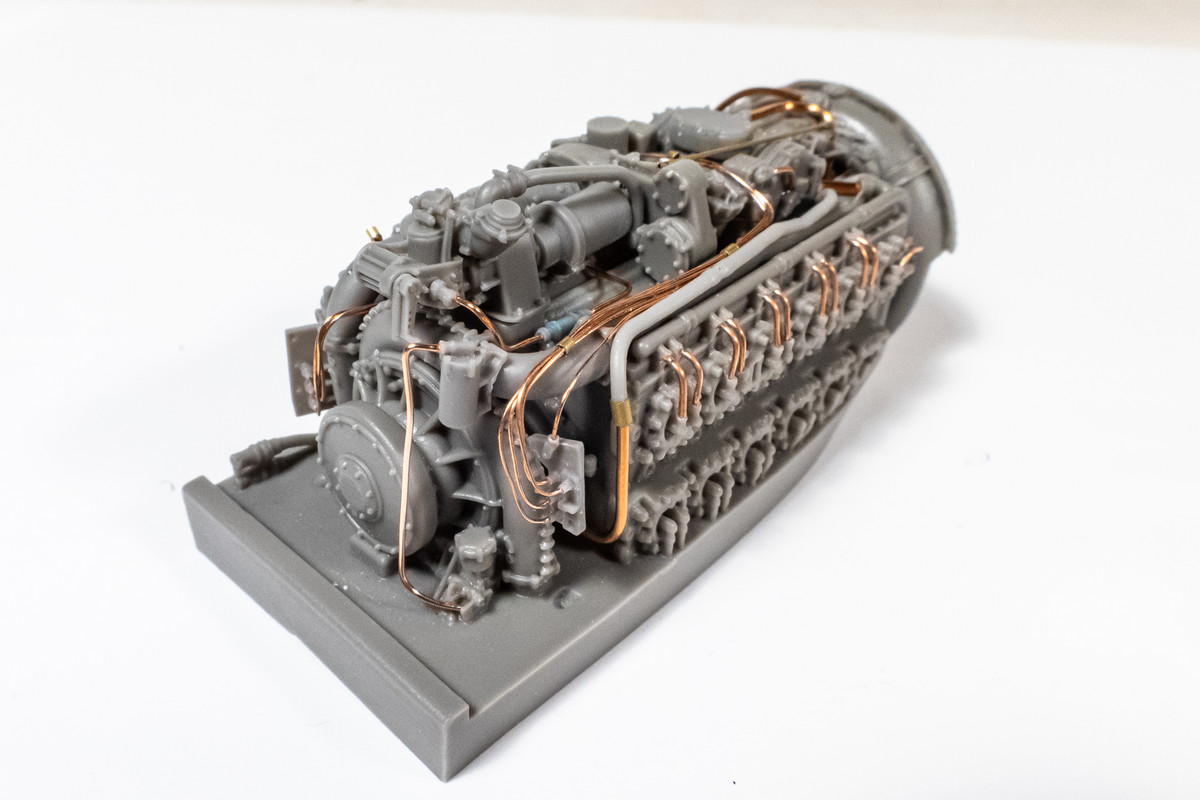
Added a piece of wiring for good measure!

Making sure that the mystery part does not interfere with the bulkhead.

I'm going to add this to the list of parts that I'm going to attach after painting. Happy to have that mystery solved!


One of the important things to do before separating the resin part from its casting block is to compare it to the parts graphic parts list. Good thing I did this because my initial thought was to remove all of the framework and leave just the cannister.

So I trimmed off the excess resin flash per the graphic.

What I initially thought was excess resin flash actually allows for a more secure attachment to the back of the engine, which I've temporarily accomplished with a bit of Blue Tack.

Here is PUR46 in place from the same perspective as the instructions... seems to be a match!

Added a piece of wiring for good measure!

Making sure that the mystery part does not interfere with the bulkhead.

I'm going to add this to the list of parts that I'm going to attach after painting. Happy to have that mystery solved!

John aka JKim
-----------<><

-----------<><

Re: 1/32 Special Hobby Hawker Tempest Mk V
Glad you found the found the part location
March as one, Don't look back
Odin's sons... Attack!
Unleash hell! Do not repent! Warfare grants us no lament
Let your weapons slash and tear This is no place for fear
Hold the lines! Move as one! In unity our victory's won
Our shields will form a mighty wall
United we shall never fall
Odin's sons... Attack!
Unleash hell! Do not repent! Warfare grants us no lament
Let your weapons slash and tear This is no place for fear
Hold the lines! Move as one! In unity our victory's won
Our shields will form a mighty wall
United we shall never fall
- tempestjohnny
- Elite Member
- Posts: 3804
- Joined: Sat Oct 15, 2016 4:51 am
- Location: Naples. FL
Re: 1/32 Special Hobby Hawker Tempest Mk V
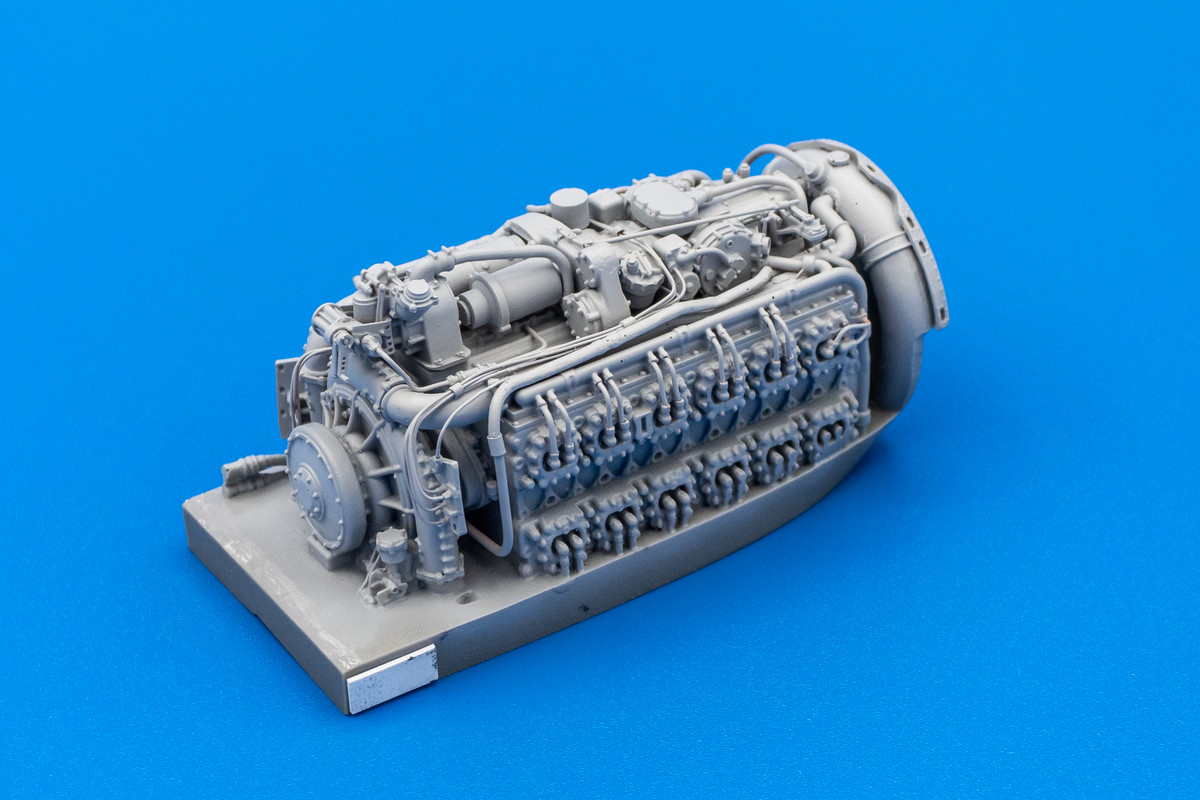
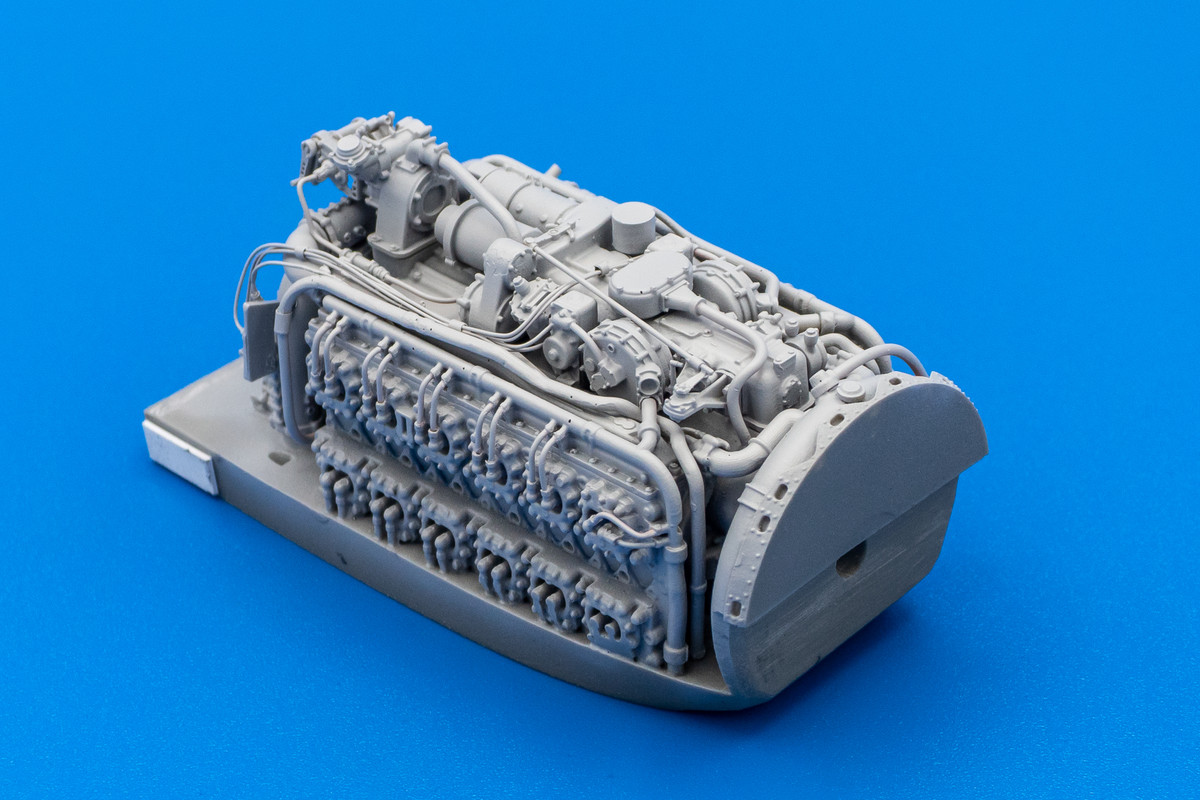
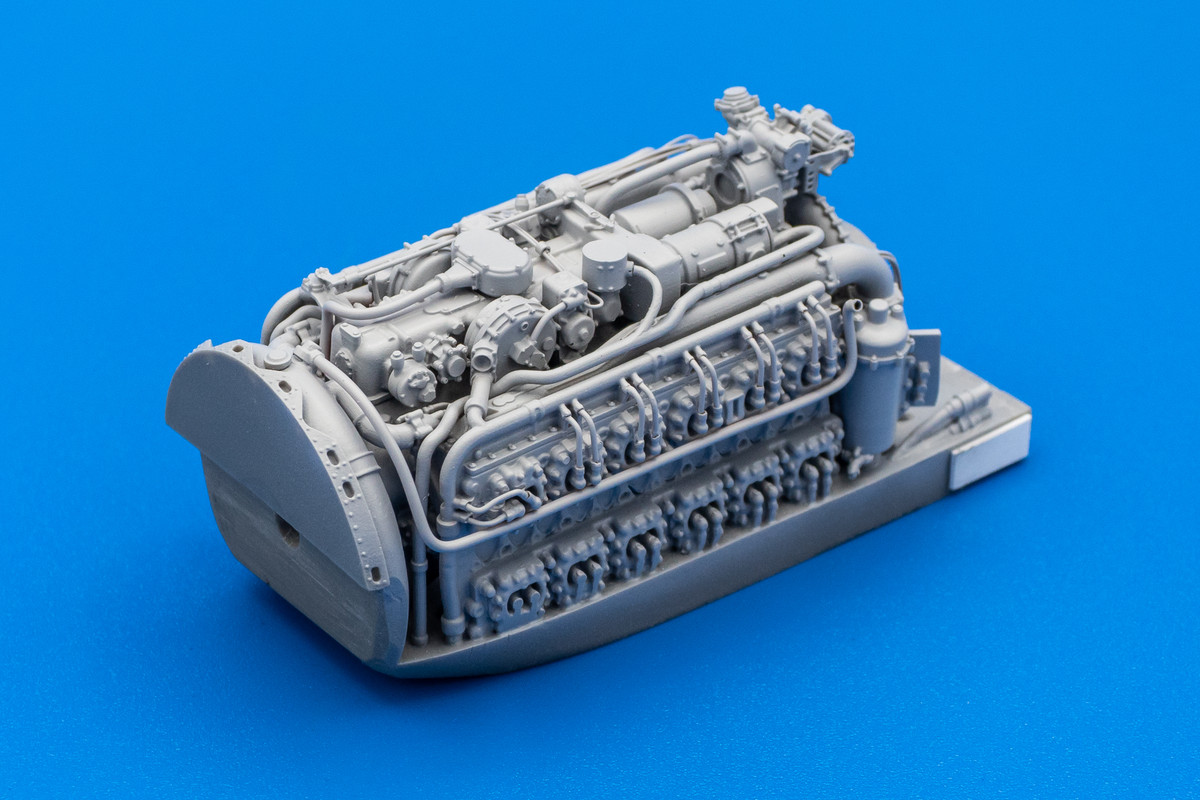
Still in awe over the detail on that engine
- BlackSheep214
- Elite Member
- Posts: 13409
- Joined: Sun Apr 06, 2014 8:47 pm
Re: 1/32 Special Hobby Hawker Tempest Mk V
Lotsa wiring going on there. I couldn’t do it in 1/48 scale if I tried. Glad to see the part found its proper location.
“Who controls the skies, controls the fate of this Earth”
Author unknown- 352nd Fighter Group, Blue-Nosed Bastards of Bodney
“Send one plane it’s a sortie; send two planes it’s a flight; send four planes it’s a test of airpower. - Richard Kohn
Author unknown- 352nd Fighter Group, Blue-Nosed Bastards of Bodney
“Send one plane it’s a sortie; send two planes it’s a flight; send four planes it’s a test of airpower. - Richard Kohn
Re: 1/32 Special Hobby Hawker Tempest Mk V
Great stuff John, that engine is going to look awesome when you're done!
Stuart Templeton 'I may not be good but I'm slow...'
Re: 1/32 Special Hobby Hawker Tempest Mk V
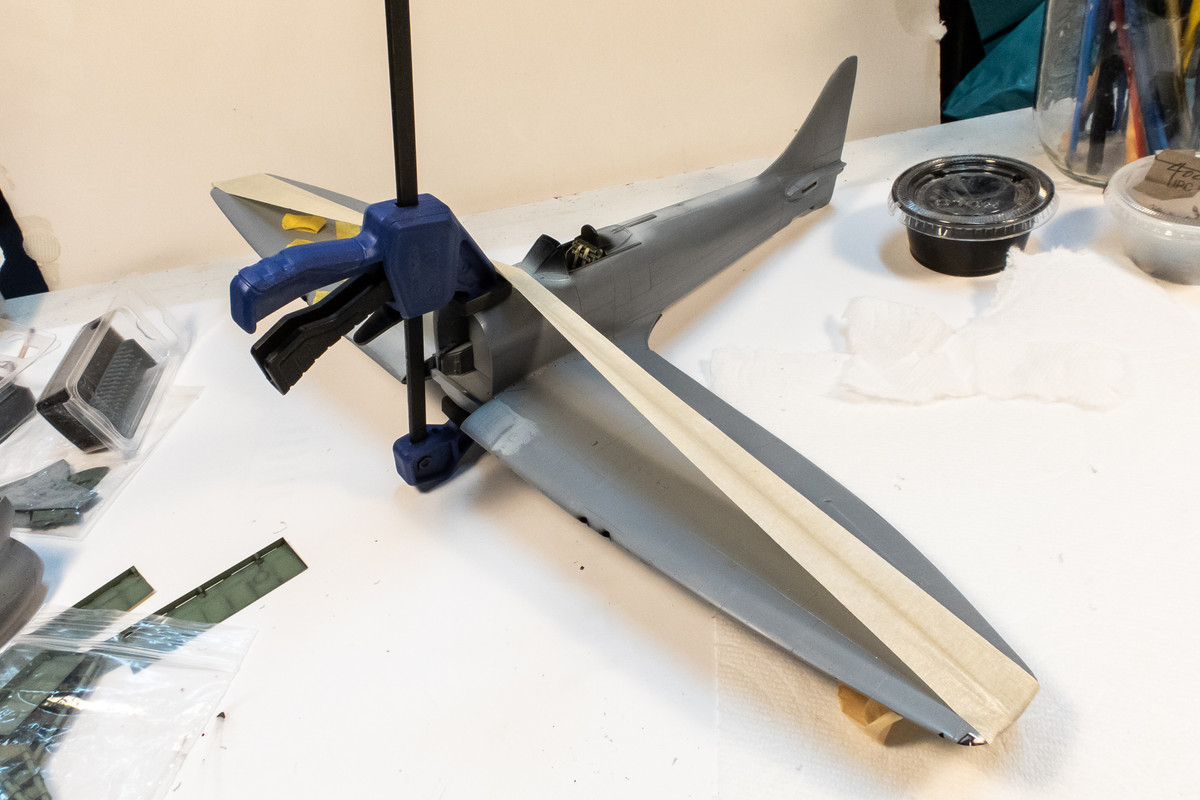
Thanks guys! I've made another step forward by gluing the wings onto the fuselage. Although I haven't quite sorted out how the nose/engine fits onto the fuselage, it's very difficult to do anything constructive about it when dry-fitting so at some point I just need to commit things to glue and deal with it as it comes. So I'm approaching that point with the nose and engine even though I'm seeing some fit issues.

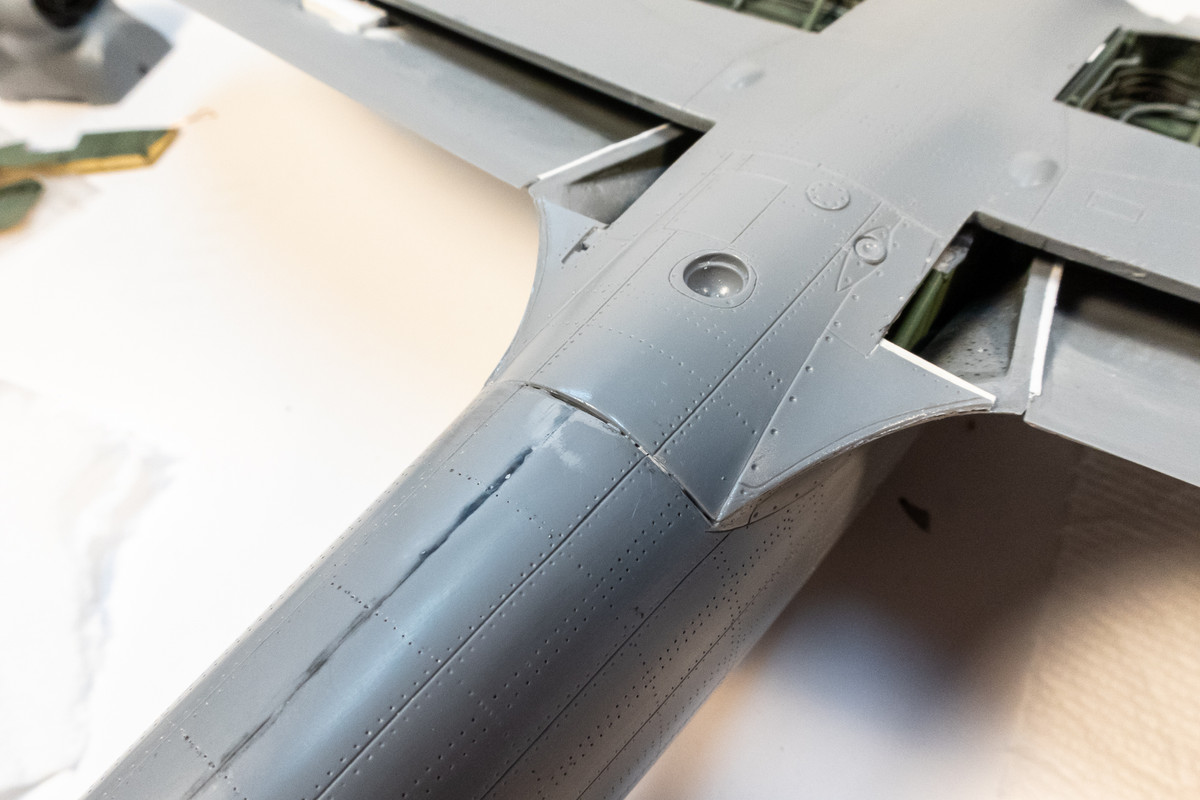
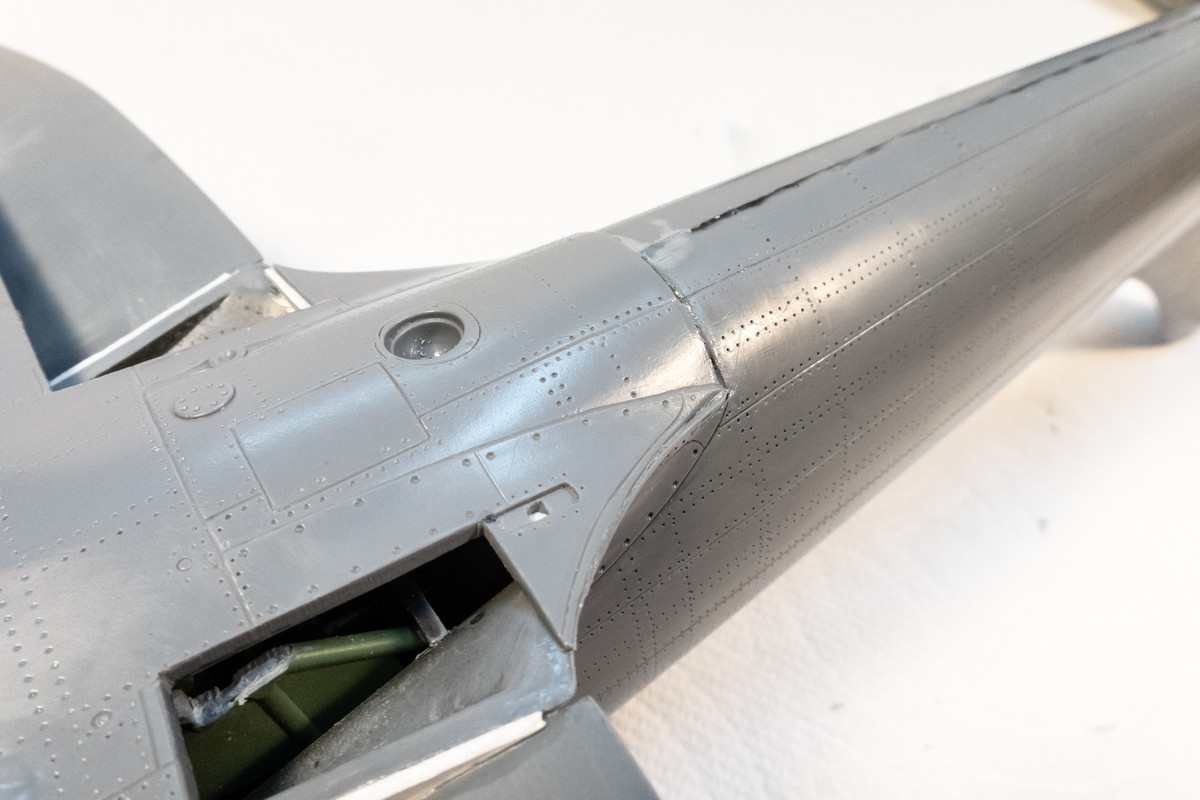
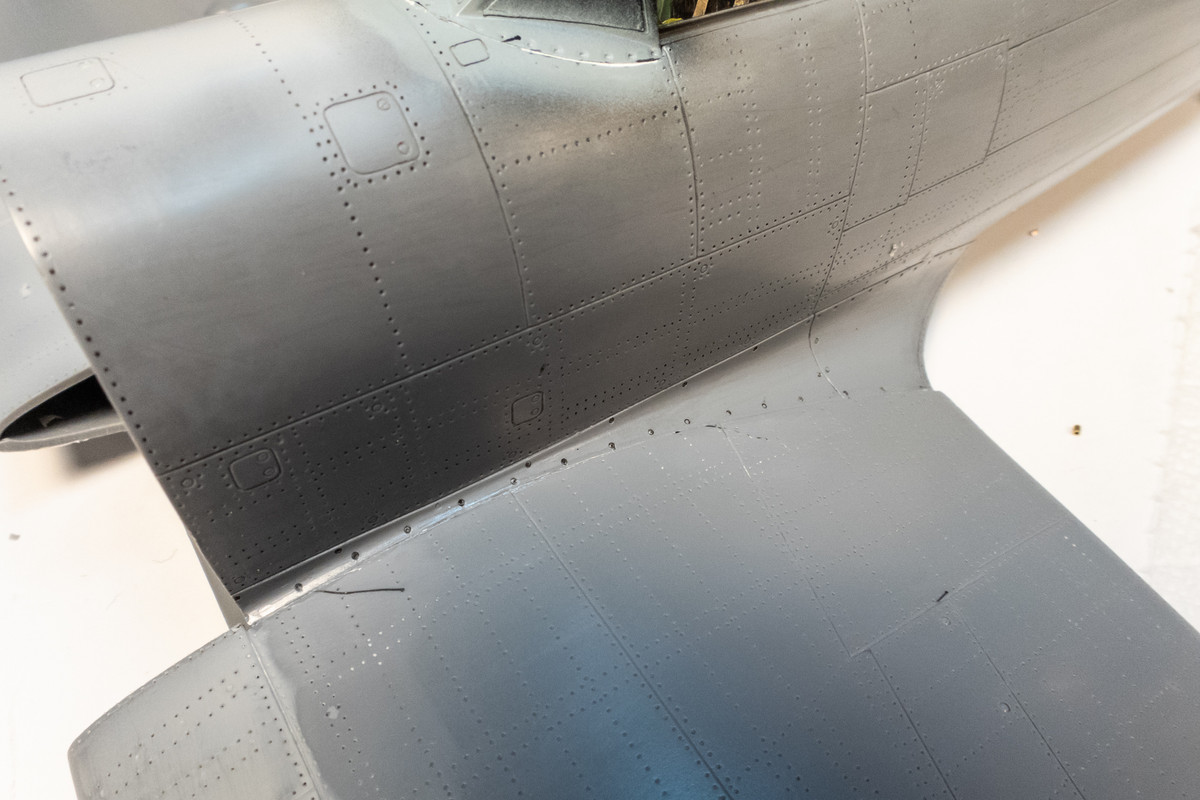
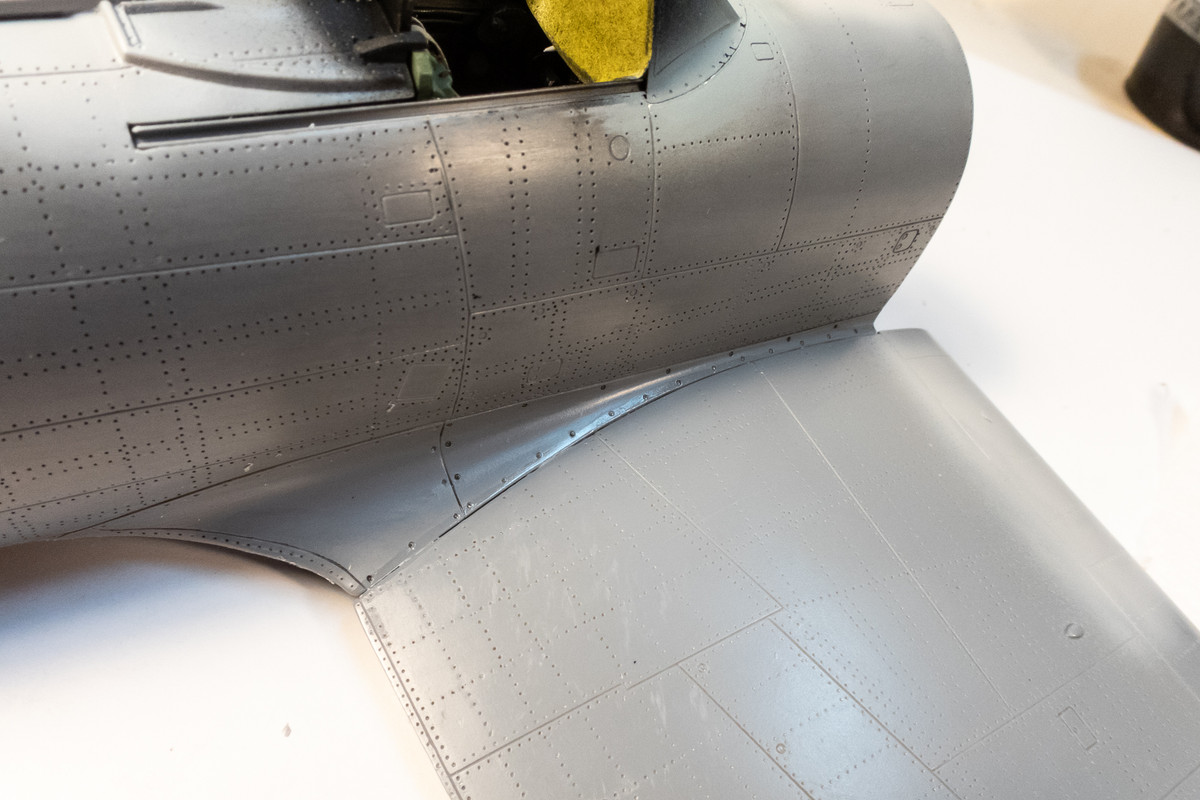
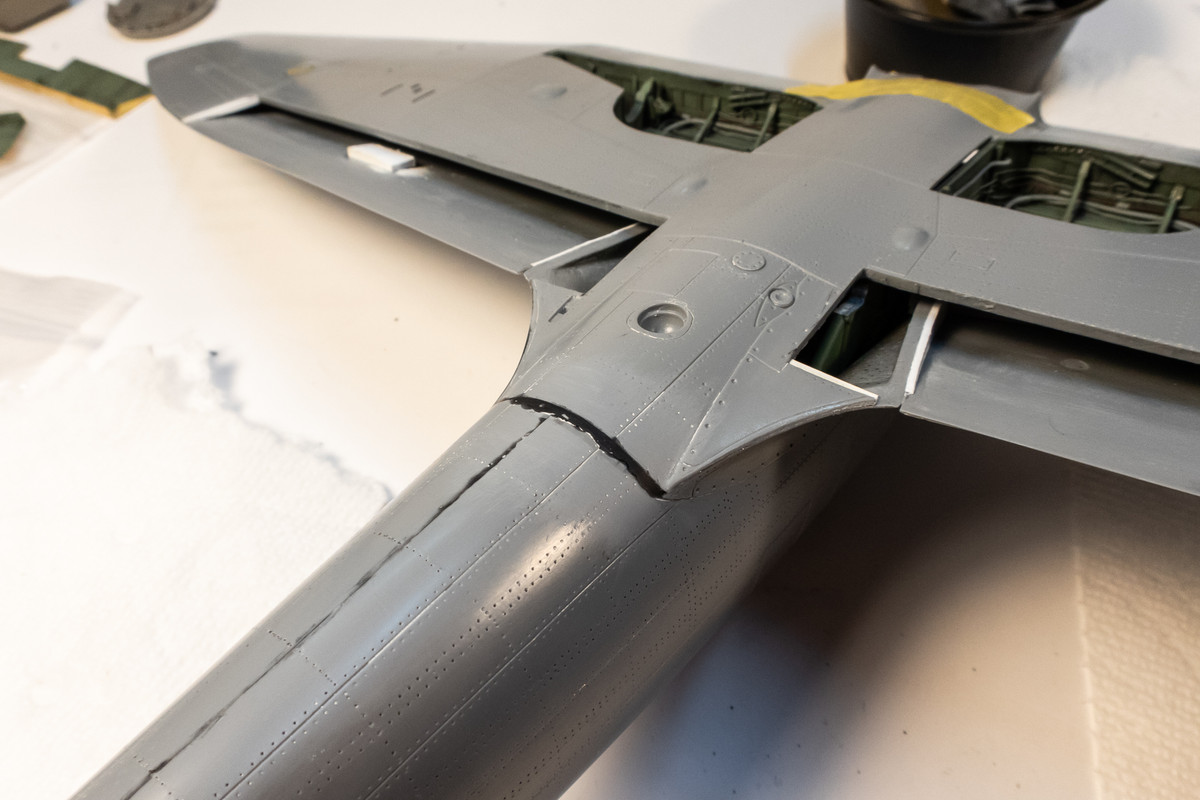
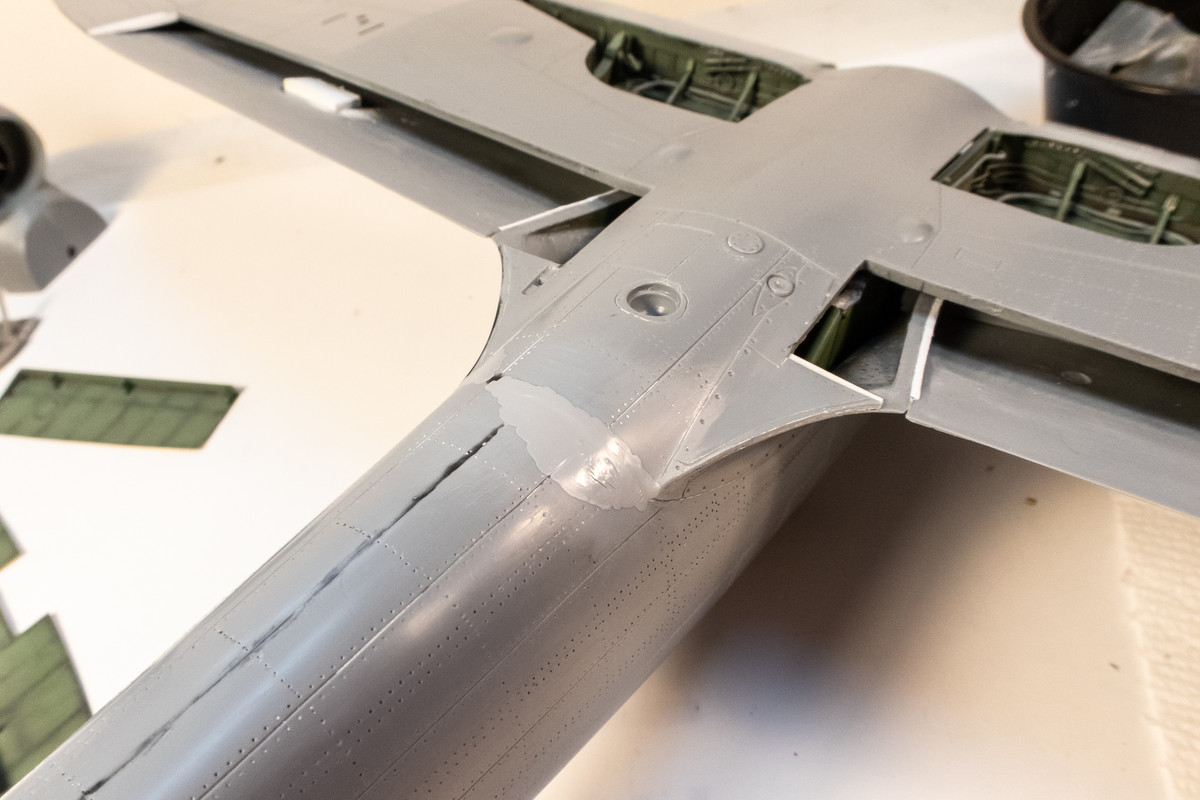
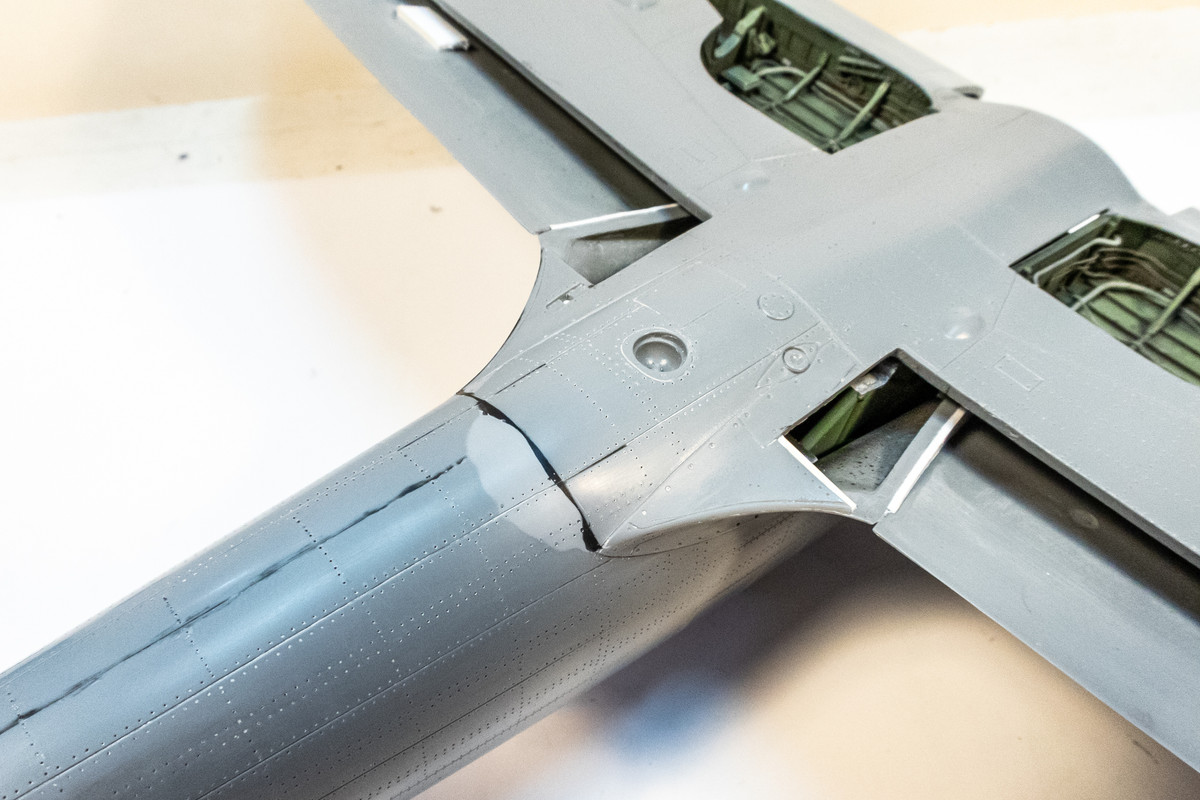
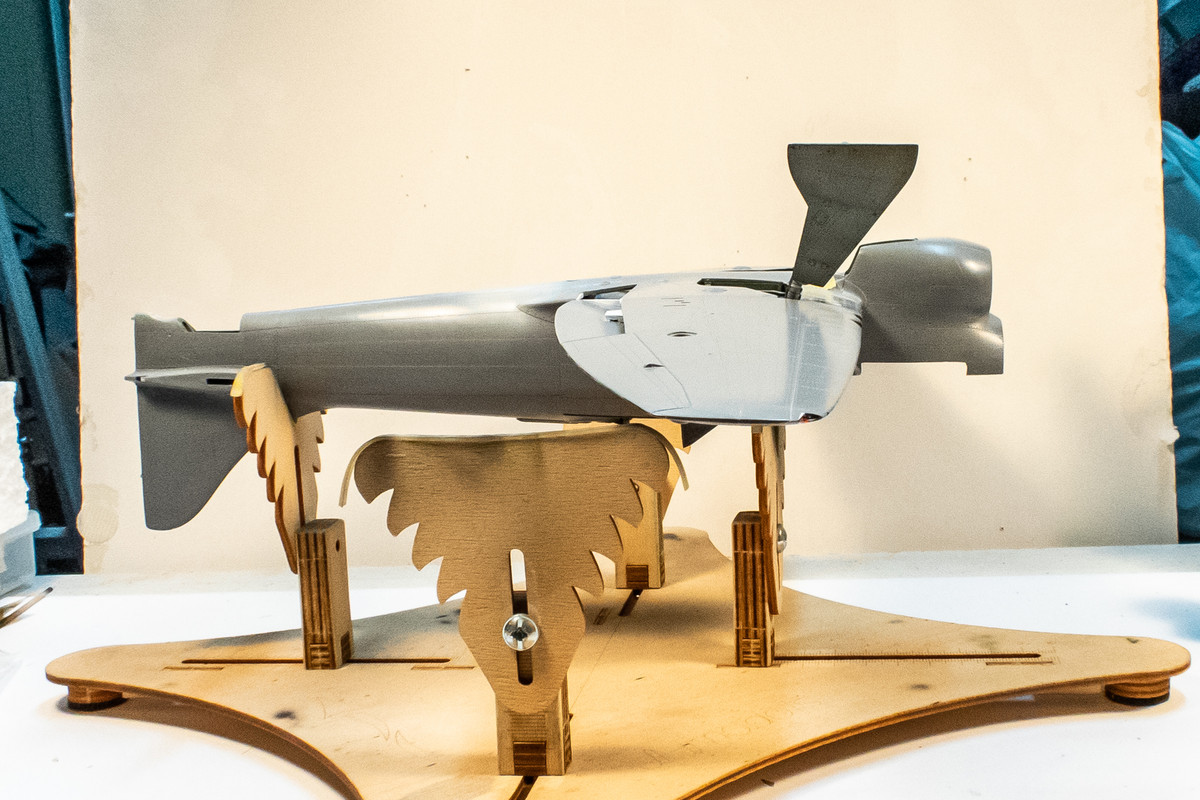
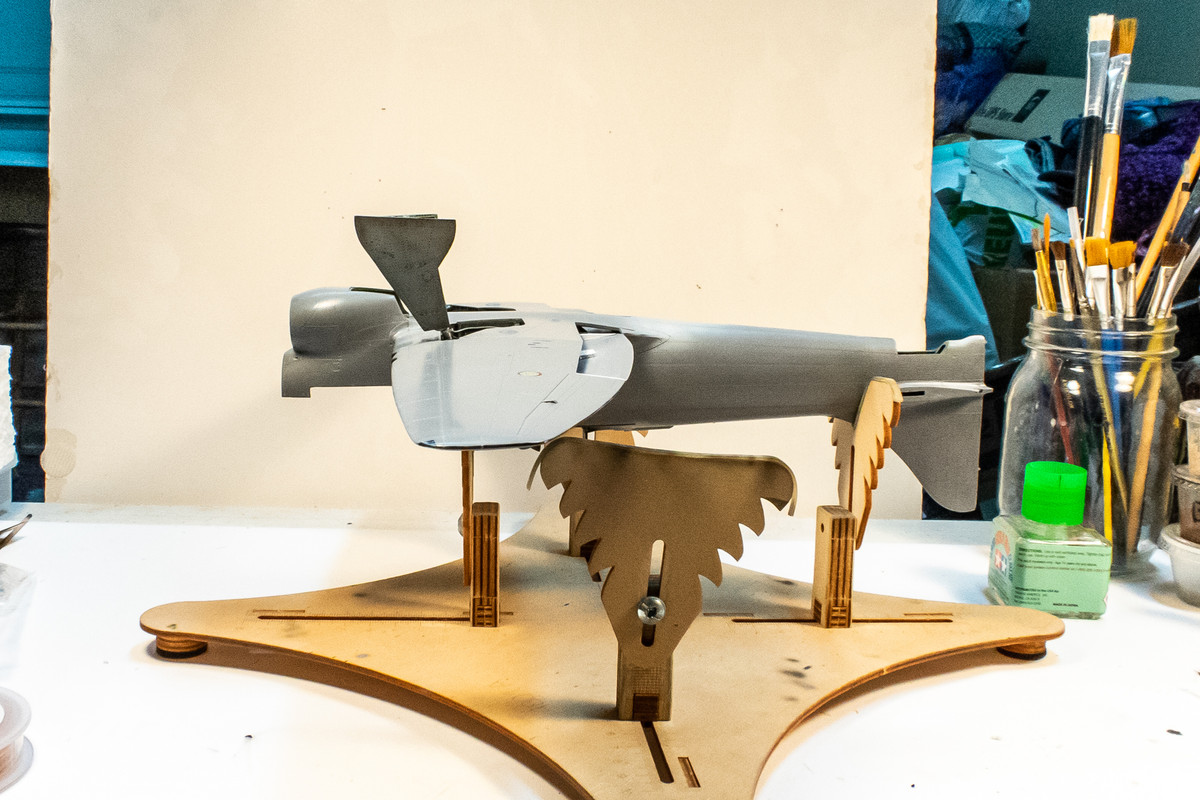
I sacrificed some gaps and steps in the bottom...


To get better fit at the wing roots, which are more difficult to correct.


The fill work on the bottom begins with black CA glue and continues with Mr Surfacer 1000.


I sacrificed some gaps and steps in the bottom...


To get better fit at the wing roots, which are more difficult to correct.


The fill work on the bottom begins with black CA glue and continues with Mr Surfacer 1000.


John aka JKim
-----------<><

-----------<><

- jeaton01
- Elite Member
- Posts: 2374
- Joined: Thu Apr 23, 2020 9:20 am
- Location: Northern California
- Contact:
Re: 1/32 Special Hobby Hawker Tempest Mk V
A Hobson's choice for sure.
- BlackSheep214
- Elite Member
- Posts: 13409
- Joined: Sun Apr 06, 2014 8:47 pm
Re: 1/32 Special Hobby Hawker Tempest Mk V
You’ve got this....
I’m interested in what’s your plan dealing with the wing roots fix.
“Who controls the skies, controls the fate of this Earth”
Author unknown- 352nd Fighter Group, Blue-Nosed Bastards of Bodney
“Send one plane it’s a sortie; send two planes it’s a flight; send four planes it’s a test of airpower. - Richard Kohn
Author unknown- 352nd Fighter Group, Blue-Nosed Bastards of Bodney
“Send one plane it’s a sortie; send two planes it’s a flight; send four planes it’s a test of airpower. - Richard Kohn
Re: 1/32 Special Hobby Hawker Tempest Mk V
Thanks for the comments guys!
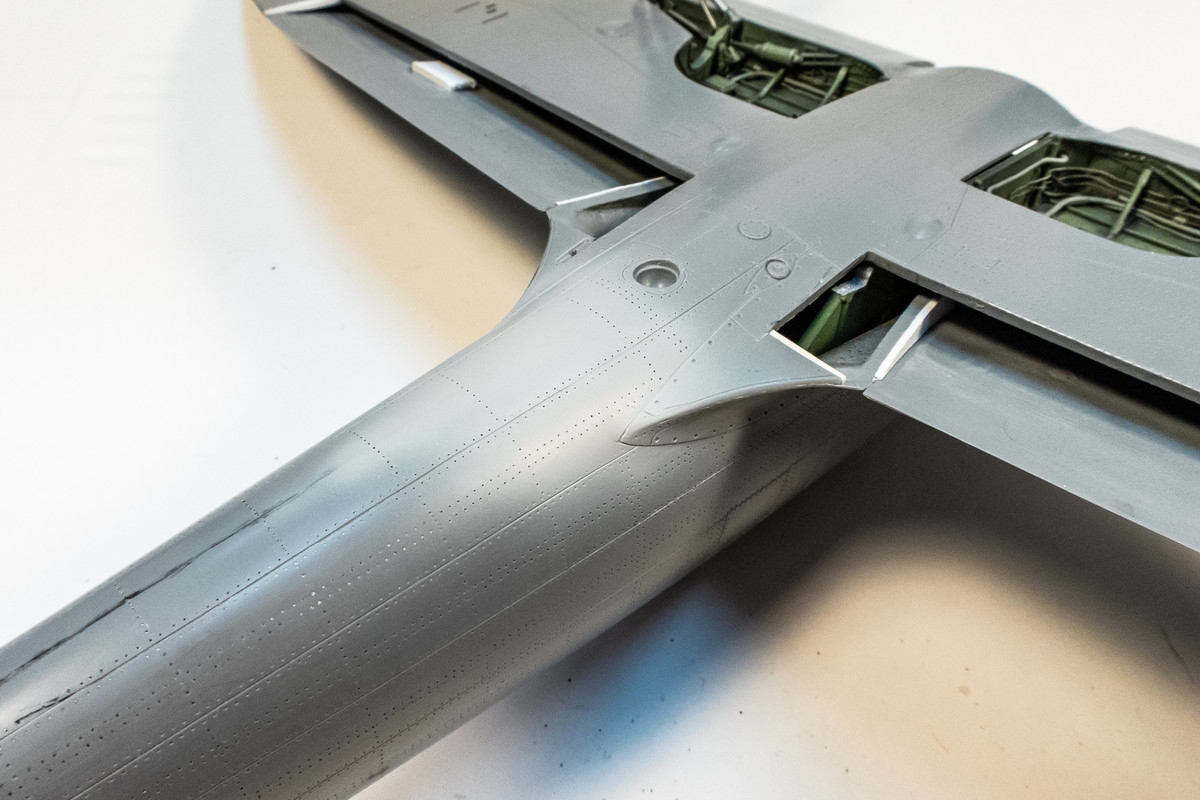
Cleanup work on the bottom joint is being wrapped up with a final application of Mr Surfacer 1000 and re-scribing of the panel lines. I used a micro razor saw upon recommendation and it worked much better than a scribing tool.


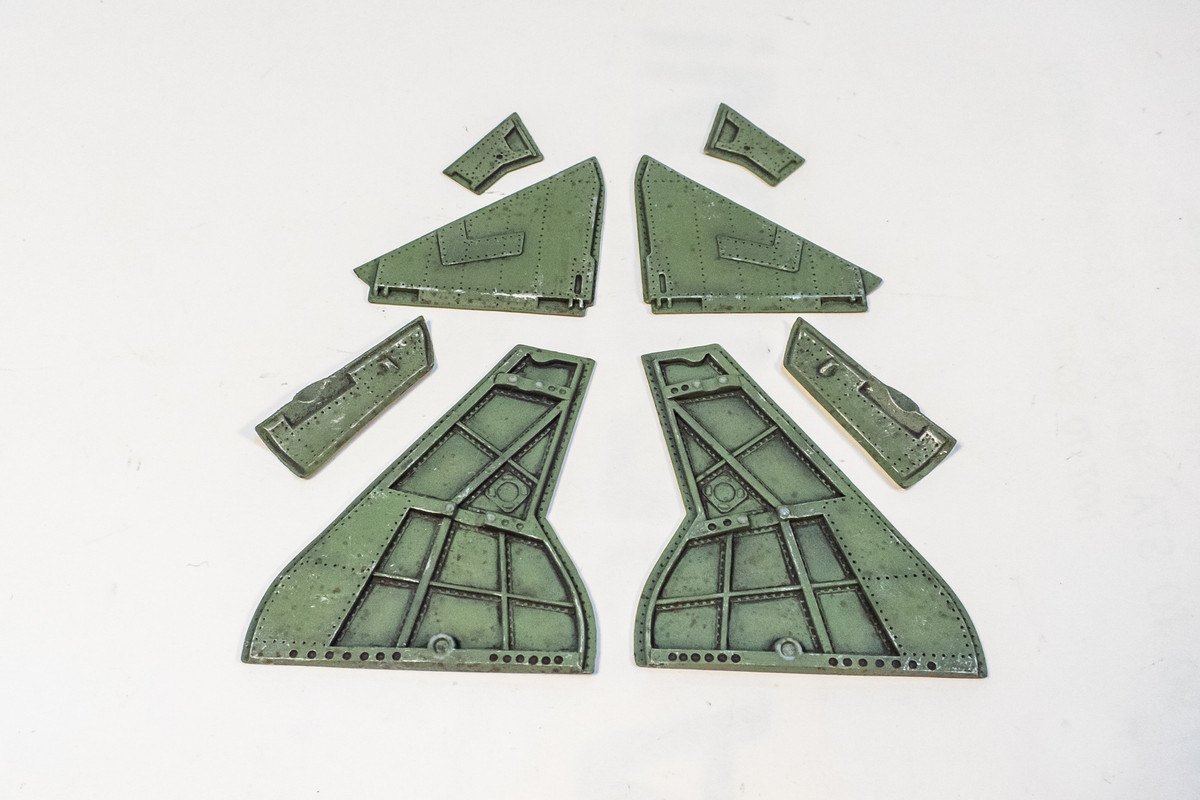
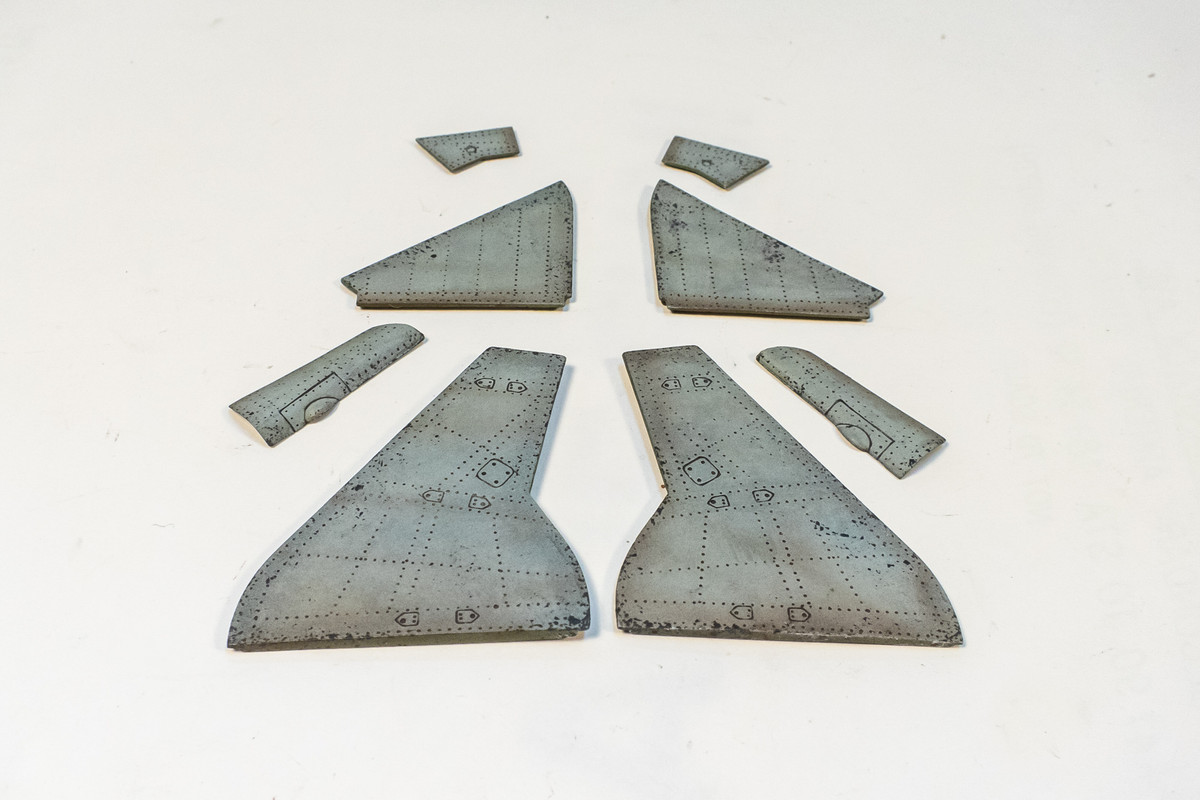
The landing gear covers have been chipped and weathered.


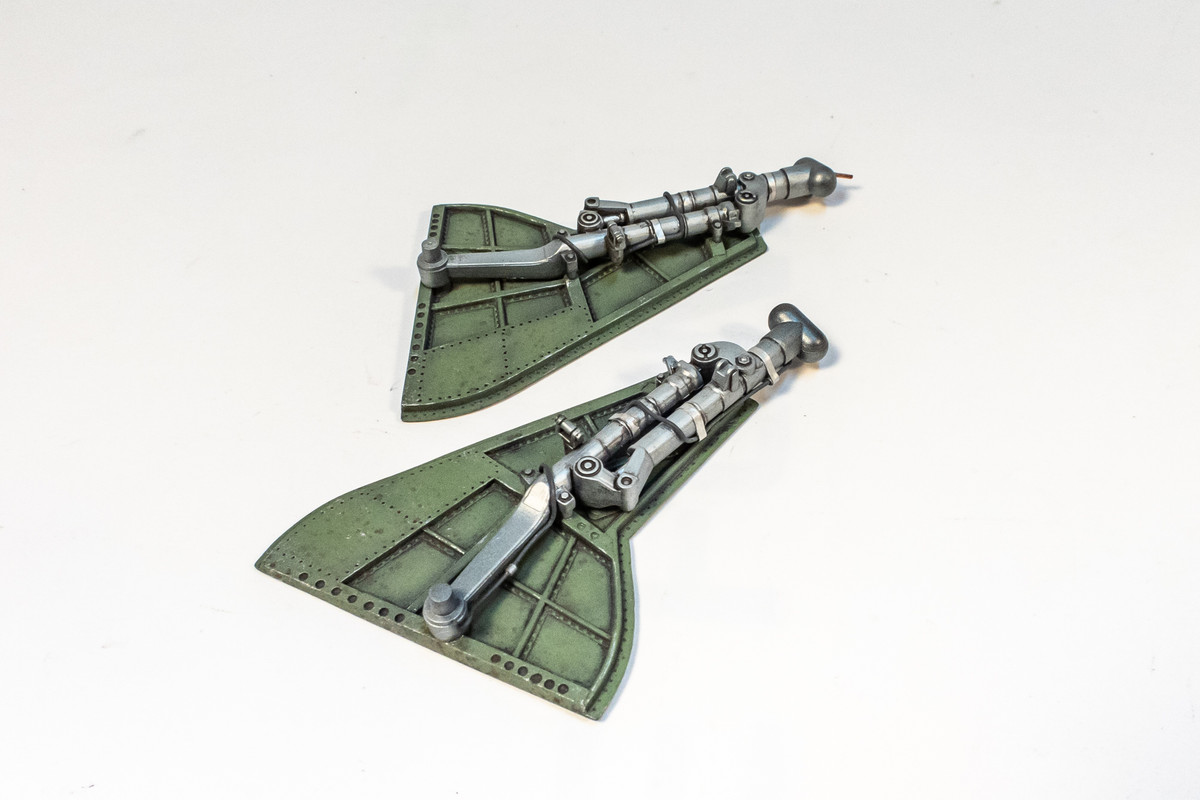
I'm really curious about the forward rake of the landing gear legs and wanted to check it right away and I'm using the bottom edge of the main gear covers as a reference. So the landing gear legs have been glued to the covers.

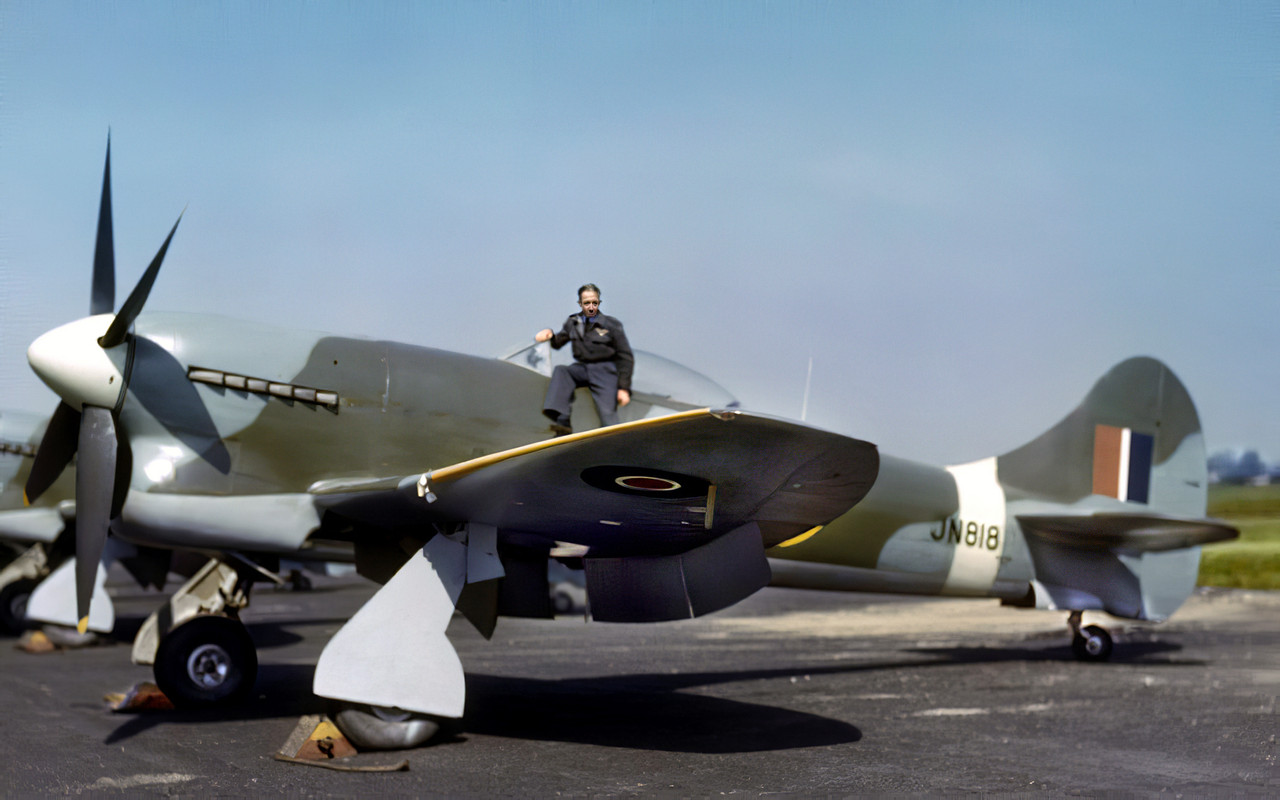
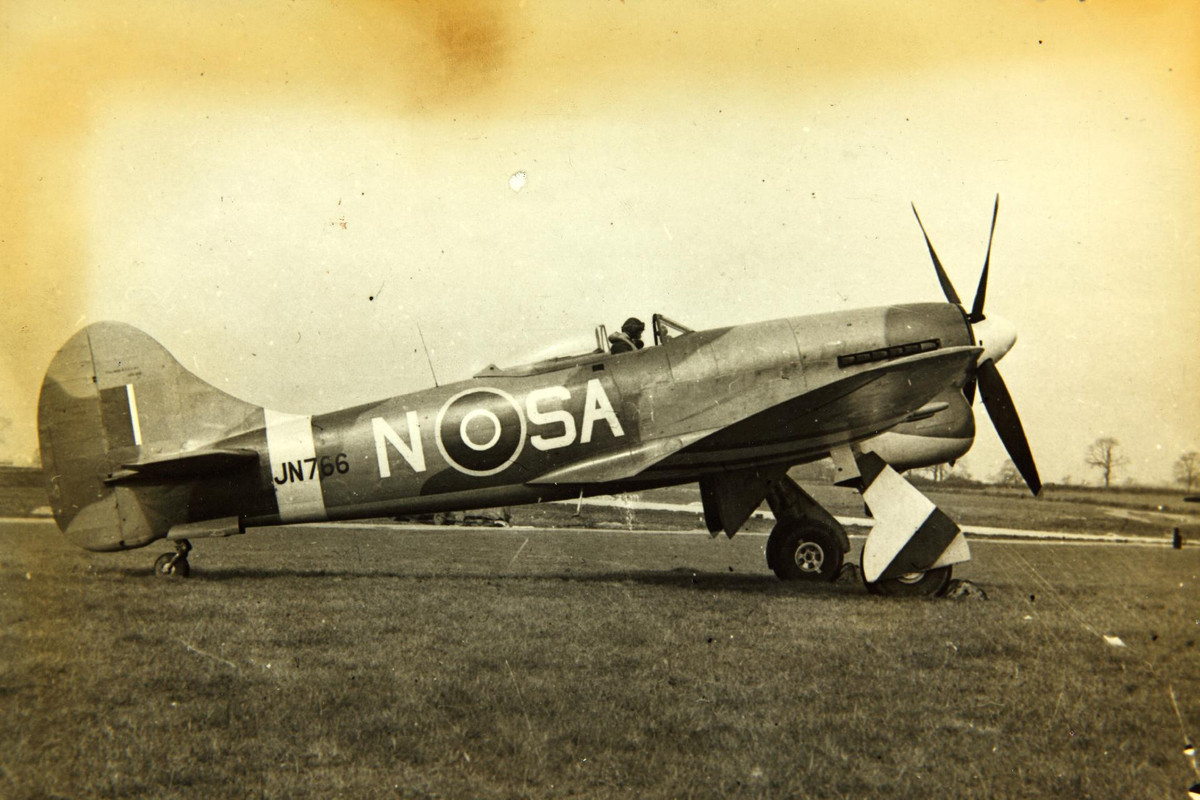
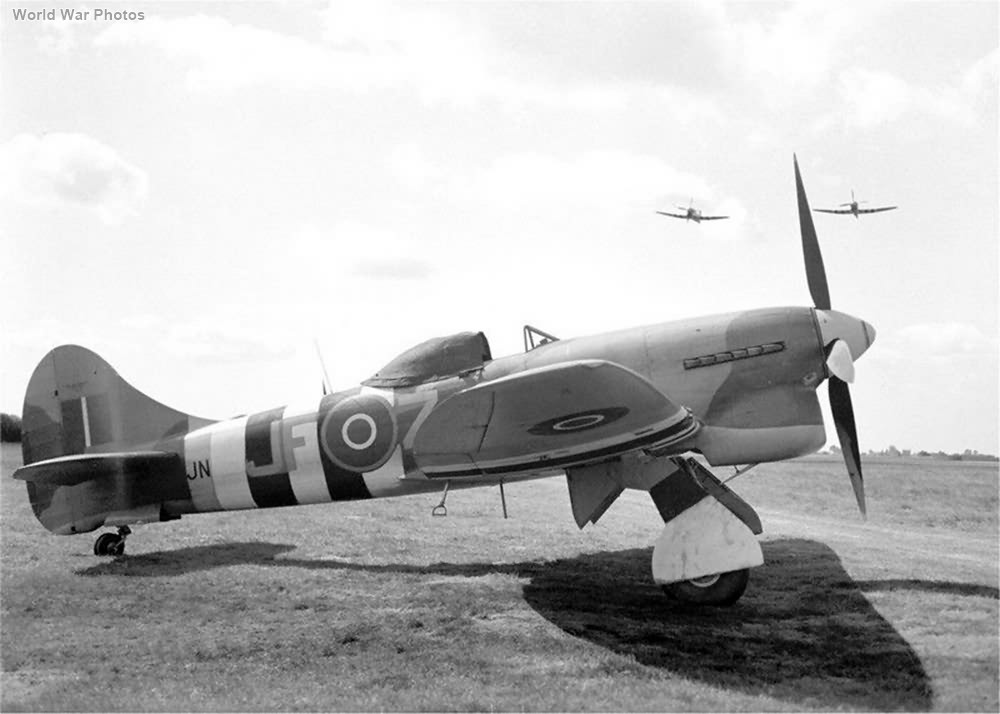
Reference photos of the Tempest show the bottom edge of the landing gear covers to be roughly parallel to the row of exhaust pipes and not parallel to the ground.


I've dry-fit the landing gear legs and have also positioned the retraction actuators since they help define the geometry of the legs in relation to the wheel wells. Assuming that the nose is in the correct position, I think we're ok on the forward rake of the landing gear so I can set that worry aside for now.


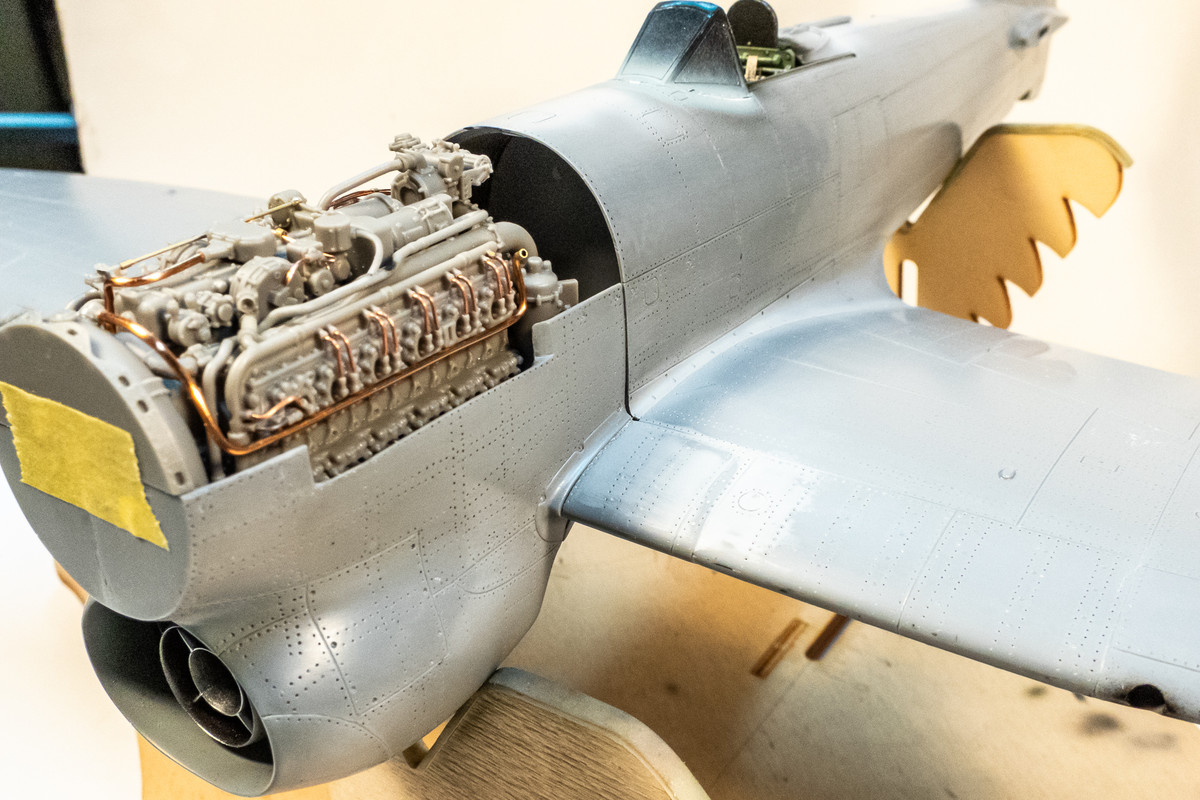
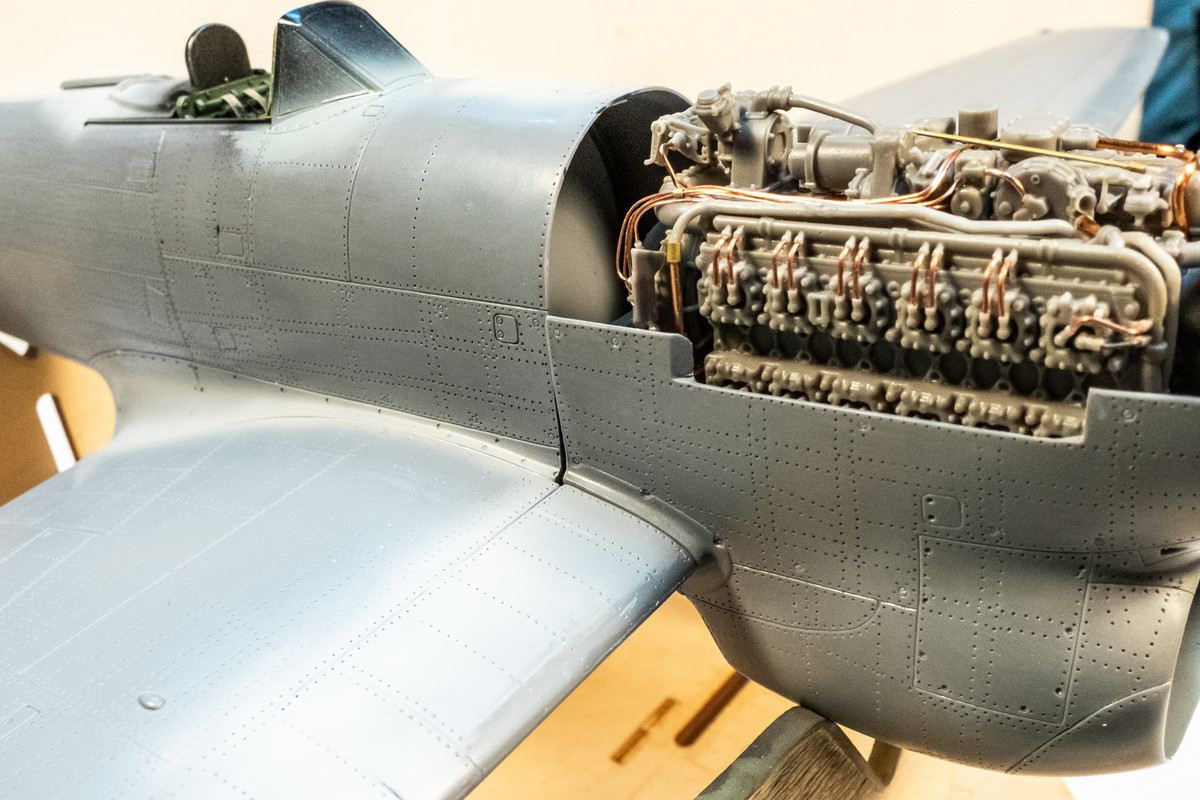
I've found that the engine/nose assembly fit much better without the rear bulkhead in place. This is best fit I've been able to achieve so far.


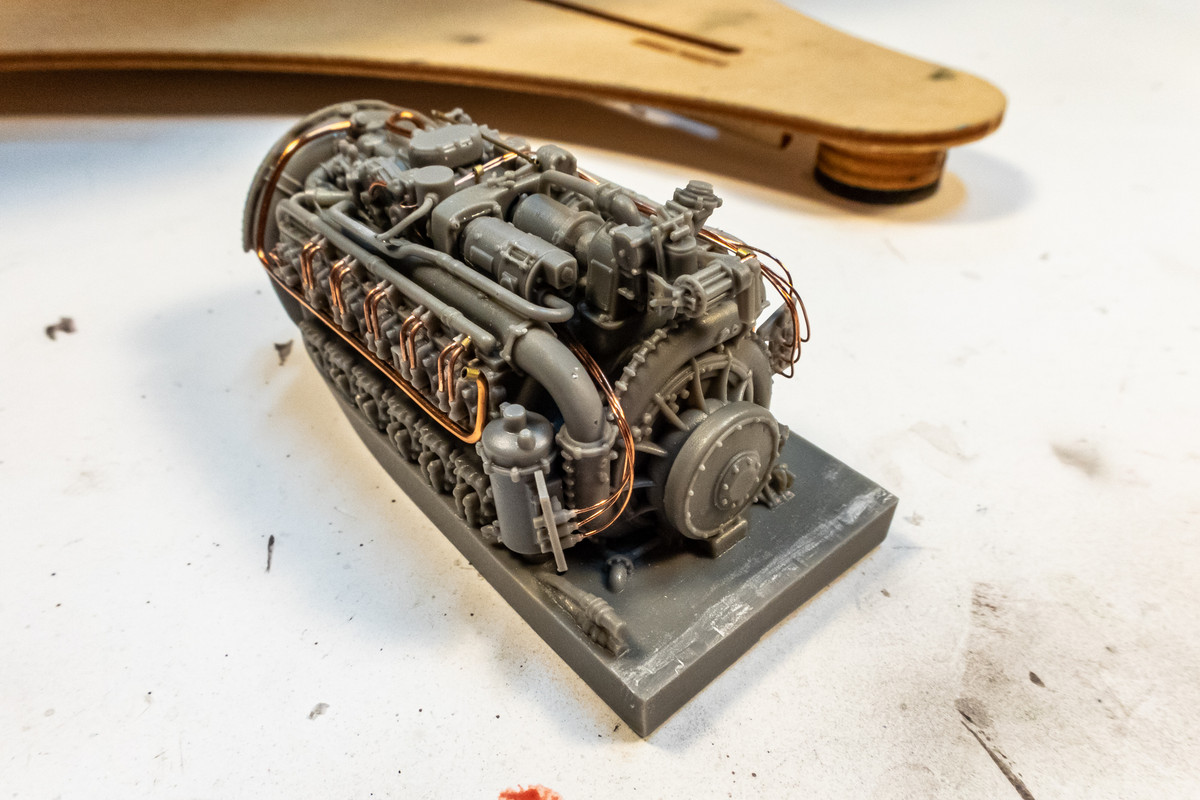
Based on this latest finding, I've decided to attach the bulkhead to the fuselage first and then slide the engine and nose assembly into place after the engine has been painted. I've removed the rear lip on the engine block to allow it to slide under the bulkhead.

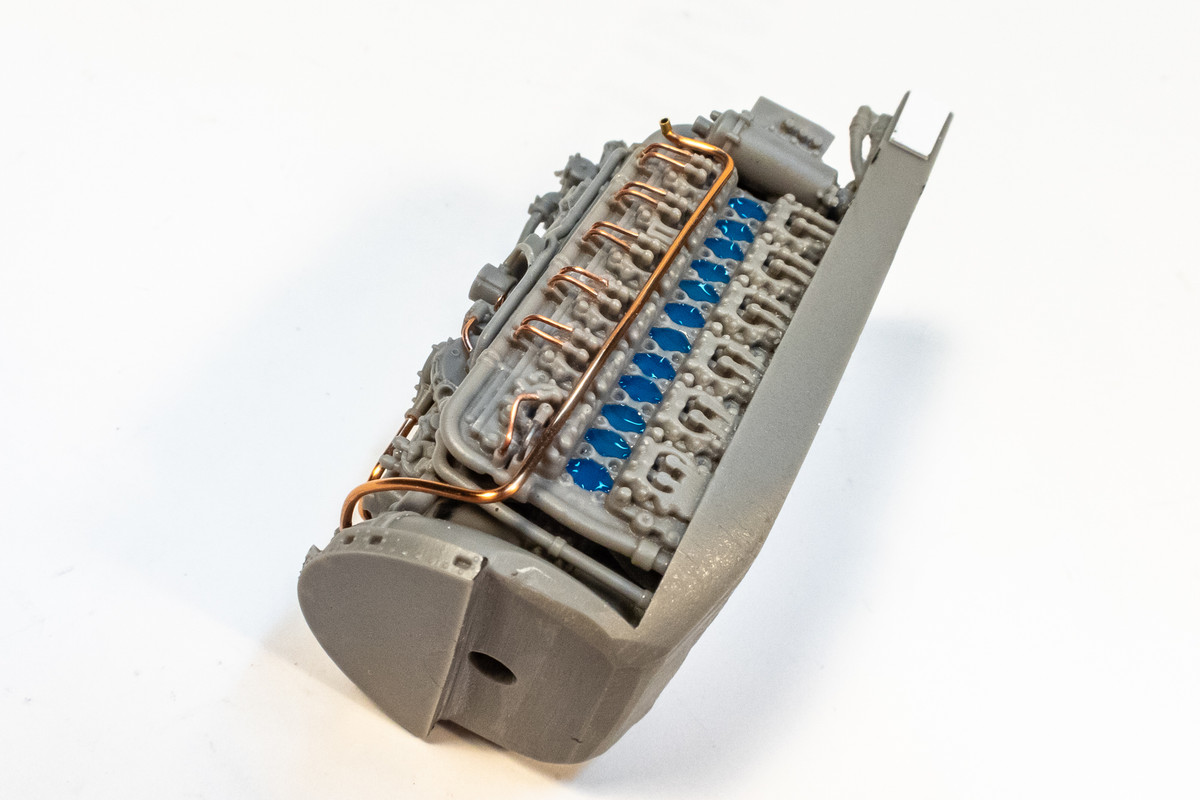
Before applying any paint to the engine, I've masked the exhaust pipe attachment points with Micromask.

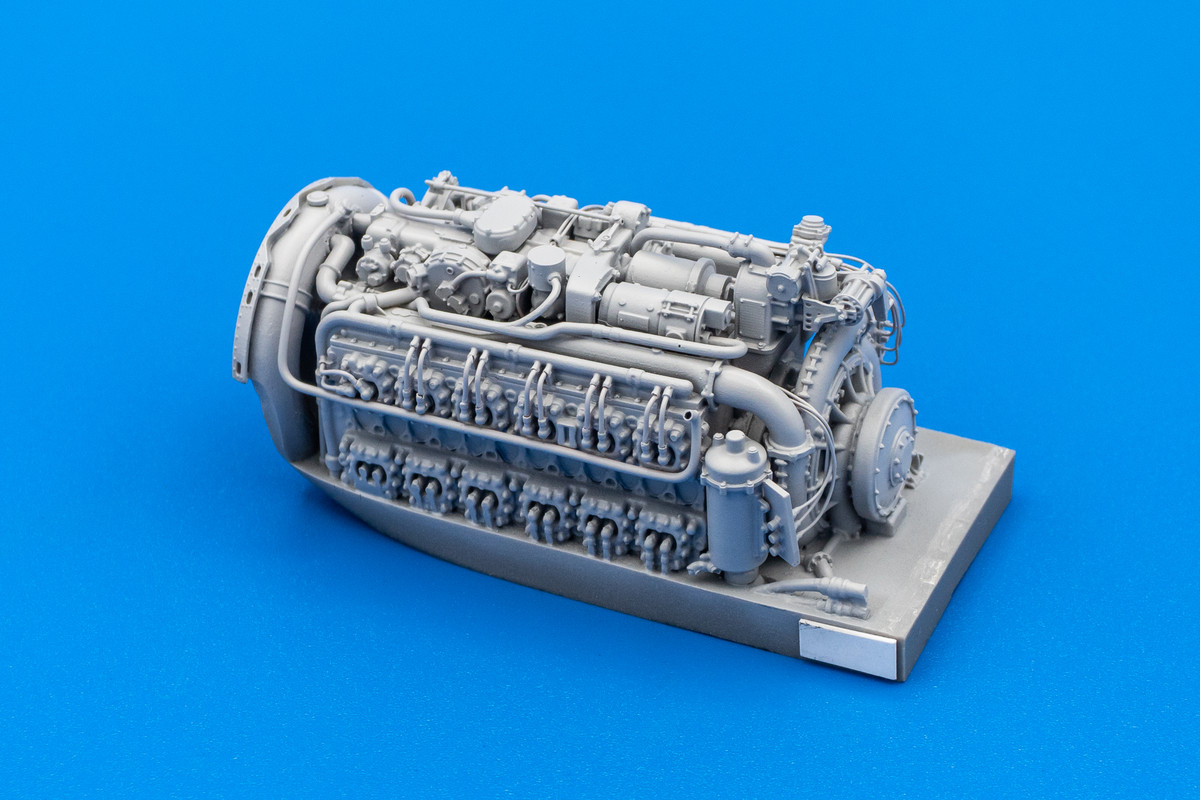
First step of the engine painting process is to spray Mr Primer Surfacer over the engine. It will be a good check to see if there are any excess glue blobs and will also serve to prime the metal wiring. There are some tiny holes in some of the resin parts but I'm not sure they are worth filling since this engine is going to painted in very dark colors anyway.



Cleanup work on the bottom joint is being wrapped up with a final application of Mr Surfacer 1000 and re-scribing of the panel lines. I used a micro razor saw upon recommendation and it worked much better than a scribing tool.


The landing gear covers have been chipped and weathered.


I'm really curious about the forward rake of the landing gear legs and wanted to check it right away and I'm using the bottom edge of the main gear covers as a reference. So the landing gear legs have been glued to the covers.

Reference photos of the Tempest show the bottom edge of the landing gear covers to be roughly parallel to the row of exhaust pipes and not parallel to the ground.


I've dry-fit the landing gear legs and have also positioned the retraction actuators since they help define the geometry of the legs in relation to the wheel wells. Assuming that the nose is in the correct position, I think we're ok on the forward rake of the landing gear so I can set that worry aside for now.


I've found that the engine/nose assembly fit much better without the rear bulkhead in place. This is best fit I've been able to achieve so far.


Based on this latest finding, I've decided to attach the bulkhead to the fuselage first and then slide the engine and nose assembly into place after the engine has been painted. I've removed the rear lip on the engine block to allow it to slide under the bulkhead.

Before applying any paint to the engine, I've masked the exhaust pipe attachment points with Micromask.

First step of the engine painting process is to spray Mr Primer Surfacer over the engine. It will be a good check to see if there are any excess glue blobs and will also serve to prime the metal wiring. There are some tiny holes in some of the resin parts but I'm not sure they are worth filling since this engine is going to painted in very dark colors anyway.


John aka JKim
-----------<><

-----------<><