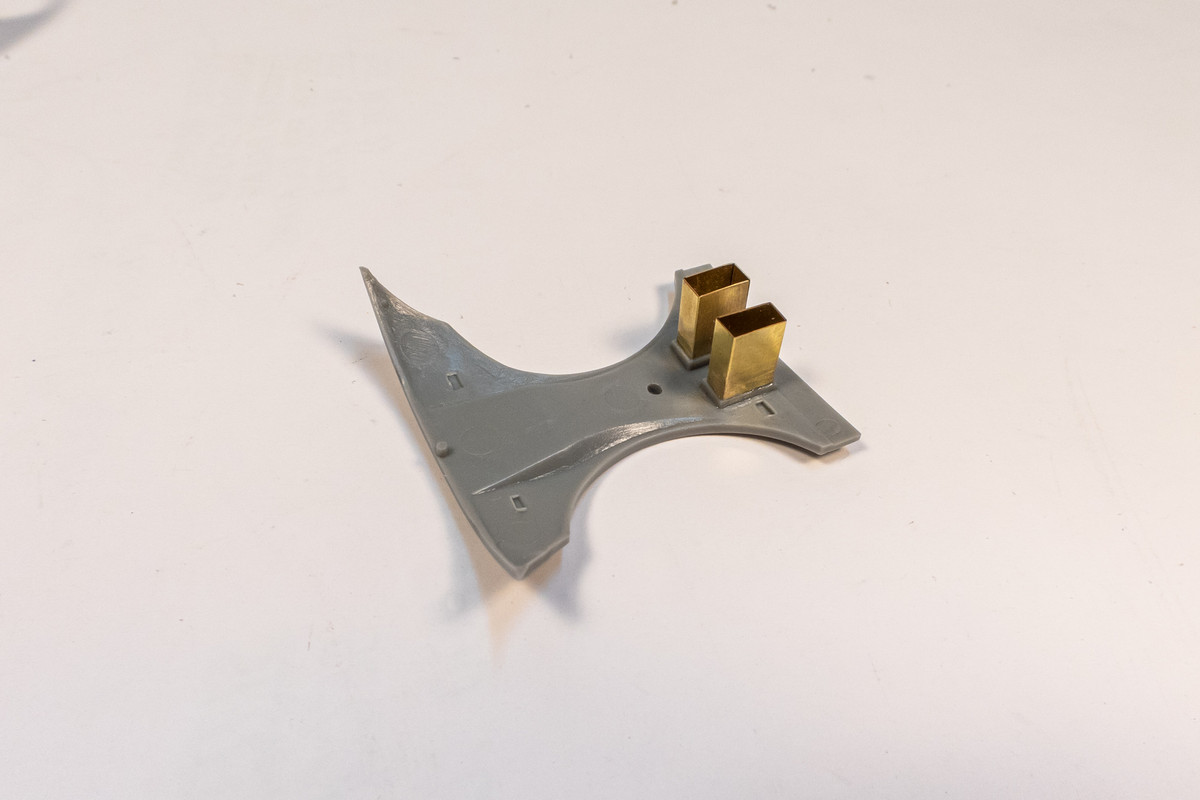
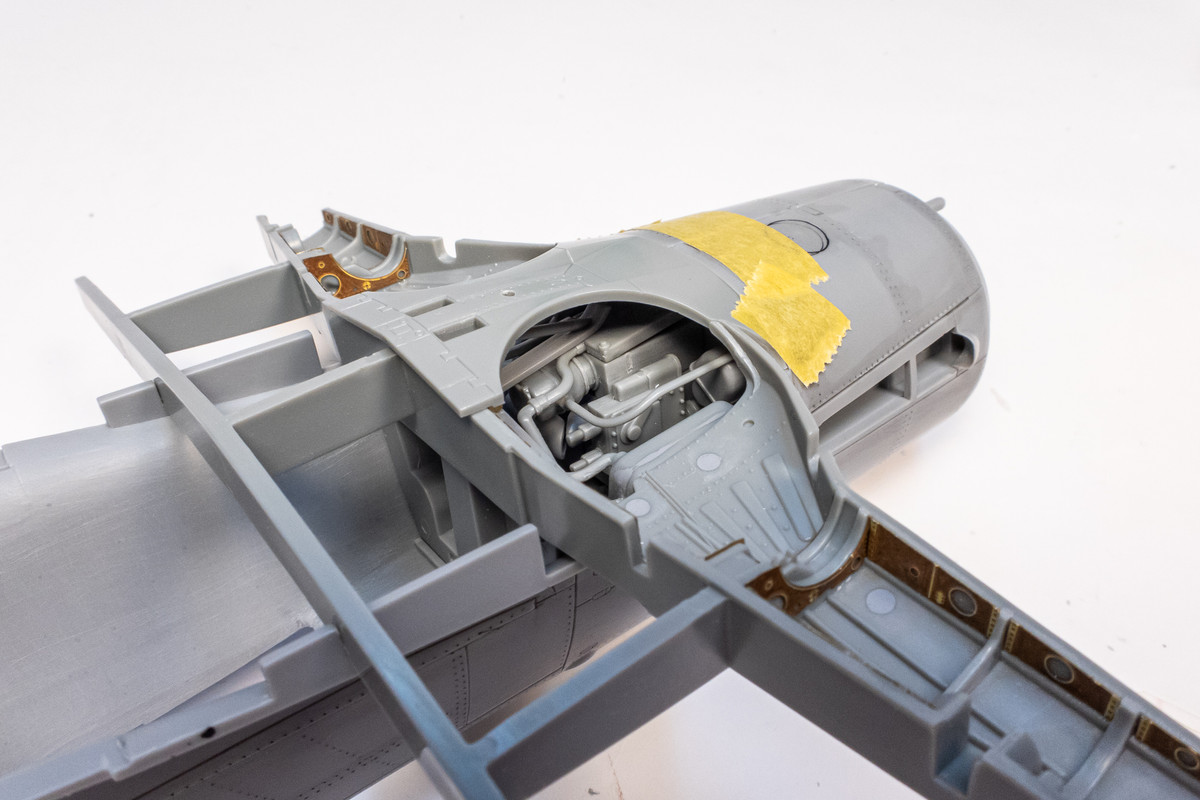
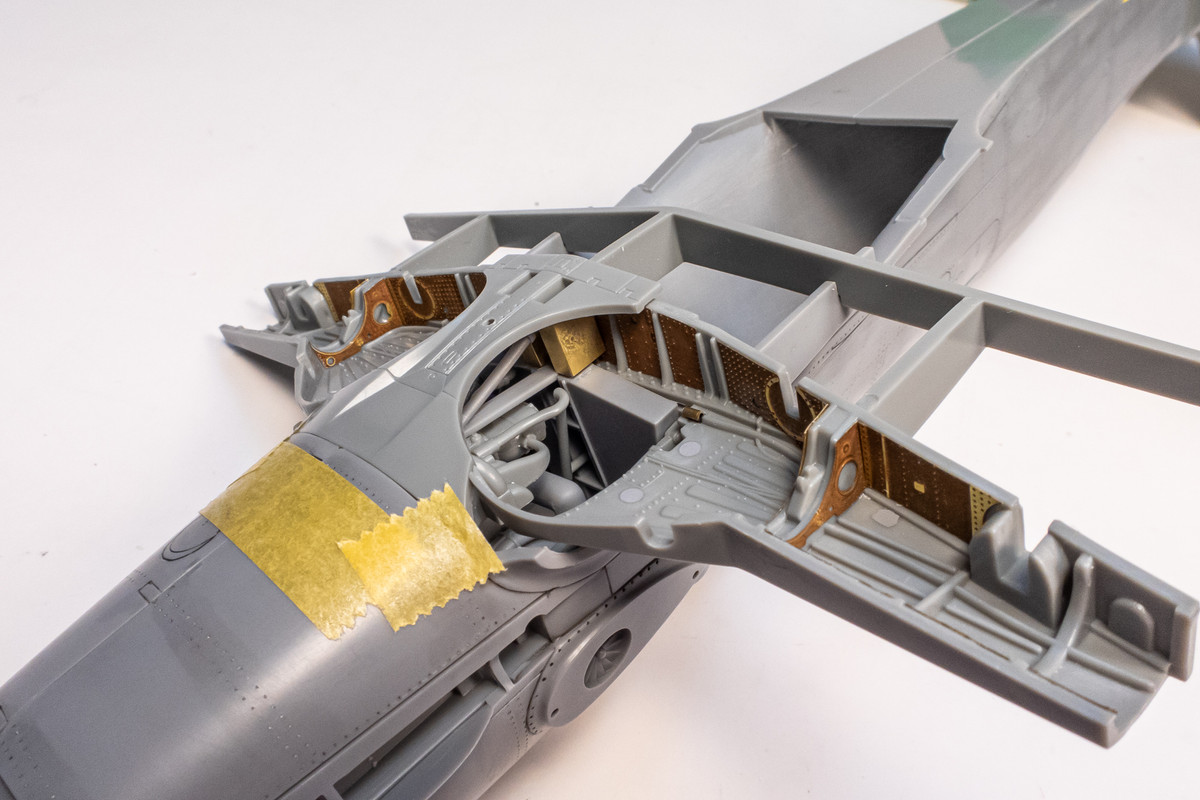
Thanks guys!
Moving on with the cockpit construction, I am ready to put together the HGW seatbelts. You'll notice the packaging says Me262B... I like to buy Luftwaffe seat harnesses for the two seater because you get two sets of belts instead of one for a similar price. Most Luftwaffe fighters used the same type of harnesses. The mask set? Well, that's all they had in stock.
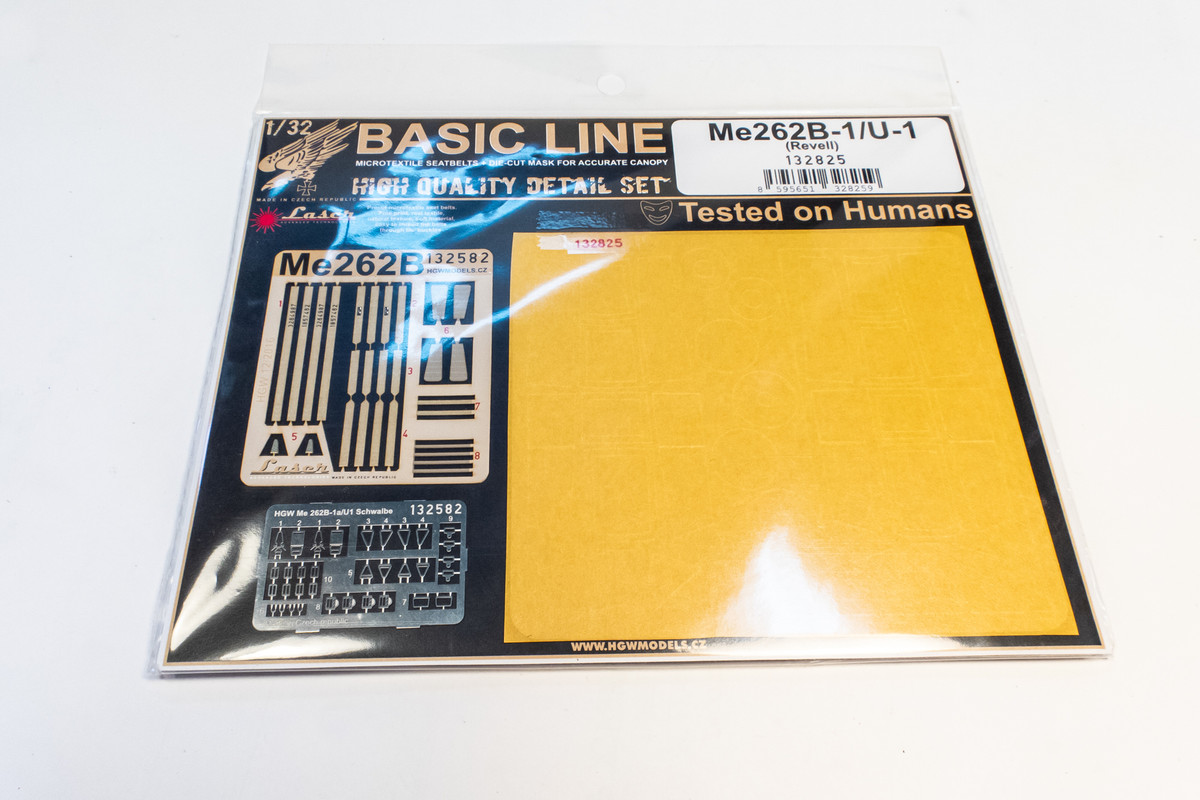
HGW uses some sort of microfiber paper for the belt material and photoetched metal for the buckles.
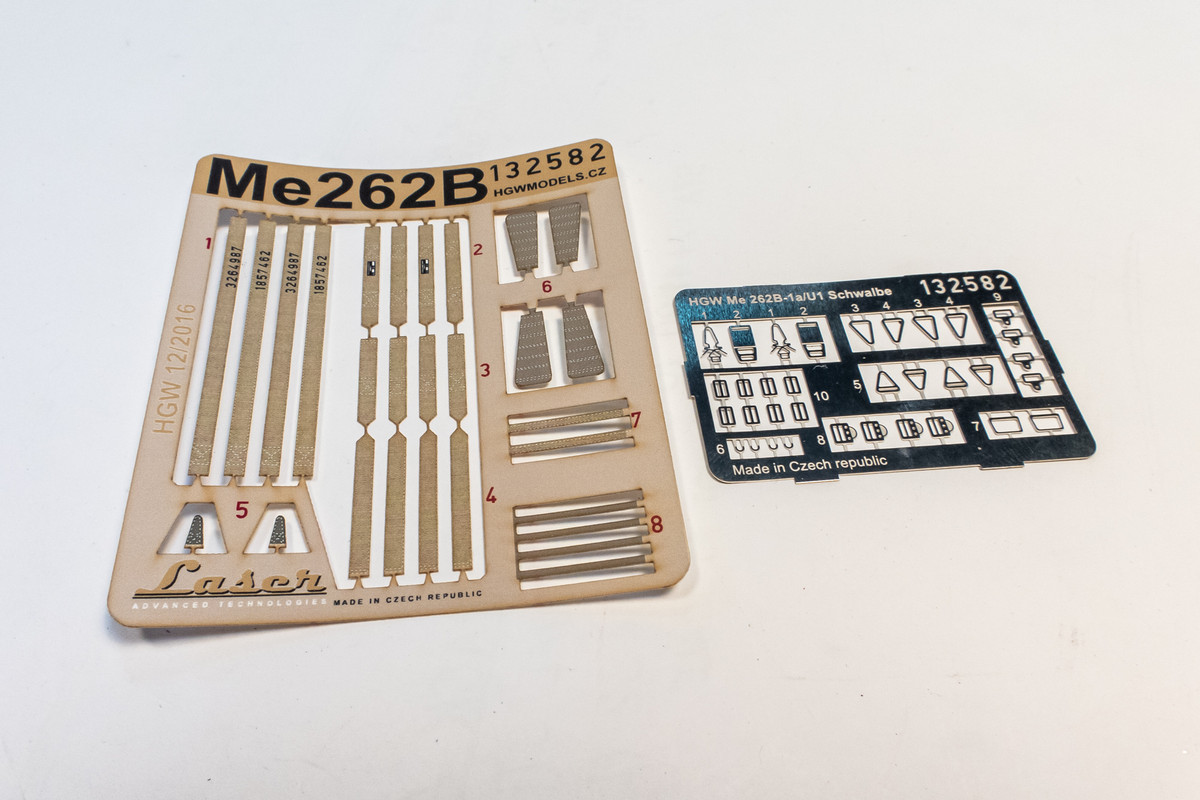
Some people report leaving the buckles on the photoetch frame for easier handling but I like to cut the buckles off and carefully trim off sprue attachment stubs.
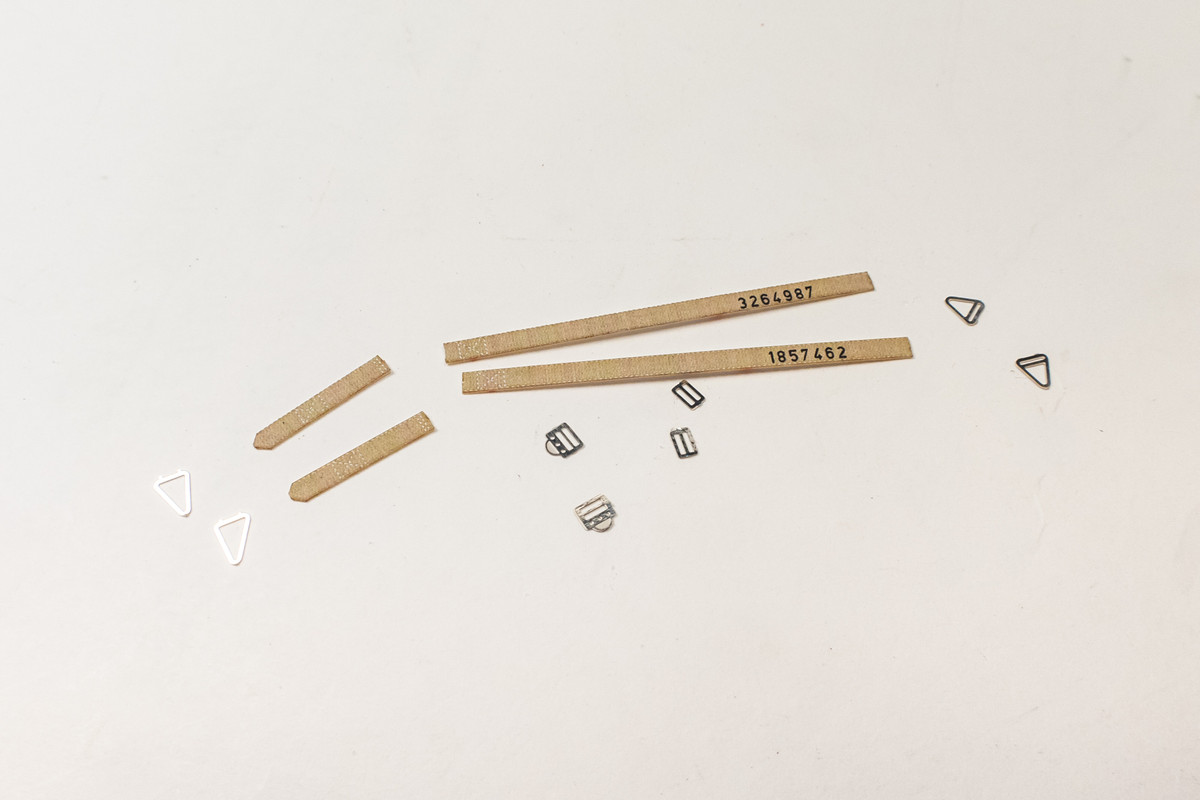
Remember to take off the backing from the harnesses!
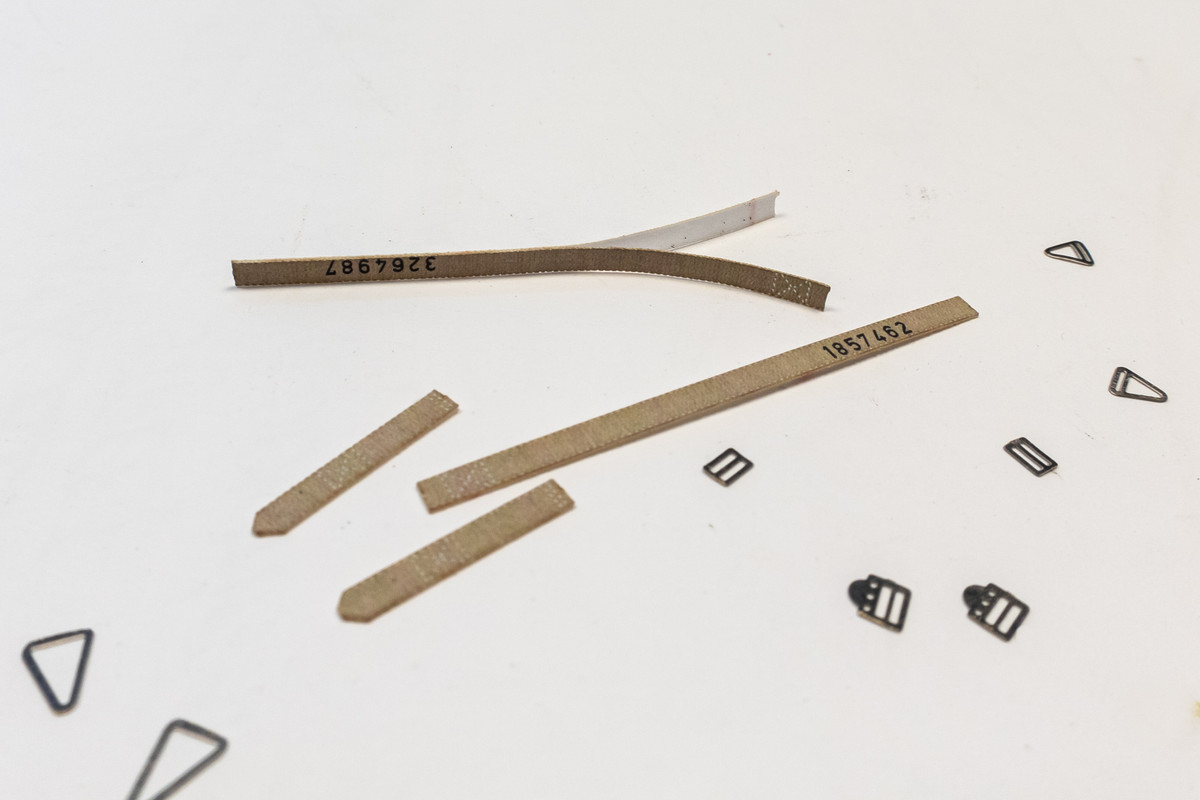
Per HGW recommendations, I like to crumple the harnesses before using. It helps loosen the material up a bit and also introduces some random folds and wrinkles. These effects are most noticeable on the longer pieces and sometimes I don't bother crumpling the shorter sections.


I use PVA glue to secure the harness folds that hold the buckles in place. You could also use CA glue but the PVA allows better alignment of the folds.
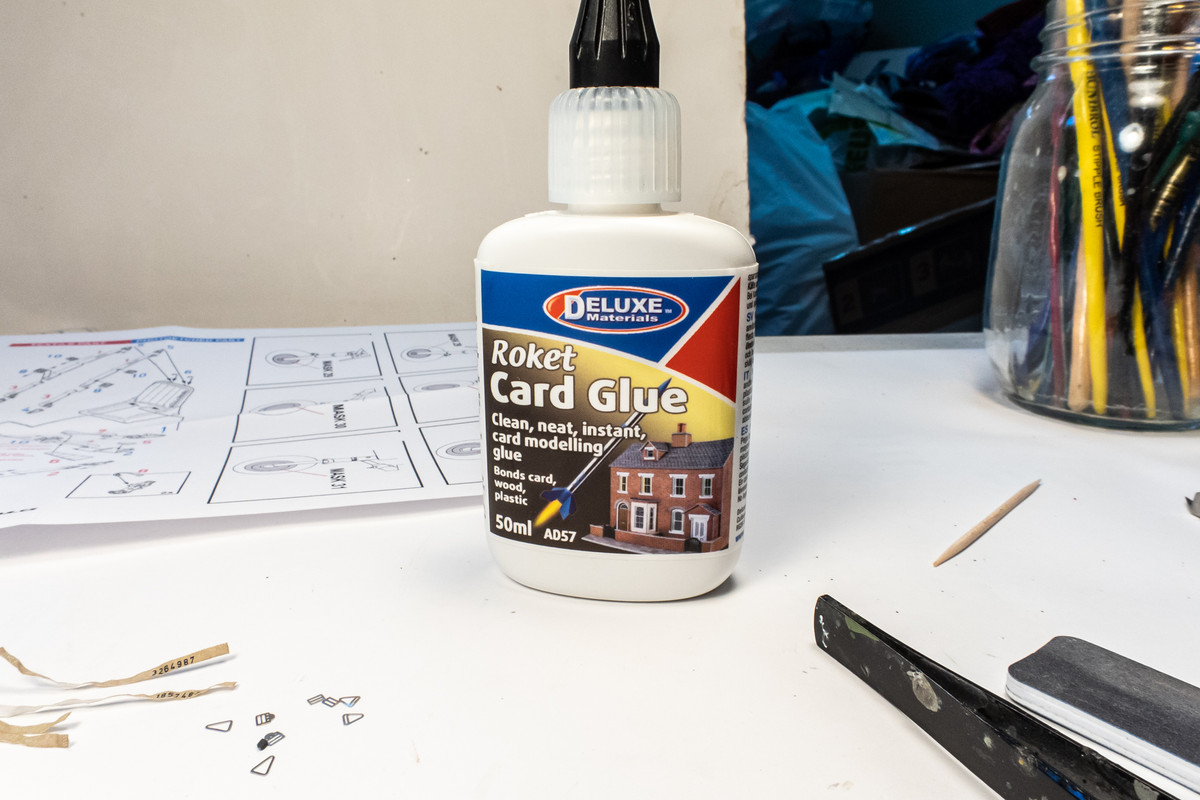
The sticky side of a Post-It is convenient for holding the crinkled harnesses down flat to verify consistent lengths and buckle spacing.

After the shoulder straps are measured against the seat, they are finalized.
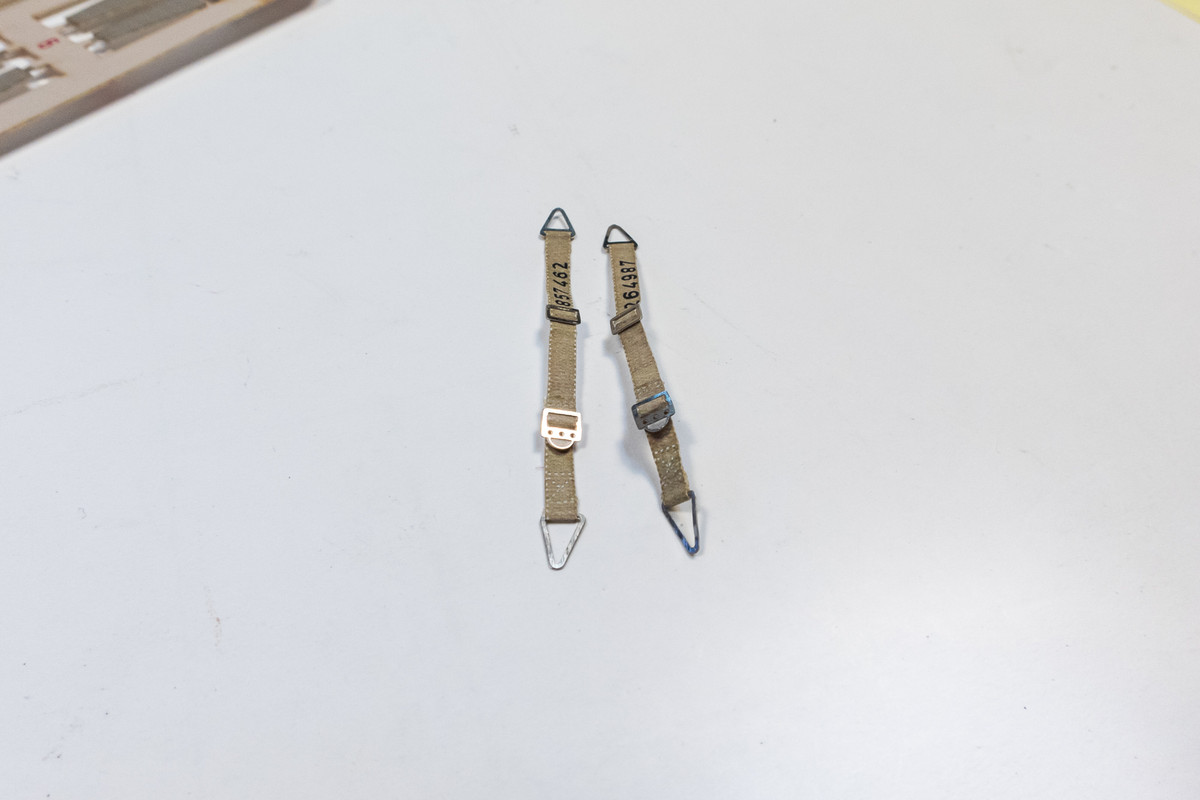
The lap belts are constructed next. I've left off the attachment tabs on the seat end because (a) they can't bee seen anyway and (b) they would likely interfere with the already tight fit of the seat into the cockpit tub.
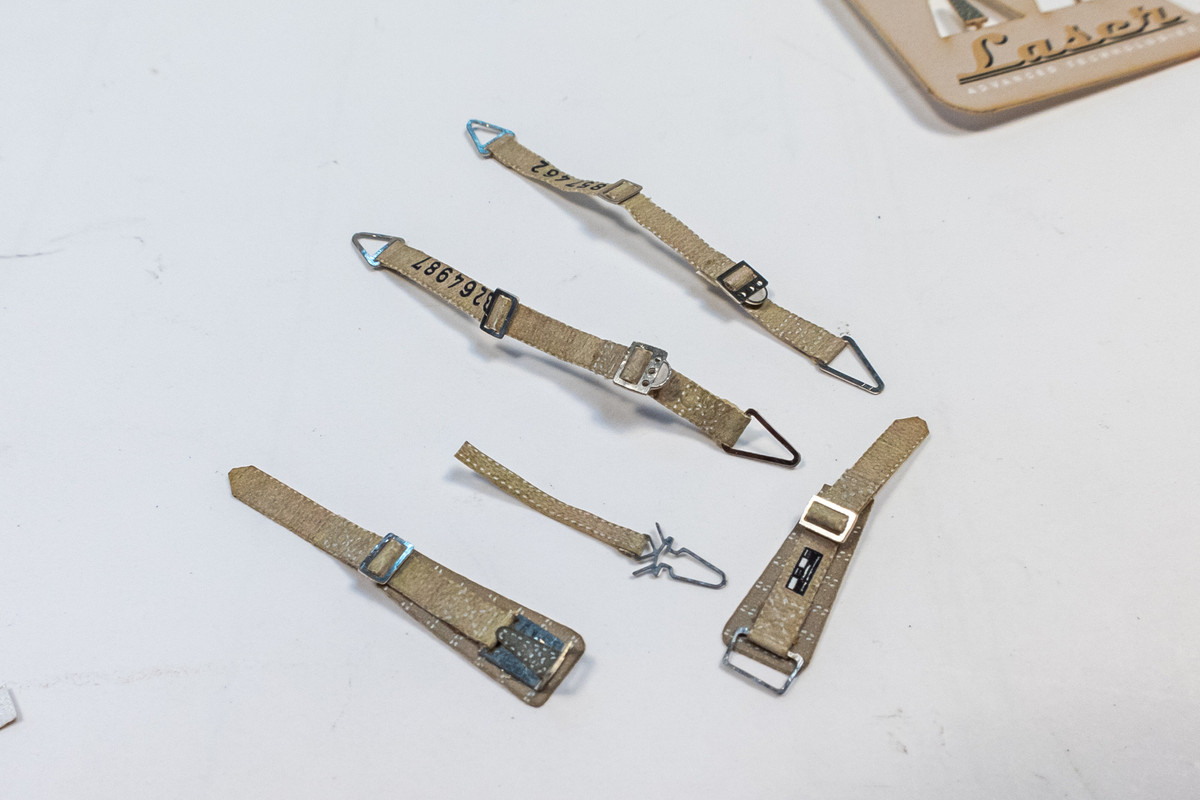
The lap belts are glued into place onto the seat using CA glue. The shoulder belts are temporarily affixed to a Post-It.
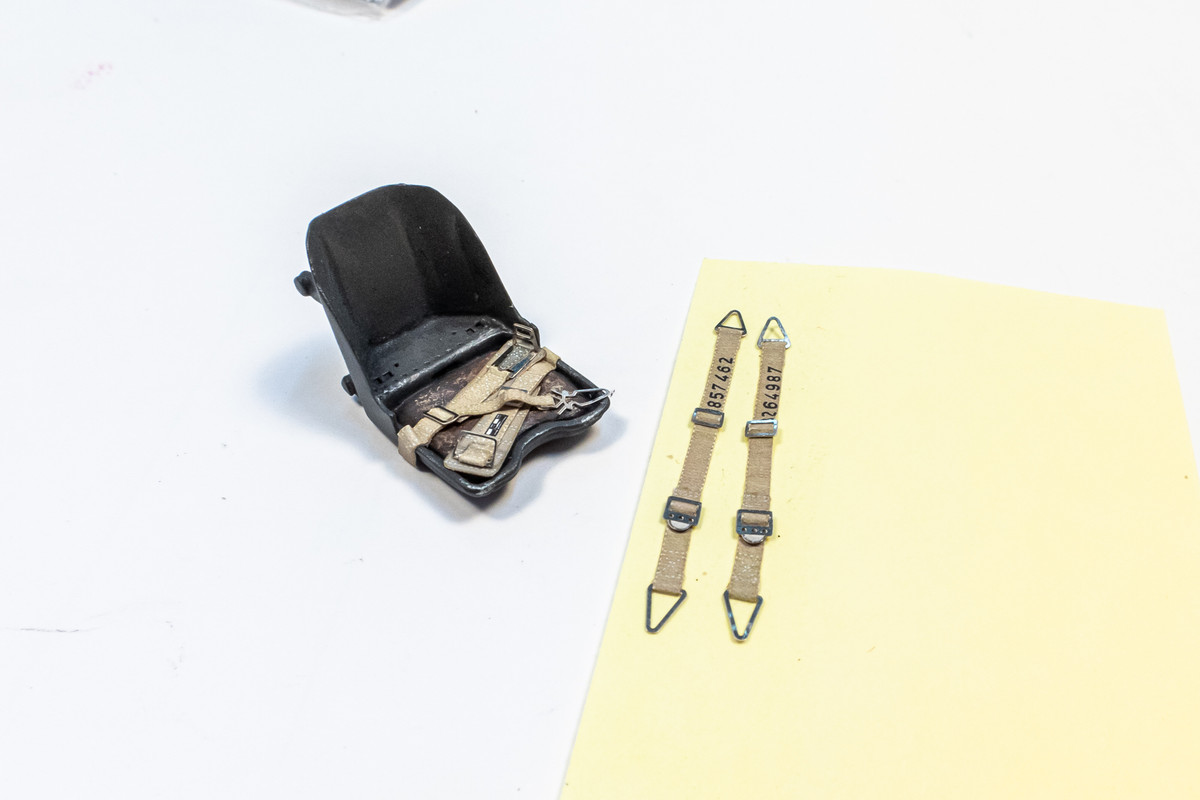
One interesting aspect about the HGW fabric material is that there is some subtle stitching details that have been depressed into the fabric. They are not as consistent as rivets on plastic but additional detail can be highlighted with a wash. So I am giving the belts a gloss coat (Alclad Aqua Gloss) and then a pastel wash of dark brown. Be advised that the crumpling step CAN mar the surface of the fabric so that the pastel wash can leave permanent stains. I'm ok with this.
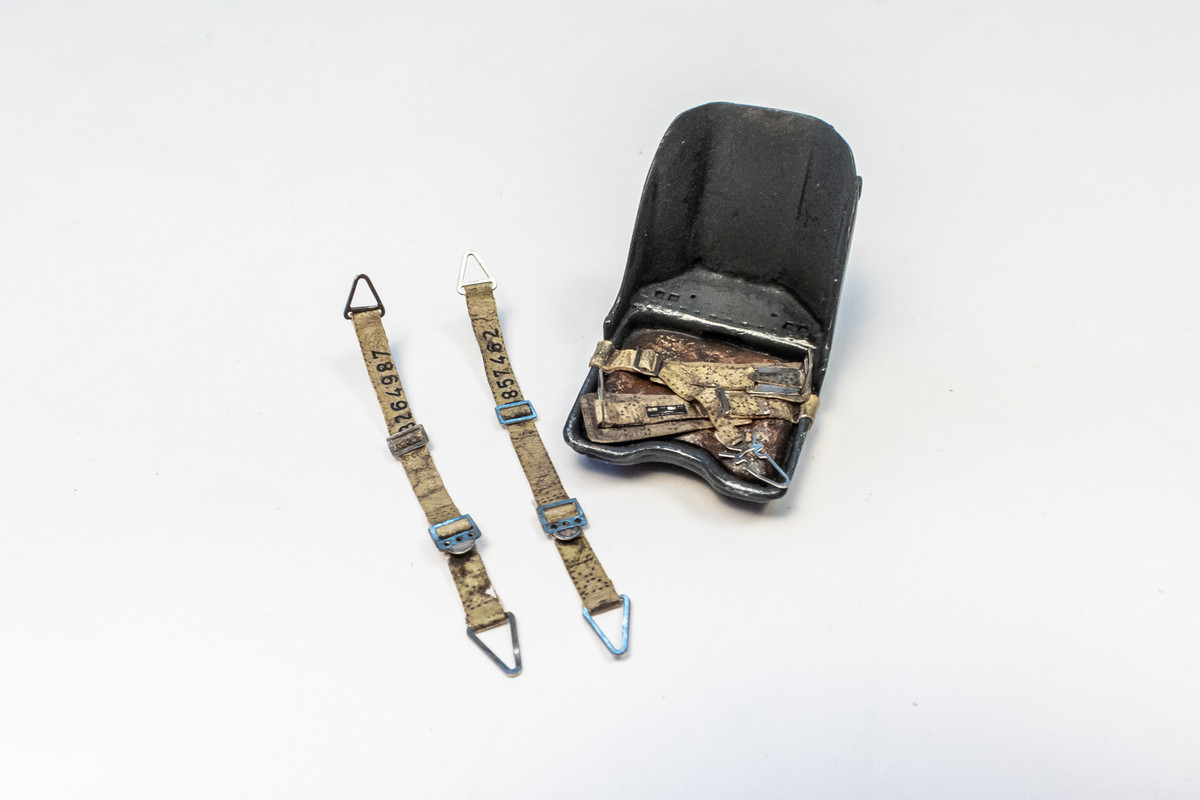
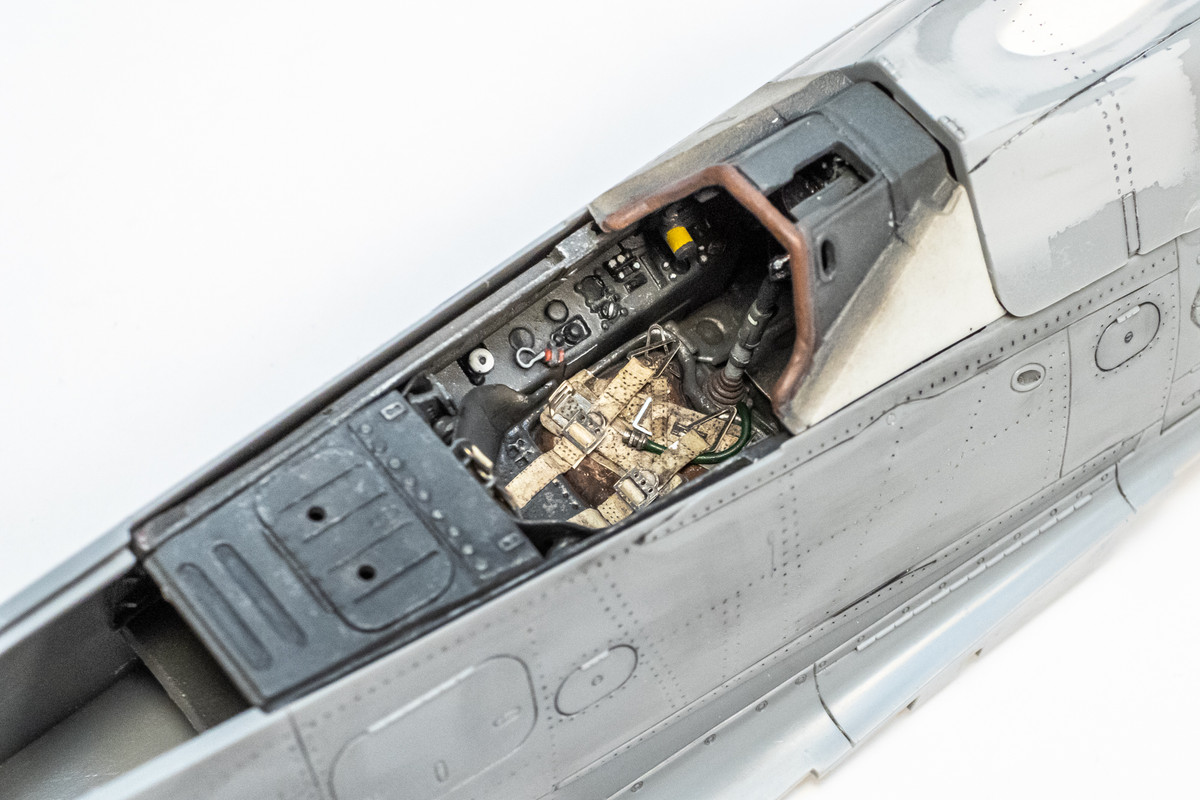
I can now start assembling the cockpit. The seat and control stick are glued into place using CA glue. I've added an oxygen tube per the directions on the Eagle Editions cockpit.
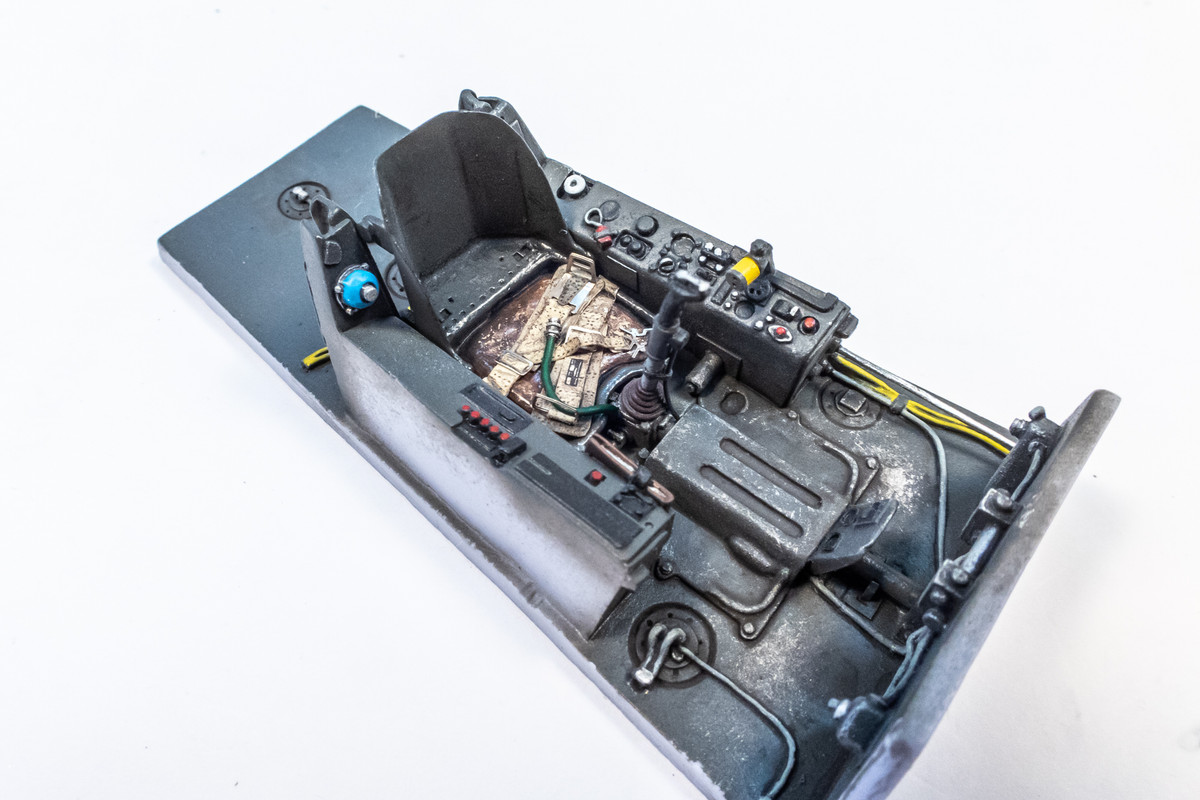
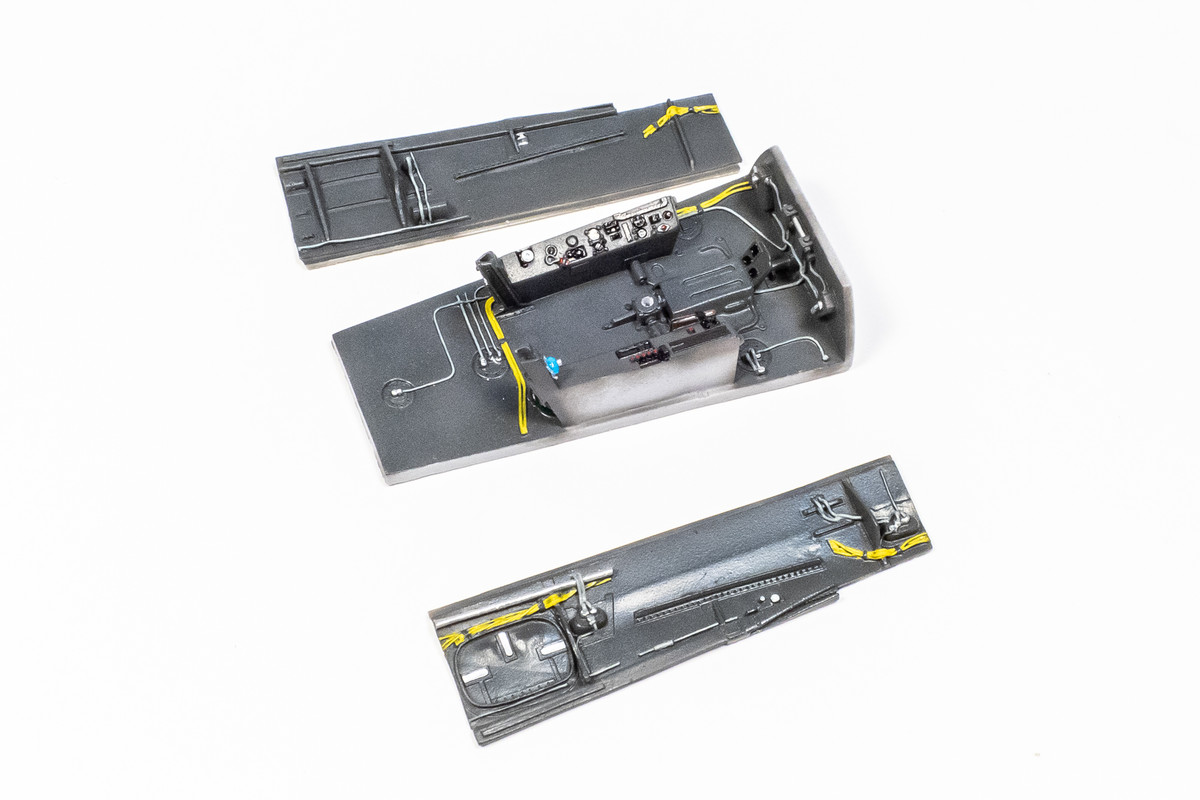
The sidewalls and rear cockpit sill are next to be glued into place, again using CA glue.
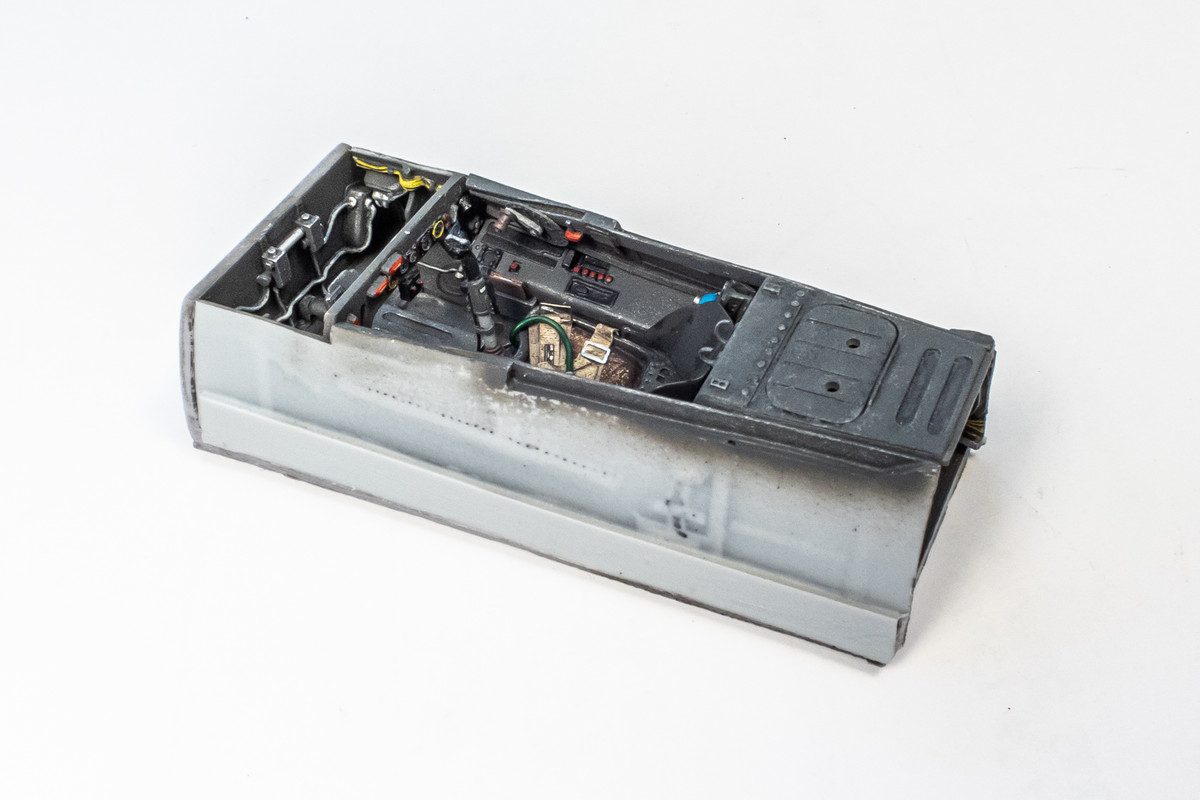
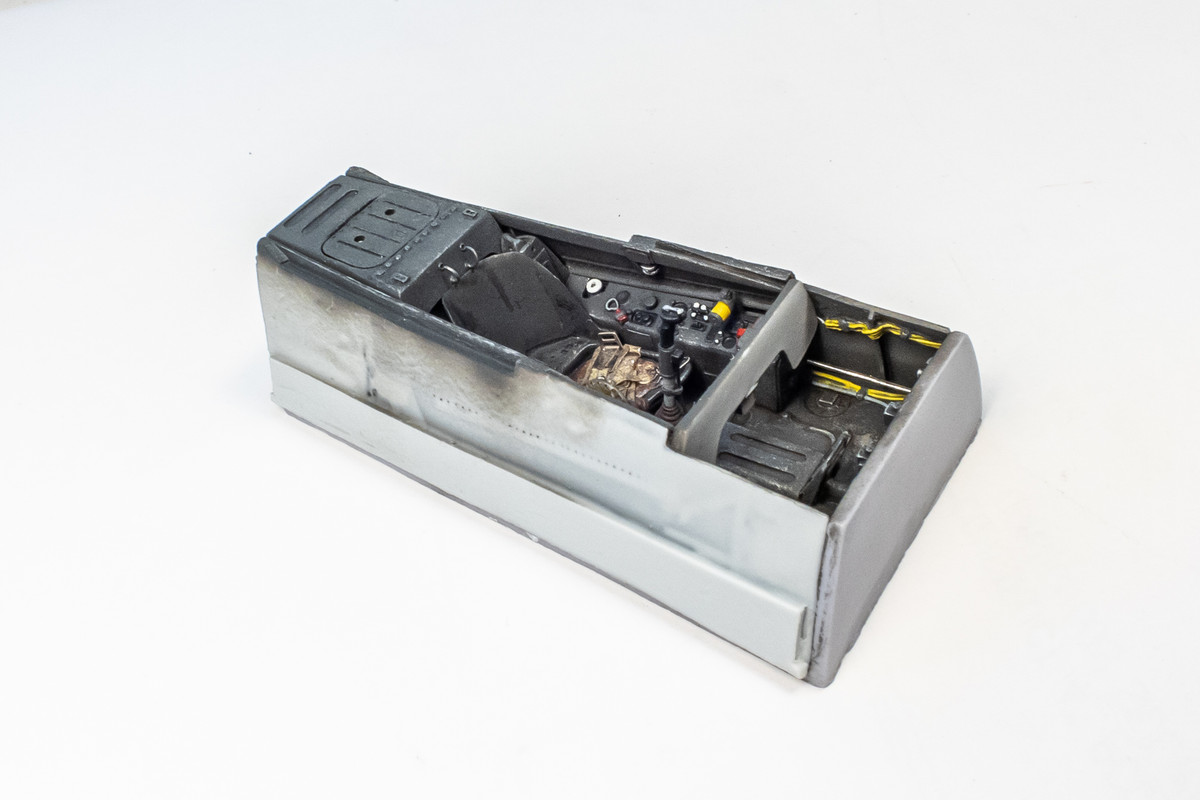
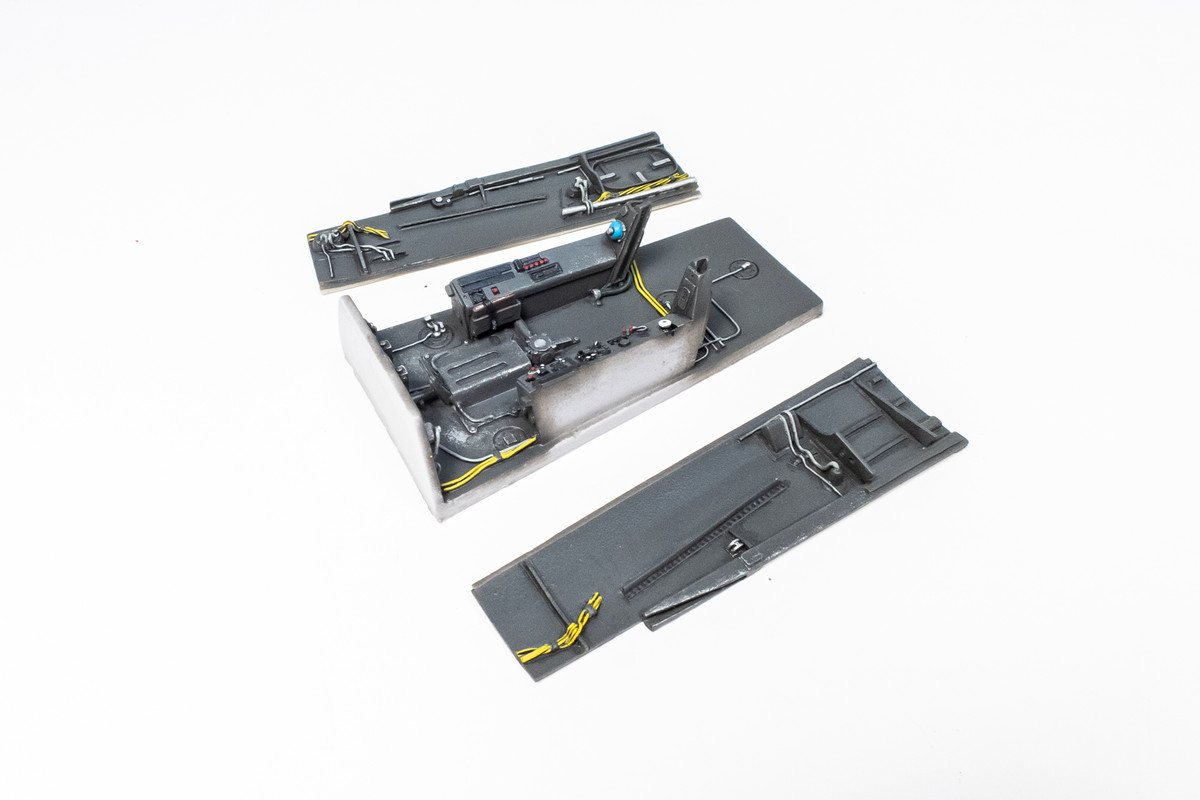
The foot pedals are glued into the roof, which is left completely unpainted because it will not be visible at all.

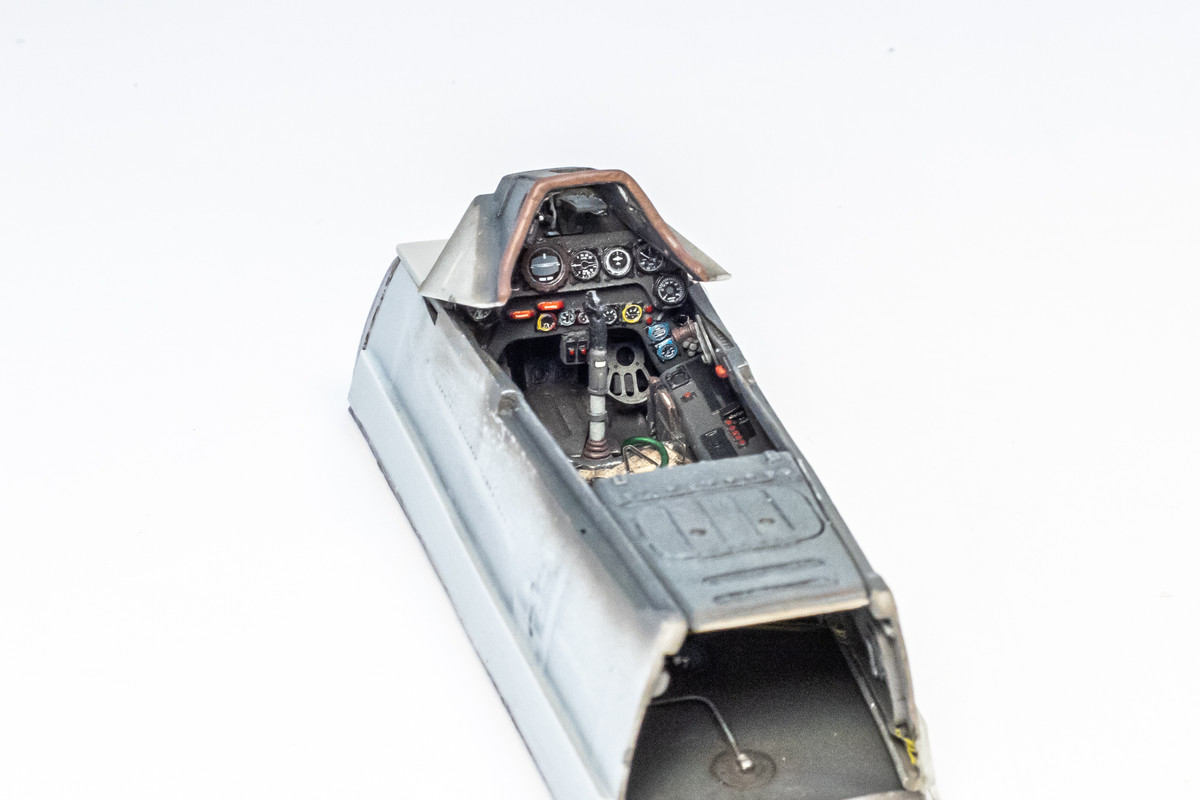
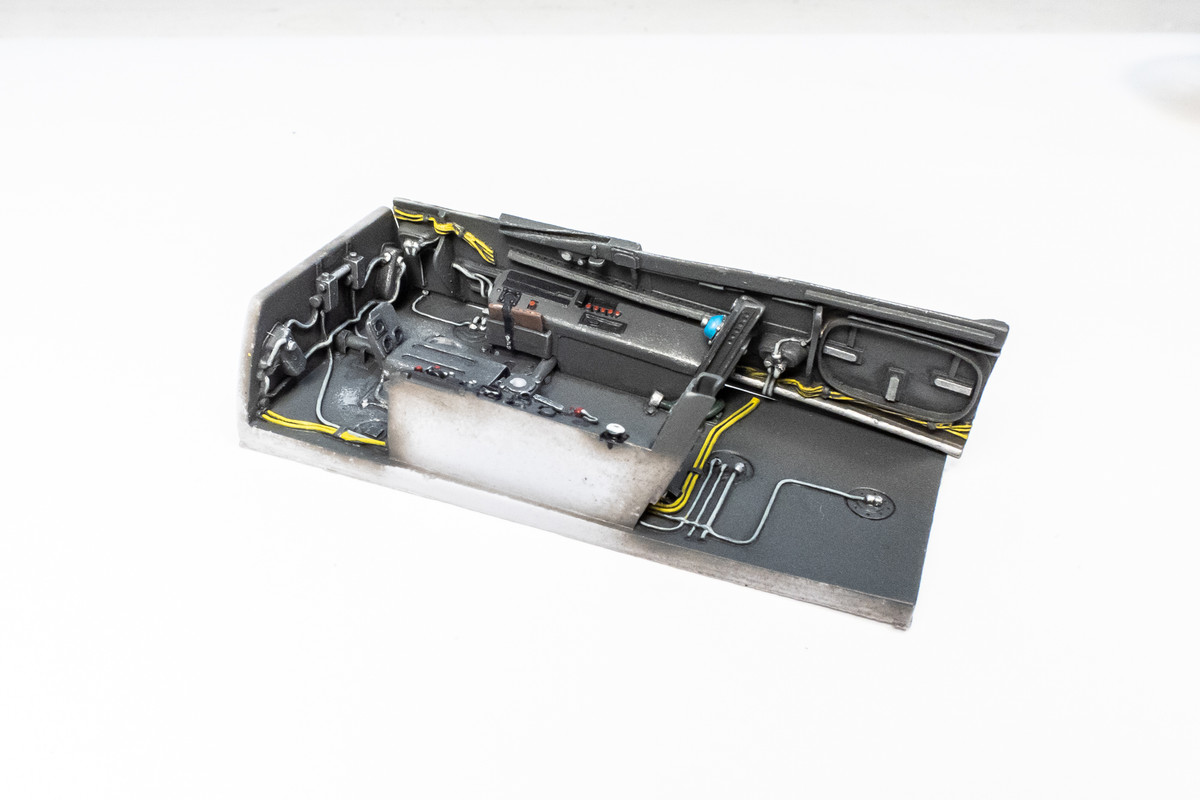
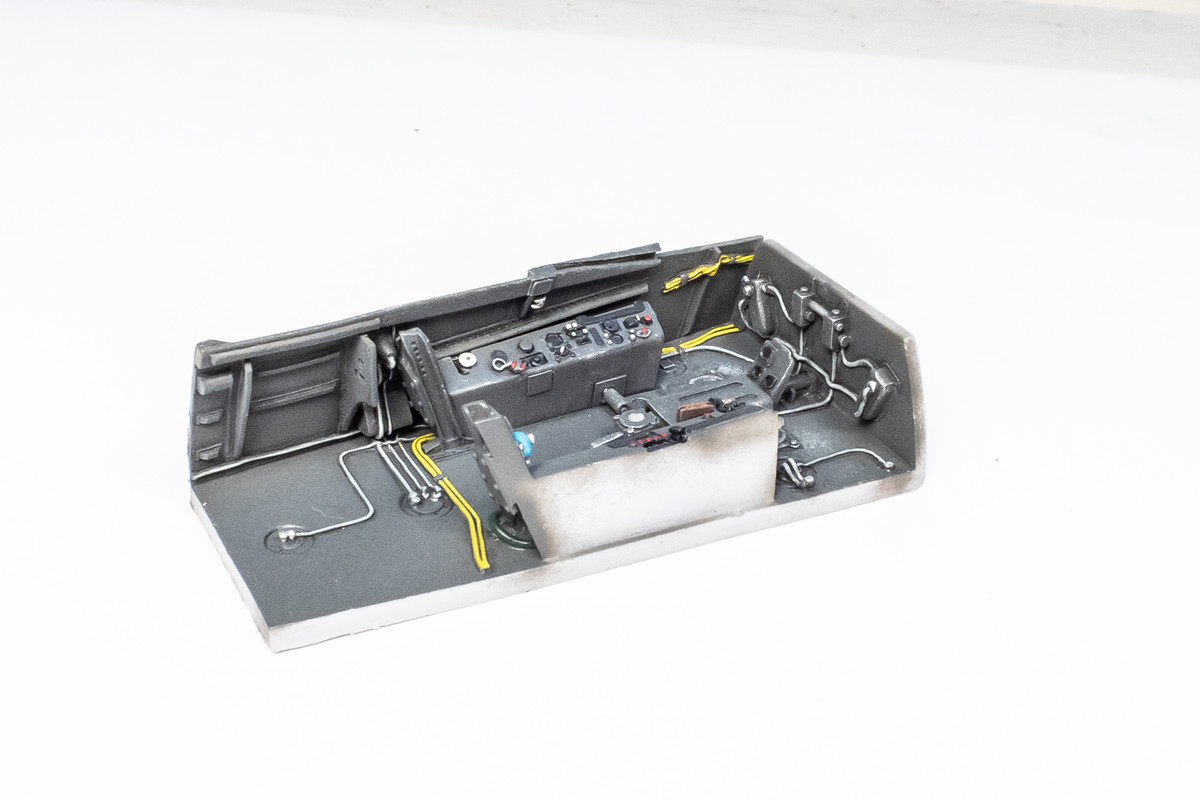
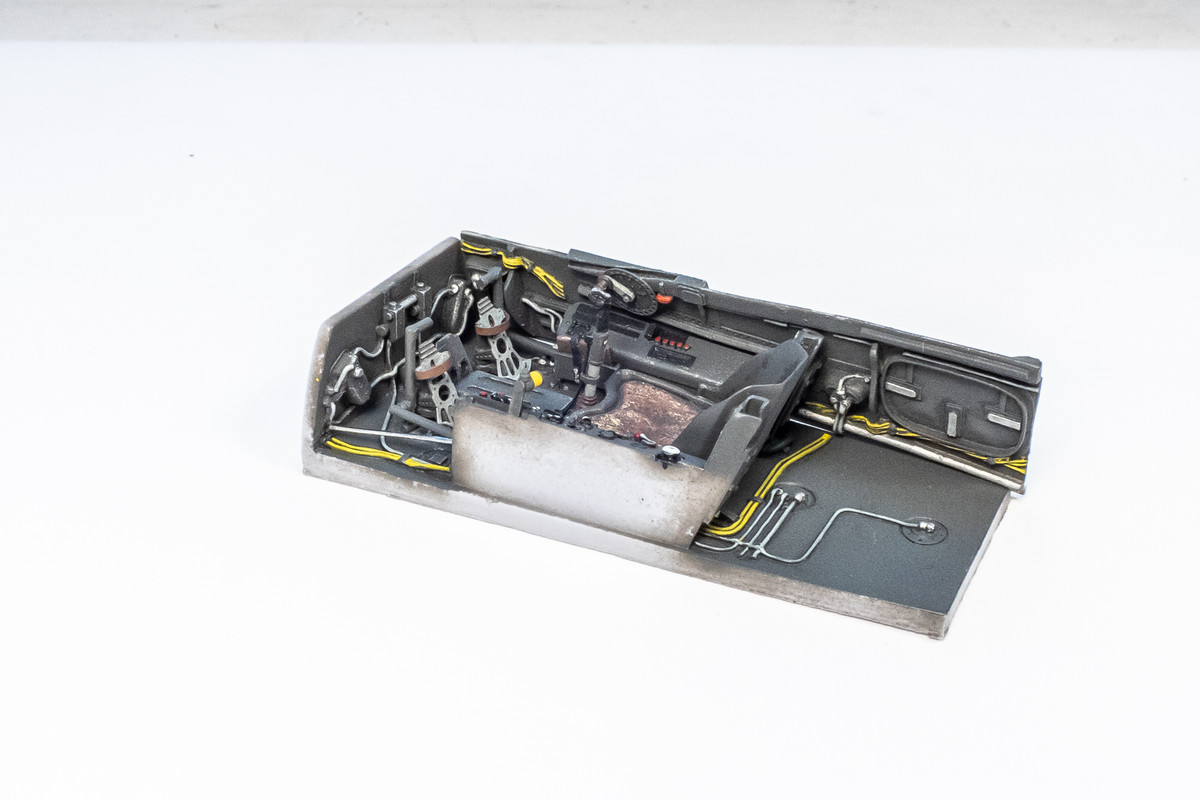
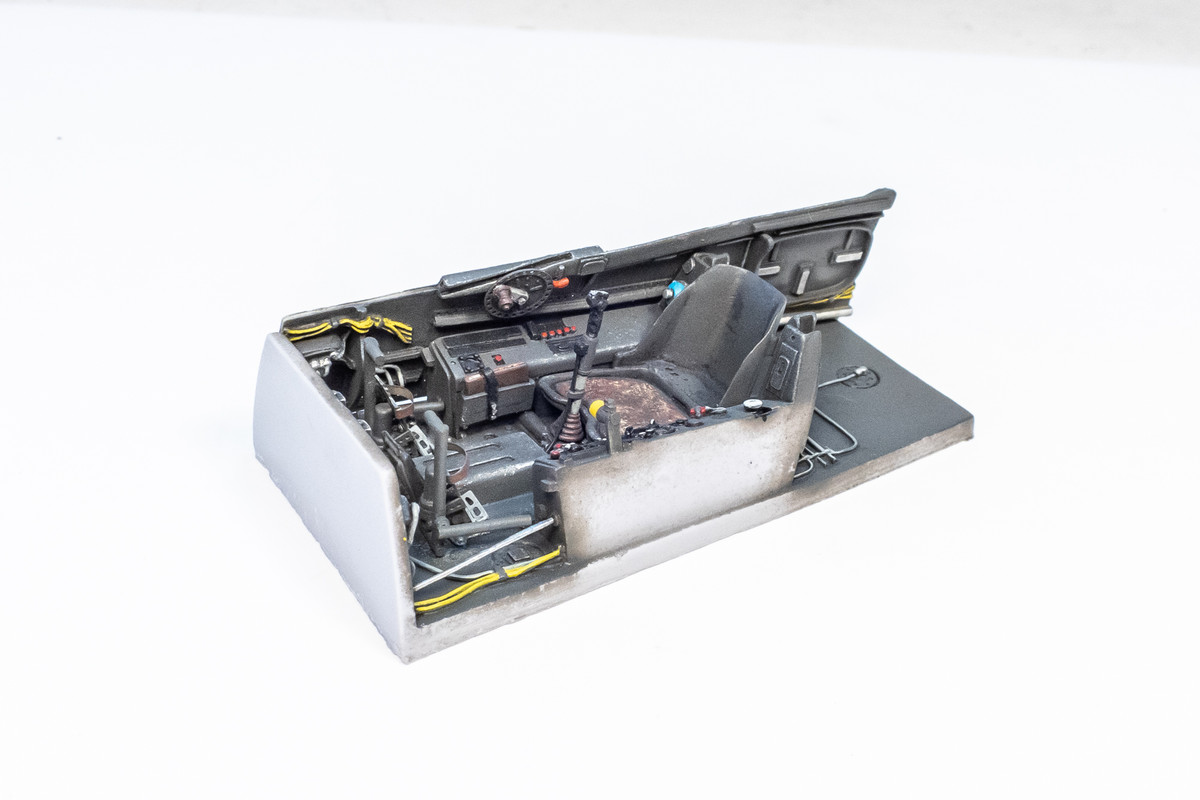
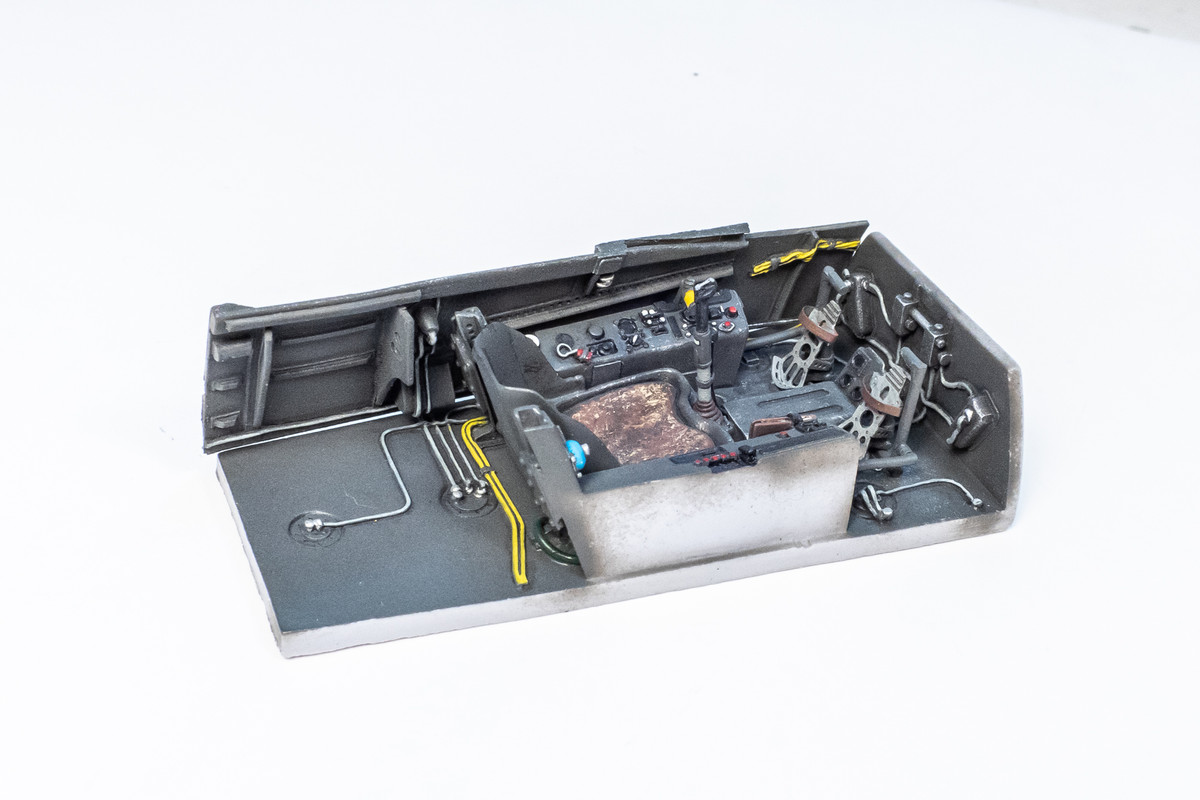
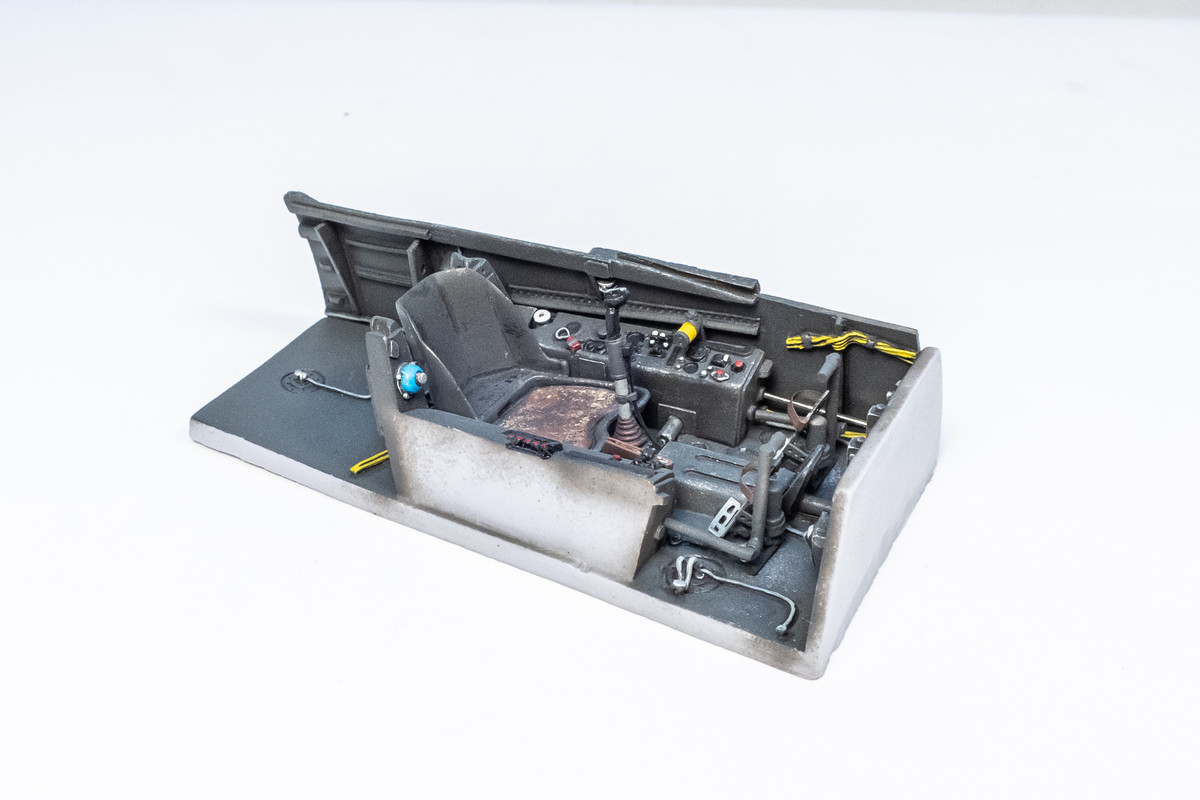
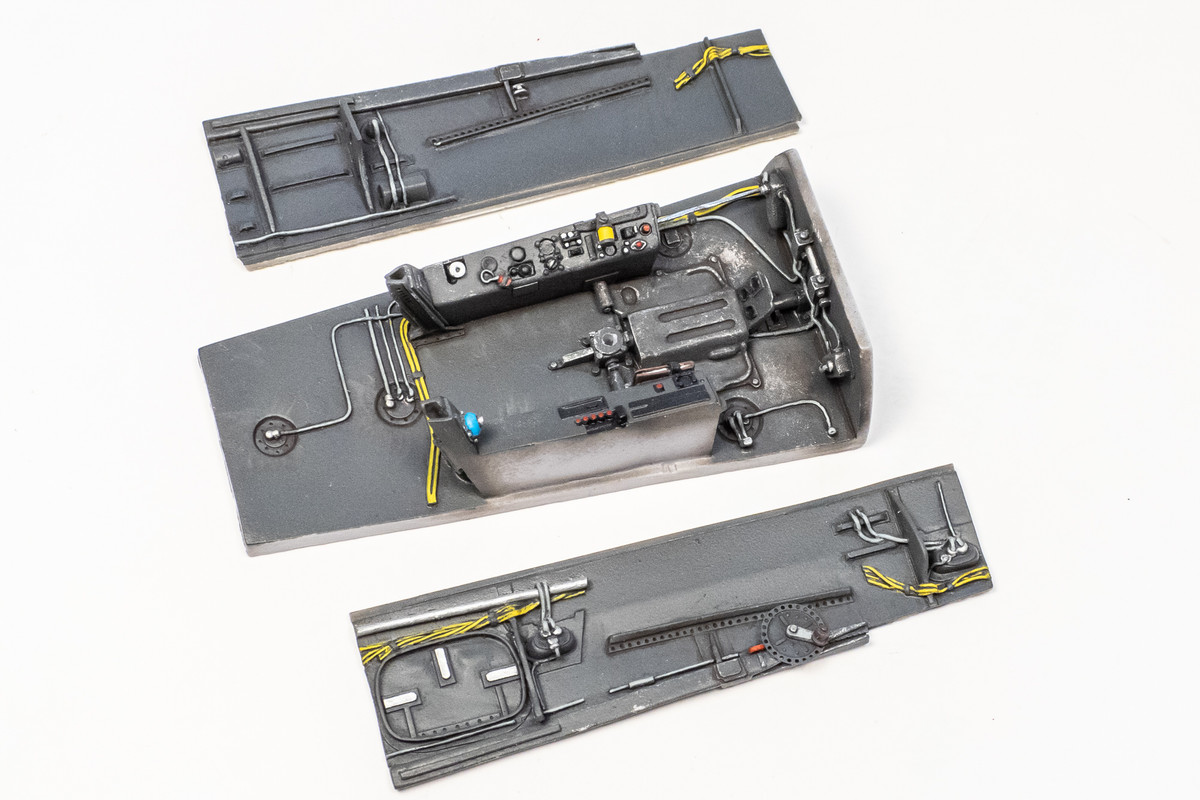
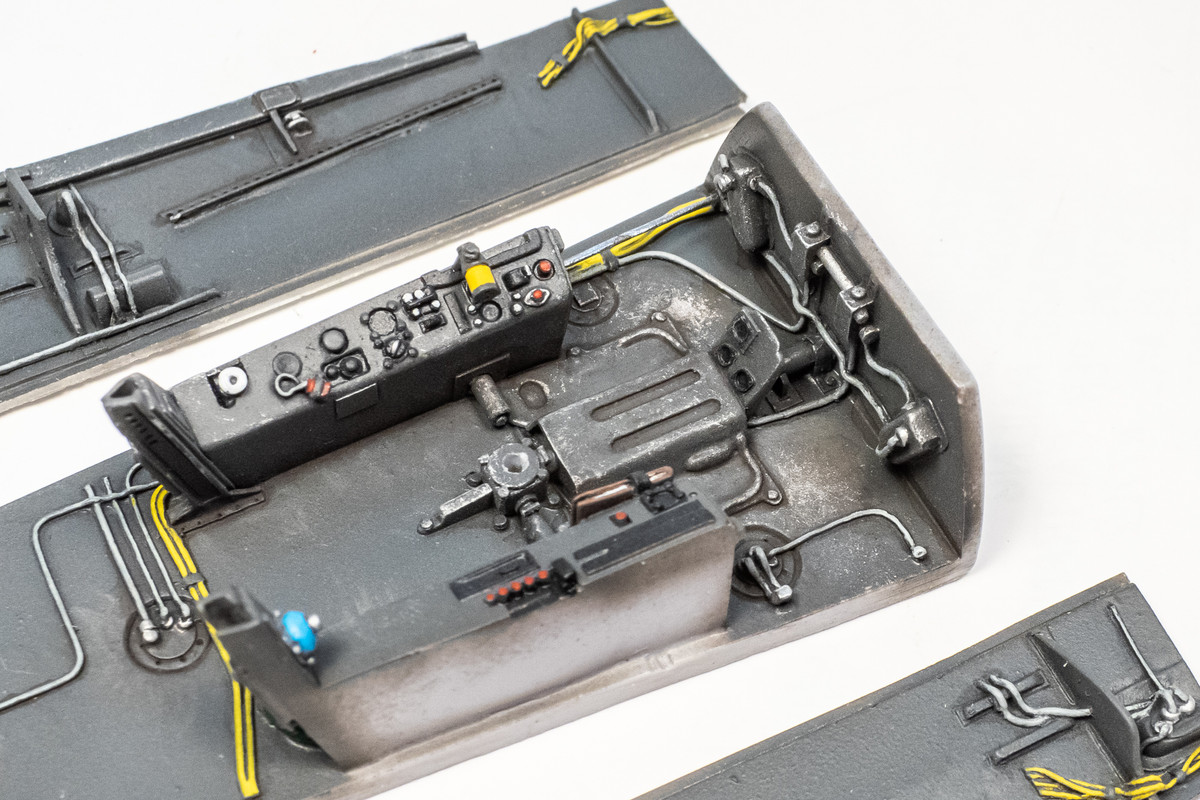
The roof holding the foot pedals cap off the cockpit tub. Remember all of the careful painting including the bright yellow electrical wiring? Most of it disappears after the boxing in of the cockpit.
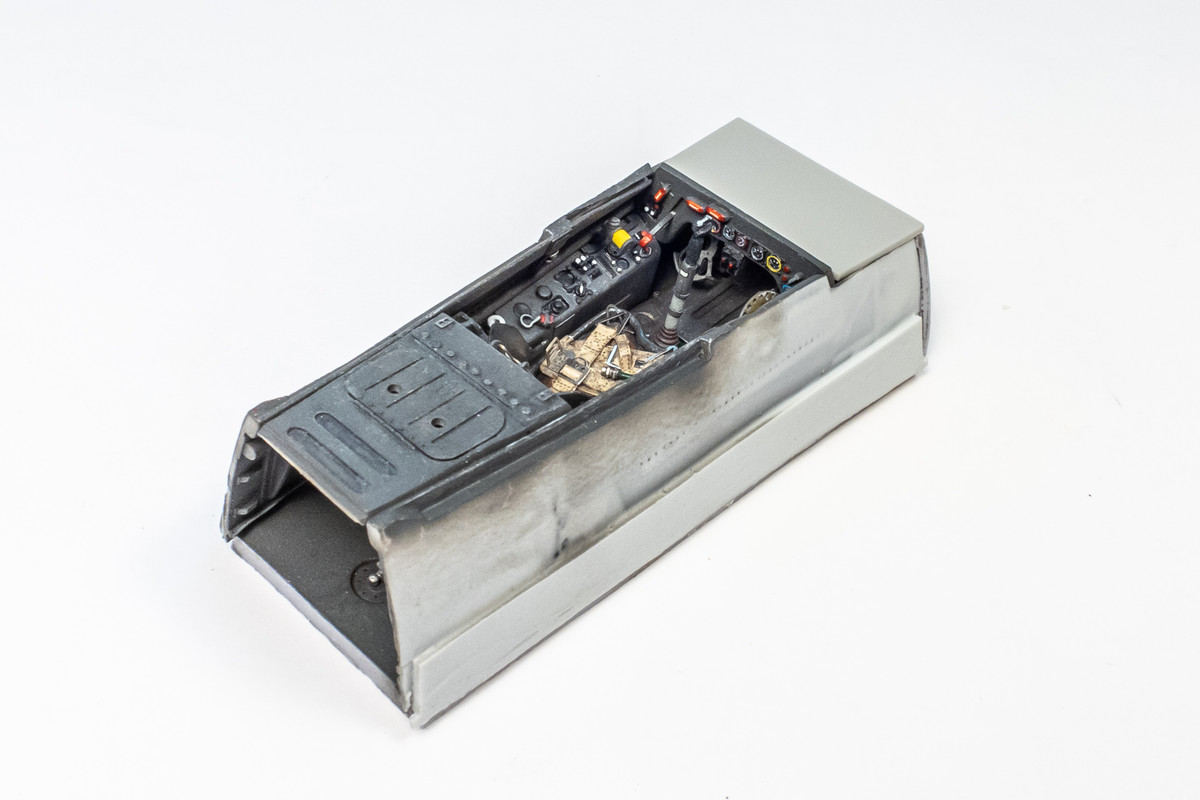
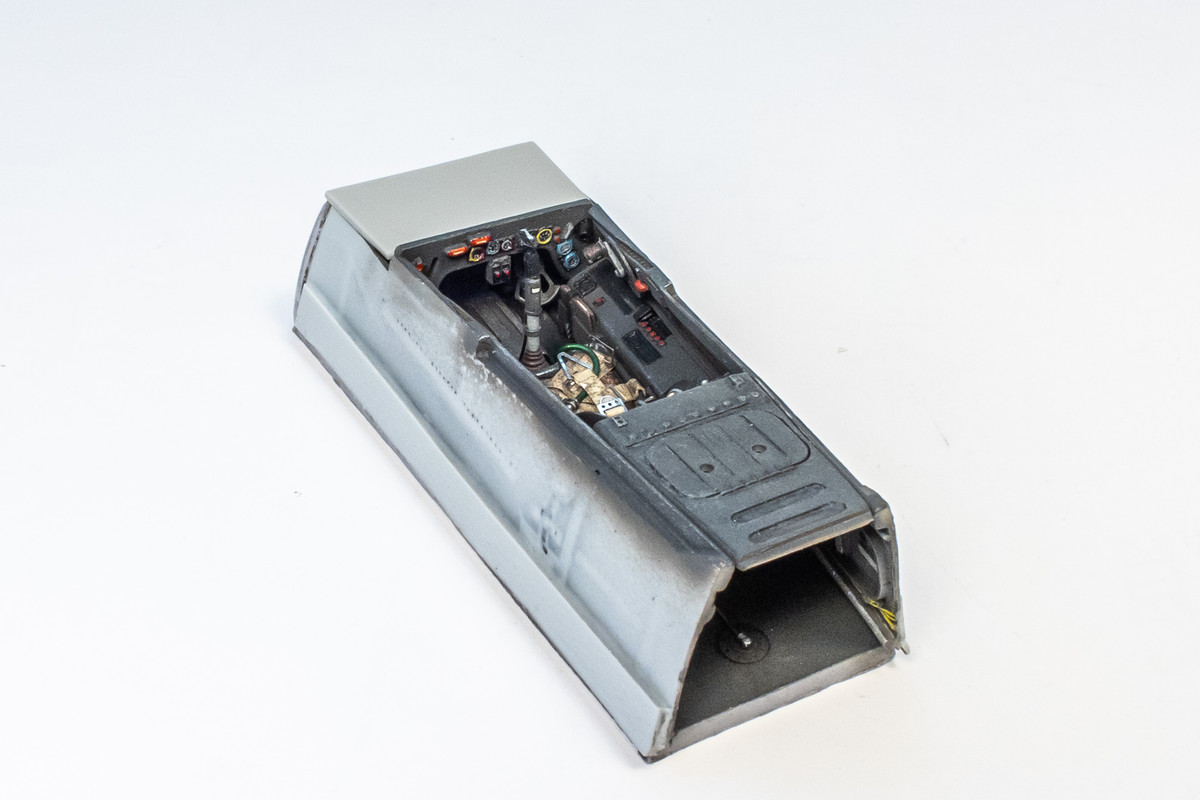
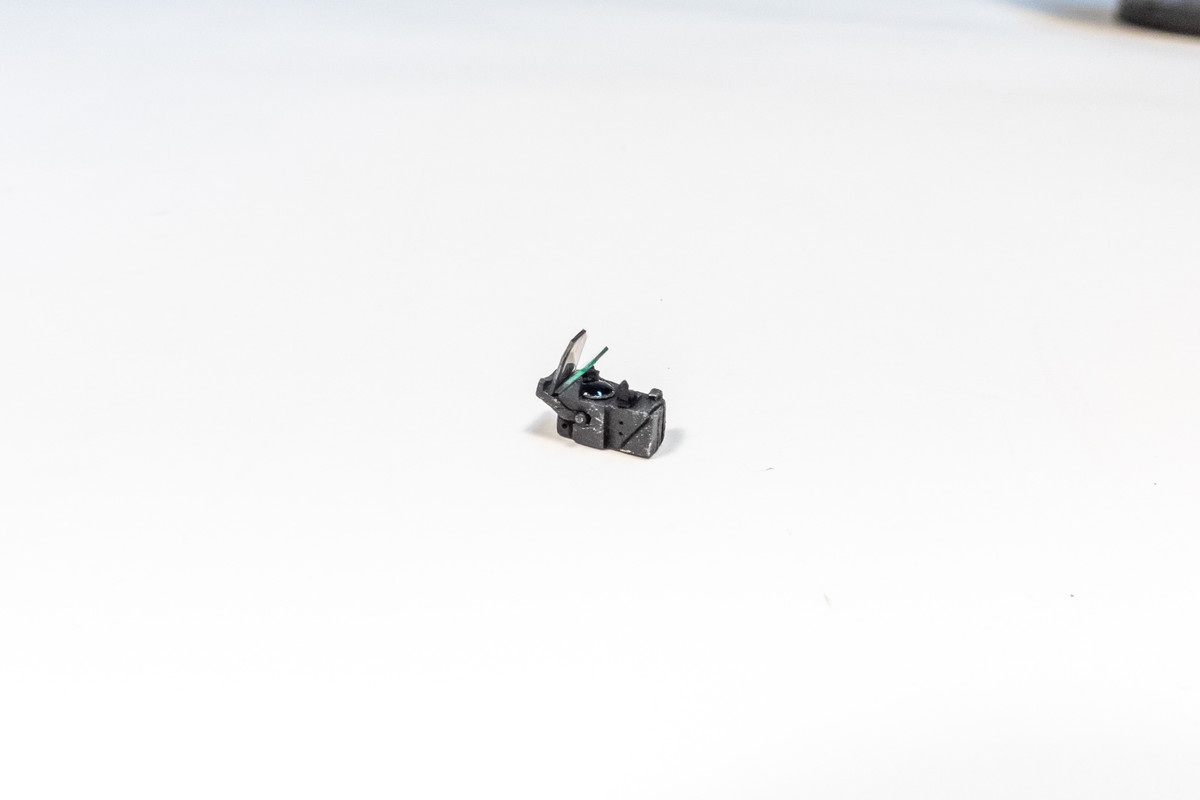
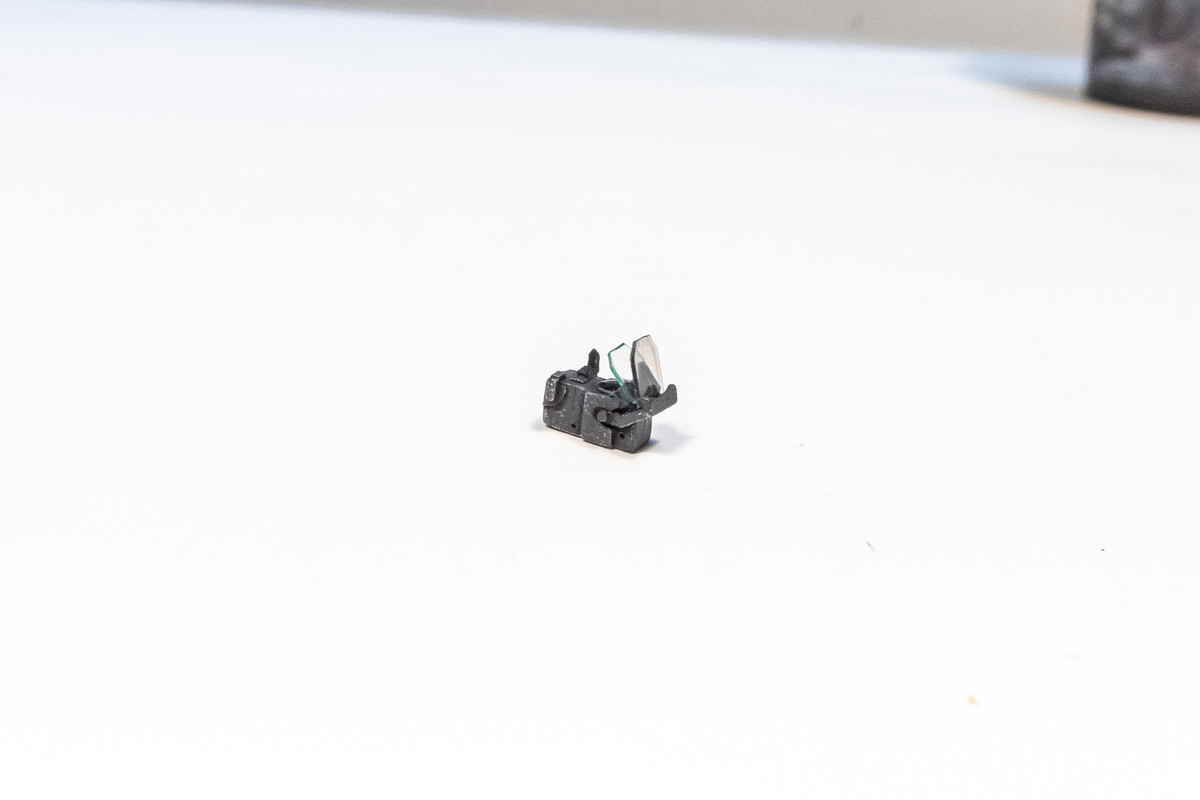
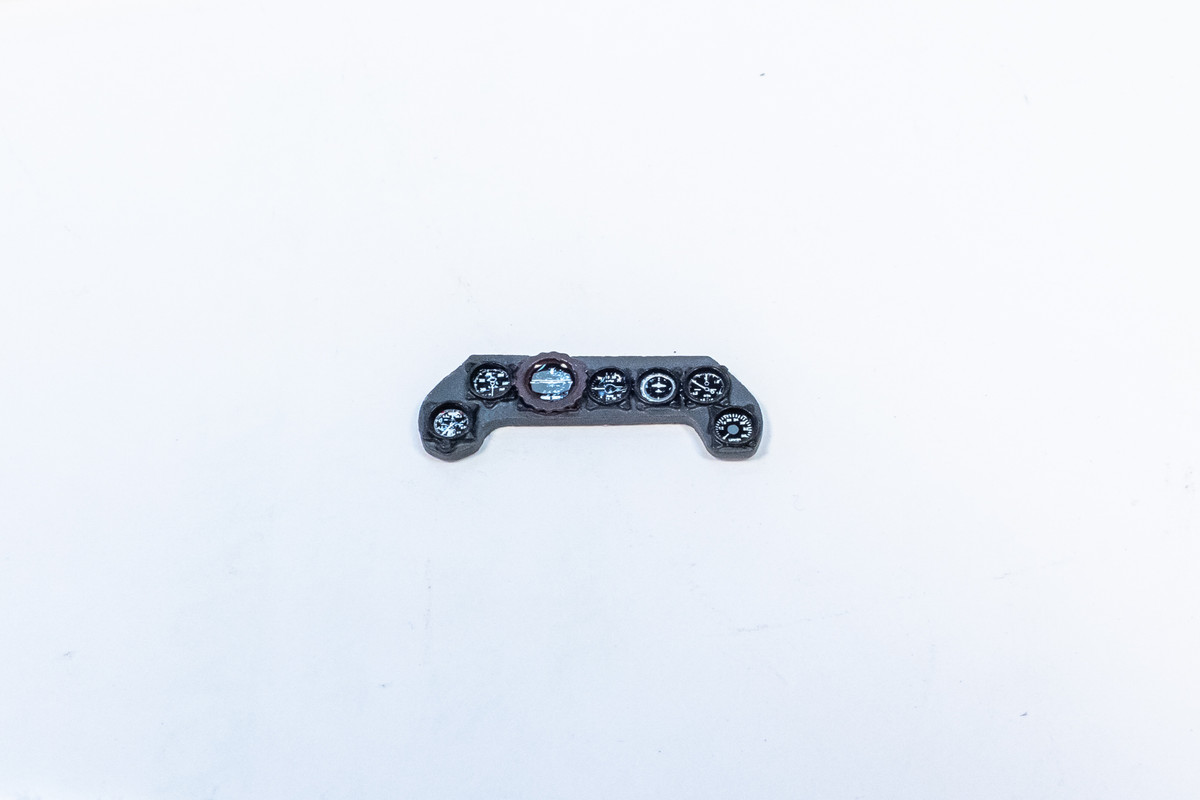
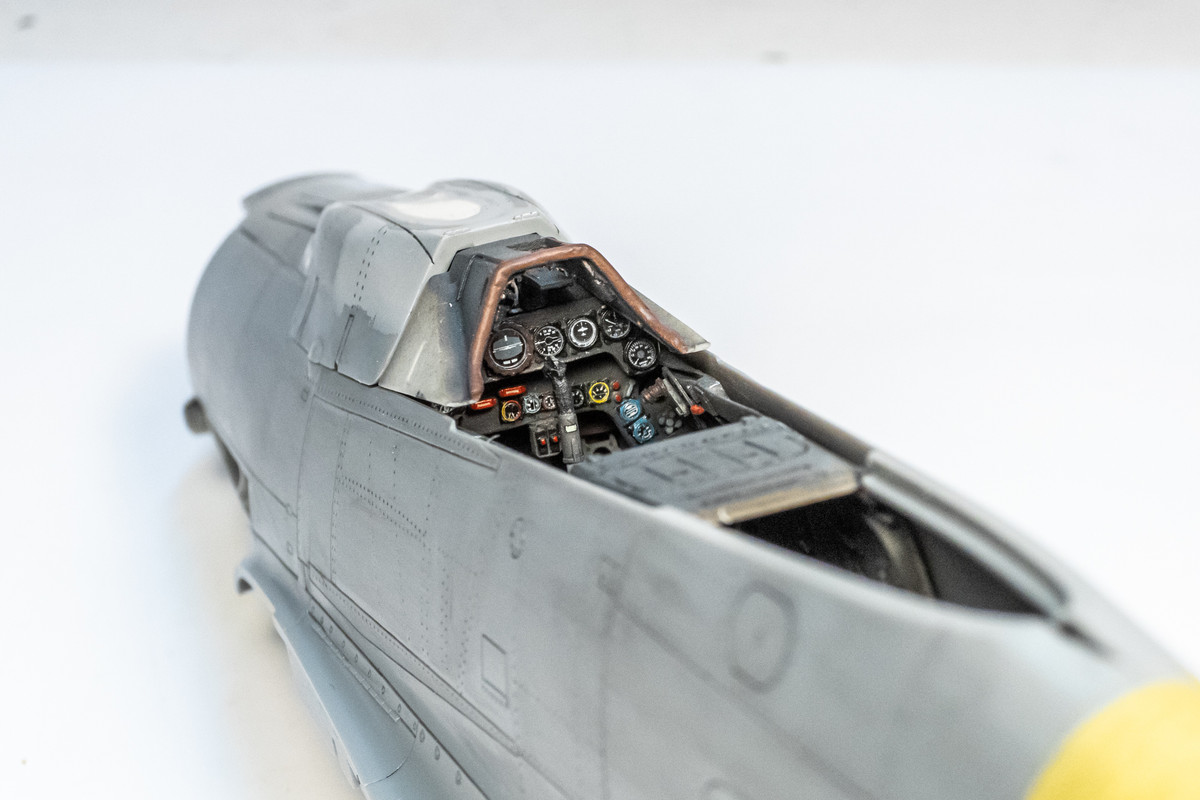
The main instrument panel is glued into the front cockpit hood, along with the shelf for the Revi 16B gun sight.
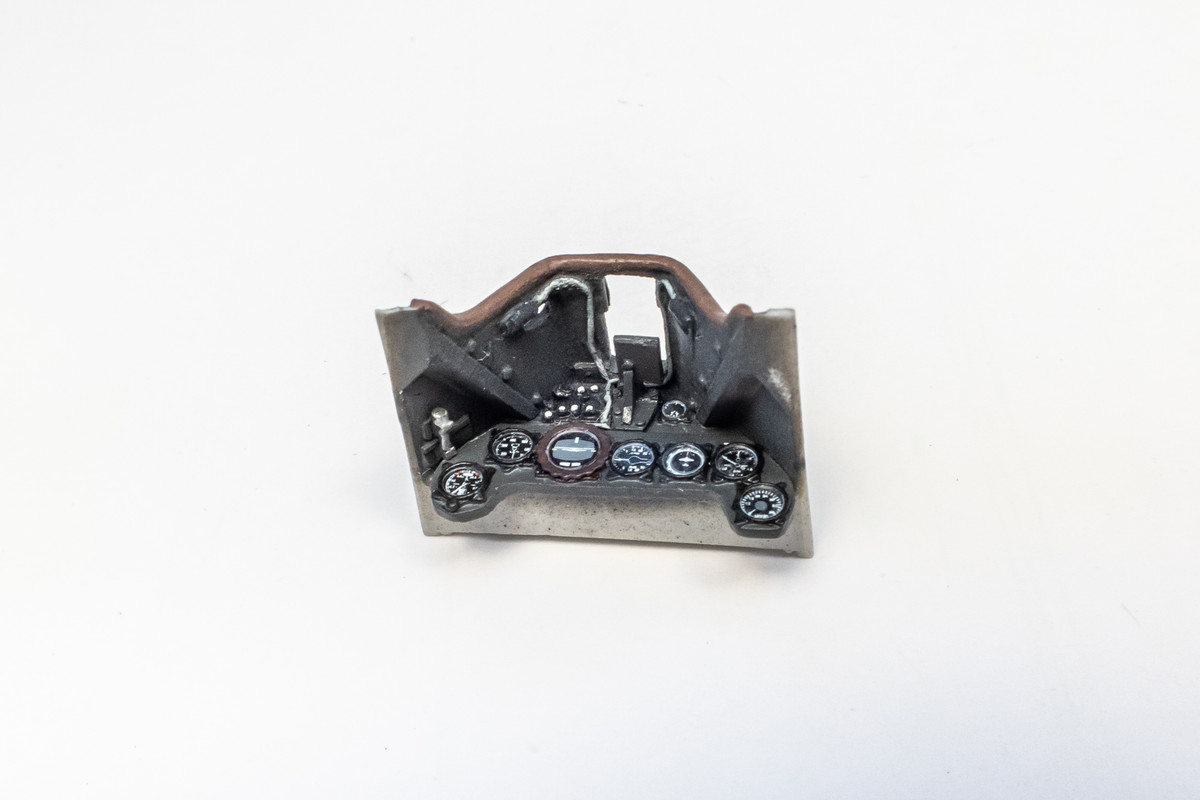
The cockpit stage is complete and we can verify the fit of the resin cockpit into the fuselage sides.