Hasegawa 1/32 Fw 190D-9 Brown 4

Re: Hasegawa 1/32 Fw 190D-9 Brown 4
My goodness those are terrific! I'd agree on how they look painted -vs- unpainted. Wow.
To make each build less crappy than the last one. Or, put another way, "Better than the last one, not as good as the next one!"..
-
Stikpusher

- Moderator
- Posts: 21386
- Joined: Sat Apr 05, 2014 8:37 pm
- Location: Ceti Alpha 5
Re: Hasegawa 1/32 Fw 190D-9 Brown 4
Beautiful intricate work John.  The detailed appearance is well worth your efforts in the end.
The detailed appearance is well worth your efforts in the end."Surely I have made my meaning plain? I intend to avenge myself upon you, Admiral. I have deprived your ship of power, and when I swing 'round, I intend to deprive you of your life."
FLSM
FLSM

Re: Hasegawa 1/32 Fw 190D-9 Brown 4
Thanks guys! Appreciate the feedback!
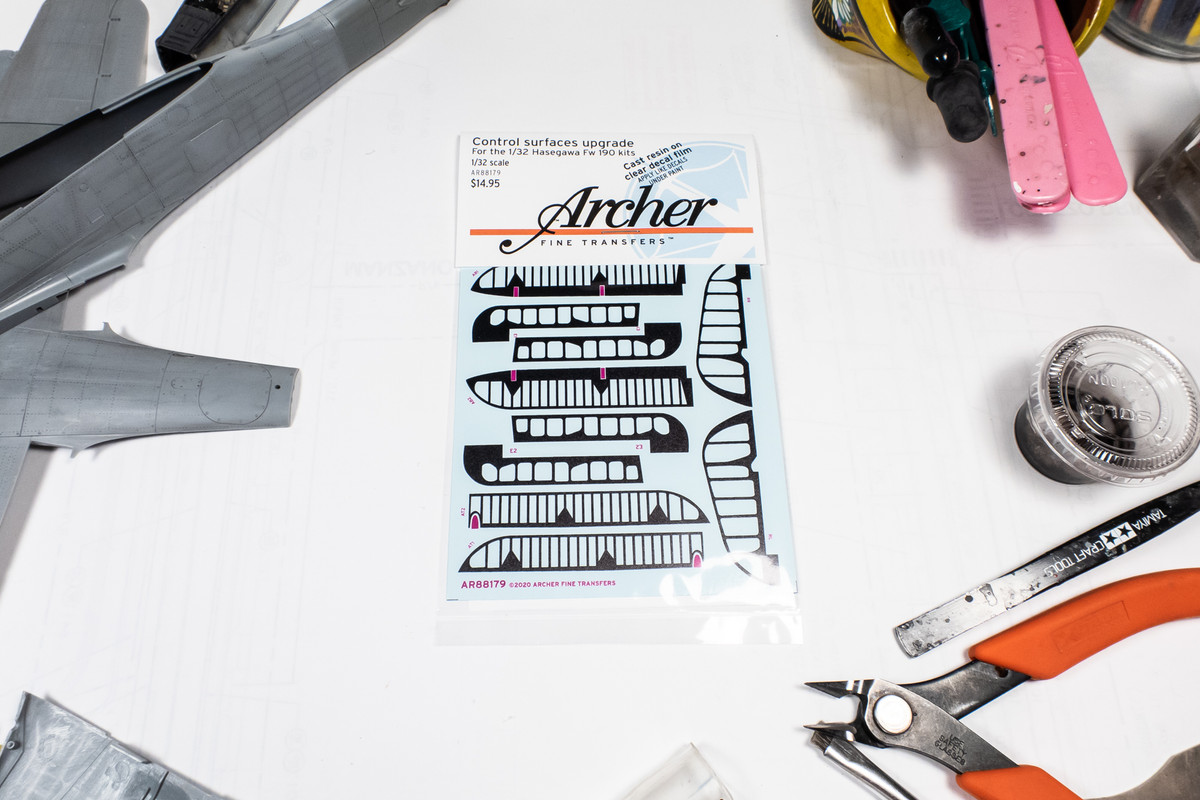
I got a surprise in the mail! Woody of Archer Fine Transfers was kind enough to send me a set of Fw190 Control Surface decals to try out. This is an improvement that I've not considered before but is meant to replace the simplified stitching detail on the kit part. The resin pattern on decal film creates a subtle raised detail of a fabric-covered control surface.
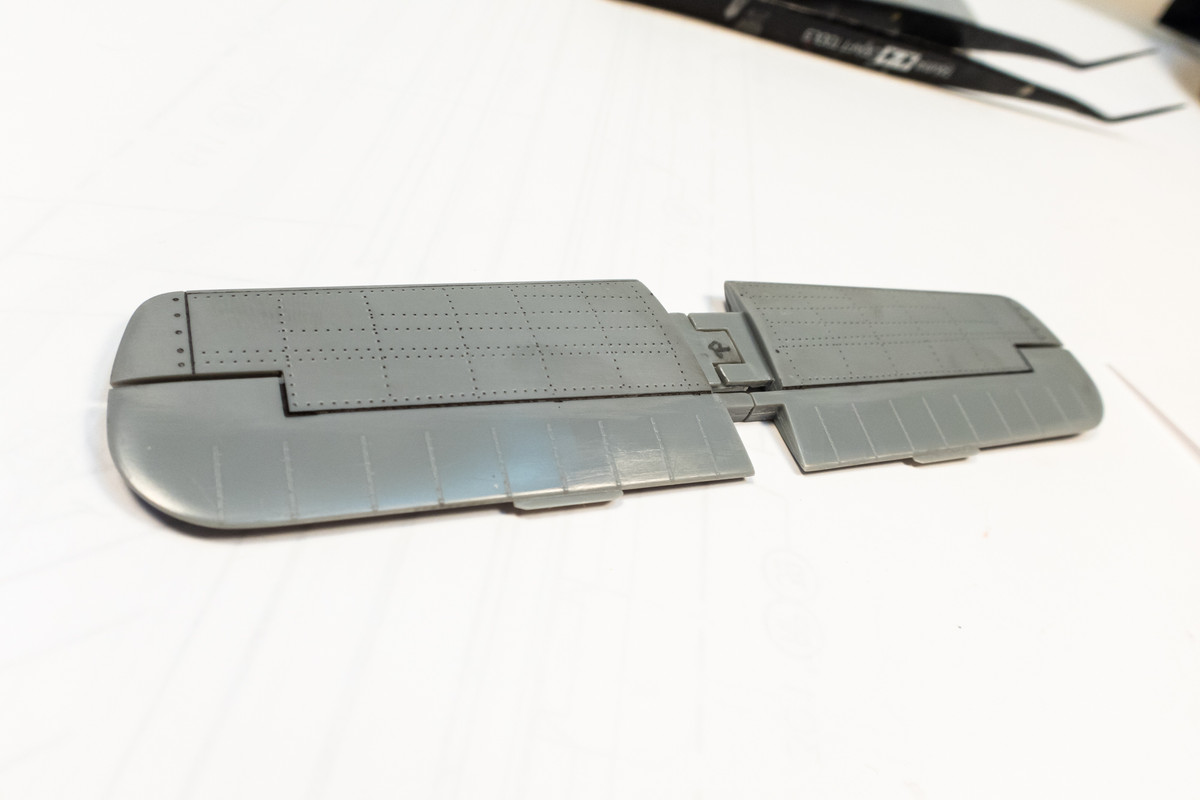
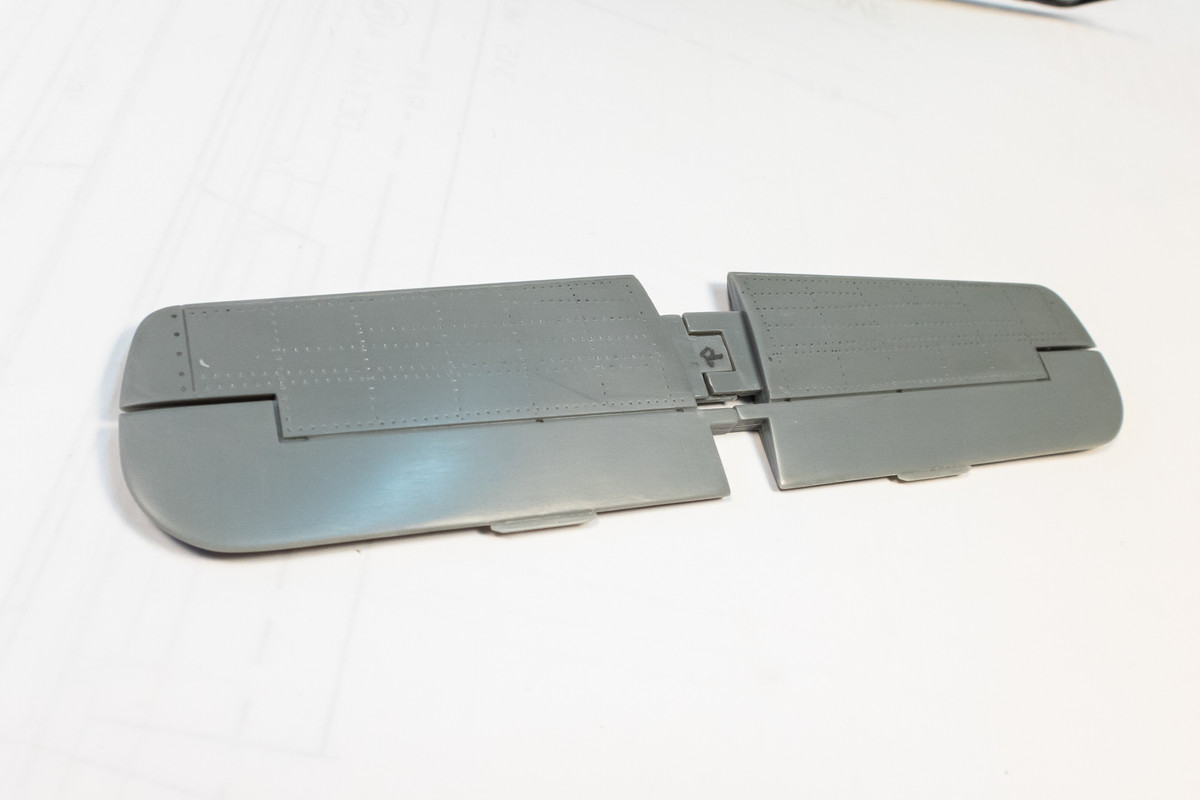
First step is to remove the raised detail on the kit control surfaces. I'm starting off with the horizontal stabilizers.
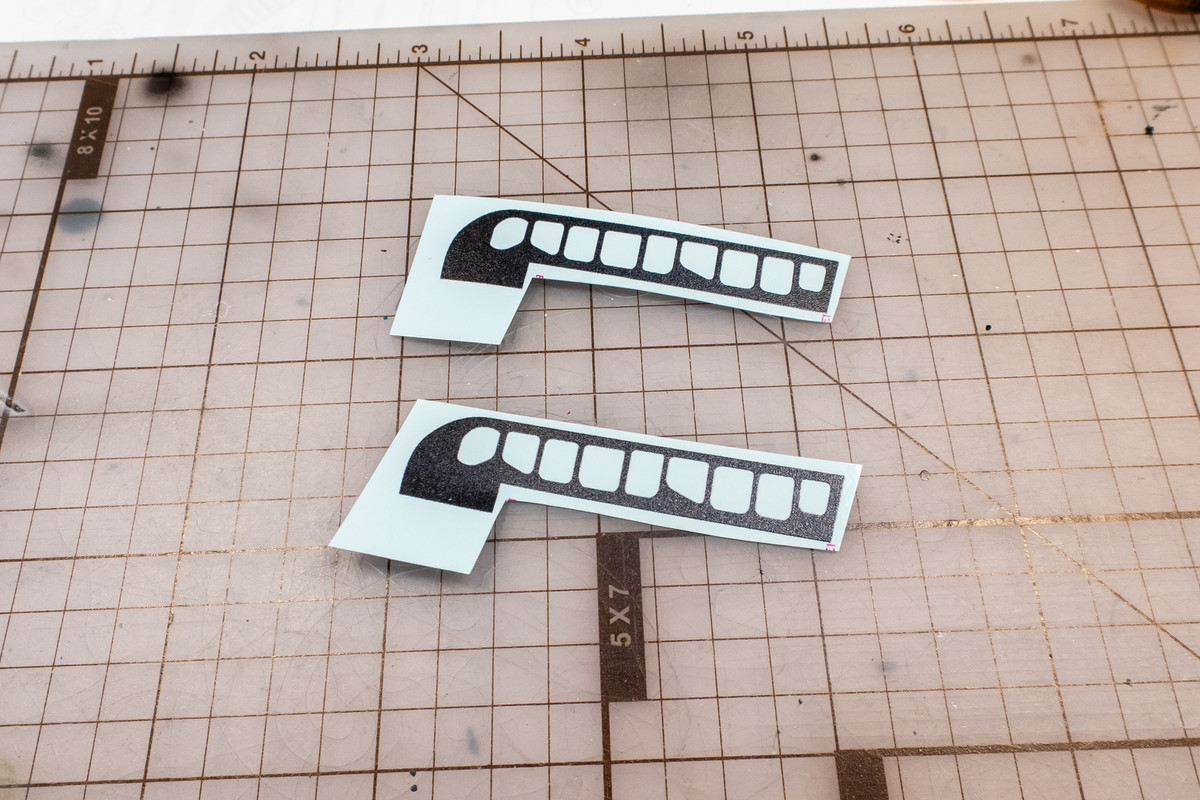
Since the decal film is continuous, each piece needs to cut and trimmed closely to eliminate excess film. I used a sharp x-acto blade to trace the outline of the control surface shape.
I did not use any setting solution underneath the decal but Woody suggests Mr Mark Setter for better adhesion if masking is planned. After the decal is placed, a soft brush is used to gently remove any excess water or bubbles from underneath the decal. Micro Sol was applied as a final step.
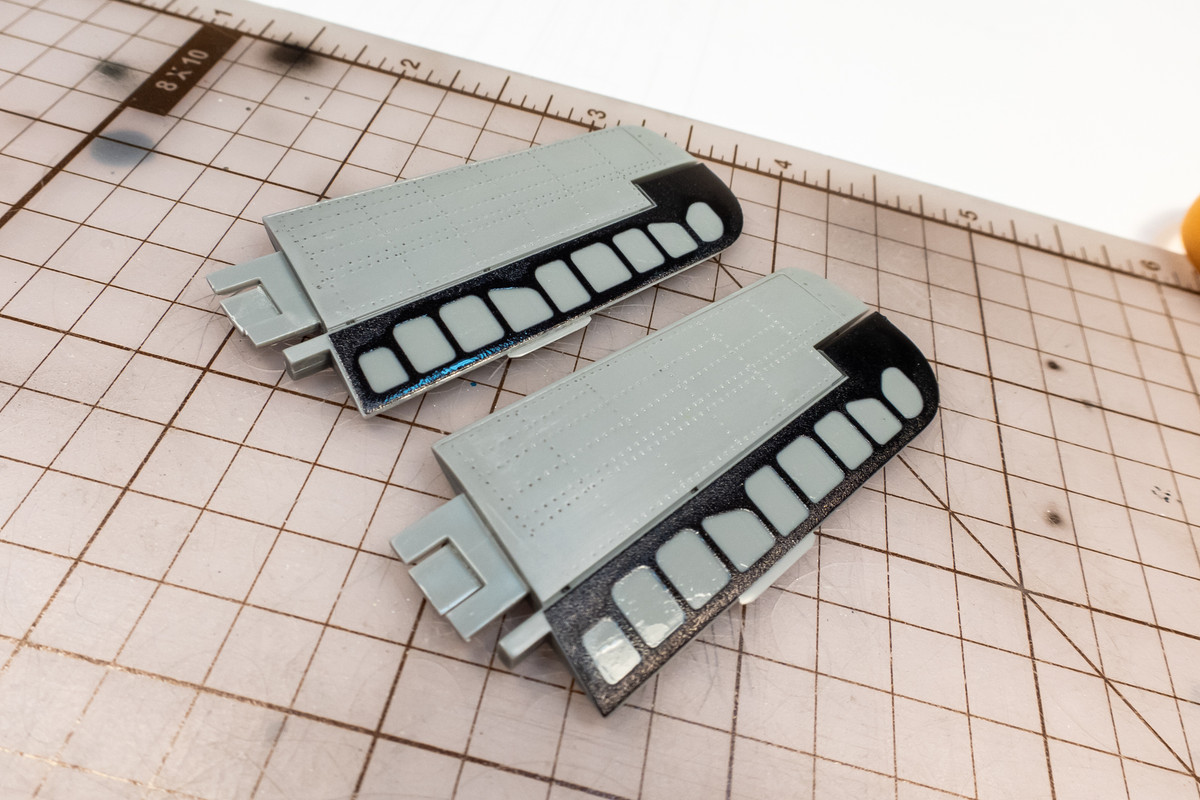
I will seal the work with a primer after these dry thoroughly.

The rudder on the Ta152H tail seems to be ever so slightly different than the normal Fw190 rudder but appears close enough for the decal to work. I'm going to save that for last as I get used to working with this material.
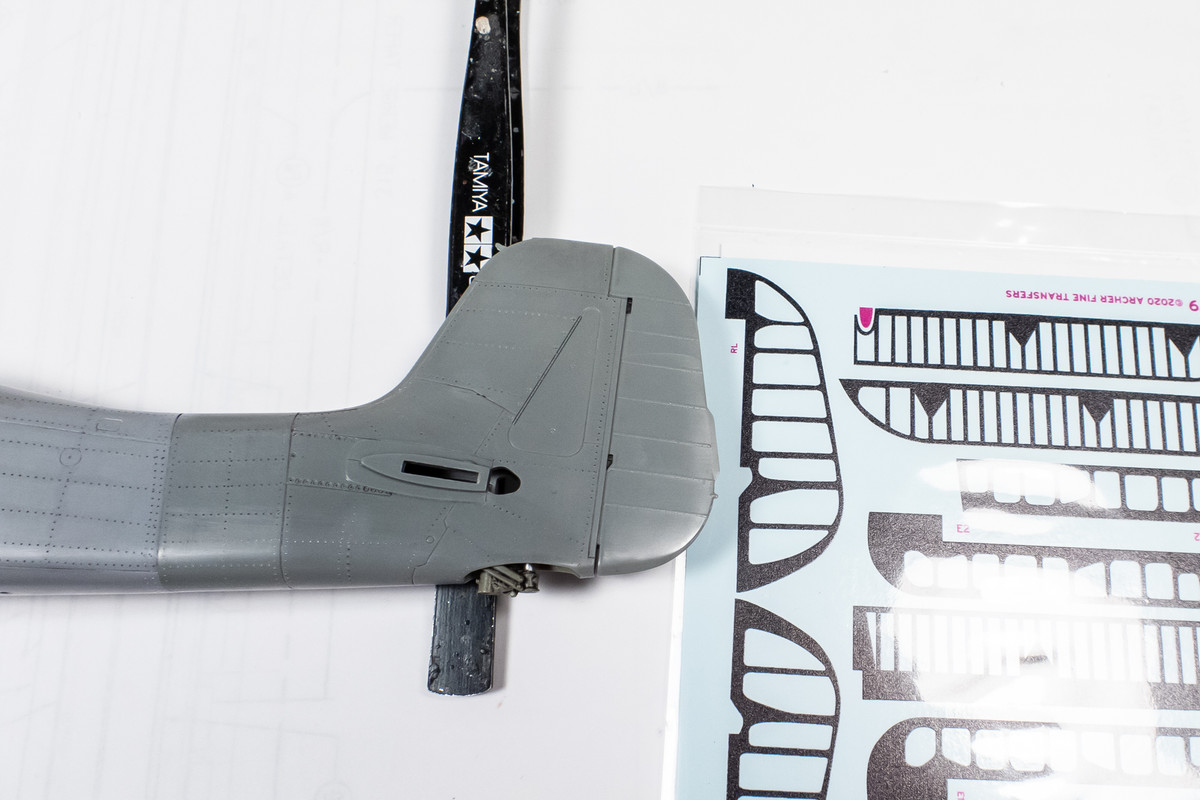
I got a surprise in the mail! Woody of Archer Fine Transfers was kind enough to send me a set of Fw190 Control Surface decals to try out. This is an improvement that I've not considered before but is meant to replace the simplified stitching detail on the kit part. The resin pattern on decal film creates a subtle raised detail of a fabric-covered control surface.
First step is to remove the raised detail on the kit control surfaces. I'm starting off with the horizontal stabilizers.
Since the decal film is continuous, each piece needs to cut and trimmed closely to eliminate excess film. I used a sharp x-acto blade to trace the outline of the control surface shape.
I did not use any setting solution underneath the decal but Woody suggests Mr Mark Setter for better adhesion if masking is planned. After the decal is placed, a soft brush is used to gently remove any excess water or bubbles from underneath the decal. Micro Sol was applied as a final step.
I will seal the work with a primer after these dry thoroughly.
The rudder on the Ta152H tail seems to be ever so slightly different than the normal Fw190 rudder but appears close enough for the decal to work. I'm going to save that for last as I get used to working with this material.
Last edited by jkim on Fri Jul 29, 2022 8:38 pm, edited 1 time in total.
John aka JKim
-----------<><

-----------<><
Re: Hasegawa 1/32 Fw 190D-9 Brown 4
Well, that is certainly new. Very interesting.
To make each build less crappy than the last one. Or, put another way, "Better than the last one, not as good as the next one!"..
-
BlackSheep214

- Elite Member
- Posts: 13598
- Joined: Sun Apr 06, 2014 8:47 pm
Re: Hasegawa 1/32 Fw 190D-9 Brown 4

“Who controls the skies, controls the fate of this Earth”
Author unknown- 352nd Fighter Group, Blue-Nosed Bastards of Bodney
“Send one plane it’s a sortie; send two planes it’s a flight; send four planes it’s a test of airpower. - Richard Kohn
Author unknown- 352nd Fighter Group, Blue-Nosed Bastards of Bodney
“Send one plane it’s a sortie; send two planes it’s a flight; send four planes it’s a test of airpower. - Richard Kohn
-
mustang1989

- Moderator
- Posts: 5044
- Joined: Tue Mar 18, 2014 8:35 pm
Re: Hasegawa 1/32 Fw 190D-9 Brown 4
I’m assuming they make this in 1/48 scale too. I’ll definitely be trying this out on my next aircraft build.
-
tempestjohnny

- Elite Member
- Posts: 3826
- Joined: Sat Oct 15, 2016 4:51 am
- Location: Naples. FL
Re: Hasegawa 1/32 Fw 190D-9 Brown 4
mustang1989 wrote:I’m assuming they make this in 1/48 scale too. I’ll definitely be trying this out on my next aircraft build.

-
mustang1989
- Moderator
- Posts: 5044
- Joined: Tue Mar 18, 2014 8:35 pm
Re: Hasegawa 1/32 Fw 190D-9 Brown 4
Lol. Aww cmon Johnny! I’ll get around to another one.
Re: Hasegawa 1/32 Fw 190D-9 Brown 4
Yeah. Right. “I’ll build a airplane.”, he said....

To make each build less crappy than the last one. Or, put another way, "Better than the last one, not as good as the next one!"..
Re: Hasegawa 1/32 Fw 190D-9 Brown 4
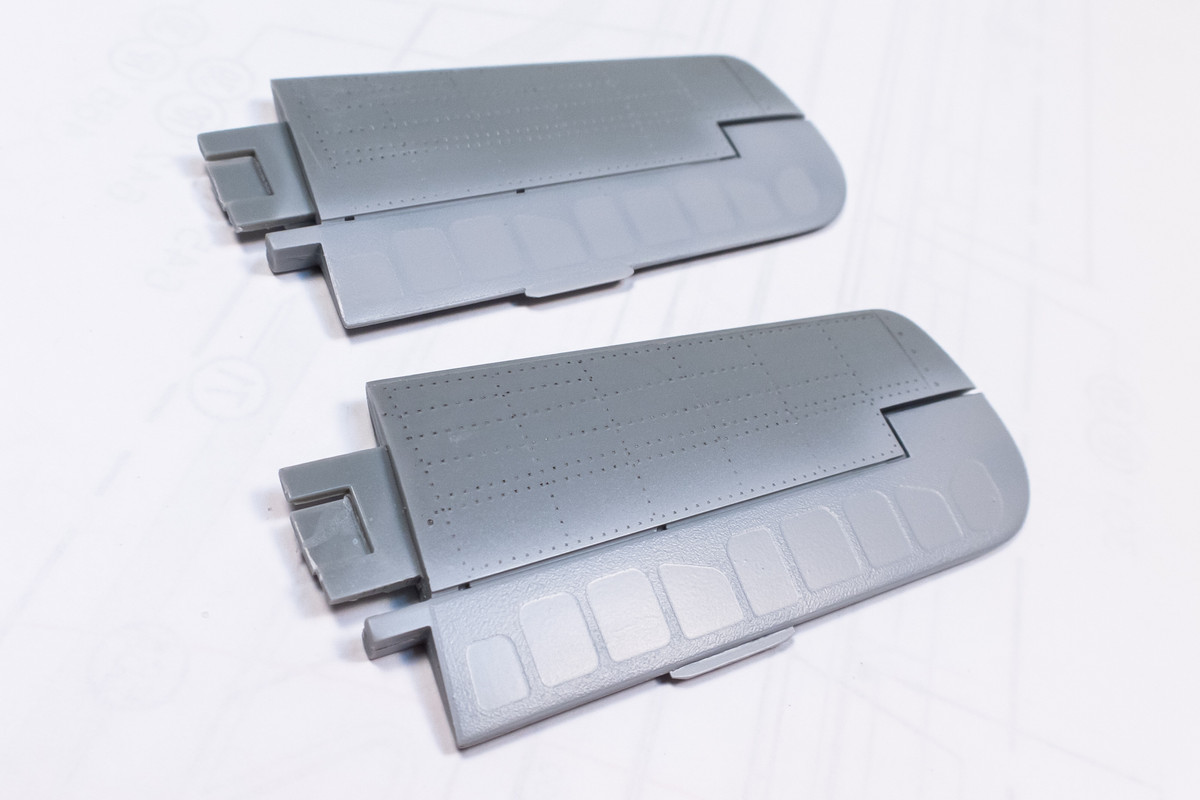
Thanks guys! I've made some progress on this build that I'd like to share. First of all, here is the first set of Archer control surface decals under a coat of primer. It's a pretty subtle effect and I have to take care not to cover it with too much paint.
I'm jumping over to the fuselage now and will be attaching the Eagle Editions resin cockpit.
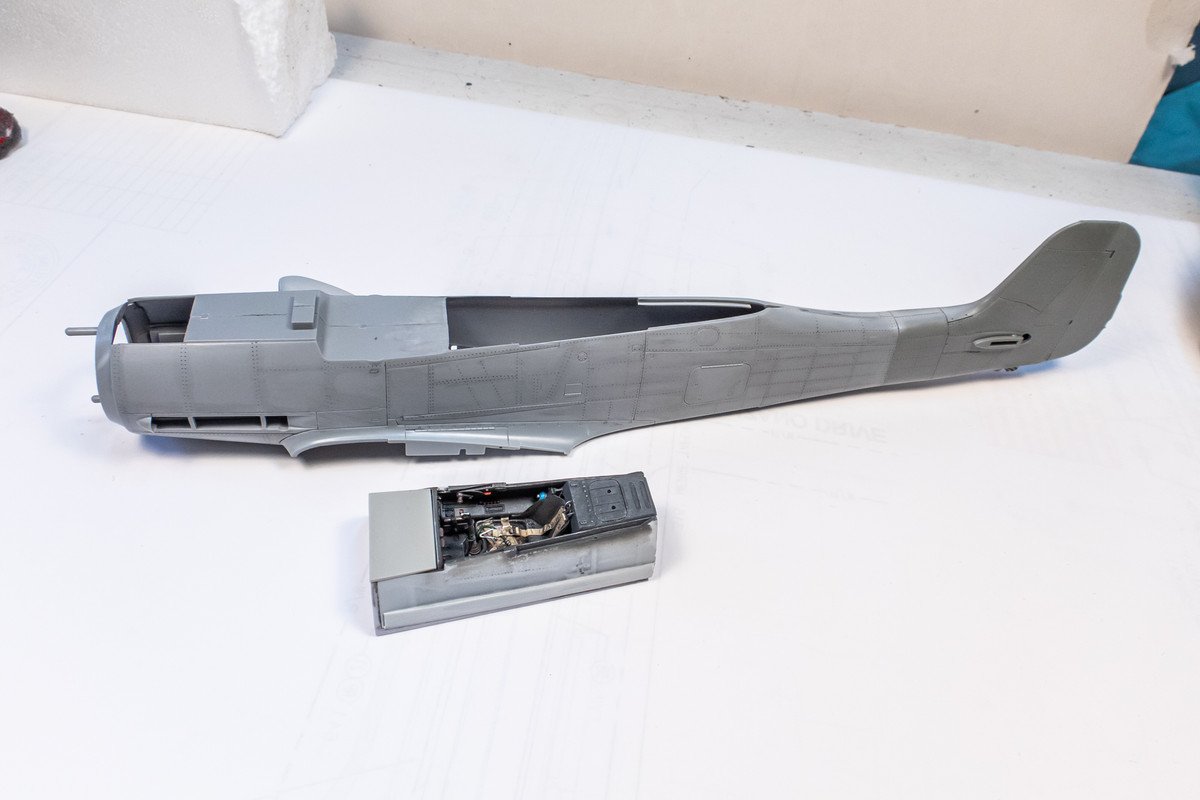
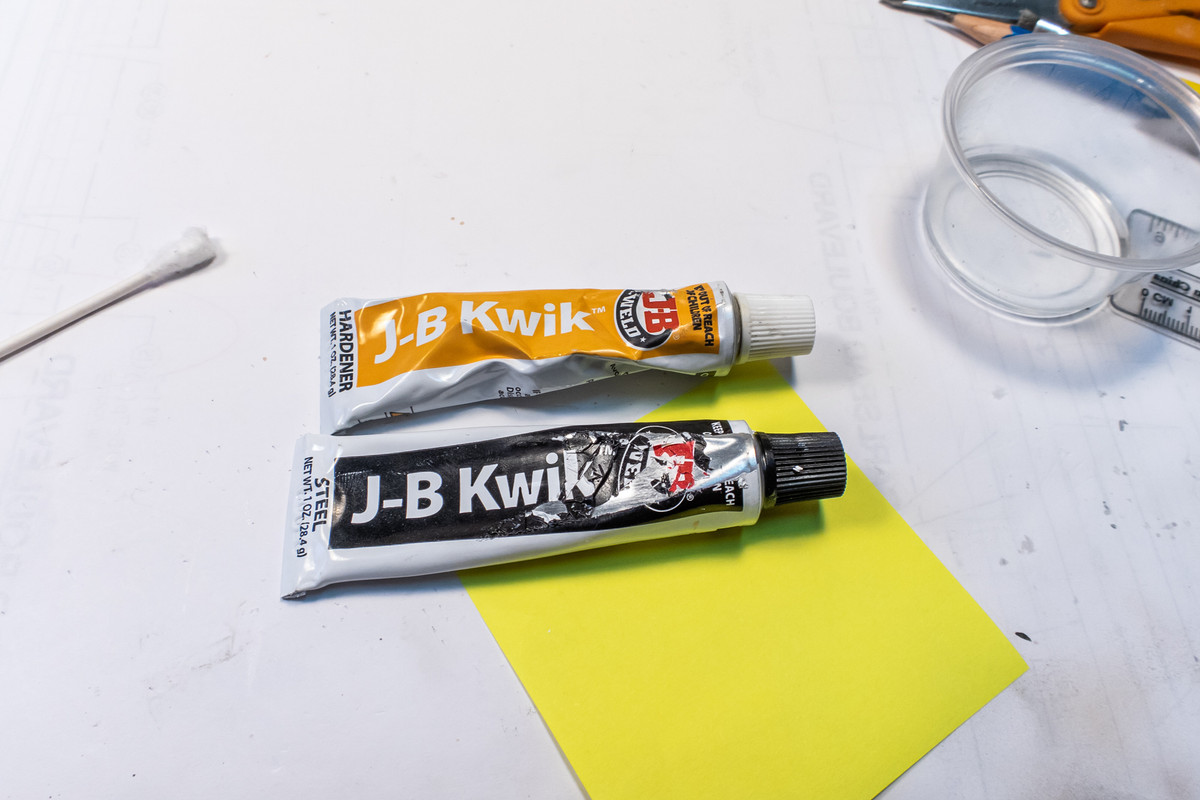
The cockpit tub slides into place from the opening in the fuselage bottom. Since the contact surfaces are inaccessible, I like to use a two-part epoxy, which is nice and thick and will give me about five minutes to set the position of the cockpit correctly before the epoxy starts to harden.
The front edge of the cockpit butts up against the engine bulkhead, which gives solid reference point in the attachment.
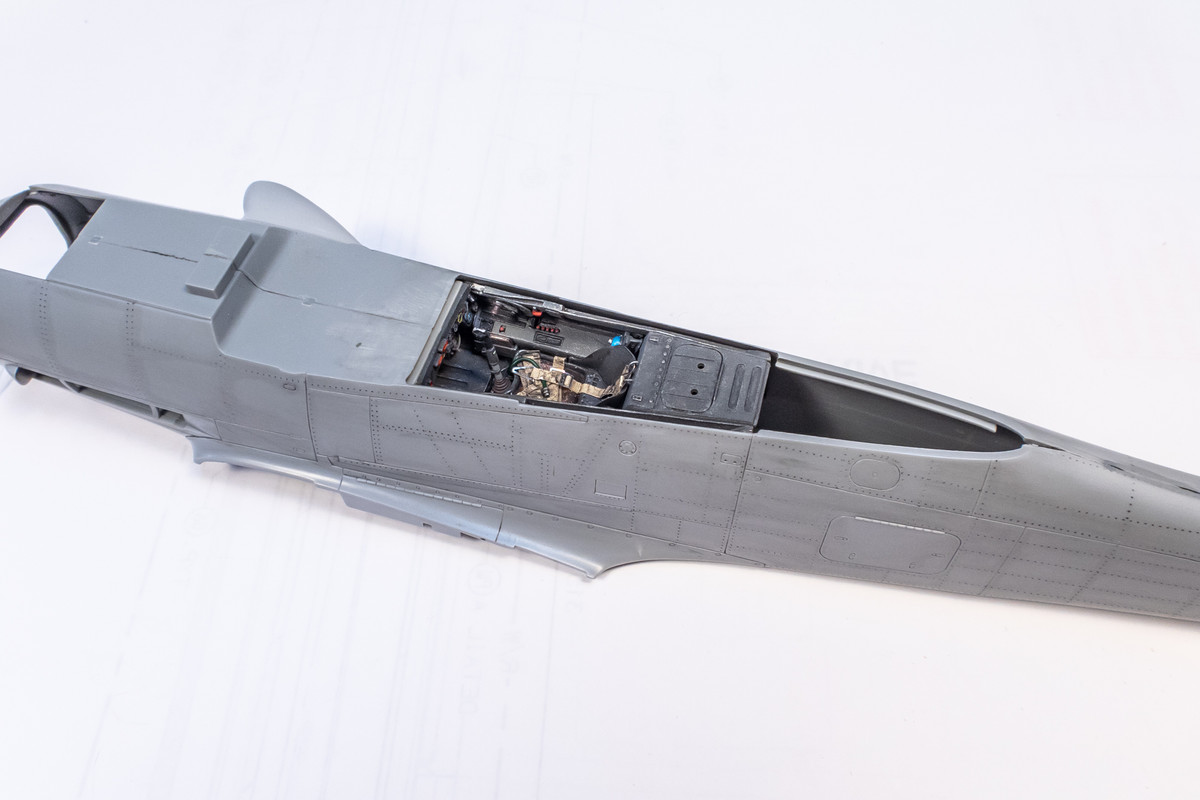
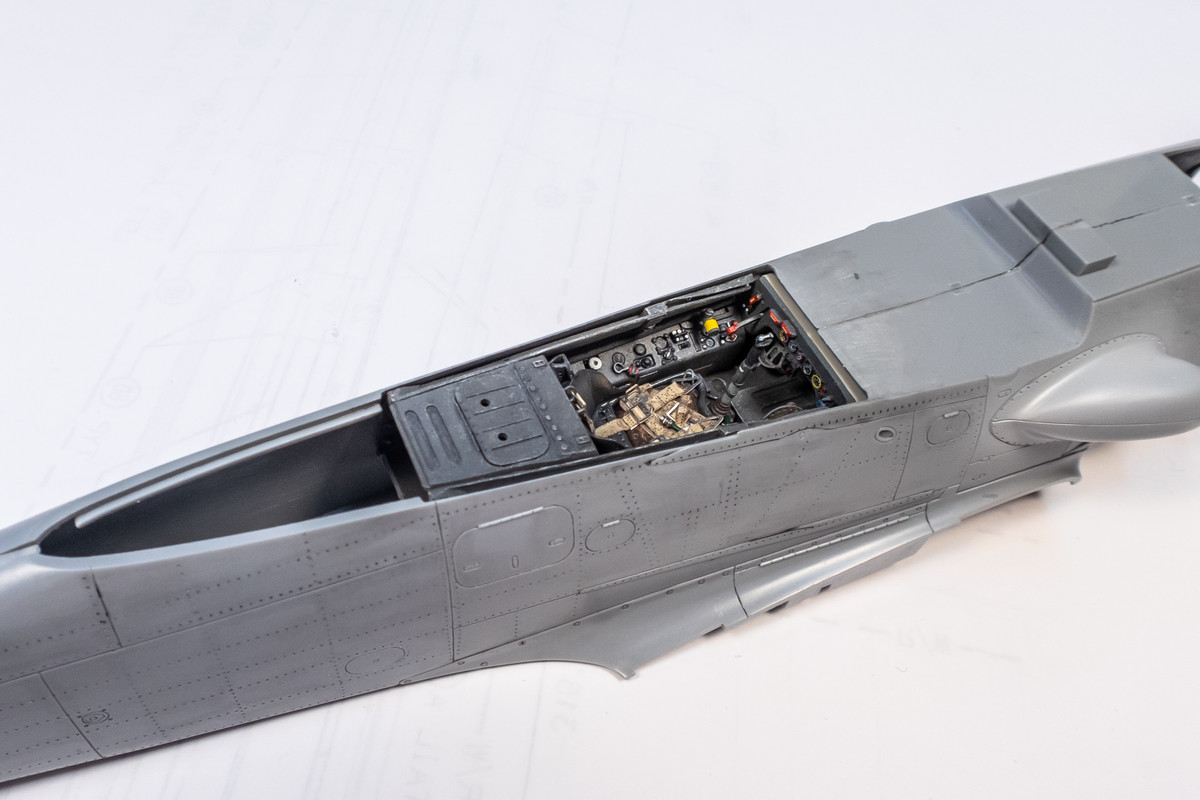
Instead of the thin brass part that the Eagle Editions cockpit set provides, I like to use the rear deck, cut from the kit part as the fit is more positive.
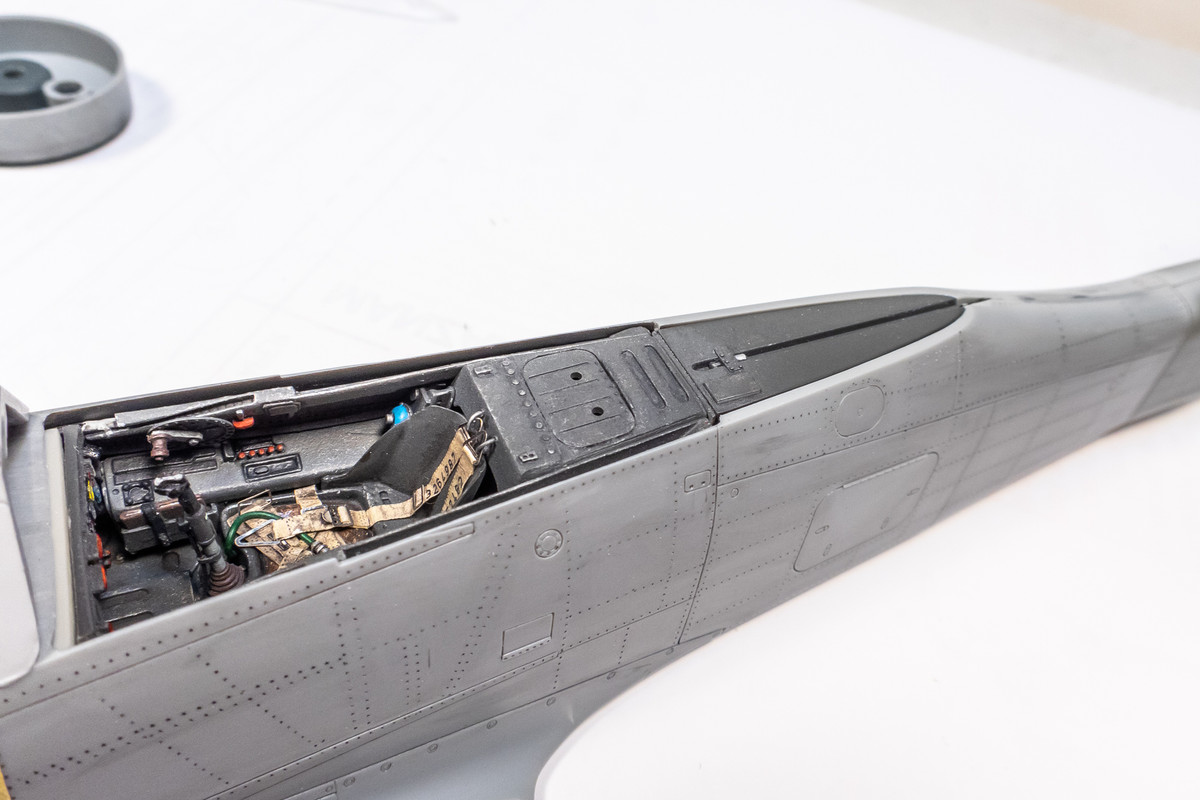
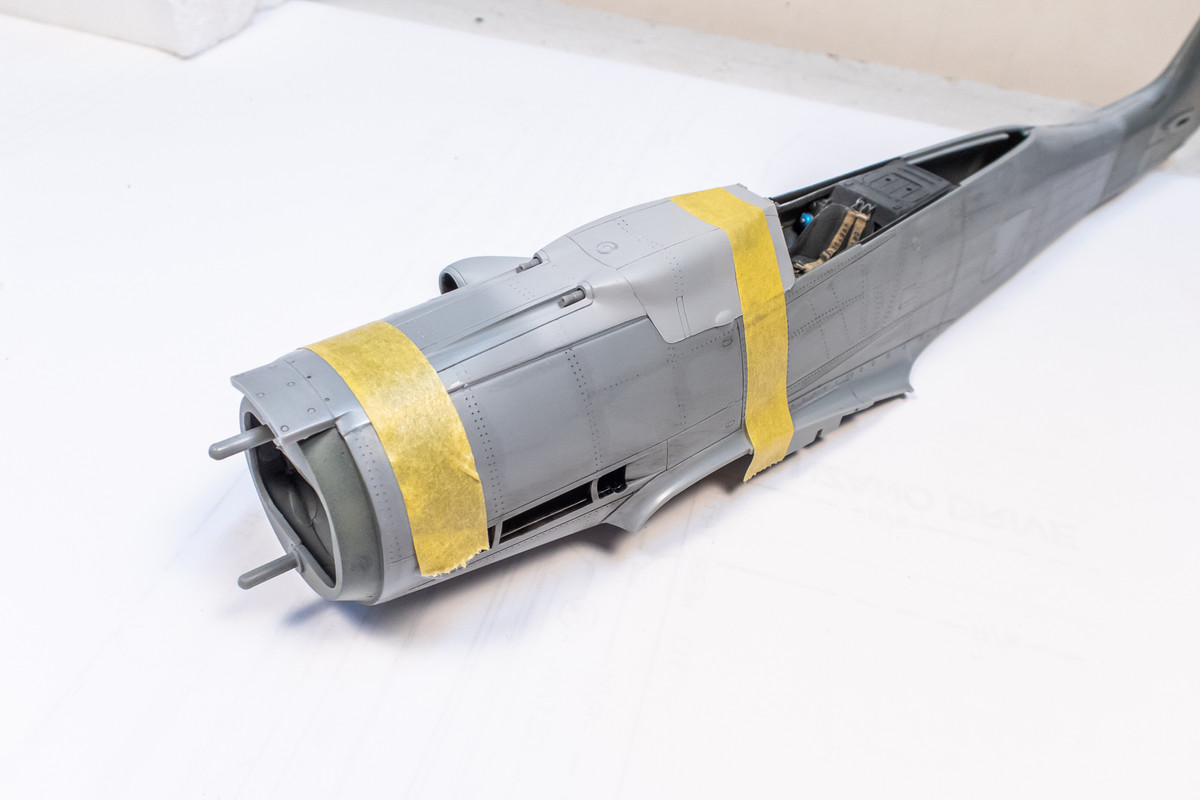
Now that the cockpit is glued into place, I will now start attaching the front cowling pieces. Before I do that, I've prepainted the interior ring on the fuselage front in RLM02. The exhaust recesses have also been painted black.
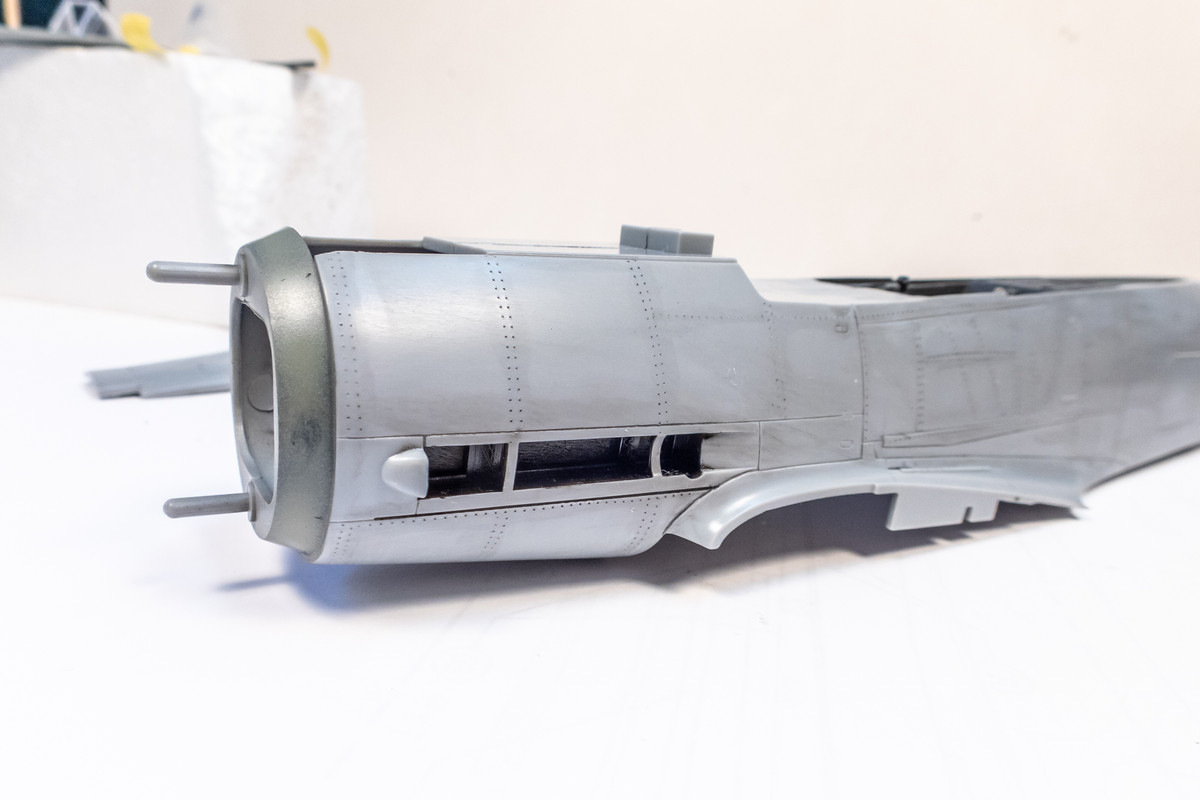
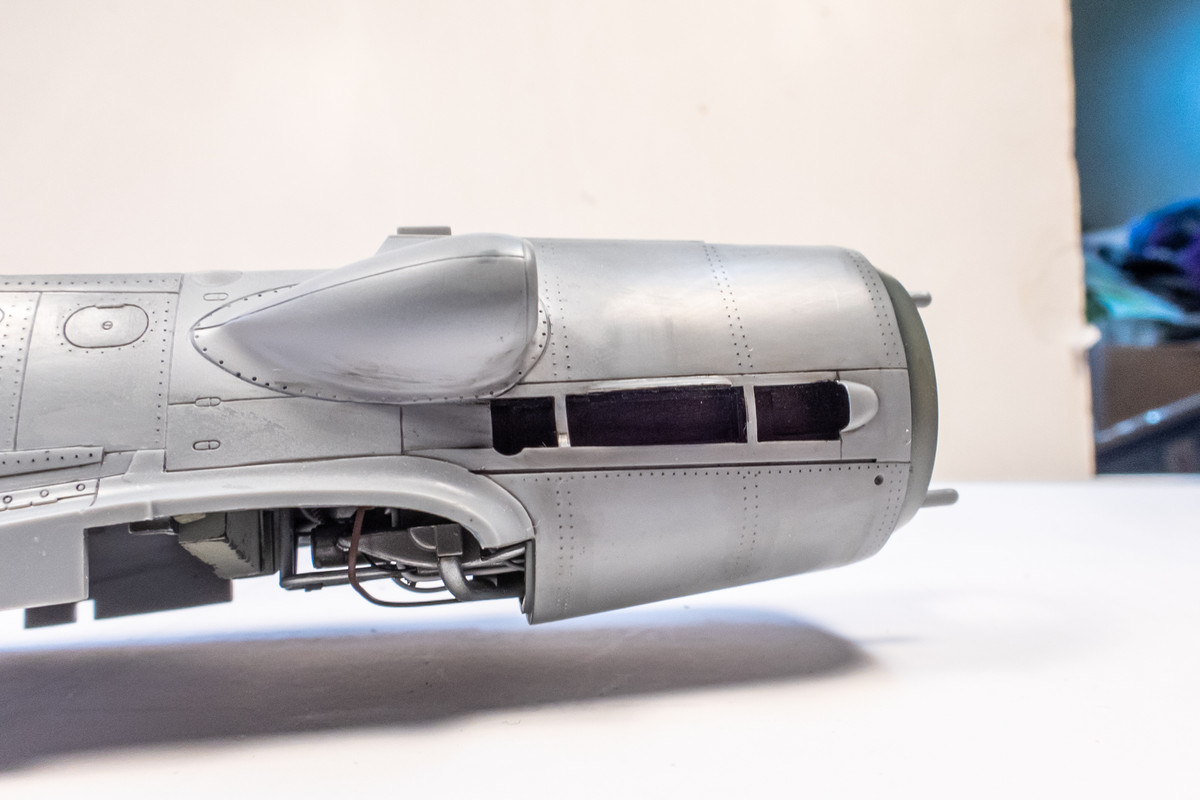
The gun barrels above the engine are glued into place. I'm using the kit parts here with the ends hollowed out. When mounted, they are standing proud of the surrounding gun troughs so they'll be easy to paint afterwards.
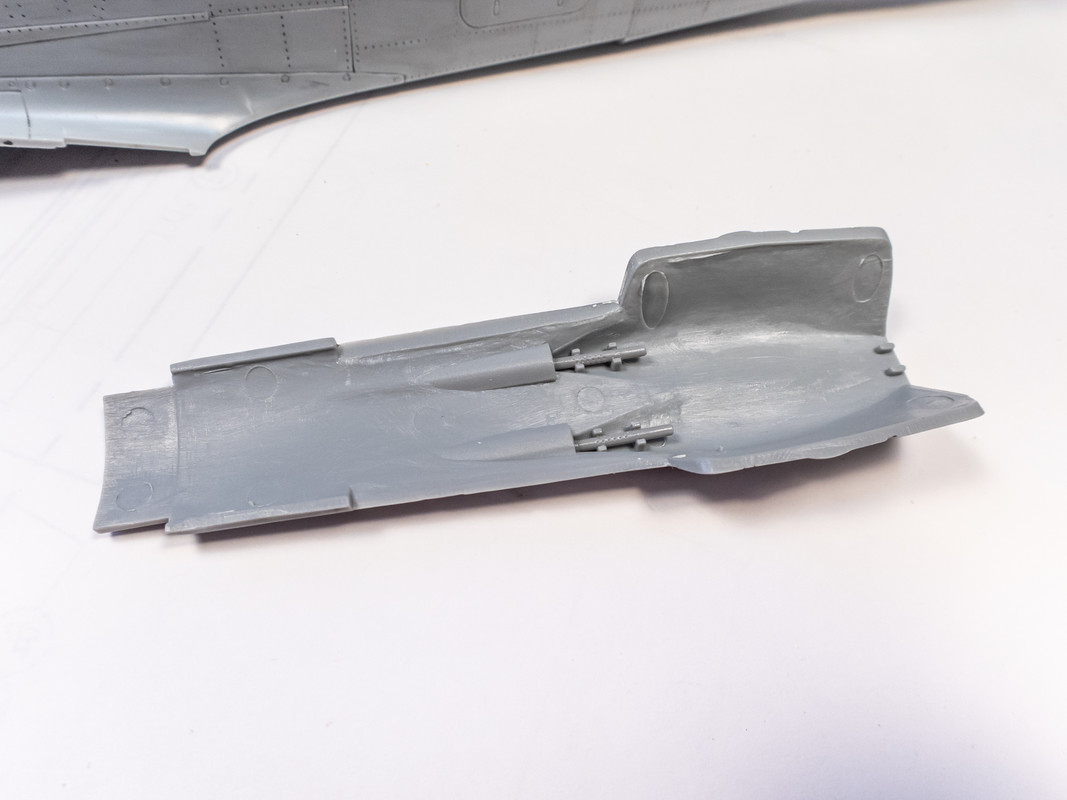
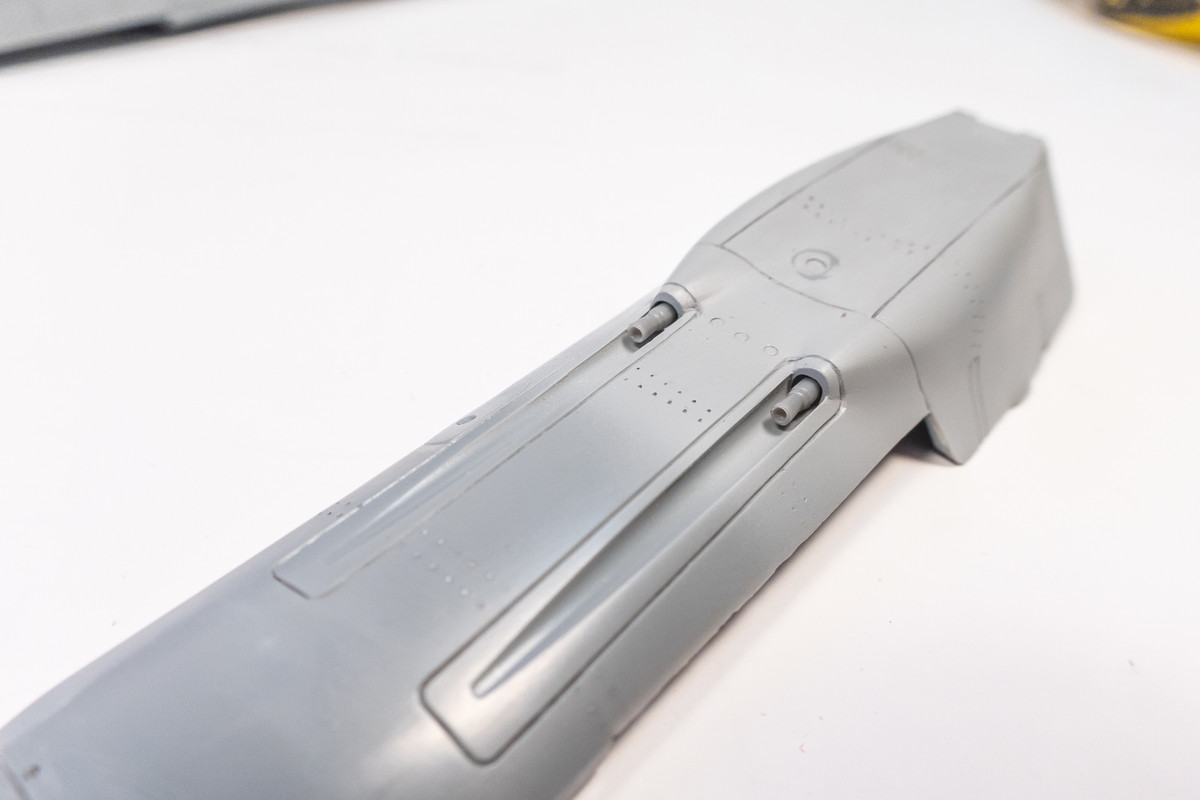
The gun cowling is now glued into place using Tamiya Extra Thin cement. Fit is excellent here.
The radiator flaps are glued in next. Remember that the actuating rods were installed and interior of the flaps painted earlier.
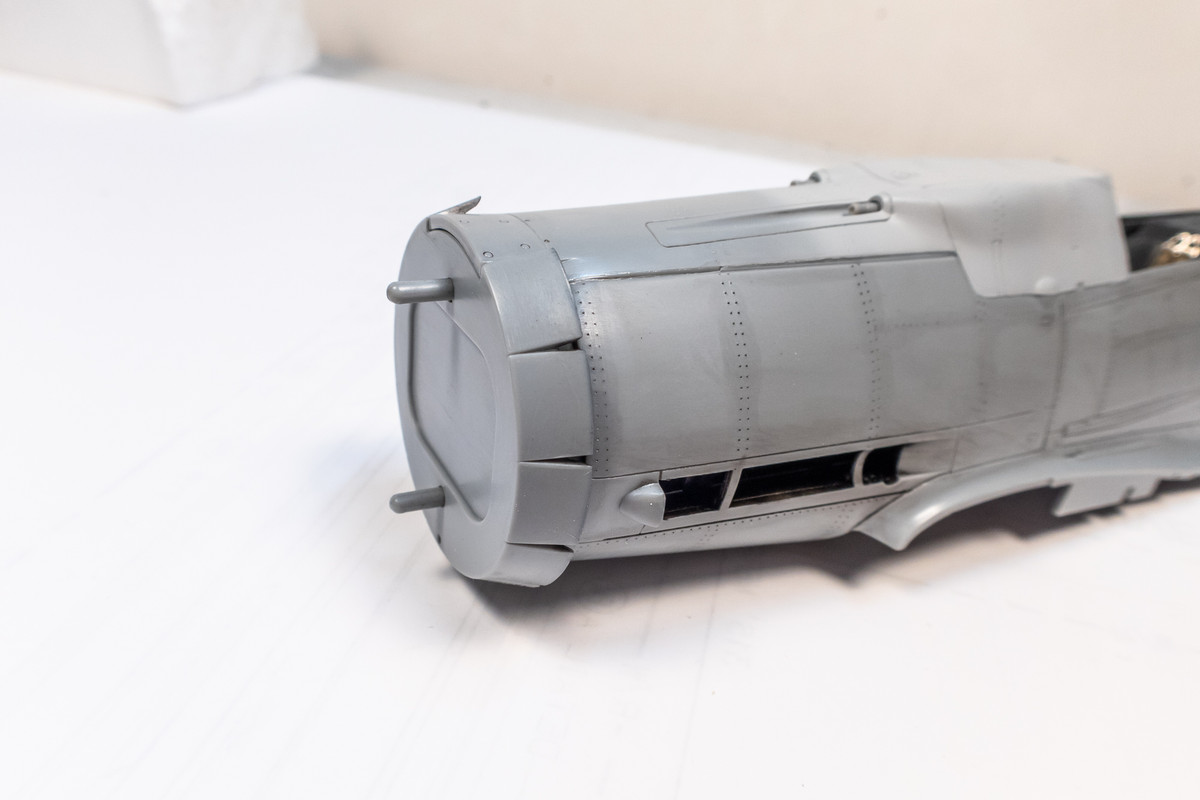
The radiator face is glued onto the cowling flaps.
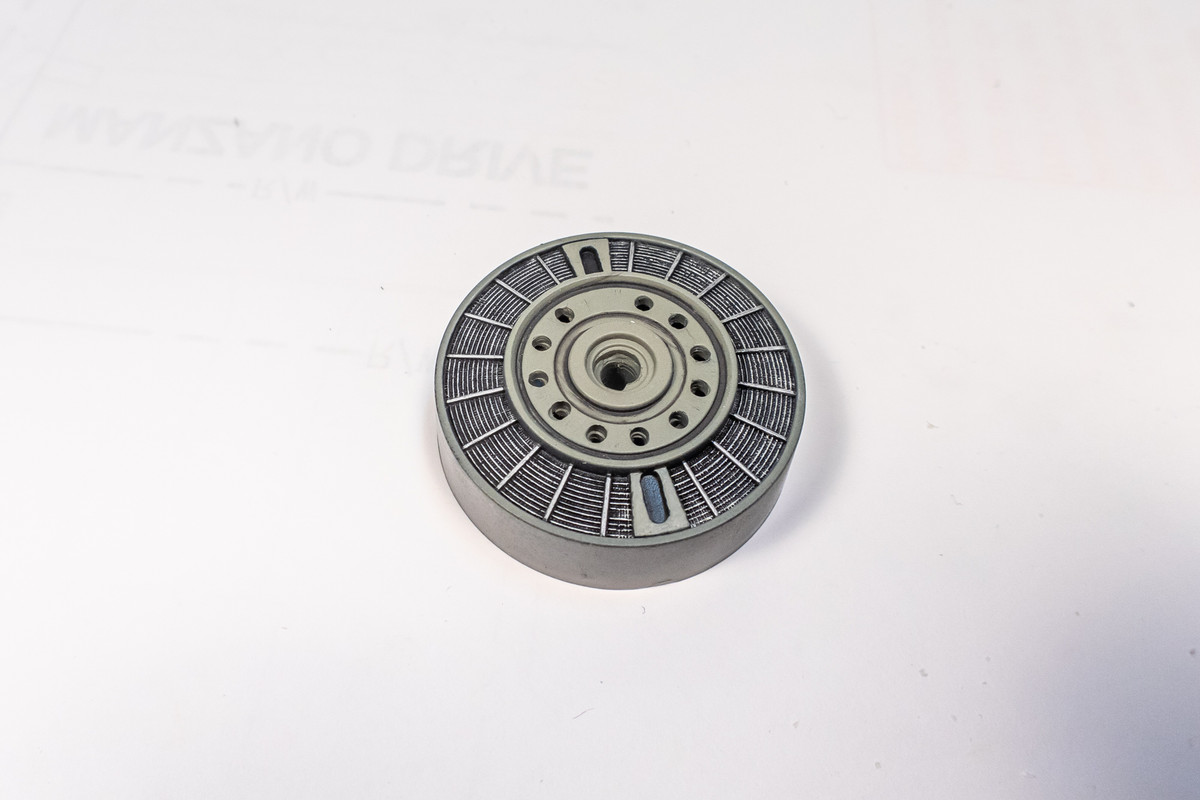
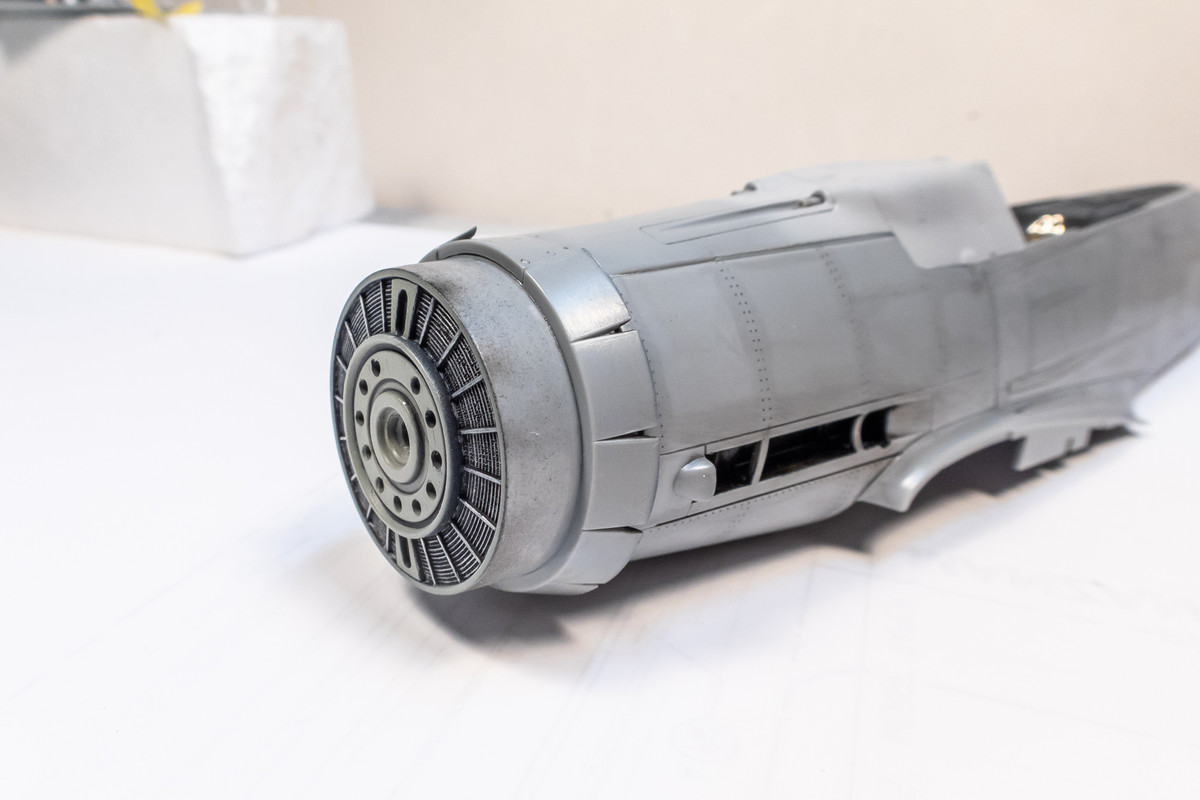
One thing that's always puzzled me is why Hasegawa chose to have this attachment via vinyl poly caps as if this part were meant to be removable. I see no reason to detach the radiator cowling??? Also visible in the photo is the black mounting block for the Henri Daehne prop shaft that I mentioned previously.
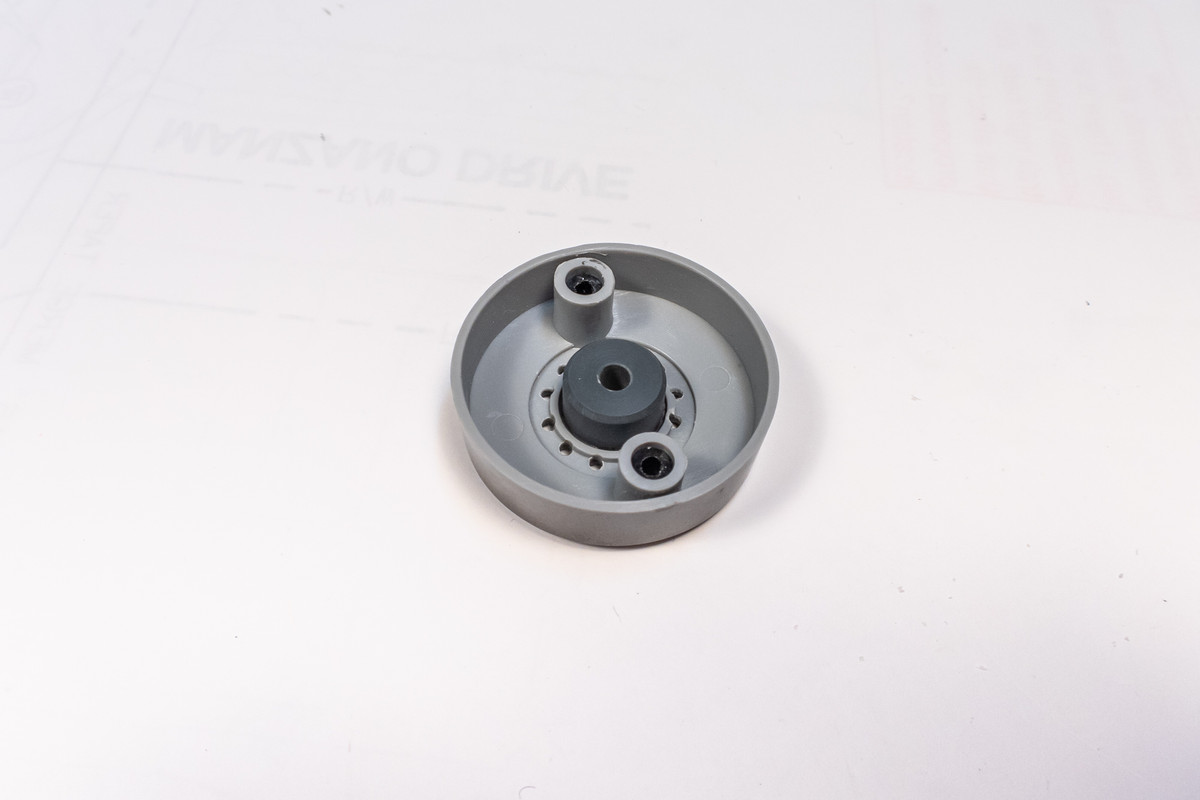
Since the radiator face butts up directly against the cowling flap part, I've run a bead of Tamiya Extra Thin cement around the circumference to permanently attach the radiator face.
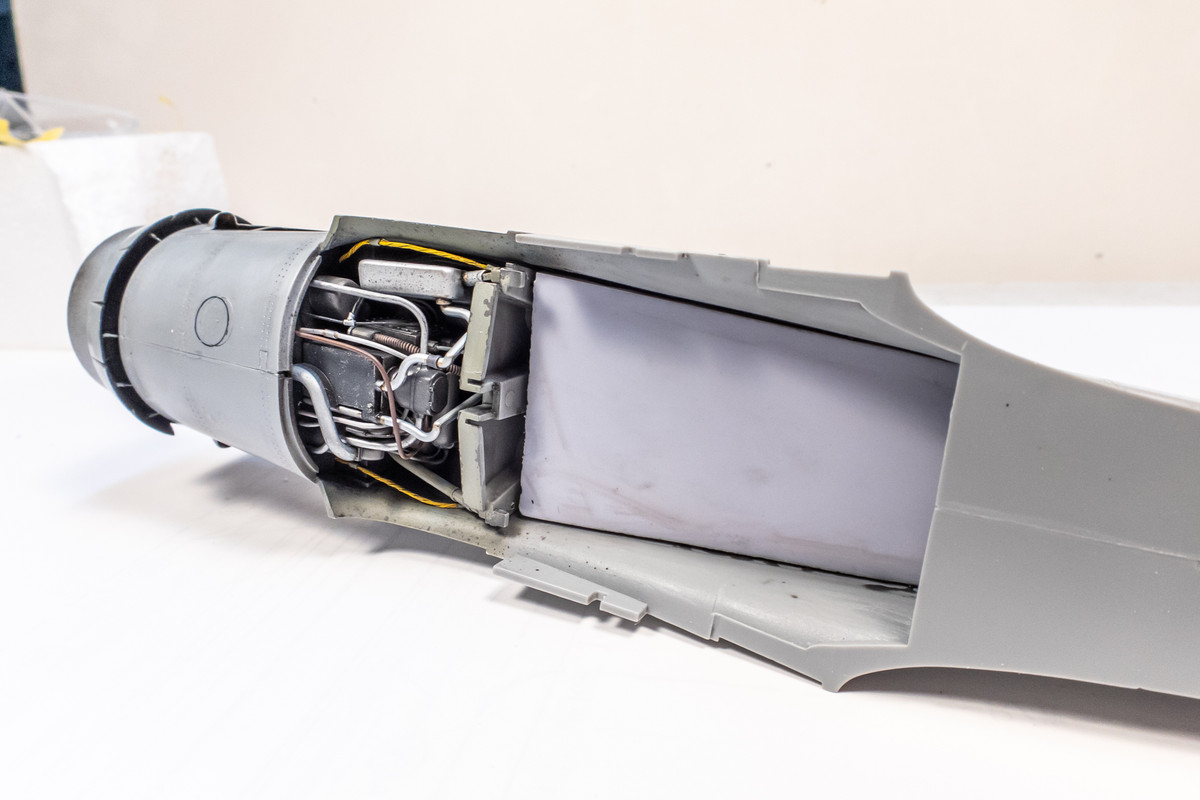
Here's a peak from underneath showing the installed Eagle Editions cockpit tub.
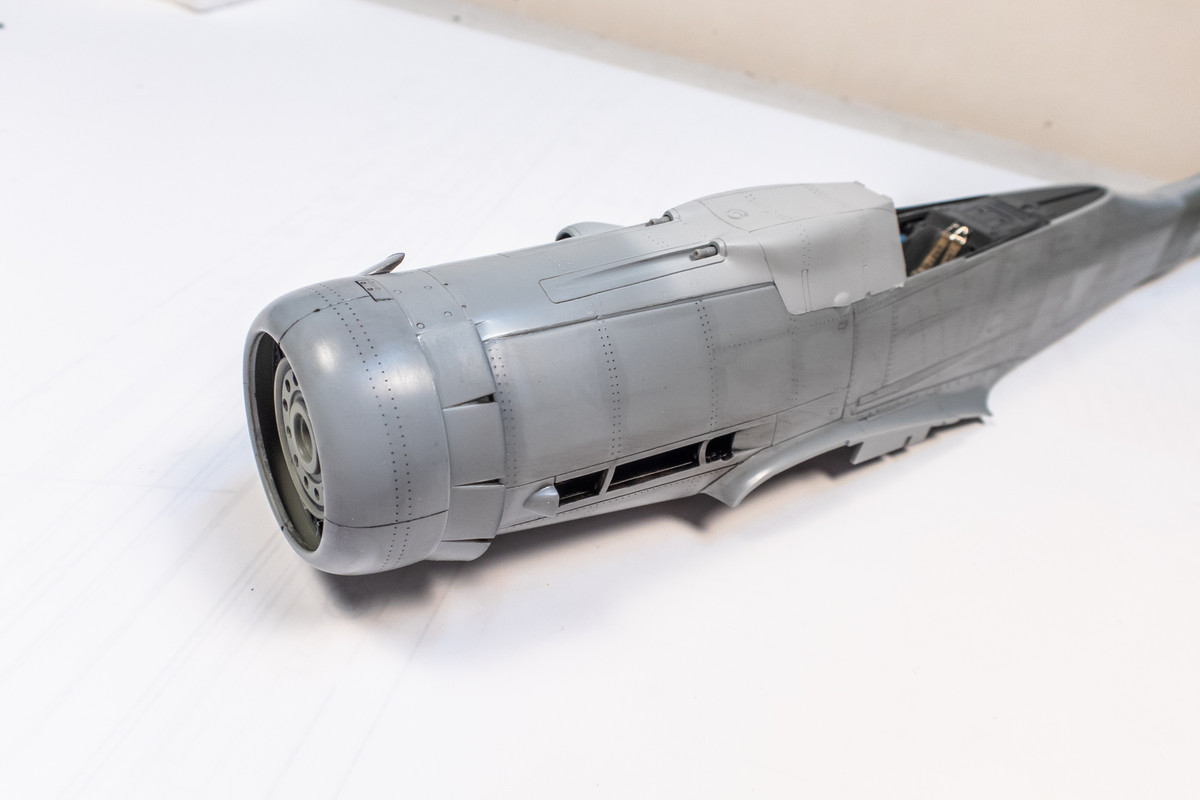
The radiator cowling is glued into place, finishing off the front end. As you recall, one of the first things I did on this build was to re-shape this part.
A bit more to come...
I'm jumping over to the fuselage now and will be attaching the Eagle Editions resin cockpit.
The cockpit tub slides into place from the opening in the fuselage bottom. Since the contact surfaces are inaccessible, I like to use a two-part epoxy, which is nice and thick and will give me about five minutes to set the position of the cockpit correctly before the epoxy starts to harden.
The front edge of the cockpit butts up against the engine bulkhead, which gives solid reference point in the attachment.
Instead of the thin brass part that the Eagle Editions cockpit set provides, I like to use the rear deck, cut from the kit part as the fit is more positive.
Now that the cockpit is glued into place, I will now start attaching the front cowling pieces. Before I do that, I've prepainted the interior ring on the fuselage front in RLM02. The exhaust recesses have also been painted black.
The gun barrels above the engine are glued into place. I'm using the kit parts here with the ends hollowed out. When mounted, they are standing proud of the surrounding gun troughs so they'll be easy to paint afterwards.
The gun cowling is now glued into place using Tamiya Extra Thin cement. Fit is excellent here.
The radiator flaps are glued in next. Remember that the actuating rods were installed and interior of the flaps painted earlier.
The radiator face is glued onto the cowling flaps.
One thing that's always puzzled me is why Hasegawa chose to have this attachment via vinyl poly caps as if this part were meant to be removable. I see no reason to detach the radiator cowling??? Also visible in the photo is the black mounting block for the Henri Daehne prop shaft that I mentioned previously.
Since the radiator face butts up directly against the cowling flap part, I've run a bead of Tamiya Extra Thin cement around the circumference to permanently attach the radiator face.
Here's a peak from underneath showing the installed Eagle Editions cockpit tub.
The radiator cowling is glued into place, finishing off the front end. As you recall, one of the first things I did on this build was to re-shape this part.
A bit more to come...
John aka JKim
-----------<><
-----------<><