Interior details before closing her up:


All kinds of room on the fuselage underside, so I ignored the suggested assembly sequence, got the fuselage halves mated up & cleaned up, then dropped the cockpit and instrument panel in from underneath. (that much less opportunity for sanding dust etc to get inside the office!) Dry-fit the glass, all seems good there.

So… how small are these 1/72 kits?? Italian coinage for scale! At least Bsyamato will be able to tell...


Cockpit in place & sealed up. As good as the detail is, there is likely room for more detail to be added. That being said, the cockpit opening is NOT all that big, and the sidewalls bulge out, hard to see much in there.

Tiniest of steps at the rear fuselage-to-wing join, will need a little putty.

Everything dry-fit really well so I assembled the wings, then added the assembled fuselage. Seemed a little tight, so I sanded out the fuselage portion a touch, changed the arc to better fit the join at the wing.

A little touchup to the rear control surfaces & I'll be ready for primer.

I am a riddle, wrapped in a mystery, inside an enigma, smothered in Canadian bacon.


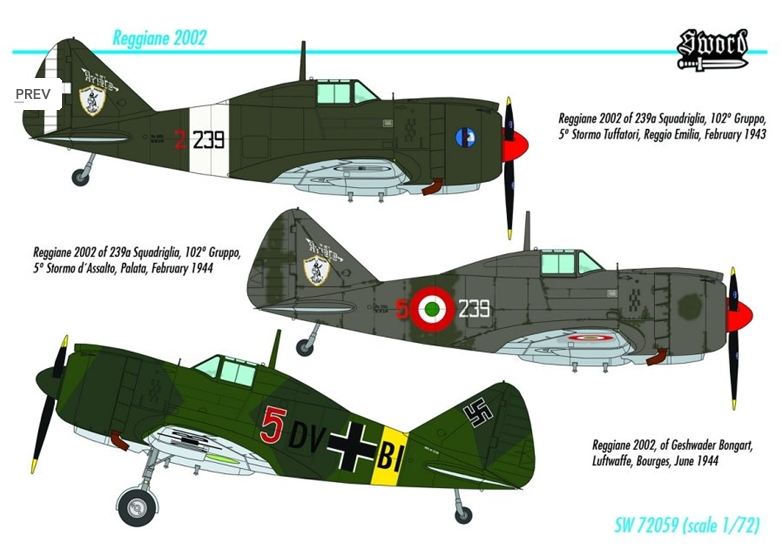


 Whodda thunk it, a short-run kit from the Czech Republic would have been IDEAL for a weekend run.

 Yeah, sure, why not?


 Yeah, it was in the spares, no loss, I was just hoping it was close enough. DOHH!! Anyway, I'll keep looking around. Still need to find a good clear pic of one of these bombed-up, they seemed to photograph them clean a great deal?

 easily it was in light grey