Monogram De Havilland Mosquito FB VI-Silver wings!

Re: Monogram De Havilland Mosquito FB VI
X2 on the recommendations for lacquer-based acrylics such as Tamiya (X, XF series), Mr Hobby Aqueous (Gunze) and AK Real Colors. They come in similar bottles and also behave similarly. You can thin all of them with proprietary thinners or Mr Leveling Thinner, Tamiya Lacquer Thinner or even 90% iso alcohol. They work well with an airbrush but aren't the greatest for brush painting.
John aka JKim
-----------<><

-----------<><
-
Gary Brantley

- Elite Member
- Posts: 2771
- Joined: Tue Apr 08, 2014 9:40 pm
- Location: Cameron, Texas
Re: Monogram De Havilland Mosquito FB VI
Carlos and John, thanks for the additional information! I can't recall how I came to have my two AK colors, RAF dark green and Ocean grey; sounds like I had a Brit build in mind then.
I'm going to try the Vallejo underside color and then work on attaching the FB nose piece. I don't remember cutting off the bomber nose, but I sure did. I also have an original 1965 boxing of this kit and after starting this one, I almost reverted to that old kit's fuselage with its intact bomber nose. As far as I can tell, there isn't a seam line on the actual aircraft in that location. That's okay, it's not a great fit but can easily be filled and sanded smooth. And, then no rescribing!
If I just can't get along with the Vallejo acrylic, I will resort to something else, and might even scrap my original plan for an Israeli bird. I don't think I'll ever find the decals needed for that one, and if I go to the trouble to print some myself, those would be better off on a more modern Mossie kit anyway. I'm a bit worried about possible Vallejo adhesion issues; I plan to use Silly Putty or poster tac worms to outline the topside camo pattern.
Meanwhile..."onward, through the fog!"

I'm going to try the Vallejo underside color and then work on attaching the FB nose piece. I don't remember cutting off the bomber nose, but I sure did. I also have an original 1965 boxing of this kit and after starting this one, I almost reverted to that old kit's fuselage with its intact bomber nose. As far as I can tell, there isn't a seam line on the actual aircraft in that location. That's okay, it's not a great fit but can easily be filled and sanded smooth. And, then no rescribing!
If I just can't get along with the Vallejo acrylic, I will resort to something else, and might even scrap my original plan for an Israeli bird. I don't think I'll ever find the decals needed for that one, and if I go to the trouble to print some myself, those would be better off on a more modern Mossie kit anyway. I'm a bit worried about possible Vallejo adhesion issues; I plan to use Silly Putty or poster tac worms to outline the topside camo pattern.
Meanwhile..."onward, through the fog!"
-
Gary Brantley
- Elite Member
- Posts: 2771
- Joined: Tue Apr 08, 2014 9:40 pm
- Location: Cameron, Texas
Re: Monogram De Havilland Mosquito FB VI**Paint update
I loaded up the Paasche H this afternoon and gave those engine nacelles a coat of the finish paint. Man, I have to say that I was quite surprised with how well the Vallejo sprayed. The color used was not the ModelAir line, but I thinned it to just about the point I would with enamel paint and it really worked well.
And naturally, I do have a few pics...
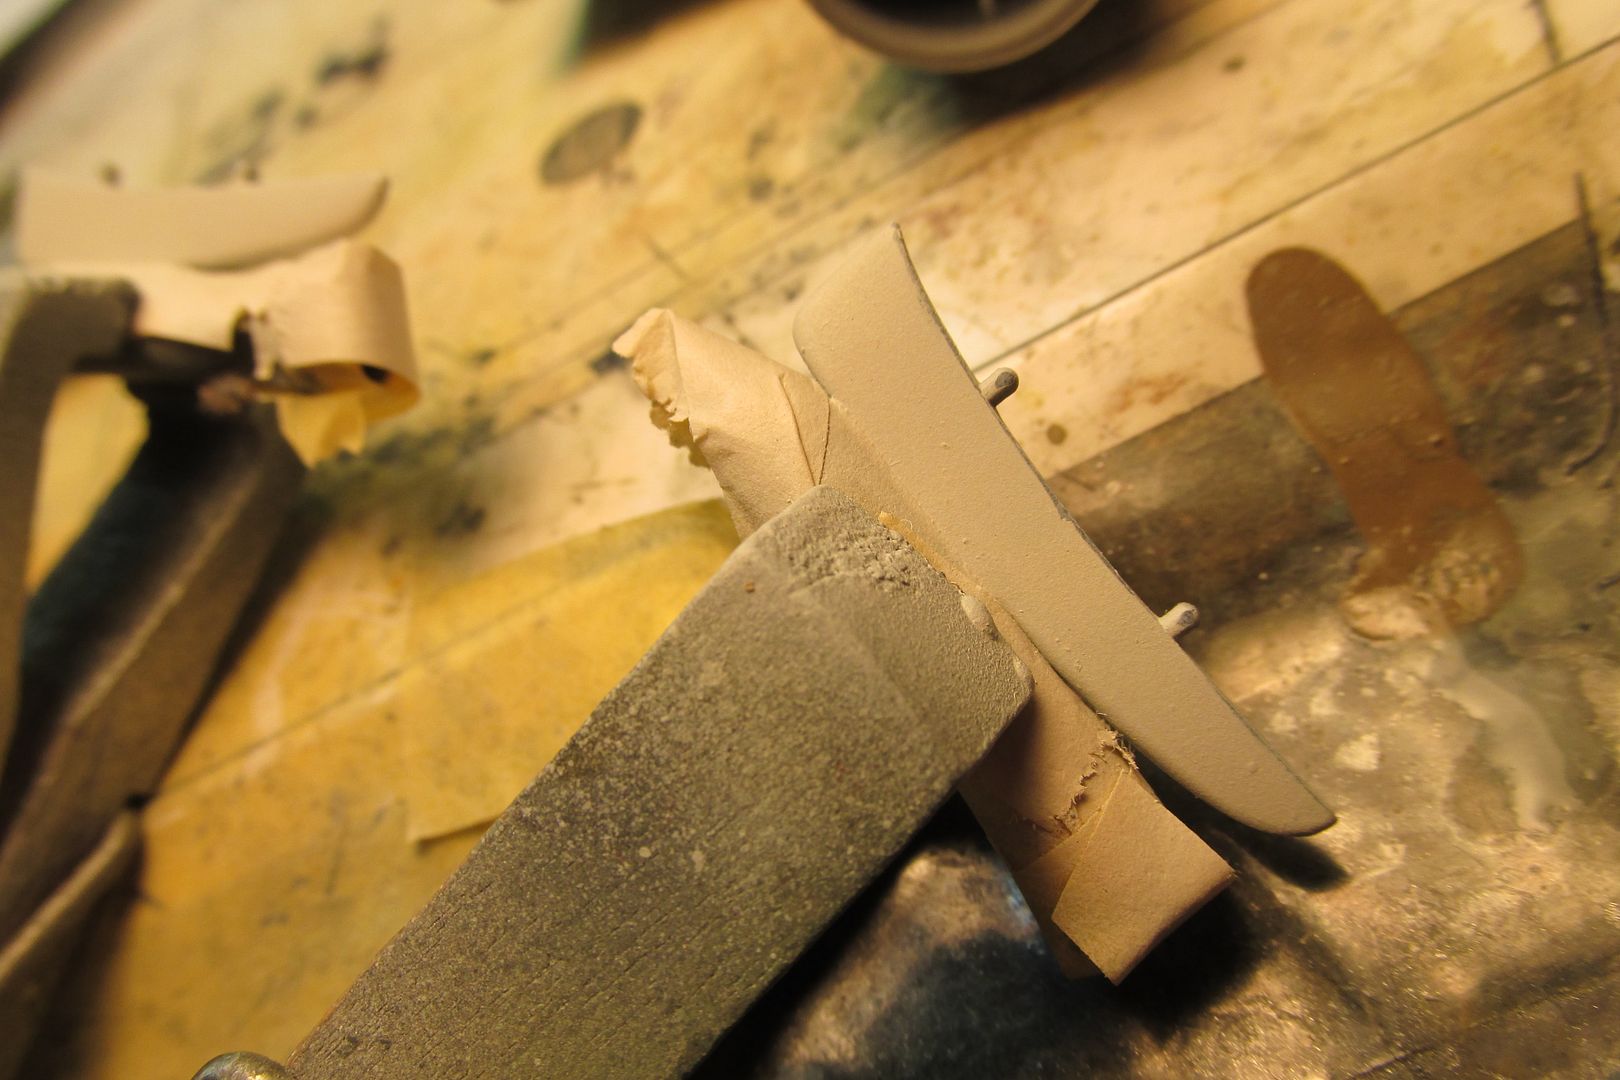
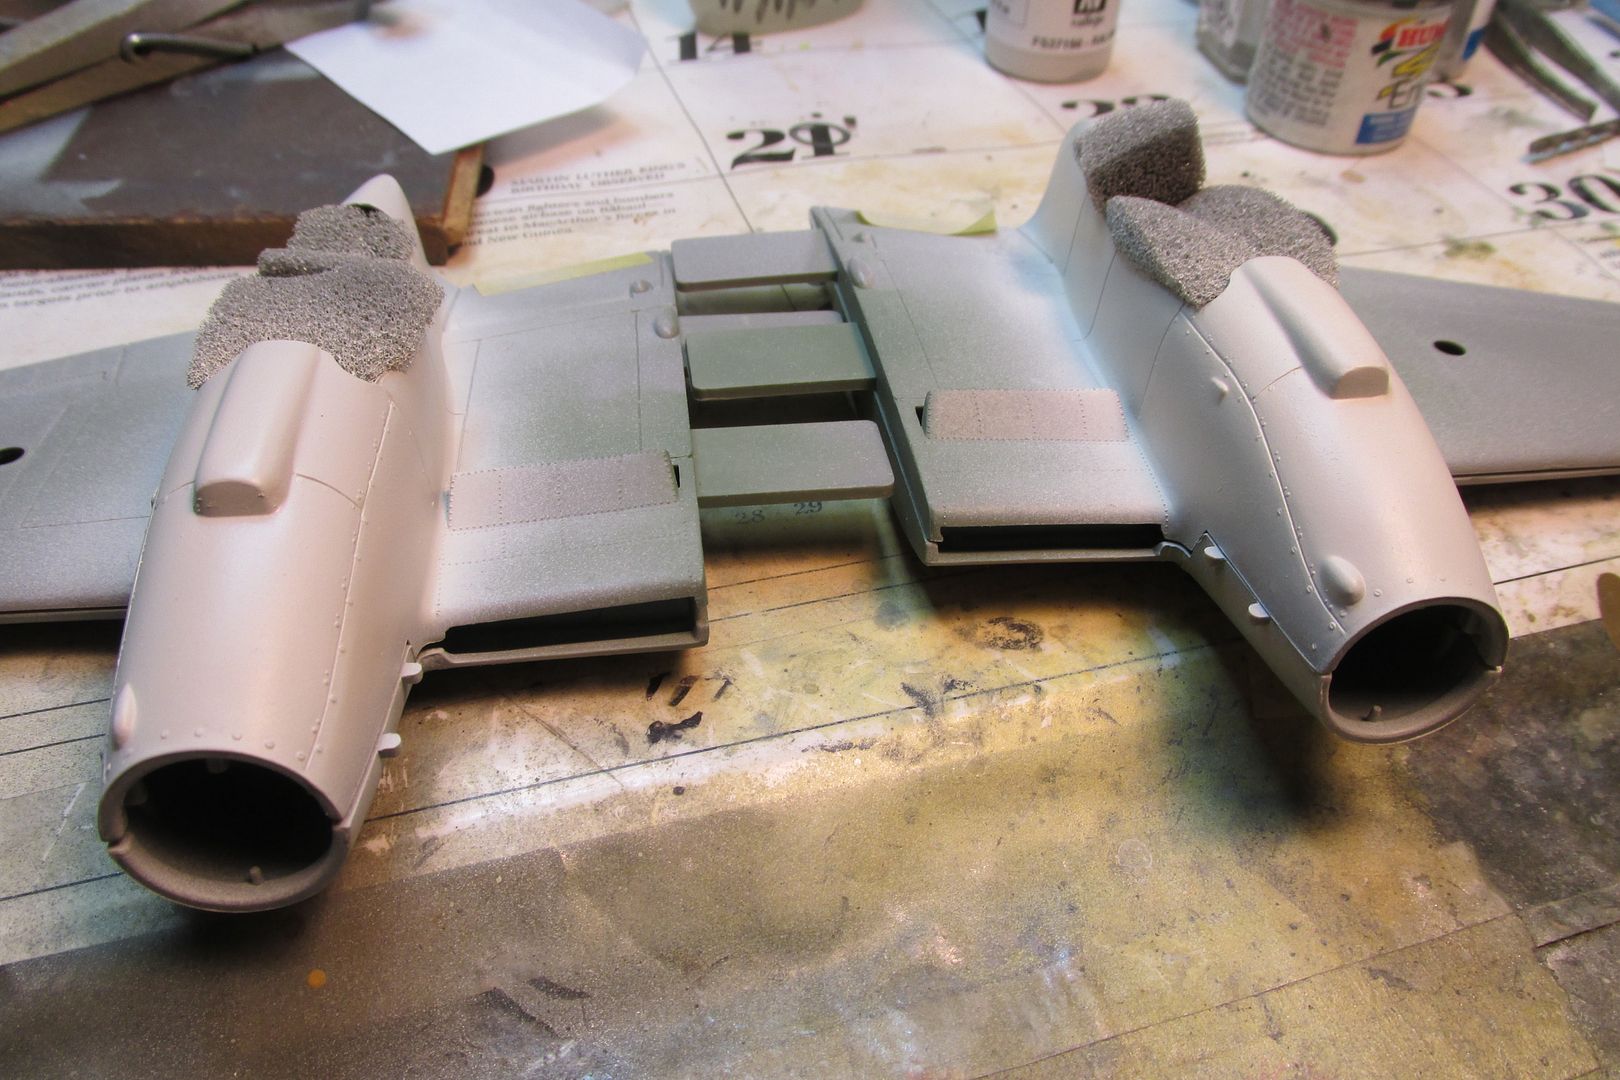
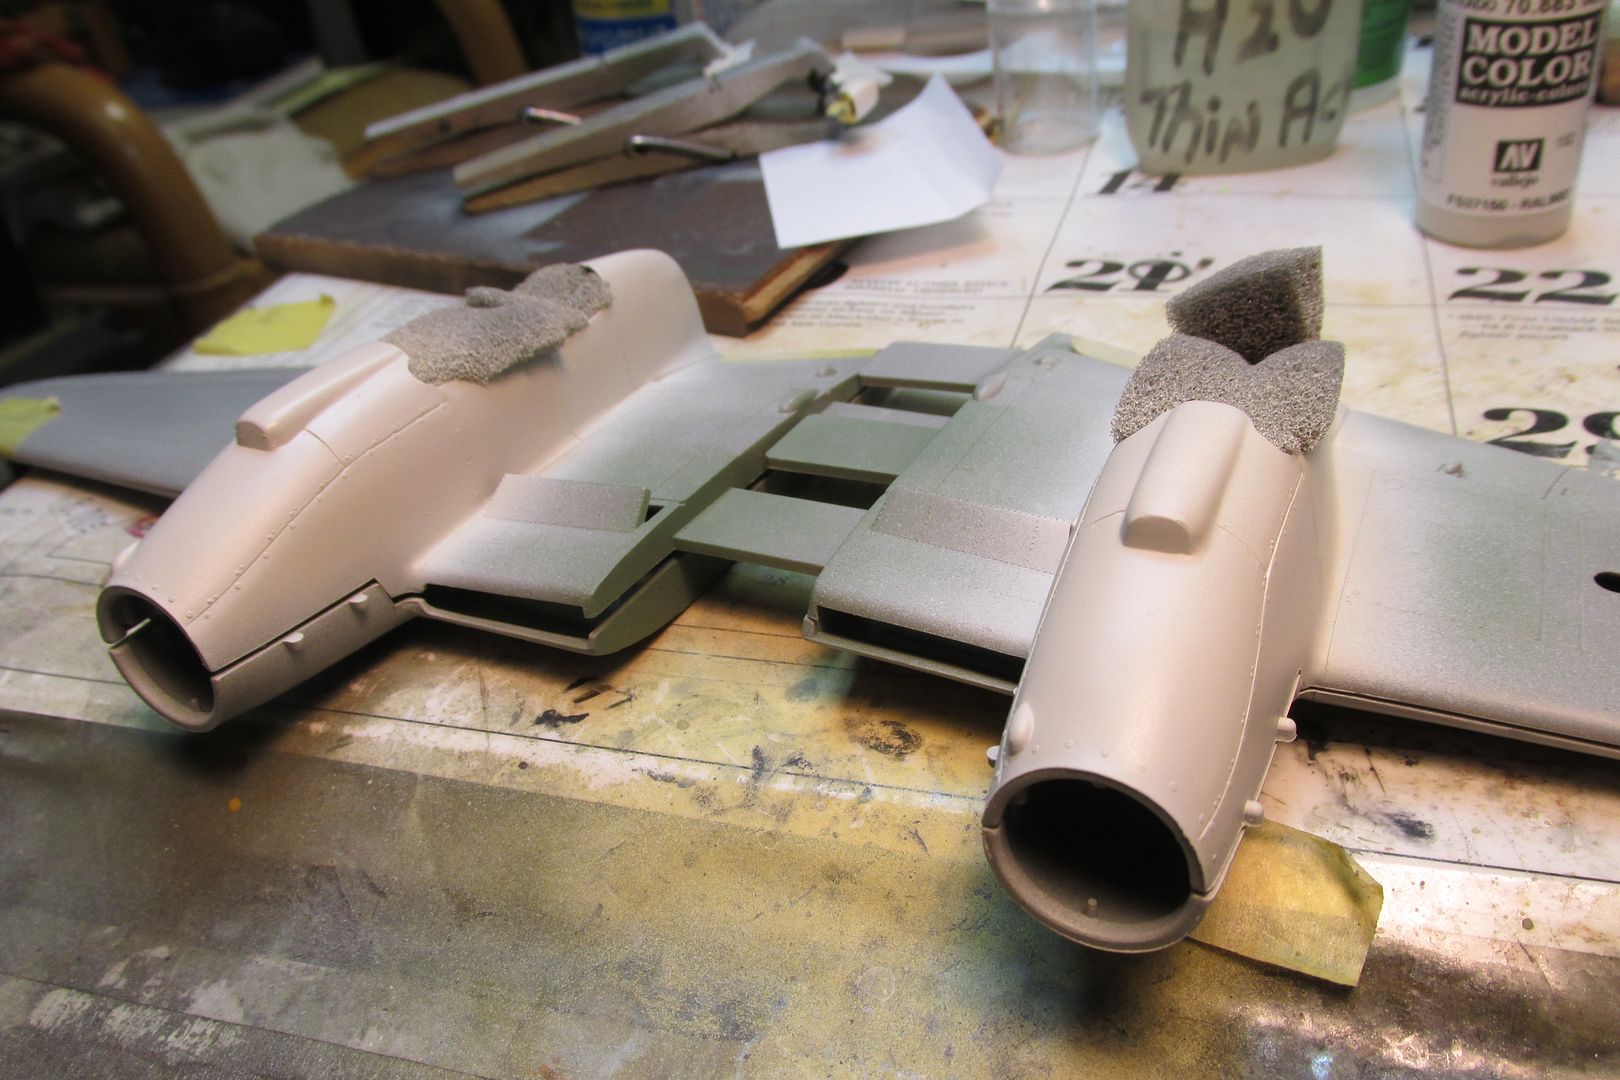
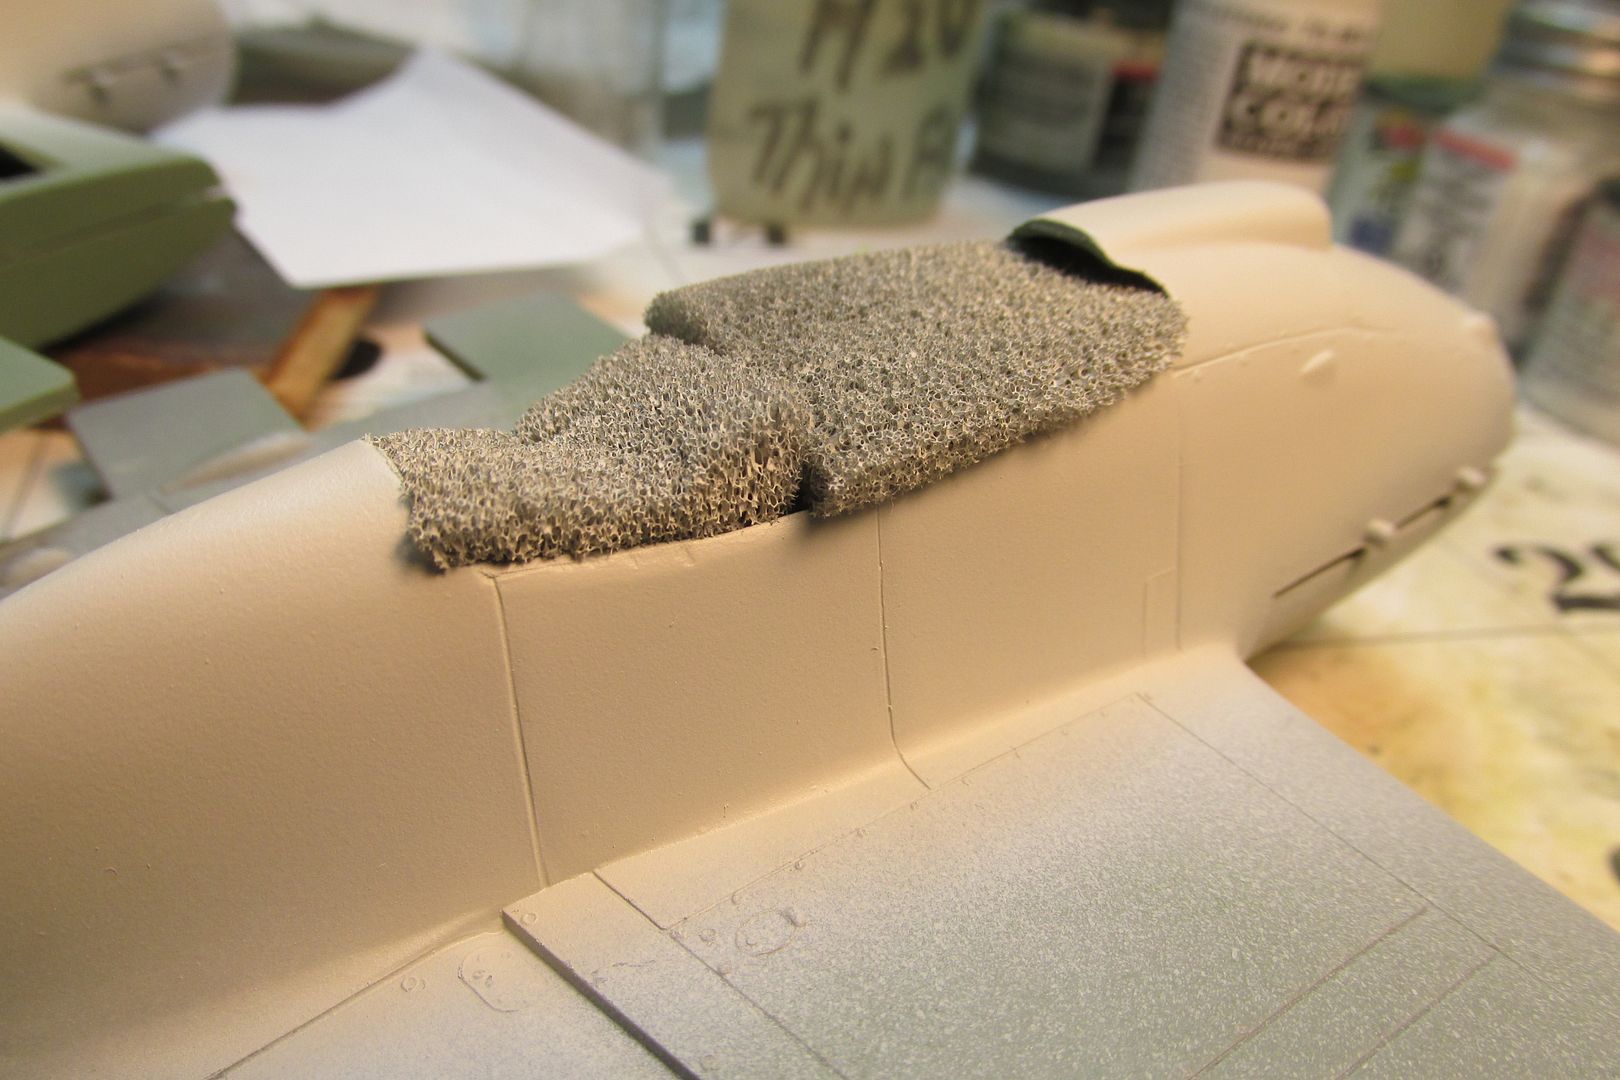
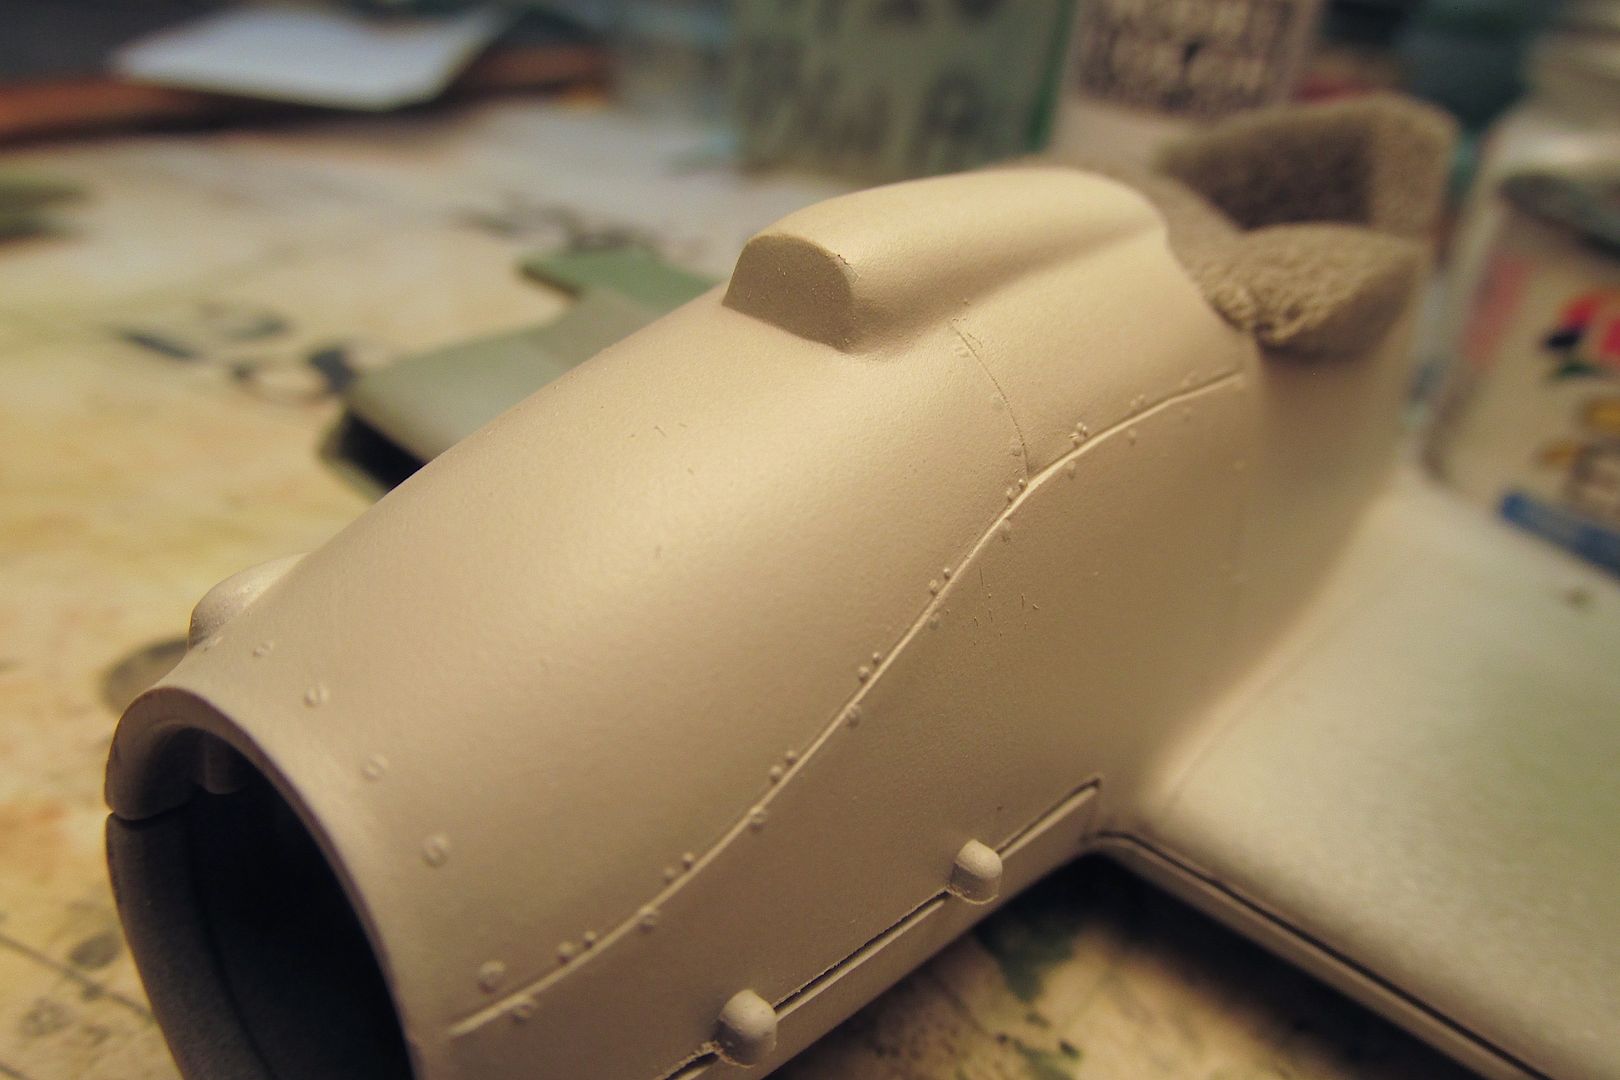
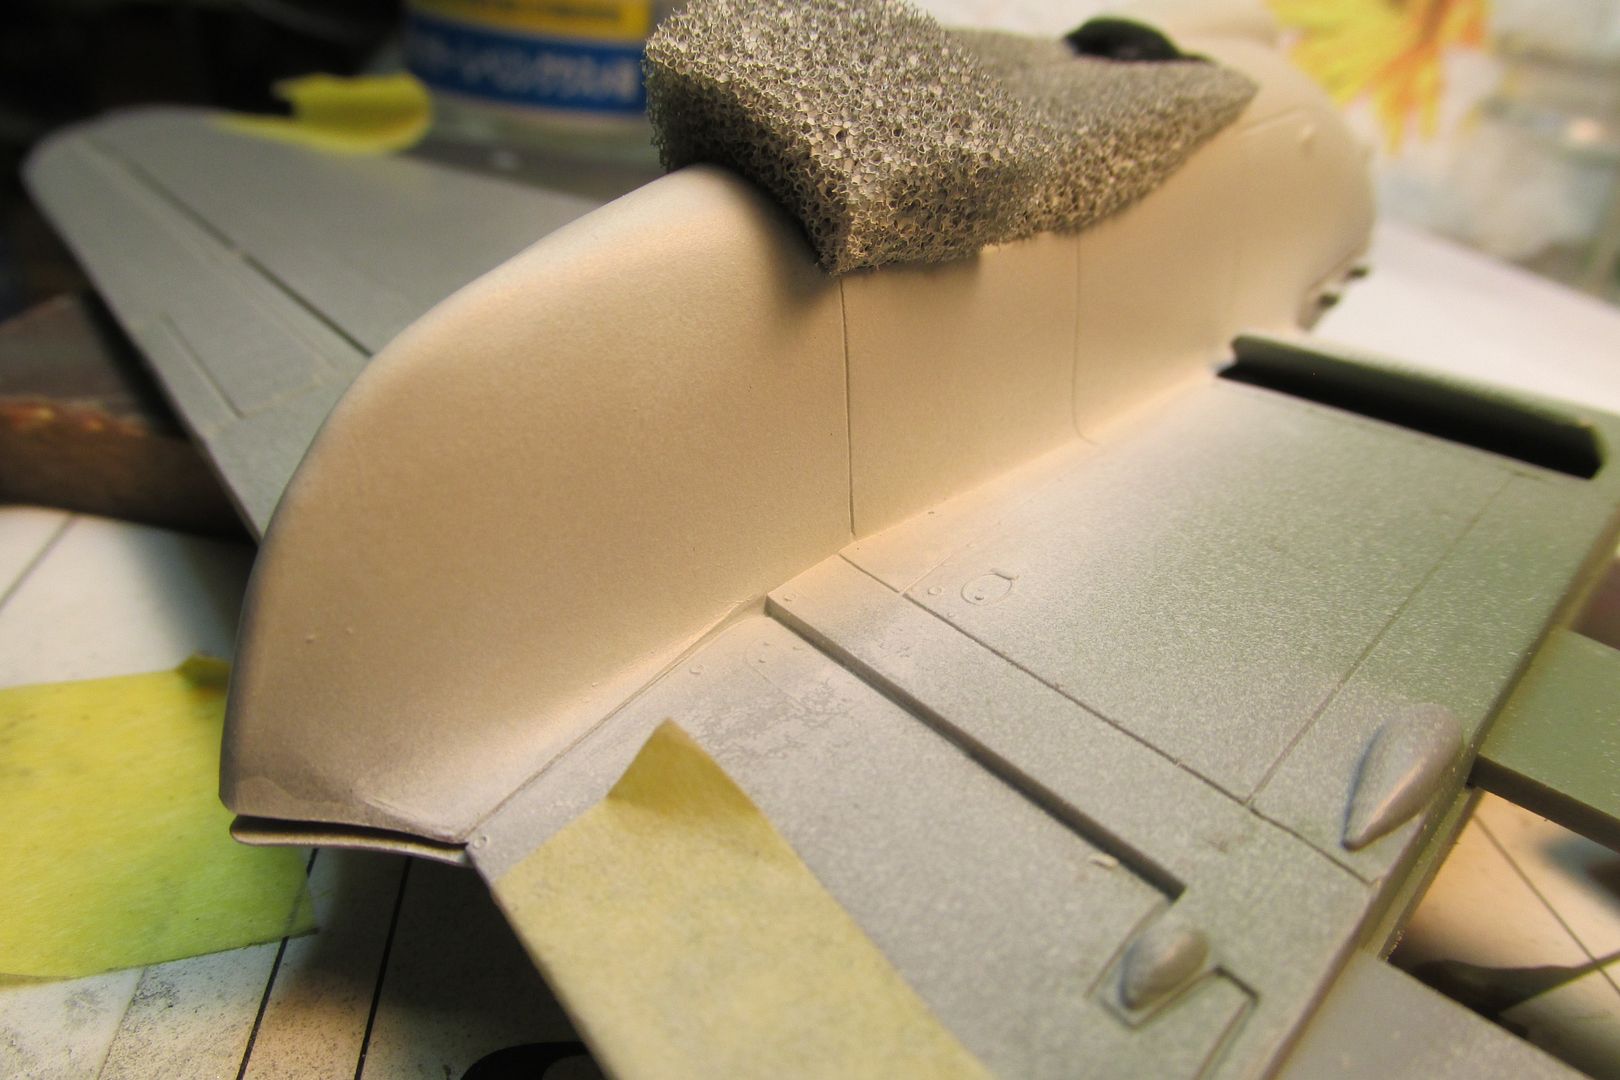
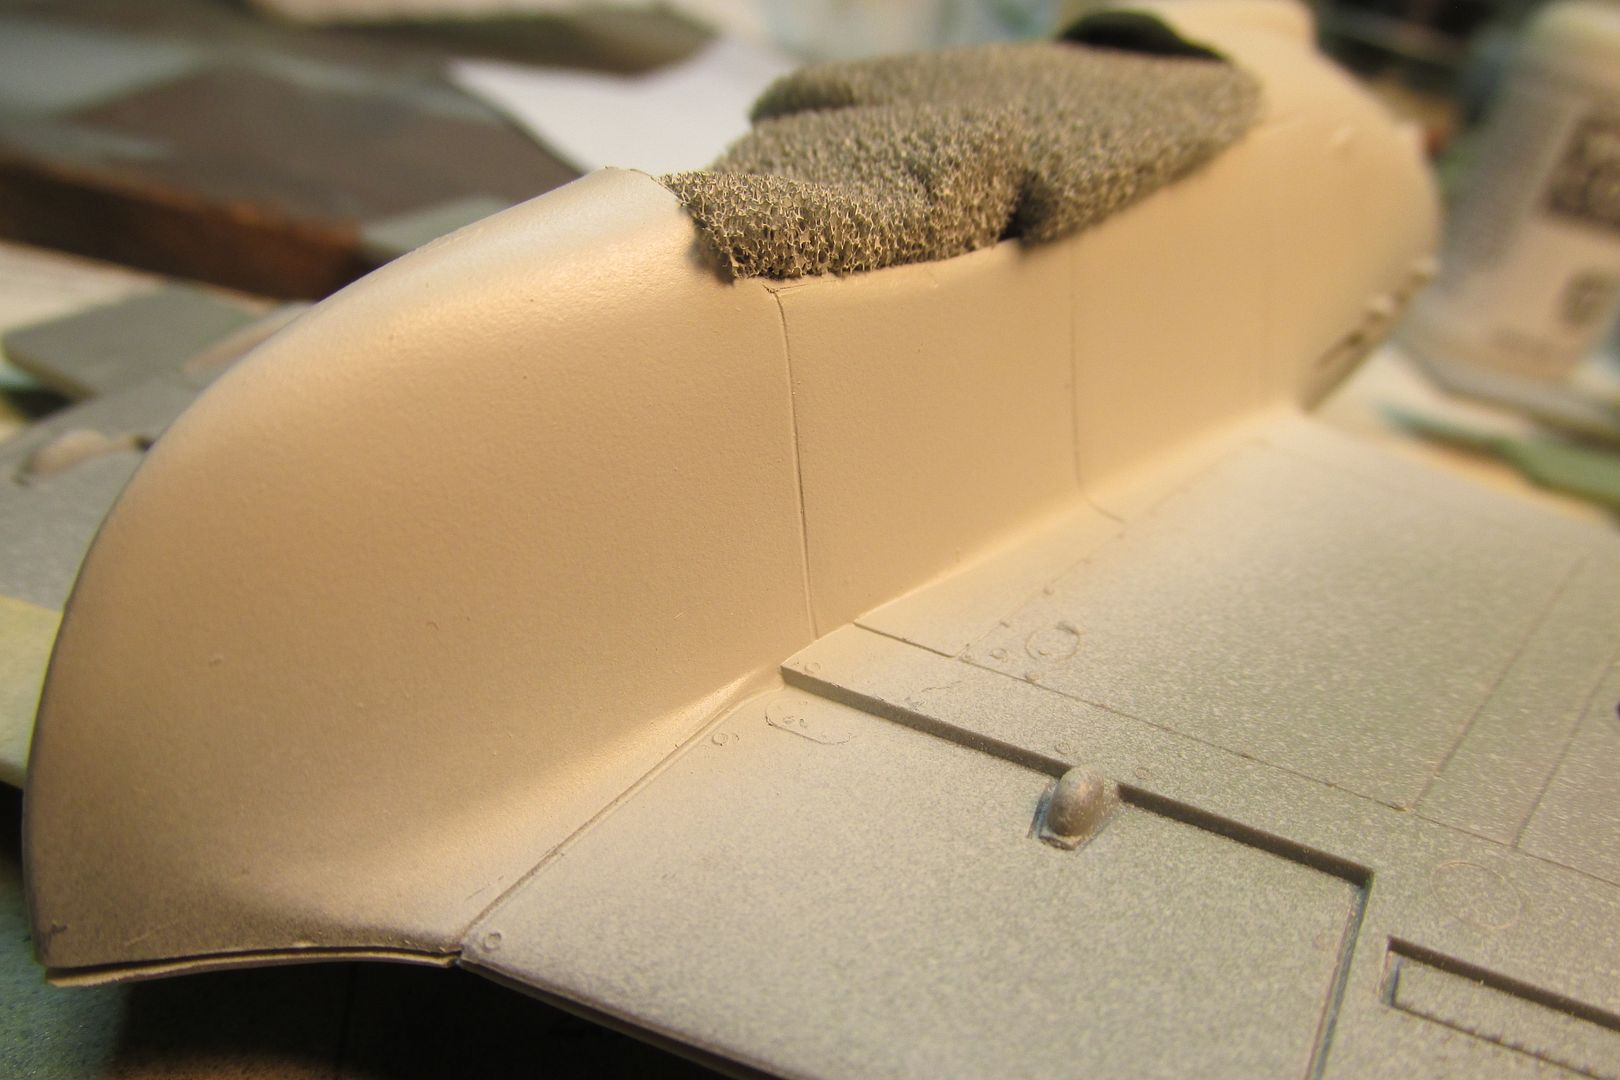
I think it looks pretty smooth, no different than enamel in appearance. We'll have to see how well it holds up...
And naturally, I do have a few pics...
I think it looks pretty smooth, no different than enamel in appearance. We'll have to see how well it holds up...
-
Stikpusher

- Moderator
- Posts: 21383
- Joined: Sat Apr 05, 2014 8:37 pm
- Location: Ceti Alpha 5
Re: Monogram De Havilland Mosquito FB VI
I haven't sprayed Vallejo Model Color, but I have airbrushed their Model Air paints. Airbrushing Model Air in my experience is trouble free, as long as you have primed properly. But you will notice a different feel or texture to that paint, almost rubbery or latex like. Now Model Color on the other hand I have found can be prone to wear off during handling, even over primer. At least from my hand brushing usage of those paints. So make sure you give those plenty of time to dry and cure for best durability.
"Surely I have made my meaning plain? I intend to avenge myself upon you, Admiral. I have deprived your ship of power, and when I swing 'round, I intend to deprive you of your life."
FLSM
FLSM
-
Gary Brantley
- Elite Member
- Posts: 2771
- Joined: Tue Apr 08, 2014 9:40 pm
- Location: Cameron, Texas
Re: Monogram De Havilland Mosquito FB VI
Copy that, Carlos! I noticed a hint of that already; just before I started spraying, I noticed a little chip in the primer on one nacelle side. I suspect I caught the edge of the sandpaper I had used. Enamel would've never done that. I was able to feather the edges some and gradually filled it in with finish paint. I'll heed your advice and be extra careful in handling it now. I do dread getting the gear bay doors on, later on down the build. I believe the two topside colors are Vallejo Air.Stikpusher wrote: ↑Tue Sep 05, 2023 3:01 pm Model Color on the other hand I have found can be prone to wear off during handling, even over primer. At least from my hand brushing usage of those paints. So make sure you give those plenty of time to dry and cure for best durability.
-
BlackSheep214

- Elite Member
- Posts: 13596
- Joined: Sun Apr 06, 2014 8:47 pm
Re: Monogram De Havilland Mosquito FB VI
I’ve got a few bottles of Vallejo Model Colors line mainly for handbrushing. I’ve heard both positive & negative stories of Vallejo paint lines. Model Air spray beautifully as long as you prime first.
The only drawback on Model Color, it does leave a waxy or rubbery feel when dried. I stopped acquiring Model Colors after hearing about their finish. I now have about 10 colors but most of it are general military colors I could use for handbrushing.
I really like AK Interactive Real Color line. I do like Mission Model paints too but they’re pricey (about $6 a bottle) and sprays really nice.
Once my Testors Model Master colors are gone, I’ll be restocking them with Gunze/Mr.Color, AK Interactive Real Color, and Mission Models paint lines.
Tamiya and a few select Humbrol colors I will stock on depending on the colors I need or want. I’d love to try Revell colors to see how they’re compared with Humbrol.
The only drawback on Model Color, it does leave a waxy or rubbery feel when dried. I stopped acquiring Model Colors after hearing about their finish. I now have about 10 colors but most of it are general military colors I could use for handbrushing.
I really like AK Interactive Real Color line. I do like Mission Model paints too but they’re pricey (about $6 a bottle) and sprays really nice.
Once my Testors Model Master colors are gone, I’ll be restocking them with Gunze/Mr.Color, AK Interactive Real Color, and Mission Models paint lines.
Tamiya and a few select Humbrol colors I will stock on depending on the colors I need or want. I’d love to try Revell colors to see how they’re compared with Humbrol.
“Who controls the skies, controls the fate of this Earth”
Author unknown- 352nd Fighter Group, Blue-Nosed Bastards of Bodney
“Send one plane it’s a sortie; send two planes it’s a flight; send four planes it’s a test of airpower. - Richard Kohn
Author unknown- 352nd Fighter Group, Blue-Nosed Bastards of Bodney
“Send one plane it’s a sortie; send two planes it’s a flight; send four planes it’s a test of airpower. - Richard Kohn
-
Gary Brantley
- Elite Member
- Posts: 2771
- Joined: Tue Apr 08, 2014 9:40 pm
- Location: Cameron, Texas
Re: Monogram De Havilland Mosquito FB VI
I woke up around 6 this morning and decided to give those nacelles a gloss coat of Future to get the day started. Sometimes, rarely, the modeling gods do smile upon our efforts. I poured the Future straight from the bottle into the paint cup and adjusted the needle once...and then hit the paint mule. It was just right, with no further fiddling about! I'll throw some Flory wash around the nacelles later today and then they'll be ready for the landing gear and on to the wing assembly.
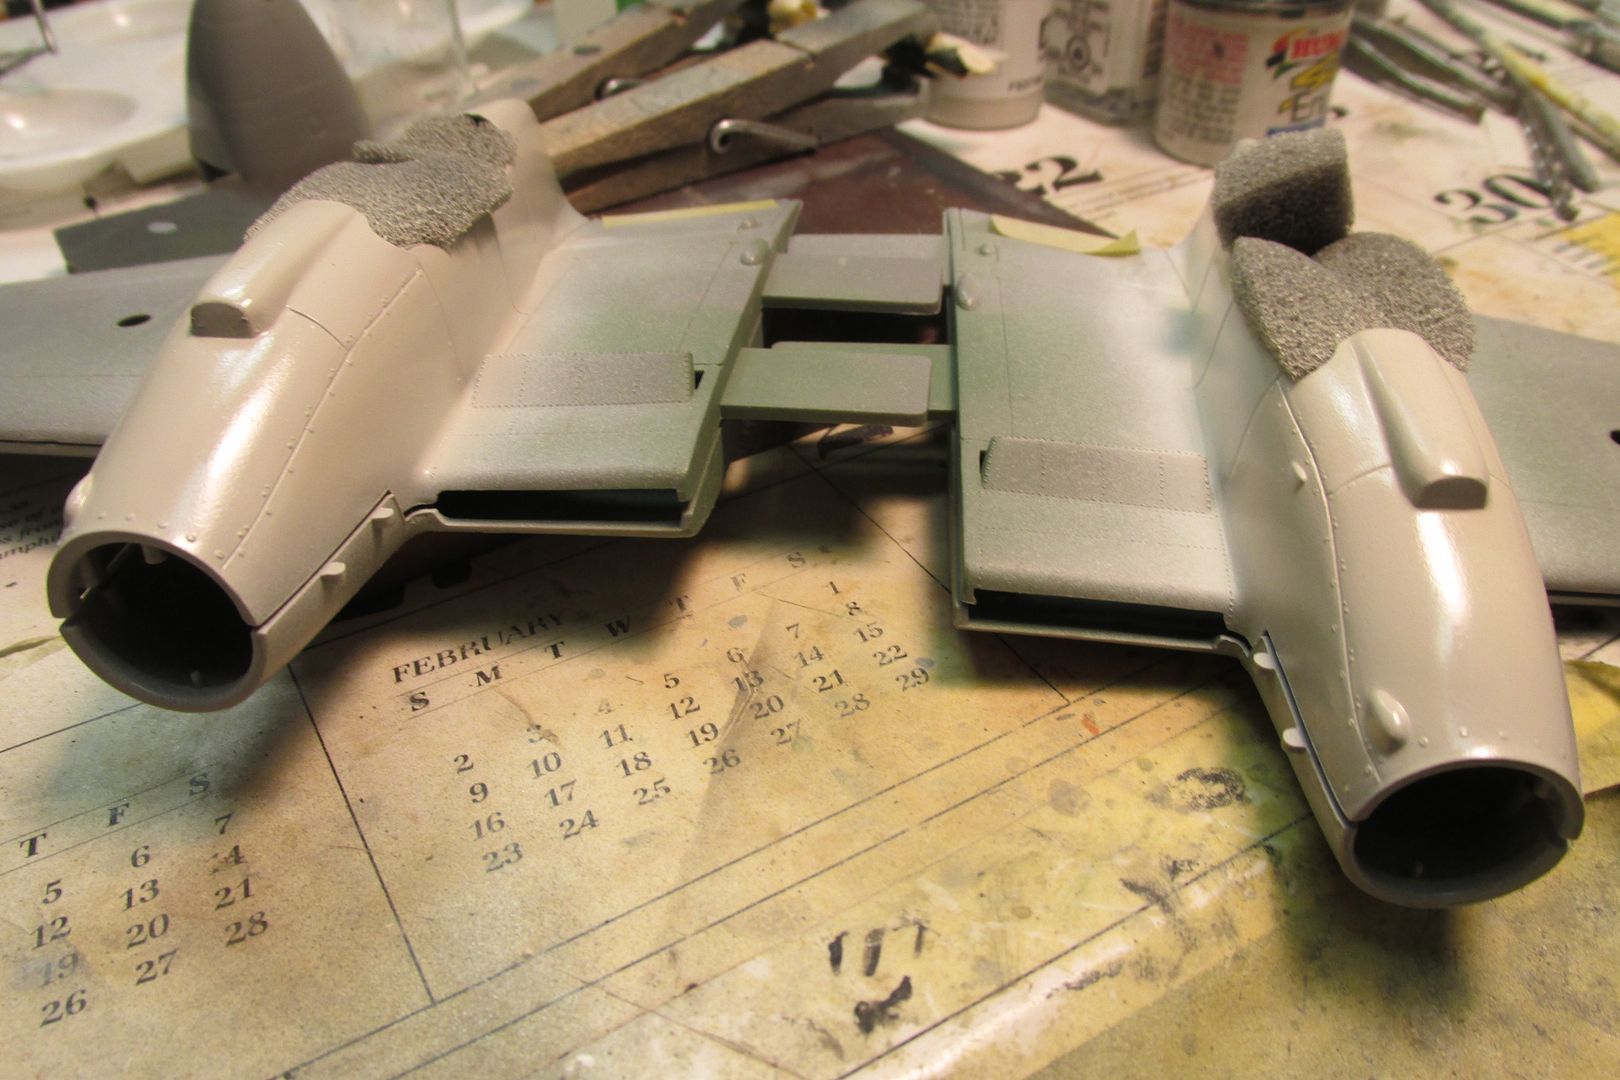
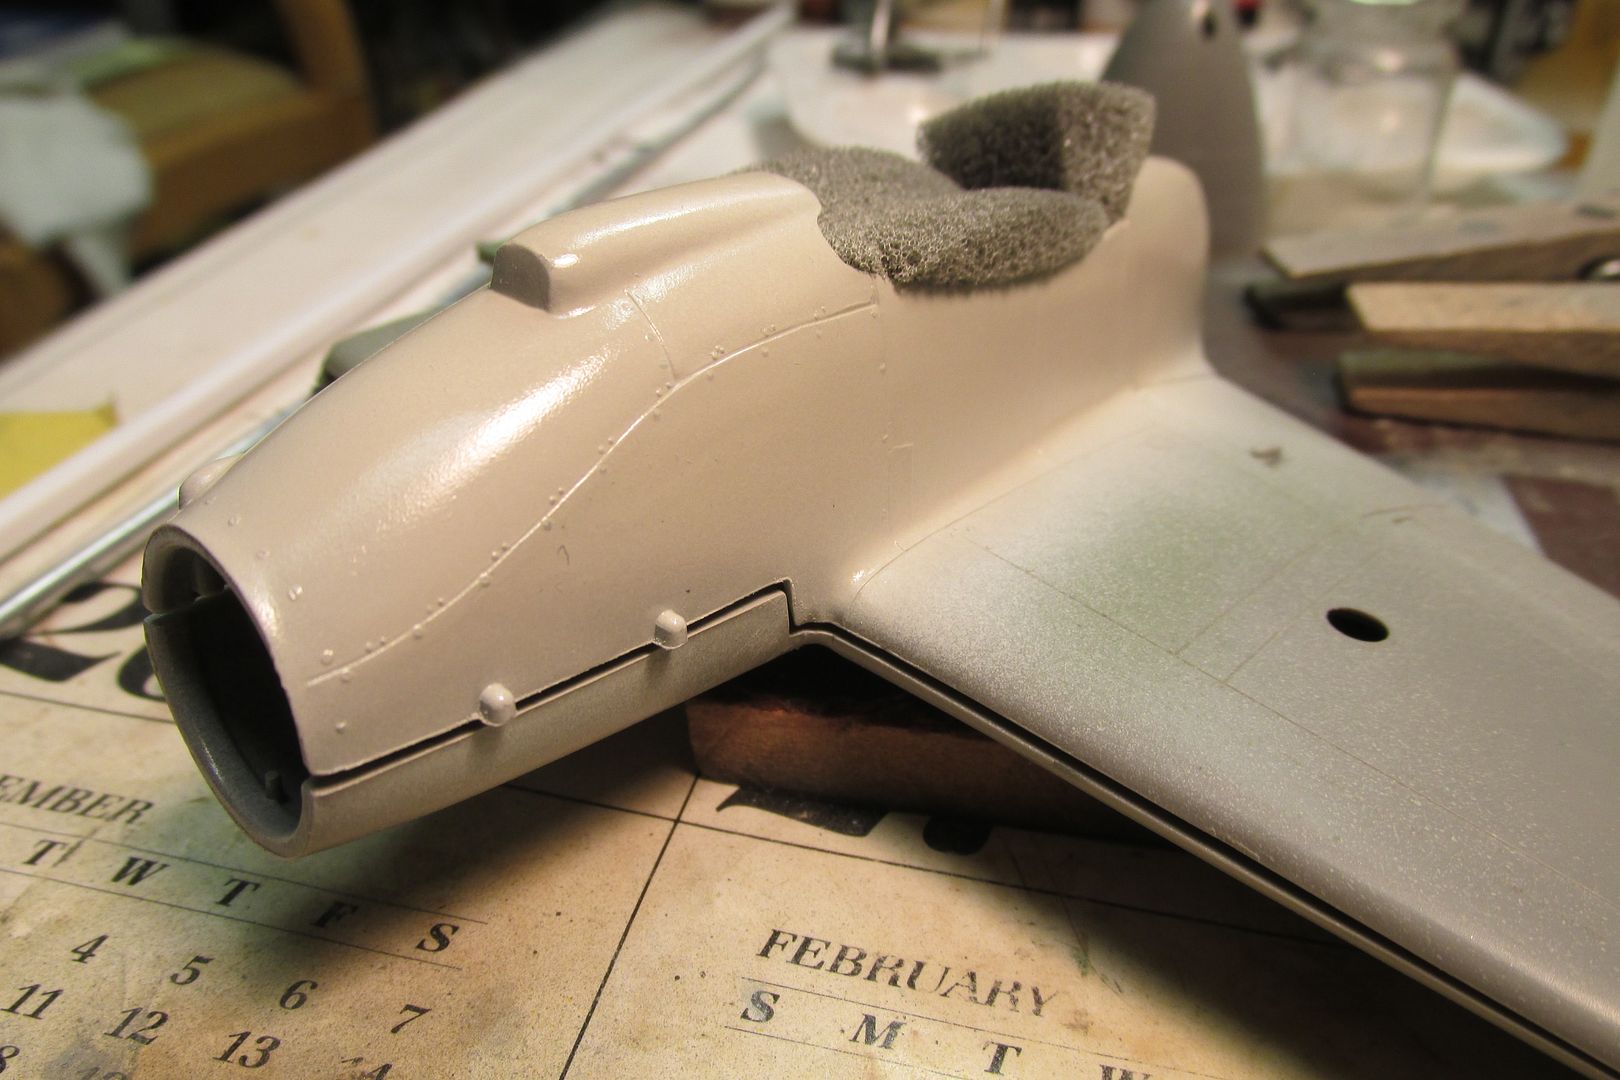
See ya later, my modeling friends (or is it modeling fiends? )
) 
See ya later, my modeling friends (or is it modeling fiends?
) 
Re: Monogram De Havilland Mosquito FB VI
Nice. We do get to enjoy their smiles occassionally.
To make each build less crappy than the last one. Or, put another way, "Better than the last one, not as good as the next one!"..
-
Gary Brantley
- Elite Member
- Posts: 2771
- Joined: Tue Apr 08, 2014 9:40 pm
- Location: Cameron, Texas
Re: Monogram De Havilland Mosquito FB VI
Thanks, Lyle! So far, so good.
-
Gary Brantley
- Elite Member
- Posts: 2771
- Joined: Tue Apr 08, 2014 9:40 pm
- Location: Cameron, Texas
Re: Monogram De Havilland Mosquito FB VI
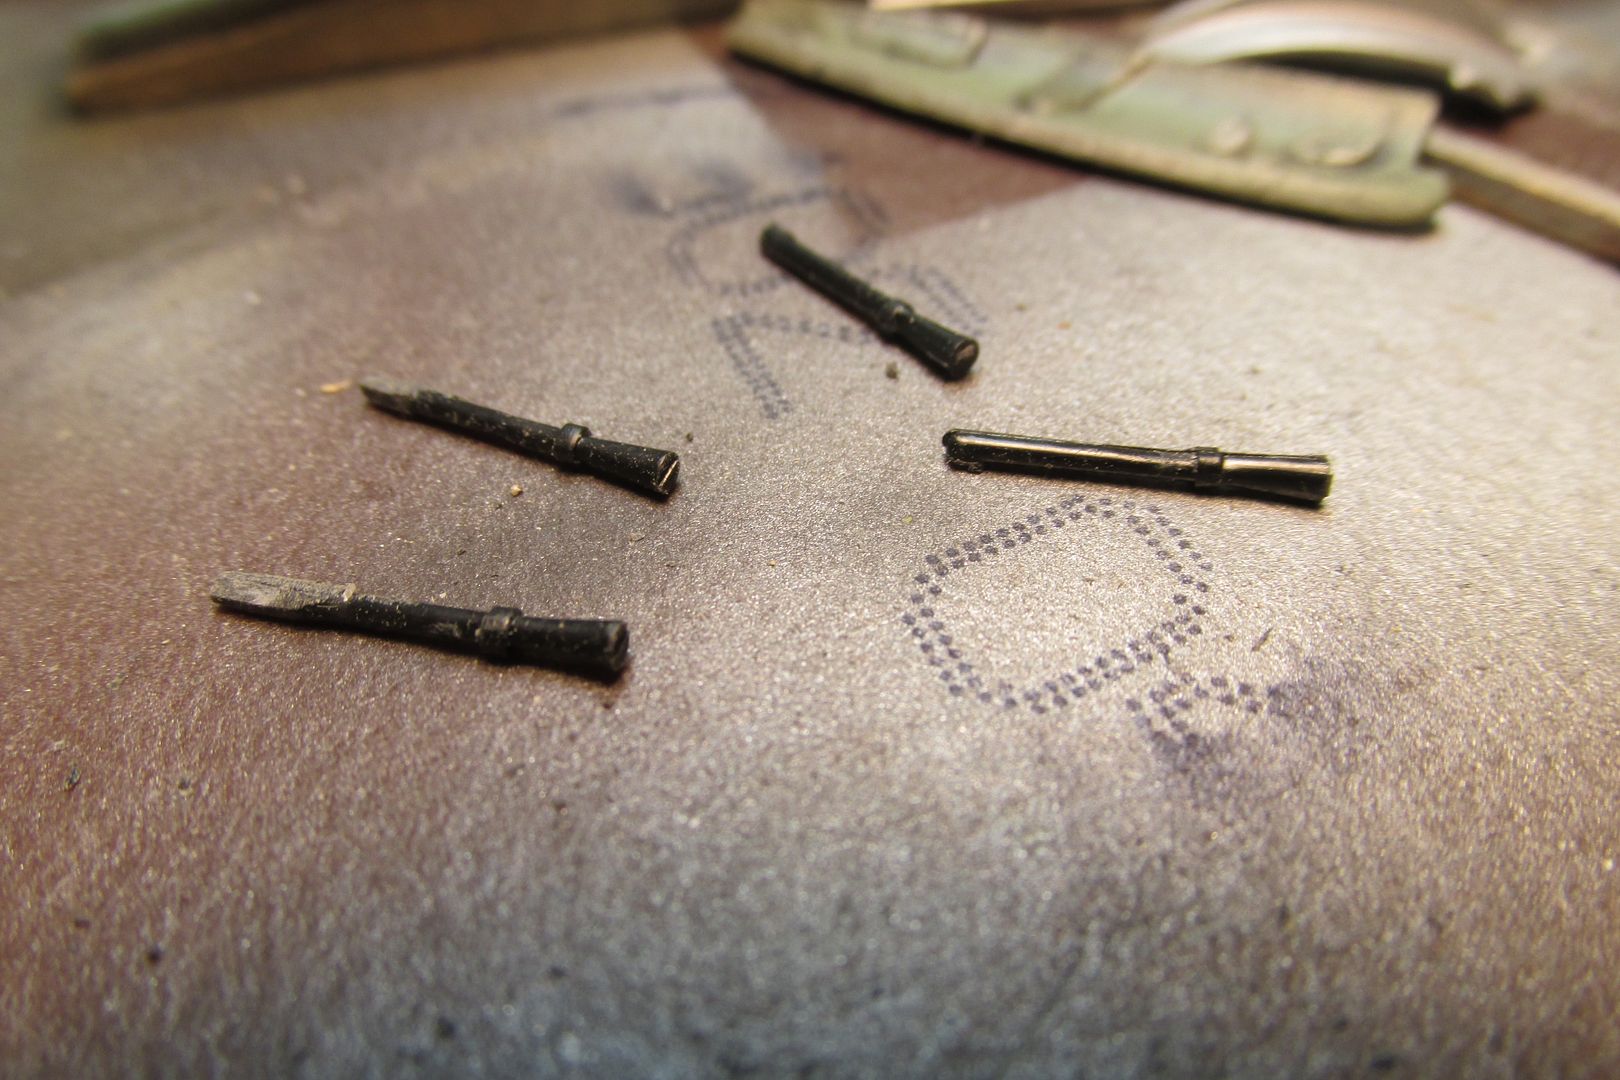
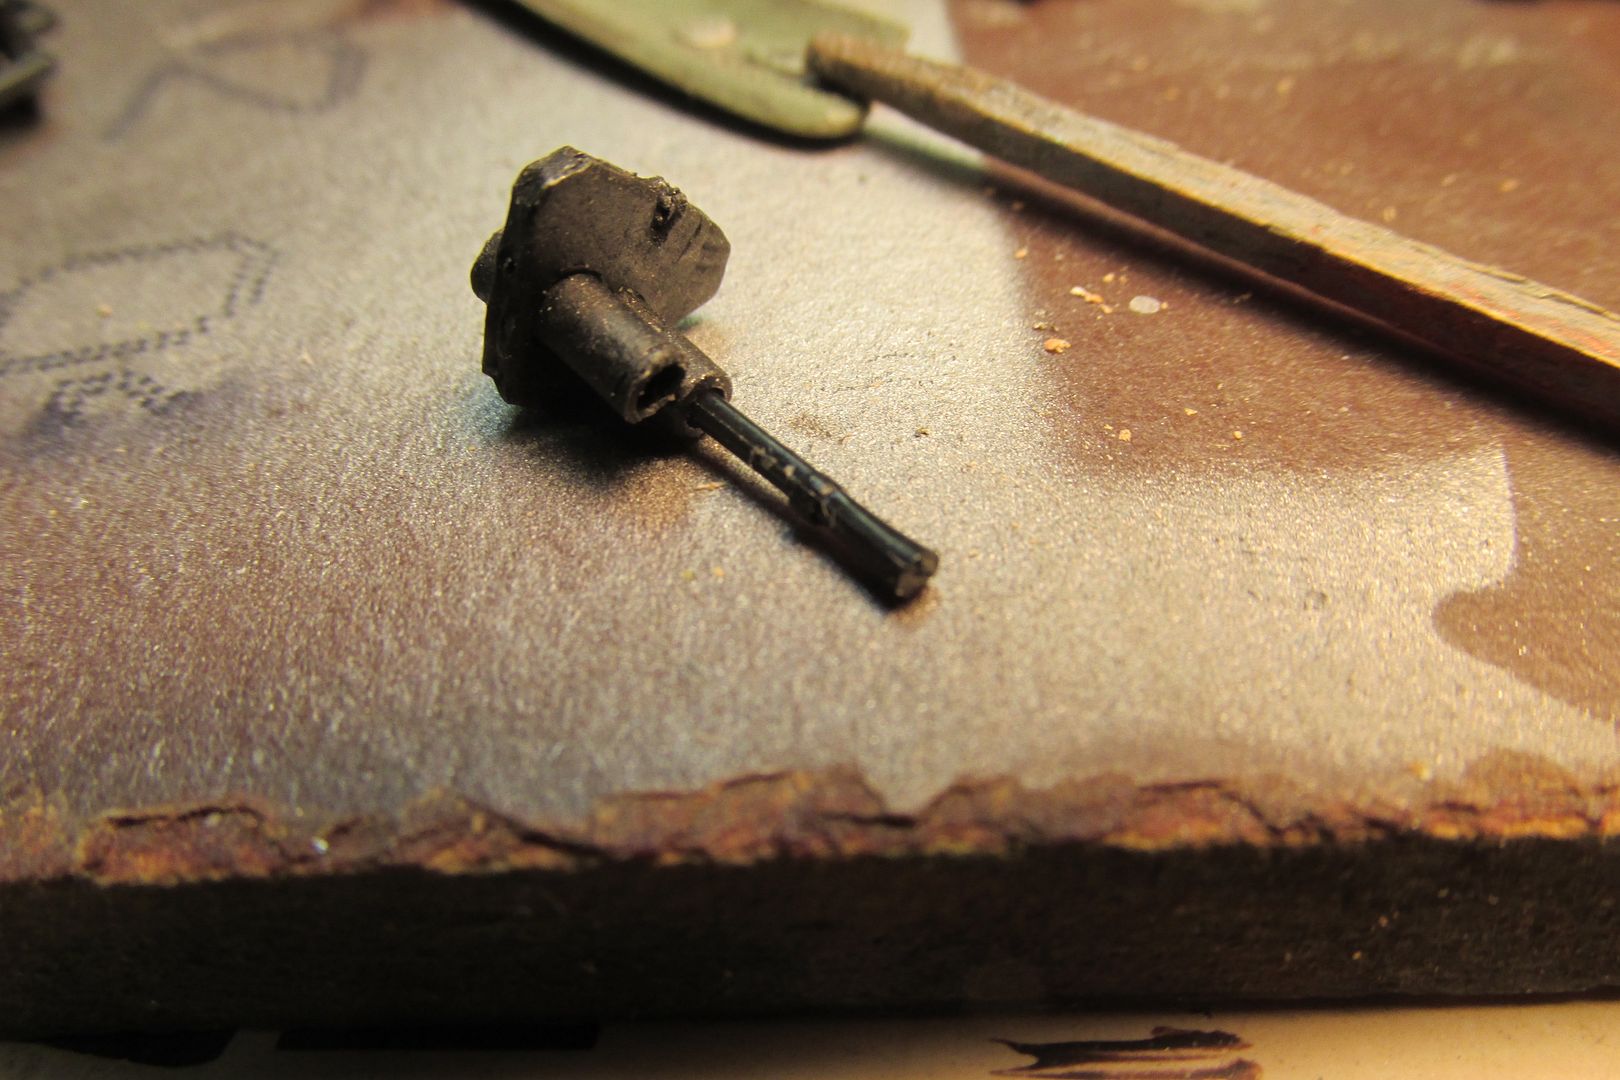
Progress is being made as I plod along. I've got the landing gear installed, nose gun installation sussed out and I've got the pics to prove it! Monogram would have you install the four nose .303 machineguns from inside the nose piece. Of course, then they would be sticking out and in the way for the rest of the build (sorta like the landing gear ) and I doubt the fragile little barrels would survive that. I think I've got a plan for that problem now. I've made a "receiver" piece with two aluminum tubes that will serve as sockets for the kit guns that I've separated and can now be inserted from the front, after all the "work" is done. There are three pins inside the nose that locate the kit guns. My receiver part will rest against those. I've made some cursory "drift pins" to help get the receiver and its tubes lined up with the openings in the nose. I plan to use two-part epoxy to glue the receiver onto the three locator pins, using the drift pins to keep it in place while the epoxy sets. The two outer nose guns will have aluminum tube "sockets" epoxied beside the home-made receiver part. Did you follow all that?
Well, I hope some pics will help explain my plan:
The two nacelles with landing gear installed:
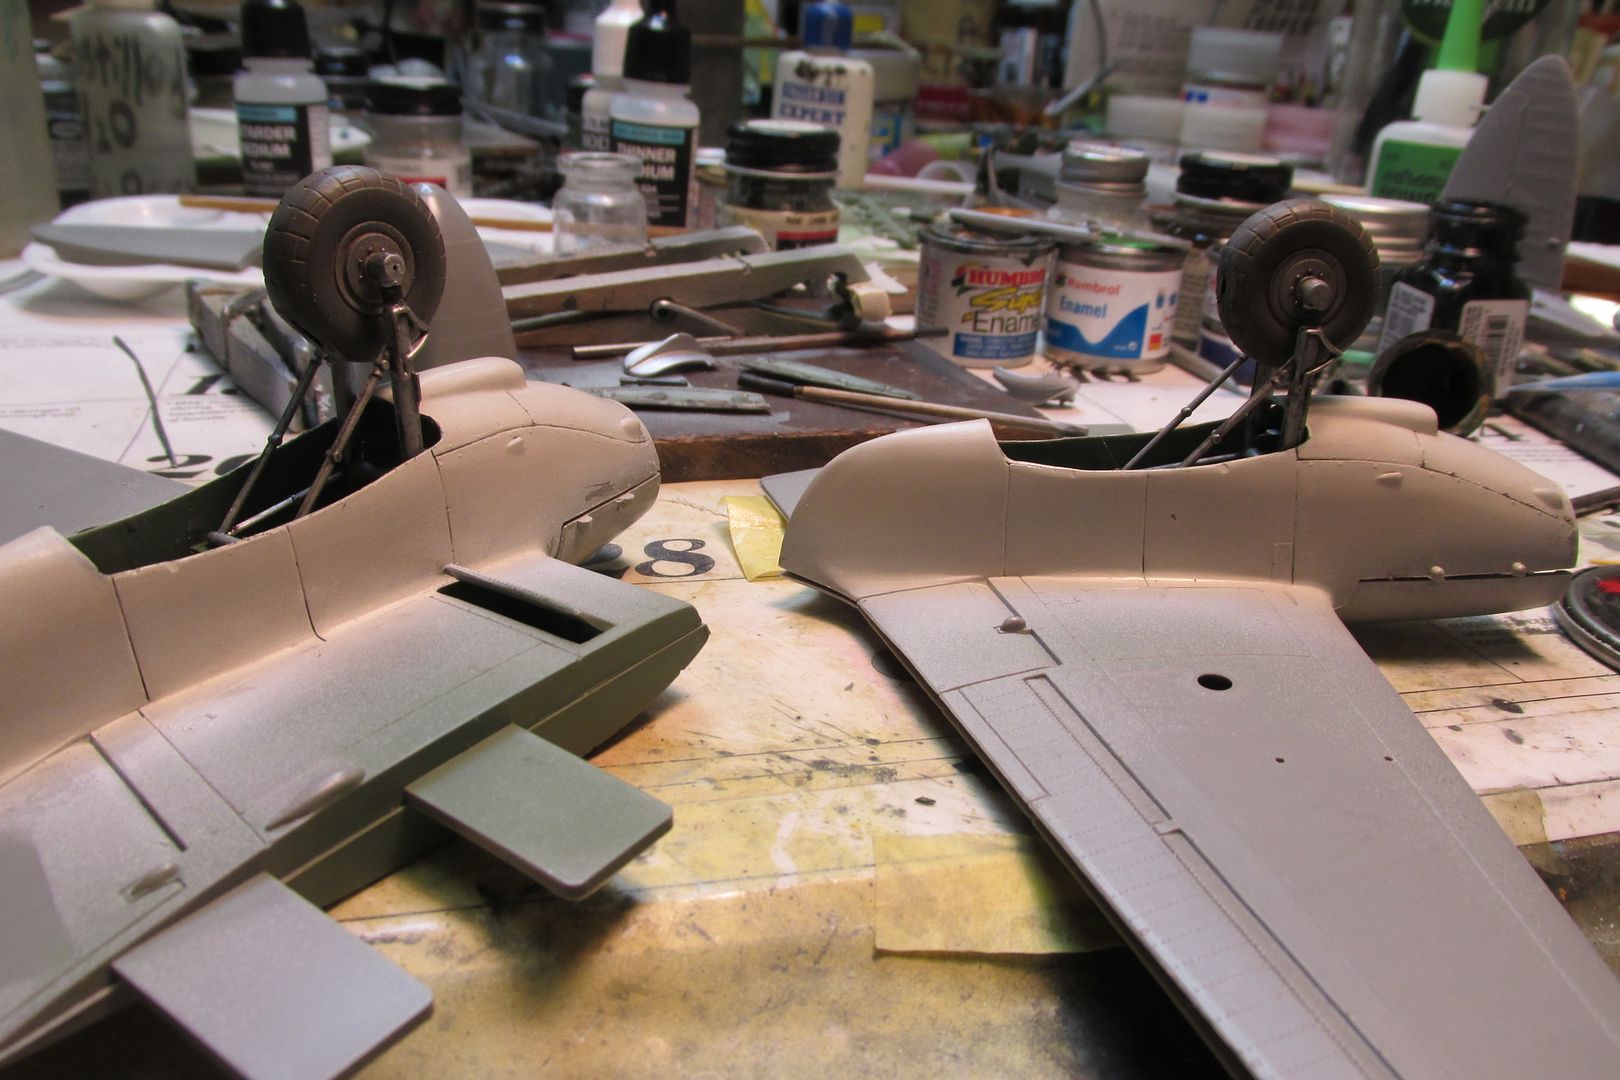
Man, whenever it was that I opened up those landing gear bay doors (yes, they are molded closed as they come in the kit), I must've used a dull hatchet and a chainsaw! Wow, those cuts look awful now that the naacelles are painted. I hope the bay doors will cover some of the damage.
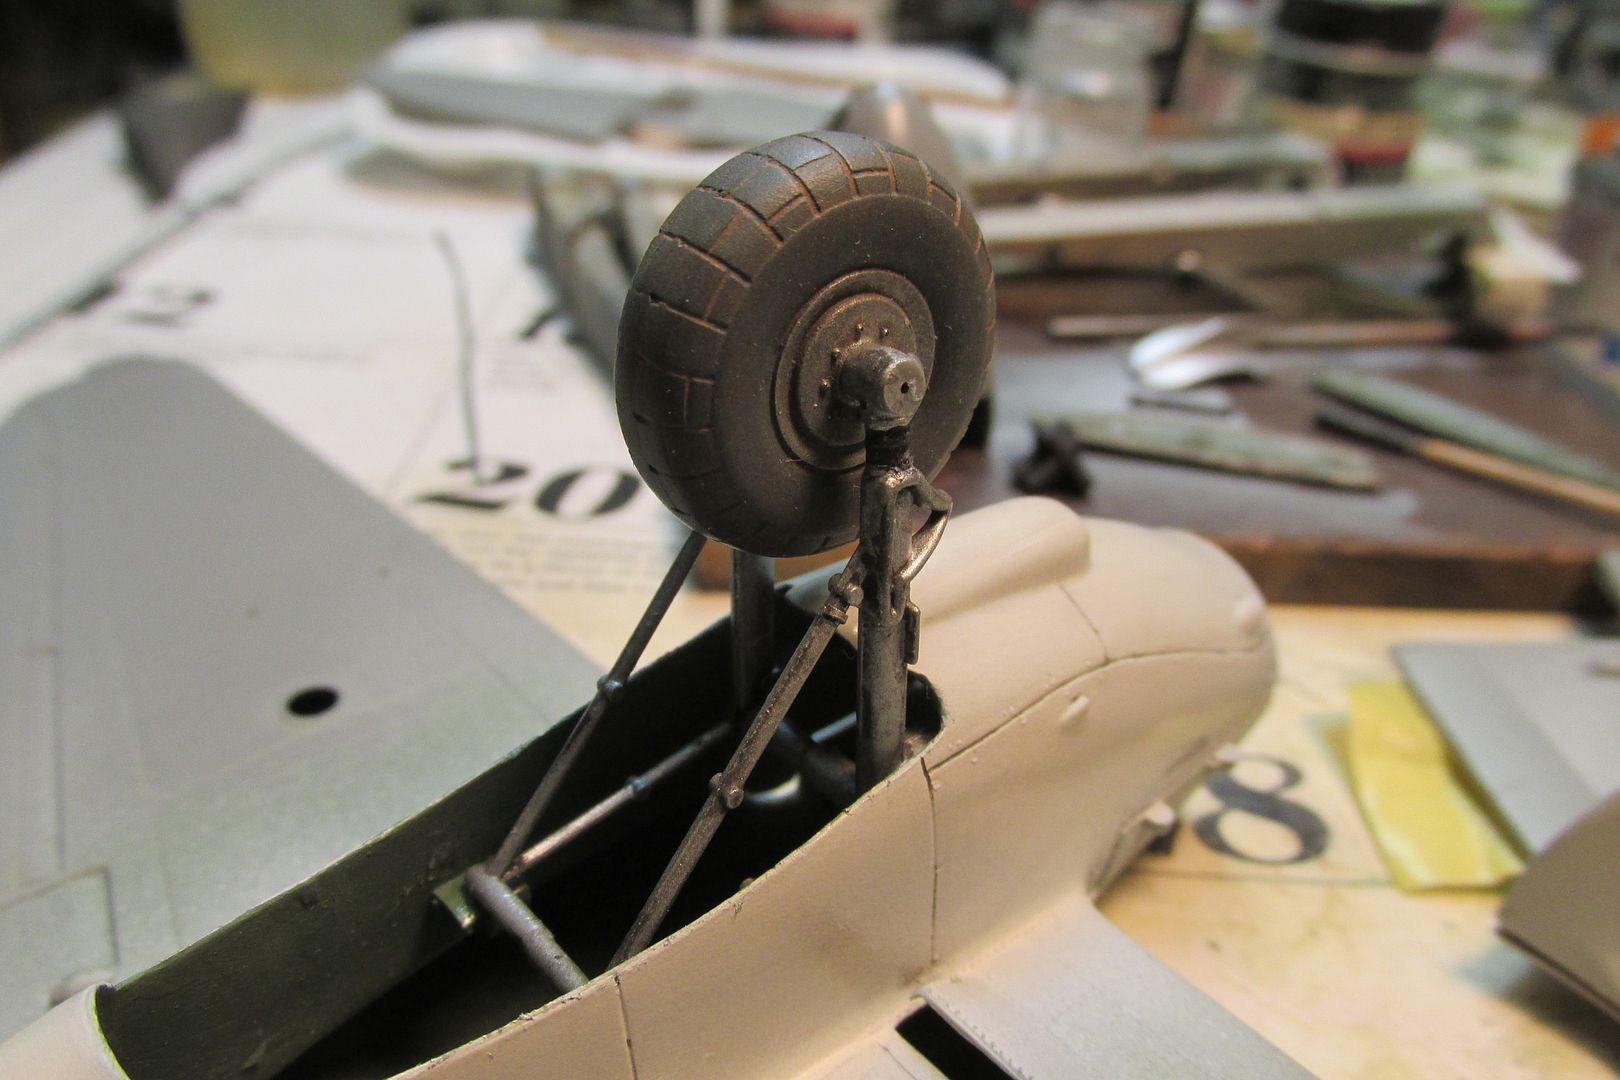
The kit's nose guns are seen here; one was already removed to test the fit in the tubing:
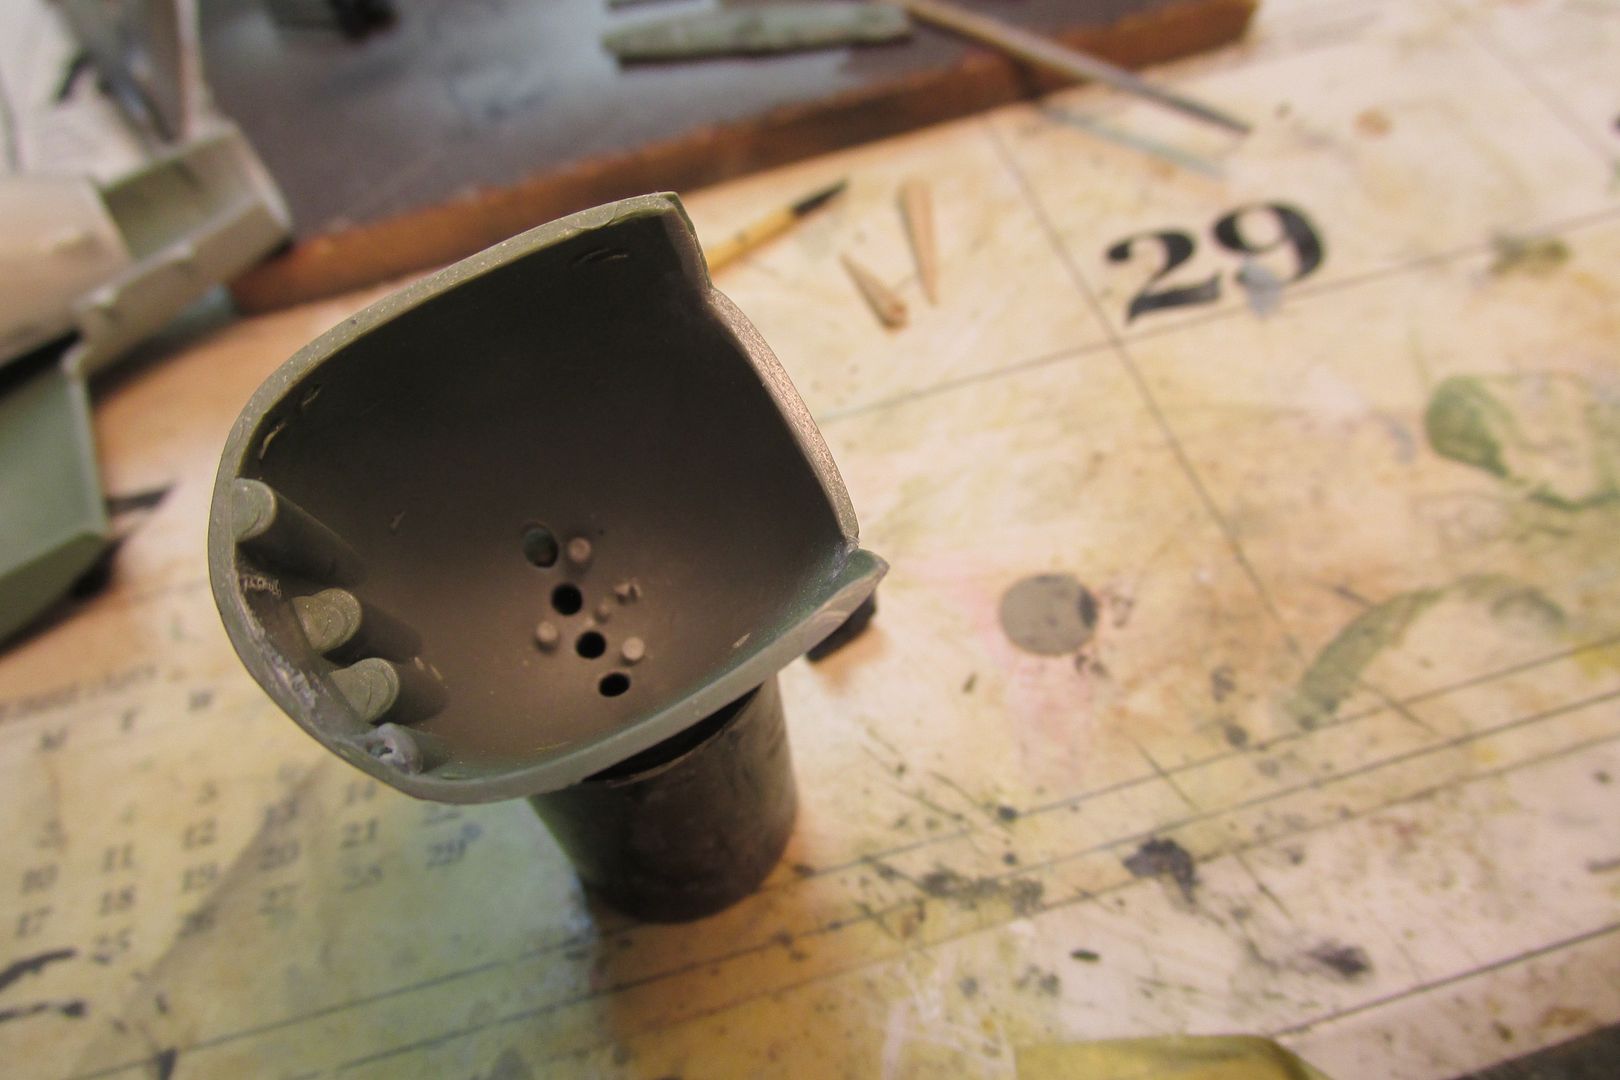
Inside the nose piece-the three locator pins (in a triangular arrangement) can be see here:
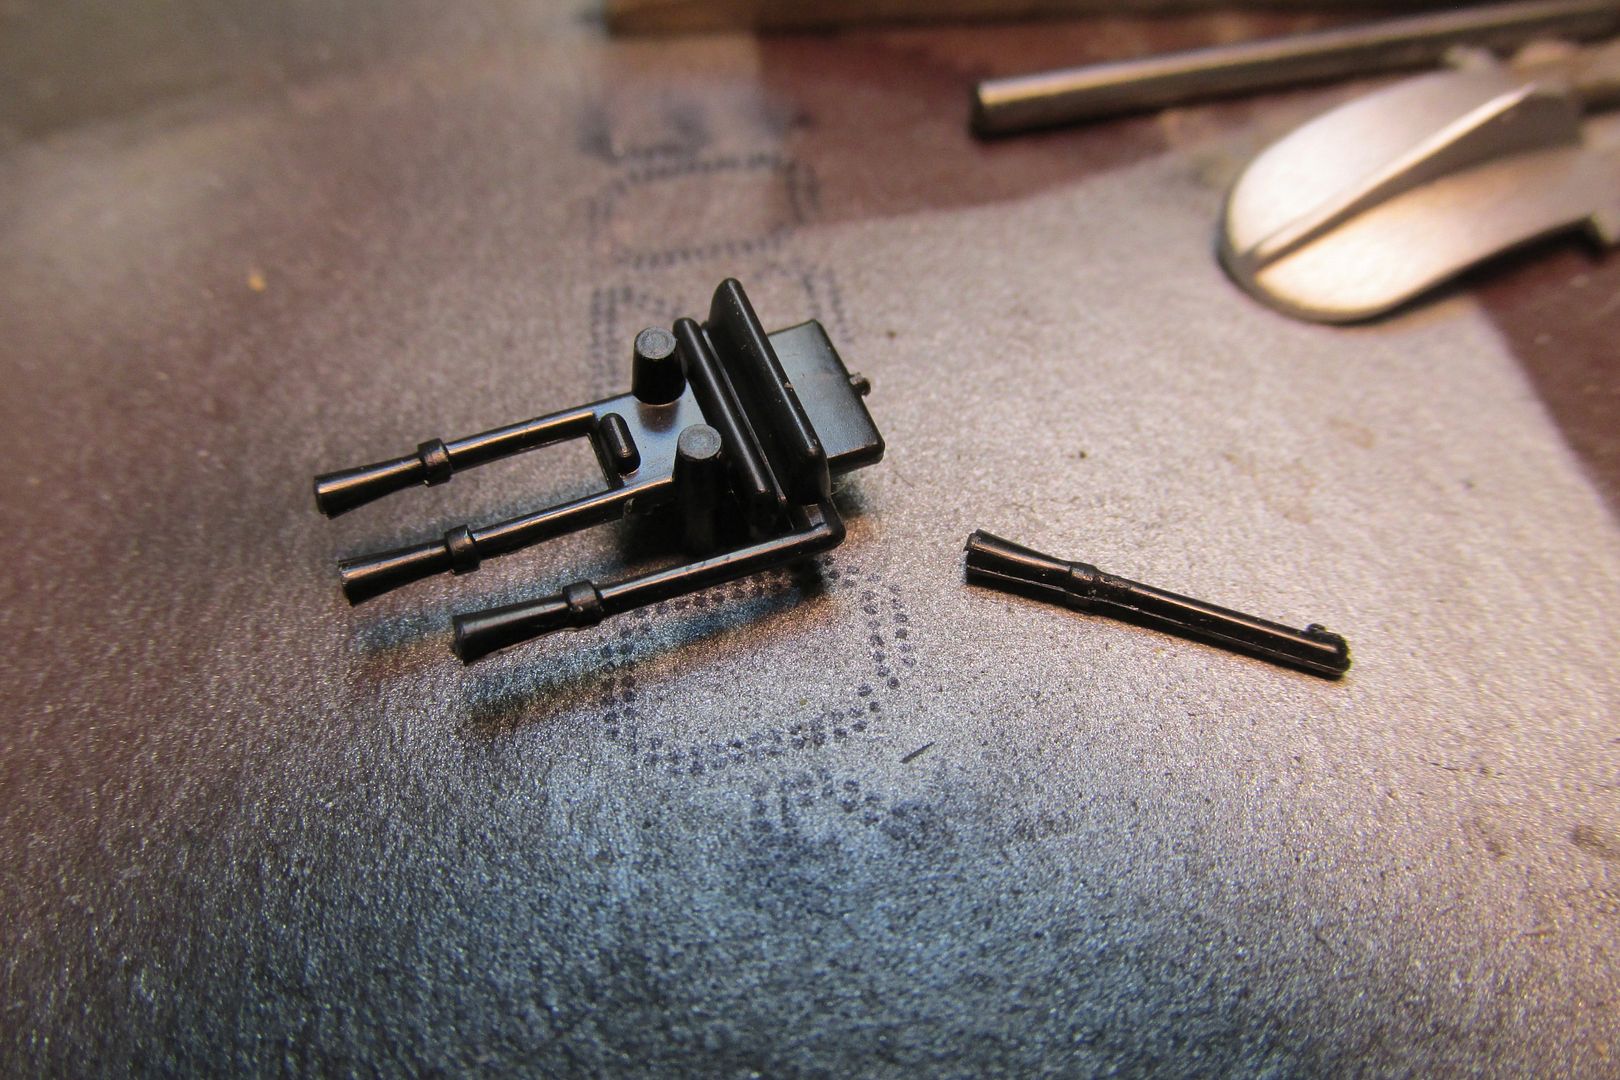
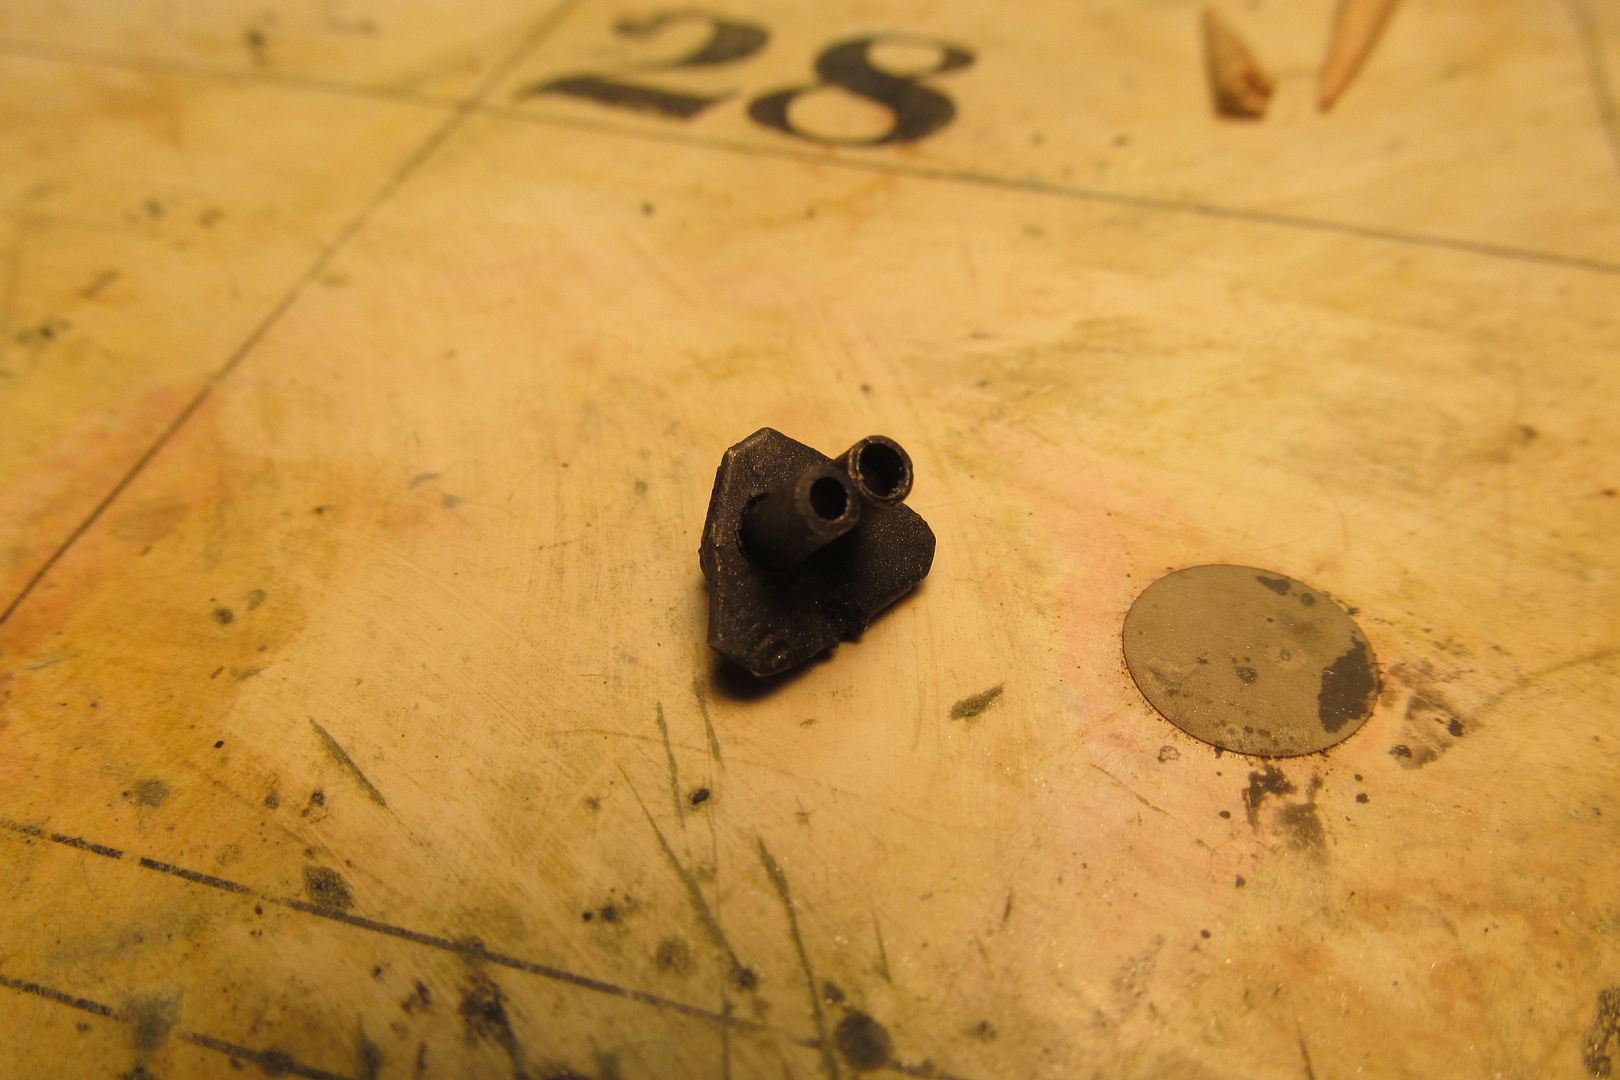
And here's the scratch-built nose gun receiver. I know I vowed to not scratch-build anything, but this is a necessary modification that doesn't change the appearance of the model. I'm good with that!
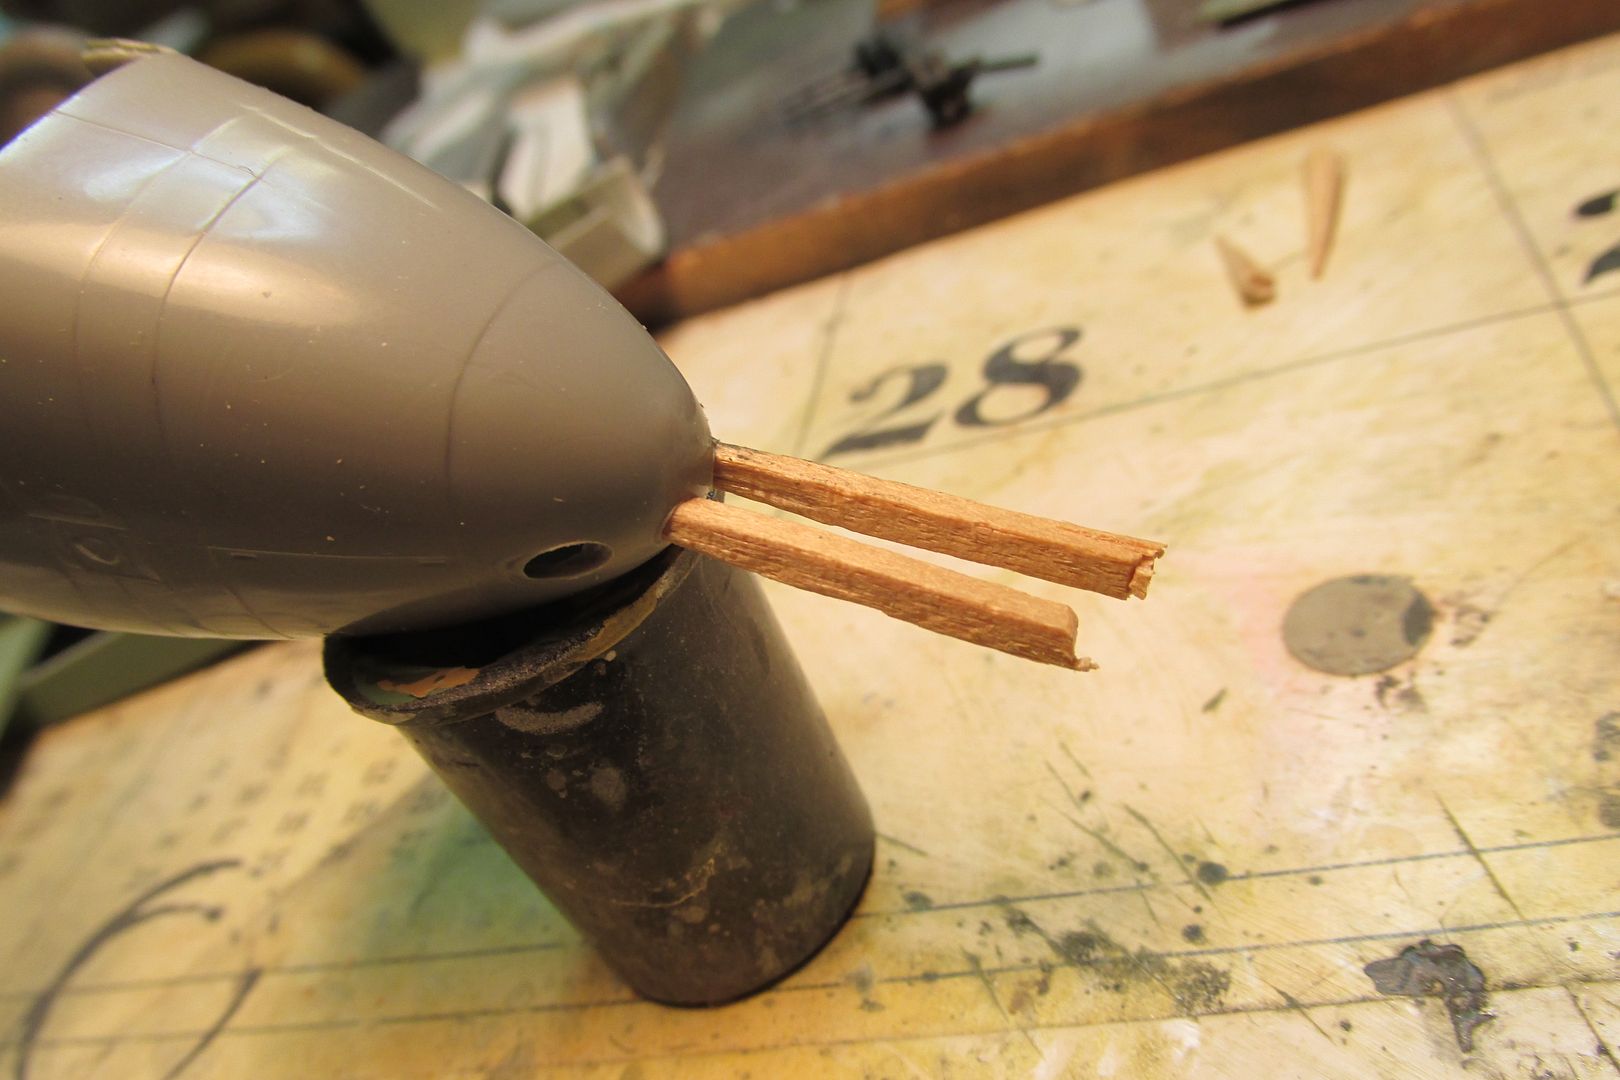
High-tech drift pins for nose gun alignment, no, I didn't machine these out of barstock on a Bridgeport mill, but I did use a toothpick!
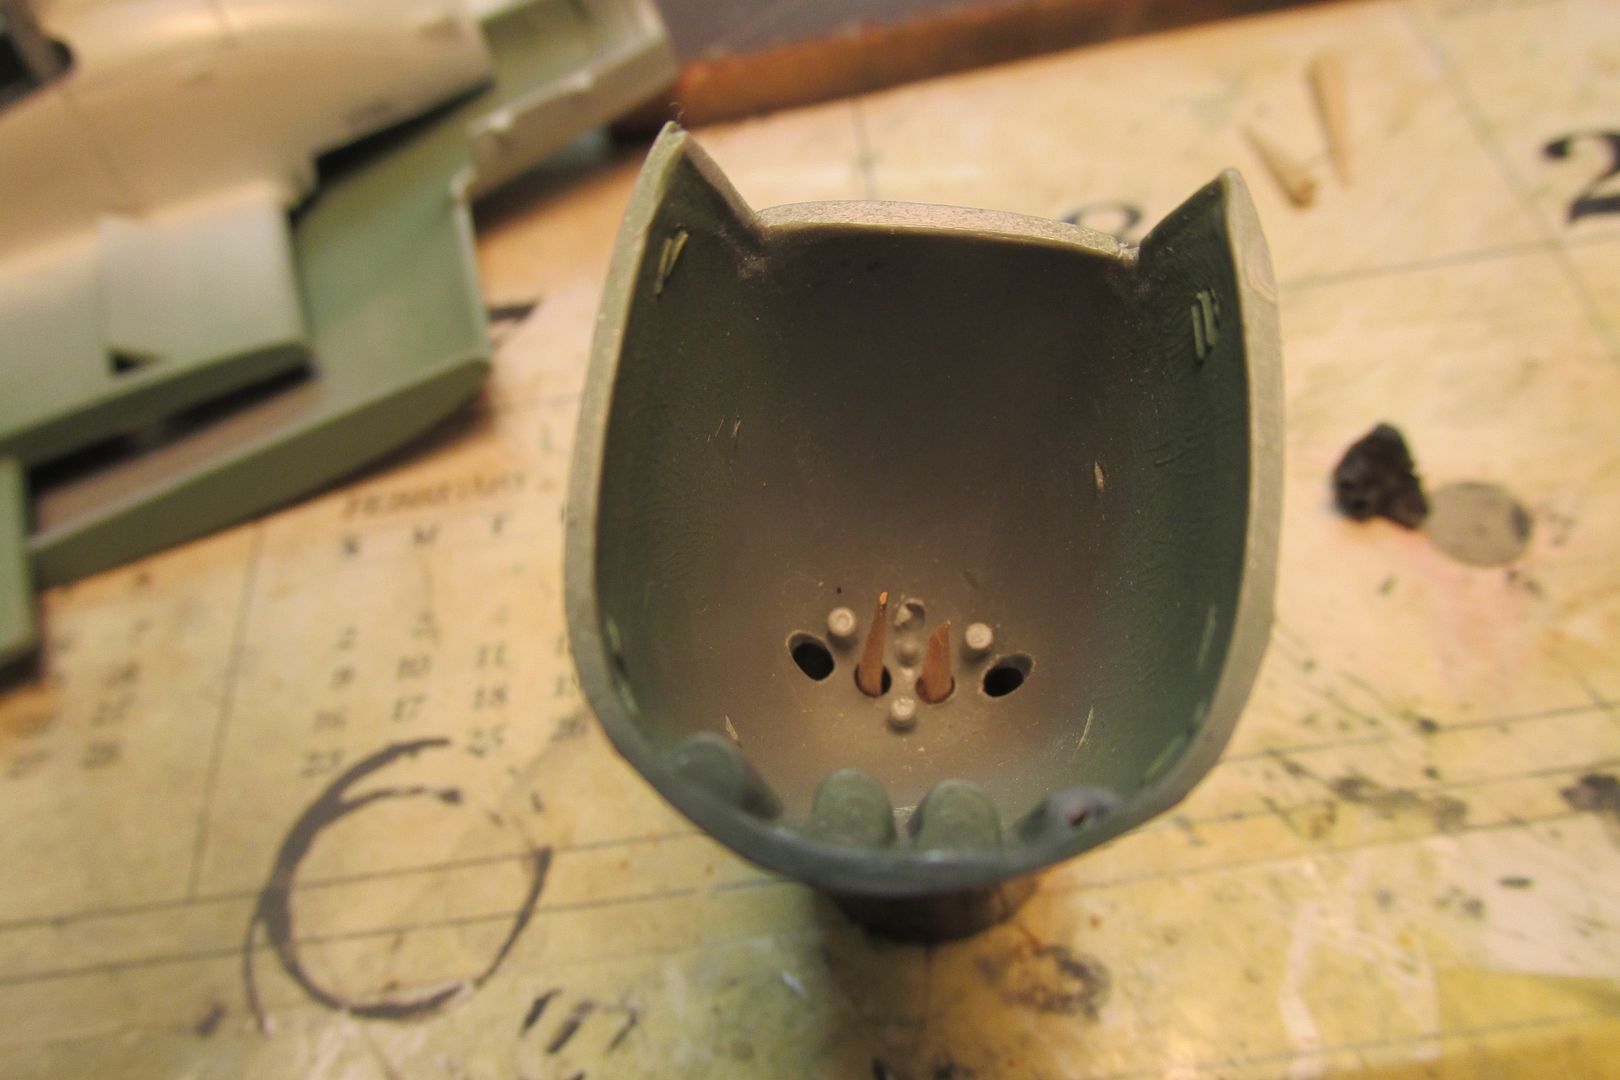
The alignment pins from the inside, they will both get a bit of smoothing before the big moment-I don't need anything preventing them sliding easily into the receiver tubing:
I separated all four nose guns and that was a bit fiddly. Surprisingly, I didn't break any of them...yet. The cut ends will go into the tubing and the business ends still need drilling out:
Gun barrel test fit into receiver tubing:
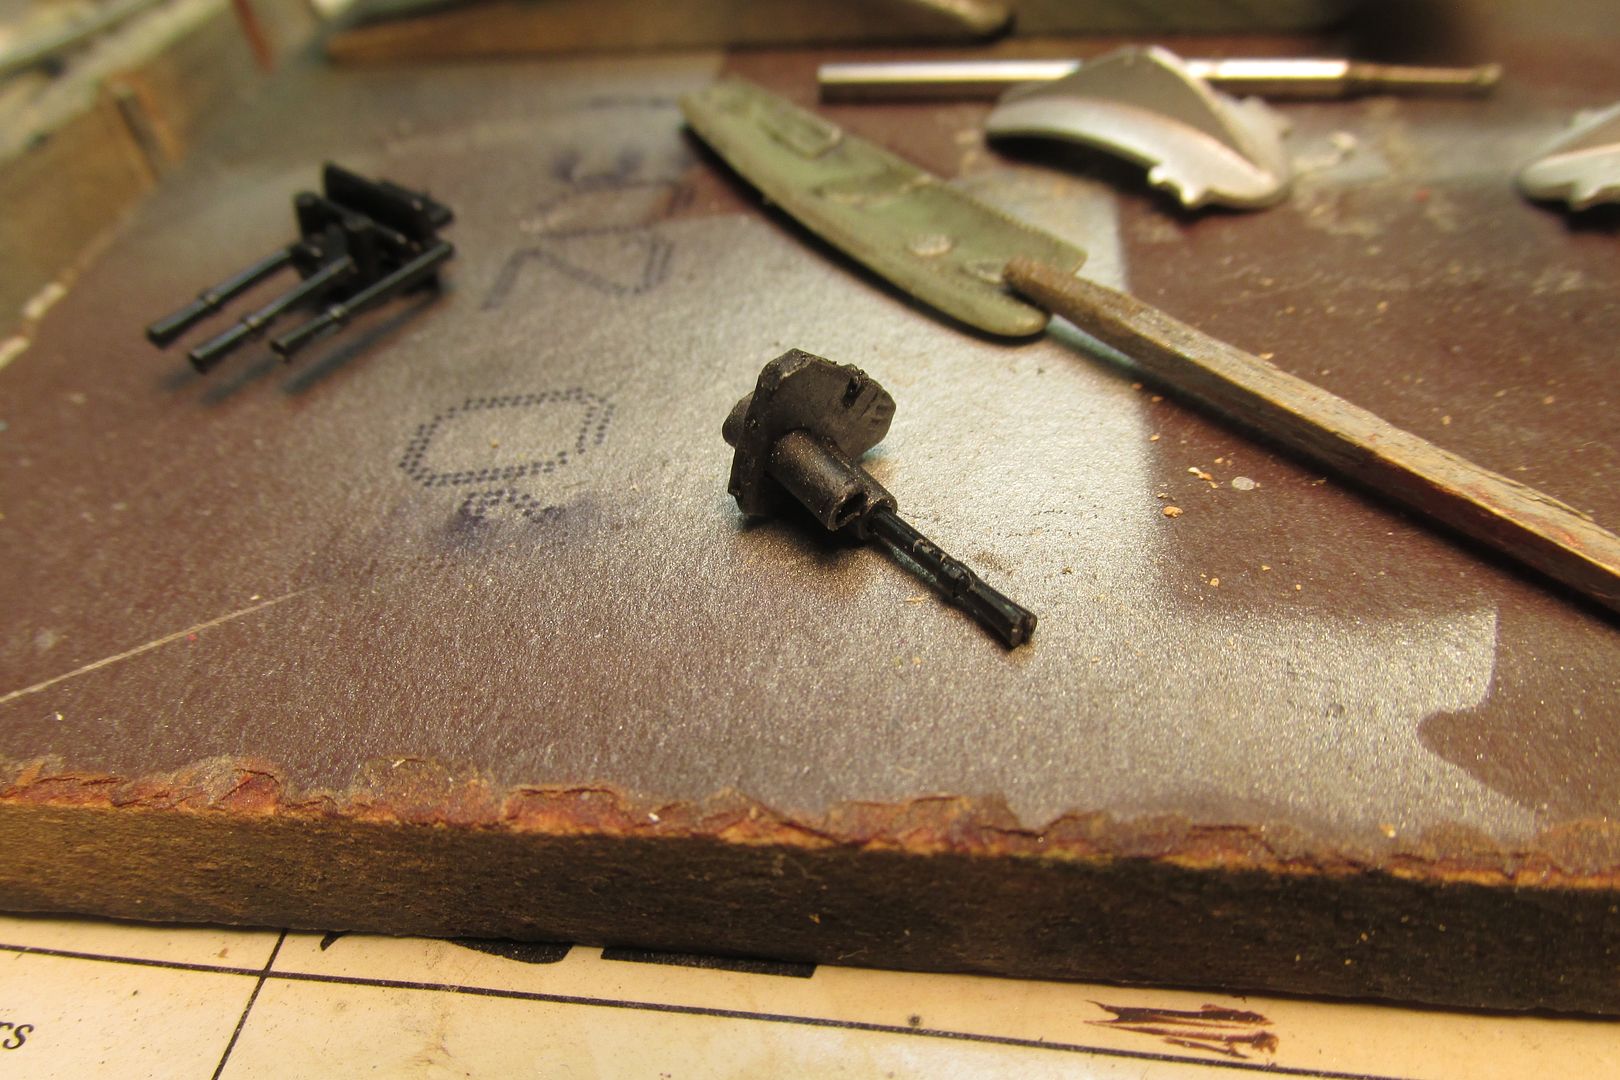
This shows where the outer nose gun's receiver tubes will be epoxied. They will fit on either side of the center gun's receiver part:
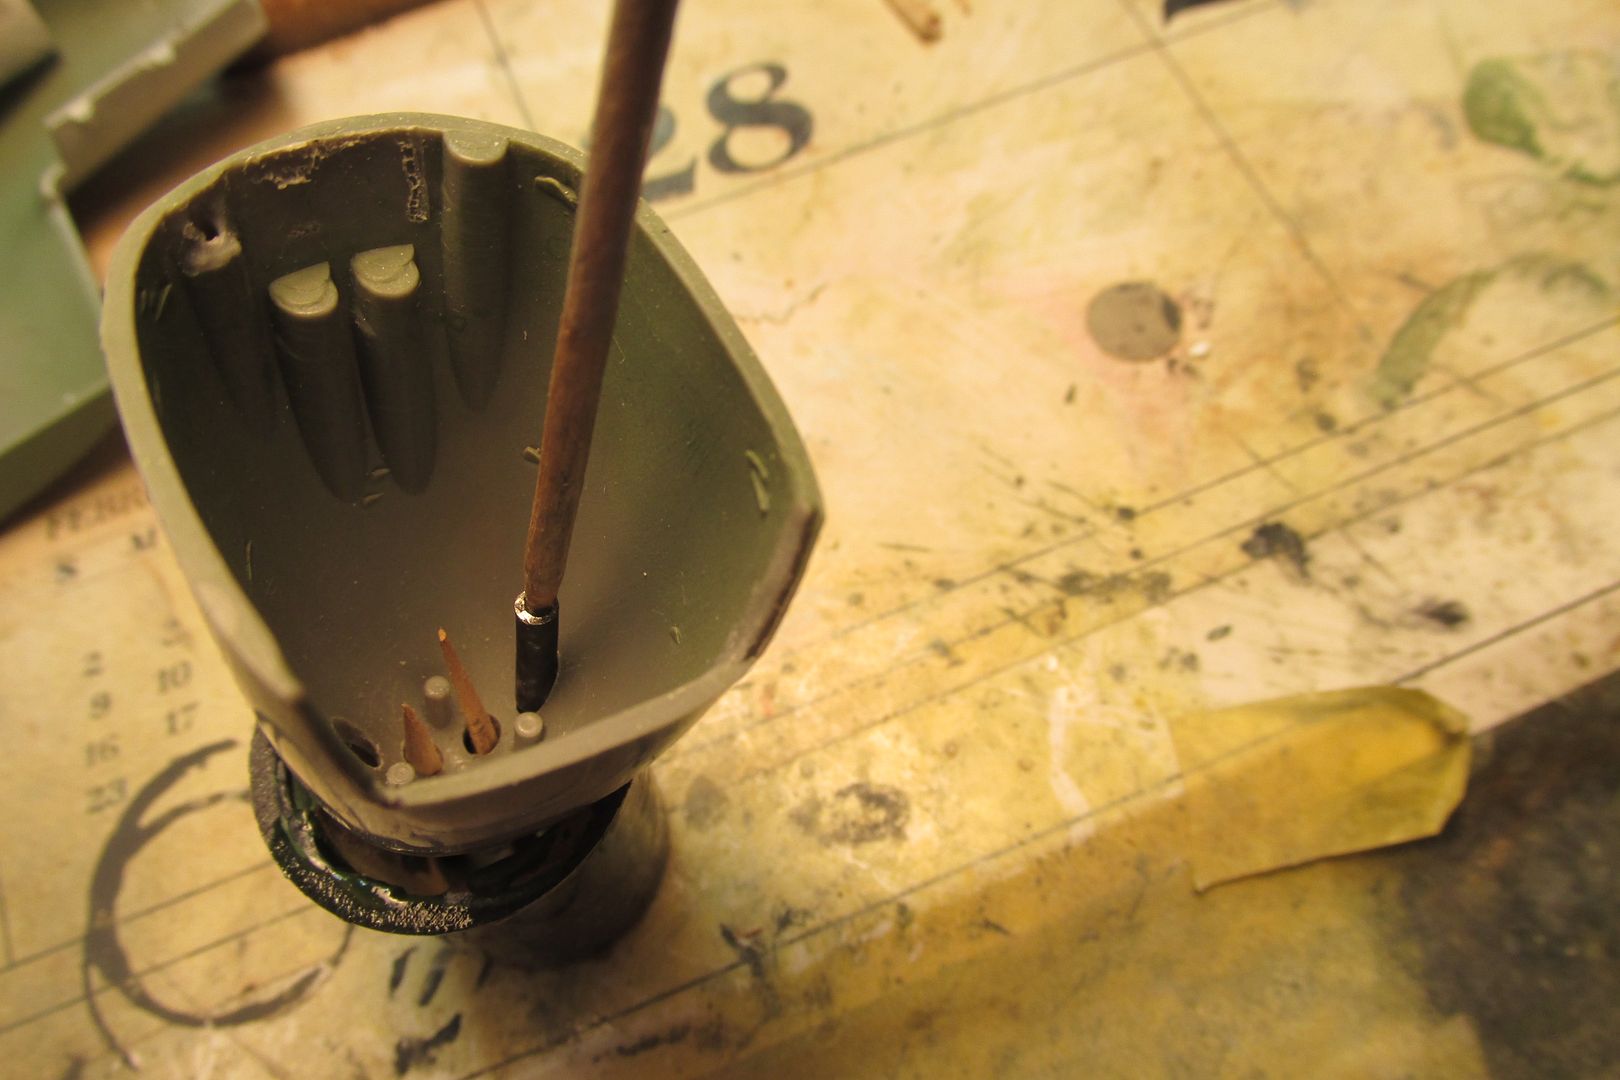
I think that's about it for my latest damage report. I've got grandkids on the way here today, so I probably won't have any other progress updates for a few days. Thanks for your interest and for having a look around!
Monogram would have you install the four nose .303 machineguns from inside the nose piece. Of course, then they would be sticking out and in the way for the rest of the build (sorta like the landing gear ) and I doubt the fragile little barrels would survive that. I think I've got a plan for that problem now. I've made a "receiver" piece with two aluminum tubes that will serve as sockets for the kit guns that I've separated and can now be inserted from the front, after all the "work" is done. There are three pins inside the nose that locate the kit guns. My receiver part will rest against those. I've made some cursory "drift pins" to help get the receiver and its tubes lined up with the openings in the nose. I plan to use two-part epoxy to glue the receiver onto the three locator pins, using the drift pins to keep it in place while the epoxy sets. The two outer nose guns will have aluminum tube "sockets" epoxied beside the home-made receiver part. Did you follow all that? Well, I hope some pics will help explain my plan:
The two nacelles with landing gear installed:
Man, whenever it was that I opened up those landing gear bay doors (yes, they are molded closed as they come in the kit), I must've used a dull hatchet and a chainsaw! Wow, those cuts look awful now that the naacelles are painted. I hope the bay doors will cover some of the damage.
The kit's nose guns are seen here; one was already removed to test the fit in the tubing:
Inside the nose piece-the three locator pins (in a triangular arrangement) can be see here:
And here's the scratch-built nose gun receiver. I know I vowed to not scratch-build anything, but this is a necessary modification that doesn't change the appearance of the model. I'm good with that!
High-tech drift pins for nose gun alignment, no, I didn't machine these out of barstock on a Bridgeport mill, but I did use a toothpick!
The alignment pins from the inside, they will both get a bit of smoothing before the big moment-I don't need anything preventing them sliding easily into the receiver tubing:
I separated all four nose guns and that was a bit fiddly. Surprisingly, I didn't break any of them...yet. The cut ends will go into the tubing and the business ends still need drilling out:
Gun barrel test fit into receiver tubing:
This shows where the outer nose gun's receiver tubes will be epoxied. They will fit on either side of the center gun's receiver part:
I think that's about it for my latest damage report.
I've got grandkids on the way here today, so I probably won't have any other progress updates for a few days. Thanks for your interest and for having a look around!