Thank you so much, Mike!
 It's about time to start "sewing" them up!

Thank you so much, Mike!
It's about time to start "sewing" them up! 
Heck, I might just give that ICM a try too!Stikpusher wrote: ↑Tue Nov 26, 2024 10:17 am Yes, the ICM cockpits are a bit fiddly, but once you have them sandwiched in place between the fuselage halves the go well. The engineering is pretty sweet for the most part other Yaks.
Thanks for the encouragement, Carlos! 

Thank you very much for the warm comments, Mark!Duke Maddog wrote: ↑Sat Nov 30, 2024 10:25 pm Brilliant work Gary, it's great to see you building again!
I sure appreciate them, and yes, it's about time I had something to show! I'm getting back to them as soon as our Thanksgiving company heads home. Thank, John!
The pace of the progress is pretty glacial, but slowly, but surely, things are taking shape! 
I hope I can do them justice, Remco!
 Keeping my fingers crossed anyway!
 Thanks, Johnny!tempestjohnny wrote: ↑Tue Dec 03, 2024 6:06 am Umm. I guess I missed this. Great start on these Gary. Now you need a Shturmovik Il-2 to go with them
Ya know, I've picked up and examined the Revell Il-2 kit several times but didn't buy one...yet!  I believe I've struggled with each one lately and these two were no exceptions. I used to have no trouble applying liquid cement along seams, wait a bit and then squeeze them together, oozing out the melted styrene. Now, that almost never happens.
  Maybe I'm squeezing them too soon? Or perhaps the liquid cement isn't strong enough. I don't know, but I even tried some MEK and that was only a little better.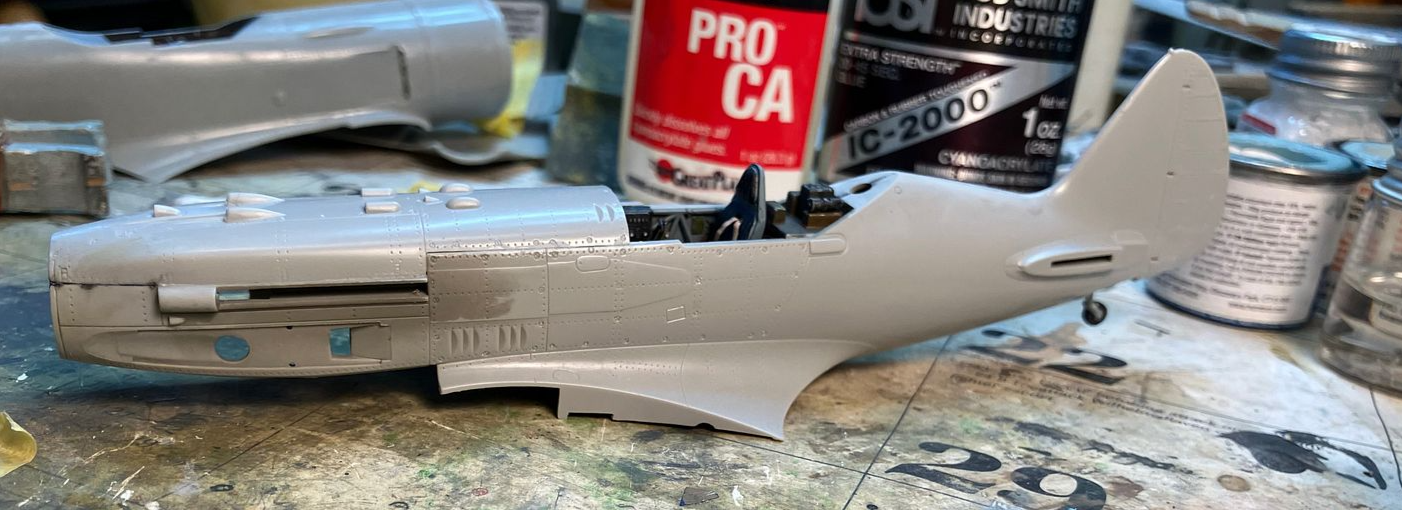
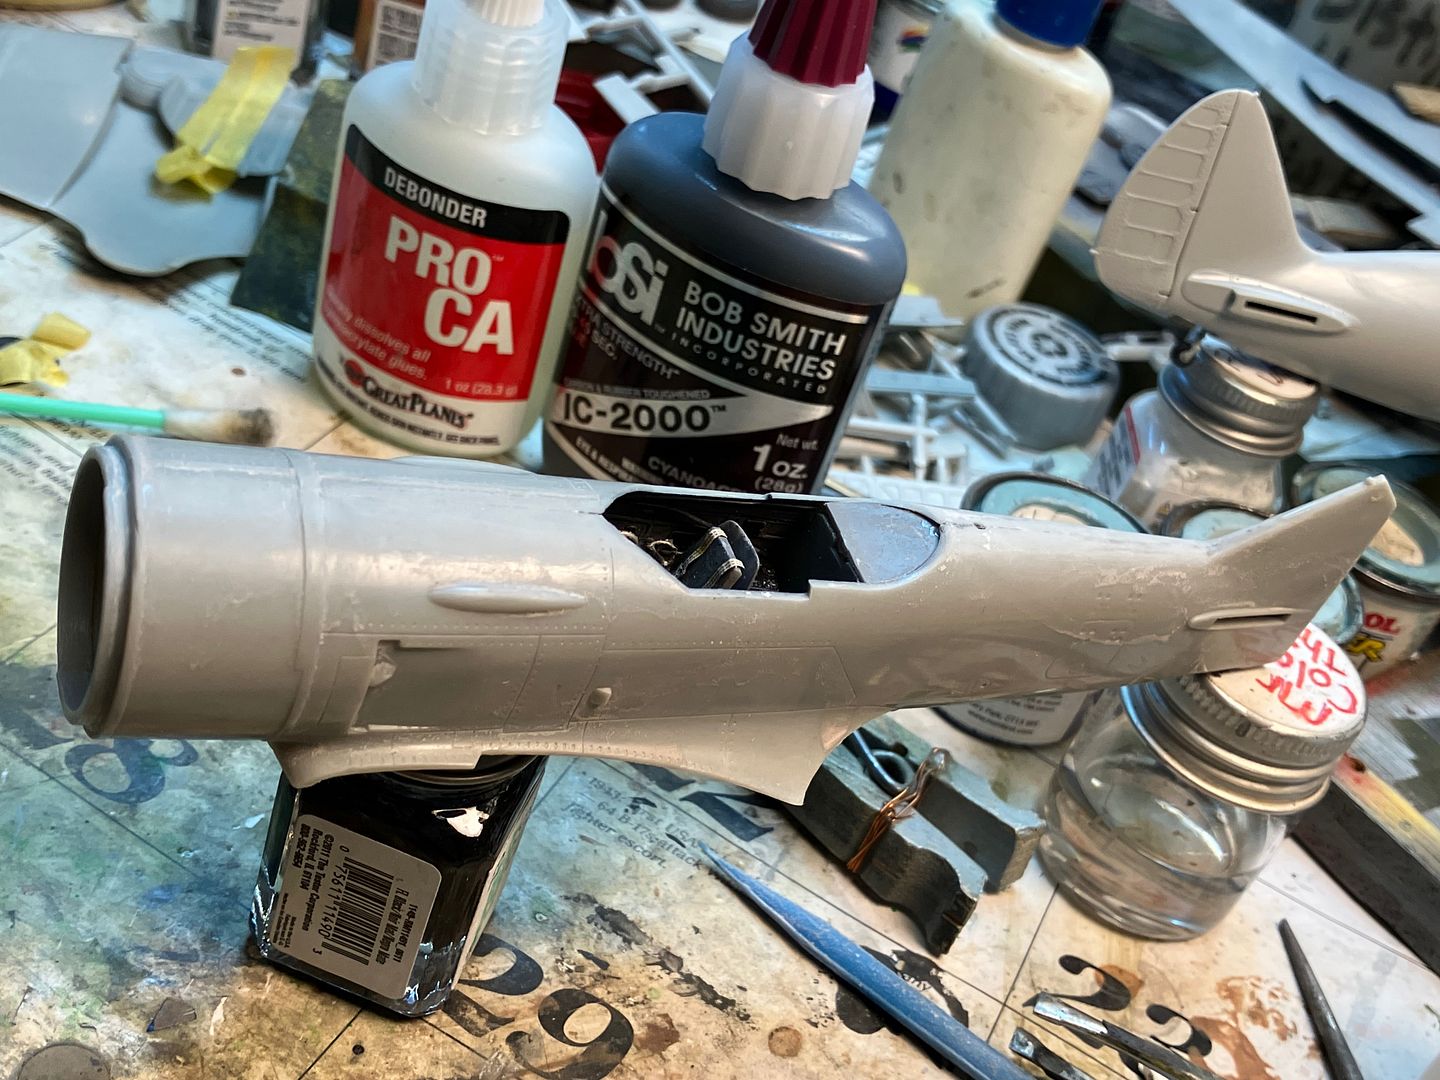
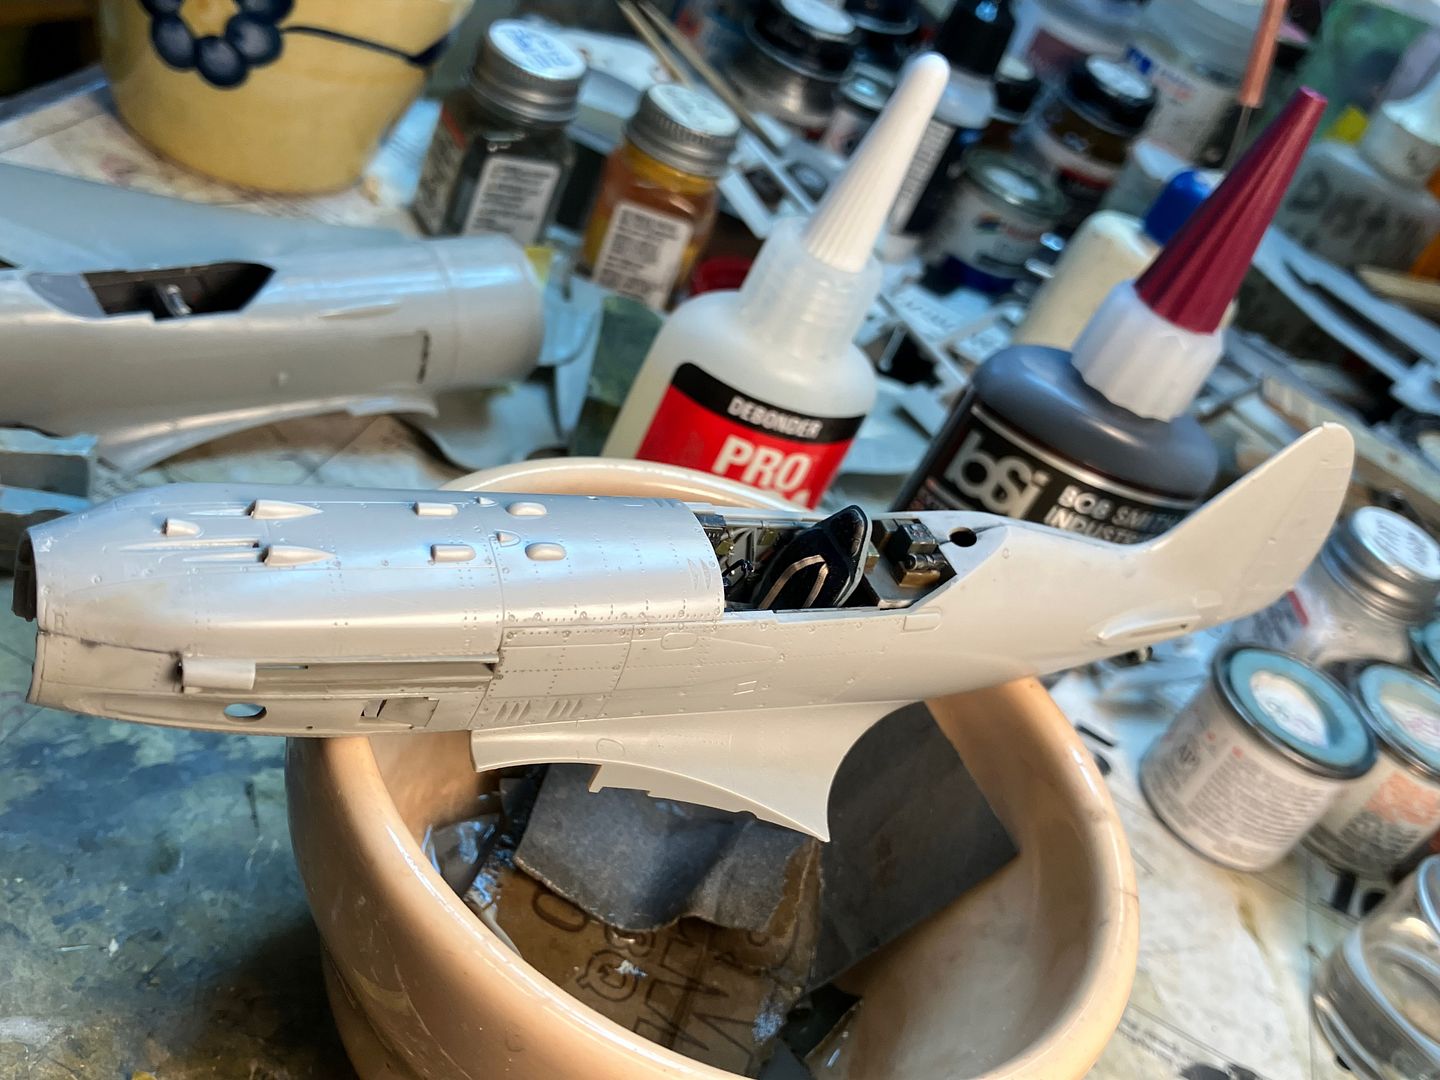
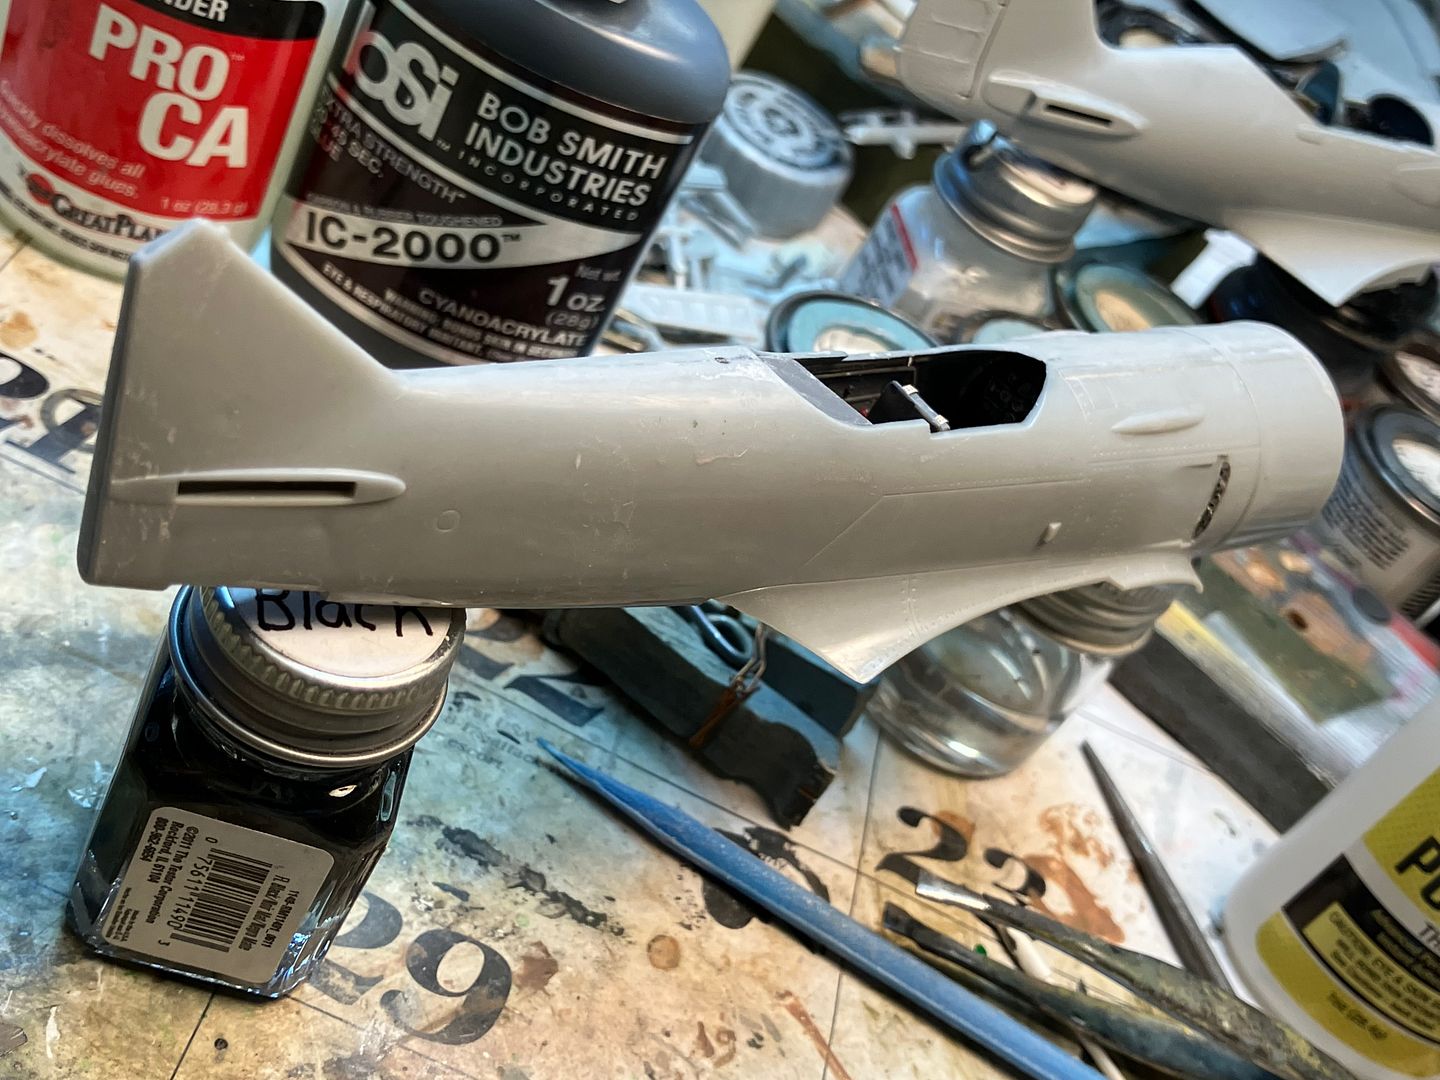
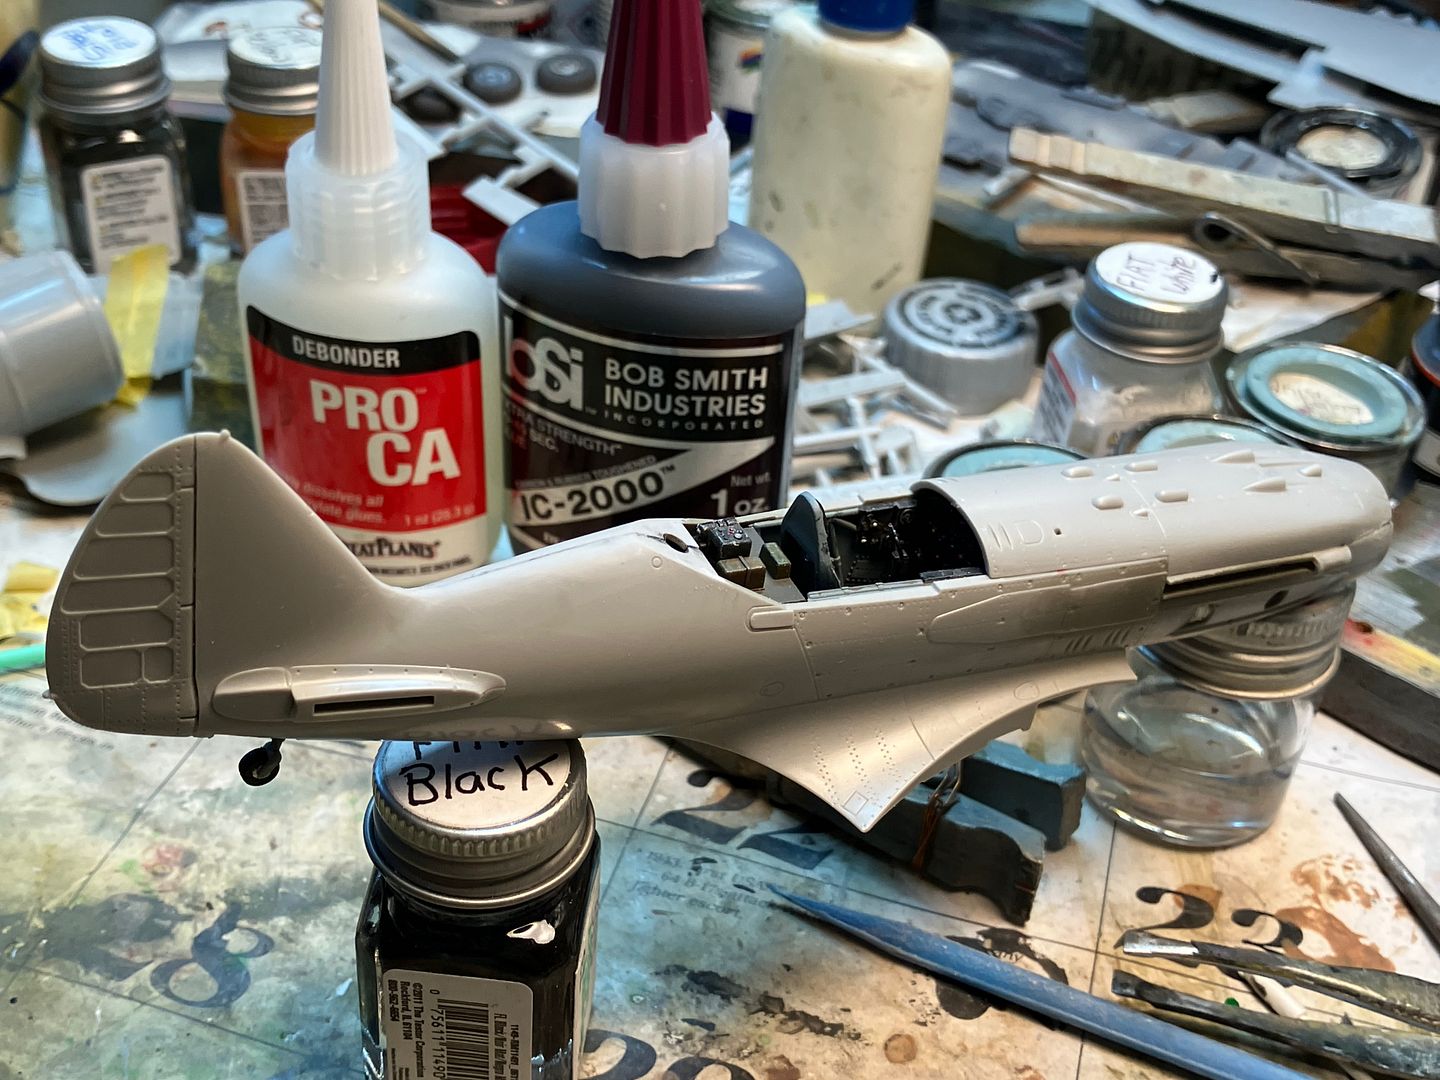
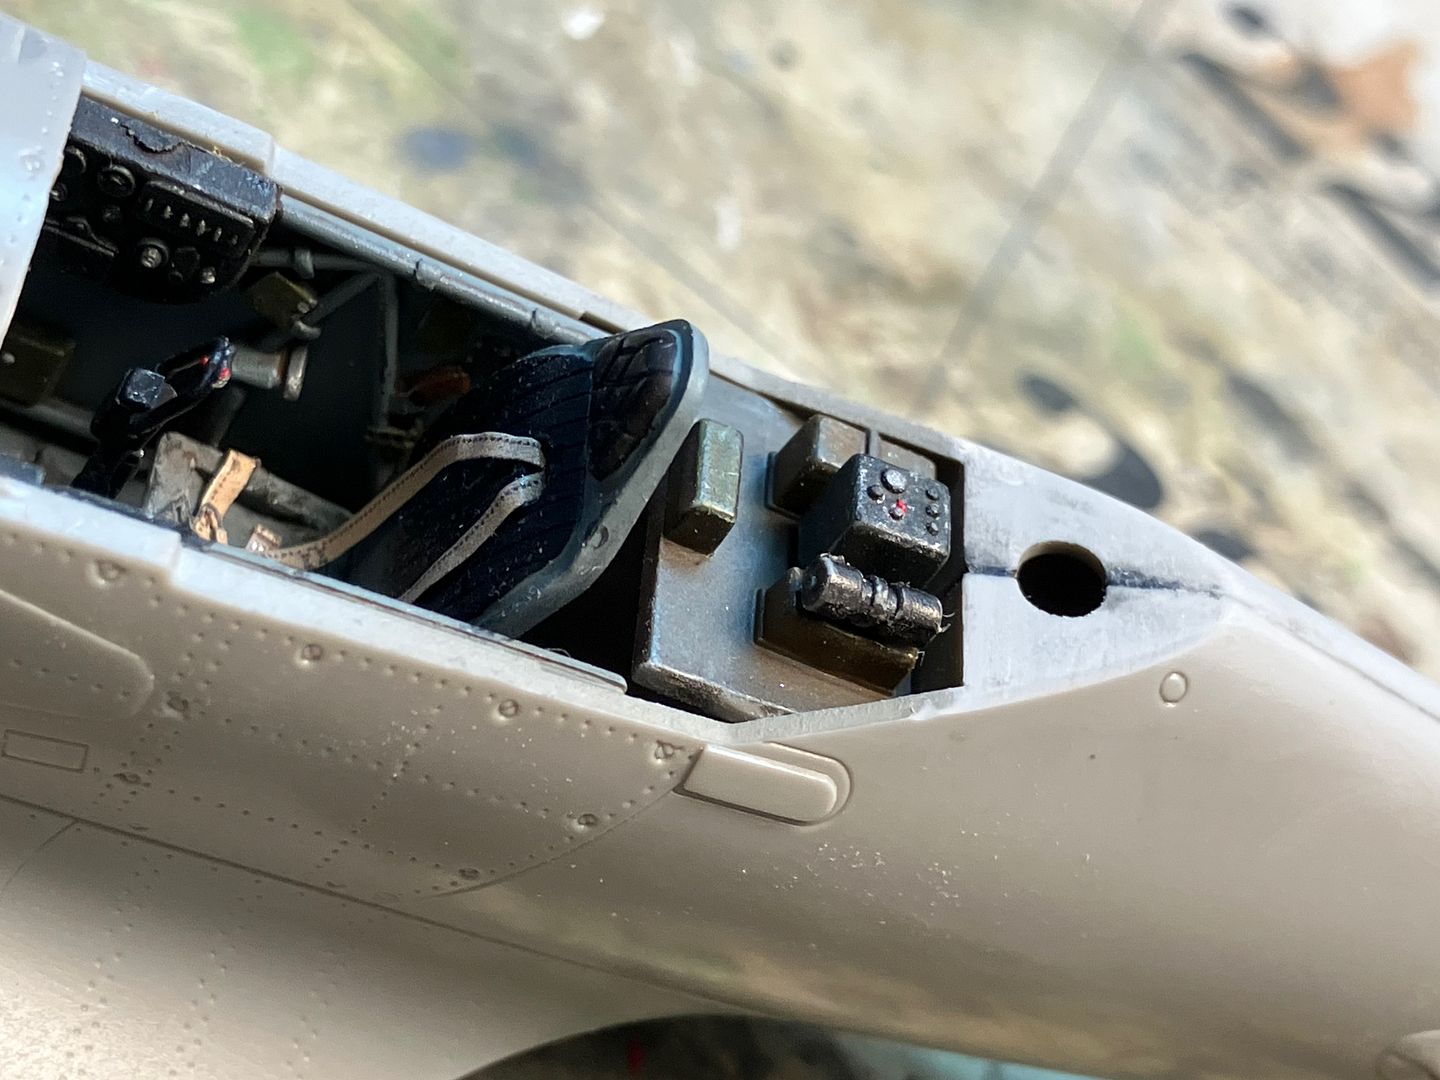
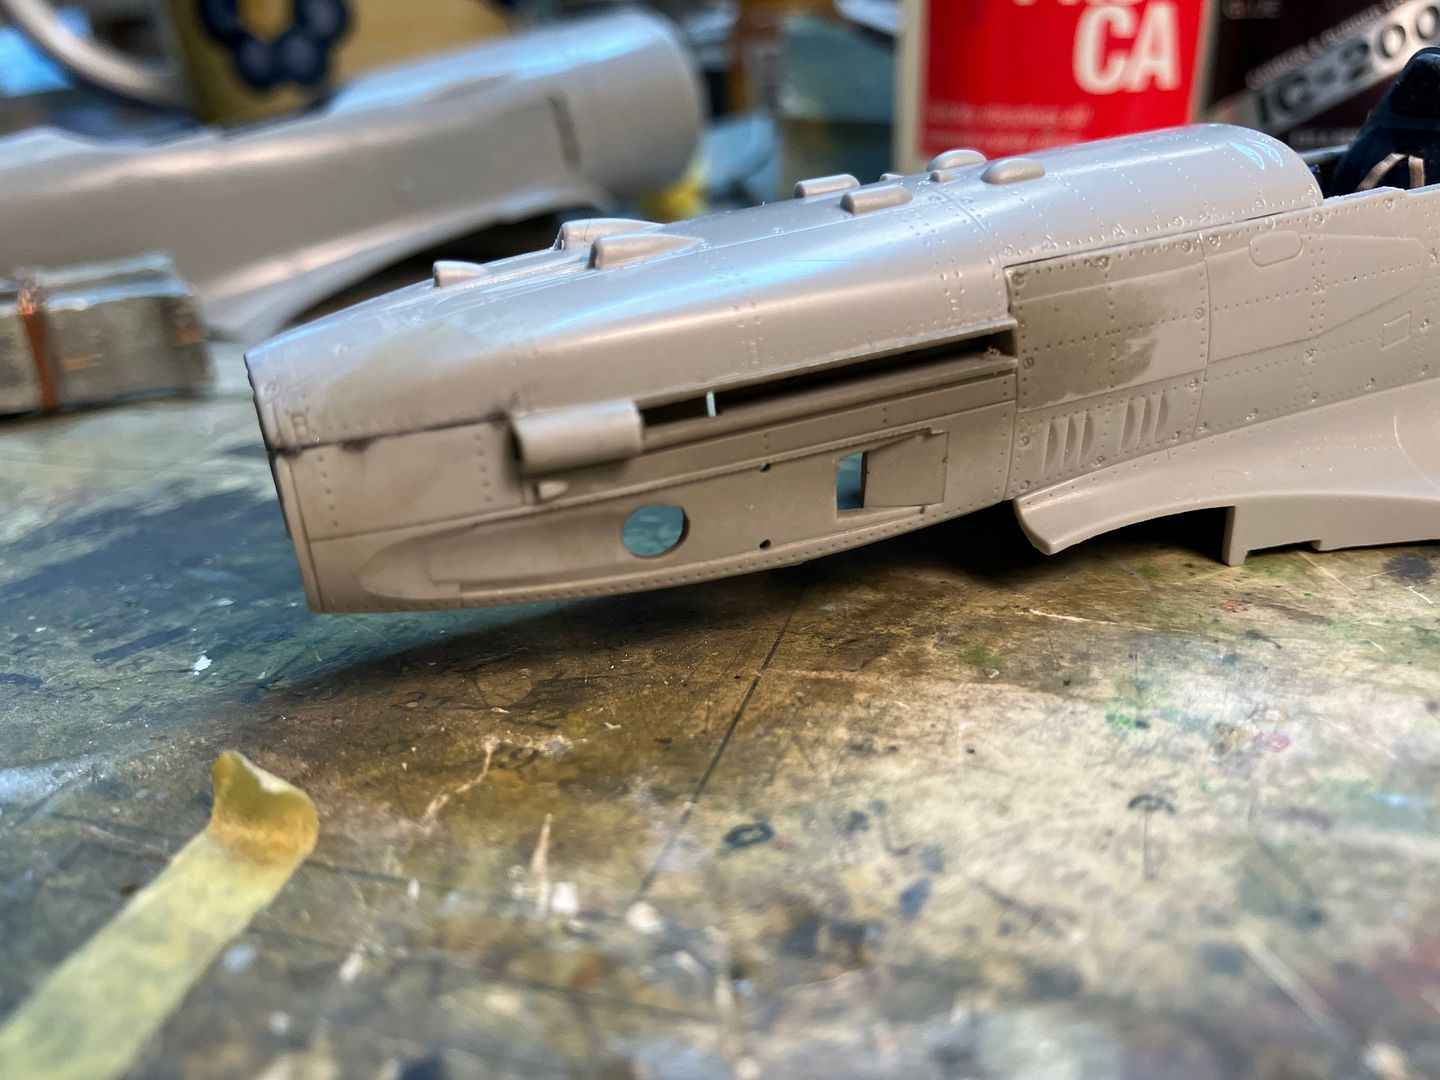
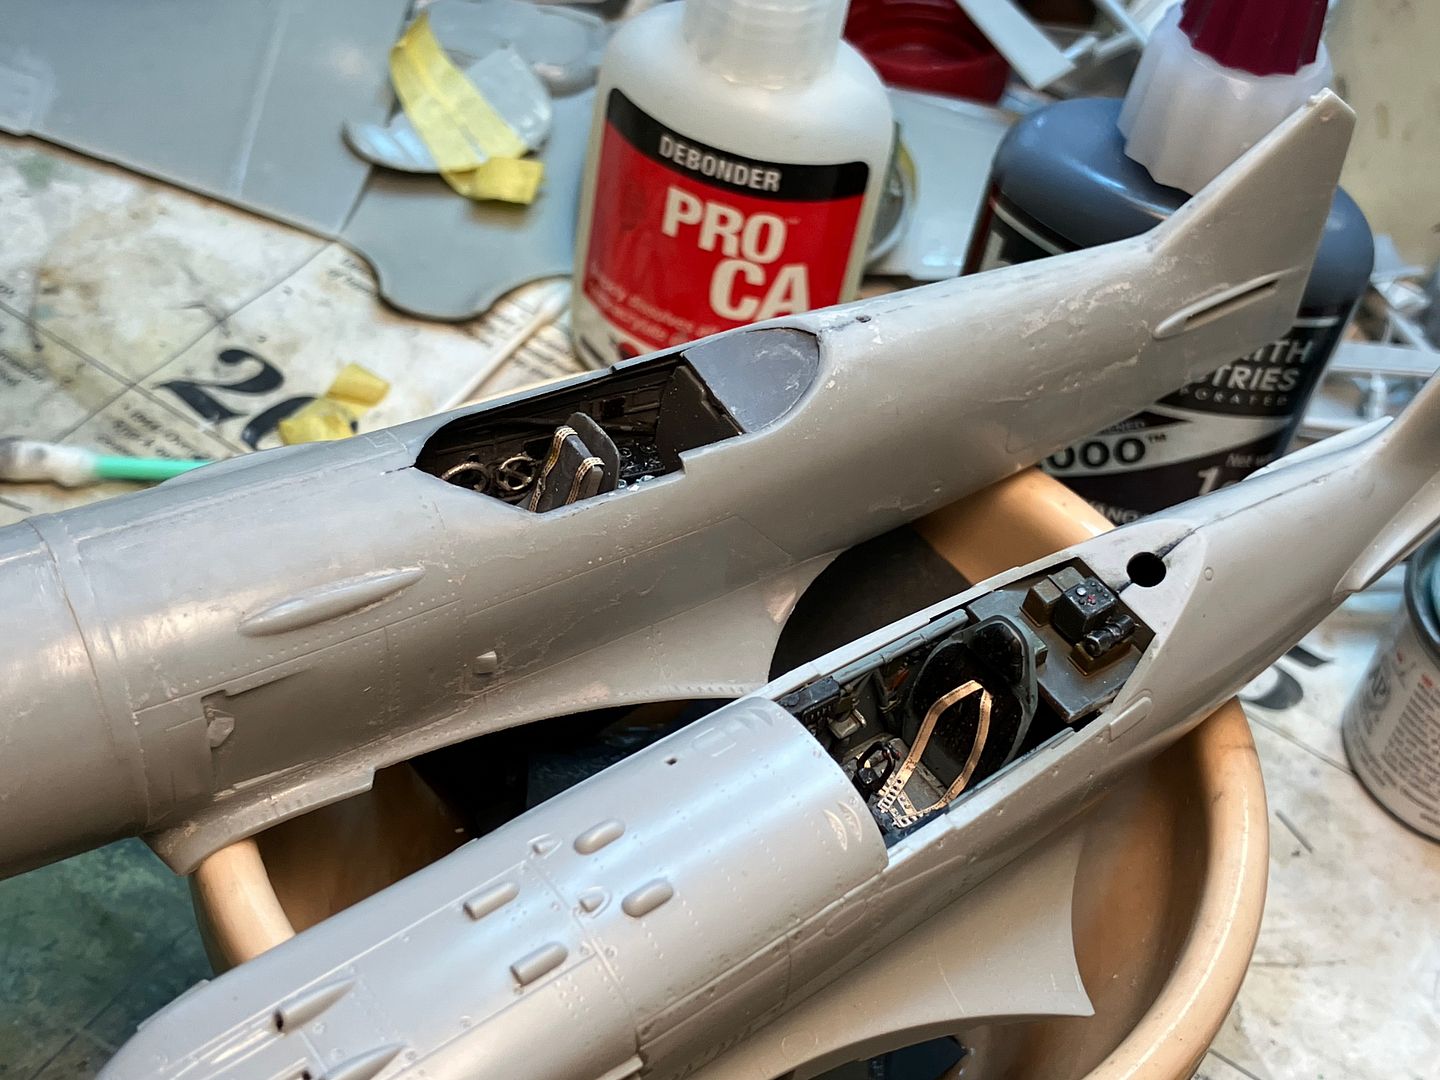
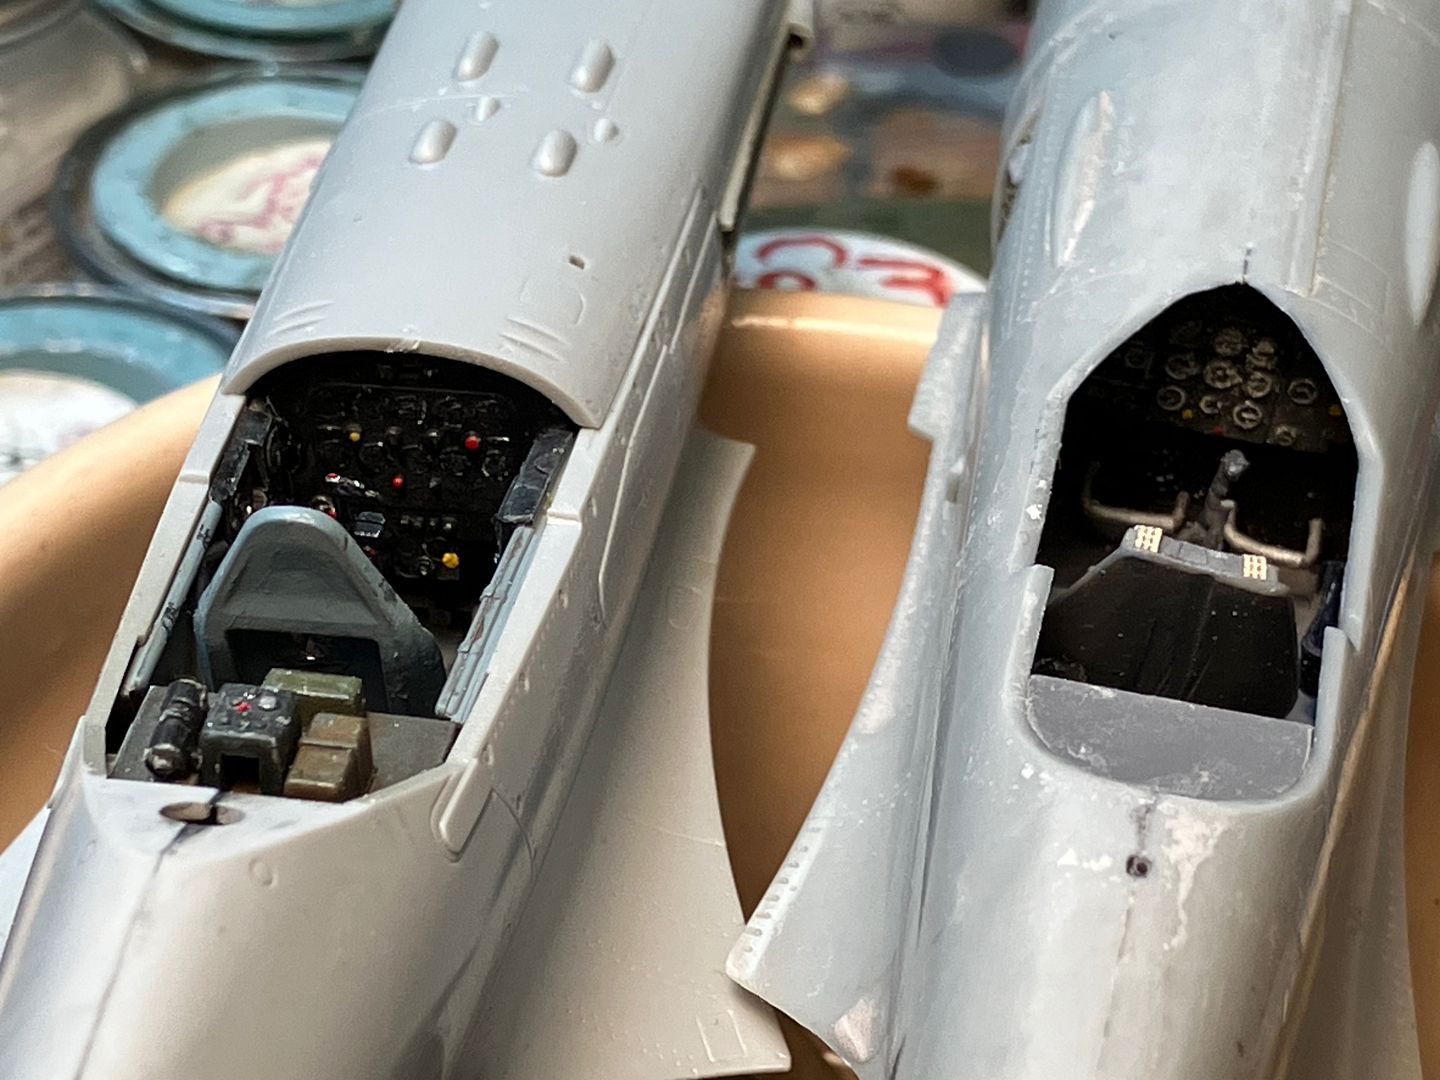
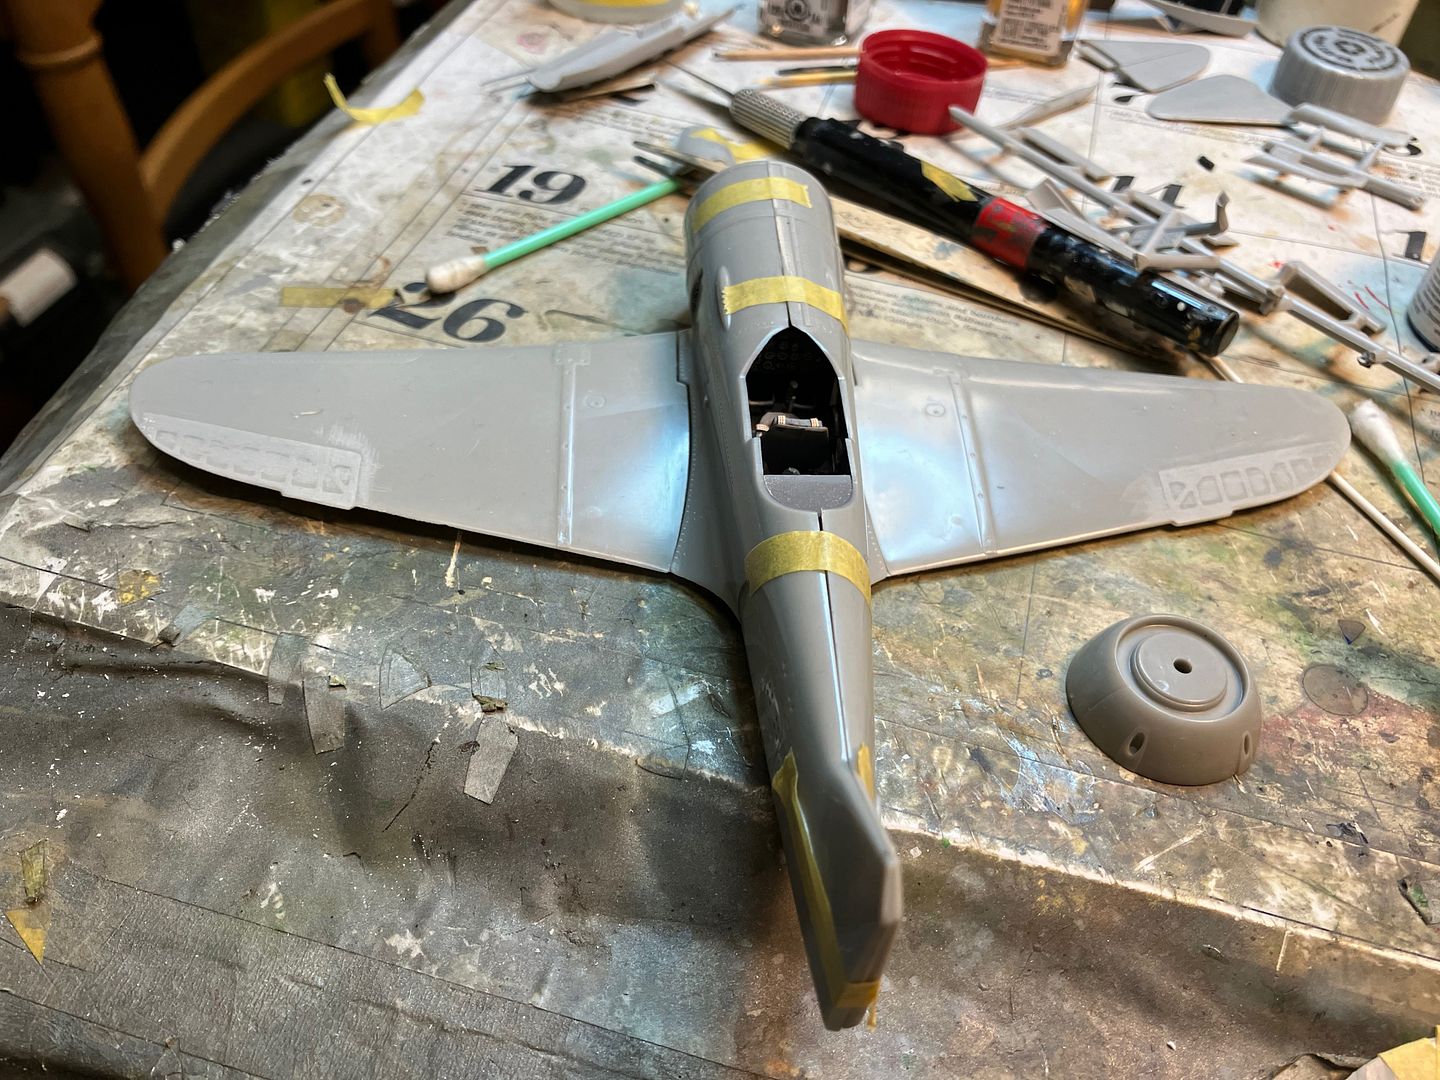 You'll also note the tailwheel hanging down on the MiG-3. The instructions called for sandwiching between the two fuselage halves resulting in a very dangerously exposed appendage that I will almost certainly break before much longer. Ironically, I thought of a good alternative method of attaching that tailwheel later in the build using a short section of tubing, just minutes after glueing it together!
  Oh well, that's modeling by old folks, I guess!






