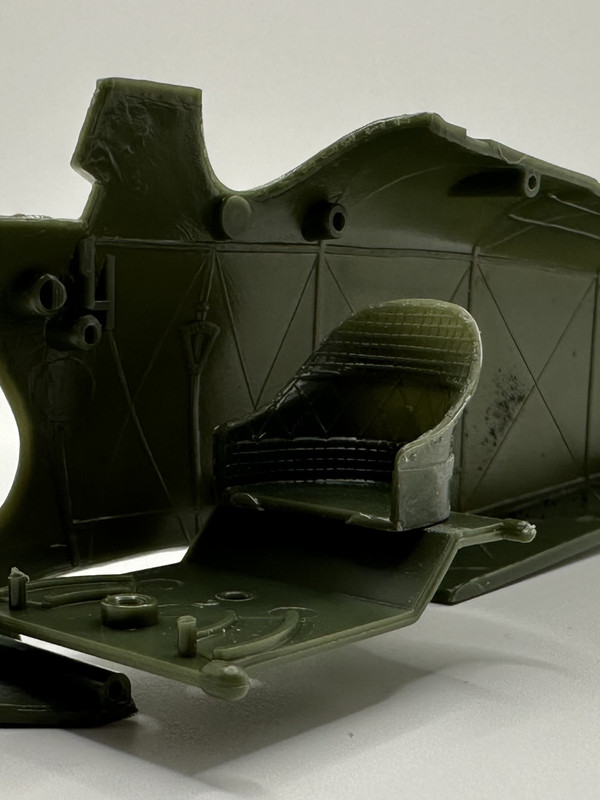
I hate ejector pin marks - especially in spots where you’re gonna see them. Revell is known for them in the worse spots. Interesting observations on roundel colors.
As far as glue goes, I use orange Testors tube glue,Tamiya liquid glue and another liquid glue I like a lot better than Tamiya liquid glue is this stuff:
"Surely I have made my meaning plain? I intend to avenge myself upon you, Admiral. I have deprived your ship of power, and when I swing 'round, I intend to deprive you of your life."
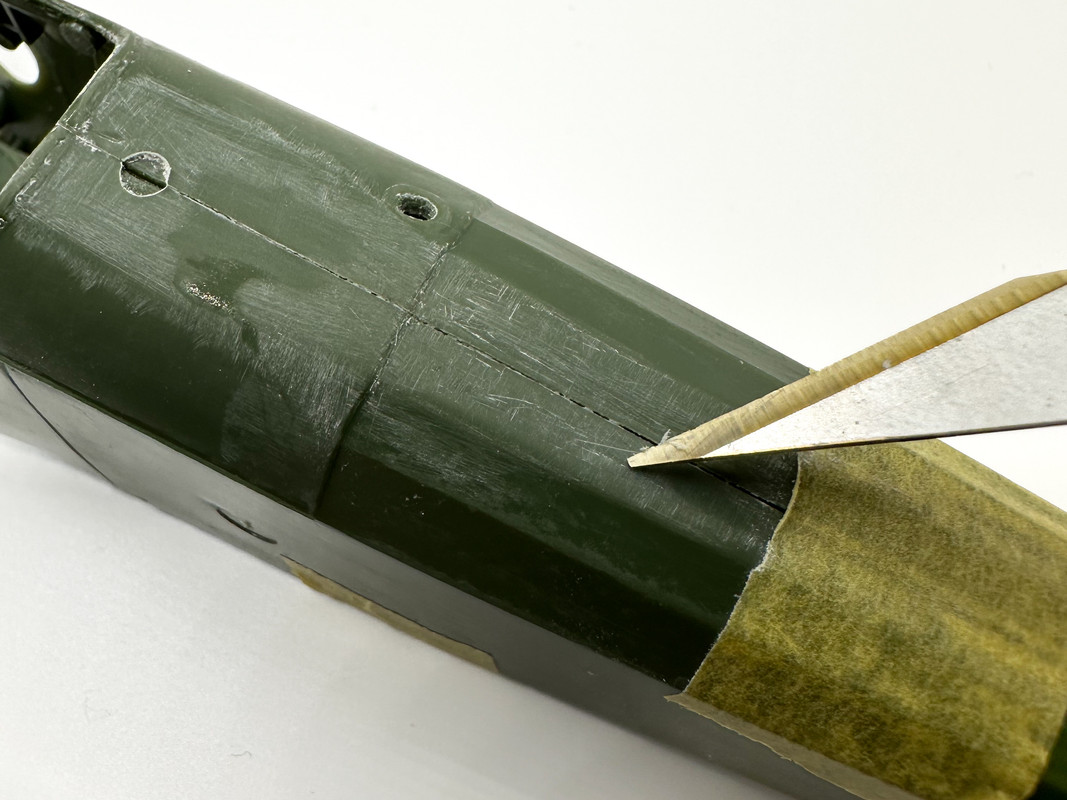
Thank you for confirming that that is indeed an injector pin sink mark! Wellllll last night when I came home at midnight I took thirty minutes to gently gently gently sand down that offending little unwanted pimple! Thanks for the glue advice too!
Baaa Baaa Blacksheep Tom
I too heartily dislike all injector pin marks in visible places! Looks like Revell has left them on wings as well. Oh joy. Welll it’s almost time to crack out the white primer to see if it’s almost time to use a sparing amount of sanding and filling to get rid of these offenses. Thank you for your advice on glue. Time to buy Testors!
Dear WWI Flying Ace
I’m honored by your presence and support!
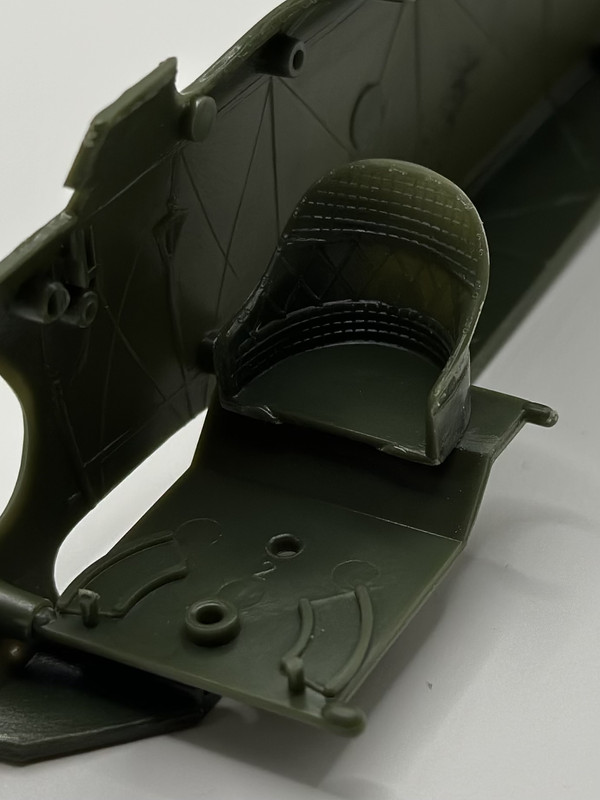
I also wanted to write a bit more about choosing to order Tom’s Model Works interior cockpit. As far as I know this is the only still currently in production aftermarket which was designed for the kit. I realize that first generation PE tends to be flatter and less dynamic then the current “Brassin” kinds but I still feel that Tom’s is concurrent with the design of the kit itself and worthy of inclusion. Plus I like building cockpits which I will never see again, doesn’t everyone feel this way? I noticed that the few versions of this kit nowadays are built as a WnW Starter style kit. That’s not my reason here. I genuinely love early USA made Revell kits.
I’m also genuinely grateful to the experienced model builders on this forum. Without your guidance I would be unable to make the most of the experience of building an aircraft kit such as this.
My next question concerns rigging. Is there a particular type of rigging best suited for this project?
I almost did not receive this PE yesterday. It was thrown into the trash with the junk mail. I have had no time to photograph the PE, either. Apologies. I did have a moment to open the package and look inside. I will try to photograph tonight. I see that the seat is in three parts. I may modify the existing seat to accommodate these.
EZ line should work fine in this scale, Bruce. The kits originally came with a black elastic thread which I thought was over scale and it has failed to last the life of my Dr.1. Small fishing line would also work.
I've tried a couple times. One met the flak hammer because it pissed me off. Another time, I did build the Curtiss Jenny but opt not to rig it. The Curtiss Jenny has far too many rigging points so it wasn't worth it for me to attempt it.
Rigging has always been a thorn in my side on all biplane kits.
Prior to the last Stearman kit getting stepped on by accident by me, I was gonna give another go at it. For now I'm stepping away from.doing biplanes for awhile.
“Who controls the skies, controls the fate of this Earth”
Author unknown- 352nd Fighter Group, Blue-Nosed Bastards of Bodney
“Send one plane it’s a sortie; send two planes it’s a flight; send four planes it’s a test of airpower. - Richard Kohn
"Surely I have made my meaning plain? I intend to avenge myself upon you, Admiral. I have deprived your ship of power, and when I swing 'round, I intend to deprive you of your life."