DML Easy 8
-
Stikpusher

- Moderator
- Posts: 21383
- Joined: Sat Apr 05, 2014 8:37 pm
- Location: Ceti Alpha 5
Re: DML Easy 8
Thanks guys! It’s finally starting to take final shape. Gotta start adding the fenders to the upper hull tomorrow.
"Surely I have made my meaning plain? I intend to avenge myself upon you, Admiral. I have deprived your ship of power, and when I swing 'round, I intend to deprive you of your life."
FLSM
FLSM
-
Brandons_Iron

- Advanced Member
- Posts: 496
- Joined: Tue Jan 21, 2020 11:18 am
- Location: Eastern Idaho
Re: DML Easy 8
That is a thing of beauty.
BrandonK
If you can't fix it with duct tape, you're not using enough duct tape.
If you can't fix it with duct tape, you're not using enough duct tape.
-
Stikpusher
- Moderator
- Posts: 21383
- Joined: Sat Apr 05, 2014 8:37 pm
- Location: Ceti Alpha 5
Re: DML Easy 8
Thanks Brandon. It’s finally all taking proper shape 
Today I added the fenders. Nothing too difficult, but a bit time consuming to clean up an add each of the bracing outriggers… 11 per side…
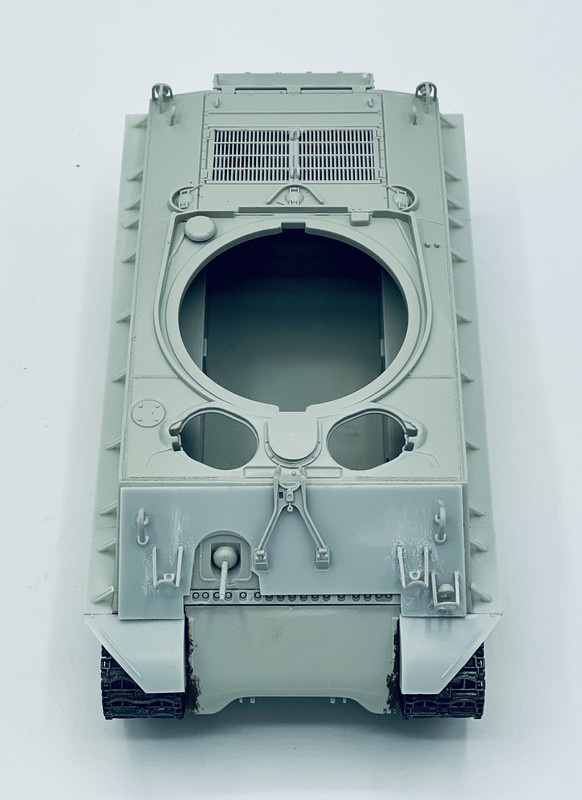
Once those are dry I can get the undersides painted and weathered before I glue the upper hull into place
Today I added the fenders. Nothing too difficult, but a bit time consuming to clean up an add each of the bracing outriggers… 11 per side…
Once those are dry I can get the undersides painted and weathered before I glue the upper hull into place
"Surely I have made my meaning plain? I intend to avenge myself upon you, Admiral. I have deprived your ship of power, and when I swing 'round, I intend to deprive you of your life."
FLSM
FLSM
-
Stikpusher
- Moderator
- Posts: 21383
- Joined: Sat Apr 05, 2014 8:37 pm
- Location: Ceti Alpha 5
Re: DML Easy 8
A few more update photos...
First up, the kit comes with full sand shields, but also includes the parts for the Korean War era fenders. Those work for the front, but in WWII the rear mud flaps were not part of the issue of the vehicles, and when crews removed the sand shields, a strip was left on the rear fender area that was not included. I made those from strip styrene
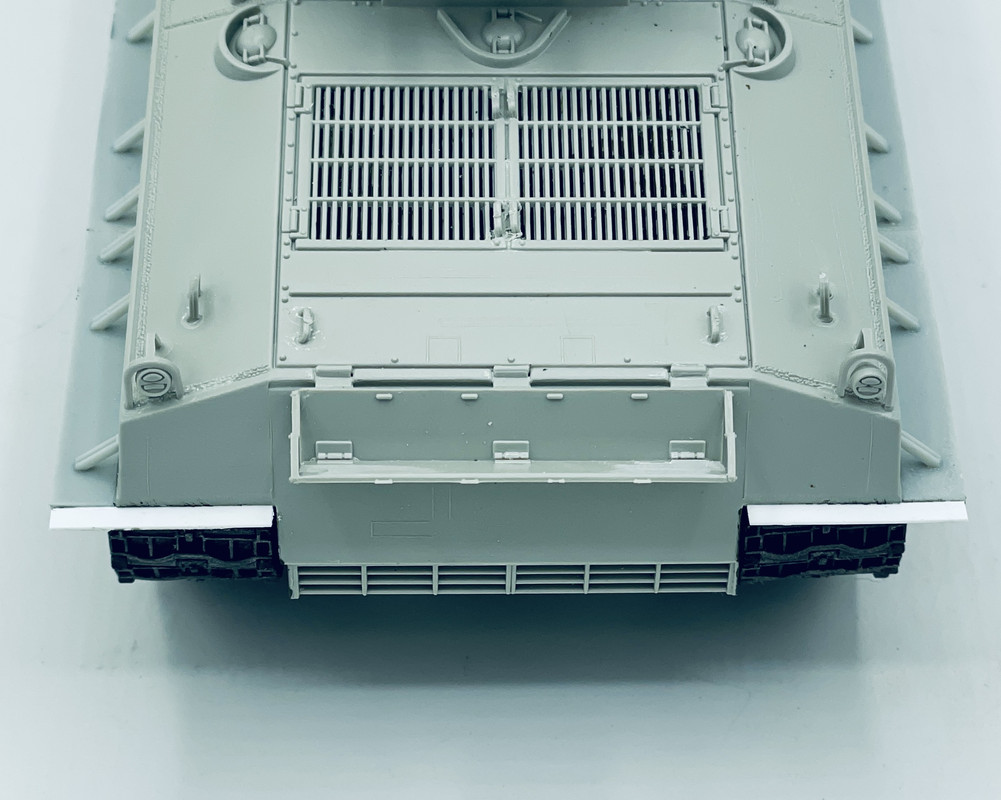
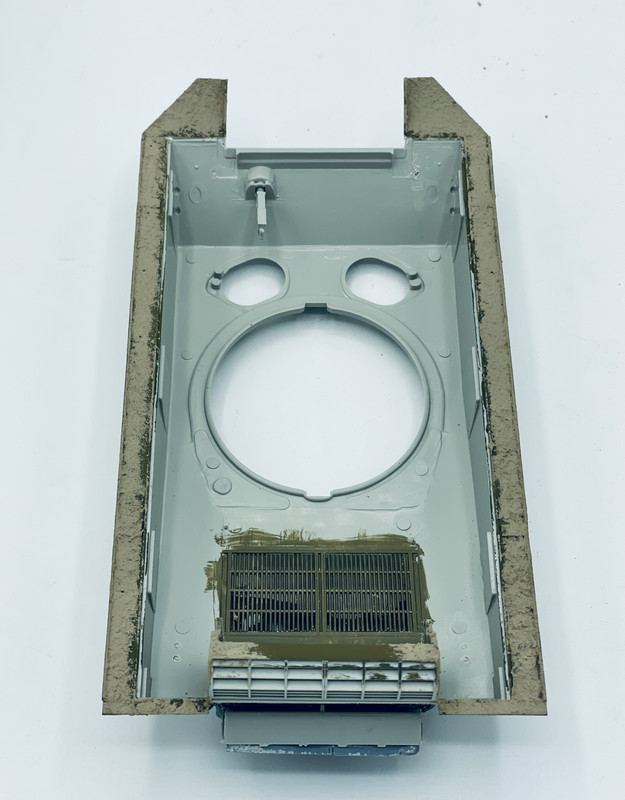
then I let those dry in place, painted the undersides, and later weathered them with Mig Ammo Mud like the rest of the suspension and fender undersides
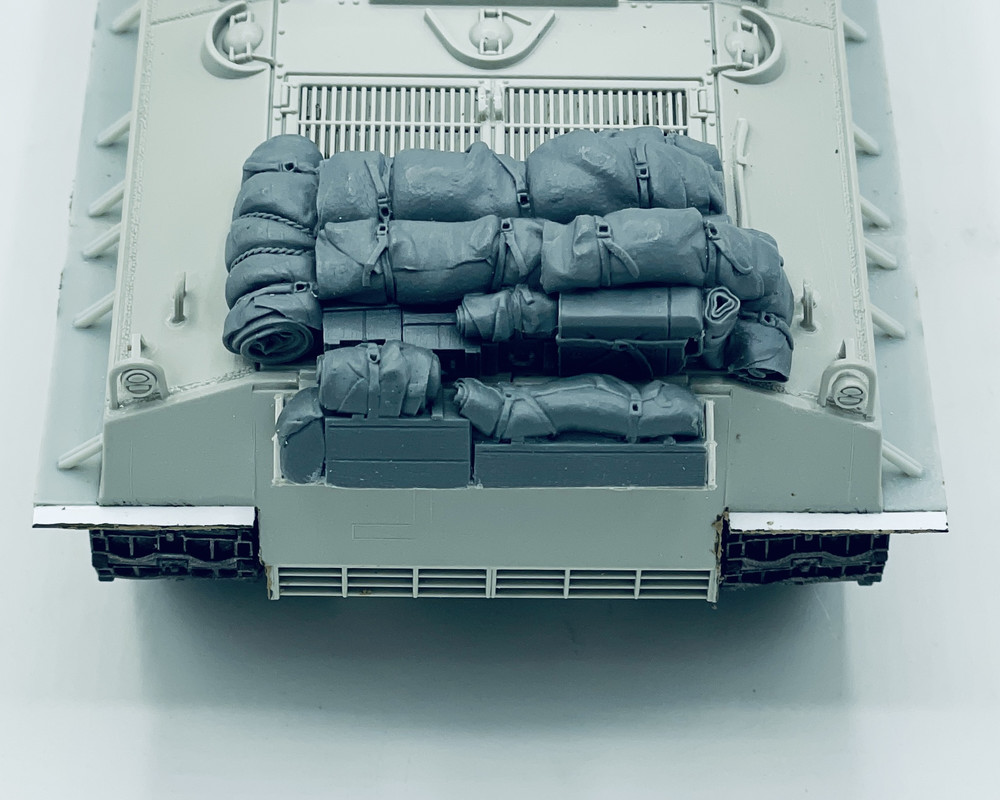
lastly I started adding some Value Gear stowage to the rear luggage rack and engine deck
I also finished adding mud to the road wheels and idler wheels on the suspension
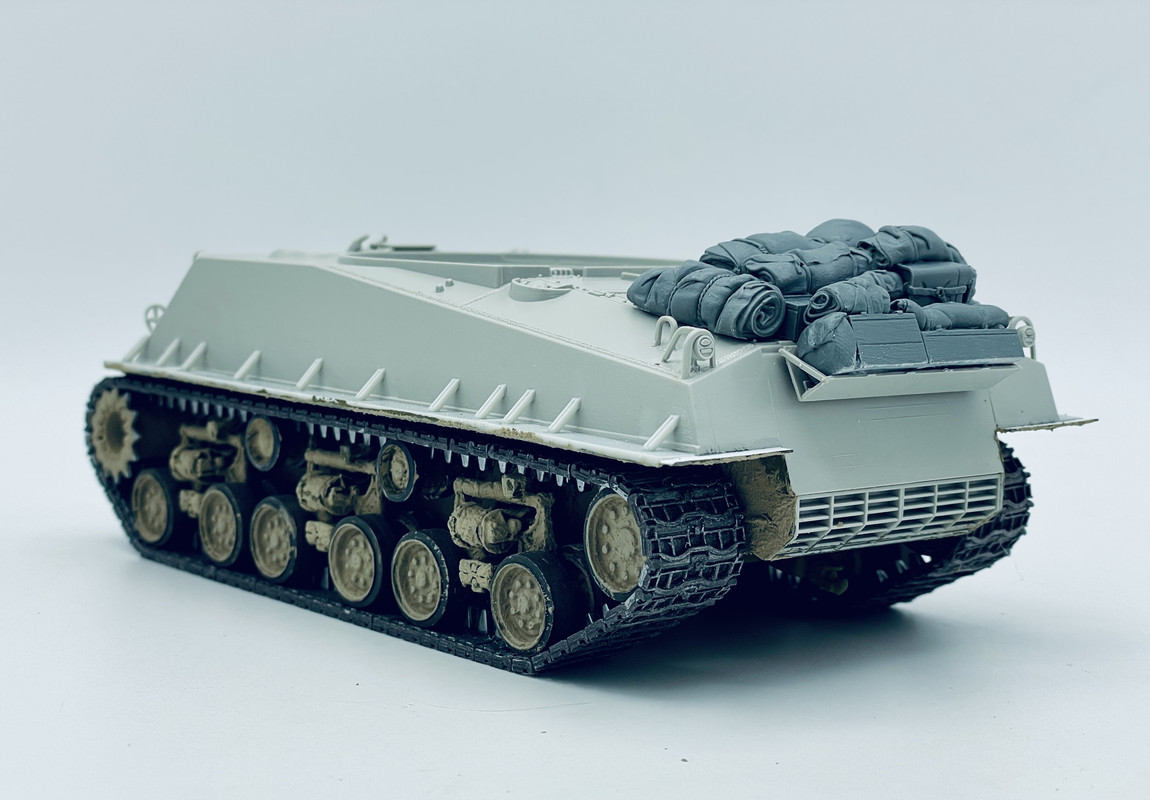
I'm just about ready to add the lower hull to the upper hull after a bit more work in there...
First up, the kit comes with full sand shields, but also includes the parts for the Korean War era fenders. Those work for the front, but in WWII the rear mud flaps were not part of the issue of the vehicles, and when crews removed the sand shields, a strip was left on the rear fender area that was not included. I made those from strip styrene
then I let those dry in place, painted the undersides, and later weathered them with Mig Ammo Mud like the rest of the suspension and fender undersides
lastly I started adding some Value Gear stowage to the rear luggage rack and engine deck
I also finished adding mud to the road wheels and idler wheels on the suspension
I'm just about ready to add the lower hull to the upper hull after a bit more work in there...
"Surely I have made my meaning plain? I intend to avenge myself upon you, Admiral. I have deprived your ship of power, and when I swing 'round, I intend to deprive you of your life."
FLSM
FLSM
-
BlackSheep214

- Elite Member
- Posts: 13596
- Joined: Sun Apr 06, 2014 8:47 pm
Re: DML Easy 8

“Who controls the skies, controls the fate of this Earth”
Author unknown- 352nd Fighter Group, Blue-Nosed Bastards of Bodney
“Send one plane it’s a sortie; send two planes it’s a flight; send four planes it’s a test of airpower. - Richard Kohn
Author unknown- 352nd Fighter Group, Blue-Nosed Bastards of Bodney
“Send one plane it’s a sortie; send two planes it’s a flight; send four planes it’s a test of airpower. - Richard Kohn

Re: DML Easy 8
Outstanding work!
To make each build less crappy than the last one. Or, put another way, "Better than the last one, not as good as the next one!"..
-
Stikpusher
- Moderator
- Posts: 21383
- Joined: Sat Apr 05, 2014 8:37 pm
- Location: Ceti Alpha 5
Re: DML Easy 8
Thanks guys. I hope to get basic assembly wrapped up over the next several days.
"Surely I have made my meaning plain? I intend to avenge myself upon you, Admiral. I have deprived your ship of power, and when I swing 'round, I intend to deprive you of your life."
FLSM
FLSM
-
Stikpusher
- Moderator
- Posts: 21383
- Joined: Sat Apr 05, 2014 8:37 pm
- Location: Ceti Alpha 5
Re: DML Easy 8
Over the weekend I made some small bits of progress and today I was able to get basic construction wrapped up...
using Mr Surfacer, I added casing texture to the differential housing and turret... then using some very fine styrene rod I added a weld bead around the turret. I also scratch built up an antenna base using music wire telescoping brass tubing, an d some fine wire. it's not an exact replica, but the kit did not come with any antenna base at all....
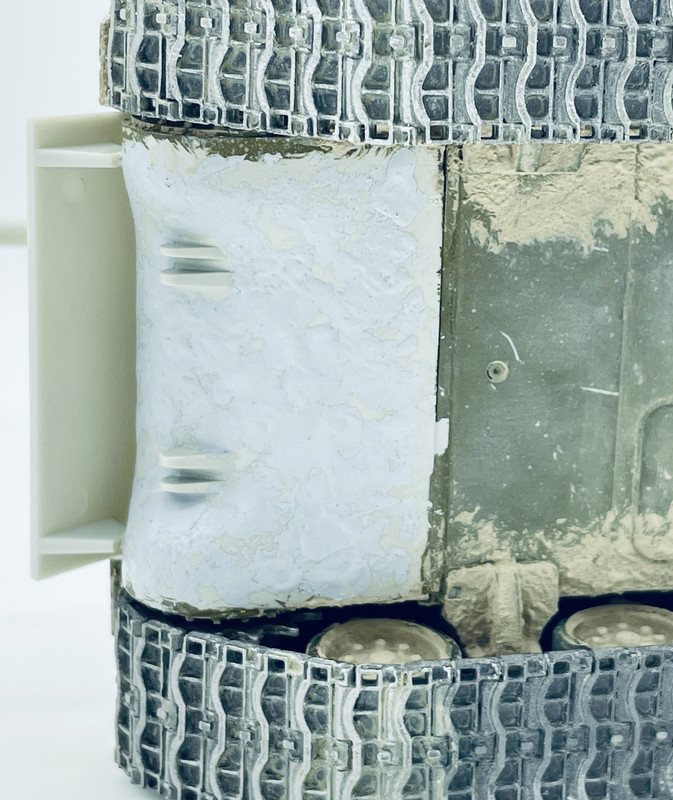
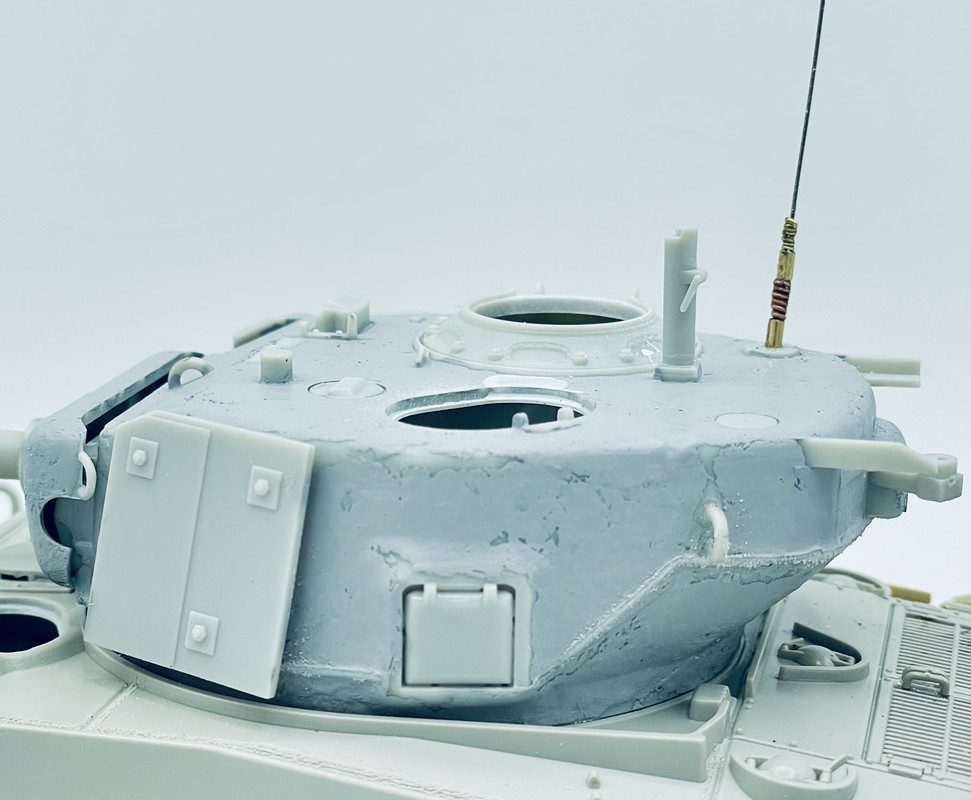
And lastly I got the upper and lower hull halves glued together after more weathering painting on the tracks, and glued the differential housing add on armor plates.
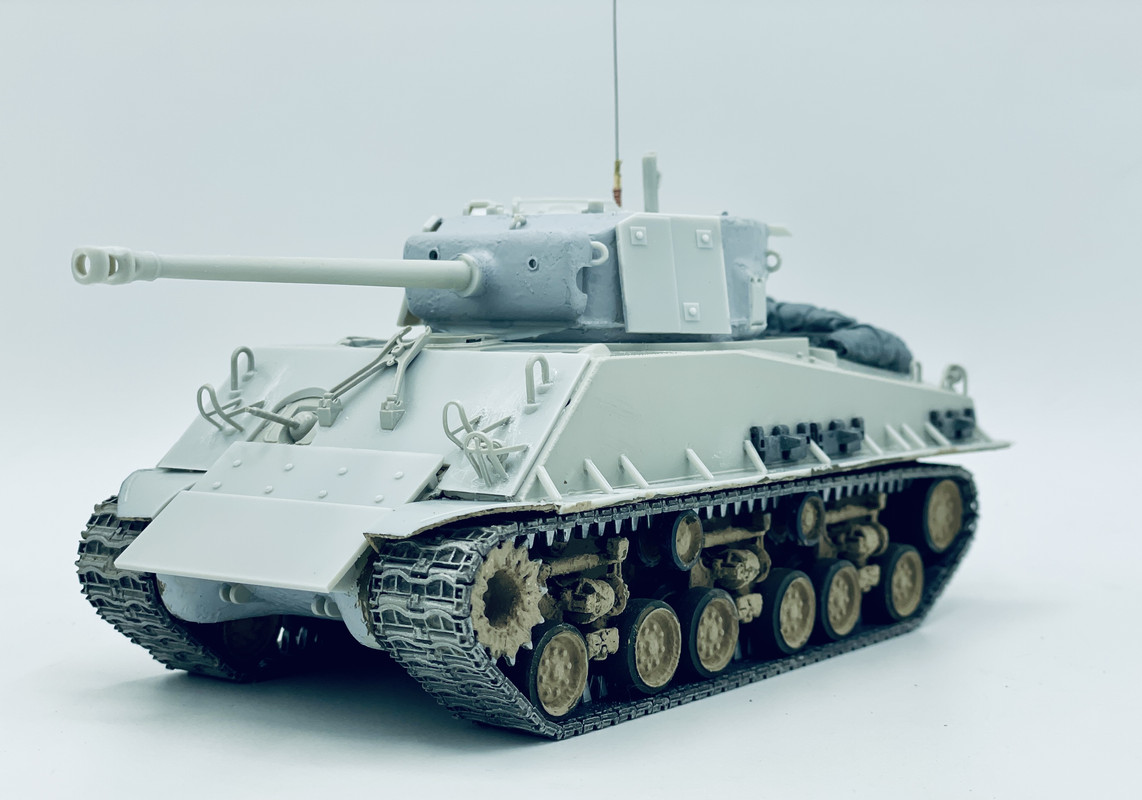
All ready for painting and adding the final bits such as hatches, .50 cal., tow cable, and such...
using Mr Surfacer, I added casing texture to the differential housing and turret... then using some very fine styrene rod I added a weld bead around the turret. I also scratch built up an antenna base using music wire telescoping brass tubing, an d some fine wire. it's not an exact replica, but the kit did not come with any antenna base at all....
And lastly I got the upper and lower hull halves glued together after more weathering painting on the tracks, and glued the differential housing add on armor plates.
All ready for painting and adding the final bits such as hatches, .50 cal., tow cable, and such...
"Surely I have made my meaning plain? I intend to avenge myself upon you, Admiral. I have deprived your ship of power, and when I swing 'round, I intend to deprive you of your life."
FLSM
FLSM
-
jeaton01

- Elite Member
- Posts: 2374
- Joined: Thu Apr 23, 2020 9:20 am
- Location: Northern California
- Contact:
Re: DML Easy 8
Looks good to me, Carlos, but about tanks what do I know 
Re: DML Easy 8
Yup. What John said…
To make each build less crappy than the last one. Or, put another way, "Better than the last one, not as good as the next one!"..