BlackSheep214 wrote: ↑Wed Mar 04, 2026 8:18 pm
Damn…. I’m loving the colors. They look spot on for WW1 colors? What is your process in achieving that look?
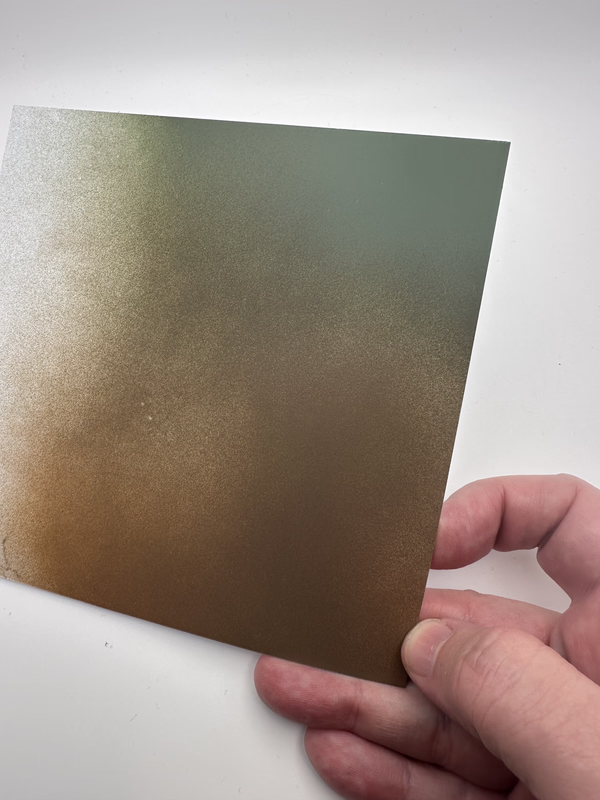
Thanks, Tom! I learned this from watching your work, Tom! I would see in the background of your projects that you would list your colors in a palette form with notes and I thought, "Okay, that's the right way to do this, if you're going use a system." I don't think I have it quite to your level yet, but I really want to thank you for the idea. I took a quick photo of my palette for the project:
The mix for the Olive Drab ANA 41 is Tamiya X18 (semi gloss) and XF4, which is totally an idea from Carlos, so thank you Carlos. I also have Gunze H7 for the red on the ring which is gloss and not shown here! The brown is Tamiya XF 52 Flat Earth which is as close as I can get to Humbrol's Brown Bess, whose number I cannot for the life of me recall. Help? Somebody? Anyway that's discontinued since the earth cooled but I would love to have it come back into the fold. I think once you get the mix right you need to be a little less than perfect with the application. Oops. I also noted XF-10 for Tamiya as well for the PC10 doped color which is pretty much the entire aircraft.
FYI—I'd love to see the sprues of the kit you have because I think it's proper 1/32 version of this kit with a few improvements along the way including a neutral gray plastic!
BlackSheep214 wrote: ↑Wed Mar 04, 2026 8:18 pm
Damn…. I’m loving the colors. They look spot on for WW1 colors? What is your process in achieving that look?
Thanks, Tom! I learned this from watching your work, Tom! I would see in the background of your projects that you would list your colors in a palette form with notes and I thought, "Okay, that's the right way to do this, if you're going use a system." I don't think I have it quite to your level yet, but I really want to thank you for the idea.
FYI—I'd love to see the sprues of the kit you have because I think it's proper 1/32 version of this kit with a few improvements along the way including a neutral gray plastic!
Well damn... you're being too modest for giving me credit. Thank you.
“Who controls the skies, controls the fate of this Earth”
Author unknown- 352nd Fighter Group, Blue-Nosed Bastards of Bodney
“Send one plane it’s a sortie; send two planes it’s a flight; send four planes it’s a test of airpower. - Richard Kohn
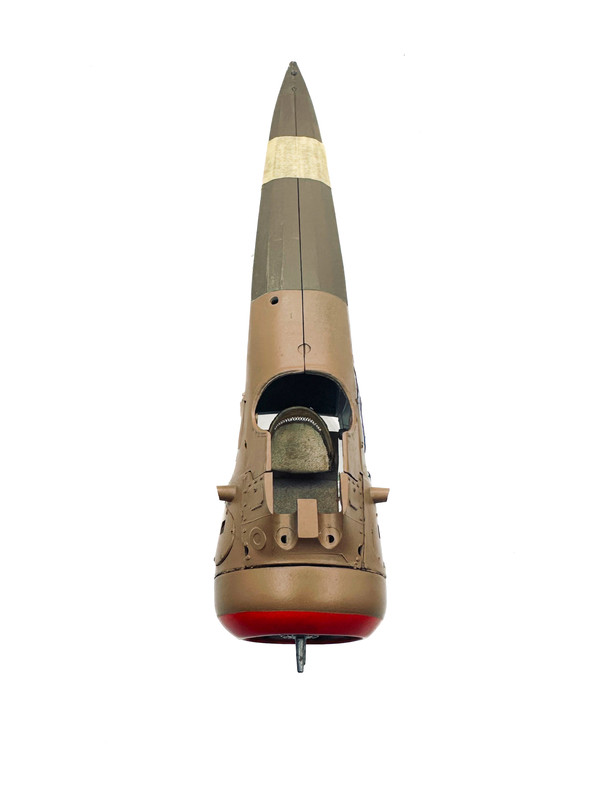
Literally had 15 minutes when my neighbors left and last light was coming down so I rushed outside and hit the PC10 mix on the cowling and exterior cockpit area, blending into what was already established months ago! FYI this is only held together with dots of PVA glue and tape. I'm using this to determine how I'm going to tighten the seams as well as get a feel for the final look. Almost all the cowling body fit gaps can be sorted by positioning the machine gun's deck forward; this leaves a gap on the camel's hump, but looking at reference I think I'll be able to hide that more easily there.
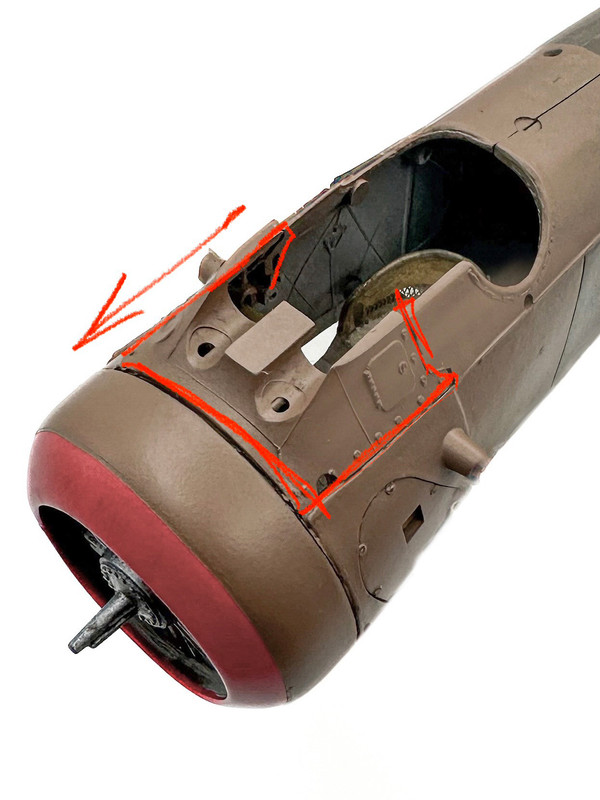
Addressing visible seams
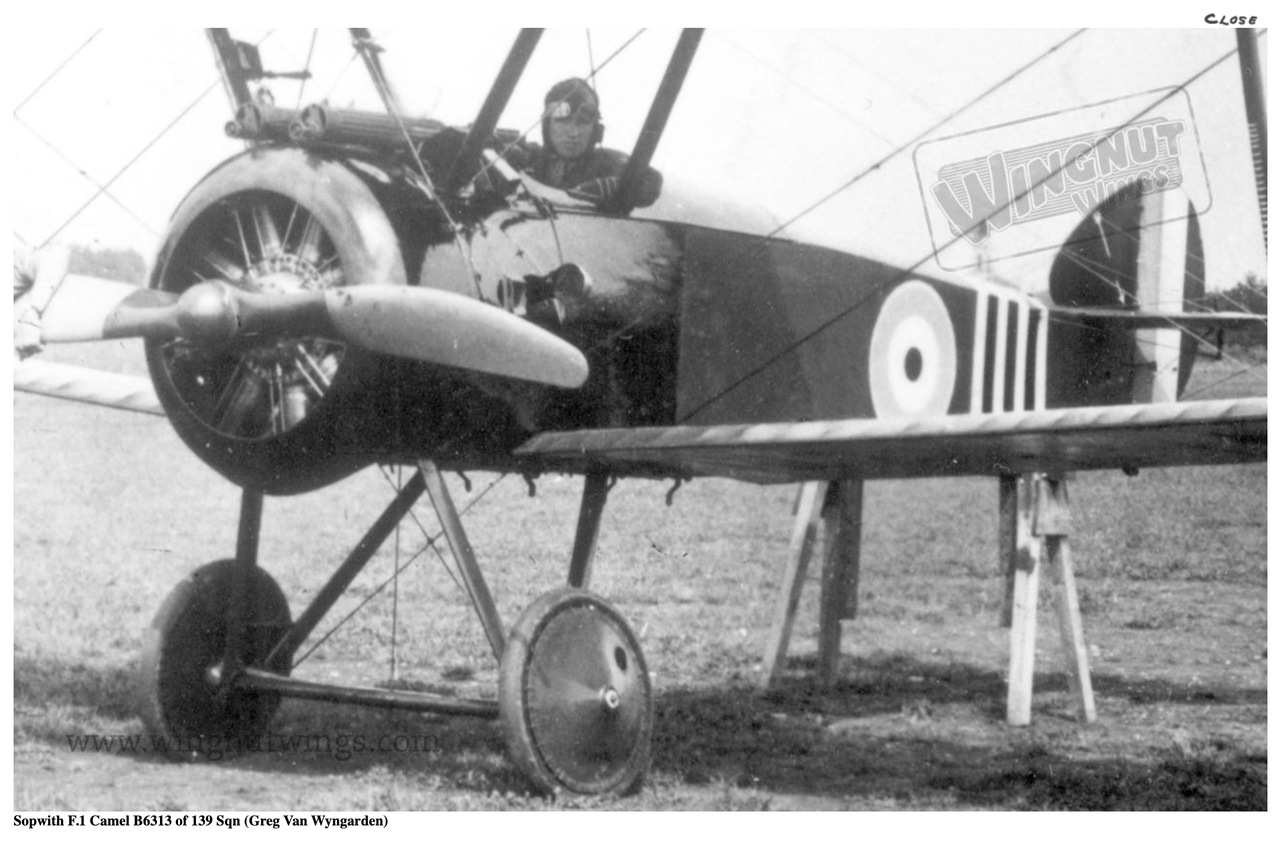
Here what I've outlined in red will be the piece that I'll push forward to tighten the gap next to the cowling. It's far easier for me to hide the gap at the camel's hump than for me to fill the area at the cowling by using sprue and putty. See the image below of an actual camel for the bit of separation and braces that held the cowling in place. Want to keep that bit of separation without having to rescribe that area later and here's the way I'm planning to do it.
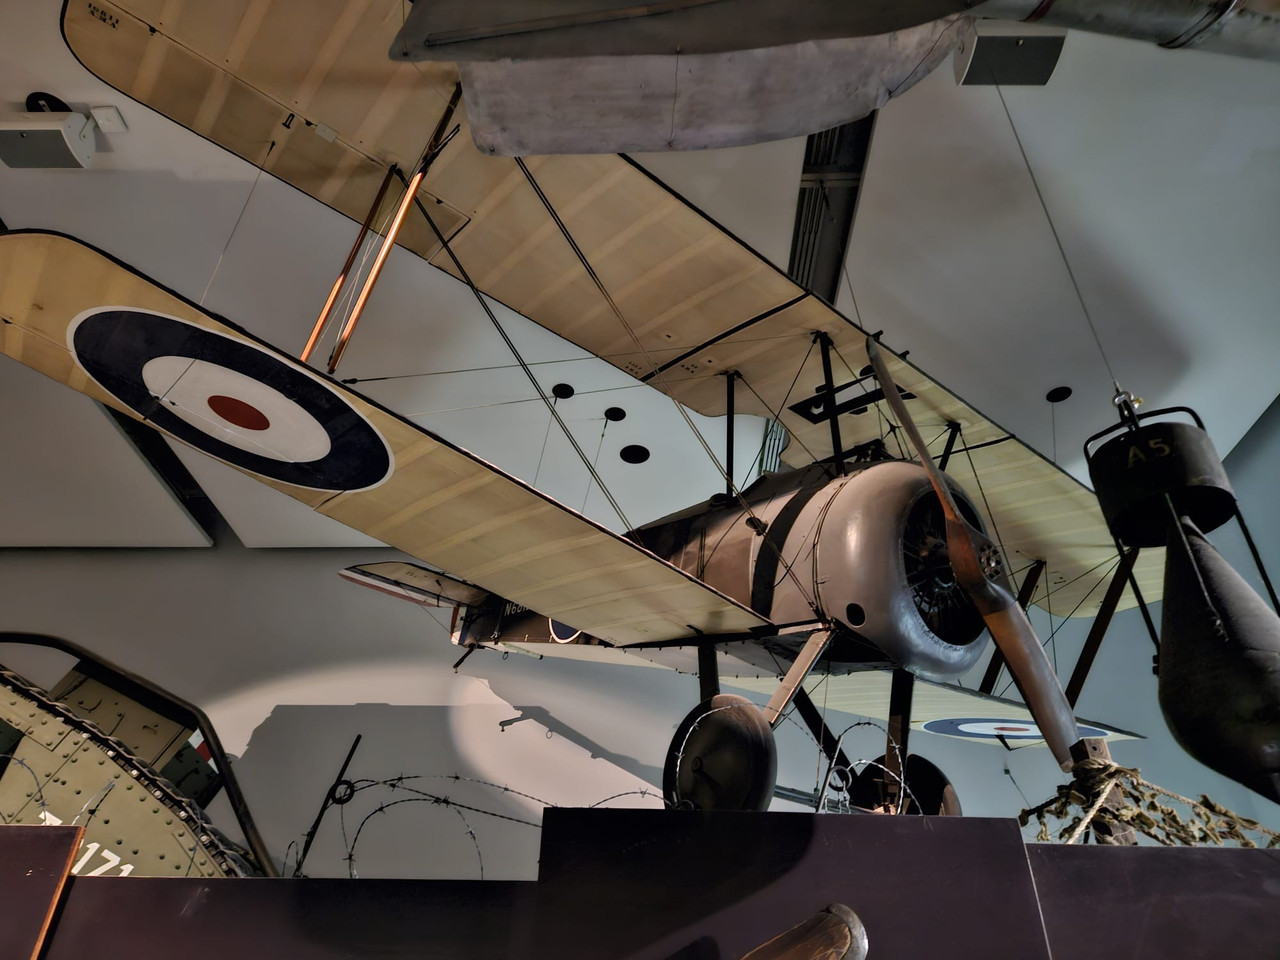
Reference
Photo Marius took of an existing Sopwith Camel! It's close! It's close!
That is some excellent reference for the cockpit Bruce! Looking forward to your work here.
"Surely I have made my meaning plain? I intend to avenge myself upon you, Admiral. I have deprived your ship of power, and when I swing 'round, I intend to deprive you of your life."
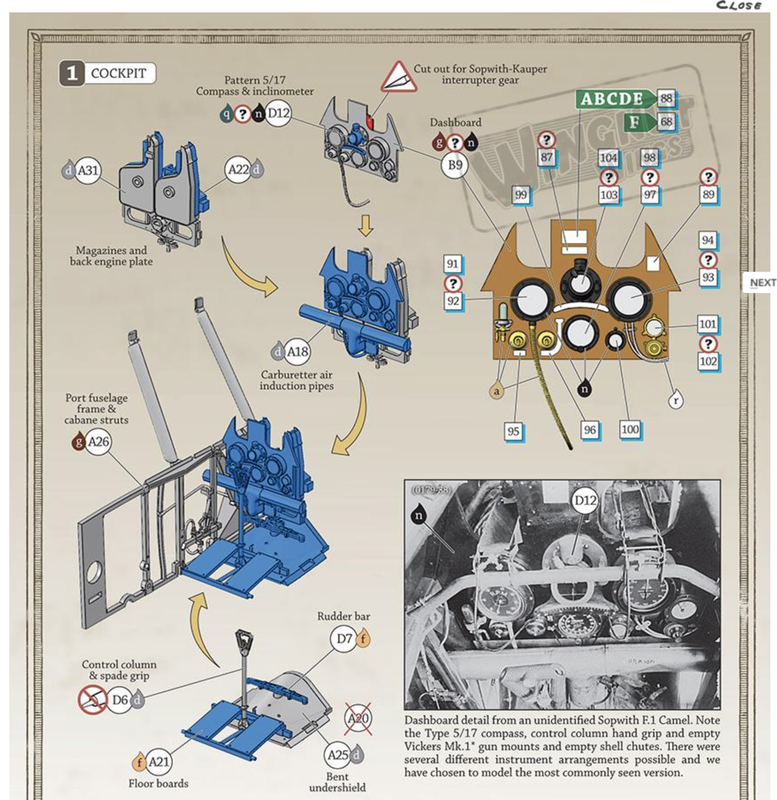
Thanks, Carlos!! Looks like I'm going to break out the strip styrene and the cutter to make some spars and a deck. It looks a bit like a ship inside here so I'm going with that for now. Fabulous reference. I"m going to have to look back at the Tom's Modelworks PE to see what goodies are provided and how to make 'em. Thanks again for following along.
LyleW wrote: ↑Sat Mar 07, 2026 8:31 am
I’ve been watching, but not saying much. This is most excellent work. I really like the colors and you work with them. An artist’s touch for sure.
Thank you so much, Lyle. Sincerely. I read your post on, I believe it was on Thursday about the most recent events in your life and my heart goes out to you. My grandfather who was perhaps the most taciturn man I have known cried but twice in my knowledge of him, once when his son was wounded in combat and the other when his dog passed. I distinctly remember lifting the dog and putting her in a box to take to the vet cemetery for burial and he was squatting on his haunches beside me with tears in his eyes. It’s hard to lose a family member and you’re in my prayers.
I have had to try to be a touch neater because this project is going in the memorial build for John Eaton, but I don’t want to change too much. I just can’t hide the seams in the end because this is going to be factory fresh like the photo, I’m anxious to crack on with the cockpit but at least I know I’m going to have the color resolved.
I’d like to find a drafting tool for cutting circles in tape. I’m thinking about painting the insignias and markings. I have red and white but I’m not sure if I ever had a blue that would work for this.
BlackSheep214 wrote: ↑Sat Mar 07, 2026 8:57 am
Incredible progress. bravo!
Thanks, Tom! I’m still working my way slowly here by comparison to you! I’m hoping some of your speed rubs off just a little. Thanks again for following along!