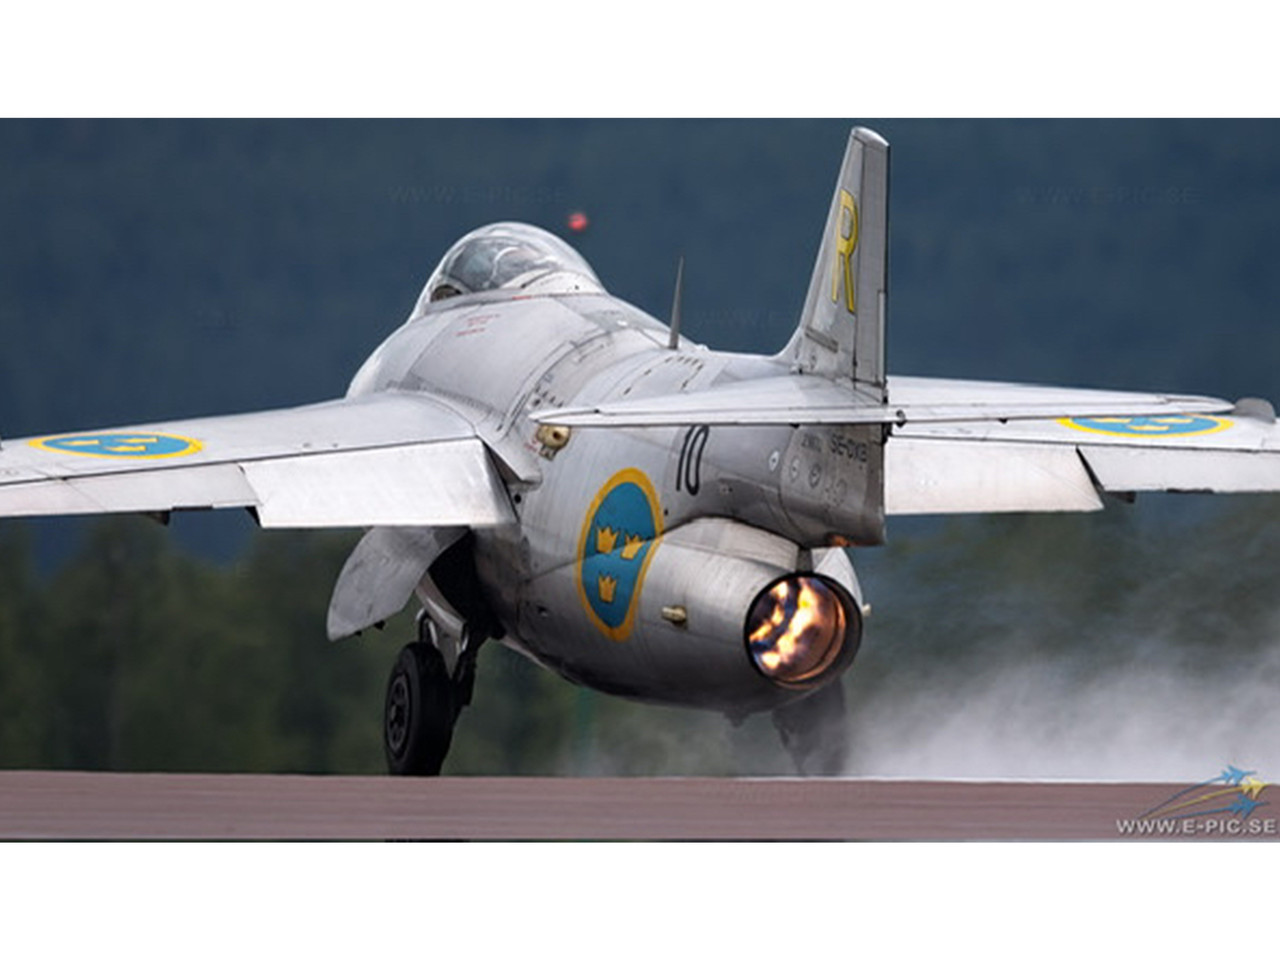
Matchbox 1/72 Saab J29 F Tunnan by speedgraflex
-
speedgraflex

- Moderator
- Posts: 11579
- Joined: Fri Feb 10, 2017 11:08 pm
- Contact:
Re: Matchbox 1/72 Saab J29 F Tunnan by speedgraflex
You're absolutely right about the wing being painted, Carlos. I believe that's the same airframe Stuart reference earlier. The final version (“F”) has a Swedish designed afterburner. The photos are good. This is the one they kept in operational status.
Make more models!
-
speedgraflex
- Moderator
- Posts: 11579
- Joined: Fri Feb 10, 2017 11:08 pm
- Contact:
Re: Matchbox 1/72 Saab J29 F Tunnan by speedgraflex
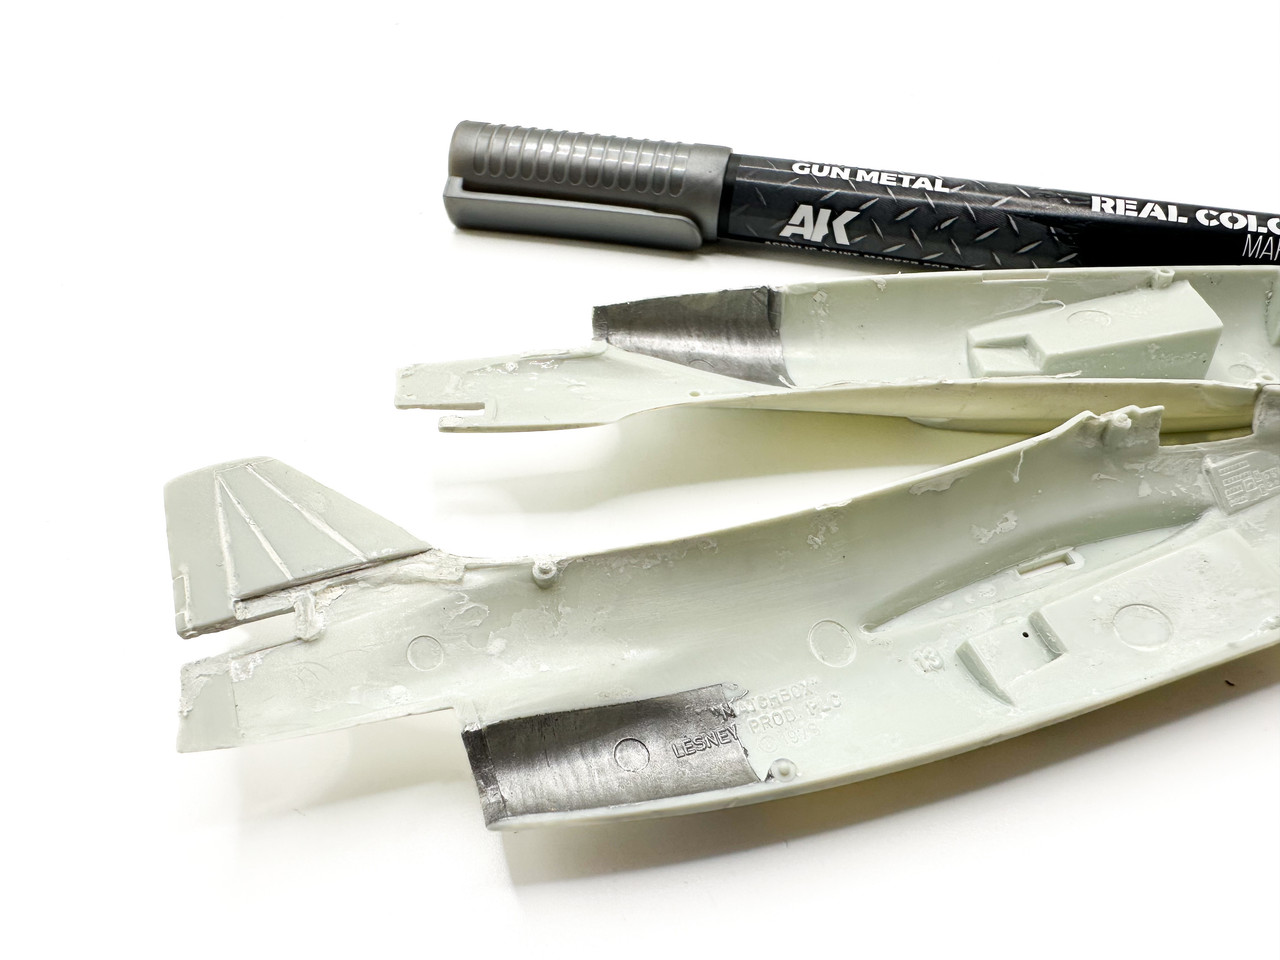
I was too tired to post any explanation, but this was a test, and I'm afraid I still don't much care for AK markers. When I rubbed the paint the next day it came off quite easily. Now I know there's no primer underneath but I still think there should be some surface adhesion.
I've sanded this area down and will correct with primer. I'm going to do the outside first.
Make more models!
-
tempestjohnny

- Elite Member
- Posts: 3832
- Joined: Sat Oct 15, 2016 4:51 am
- Location: Naples. FL
Re: Matchbox 1/72 Saab J29 F Tunnan by speedgraflex
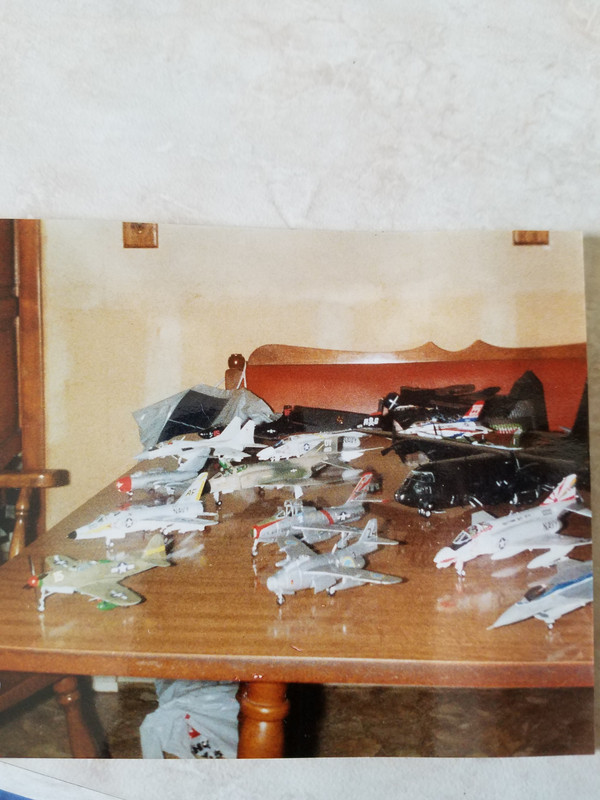
I finally found my pic Bruce. Here is my Tunnan from 1983-1984. More then likely its the Heller kit.
-
Bolleken

- Master Member
- Posts: 696
- Joined: Wed Feb 22, 2017 3:42 am
- Location: Wuppertal - Home of the "Schwebebahn"
Re: Matchbox 1/72 Saab J29 F Tunnan by speedgraflex
Bruce, my friend, no news here? Looking forward to your progress on that Saab Tunan.
-
speedgraflex
- Moderator
- Posts: 11579
- Joined: Fri Feb 10, 2017 11:08 pm
- Contact:
Re: Matchbox 1/72 Saab J29 F Tunnan by speedgraflex
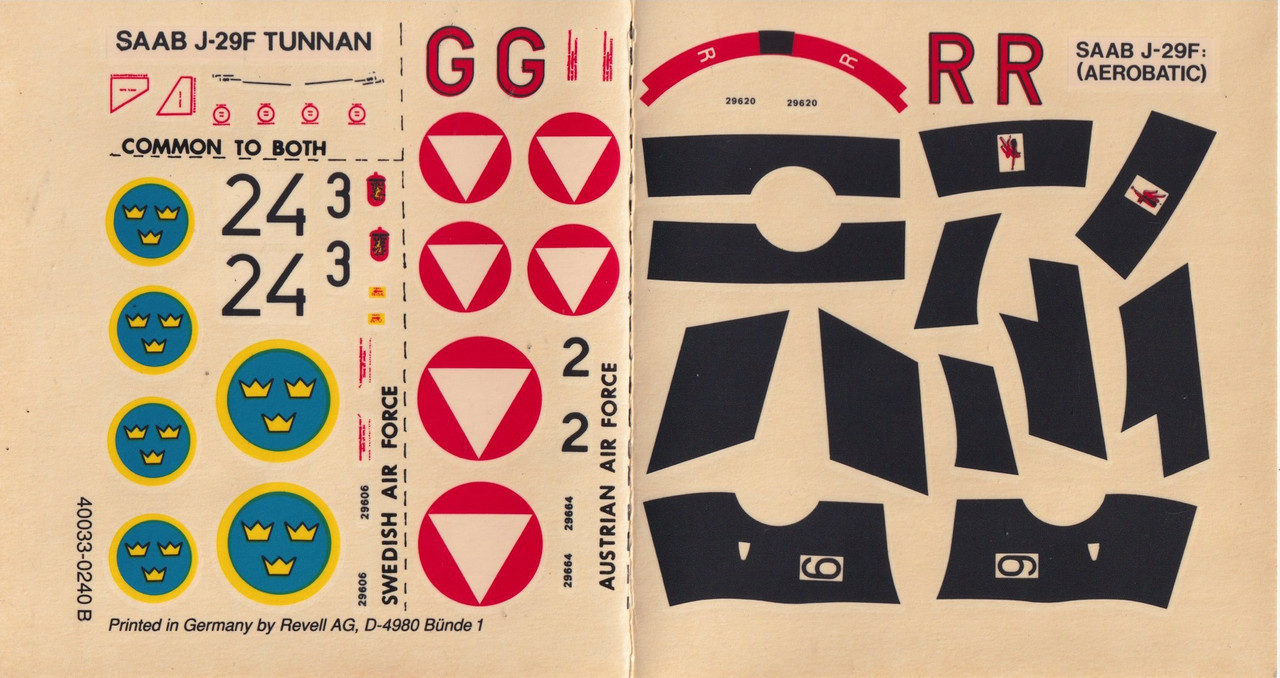
Marius, allow me to start with this 300 dpi scan of the decal sheet, which includes the aerobatic markings which would be useful to create masks and templates, then I'll move on to Chapter 2 of this build which is "Things My Father Taught Me."
Make more models!
-
speedgraflex
- Moderator
- Posts: 11579
- Joined: Fri Feb 10, 2017 11:08 pm
- Contact:
Re: Matchbox 1/72 Saab J29 F Tunnan by speedgraflex
Chapter 2
Things My Dad Taught Me (Model Building)
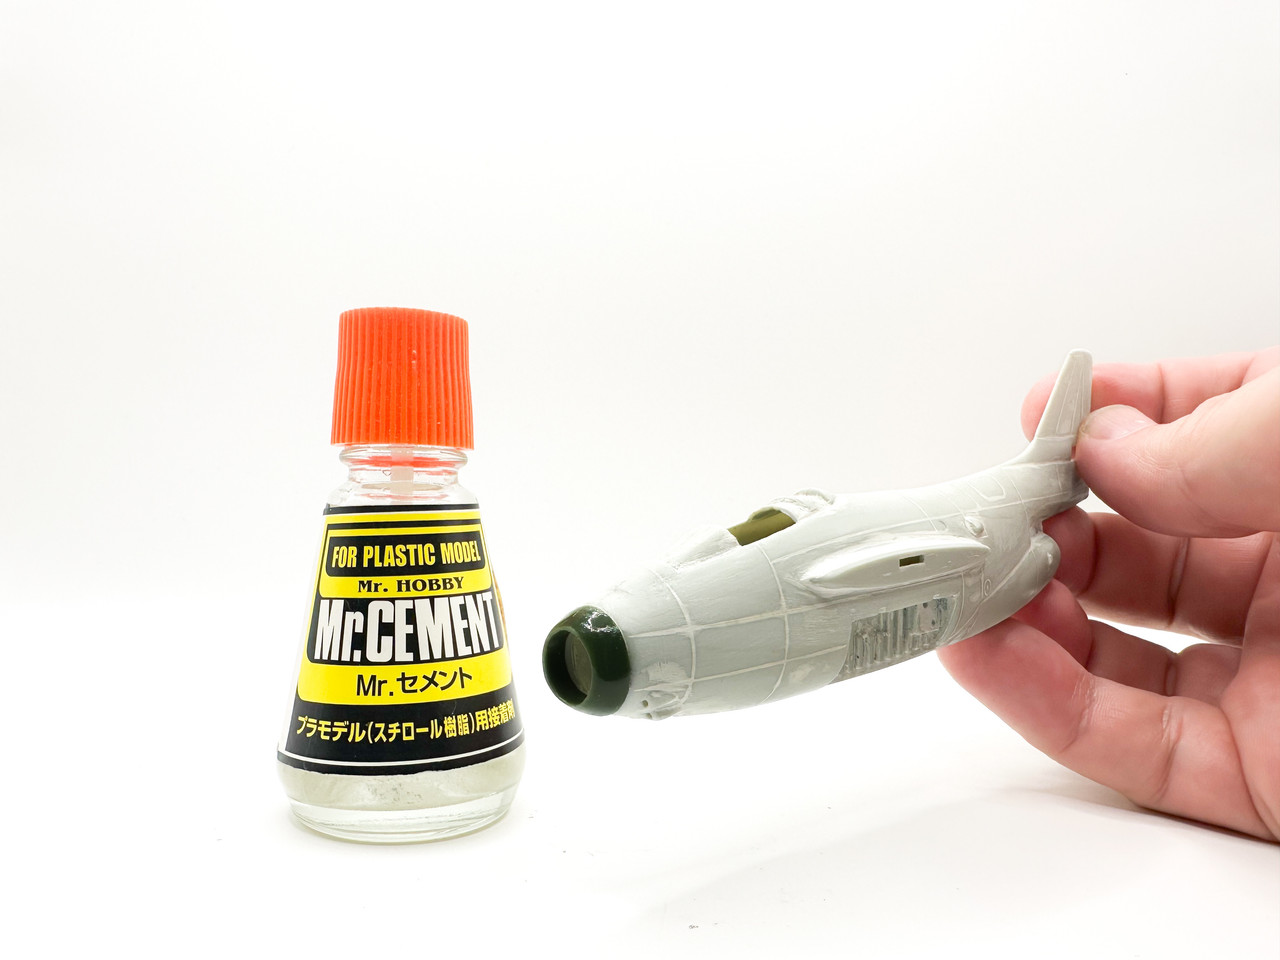
Maybe every one does this, but I never see it. It's using a hot glue to melt and finesse rough plastic. I have only seen this done by one internet modeler who likes to build old kits and that may be the reason. However, this is something my Dad taught me to do and with a kit like this, it's the best way to form a compound curve. The nose has been a bit of a challenge in that regard. A great deal of plastic had to be removed. So I literally paint the surface of the plastic with a coat of glue and let that set. That's an important trick that I'll use everywhere, pretty much. I've used it on the seat already and now I'm using it here on the nose area.
Front End Friday
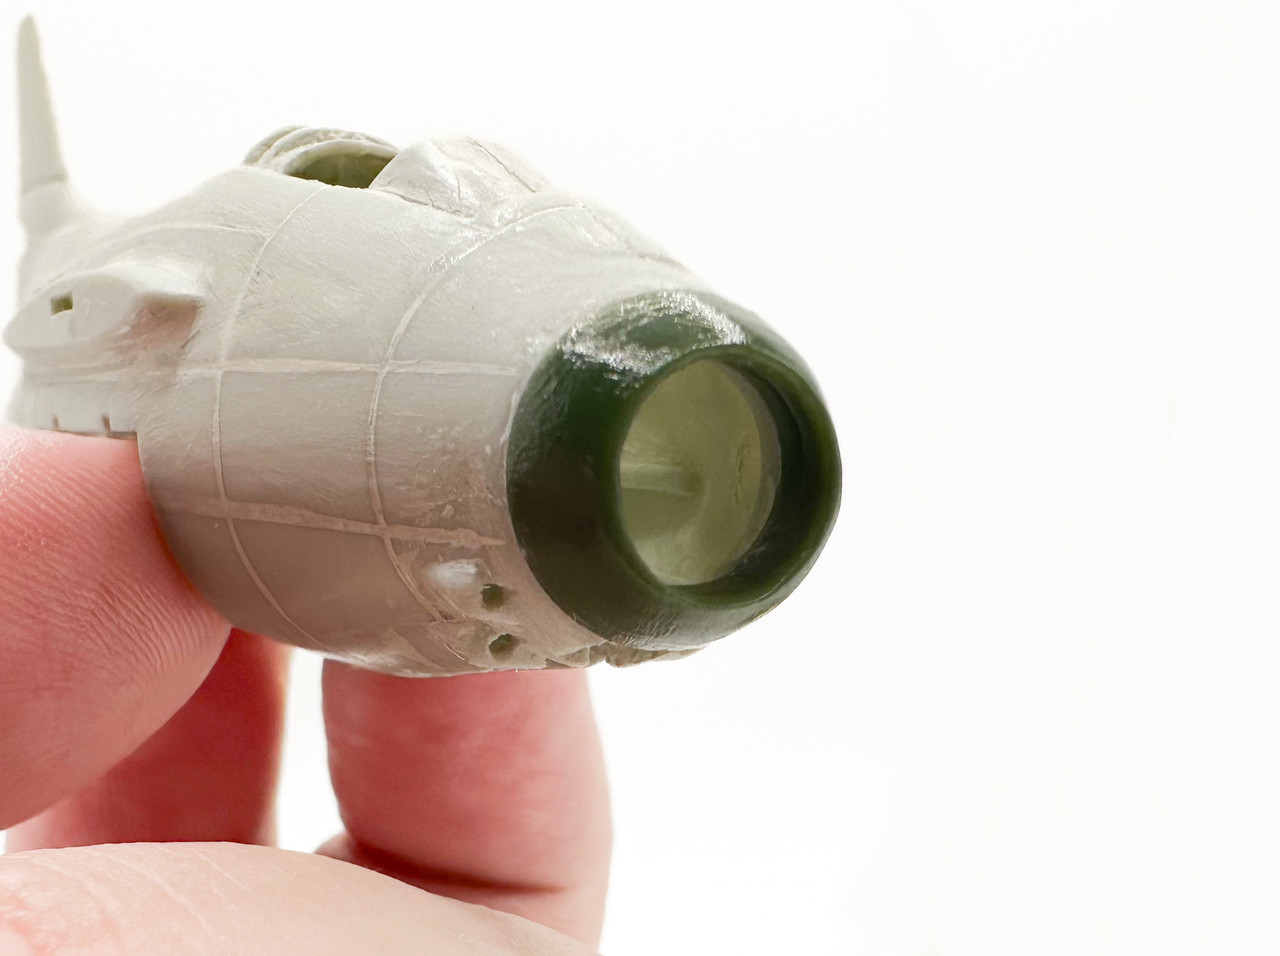
The front end cap is heavily modified. It's carved into form with needle files, and curls of sandpaper. Now it's been painted with glue and you see the surface is partially dissolved. I'll go back over this again with a higher grit from Lyle's box of wonderful sandpapers. Thanks again, Lyle.
The Bottom of the Barrel
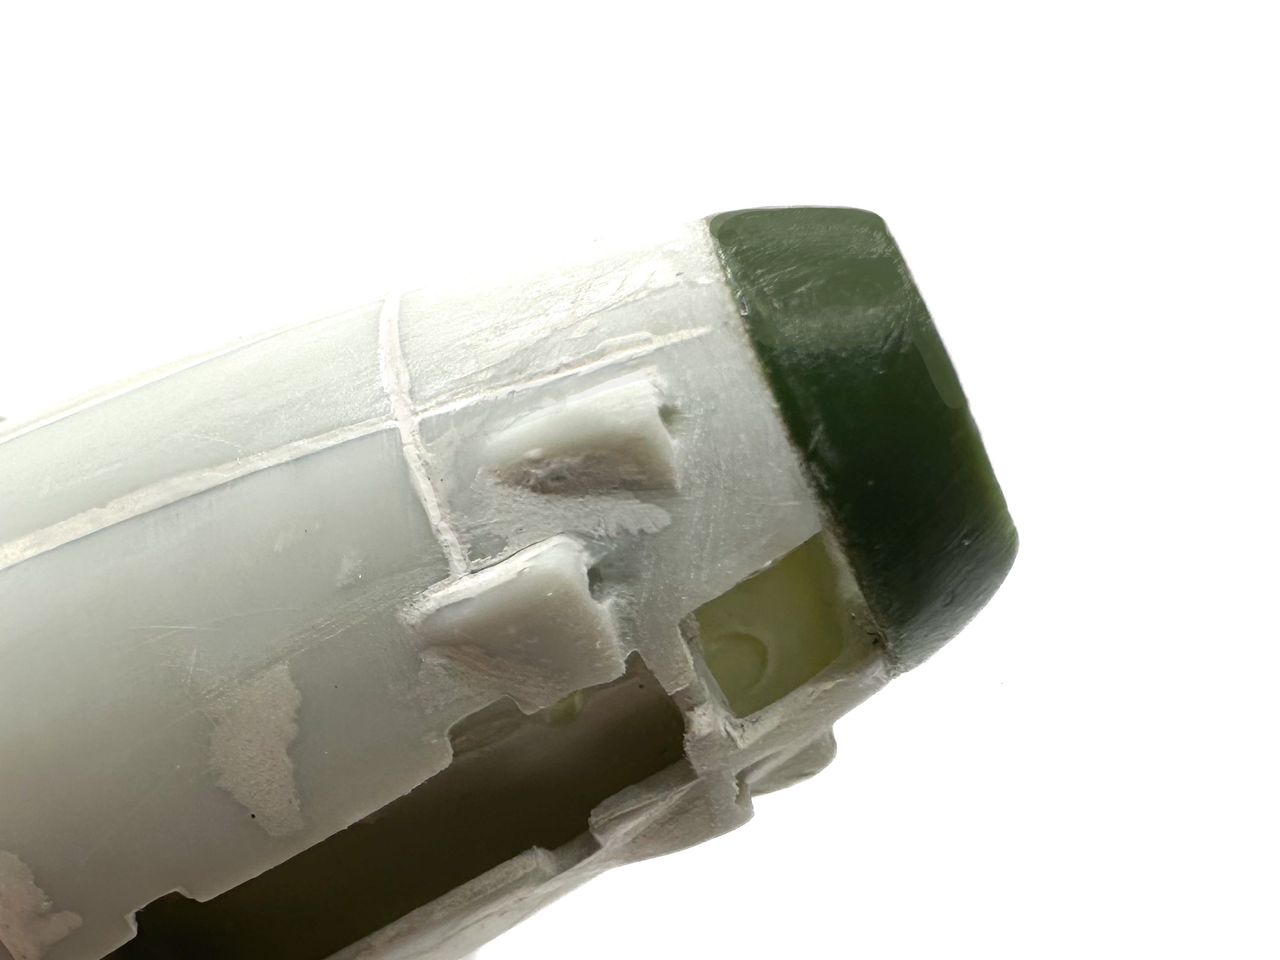
Here's how things look down below. More than a bit rough. It's hard for me to keep the areas around the guns completely clean and clear of putty as well as scratches. The guns look a little weird to me, still rough and I'm not sure if drilling out gun barrels has helped. I think so, and I trust Carlos when it comes to details like this. Thank you, Carlos. Maybe I need to enlarge the openings. We'll see.
Things My Dad Taught Me (Model Building)
Maybe every one does this, but I never see it. It's using a hot glue to melt and finesse rough plastic. I have only seen this done by one internet modeler who likes to build old kits and that may be the reason. However, this is something my Dad taught me to do and with a kit like this, it's the best way to form a compound curve. The nose has been a bit of a challenge in that regard. A great deal of plastic had to be removed. So I literally paint the surface of the plastic with a coat of glue and let that set. That's an important trick that I'll use everywhere, pretty much. I've used it on the seat already and now I'm using it here on the nose area.
Front End Friday
The front end cap is heavily modified. It's carved into form with needle files, and curls of sandpaper. Now it's been painted with glue and you see the surface is partially dissolved. I'll go back over this again with a higher grit from Lyle's box of wonderful sandpapers. Thanks again, Lyle.
The Bottom of the Barrel
Here's how things look down below. More than a bit rough. It's hard for me to keep the areas around the guns completely clean and clear of putty as well as scratches. The guns look a little weird to me, still rough and I'm not sure if drilling out gun barrels has helped. I think so, and I trust Carlos when it comes to details like this. Thank you, Carlos. Maybe I need to enlarge the openings. We'll see.
Make more models!

Re: Matchbox 1/72 Saab J29 F Tunnan by speedgraflex
Interesting. I have tried that to add a rough texture to plastic with the help of some course sanding sponge, but you are doing the opposite. 
Big Joe: 'You just keep those Tigers busy and we'll take care of the rest.'
Oddball: 'The only way I got to keep them Tigers busy is to let them shoot holes in me...'
My Stash https://www.scalemates.com/profiles/mat ... 53&p=stash
Oddball: 'The only way I got to keep them Tigers busy is to let them shoot holes in me...'
My Stash https://www.scalemates.com/profiles/mat ... 53&p=stash
-
speedgraflex
- Moderator
- Posts: 11579
- Joined: Fri Feb 10, 2017 11:08 pm
- Contact:
Re: Matchbox 1/72 Saab J29 F Tunnan by speedgraflex
That is interesting, too! I can definitely see how that could work if you wanted a matte versus a glossy texture, Chris.
I was careful to place this idea in context from my father because I have really only seen one other model builder do it and that there was one made me feel that it might be an older technique started in the heydays of Revell and Monogram and has been lost to time.
My online source is Greg’s Models (not to be confused with Full Metal Greg). He’s British and has built quite a few of the older Airfix kits that nobody seems to build these days due to their various degrees of complexity, but he also builds newer kits as well.
The way he uses the smoothing technique is the same.
I was careful to place this idea in context from my father because I have really only seen one other model builder do it and that there was one made me feel that it might be an older technique started in the heydays of Revell and Monogram and has been lost to time.
My online source is Greg’s Models (not to be confused with Full Metal Greg). He’s British and has built quite a few of the older Airfix kits that nobody seems to build these days due to their various degrees of complexity, but he also builds newer kits as well.
The way he uses the smoothing technique is the same.
Make more models!
-
Stikpusher

- Moderator
- Posts: 21435
- Joined: Sat Apr 05, 2014 8:37 pm
- Location: Ceti Alpha 5
Re: Matchbox 1/72 Saab J29 F Tunnan by speedgraflex
Looking good there Bruce! Since you’re going with a NMF, smoothing out the plastic is highly advisable. I had not thought much about the how before as compared to the why. But then here you mention a coat of glue to smooth it out. I’ve done that before on armor kits to roughen the surface for a cast texture. Which it did overall, however it also left the surface shiny. But here you’re heading in the opposite direction. A buffing after it’s dry with some very fine or ultra fine sanding sponge/block/stick should give you the last preparations needed for the surface. Perhaps multiple coats of your chosen paint, with polishing between each color as well during tha painting process. That is something that I did long ago on another project with good results.
"Surely I have made my meaning plain? I intend to avenge myself upon you, Admiral. I have deprived your ship of power, and when I swing 'round, I intend to deprive you of your life."
FLSM
FLSM
-
speedgraflex
- Moderator
- Posts: 11579
- Joined: Fri Feb 10, 2017 11:08 pm
- Contact:
Re: Matchbox 1/72 Saab J29 F Tunnan by speedgraflex
Thanks, Carlos. I’m also using layers of CA over the engraved fuselage fills and giving those the same polishing effect. I’m limiting myself to the fuselage so far, mainly due to reasons of sanity.
What will most likely happen is I’ll add back a few of the simple tiny protrusions on either side of the exterior exhaust in stryrene to keep some sharp details. I’m afraid that using this approach runs the risk of raised surface smoothing.
I’m still not sure how to fix the gun covers.
What will most likely happen is I’ll add back a few of the simple tiny protrusions on either side of the exterior exhaust in stryrene to keep some sharp details. I’m afraid that using this approach runs the risk of raised surface smoothing.
I’m still not sure how to fix the gun covers.
Make more models!