Revell '56 Ford F-100-COMPLETED PHOTOS!!!! 01/01

Here is the place to show off the progress of your automobile builds
User avatar
mustang1989
Moderator
Posts: 5035
Joined: Tue Mar 18, 2014 8:35 pm

Re: Revell '56 Ford F-100 Hood Goof Up Recovery 5/29

Post by mustang1989 »

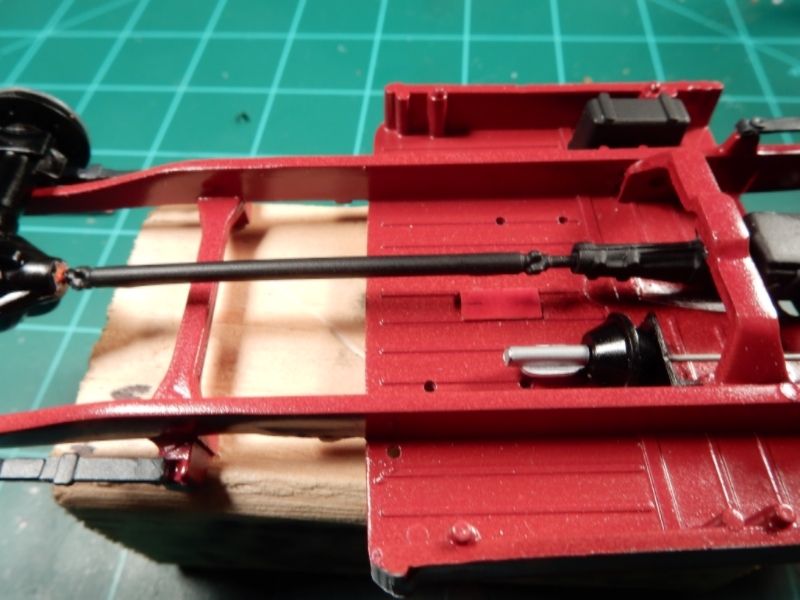
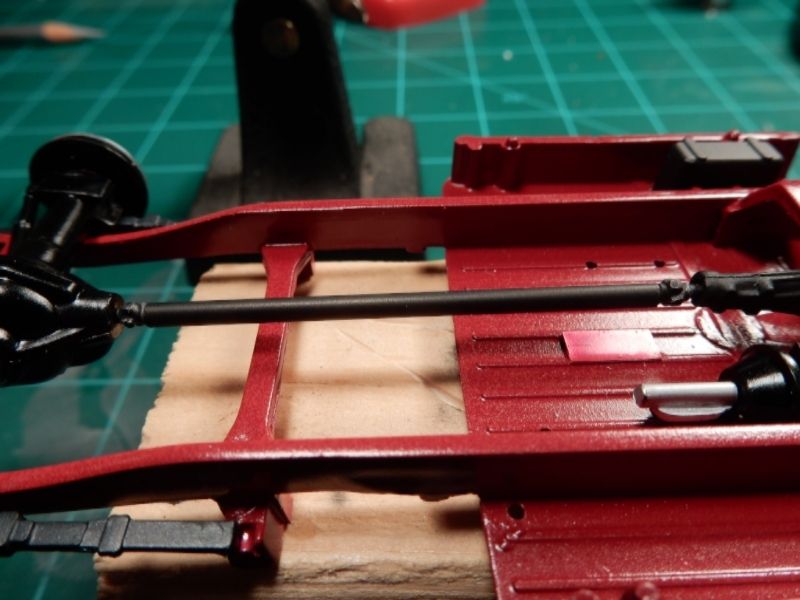
Well folks. Here's what the driveshaft looked like before all half hangin' out of the xmsn.

Image

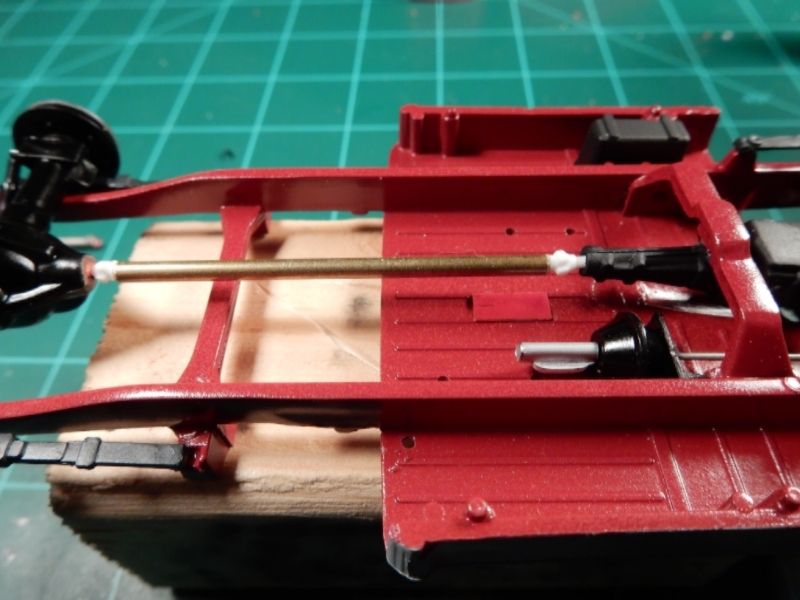
I managed to cut a piece of brass rod just the right length and save the u-joints from the original driveshaft, pin 'em , position/ phase 'em and glue 'em into place
Image

and then a real light coat of flat black with a drop of gloss clear in it shot on at around 30 psi to give it a smooth and metallic look......and we're in business.
Image
User avatar
LyleW
Admin
Posts: 15035
Joined: Fri Dec 13, 2013 7:25 am
Location: Mt. Washington KY

Re: Revell '56 Ford F-100 Driveshaft Length Correction 6/2

Post by LyleW »

As always.....WOW. I really enjoy watching this come together.
To make each build less crappy than the last one. Or, put another way, "Better than the last one, not as good as the next one!"..
nathant
Advanced Member
Posts: 228
Joined: Thu Mar 20, 2014 7:22 am

Re: Revell '56 Ford F-100 Driveshaft Length Correction 6/2

Post by nathant »

Sweet. Awesome work. Very realistic paintwork too. Keep it up Joe :shoutout:
User avatar
Duke Maddog
Elite Member
Posts: 7669
Joined: Tue Jun 03, 2014 11:22 am
Location: Rowland Heights, CA

Re: Revell '56 Ford F-100 Driveshaft Length Correction 6/2

Post by Duke Maddog »

Wow!! Such elegance in it's simplicity, yet the realism is so much more. I have not the words to describe this anymore.
The Duke
Virtuoso of Miniatures

"Do you know what the chain of command is? It's the chain I get and beat you with 'till you understand who's in ruttin' command!"
-Jayne Cobb, Firefly Episode 2 "The Train Job"

We are modelers - the same in spirit, in hunger to insanely buy newly released kits, hustlers in hiding our stash from our better halves and experts in using garbage as replacements for after-market parts.
User avatar
Stuart
Elite Member
Posts: 11907
Joined: Sun Apr 06, 2014 1:06 pm
Location: North Wales

Re: Revell '56 Ford F-100 Driveshaft Length Correction 6/2

Post by Stuart »

I've been on Holiday for a few weeks 'stang - WOW is all I can say, awesome work, your additions are really bringing it to life!
Stuart Templeton 'I may not be good but I'm slow...'
User avatar
mustang1989
Moderator
Posts: 5035
Joined: Tue Mar 18, 2014 8:35 pm

Re: Revell '56 Ford F-100 Driveshaft Length Correction 6/2

Post by mustang1989 »

Thanks portman, Mark , Nathan and Lyle! You wouldn't know it by the progress but I'm trying to have this bad boy done by the end of July for a show on August 1st. Fingers crossed here that everything goes relatively smooth from here on out. :whistle:
User avatar
mustang1989
Moderator
Posts: 5035
Joined: Tue Mar 18, 2014 8:35 pm

Re: Revell '56 Ford F-100 Driveshaft Length Correction 6/2

Post by mustang1989 »

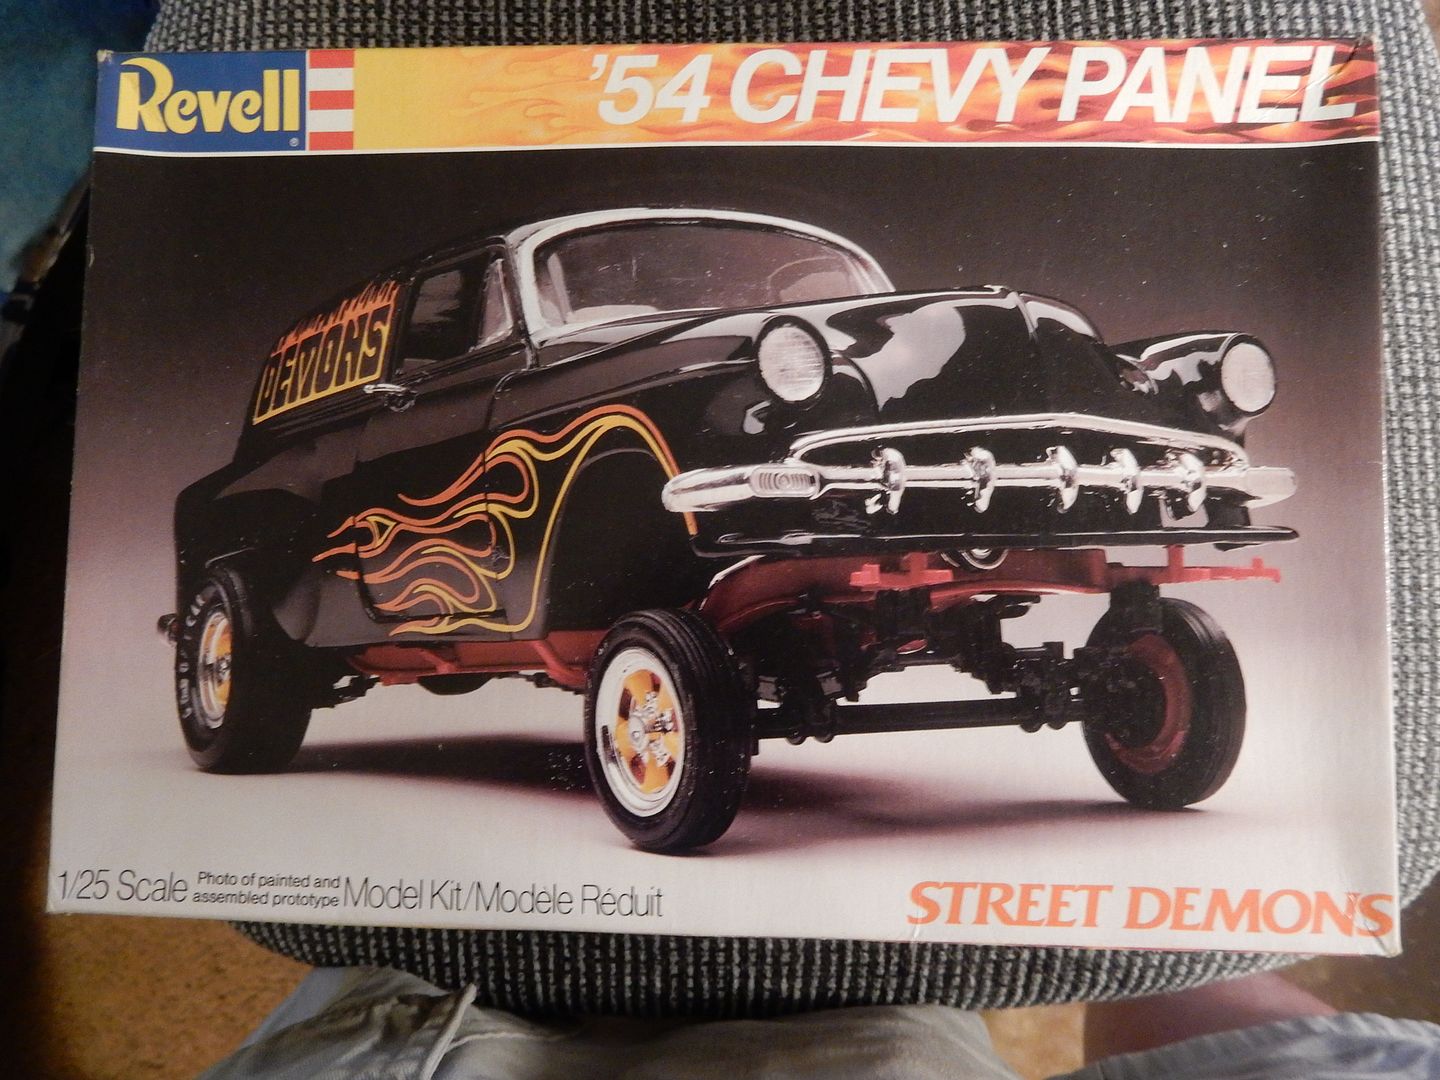
Picked this one up on ebay and it arrived today................. :yipee:

Only three more to get the whole bunch of 'em. (I built all of these as a kid so I'm anxious to get a second shot at them.)
Image
User avatar
Stuart
Elite Member
Posts: 11907
Joined: Sun Apr 06, 2014 1:06 pm
Location: North Wales

Re: Revell '56 Ford F-100 Driveshaft Length Correction 6/2

Post by Stuart »

mustang1989 wrote:Picked this one up on ebay and it arrived today................. :yipee:

Only three more to get the whole bunch of 'em. (I built all of these as a kid so I'm anxious to get a second shot at them.)
Image
:beau: coooooooool
Stuart Templeton 'I may not be good but I'm slow...'
User avatar
mustang1989
Moderator
Posts: 5035
Joined: Tue Mar 18, 2014 8:35 pm

Re: Revell '56 Ford F-100 Driveshaft Length Correction 6/2

Post by mustang1989 »

Thanks portman!
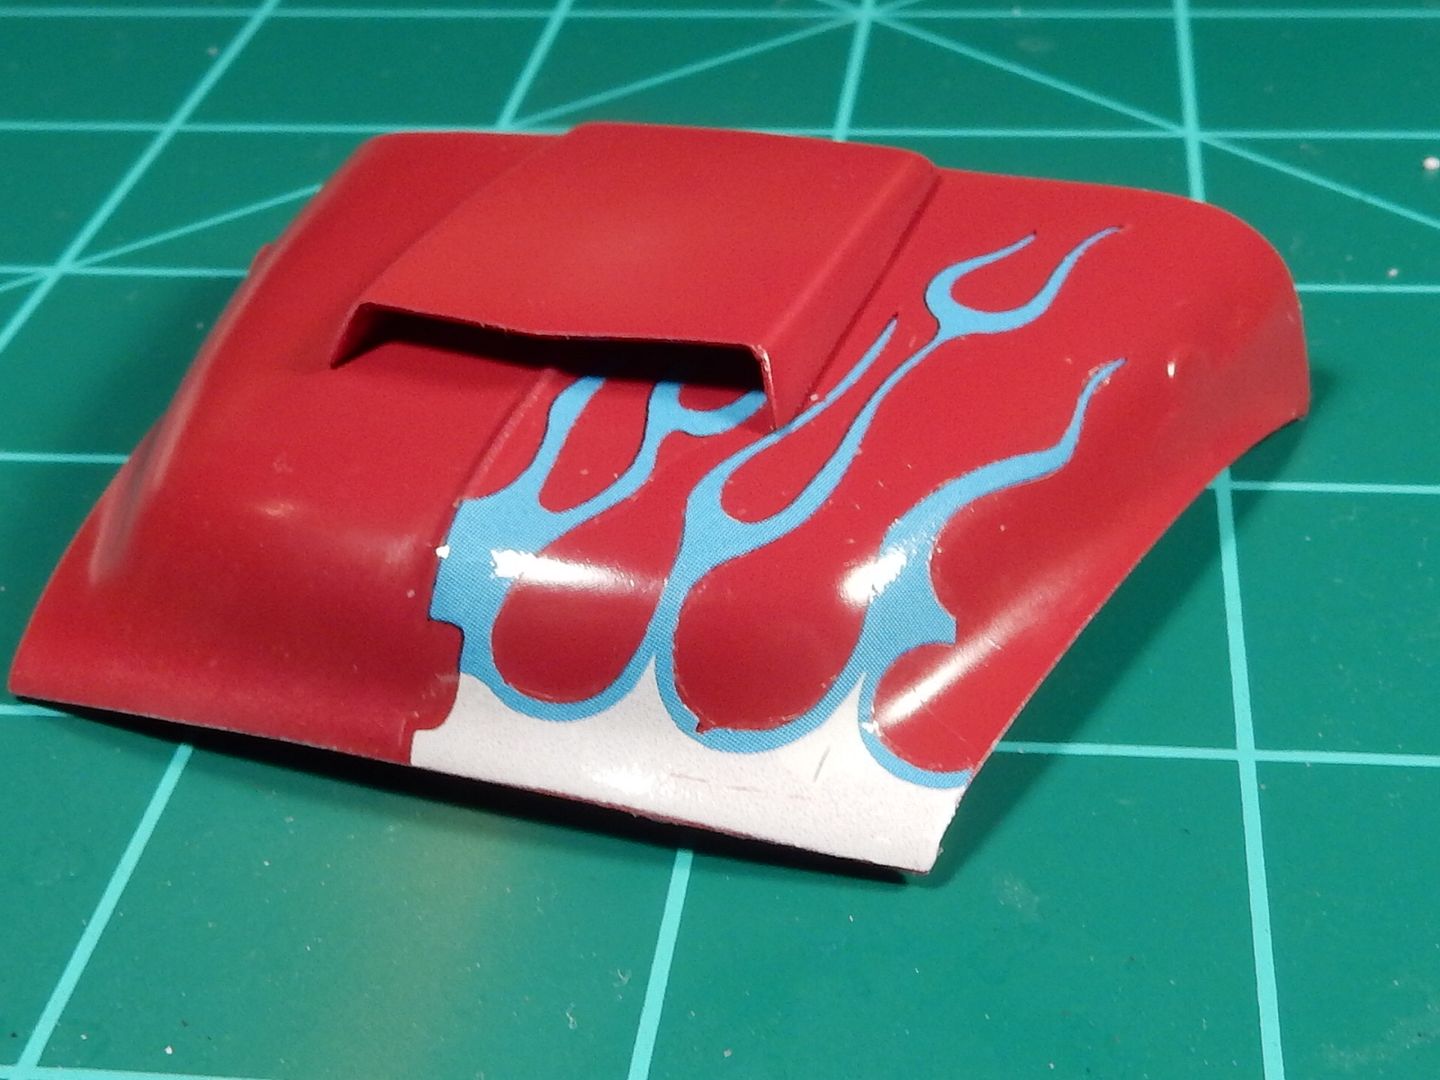
Ok folks I've got an update...............FINALLY!!!! I took a break from the suspension/ brake system build up to concentrate all my efforts on what I dreaded the most....the flame decals. As I was applying the decals I suddenly remembered back 30+ years ago when I built this kit for the first time my experience with them. You see, there so much clear carrier film intermixed with the flames that they don't conform too well to all the contours of the hood...................AT ALL! Large bubbles and air pockets everywhere!! My first thought was to do what I did 30 years ago and pull 'em off and say screw it! I bought myself a little time to think by removing the decal from the hood and leaving in a bowl of water overnight. Last night I laid the decal out on a paper towel to dry somewhat and began cutting out the clear carrier film from the flames (BTW these decals are as tough as a boot!! Especially for being 32 years old!!!!!) . This morning I re-applied the decal with ALOT of Microsol. It took me the better part of 3 hours of smoothing and cutting the clear carrier from the edges of the flames to get this result. I've got my procedure down now and the other side won't be half this much work. I've still got a little work to do on it in the way of tidying up and applying a small area of flames on this side but I had to take a dang break!! :whistle:


Image
User avatar
LyleW
Admin
Posts: 15035
Joined: Fri Dec 13, 2013 7:25 am
Location: Mt. Washington KY

Re: Revell '56 Ford F-100 Hood Flames 06/12

Post by LyleW »

wow...awesome work. I would have ripped them to shreds trying that.
To make each build less crappy than the last one. Or, put another way, "Better than the last one, not as good as the next one!"..
Post Reply

Return to “Work In Progress: Automobiles”