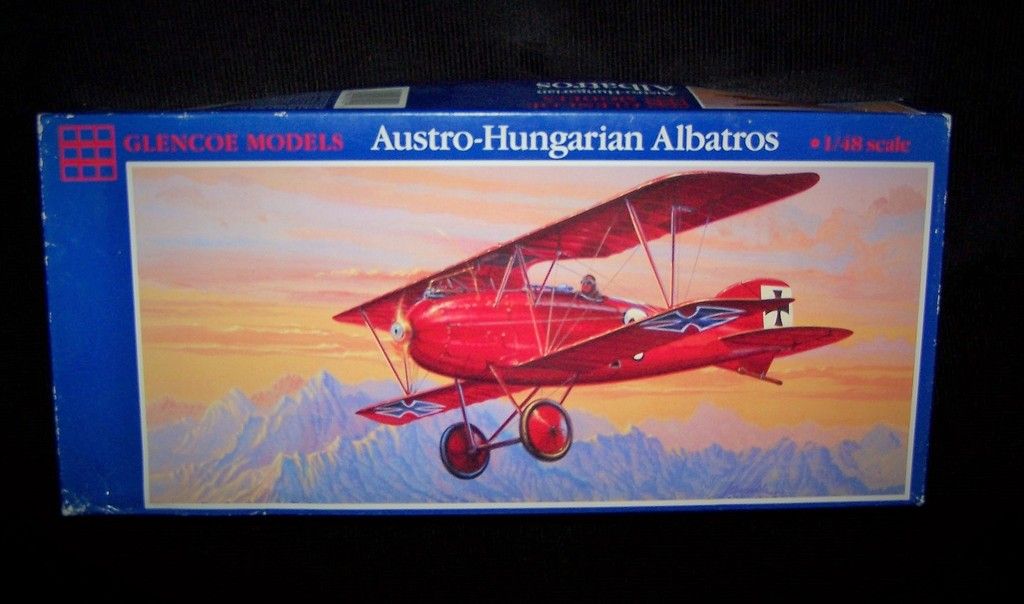
Glencoe Oeffag Albatross D.III (WIP)

Post your work in progress of your aircraft builds in here.
Post Reply
User avatar
Stikpusher
Moderator
Posts: 21183
Joined: Sat Apr 05, 2014 8:37 pm
Location: Ceti Alpha 5

Glencoe Oeffag Albatross D.III (WIP)

Post by Stikpusher »

Well a month or two ago my modeling mojo went real low. So I decided to get back in the game I would go do something that I had not done in a LONG time... a biplane. I have a lot in my stash, from nice Eduards & Rodens, to original Auroras and their clones/re-pops. After looking at all the ones in my stash I decided to start here, as I have not built a biplane kit since I was in Jr. High School way back when. My basic rule to self here was to use just what is in the box, although I would modify kit parts as needed along the way...
Image

So here is the boxtop. For those of you who have never seen or handled a Glencoe kit, they are usually reboxings of very old kits from other companies, sometimes cleaned up or modified, with basic instructions, a very nice Scale Master decal sheet, and sold for a very inexpensive price. They are not for the fainthearted. As far as I can find, Aurora never issued an Oeffag Albatross D.III (Austrian built for those who are wondering), and they only issued the German built Albatross D.III. So I am presuming that Glencoe took the orginal Aurora molds here and added the parts needed to make the Oeffag version, as well as having the standard D.III part. To call this kit basic is an understatement. Although in all fairness, the original molds probably date from the late '50s or early 60s. Most parts beyond the fuselage halves needed filing, sanding, or shims to fit properly. Not to mention a good amount of flash on many parts. On the plus side the kit does come with a beautiful Scalemaster decal sheet with three marking options, which is probably worth the $5 or so that I paid for this challenging kit.

Of course, as usual for a build the first step once that I decided to build this crate was research. I did happen upon a walk around of a beautiful exact flying reproduction Oeffag D.III, so armed with this source I went to work.

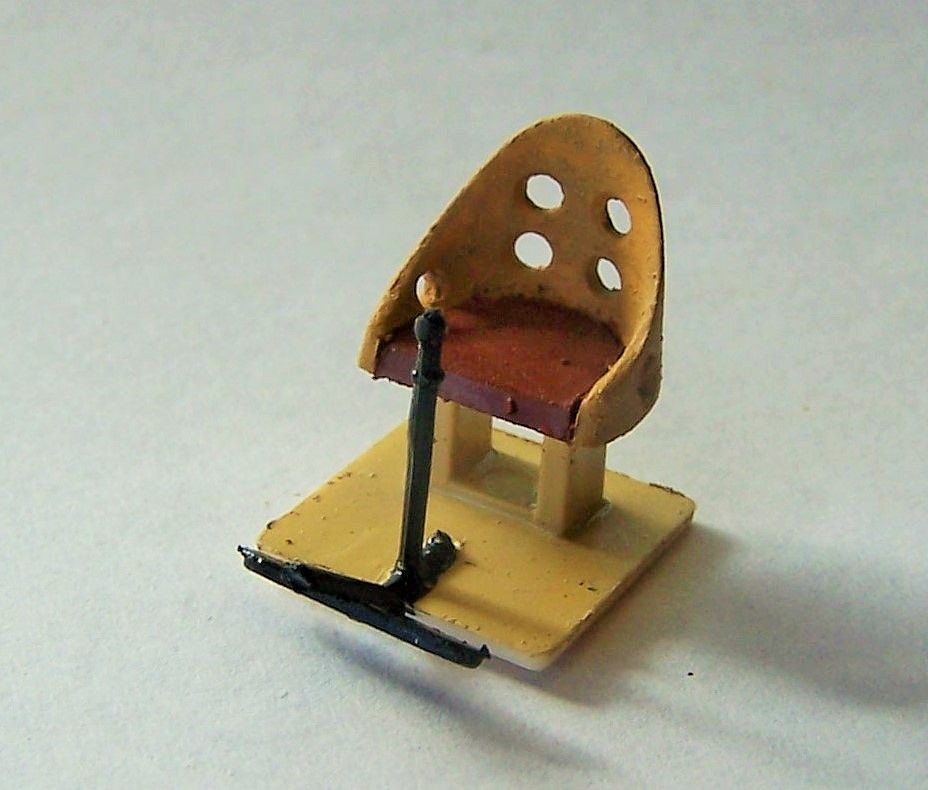
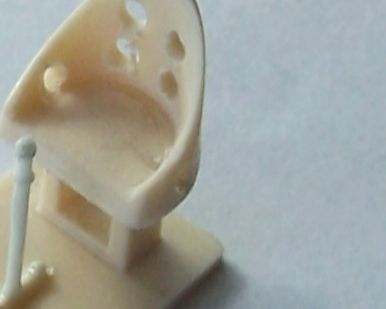
Now in the cockpit I did deviate slightly from my no additions/kit parts only self imposed guidance. I did add a control stick, and I was not going to use the pilot figure, and teh kit did not include one. So from my spares bin I found something suitable. And I also drilled out some lightening holes in the seat based upon what I could find in online photos.
Image

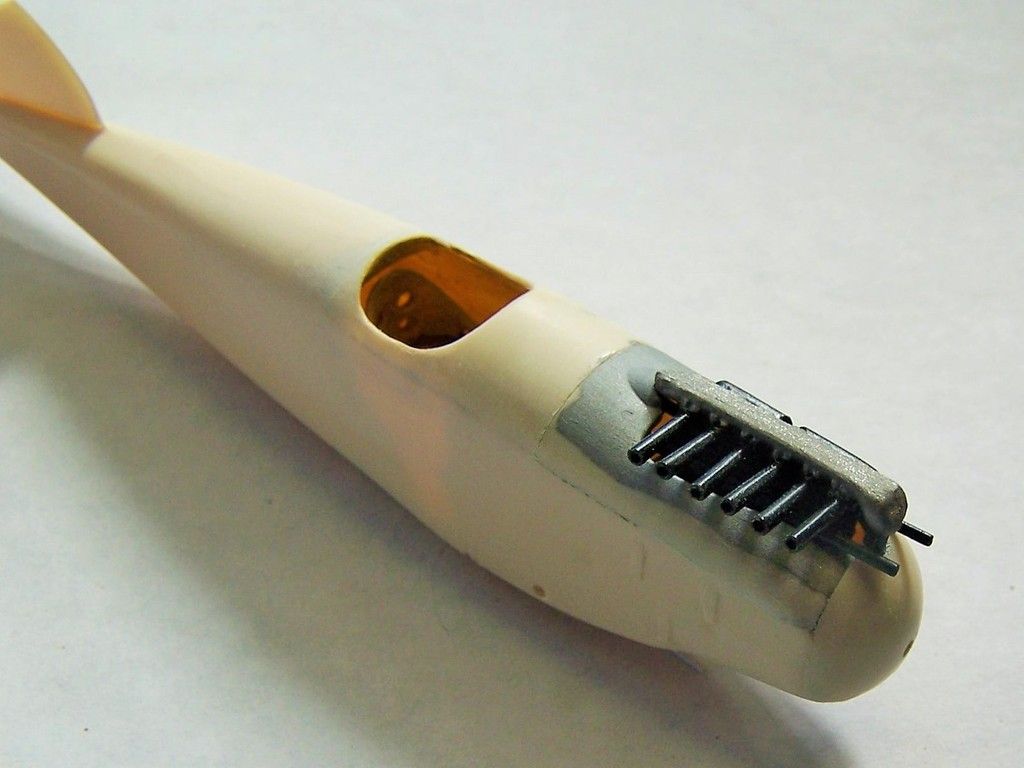
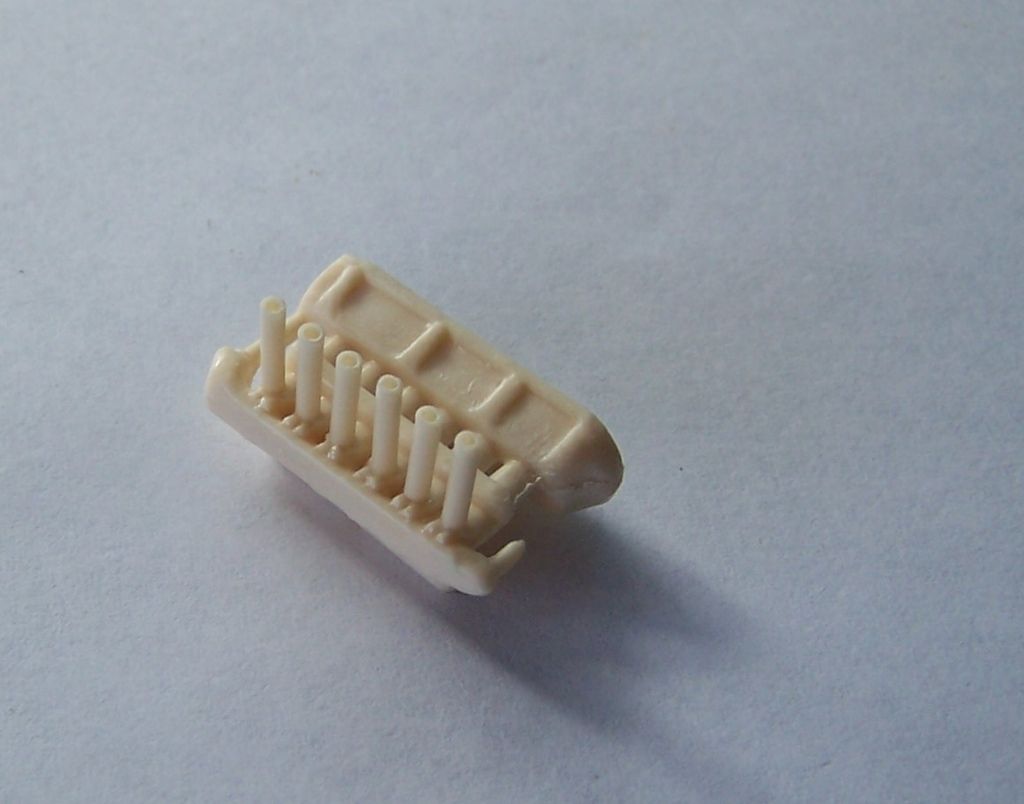
and I built the motor, probably the best molded and detailed part of the kit. I did drill out each of the exhaust stacks and filed the intake manifold to rounded profile rather than the as molded squared off edges.
Image

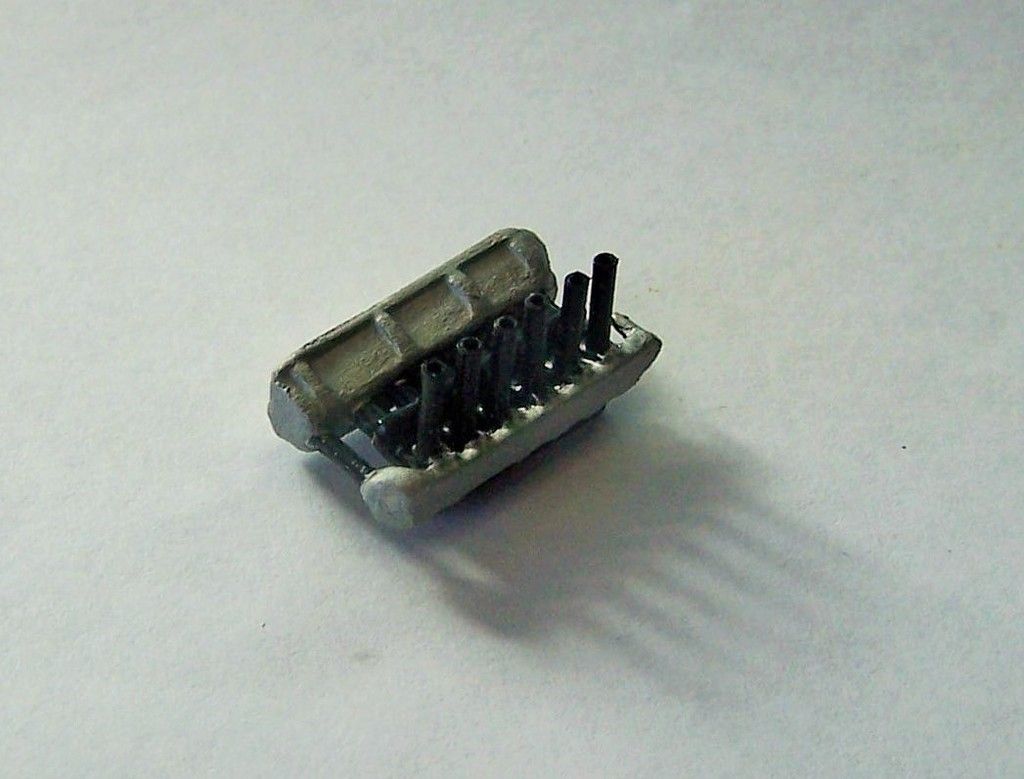
Then these items and areas were painted
Image

Image

Next up was the cockpit & fuselage interior painting- varnished plywood, as well as some instrument decals (minimal) for the panel.
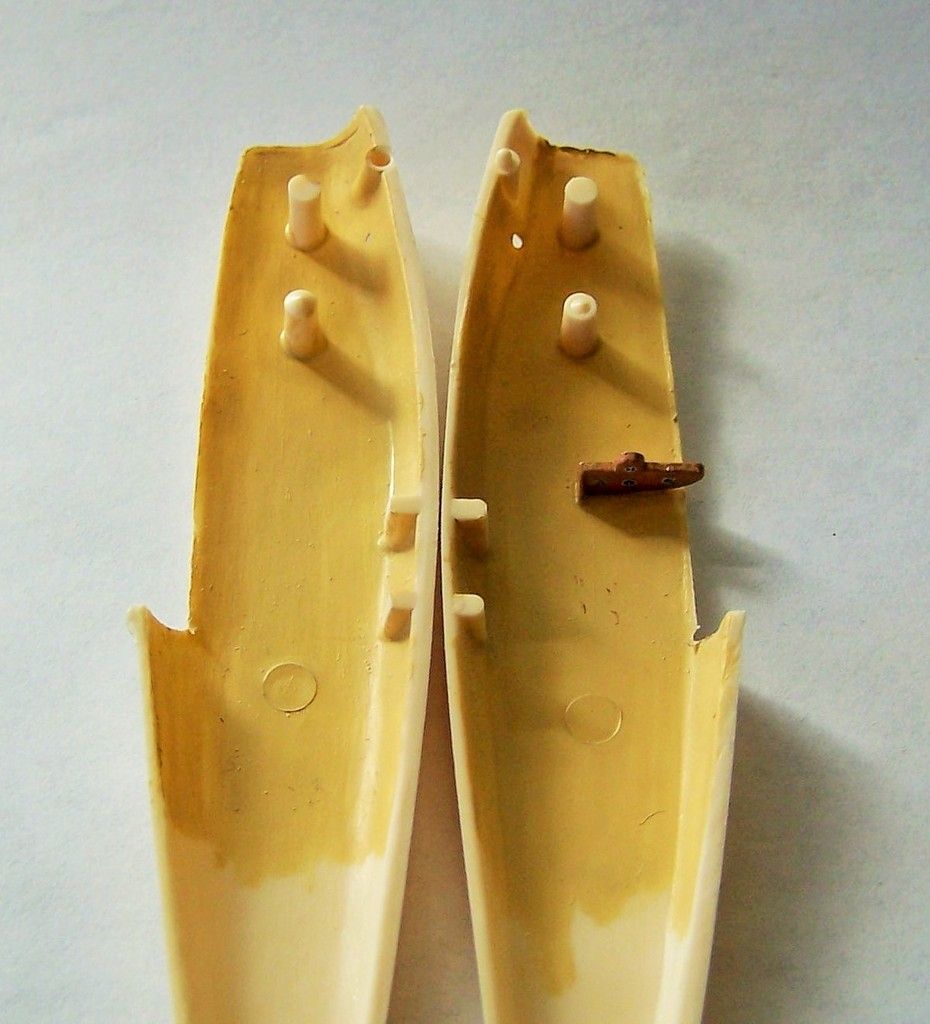
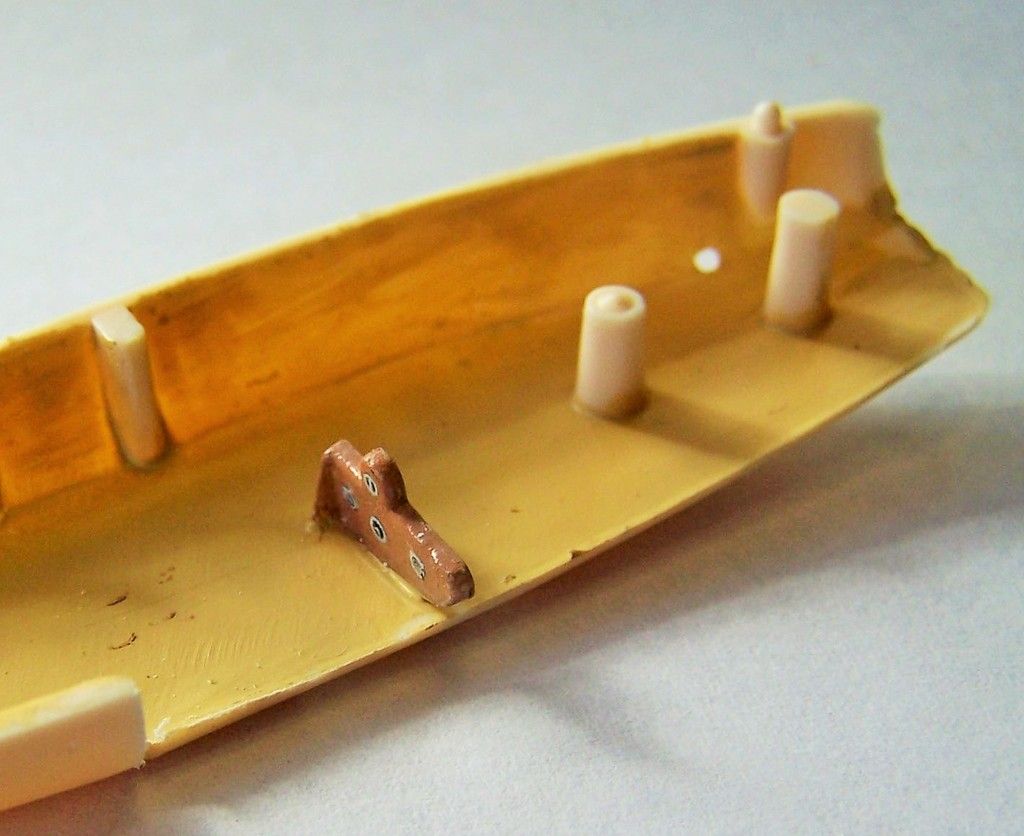
Image

Image

then painting of the interior and exterior engine areas that I knew would be best done before assembly, as well as the guns.
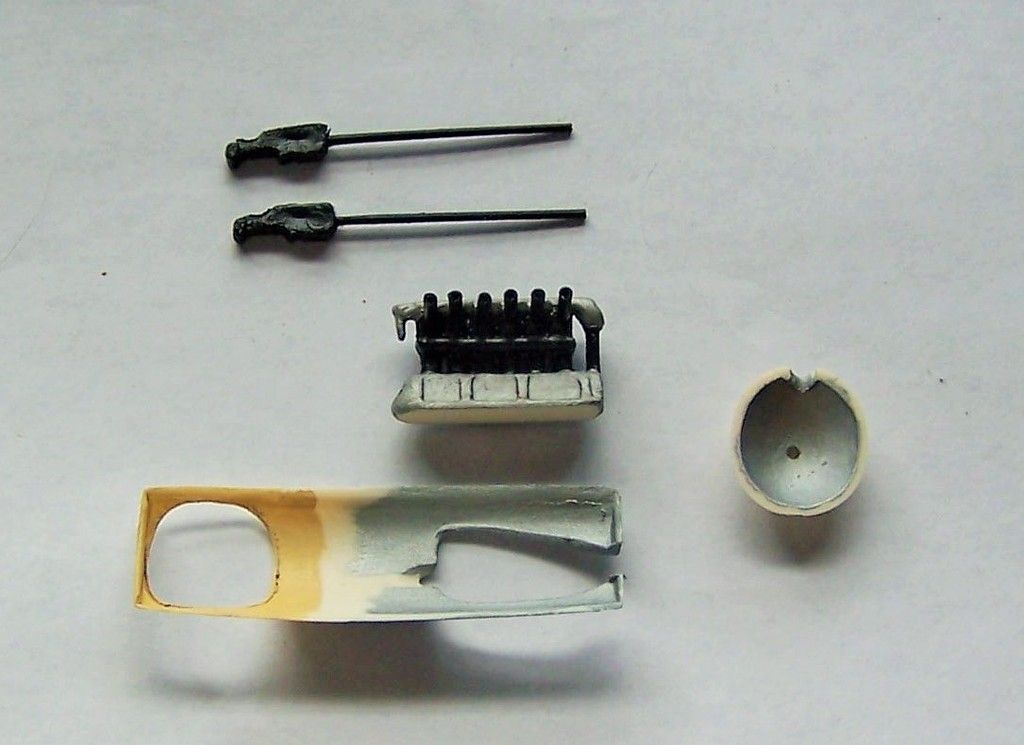
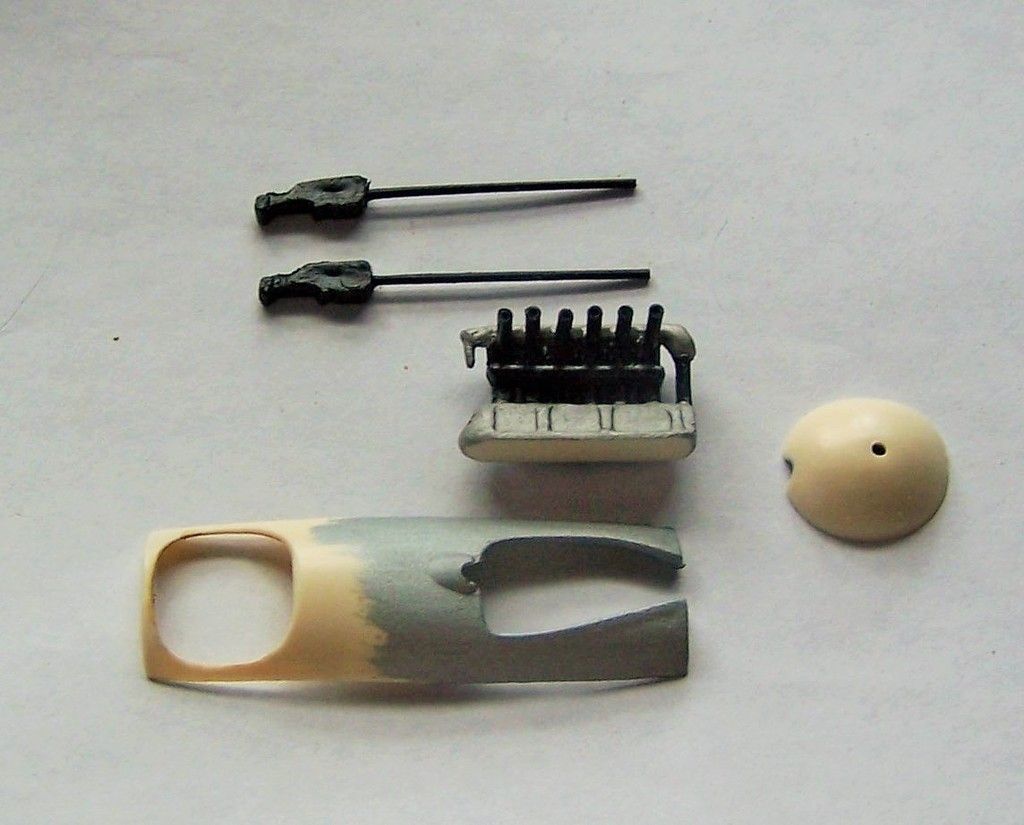
Image

Image

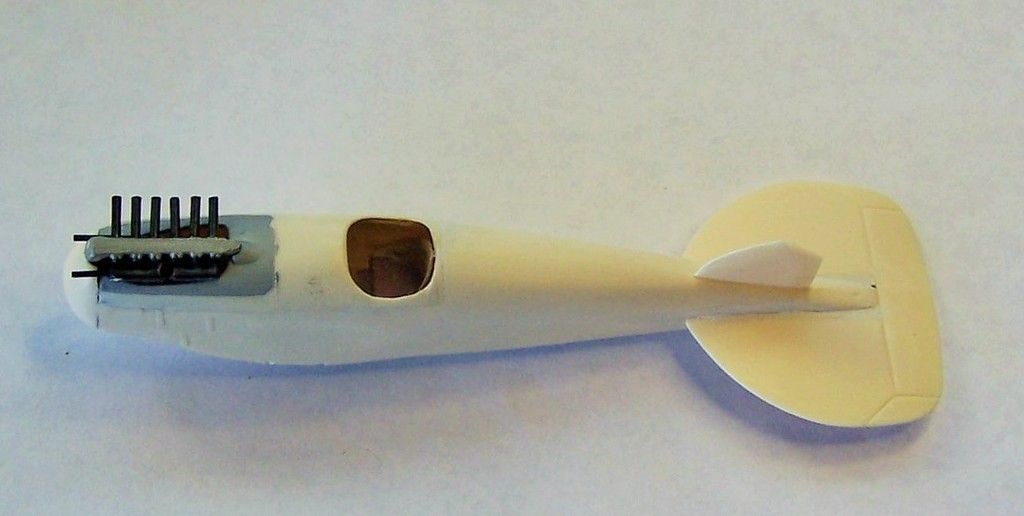
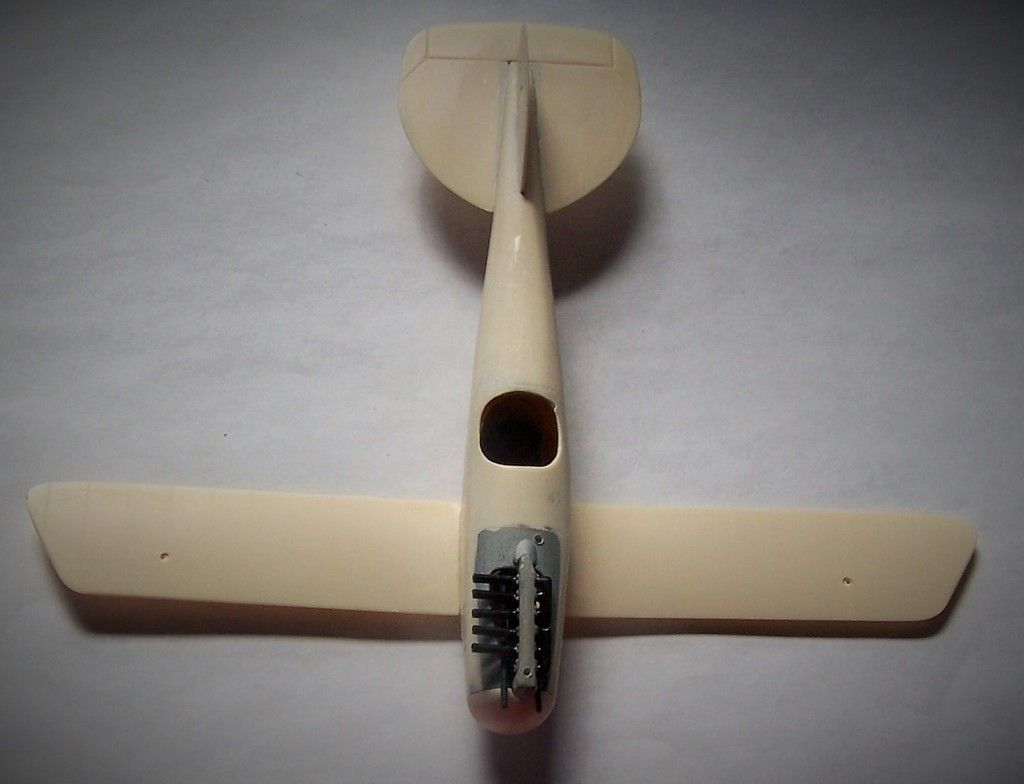
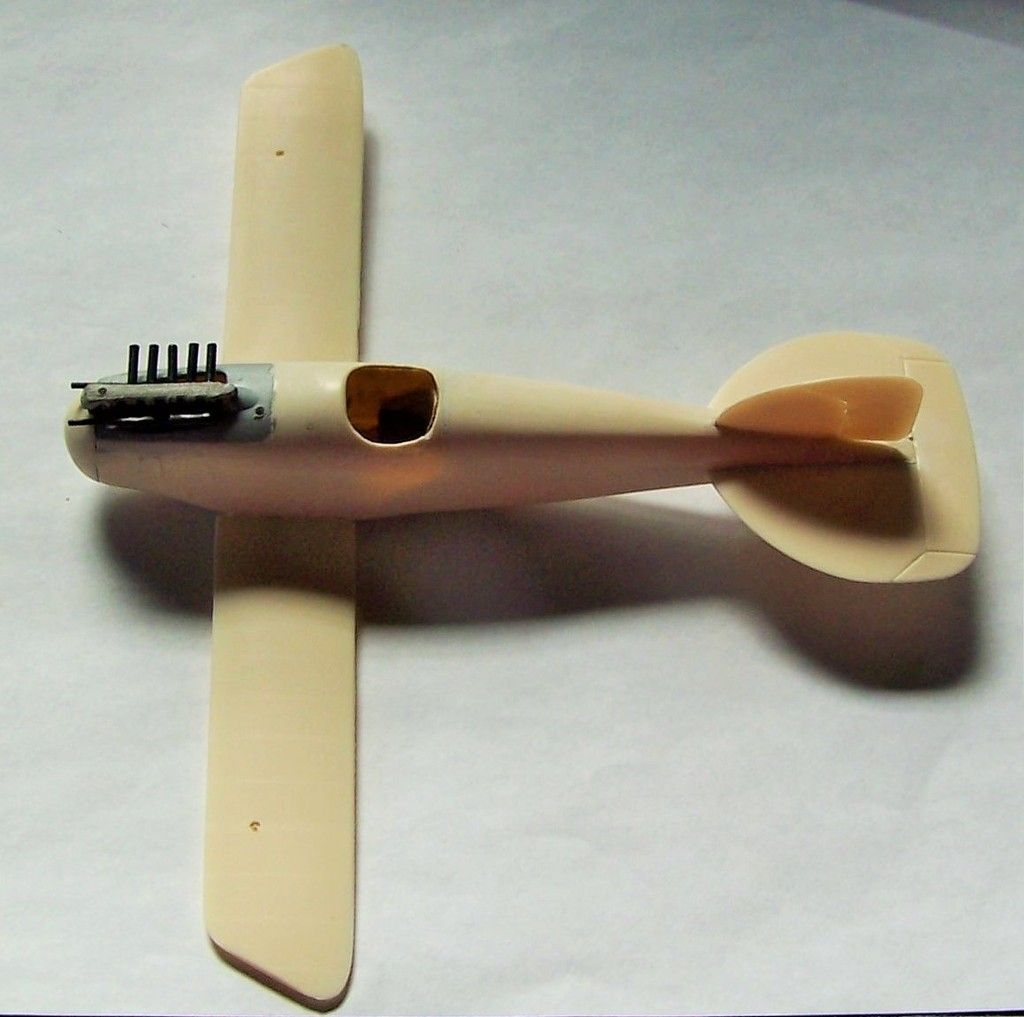
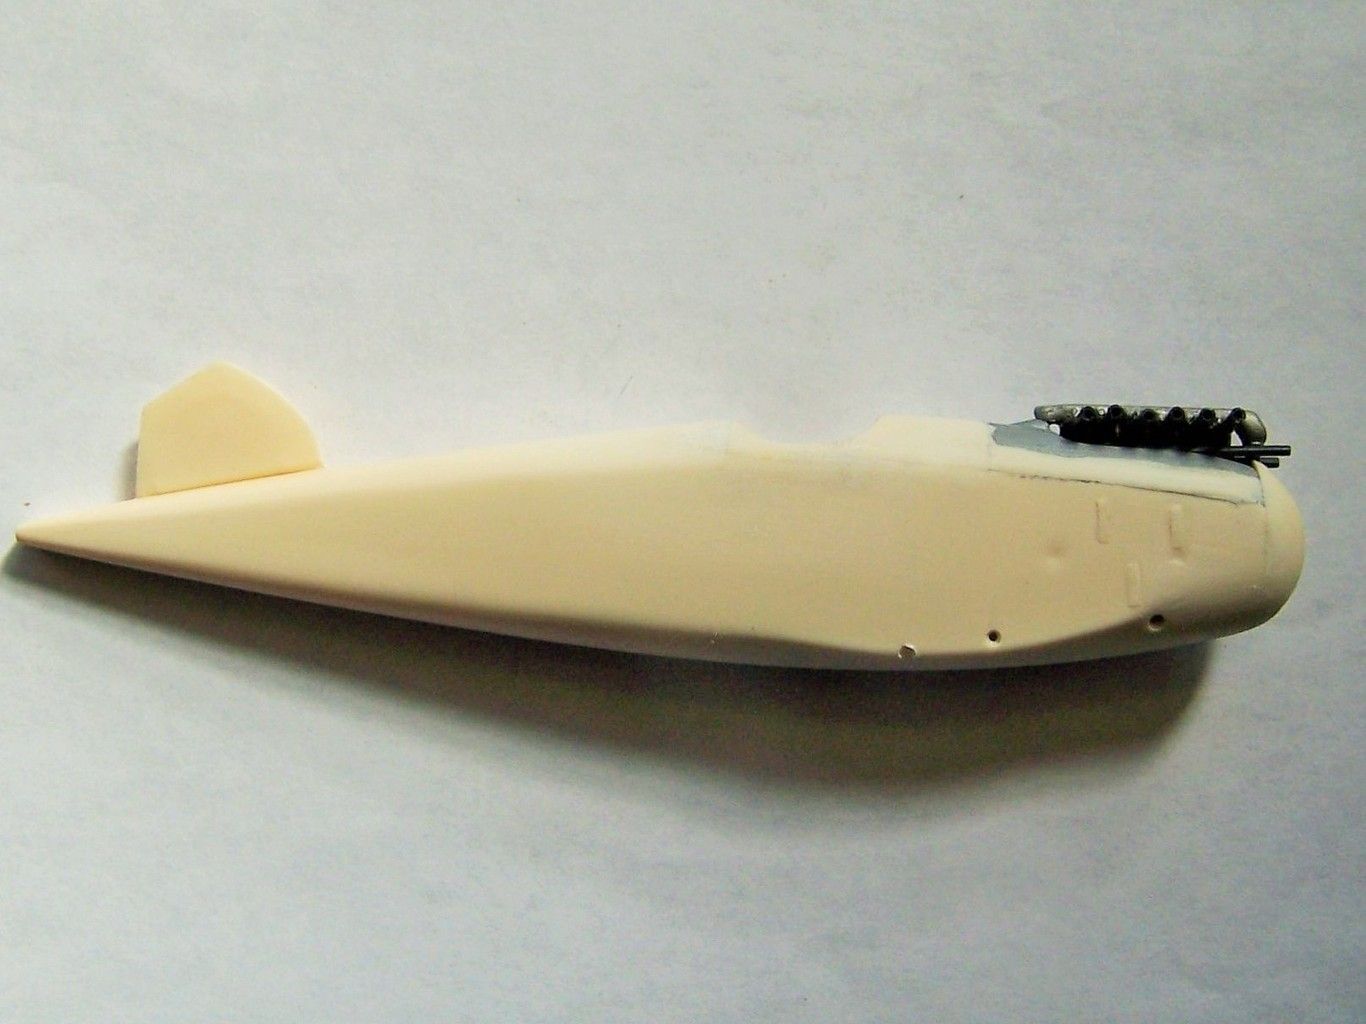
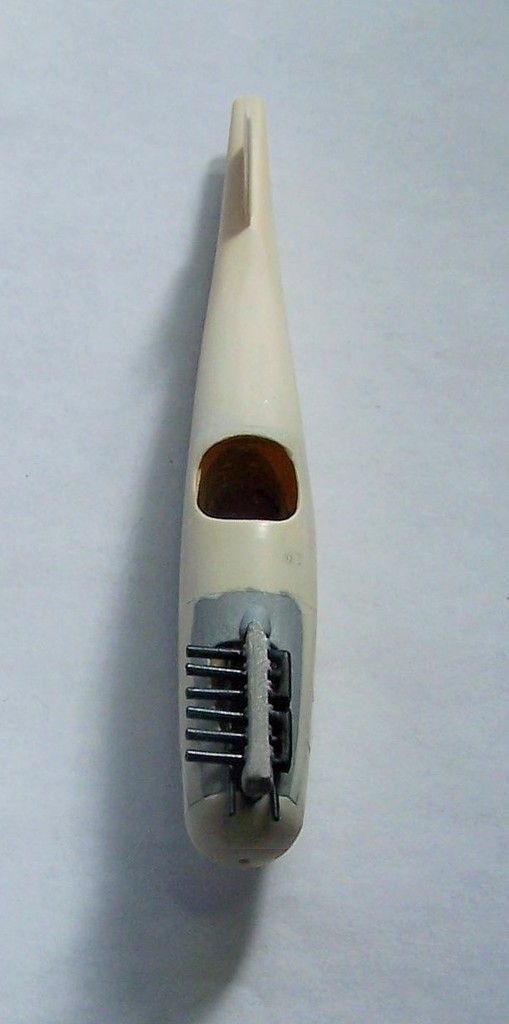
afterwards I glued the fuselage halves together with the cockpit in place, then added the engine, guns, and cowl/decking. The fit was very rough and required quite a bit of sanding before it finally began to look right. I almost felt like I was shaping a wooden model during this point.
Image

Image

Image

more to come shortly...
"Surely I have made my meaning plain? I intend to avenge myself upon you, Admiral. I have deprived your ship of power, and when I swing 'round, I intend to deprive you of your life."

FLSM
User avatar
Stikpusher
Moderator
Posts: 21183
Joined: Sat Apr 05, 2014 8:37 pm
Location: Ceti Alpha 5

Re: Gelncoe Oeffag Albatross D.III

Post by Stikpusher »

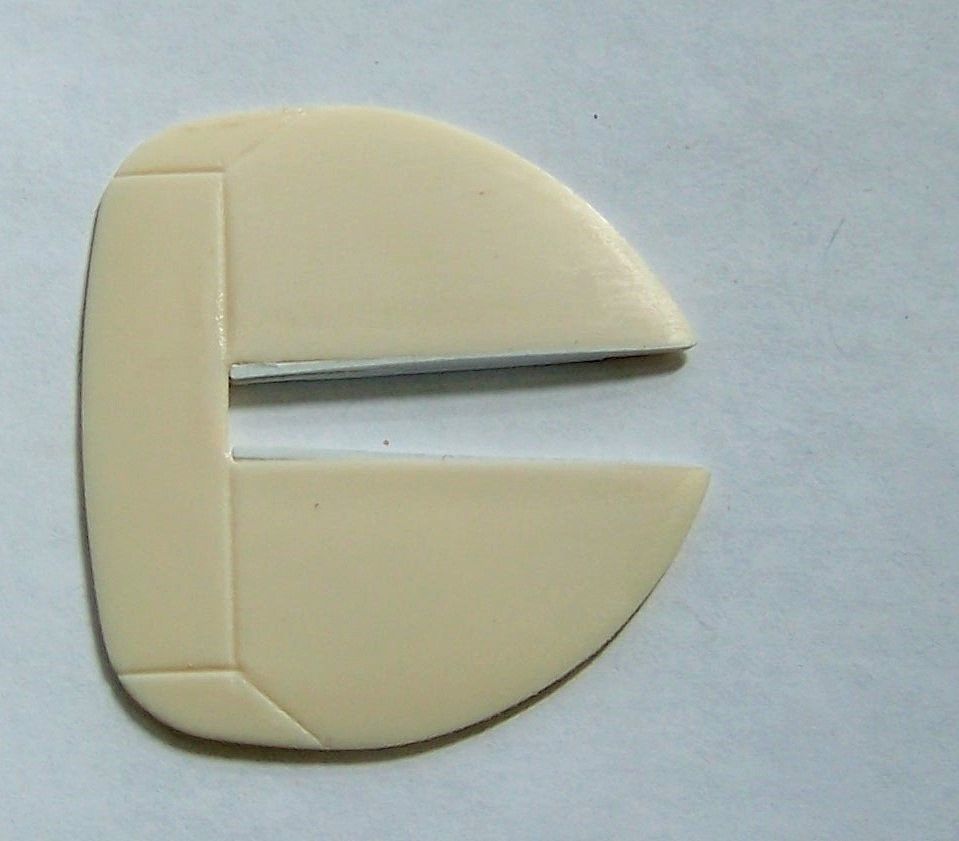
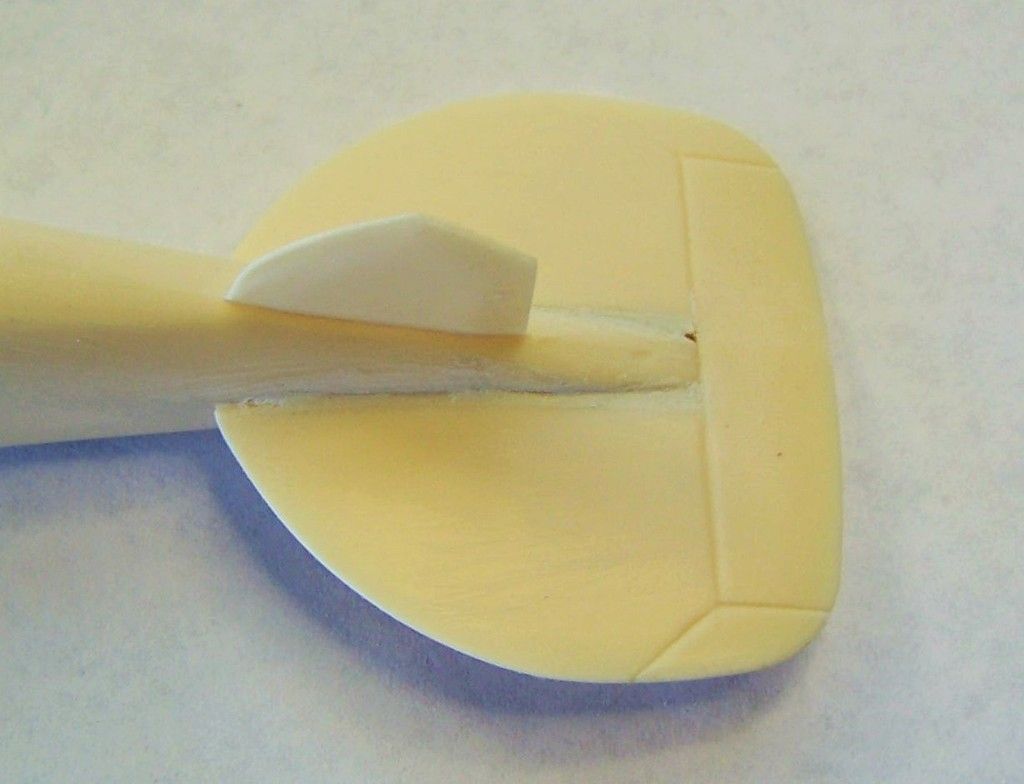
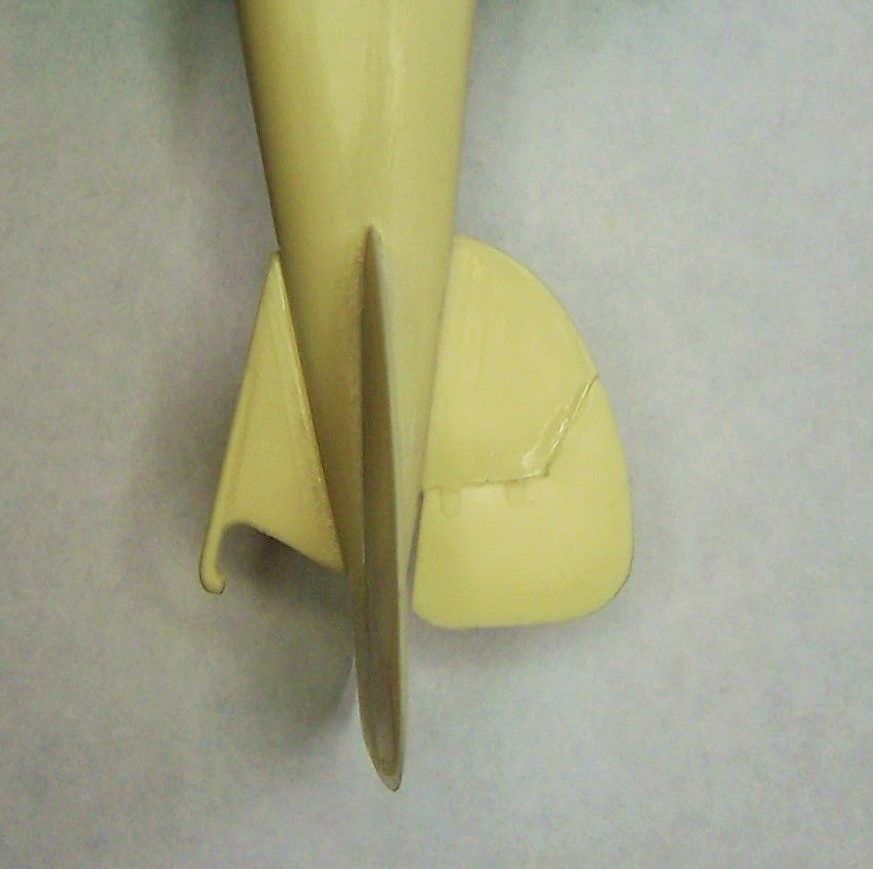
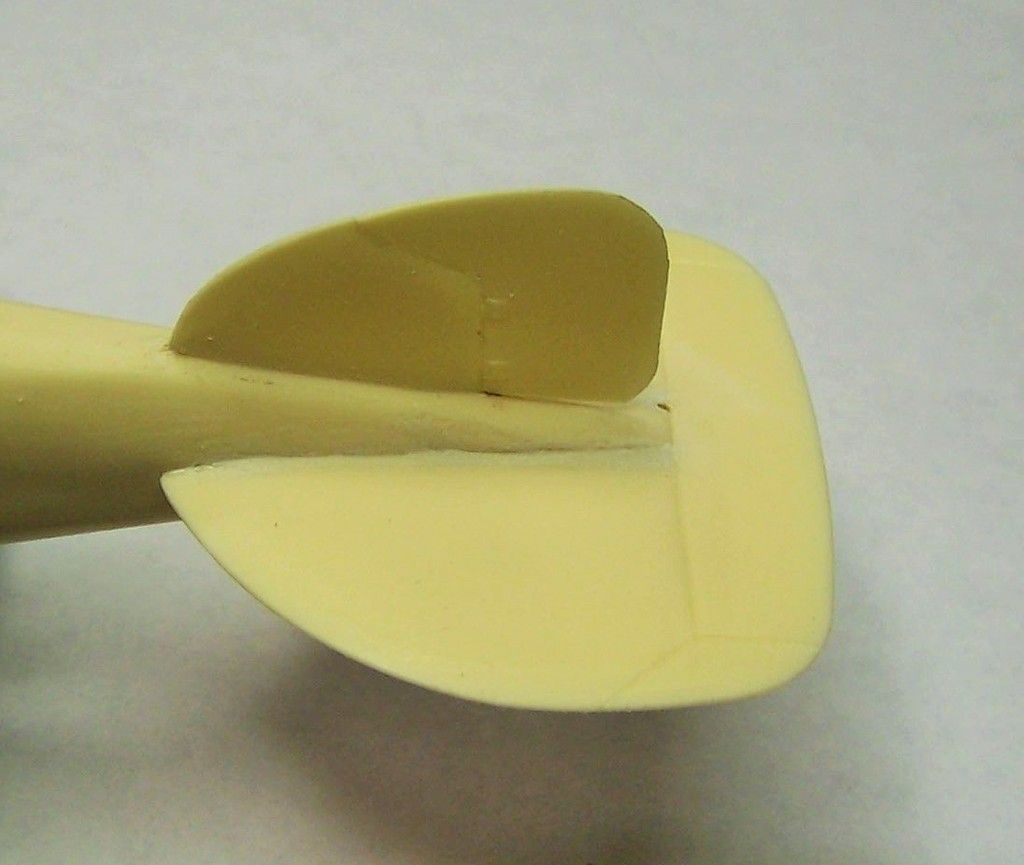
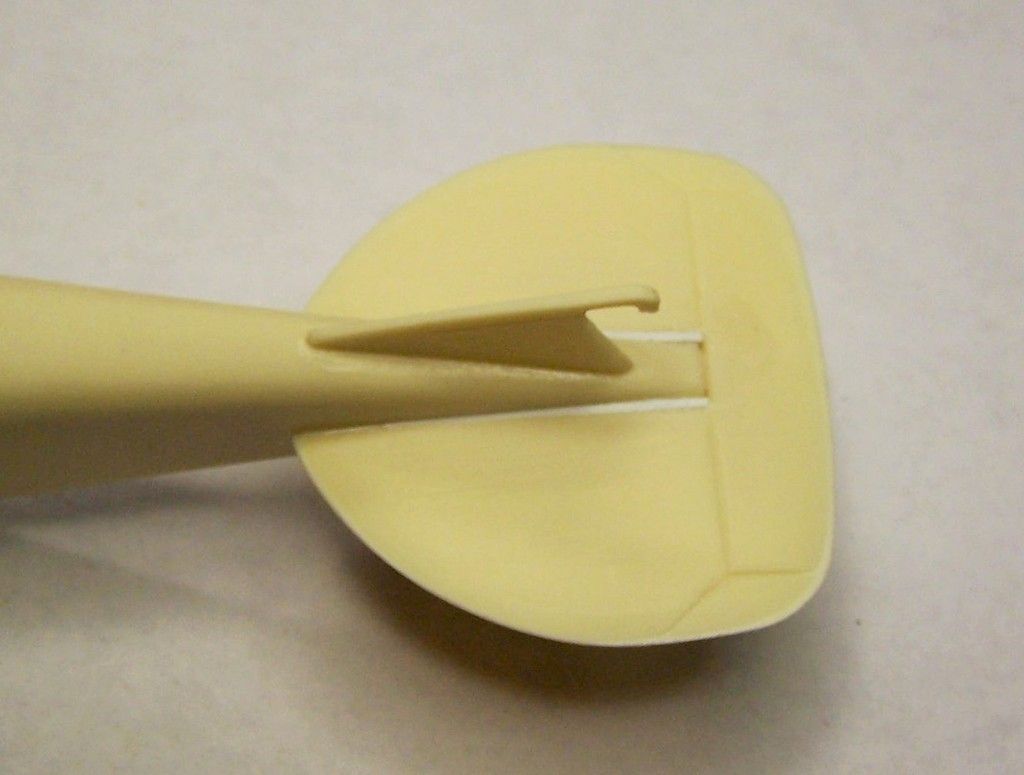
Next up was the tail. The fit of the horizontal stabilizer was horrid! Basically the only part that made contact was the leading edge area and where the elevator met the fuselage rear. So I had to do some serious shim work and sanding to build it up to make for a proper fit.

Image

But I was successful there and then with some putty, not bad at all.

Image

Image

Then I added the rudder and ventral fin/skid. Again it was a major case of test fit, sand, test fit again, file some more, repeat as needed.

Image

Image

Image


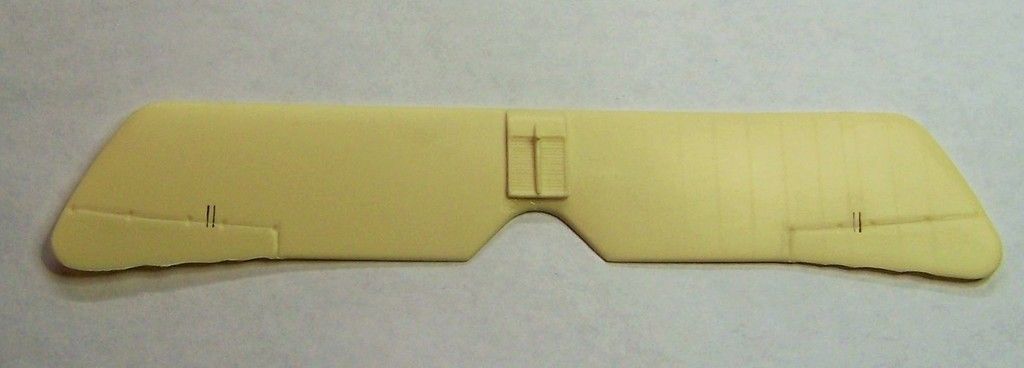
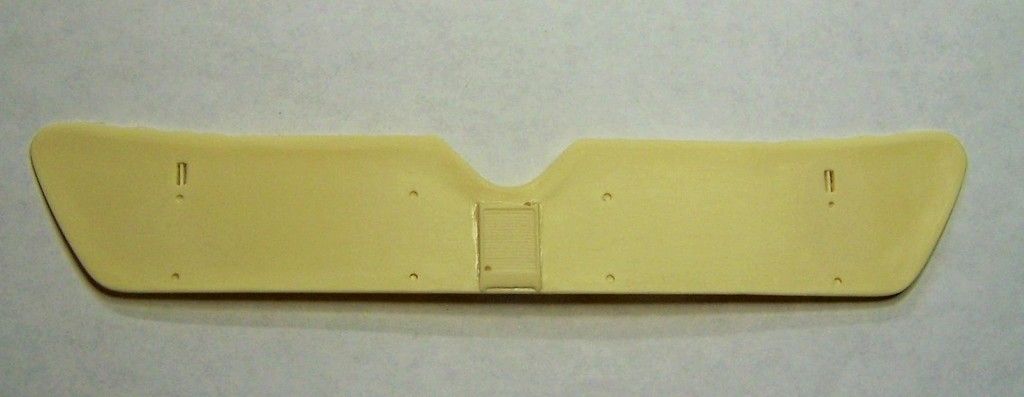
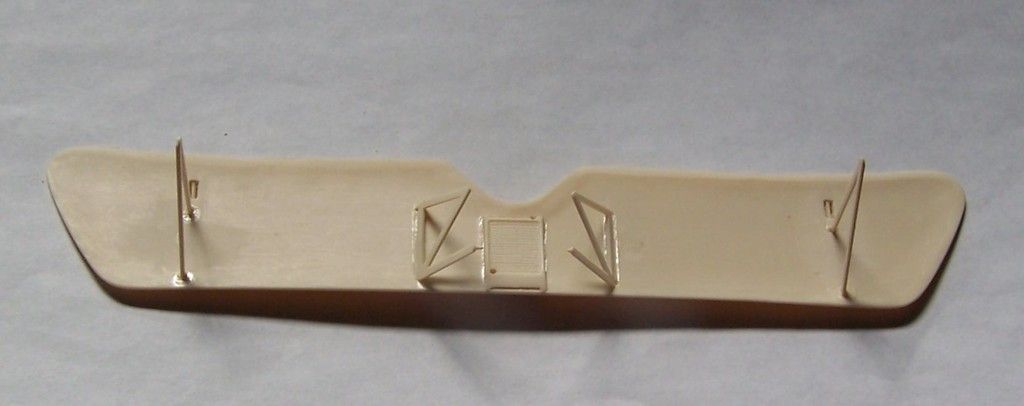
Next up was adding the radiator to the upper wing. The bottom of those parts was dead flat and needed some serious file work to match the airfoils shape of the wing. I also thinned down the wing trailing edges and added some scallop shape to the trailing edges of the ailerons, based upon the walkaround photos. I also added some locator holes for the radiator lines to the lower portion of the radiator.

Image

Image

Now the attachment points for the lower wings are some of the weakest I can imagine. So I cut the pins on the wings off, drilled a locator hole in their place on each lower wing, drilled thru the fuselage locator holes, and added a length of .20 gauge steel wire to reinforce the wings. I then super glued the wire to the locator holes in the wing and used Plastruct cement (Very hot stuff, like Tenax) to attach the lower wings and set them aside to dry overnite. I also drilled locator holes for the radiator lines in the fuselage and engine

Image

Image

and finally, I added the interplane and cabane struts to the upper wing, aligned them as best I could, and set them aside to dry

Image

So that is where this project stands at this point. I am just about ready to begin painting, after I mark and drill some attachment holes for the cabane struts in the forward fuselage.

Like I said, this is not a project for the faint hearted....
"Surely I have made my meaning plain? I intend to avenge myself upon you, Admiral. I have deprived your ship of power, and when I swing 'round, I intend to deprive you of your life."

FLSM
User avatar
Fermis
Addicted Member
Posts: 1811
Joined: Sat Mar 15, 2014 10:41 pm
Location: Hamburg Michigan

Re: Gelncoe Oeffag Albatross D.III

Post by Fermis »

Stikpusher wrote:
Like I said, this is not a project for the faint hearted....
Agreed!

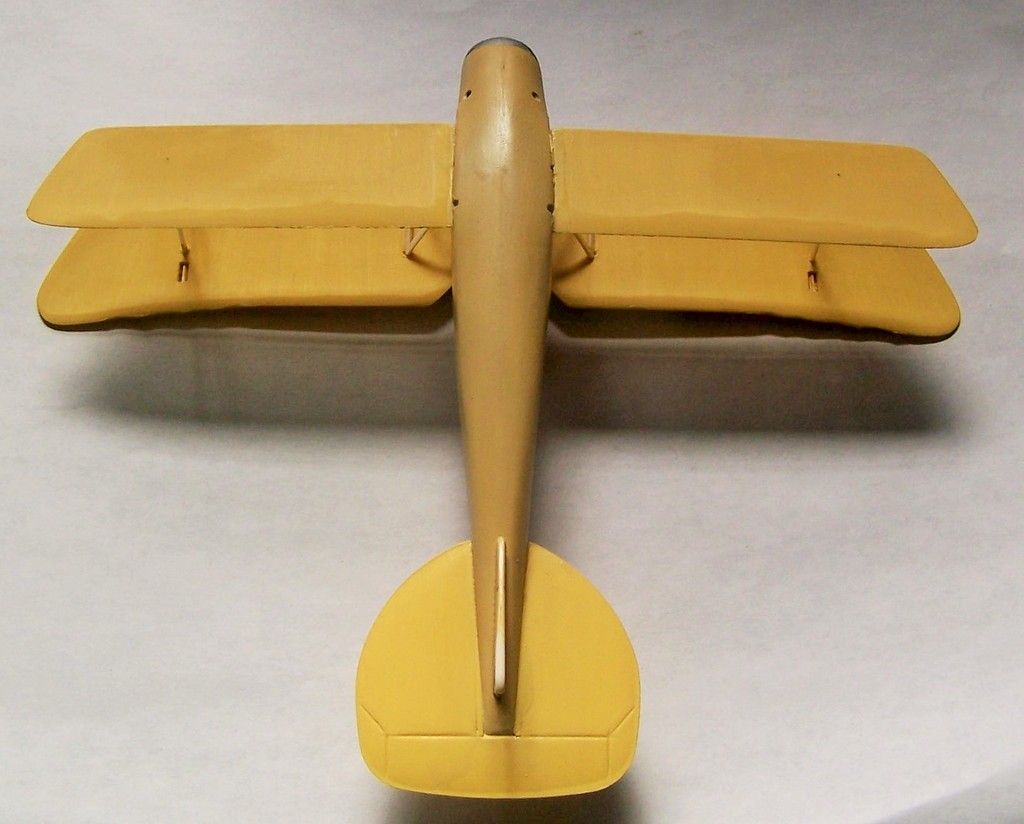
This plane...from above...looks like wings on an anorexic manatee!
User avatar
Stikpusher
Moderator
Posts: 21183
Joined: Sat Apr 05, 2014 8:37 pm
Location: Ceti Alpha 5

Re: Gelncoe Oeffag Albatross D.III

Post by Stikpusher »

Fermis wrote:

This plane...from above...looks like wings on an anorexic manatee!
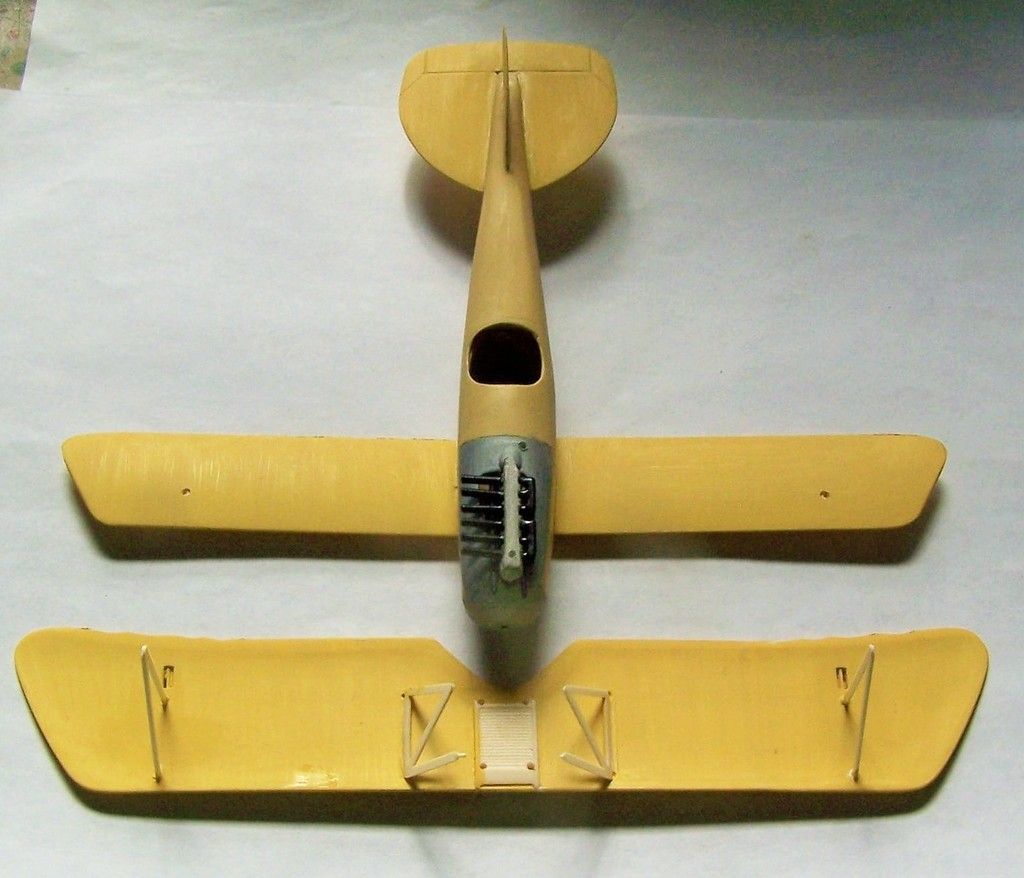
Yes, the Albatross D.III & D.V were sesquiplanes, like many of the Nieuports. The lower wing is only half the chord or so of the upper wing.
"Surely I have made my meaning plain? I intend to avenge myself upon you, Admiral. I have deprived your ship of power, and when I swing 'round, I intend to deprive you of your life."

FLSM
User avatar
CallSignOWL
Addicted Member
Posts: 1754
Joined: Mon Apr 07, 2014 12:45 pm

Re: Gelncoe Oeffag Albatross D.III

Post by CallSignOWL »

yeech...dunno if I would've even continued with this kit. Nice work tacking this hunk of junk!!
Every take-off has a landing...some are just better than others
User avatar
Stikpusher
Moderator
Posts: 21183
Joined: Sat Apr 05, 2014 8:37 pm
Location: Ceti Alpha 5

Re: Gelncoe Oeffag Albatross D.III

Post by Stikpusher »

CallSignOWL wrote:yeech...dunno if I would've even continued with this kit. Nice work tacking this hunk of junk!!


Yeah, I am not sure what I was thinking when I chose to start here, but... :hmm: But it is kinda fun to tackle such a beast...

"Surely I have made my meaning plain? I intend to avenge myself upon you, Admiral. I have deprived your ship of power, and when I swing 'round, I intend to deprive you of your life."

FLSM
User avatar
Stikpusher
Moderator
Posts: 21183
Joined: Sat Apr 05, 2014 8:37 pm
Location: Ceti Alpha 5

Re: Gelncoe Oeffag Albatross D.III

Post by Stikpusher »

Well, I have started painting. I have the wood and linen base colors on. Just need to let that dry then I can get the bare metal for the cowl and engine deck on before the camo pattern.
"Surely I have made my meaning plain? I intend to avenge myself upon you, Admiral. I have deprived your ship of power, and when I swing 'round, I intend to deprive you of your life."

FLSM
User avatar
Stuart
Elite Member
Posts: 11902
Joined: Sun Apr 06, 2014 1:06 pm
Location: North Wales

Re: Gelncoe Oeffag Albatross D.III

Post by Stuart »

You're a brave man Stik - great work on whipping this kit into shape!
Stuart Templeton 'I may not be good but I'm slow...'
User avatar
Stikpusher
Moderator
Posts: 21183
Joined: Sat Apr 05, 2014 8:37 pm
Location: Ceti Alpha 5

Re: Gelncoe Oeffag Albatross D.III

Post by Stikpusher »

portman wrote:You're a brave man Stik - great work on whipping this kit into shape!
Brave or crazy? :hmm: and thanks for the kind words. I am doing what I can here.

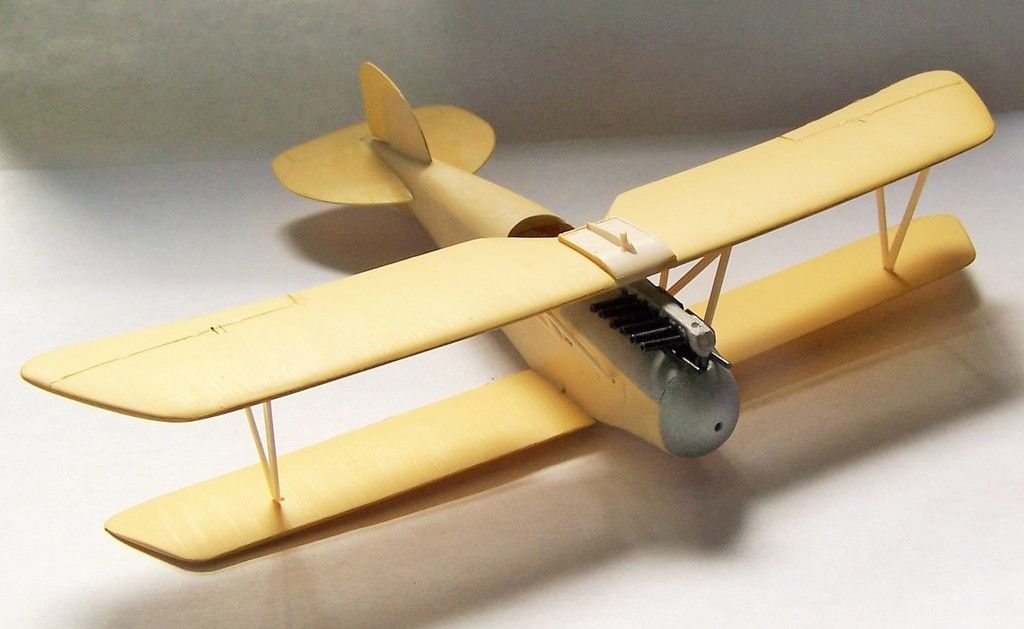
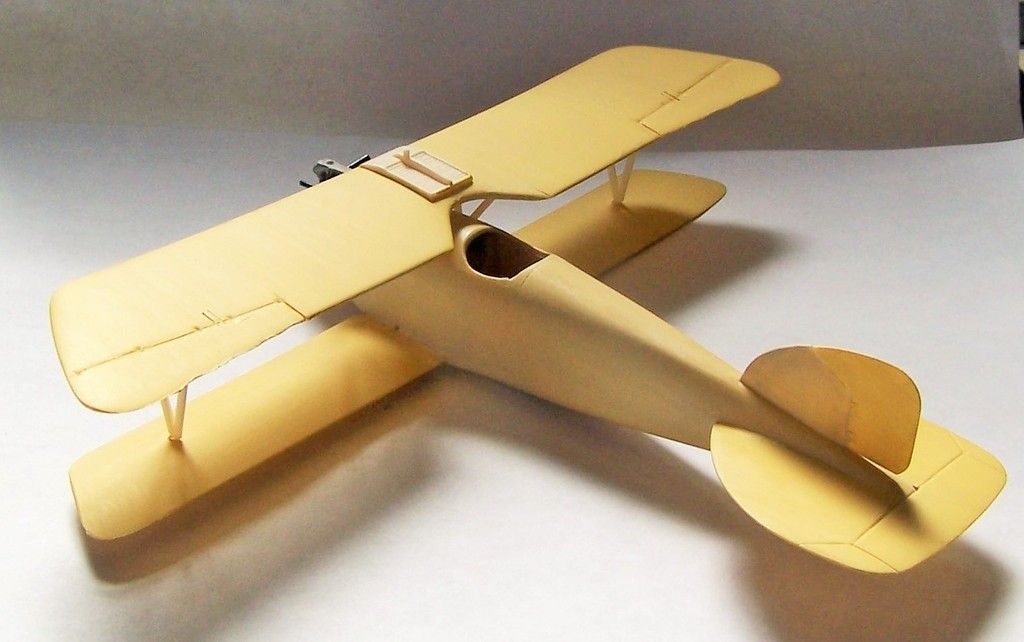
Well here are the basic paint colors on so far. All Humbrol- Oak for the wood areas of the Fuselage, Linen for the fabric areas of the wings, rudder, and horizontal stabilizers, and Aluminum for the engine deck & cowl

Image

and a rest fit of the upper wing onto the rest

Image

Image

Image

next up over the coming days, applying a camo pattern
"Surely I have made my meaning plain? I intend to avenge myself upon you, Admiral. I have deprived your ship of power, and when I swing 'round, I intend to deprive you of your life."

FLSM
User avatar
LyleW
Admin
Posts: 15035
Joined: Fri Dec 13, 2013 7:25 am
Location: Mt. Washington KY

Re: Gelncoe Oeffag Albatross D.III

Post by LyleW »

That is looking good. . . even with the good eye closed! Way to whip it into shape
To make each build less crappy than the last one. Or, put another way, "Better than the last one, not as good as the next one!"..
Post Reply

Return to “Aircraft Work in Progress”