1/72 Italeri A-10 Finished

Post your work in progress of your aircraft builds in here.
User avatar
Fermis
Addicted Member
Posts: 1811
Joined: Sat Mar 15, 2014 10:41 pm
Location: Hamburg Michigan

Re: 1/72 Italeri A-10 WIP

Post by Fermis »

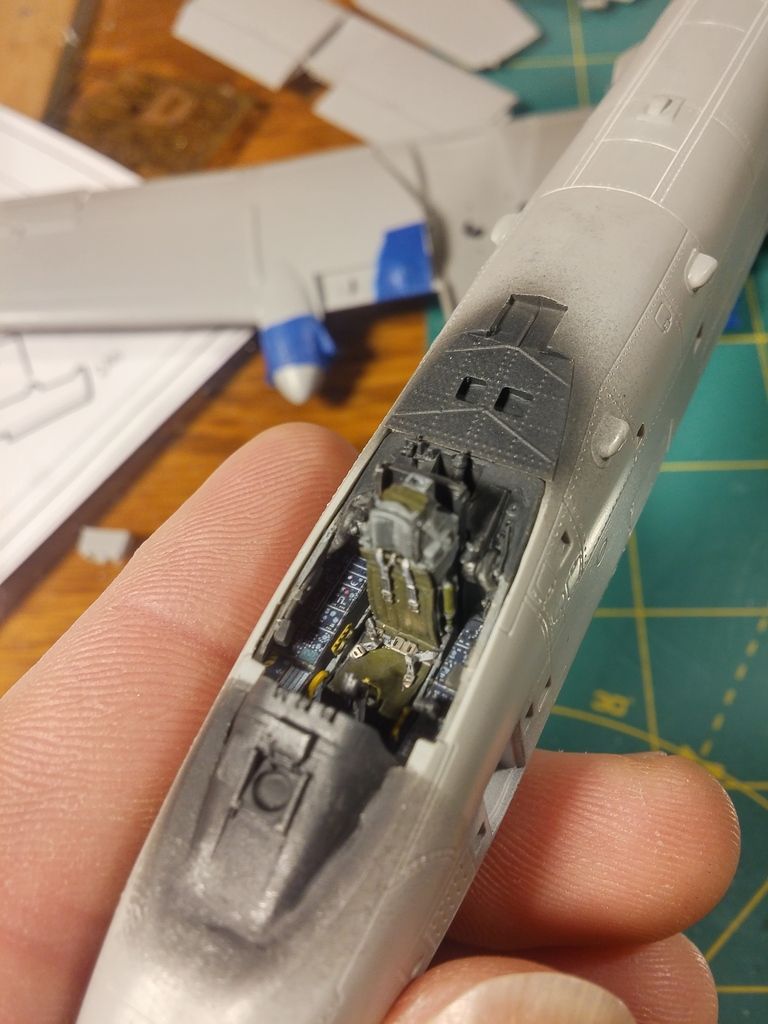
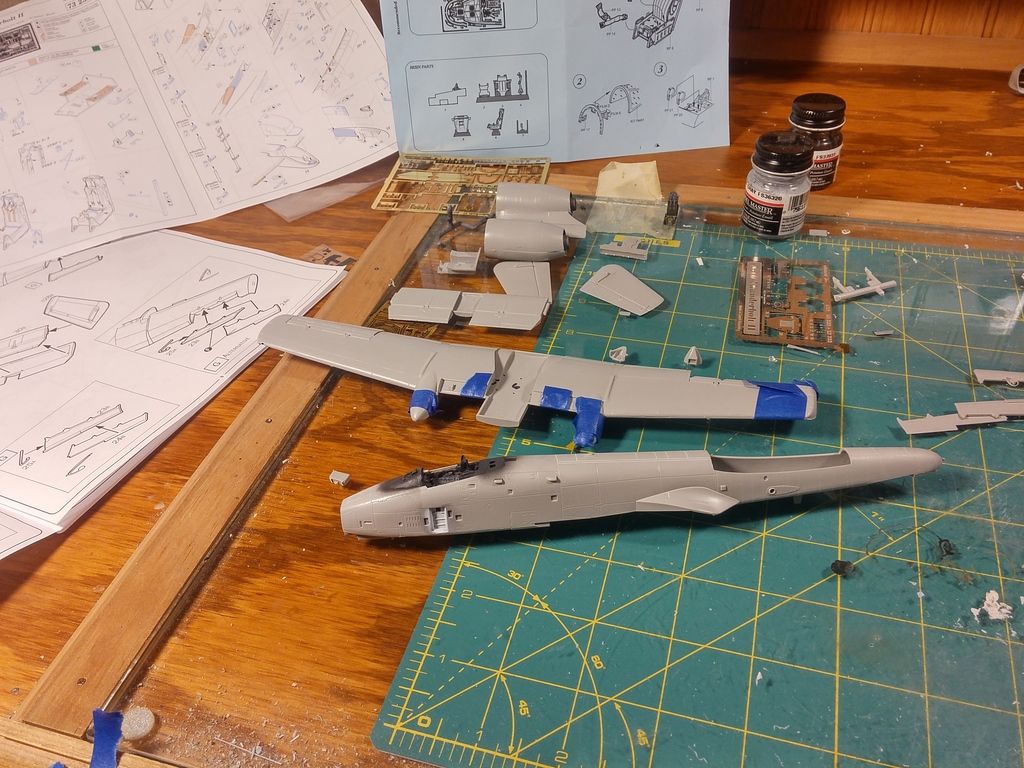
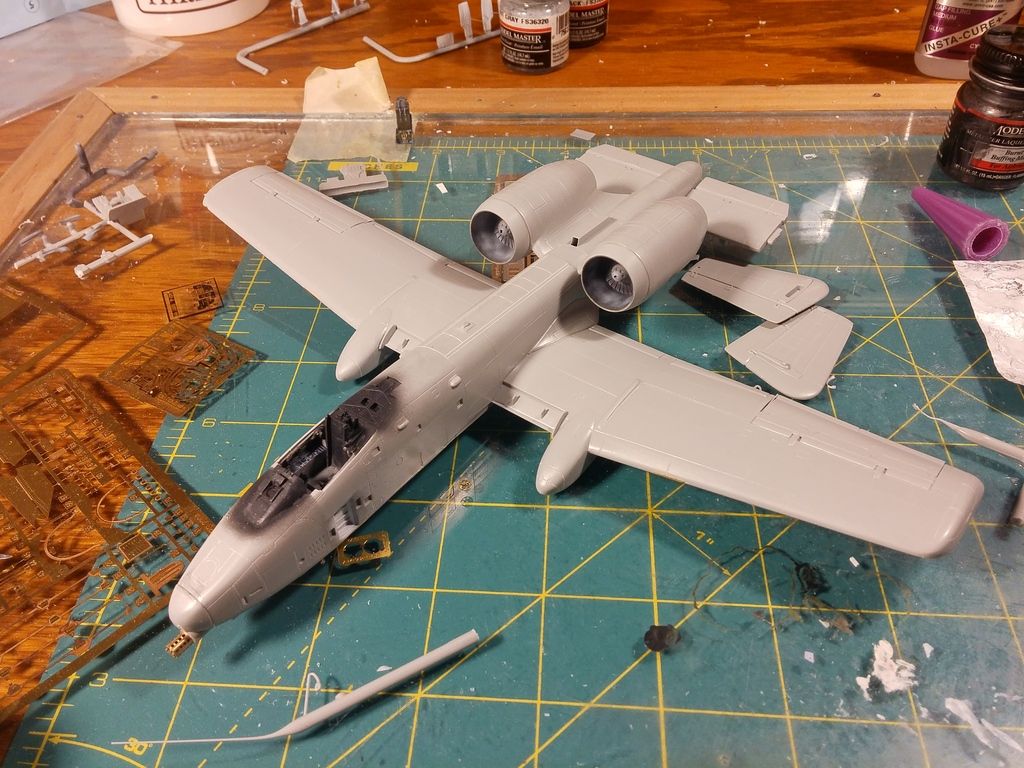
Got a little ahead of myself and forgot to take some pics.

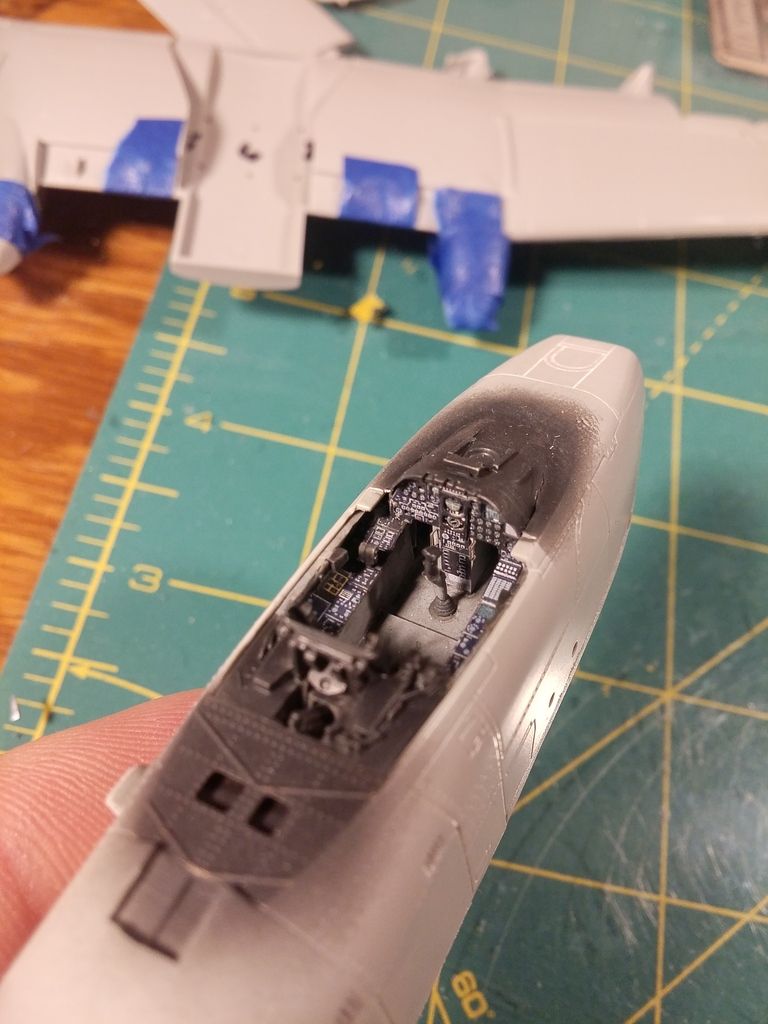
Anyway, the obligatory pit pics...

Image

Image

The A-10 has some pretty pronounced rivets, mainly toward the back...can't see em in the pics, but I did rivet where needed. Other misc. items in the works.

Image

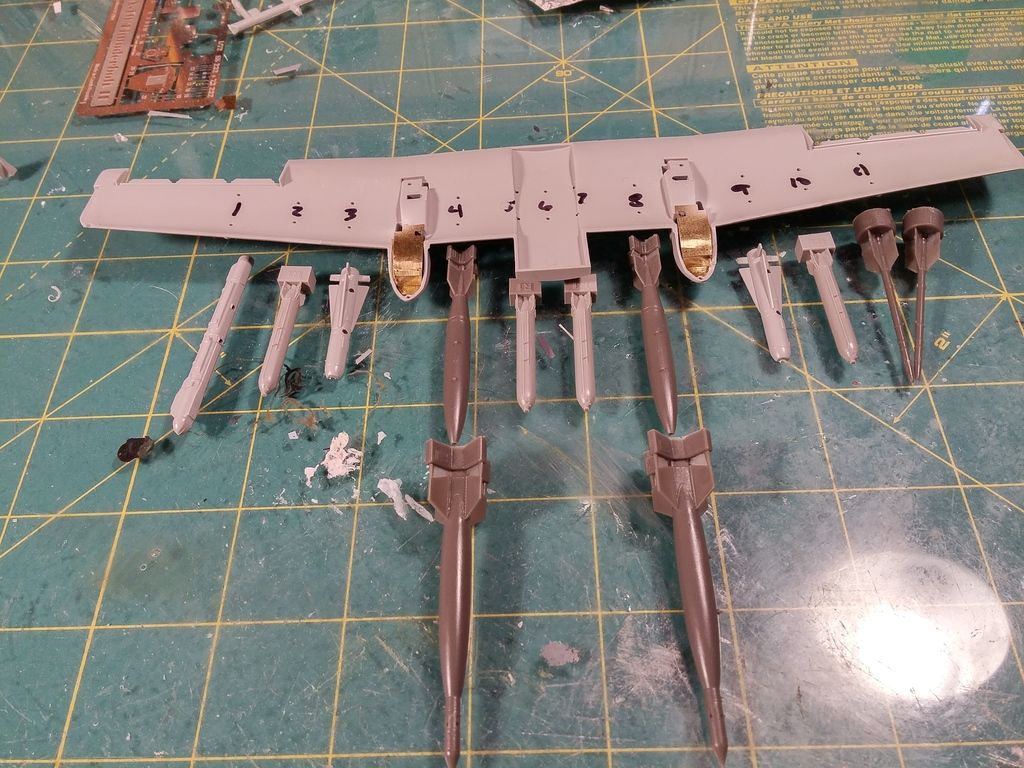
Stores figured out (going with the mk84's on inner pylons...GBU-10's will go to something else)

Image
User avatar
LyleW
Admin
Posts: 15035
Joined: Fri Dec 13, 2013 7:25 am
Location: Mt. Washington KY

Re: 1/72 Italeri A-10 WIP

Post by LyleW »

:shoutout: :shoutout: Without a doubt, one of my all time favorites, beautiful and deadly. Can't go wrong, there. :bow: :bow:
To make each build less crappy than the last one. Or, put another way, "Better than the last one, not as good as the next one!"..
User avatar
Stikpusher
Moderator
Posts: 21189
Joined: Sat Apr 05, 2014 8:37 pm
Location: Ceti Alpha 5

Re: 1/72 Italeri A-10 WIP

Post by Stikpusher »

looking real good so far! although I might suggest replacing the Mk.84s with another pair of Mk.20s.
"Surely I have made my meaning plain? I intend to avenge myself upon you, Admiral. I have deprived your ship of power, and when I swing 'round, I intend to deprive you of your life."

FLSM
User avatar
Fermis
Addicted Member
Posts: 1811
Joined: Sat Mar 15, 2014 10:41 pm
Location: Hamburg Michigan

Re: 1/72 Italeri A-10 WIP

Post by Fermis »

Stikpusher wrote:looking real good so far! although I might suggest replacing the Mk.84s with another pair of Mk.20s.
Not a bad idea at all. I do like the variety and having something a little more substantial looking...and...this one's not up to me!


Little update.

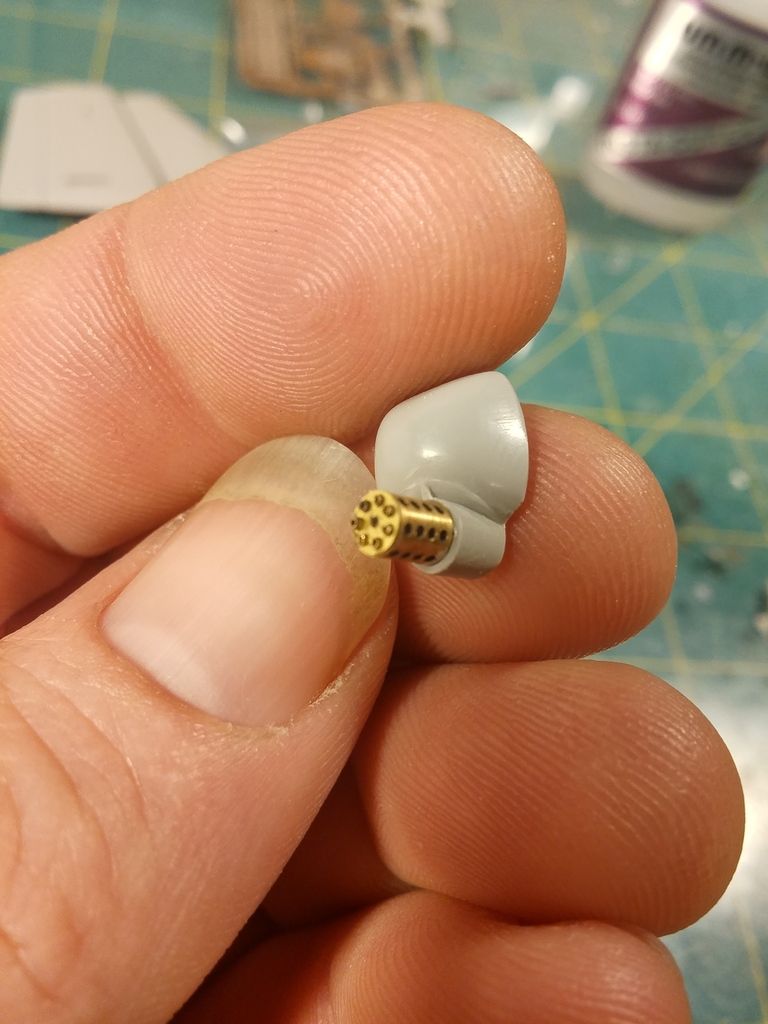
This brass stuff was nothing short of a major pain in the @$$.
It makes perfect sense on the instructions...but in order to do it in such a way, there is no way to paint the inside. I tried painting the barrels, then sliding them through the back plate. The holes in the back plate are exactly the size of the barrels...no room left for paint. Attempt 2...repaint barrels, remove front plate, slide barrels down into back plate....then try to line everything up to get cover plate on....NO. After far too much effort and words not even heard by sailors...I just glued the barrel fronts into the front plate, and slid that mess down through the cylinder and put a glob of CA at the end.

It was nowhere near as simple as it sounds, or should have been...I spent well over 2 hours F'n with this stupid thing.

Image

Got more parts on the plane as well.

Image
User avatar
mostrich
Admin
Posts: 3106
Joined: Sun Apr 06, 2014 2:13 pm
Location: Hamburg, Germany
Contact:

Re: 1/72 Italeri A-10 WIP

Post by mostrich »

I know this is something you don't wanna hear when you're still f***ed up, but those were two hours well spent.
It's a little gem and adds so much to the model. Eagerly waiting for the paint...
User avatar
Stikpusher
Moderator
Posts: 21189
Joined: Sat Apr 05, 2014 8:37 pm
Location: Ceti Alpha 5

Re: 1/72 Italeri A-10 WIP

Post by Stikpusher »

I salute your patience, persistance, skills, and perseverance with that little gun... :ggun:
"Surely I have made my meaning plain? I intend to avenge myself upon you, Admiral. I have deprived your ship of power, and when I swing 'round, I intend to deprive you of your life."

FLSM
User avatar
Stuart
Elite Member
Posts: 11911
Joined: Sun Apr 06, 2014 1:06 pm
Location: North Wales

Re: 1/72 Italeri A-10 WIP

Post by Stuart »

The gun in an A-10 is such an important part of what the aircraft is all about you spent your time wisely IMHO as that really stands out.

:ggun:

I regards to painting the insides - could you have dipped it, and left it to drain on some blotting paper?
Stuart Templeton 'I may not be good but I'm slow...'
User avatar
Fermis
Addicted Member
Posts: 1811
Joined: Sat Mar 15, 2014 10:41 pm
Location: Hamburg Michigan

Re: 1/72 Italeri A-10 WIP

Post by Fermis »

portman wrote:
I regards to painting the insides - could you have dipped it, and left it to drain on some blotting paper?
Probably would have been doable. I didn't think about it though.


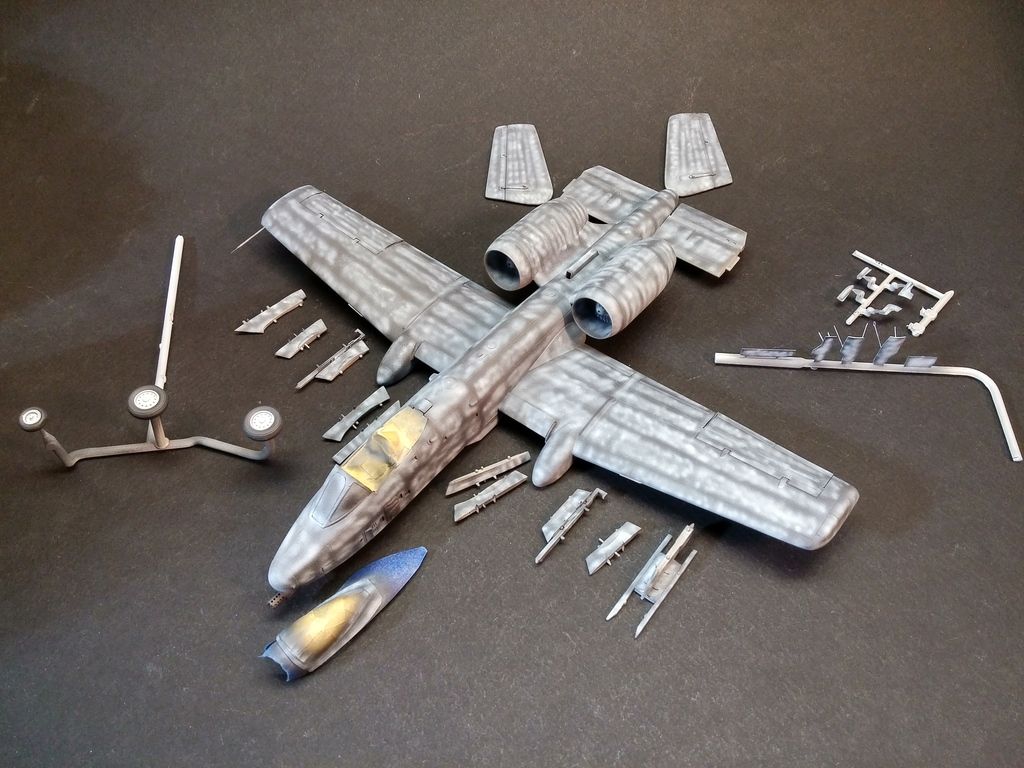
Got the pre-color painting done yesterday. Gonna be going with the box art on this one.

Image
User avatar
Stikpusher
Moderator
Posts: 21189
Joined: Sat Apr 05, 2014 8:37 pm
Location: Ceti Alpha 5

Re: 1/72 Italeri A-10 WIP

Post by Stikpusher »

1st Gulf War Charcoal Lizard scheme? Excellent! :shoutout:
"Surely I have made my meaning plain? I intend to avenge myself upon you, Admiral. I have deprived your ship of power, and when I swing 'round, I intend to deprive you of your life."

FLSM
User avatar
Fermis
Addicted Member
Posts: 1811
Joined: Sat Mar 15, 2014 10:41 pm
Location: Hamburg Michigan

Re: 1/72 Italeri A-10 WIP

Post by Fermis »

Stikpusher wrote:1st Gulf War Charcoal Lizard scheme? Excellent! :shoutout:
Yessir!
As much as I love me some grey/grey A-10's...and anything else modern...it's nice to do something a bit different.


I'd like to know, who draws up the color guides on the instruction sheets...so I can meatslap em! Side profiles don't match with what top/bottom profiles show...bugs me. I resorted to looking at pics of the real thing...there's quite a few differences from one plane to another...I went with an "average".

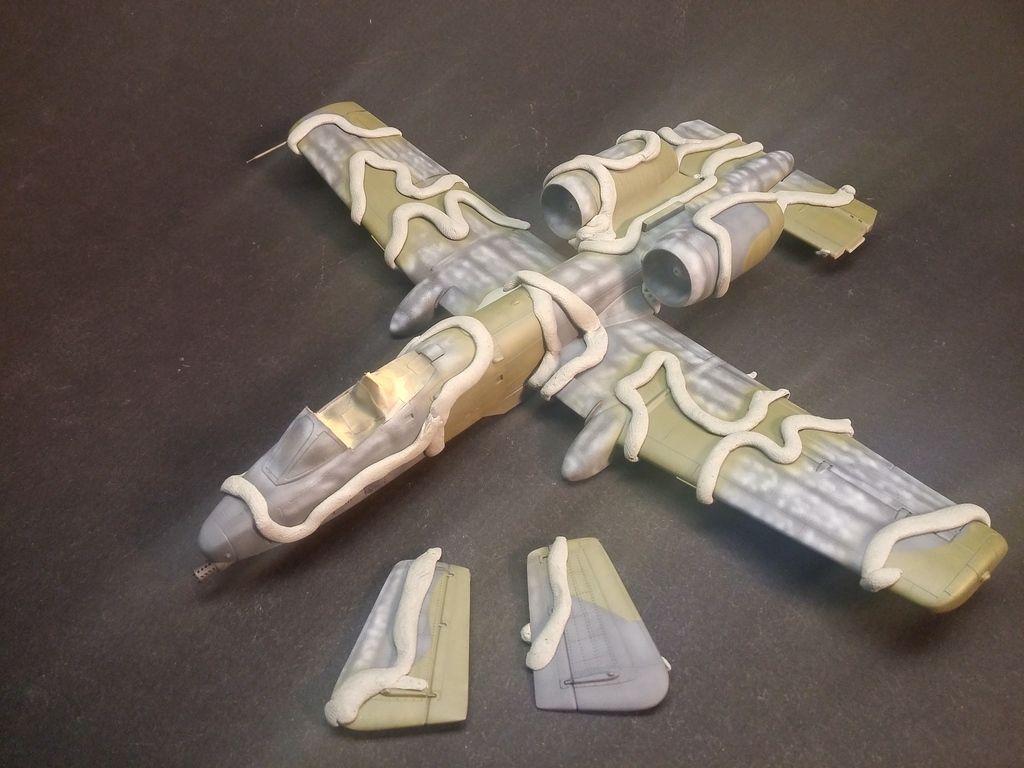
Instructions called for "Medium Green"...NO..at least not Model Masters "Med. Grn". I mixed OD with a bit of Chromate Yellow" for the lighter green...
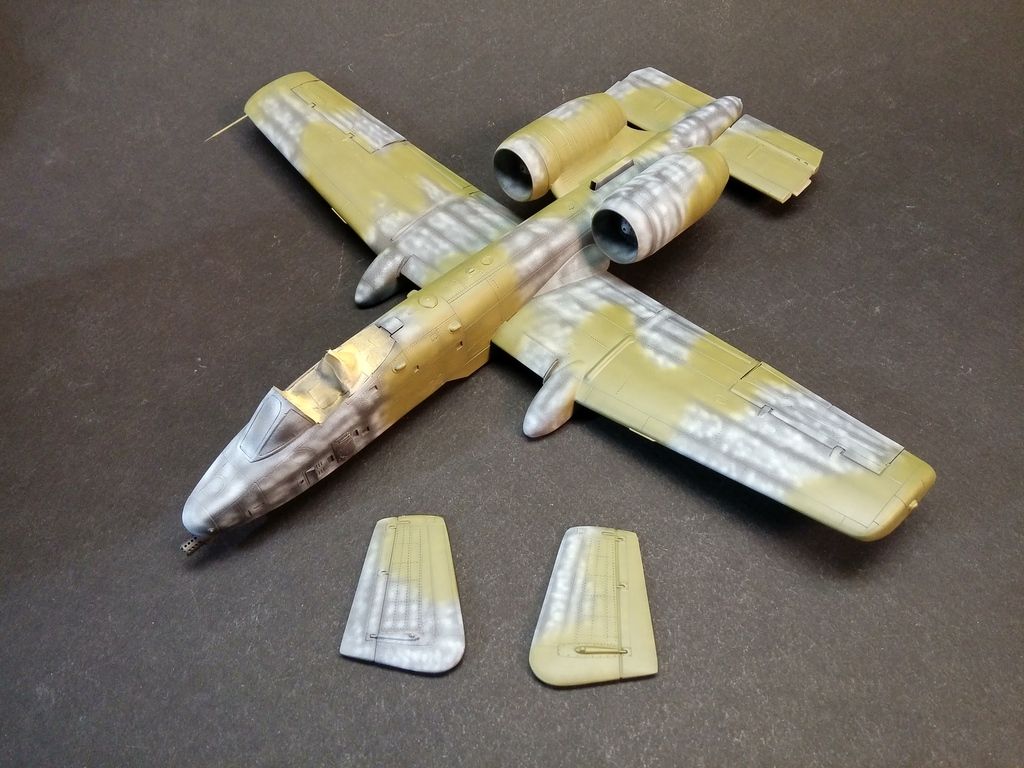
Image

Let that sit for about 20 minutes, masked with poster tack "worms".
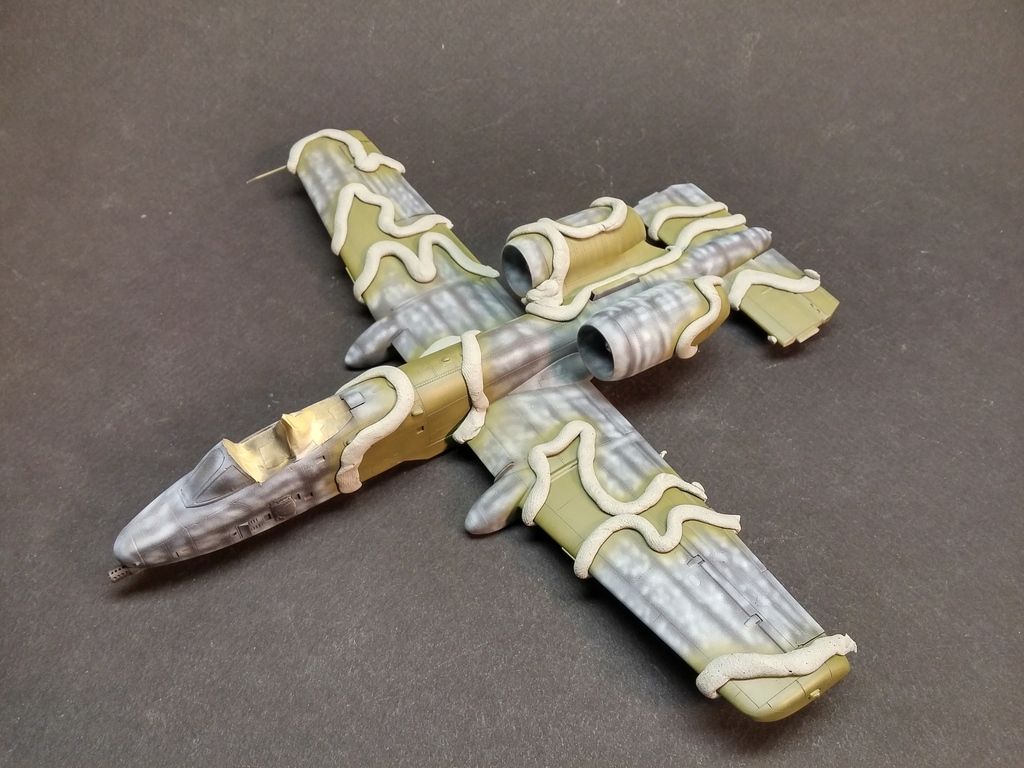
Image

Instructions called for "Gunship Grey"...I don't have that (bottle went bad)...black/white mix...
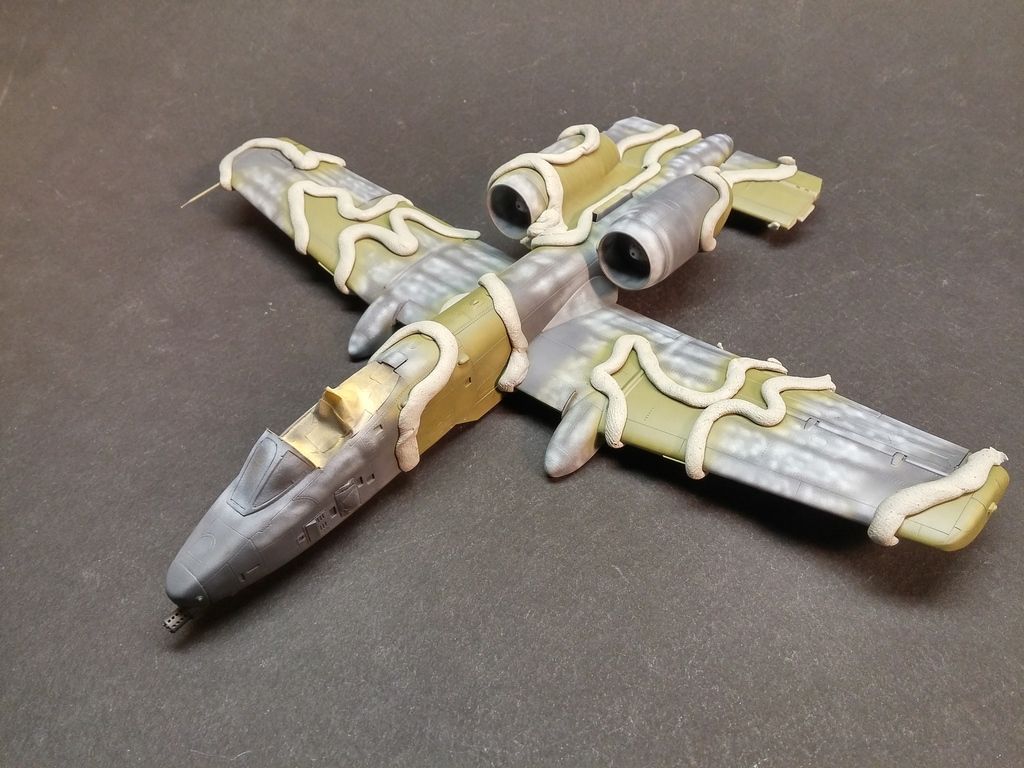
Image

Moved/added more "worms"...

Image

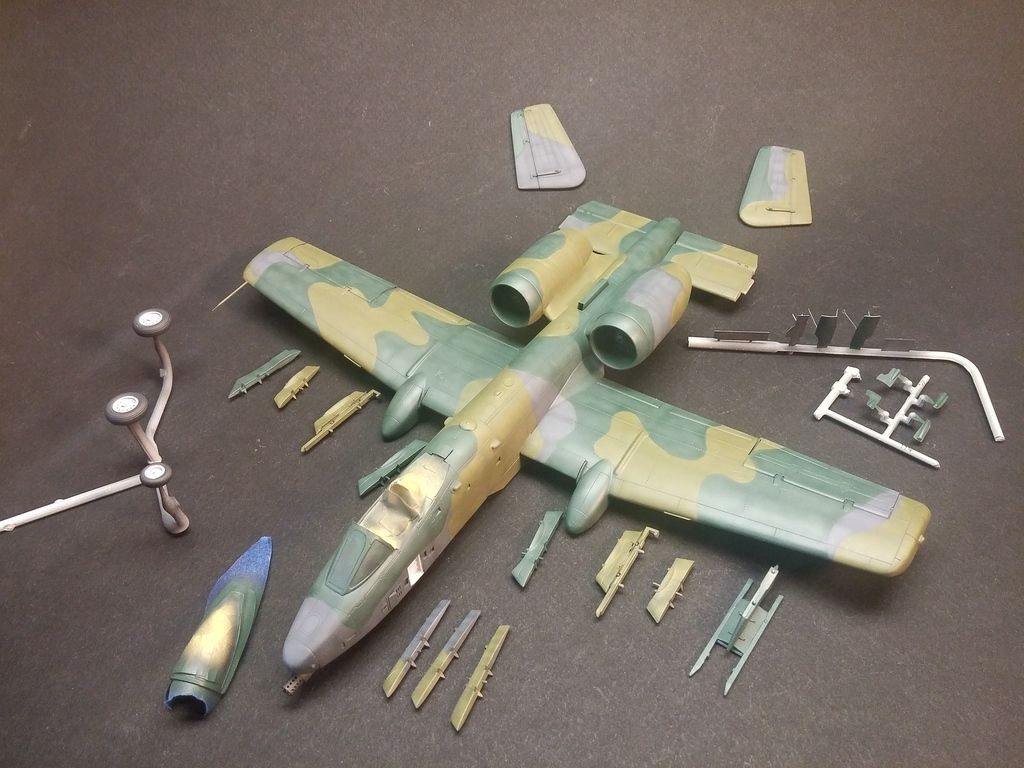
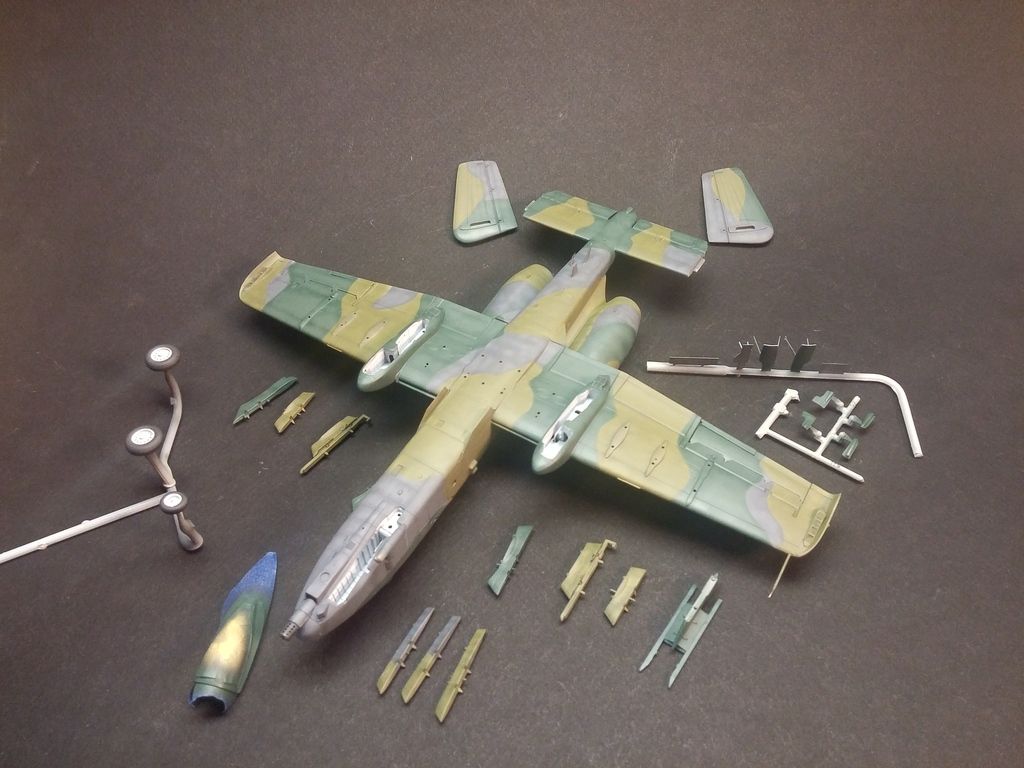
Euro 1 Dark Green is a color I also do not have, and it appears to not be made by Model Master anymore. Mixed some yellow and blue...a bit of this, a dash of that...
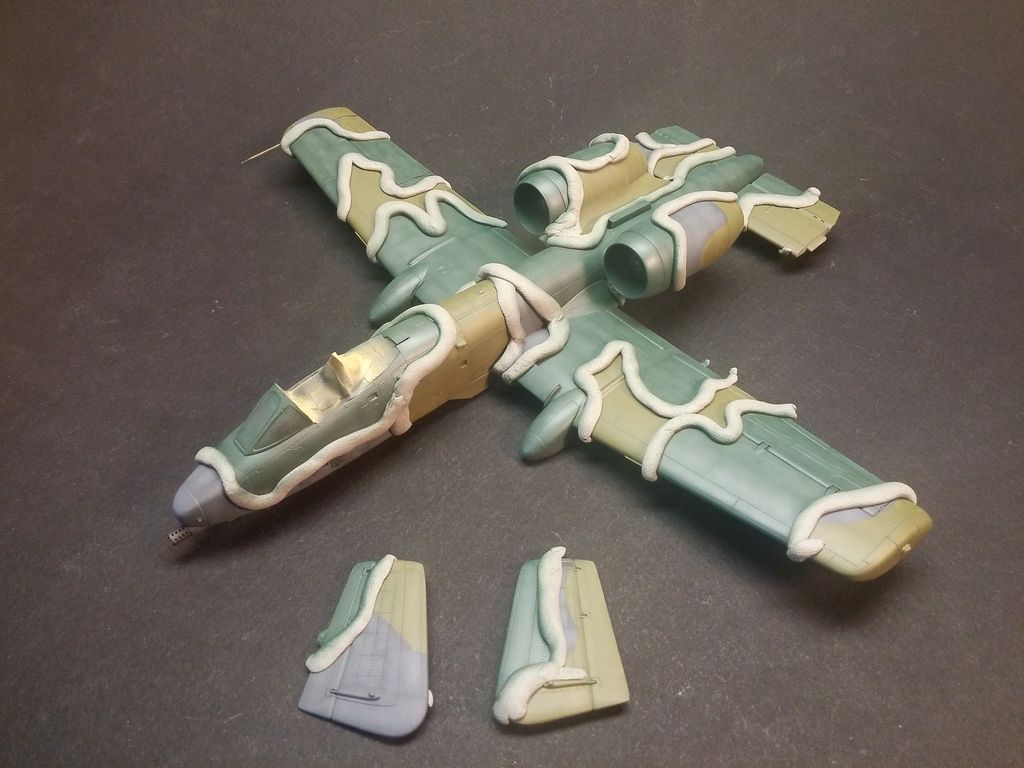
Image

Unmasked...

Image

Image
Post Reply

Return to “Aircraft Work in Progress”