Ki-51 Sonia Hasegawa 1/72

Re: Ki-51 Sonia Hasegawa 1/72
Nice work, my friend. . . as usual..
To make each build less crappy than the last one. Or, put another way, "Better than the last one, not as good as the next one!"..

Re: Ki-51 Sonia Hasegawa 1/72
going on
aotake on the inner cowling
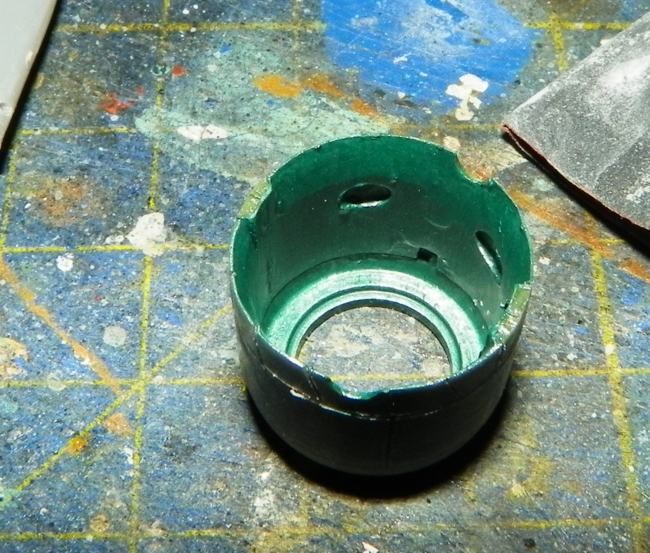
engine on

Glued tail surfaces and cowling and sanding time.. also carved the landing lights housing
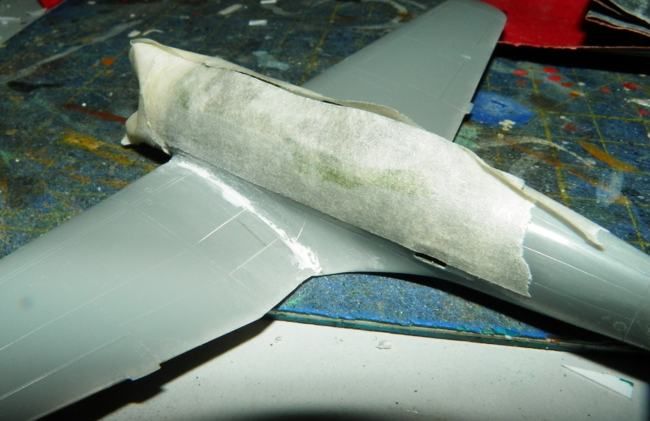

gears on, the MG is not glued
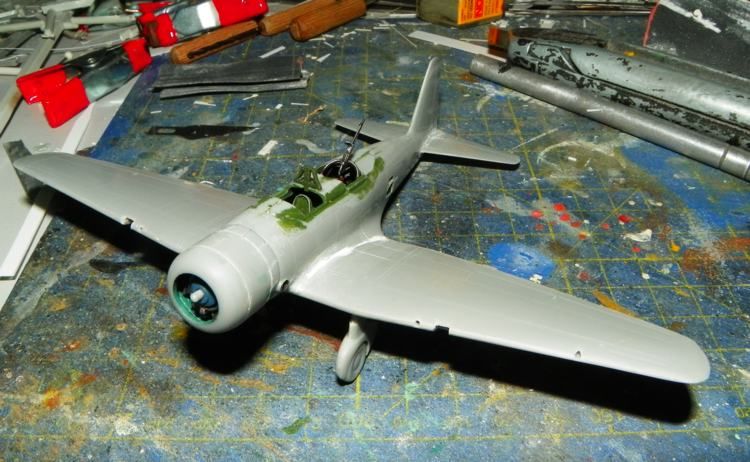
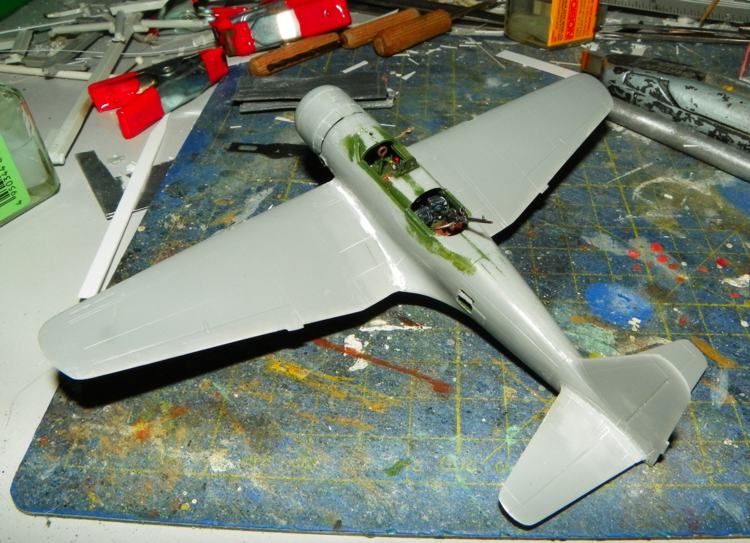
cut out the windscreen to remove the gunsight gap

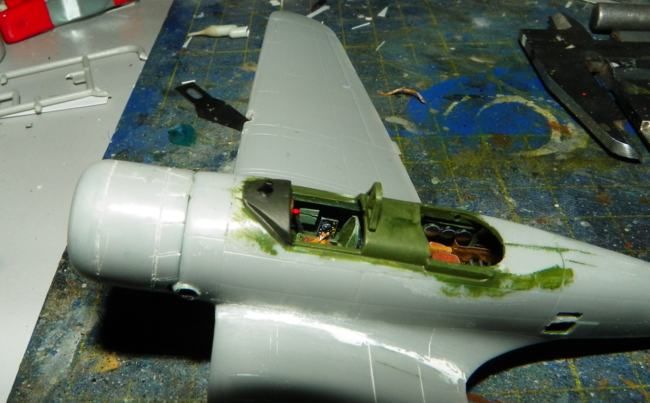
I cut the gunsight support and painted the upper cockpit parts, after i added a second support for gunsight with documentation consulting

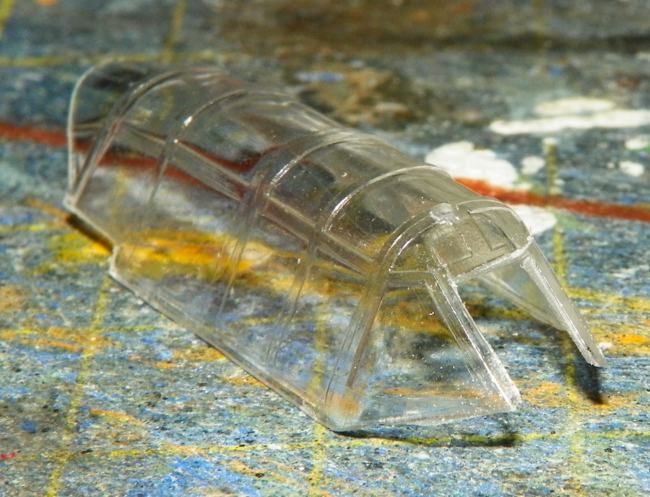
first version of new windscreen..
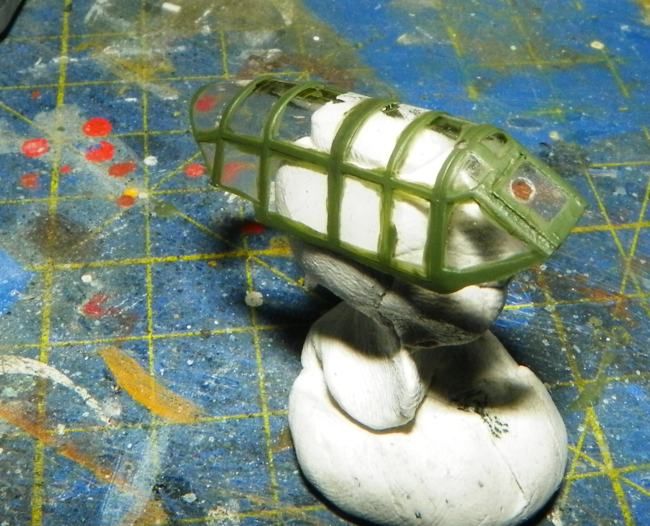
the second and final version of new windscreen, also decided to cut the rear part of canopy to show opened

then glued


the new rear pieces thermoformed
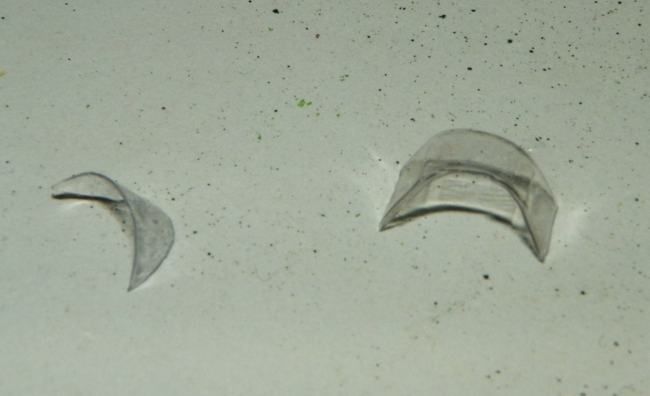
heated clear sprue with lighter and pressed onto landing lights housing, then removed, holed to simulate the cone , painted the inner with silver, then glued with CA glue and refined

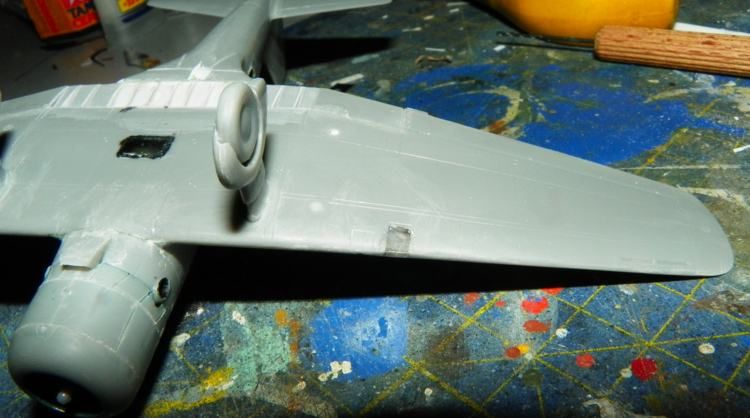
now the sonia is ready for the enamel painting session
At the next!
aotake on the inner cowling

engine on

Glued tail surfaces and cowling and sanding time.. also carved the landing lights housing


gears on, the MG is not glued


cut out the windscreen to remove the gunsight gap


I cut the gunsight support and painted the upper cockpit parts, after i added a second support for gunsight with documentation consulting


first version of new windscreen..

the second and final version of new windscreen, also decided to cut the rear part of canopy to show opened

then glued


the new rear pieces thermoformed

heated clear sprue with lighter and pressed onto landing lights housing, then removed, holed to simulate the cone , painted the inner with silver, then glued with CA glue and refined


now the sonia is ready for the enamel painting session
At the next!
Re: Ki-51 Sonia Hasegawa 1/72
Nice stuff! Keep it coming.
To make each build less crappy than the last one. Or, put another way, "Better than the last one, not as good as the next one!"..
-
Medicman71

- Elite Member
- Posts: 11396
- Joined: Mon Apr 07, 2014 9:32 am
- Location: Houston, Tx
Re: Ki-51 Sonia Hasegawa 1/72
Very nice!!!
Mike
Sponsored by Boeing, Lockheed Martin, Northrop Grumman, Saab, BAE, and Dassault
Sponsored by Boeing, Lockheed Martin, Northrop Grumman, Saab, BAE, and Dassault
-
VanceCrozier

- Advanced Member
- Posts: 489
- Joined: Thu Apr 17, 2014 6:29 am
- Location: Rothesay, NB, CANADA
Re: Ki-51 Sonia Hasegawa 1/72
Bsyamato always has something interesting on the bench! Looking good - can't wait to see you start laying the paint down!
I am a riddle, wrapped in a mystery, inside an enigma, smothered in Canadian bacon.
Re: Ki-51 Sonia Hasegawa 1/72
Two pictures only for updates... a full thinned layer of humbrol 147 and on the bottom the same 147 with a touch of 78, a layer for now, suspect that he need about three layer to see something
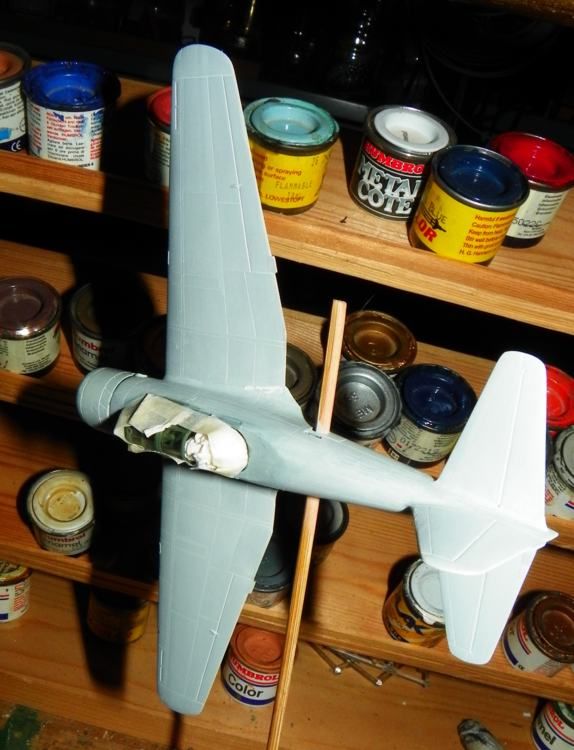
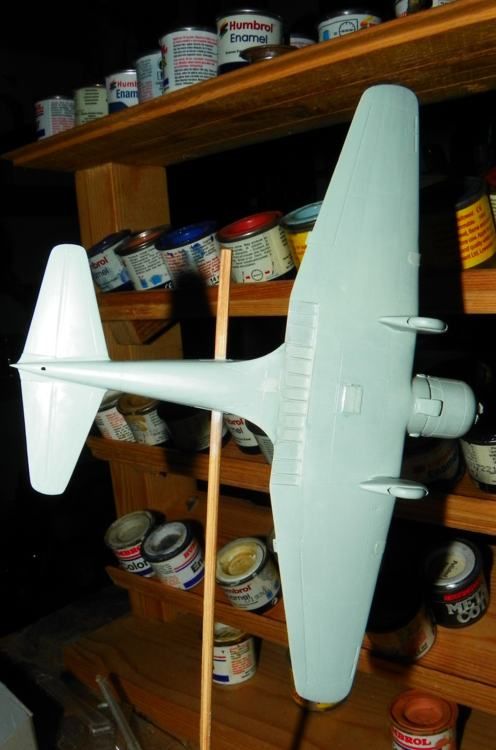
At the next!


At the next!
Re: Ki-51 Sonia Hasegawa 1/72
OMG lots of updates i forget to put here 
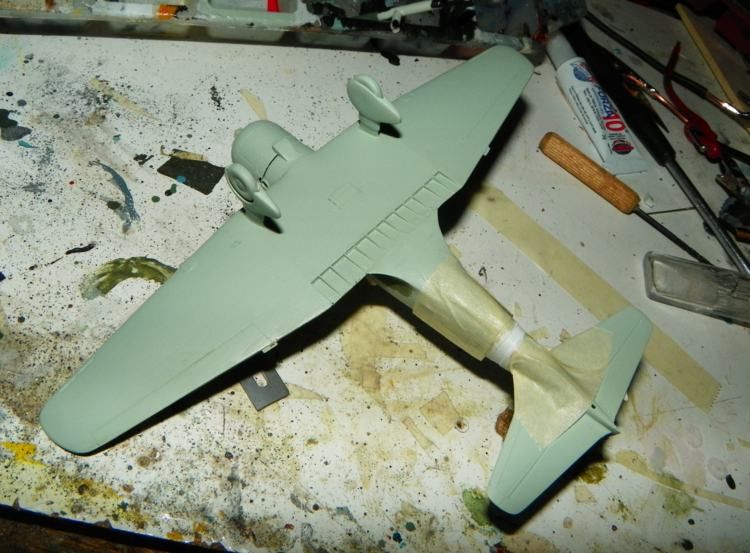
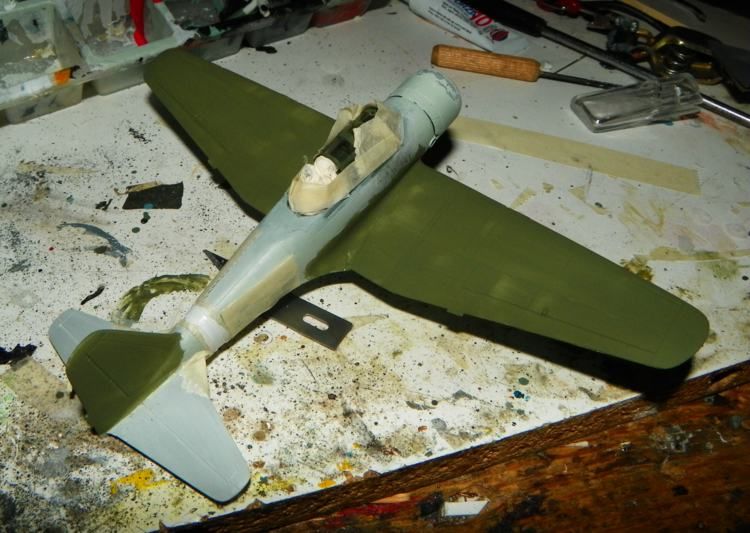
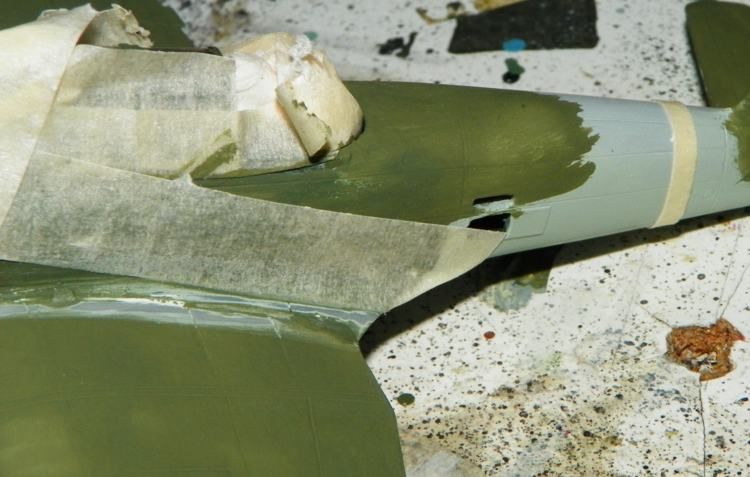
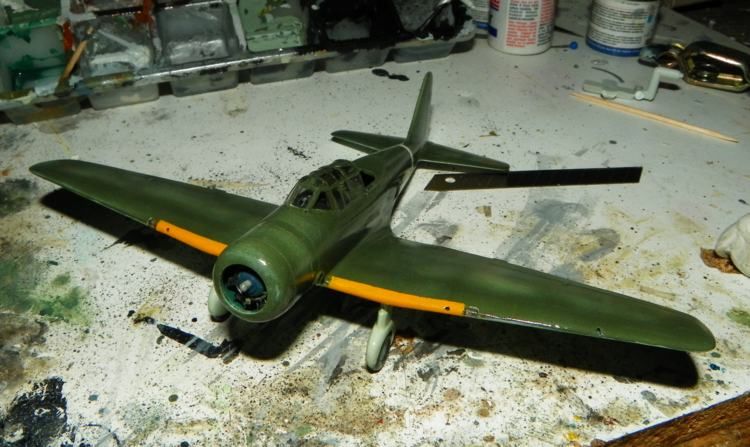
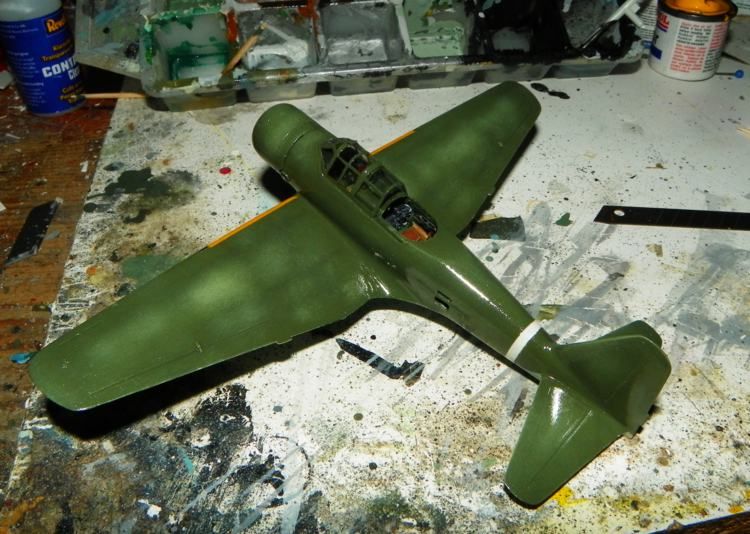
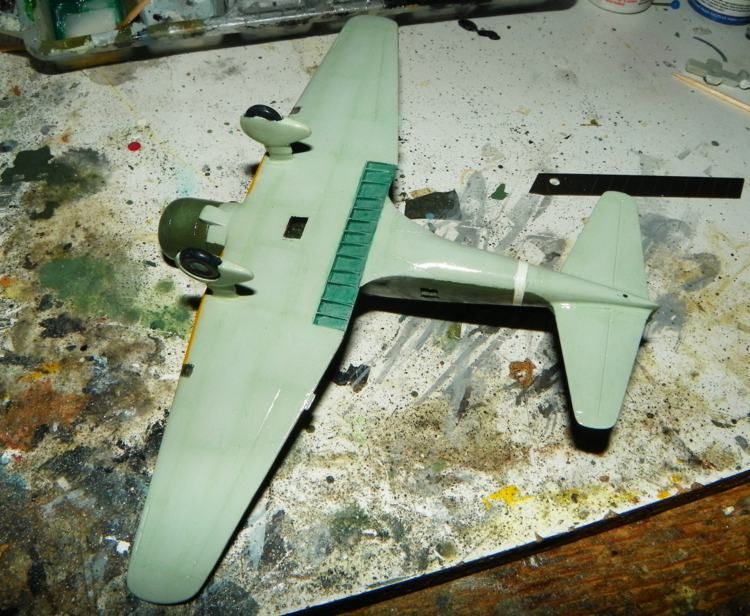
After complete the bottom grey layers, starting to paint the white stripe in the middle end of fuselage instead to use decal, also starting to put the green, i choose under advice of friends to use the pure 102 green humbrol
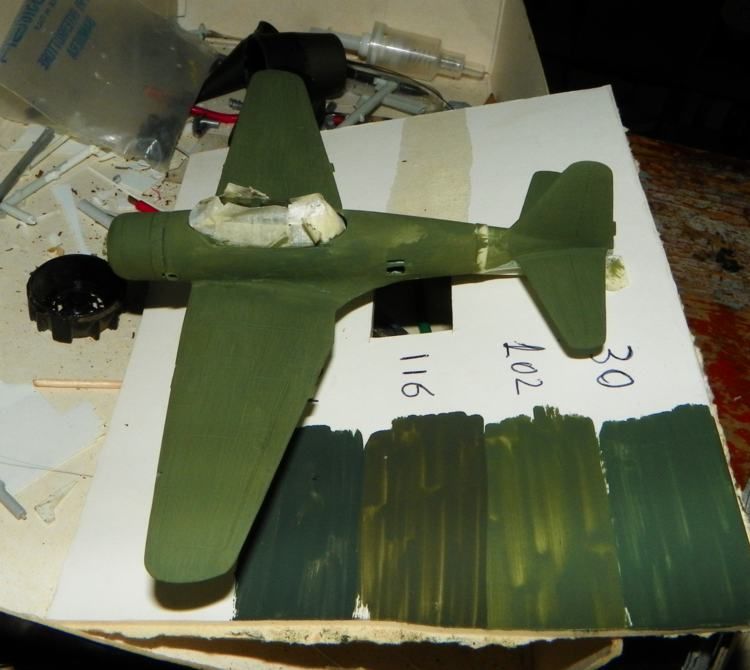
a test colour was done on the card to show the green humbrol variety i have
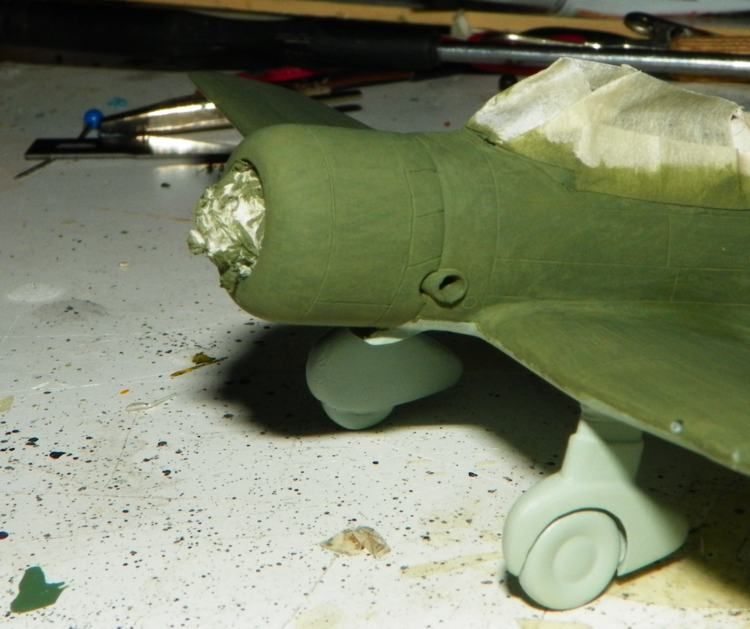
Propeller with a red dark brown (own mix) and metal parts on the flap inners, the base for the aotake clear (homemade too)
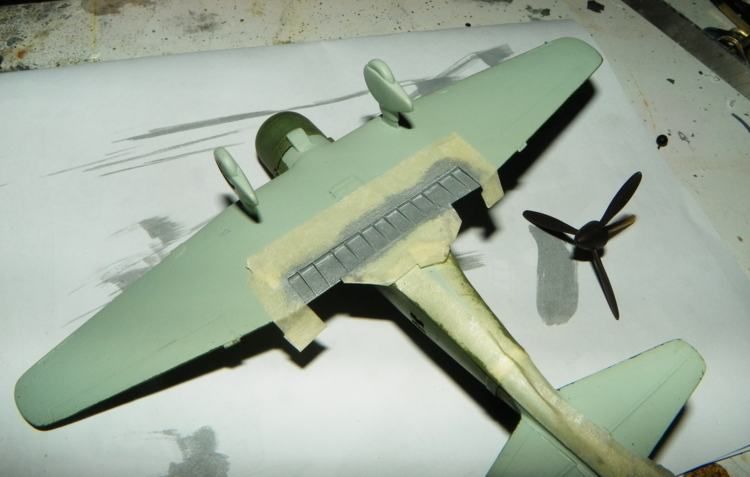
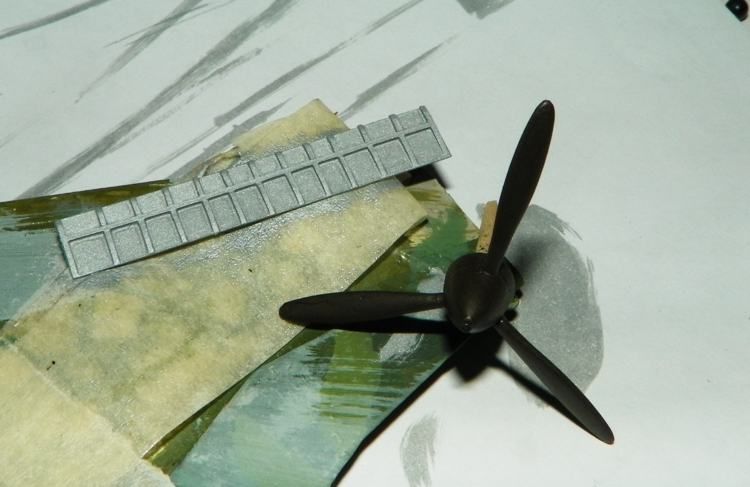
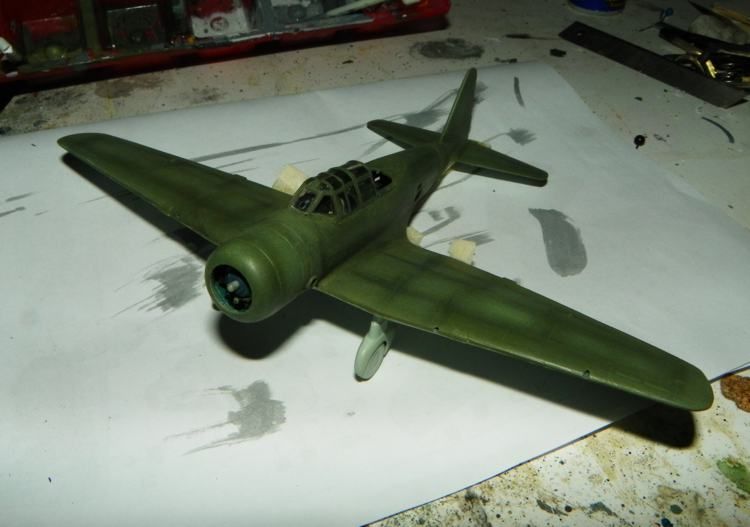
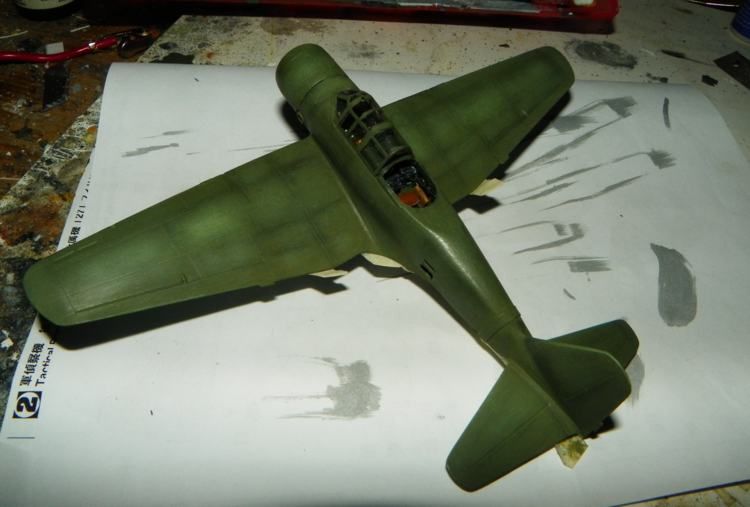
Postshading and highlights on the green parts
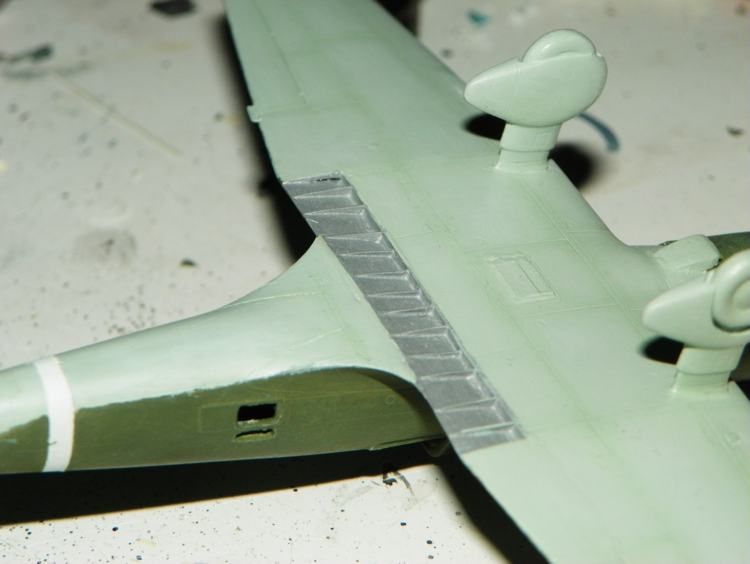
on the bottom too, to otain darker parts just used the same mixed colors for gre green/grey but put a major percentage of humbrol 78, for the highlights on the center panels used a pure white 34
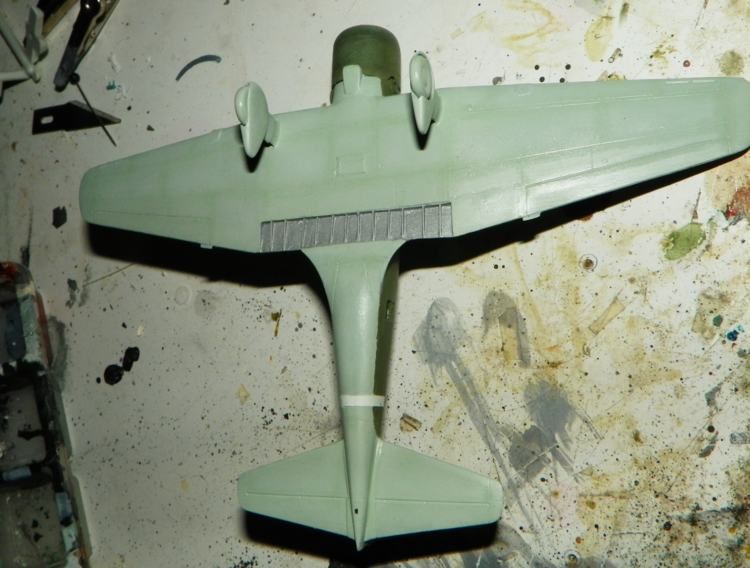
notice the semiglossy effect that the drybrush action had on the surfaces, before these steps i did a new layer of botto grey and don't waith a safe time to let the paint completely dry


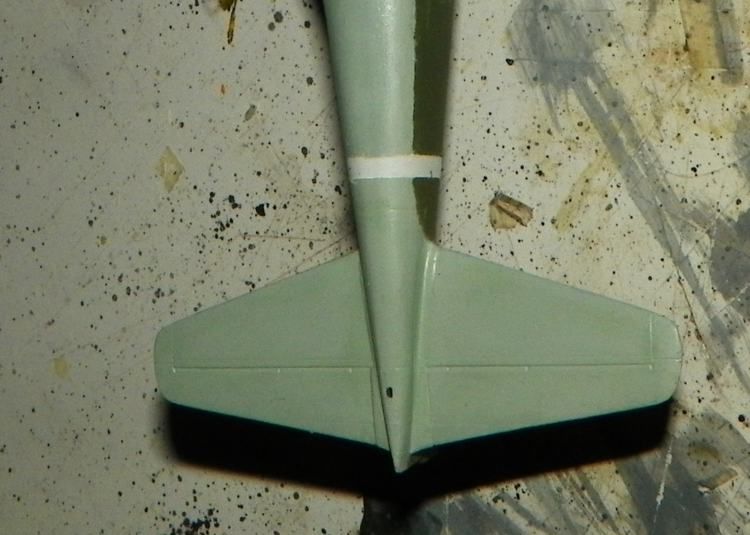
yellow stripes painted with 154, about 4 thinned layer needed .. i forget even to paint these details before main paints
Also painted the aotake
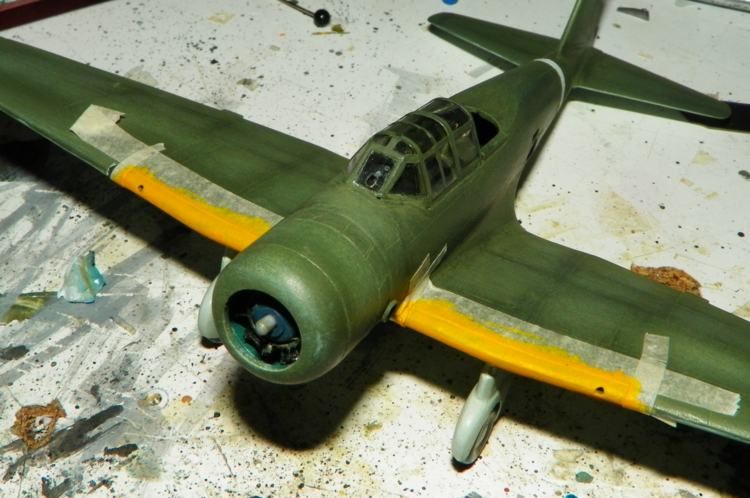
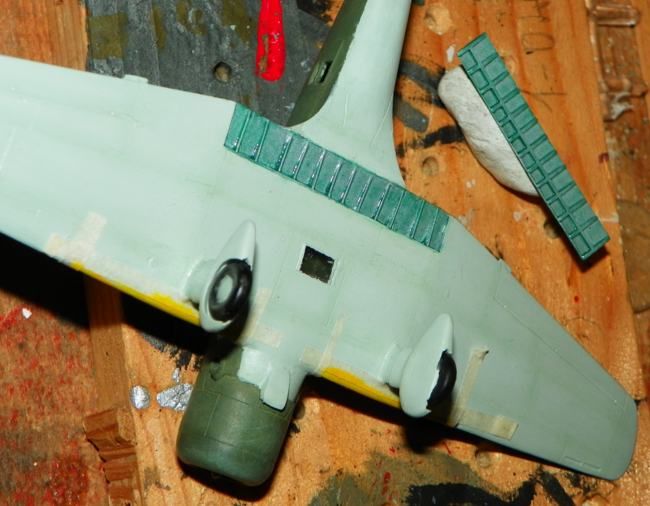
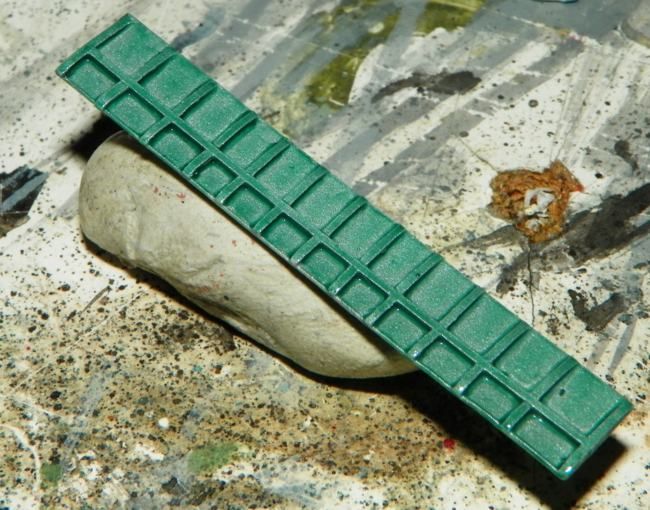
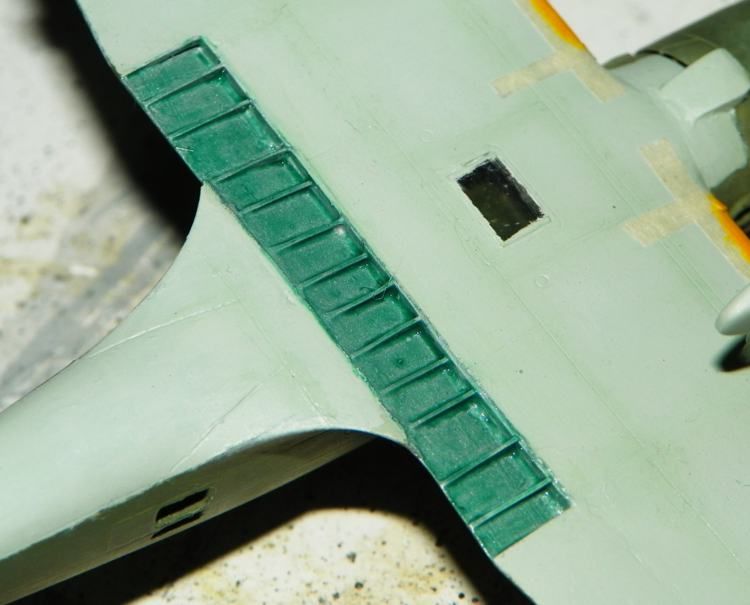
The sonia after 2 layers of glossy coat for decals, after a third layer was done and today put on decals but not yet took pictures
At the next!
After complete the bottom grey layers, starting to paint the white stripe in the middle end of fuselage instead to use decal, also starting to put the green, i choose under advice of friends to use the pure 102 green humbrol


a test colour was done on the card to show the green humbrol variety i have


Propeller with a red dark brown (own mix) and metal parts on the flap inners, the base for the aotake clear (homemade too)


Postshading and highlights on the green parts


on the bottom too, to otain darker parts just used the same mixed colors for gre green/grey but put a major percentage of humbrol 78, for the highlights on the center panels used a pure white 34


notice the semiglossy effect that the drybrush action had on the surfaces, before these steps i did a new layer of botto grey and don't waith a safe time to let the paint completely dry


yellow stripes painted with 154, about 4 thinned layer needed .. i forget even to paint these details before main paints
Also painted the aotake


The sonia after 2 layers of glossy coat for decals, after a third layer was done and today put on decals but not yet took pictures


At the next!
Re: Ki-51 Sonia Hasegawa 1/72
Looking good, sir. Nice paint work. I am still in awe of your brush skills.
To make each build less crappy than the last one. Or, put another way, "Better than the last one, not as good as the next one!"..
Re: Ki-51 Sonia Hasegawa 1/72
Thank you Lyle but i think i've exagerated with highlights in the propeller.. will try a correction after the final flatting touch
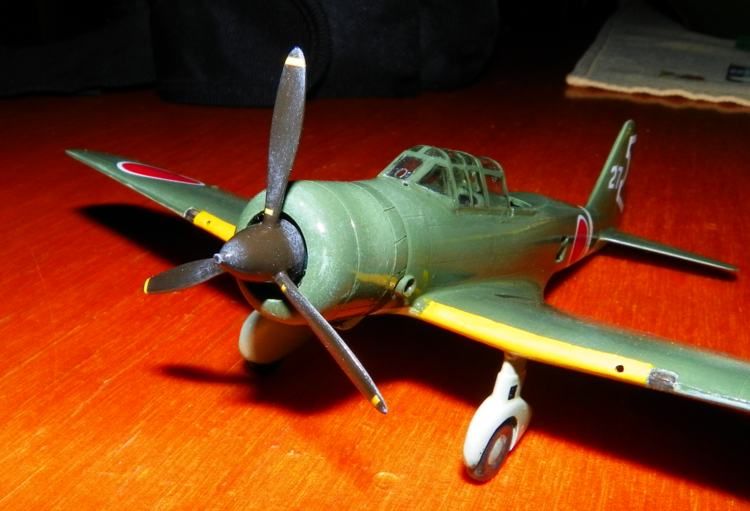
Decals on
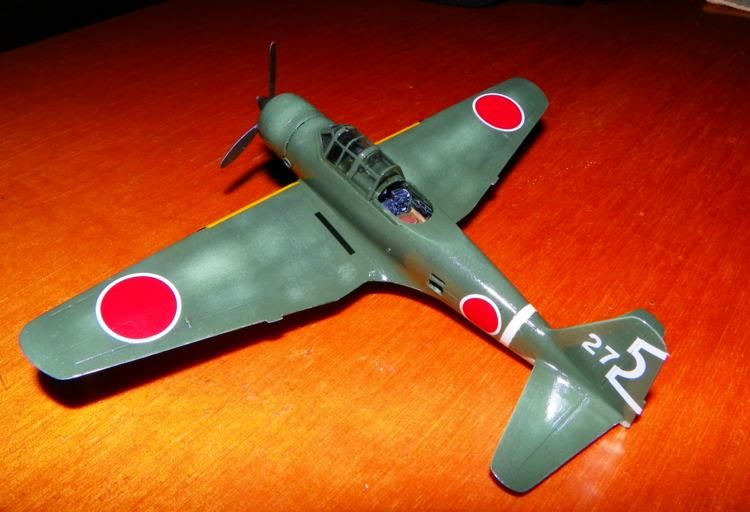
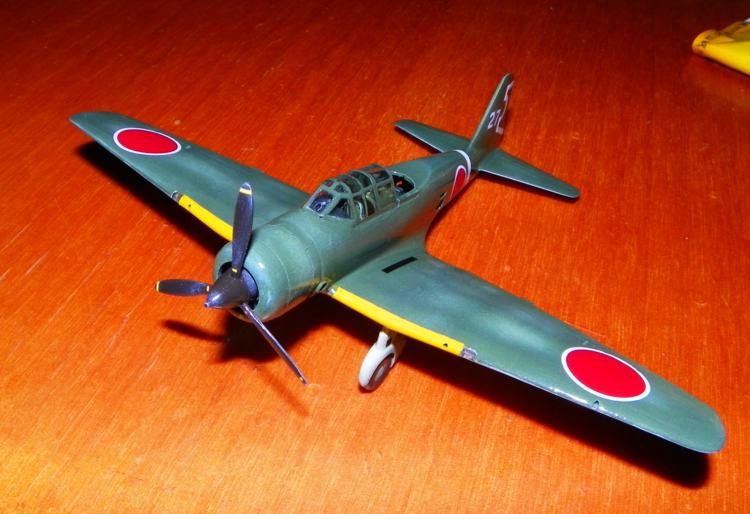
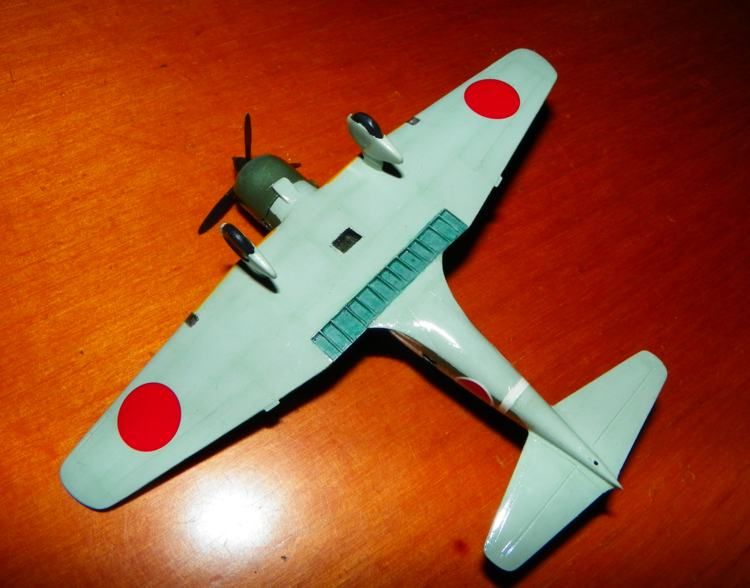
Now the problems are to fit the thermoformed rear sections of canopy, they don't fit good in the original pieces
At the next!

Decals on


Now the problems are to fit the thermoformed rear sections of canopy, they don't fit good in the original pieces
At the next!