Monogram 1/48 B-26B WIP- Completed 7/18

Re: Monogram 1/48 B-26B WIP
Uh, wheels? Just guessing......
To make each build less crappy than the last one. Or, put another way, "Better than the last one, not as good as the next one!"..
-
Stikpusher

- Moderator
- Posts: 21383
- Joined: Sat Apr 05, 2014 8:37 pm
- Location: Ceti Alpha 5
Re: Monogram 1/48 B-26B WIP
Wise guys....  from photos there is a firewall at the front end of each well, with a box or tank of some sort mounted upon it. And a reinforcing rib at the rear end of the opening...
from photos there is a firewall at the front end of each well, with a box or tank of some sort mounted upon it. And a reinforcing rib at the rear end of the opening..."Surely I have made my meaning plain? I intend to avenge myself upon you, Admiral. I have deprived your ship of power, and when I swing 'round, I intend to deprive you of your life."
FLSM
FLSM
-
scorpiomikey

- Addicted Member
- Posts: 1134
- Joined: Sat Apr 05, 2014 11:44 pm
- Location: Nanaimo Canada
Re: Monogram 1/48 B-26B WIP
http://scalemodels.ru/modules/photo/vie ... w=12&min=0
I know its a later model, but i dont think they changed the wheel bays all the much. Pages 3 on have some shots inside the main gear bays.
I know its a later model, but i dont think they changed the wheel bays all the much. Pages 3 on have some shots inside the main gear bays.
You can learn all the math in the 'Verse, but you take a boat in the air that you don't love, she'll shake you off just as sure as the turning of the worlds. Love keeps her in the air when she oughta fall down, tells you she's hurtin' 'fore she keens. Makes her a home.
-
Stikpusher
- Moderator
- Posts: 21383
- Joined: Sat Apr 05, 2014 8:37 pm
- Location: Ceti Alpha 5
Re: Monogram 1/48 B-26B WIP
Thanks for those... Small on my phone, but they will look better off my tablets screen later on.
"Surely I have made my meaning plain? I intend to avenge myself upon you, Admiral. I have deprived your ship of power, and when I swing 'round, I intend to deprive you of your life."
FLSM
FLSM
-
Stikpusher
- Moderator
- Posts: 21383
- Joined: Sat Apr 05, 2014 8:37 pm
- Location: Ceti Alpha 5
Re: Monogram 1/48 B-26B WIP
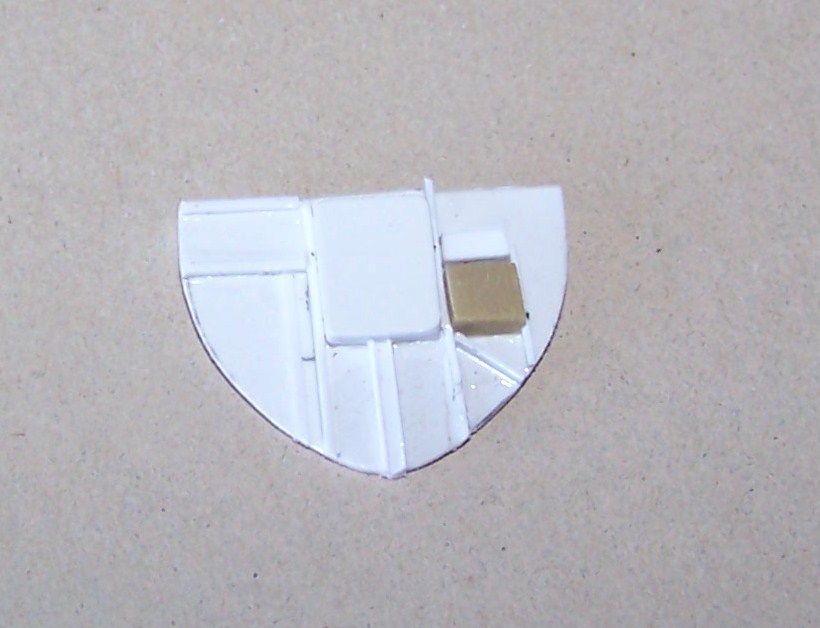
Today I had a few uninterrupted hours at the bench so far. And I think that I made good use of them to this point. During the week when I assmbled the nacelles and checked them against reference photos, I saw that there should be a firewall at the front of the wheel wells. I also saw that while the area of the upper wing directly above the wheel well was properly detailed, the rear portion was not. So I tackled both of thos issues this afternoon with the help of the internet and sheet & strip styrene. First I traced the outline of the nacelle front onto some sheet plastic and cut it out. Then I added various details using a couple of internet photos as reference. (Thanks to Mikey for some of those) Fortunately I was able to find a photo of the two different side wells and saw that there was some detail difference in the boxes on the firewall so I created that appropriately.
the first completed firewall
glued into its' nacelle
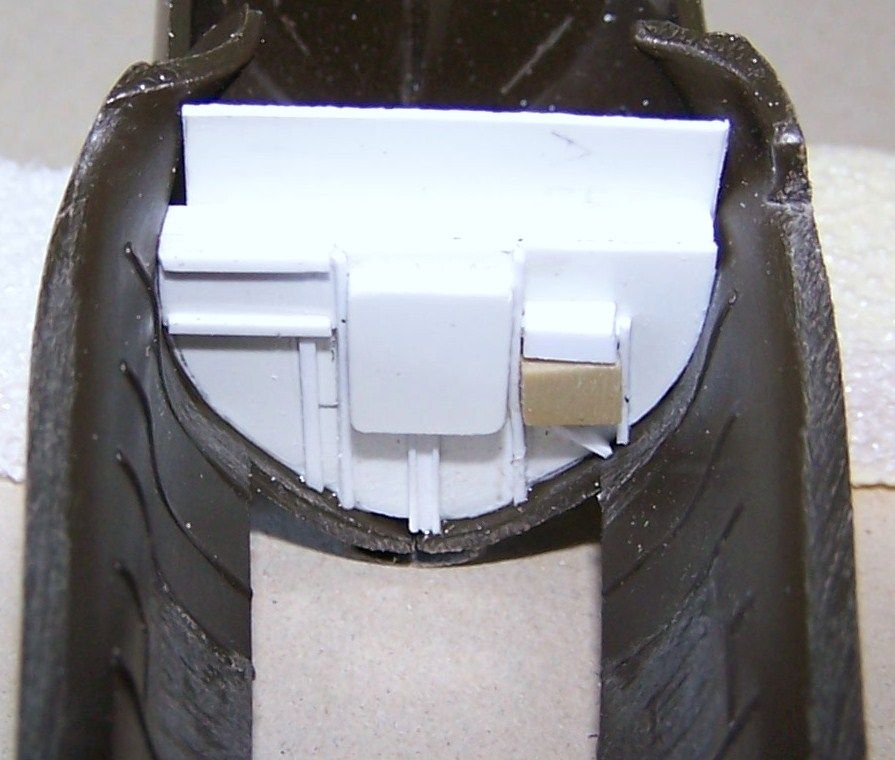
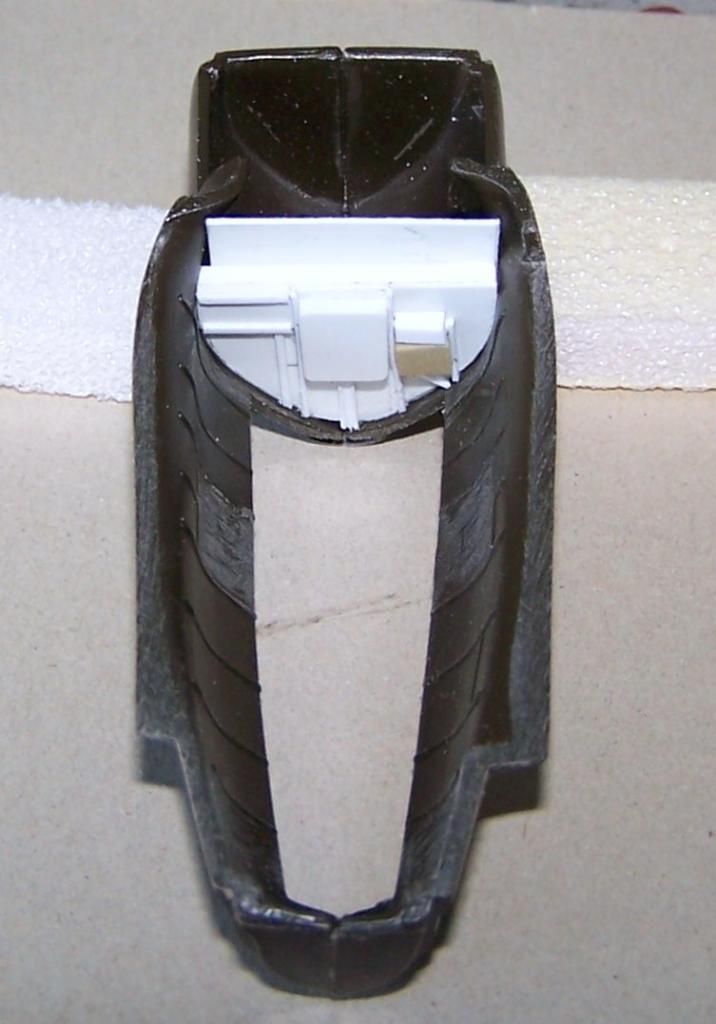
then using half round styrene rod I added the detail to the upper rear wing area visible thru the wheel well opening
Here is a shot with the undetailed side for comparison
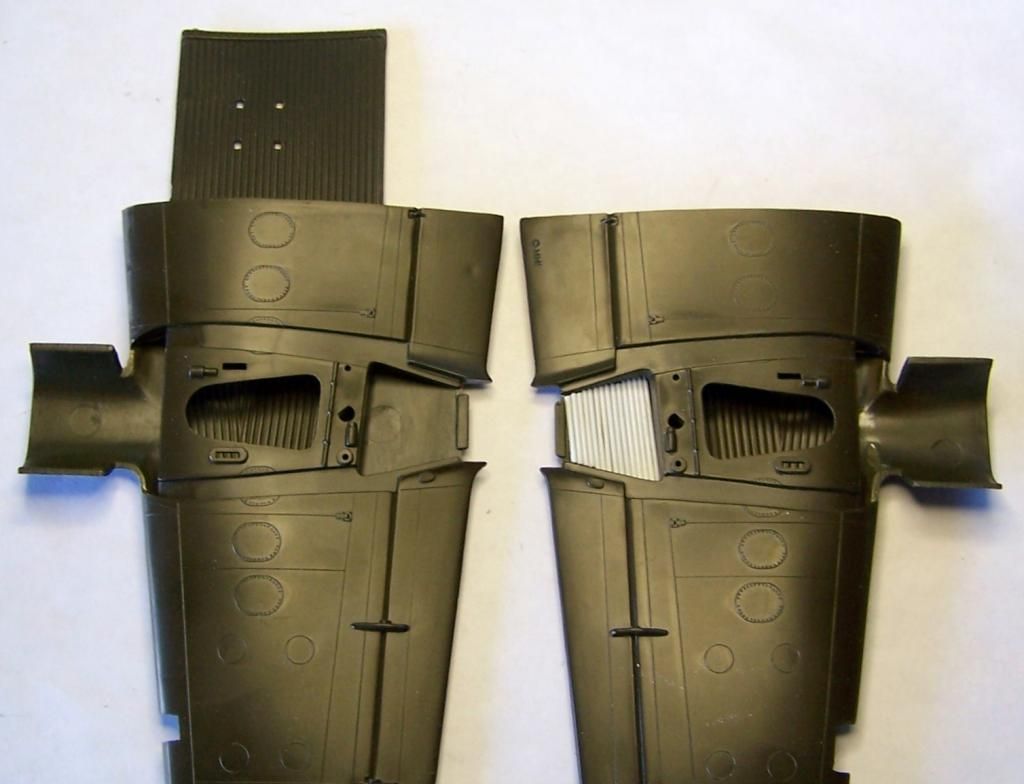
a close up
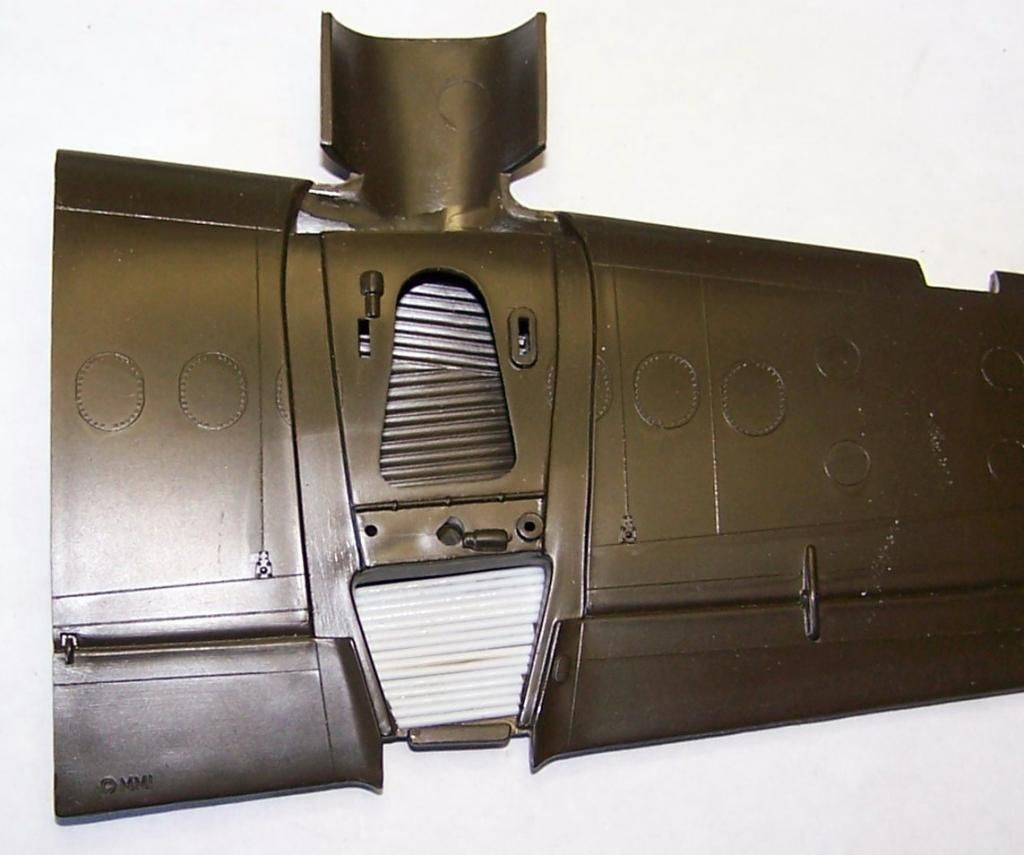
and once both wings were done
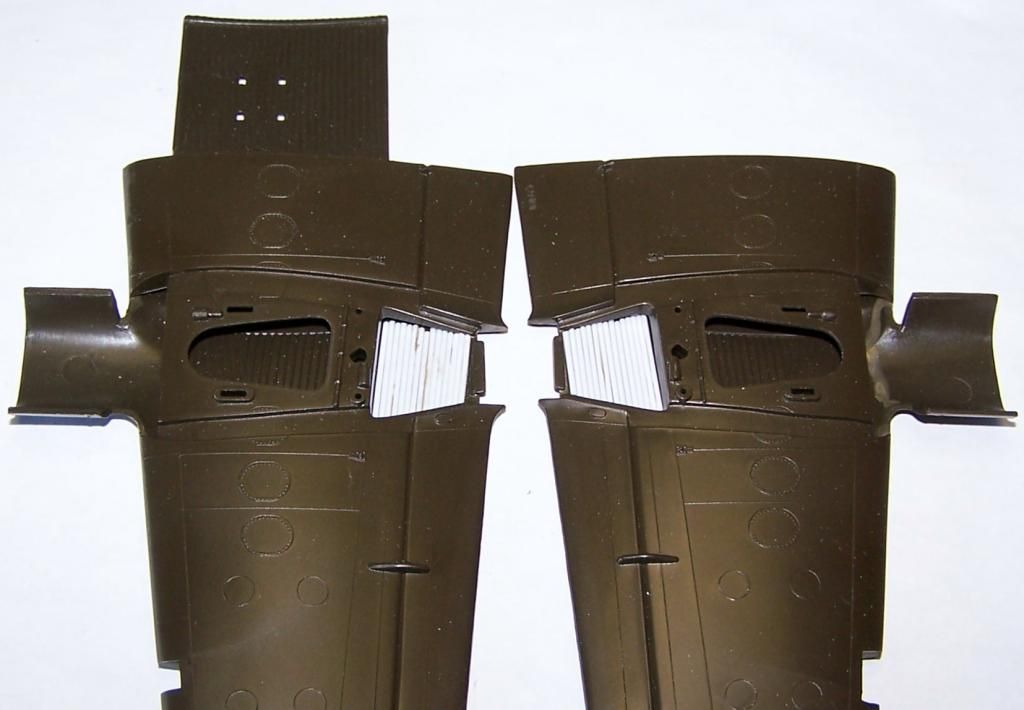
both completed nacelle firewalls- note the slight different set ups between the two
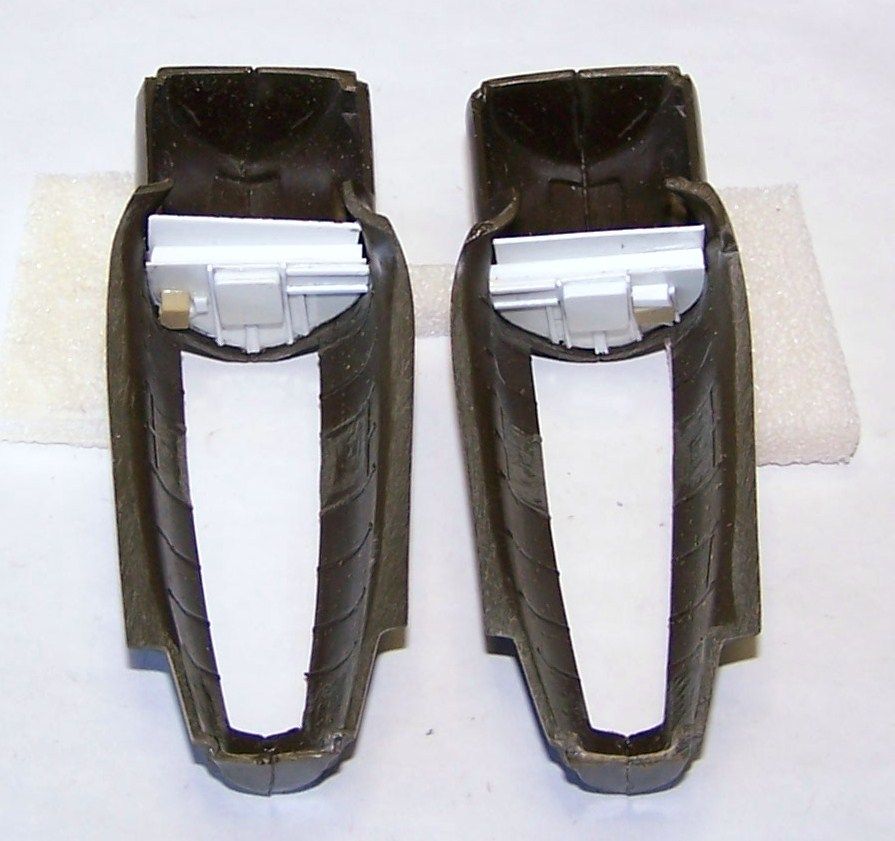
placed onto their respective wings
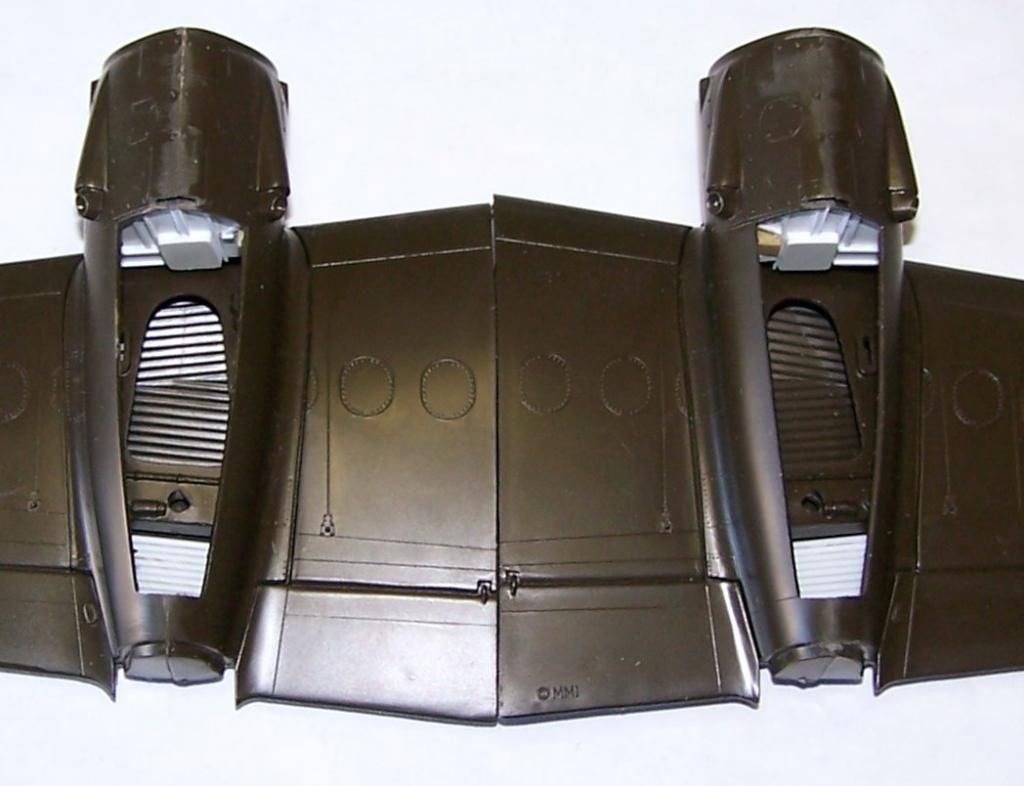
lower left wing & nacelle
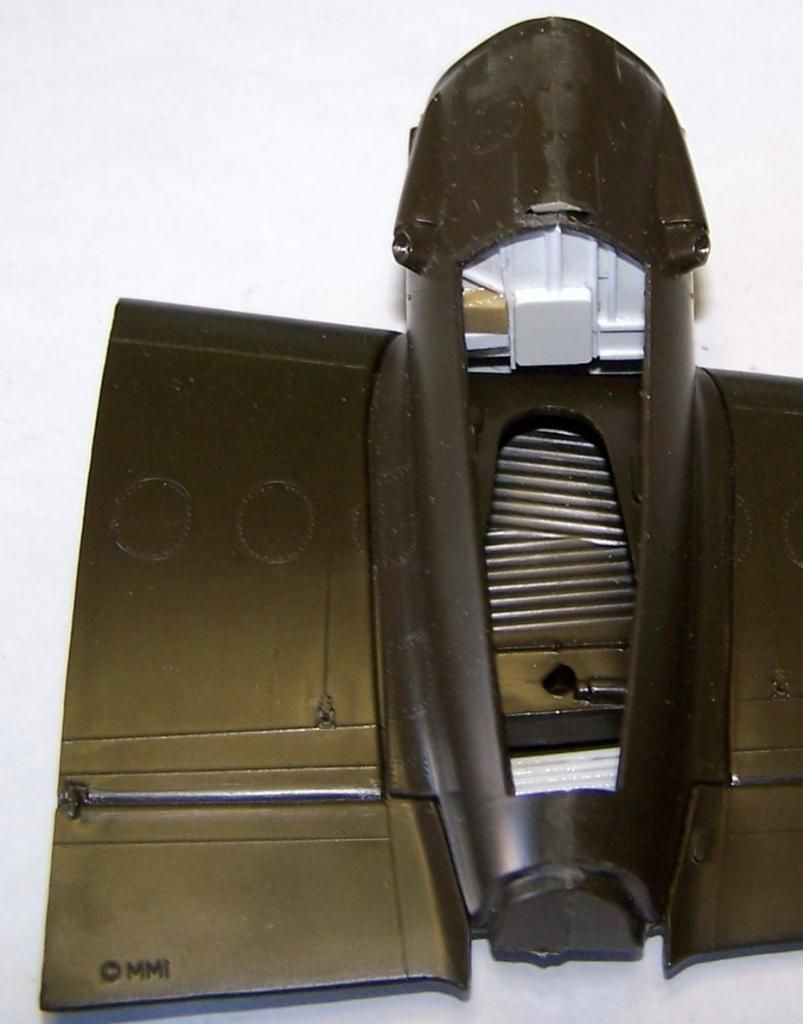
lower right wing & nacelle
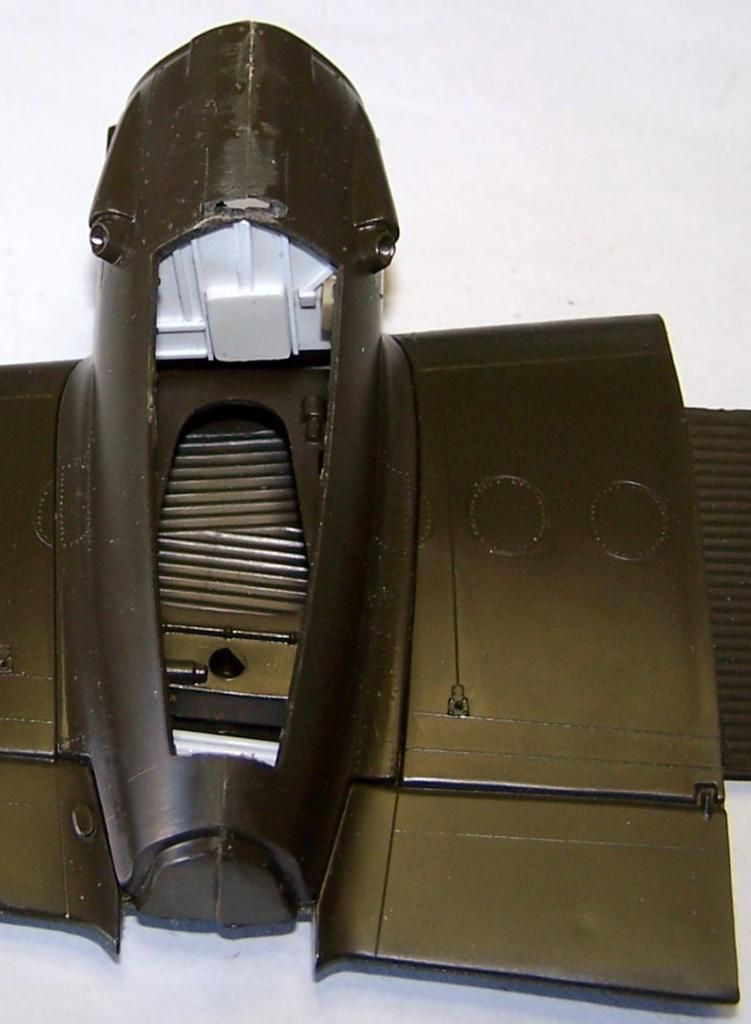
after dinner I will try to get a bit more work done...
the first completed firewall
glued into its' nacelle
then using half round styrene rod I added the detail to the upper rear wing area visible thru the wheel well opening
Here is a shot with the undetailed side for comparison
a close up
and once both wings were done
both completed nacelle firewalls- note the slight different set ups between the two
placed onto their respective wings
lower left wing & nacelle
lower right wing & nacelle
after dinner I will try to get a bit more work done...
"Surely I have made my meaning plain? I intend to avenge myself upon you, Admiral. I have deprived your ship of power, and when I swing 'round, I intend to deprive you of your life."
FLSM
FLSM
-
Medicman71

- Elite Member
- Posts: 11396
- Joined: Mon Apr 07, 2014 9:32 am
- Location: Houston, Tx
Re: Monogram 1/48 B-26B WIP- Updated 6/5
Nice work on the wheel bays! Really looks good.
Mike
Sponsored by Boeing, Lockheed Martin, Northrop Grumman, Saab, BAE, and Dassault
Sponsored by Boeing, Lockheed Martin, Northrop Grumman, Saab, BAE, and Dassault
-
Stikpusher
- Moderator
- Posts: 21383
- Joined: Sat Apr 05, 2014 8:37 pm
- Location: Ceti Alpha 5
Re: Monogram 1/48 B-26B WIP- Updated 6/5
Thanks Doc. I know it's a little thing, but this build is turning out to be a whole bunch of little things adding up. 
"Surely I have made my meaning plain? I intend to avenge myself upon you, Admiral. I have deprived your ship of power, and when I swing 'round, I intend to deprive you of your life."
FLSM
FLSM
-
Stikpusher
- Moderator
- Posts: 21383
- Joined: Sat Apr 05, 2014 8:37 pm
- Location: Ceti Alpha 5
Re: Monogram 1/48 B-26B WIP- Updated 6/5
Today I spent several hours doing airbrushing of the interior and some exterior colors (since some overlapped) Plus that is an easy way to get around the window areas and makes masking the little ones a bit easier.
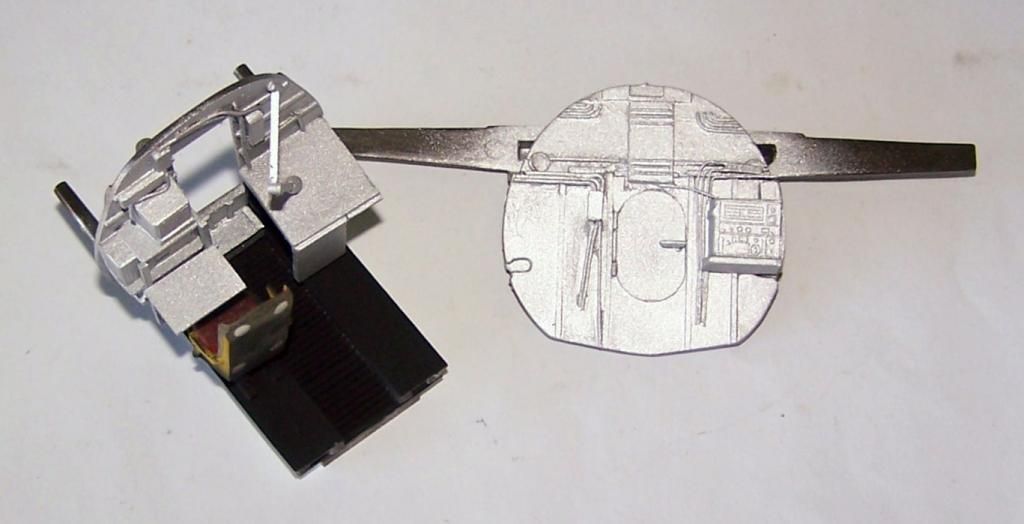
Last night after I got the photos posted on here, I went back and did one final bit of work. I added the insulation padding to fuselage sidewalls in the radio compartment using tissue cut to size, folded, and soaked in white glue. This is how it looked this morning once dry
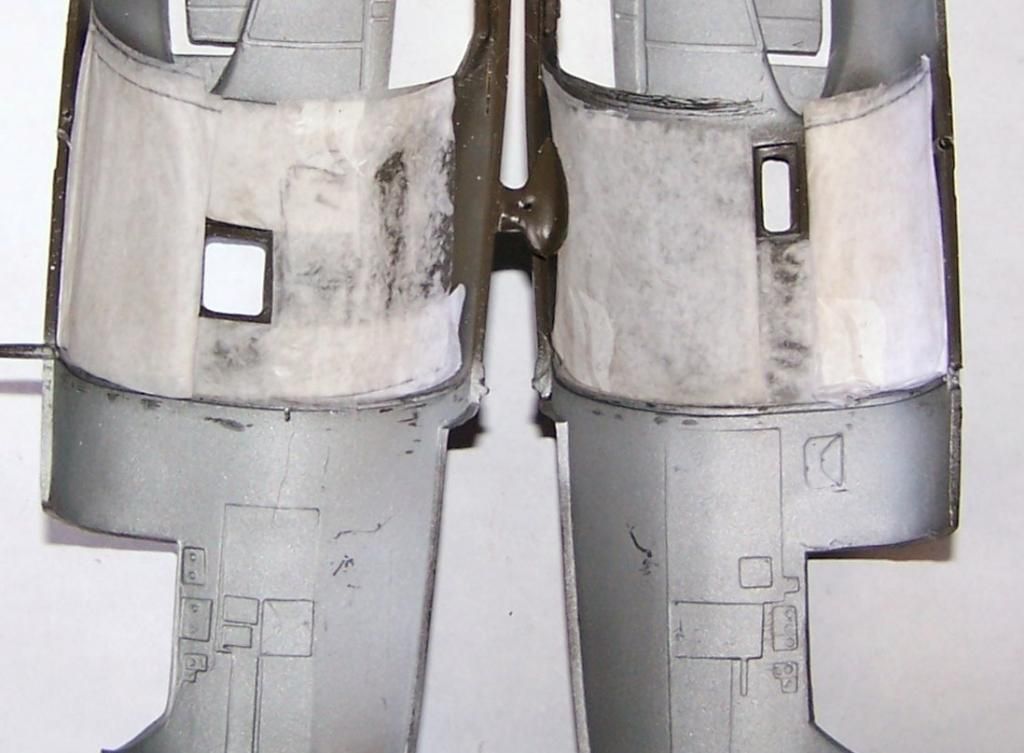
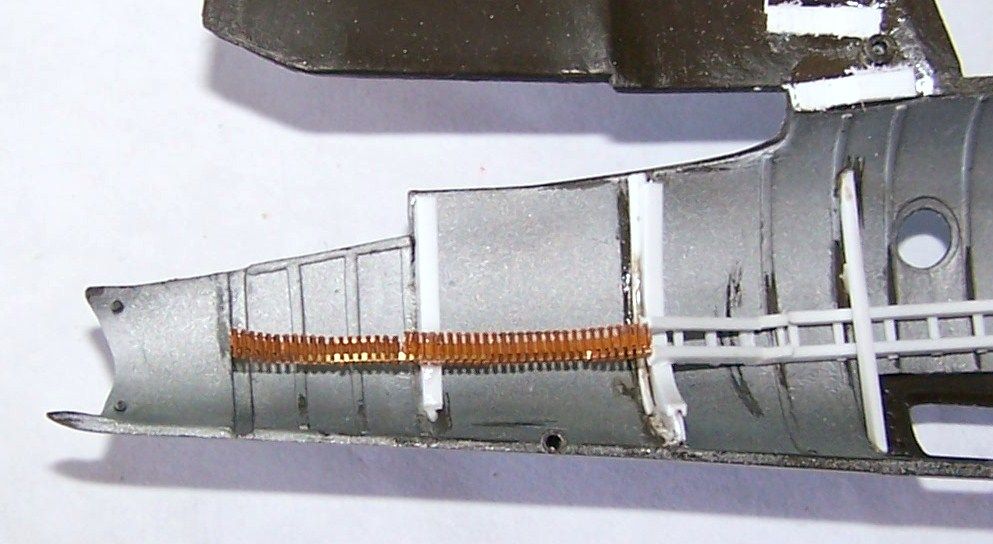
Then I had to repait the tail fun ammo chute that had broken teh other day. I put a thin stip of bras in the center and then super glued it in place
Now you see it
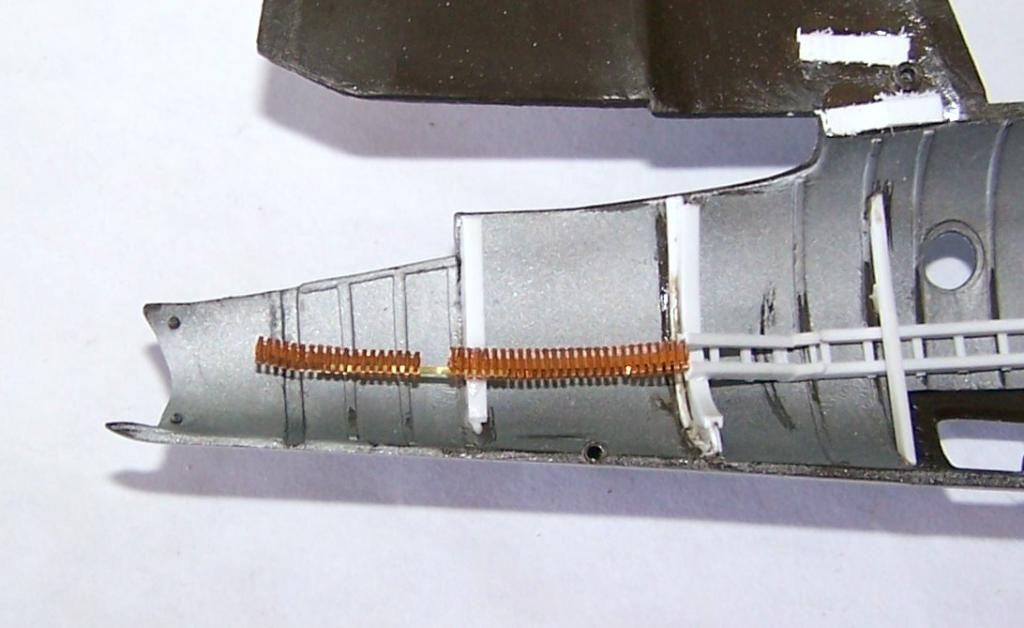
Now you dont (not really anyways)
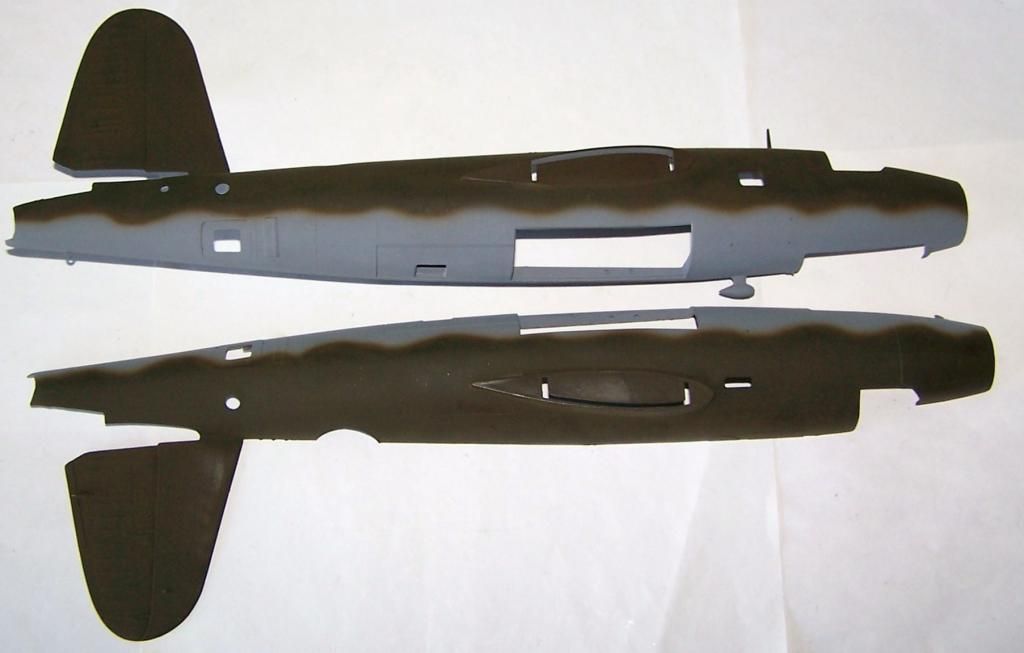
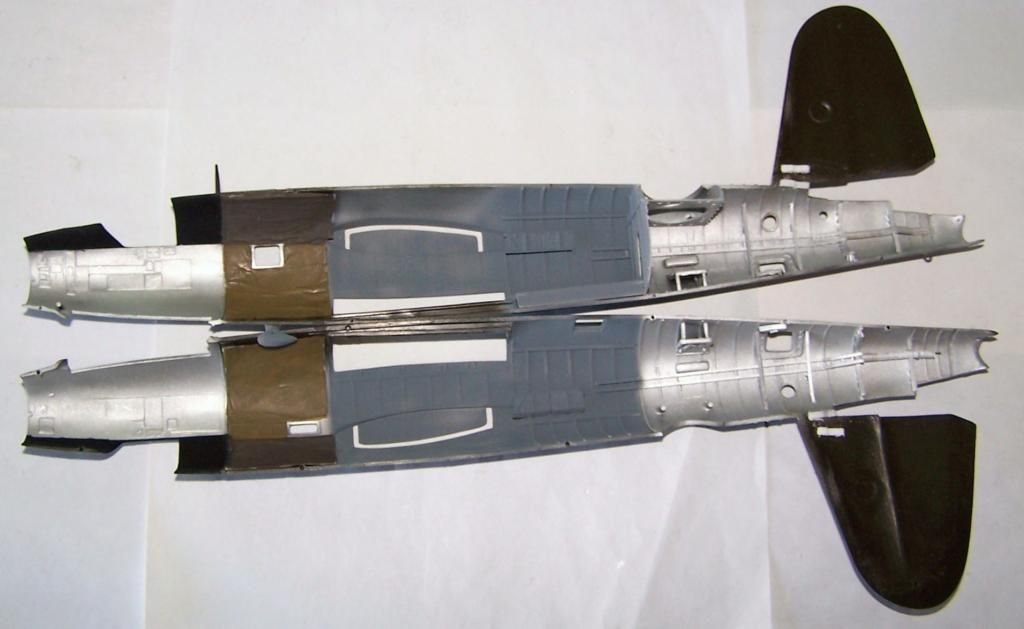
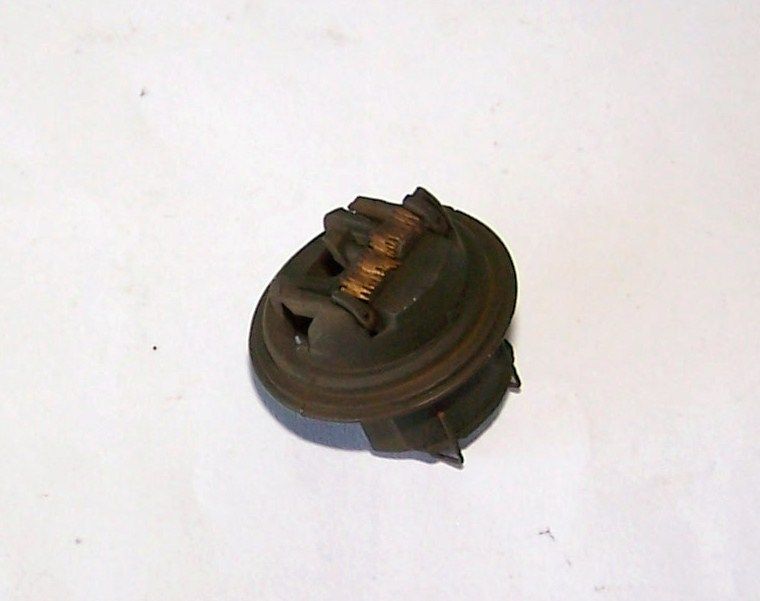
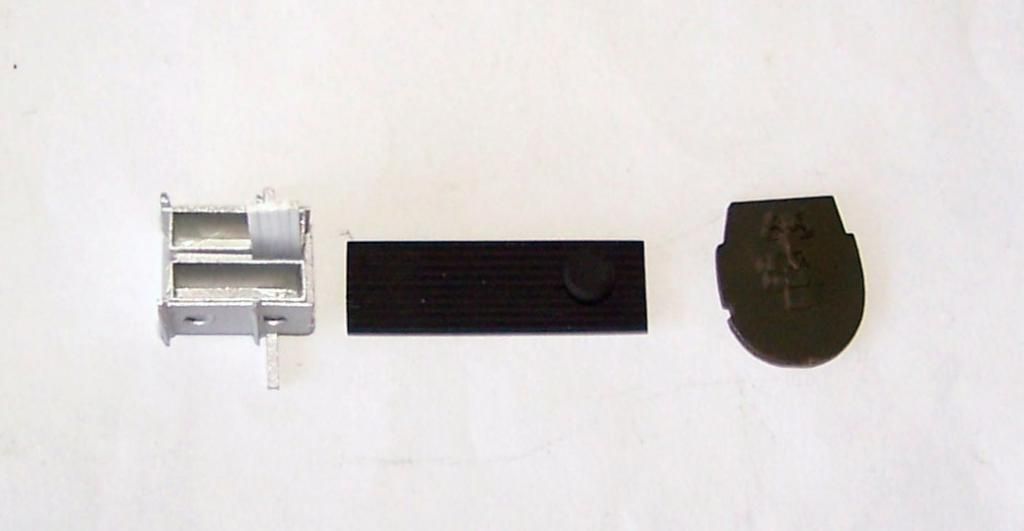
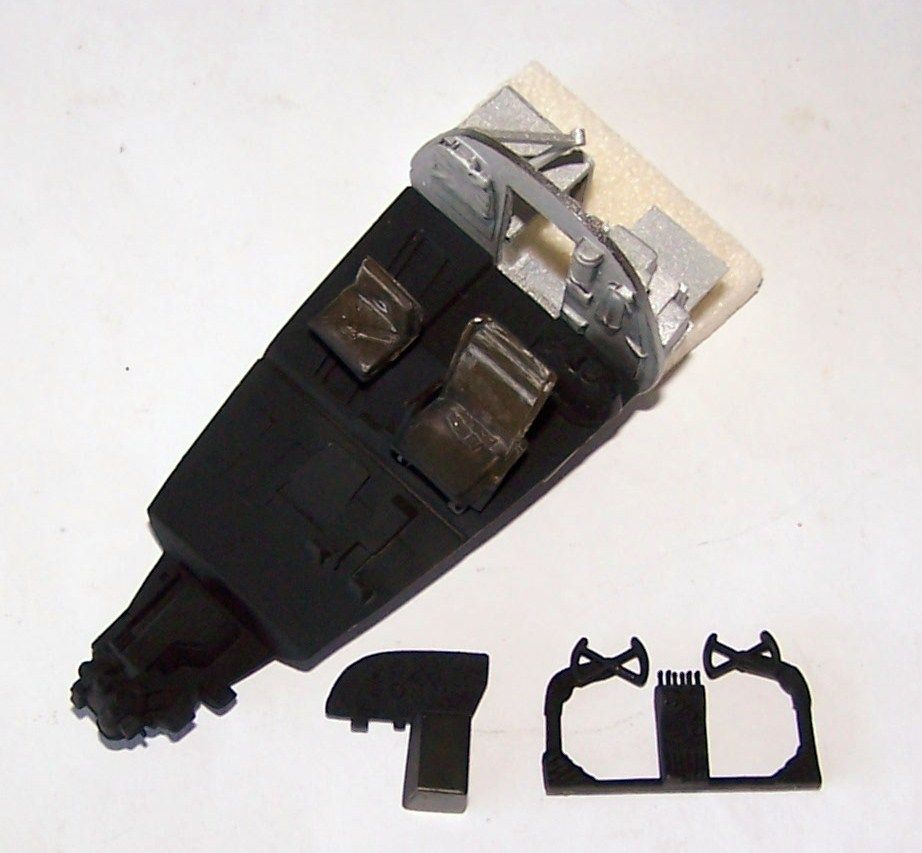
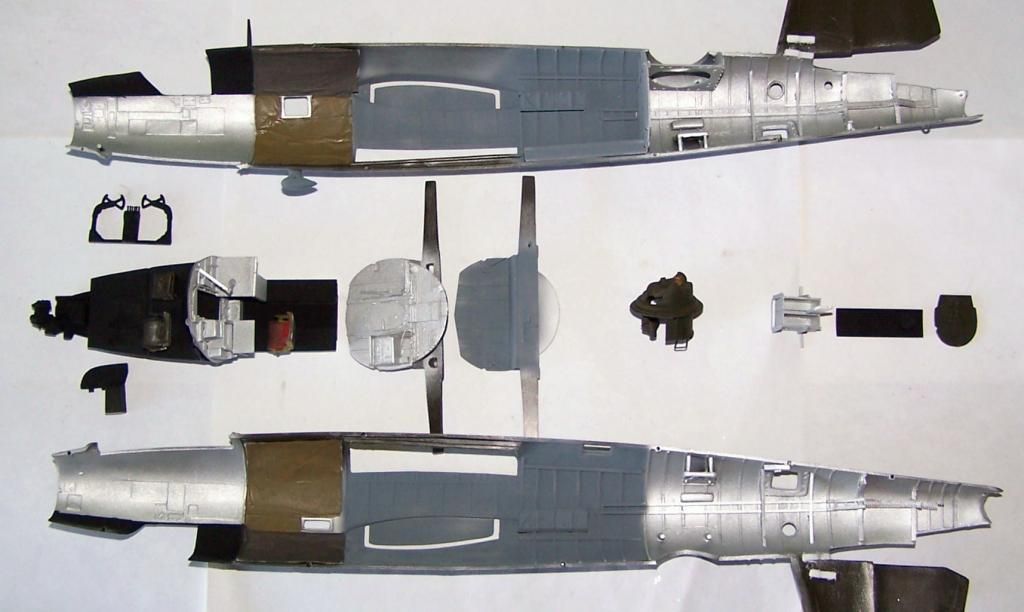
Then it was time for interior painting. I used Tamiya colors. All colors used are based off of research of photos of Flak Bait as she is preserved at Smithsonian. Aluminum for the basic interior color. Black for floorboards and cockpit sidewalls above the base of the canopy level. Olive Drab for the top turret and tail gunners armor plate, and Neutral Gray in the bomb bay. For the radio compartment insulation padding I used Khaki and Khaki Drab.
fuselage side exteriors
interiors
top turret
tail gun area parts
radio compartment
cockpit parts
all the fuselage parts
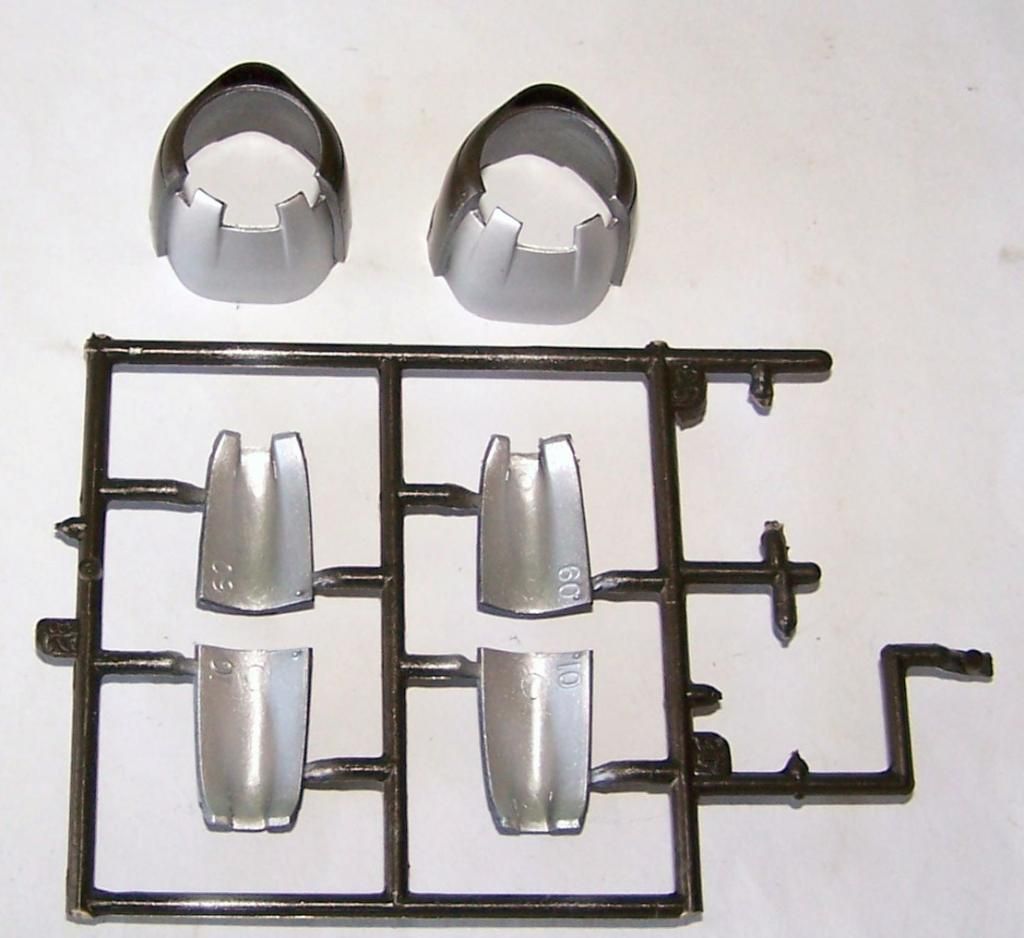
engine cowlings and scoops
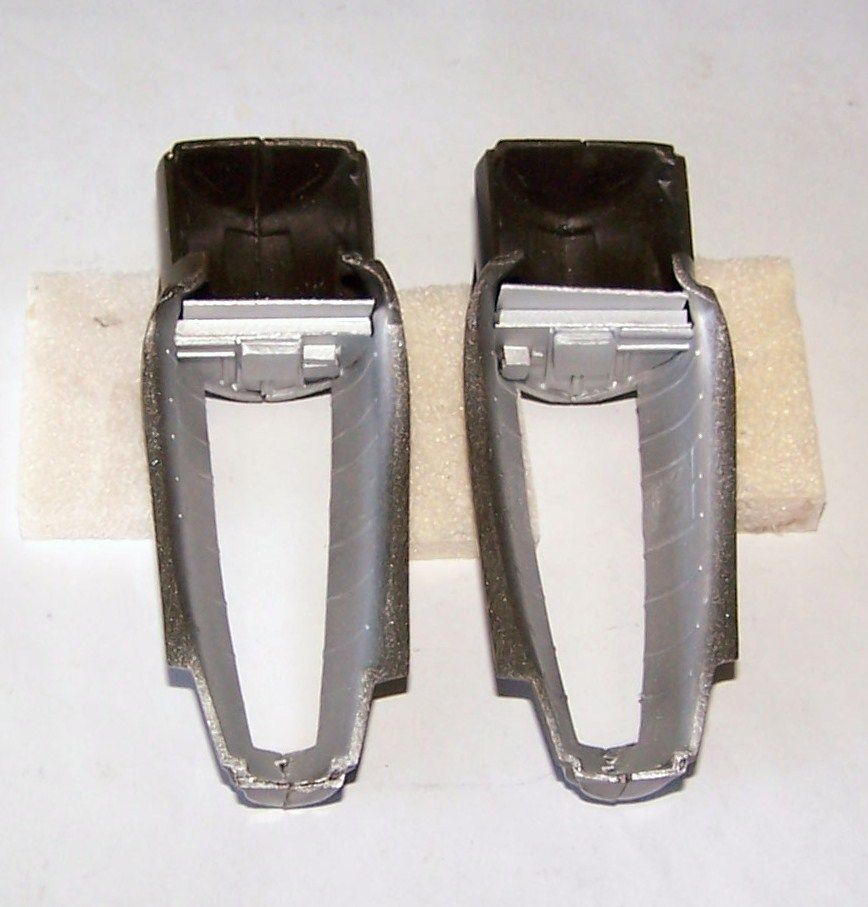
engine nacelle wheel wells
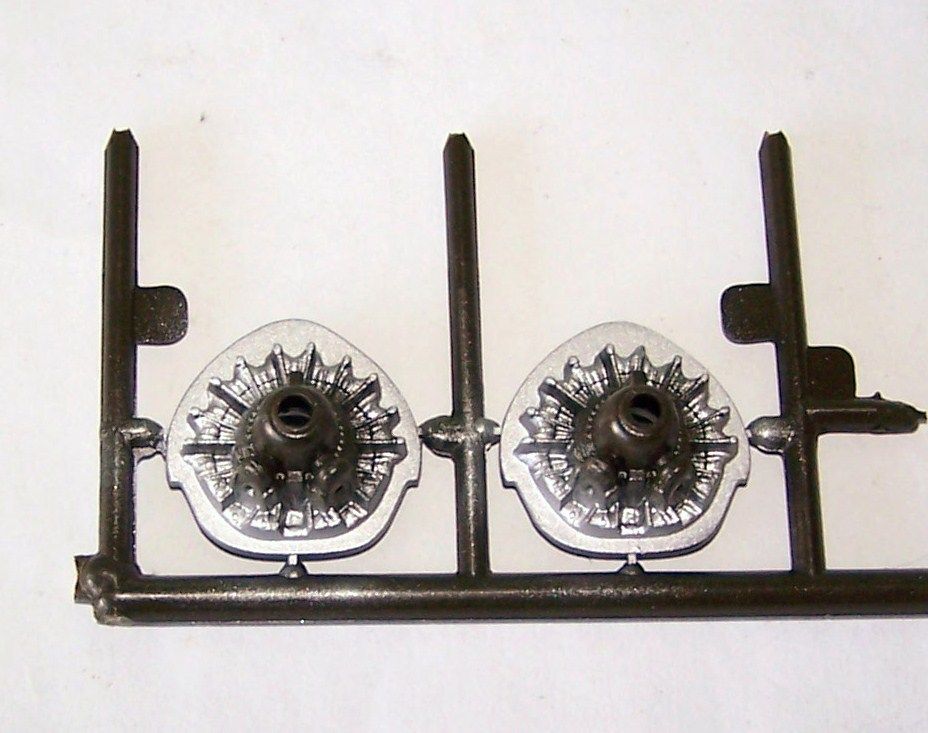
engines
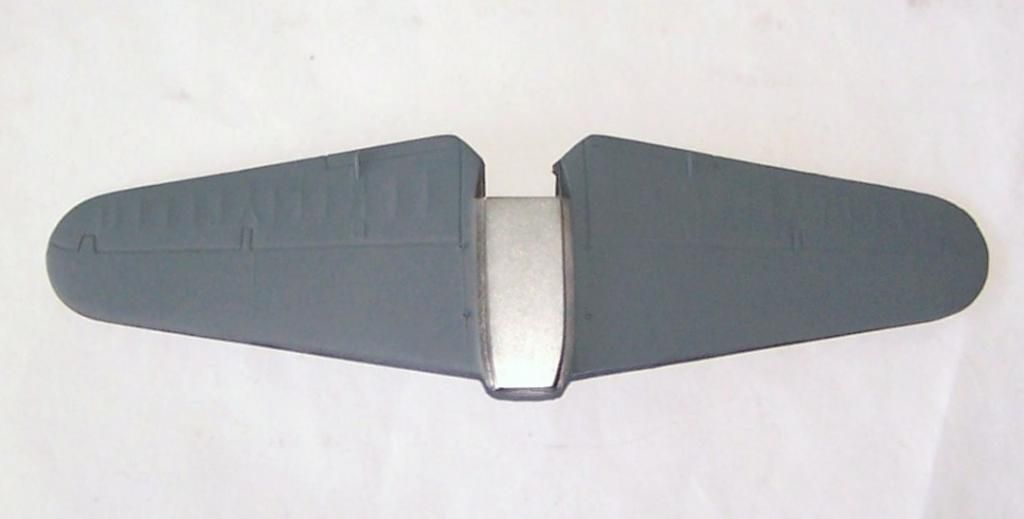
horizontal stabilizers
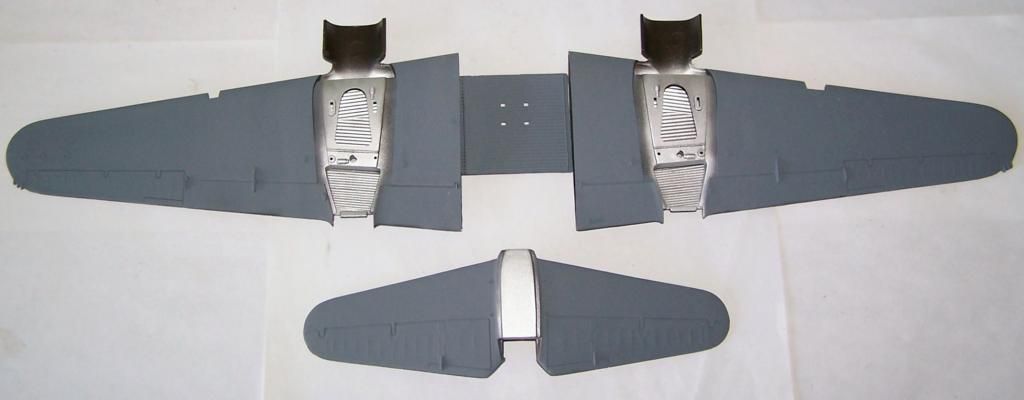
wings & horizontal stabilizers
if I do anything else tonite, it will be to give the clear parts their Future dip...
Last night after I got the photos posted on here, I went back and did one final bit of work. I added the insulation padding to fuselage sidewalls in the radio compartment using tissue cut to size, folded, and soaked in white glue. This is how it looked this morning once dry
Then I had to repait the tail fun ammo chute that had broken teh other day. I put a thin stip of bras in the center and then super glued it in place
Now you see it
Now you dont (not really anyways)
Then it was time for interior painting. I used Tamiya colors. All colors used are based off of research of photos of Flak Bait as she is preserved at Smithsonian. Aluminum for the basic interior color. Black for floorboards and cockpit sidewalls above the base of the canopy level. Olive Drab for the top turret and tail gunners armor plate, and Neutral Gray in the bomb bay. For the radio compartment insulation padding I used Khaki and Khaki Drab.
fuselage side exteriors
interiors
top turret
tail gun area parts
radio compartment
cockpit parts
all the fuselage parts
engine cowlings and scoops
engine nacelle wheel wells
engines
horizontal stabilizers
wings & horizontal stabilizers
if I do anything else tonite, it will be to give the clear parts their Future dip...
"Surely I have made my meaning plain? I intend to avenge myself upon you, Admiral. I have deprived your ship of power, and when I swing 'round, I intend to deprive you of your life."
FLSM
FLSM