1/32 Hasegawa Fw190D-9 Black One
-
speedgraflex

- Moderator
- Posts: 11535
- Joined: Fri Feb 10, 2017 11:08 pm
- Contact:
Re: 1/32 Hasegawa Fw190D-9 Black One
I just read through the entire build... which was worth it... I forgot so much was being added through aftermarket. The integration of aftermarket within the kit itself is just fantastically good. It's really an art form in itself to judge how much should be added, where and in what proportion. I also checked Wauchop's version to see how two different modelers approach the same subject. When I read through your build earlier tonight you questioned the idea of doing your own version of "Black 1" after seeing builds such as his.... this is entirely healthy. I hemmed and hawed about posting anything re the ZM Ta 152H-1 in light of how well yours turned out—this was before you came to SPA Modeler—but I am so glad I decided to follow along with a 1/48 Dora while you were in session with this project. That's more than simply a thank you... it's true appreciation. All the best.
Make more models!

Re: 1/32 Hasegawa Fw190D-9 Black One
What can I say?
I think I love your Dora and I want to conquer the European skies with her.
I think I love your Dora and I want to conquer the European skies with her.

Re: 1/32 Hasegawa Fw190D-9 Black One
Thanks for the comments! Especially you, Bruce! I appreciate any comment, observation or even criticism on what I am doing here. I like learning and growing and hopefully, getting better at this. There is no better way of improving than sharing these builds online and hearing other people's perspective.
I want to post a lengthy update but I am having some problems posting. I get an error when my post reaches a certain length. Does anyone know... is there maintenance being performed on this site? I've been trying to post my update since last night. I've found that I can post if I preview after each photo is added but at some point, that error message pops up. So this might be a multi-post update.
The post-shading of the panel lines has been completed. After the bottom, it was extended up the fuselage sides and the tail. I have not done the upper surfaces of the wings and horizontal tail surfaces because they are so dark. The effect is kept on the subtle side with more emphasis on what I consider the "dirtier" parts of the aircraft... around the power egg and the bottom centerline.


I want to post a lengthy update but I am having some problems posting. I get an error when my post reaches a certain length. Does anyone know... is there maintenance being performed on this site? I've been trying to post my update since last night. I've found that I can post if I preview after each photo is added but at some point, that error message pops up. So this might be a multi-post update.
The post-shading of the panel lines has been completed. After the bottom, it was extended up the fuselage sides and the tail. I have not done the upper surfaces of the wings and horizontal tail surfaces because they are so dark. The effect is kept on the subtle side with more emphasis on what I consider the "dirtier" parts of the aircraft... around the power egg and the bottom centerline.
John aka JKim
-----------<><

-----------<><
Re: 1/32 Hasegawa Fw190D-9 Black One
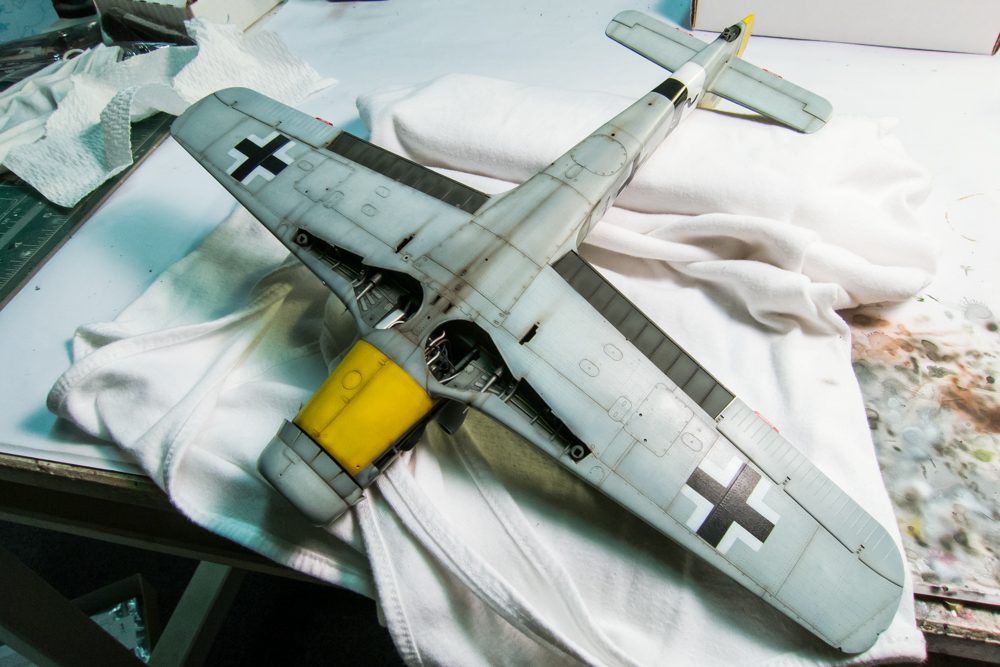
With the post-shading done, I will go to the next weathering step: pastel wash. This will be done using two colors given the color differences between the lower and upper surfaces. The bottom surfaces will be given a dark brown wash to highlight the recessed panel lines and rivets. Here is the bottom prior to the wash.
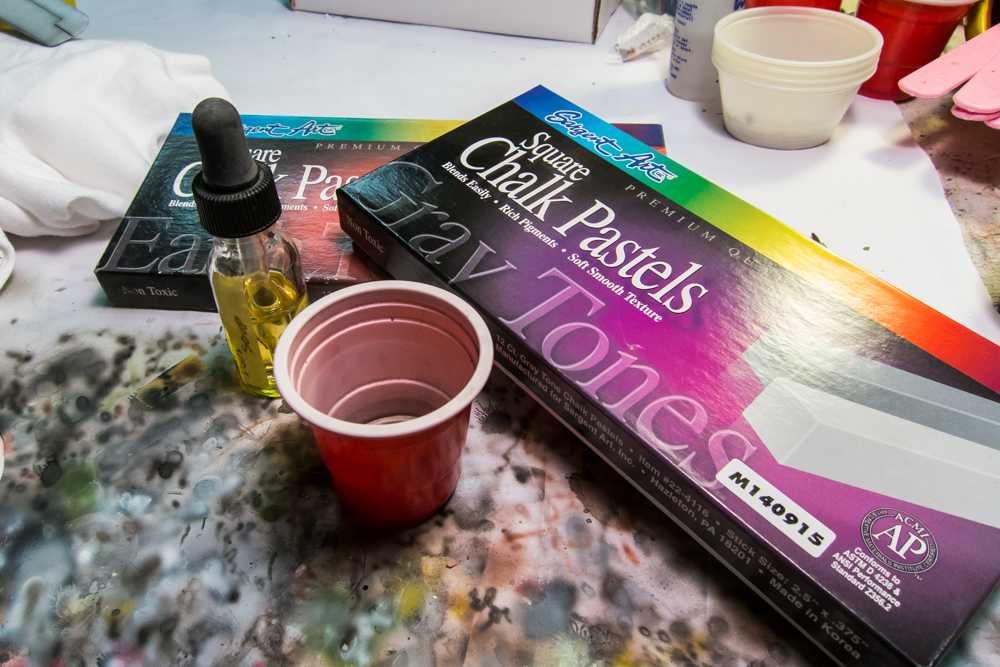
My thinned paint finishes are on the delicate side so I prefer using a wash that is benign to the paint finish. So I make my own water-based wash. It's very easy... all you need are some pastel chalks (not oil), water and some dishwashing soap.
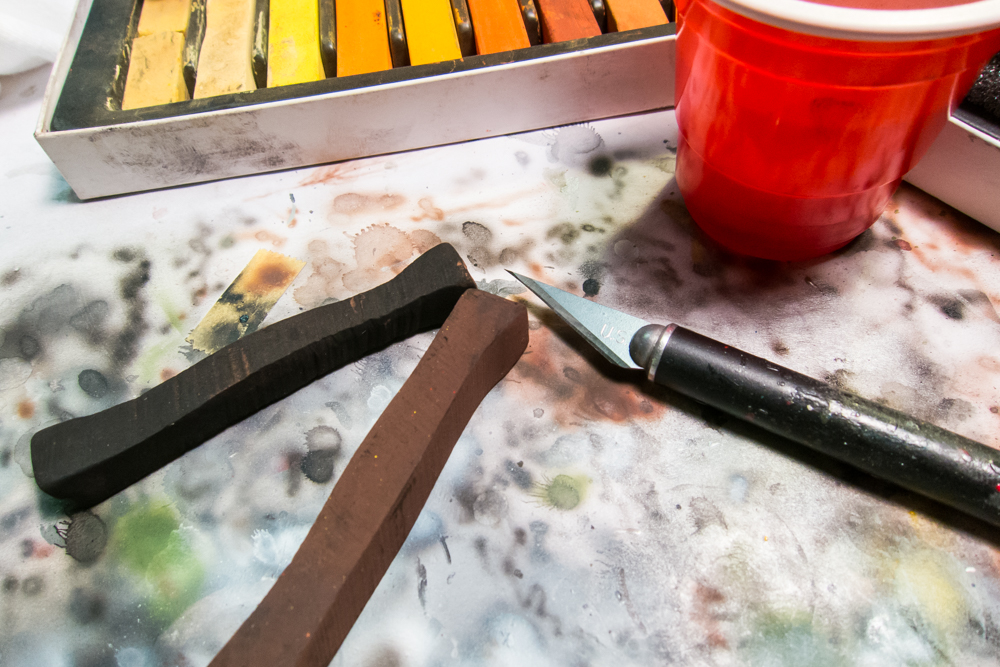
I put a very small amount of water into a small container. For the bottom surfaces, I select a dark brown and a black piece of chalk. Using a knife blade, I scrape fine amounts of both chalks into the water.
Here are the ingredients prior to mixing. To help reduce the surface tension of the water and allow easier mixing, I add a small dap of dishwashing soap. Note the small amount of water that I am using.
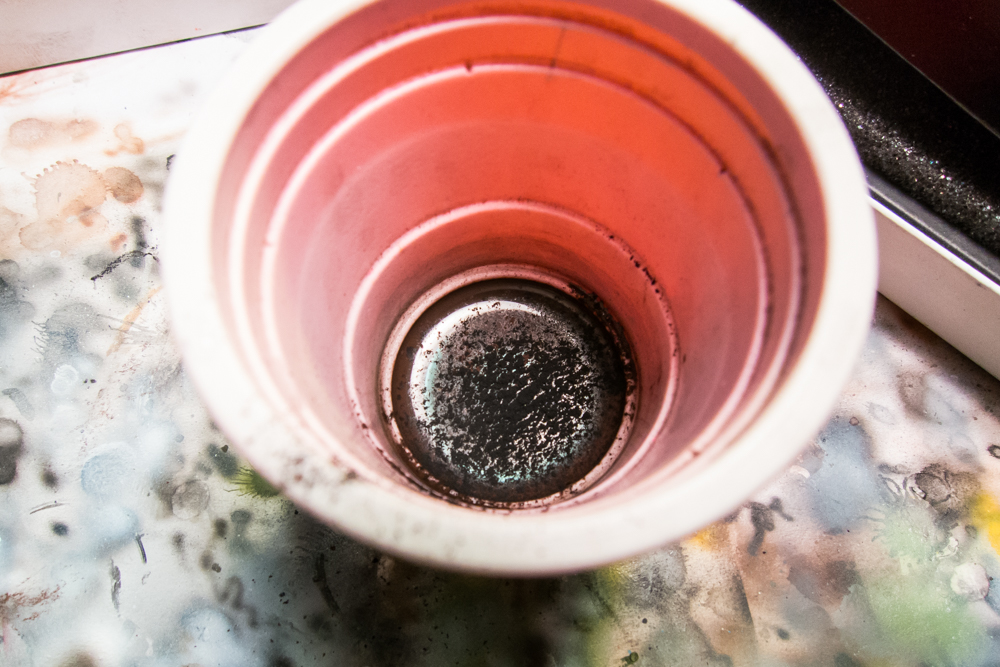
Mix it well and you should get a nice, solidly-colored fluid. This small amount is enough to cover the entire model and then some.

Using a small paint brush, the wash is applied over the bottom surfaces, making sure that it gets into every recessed line, raised detail and rivet. Let this dry COMPLETELY.
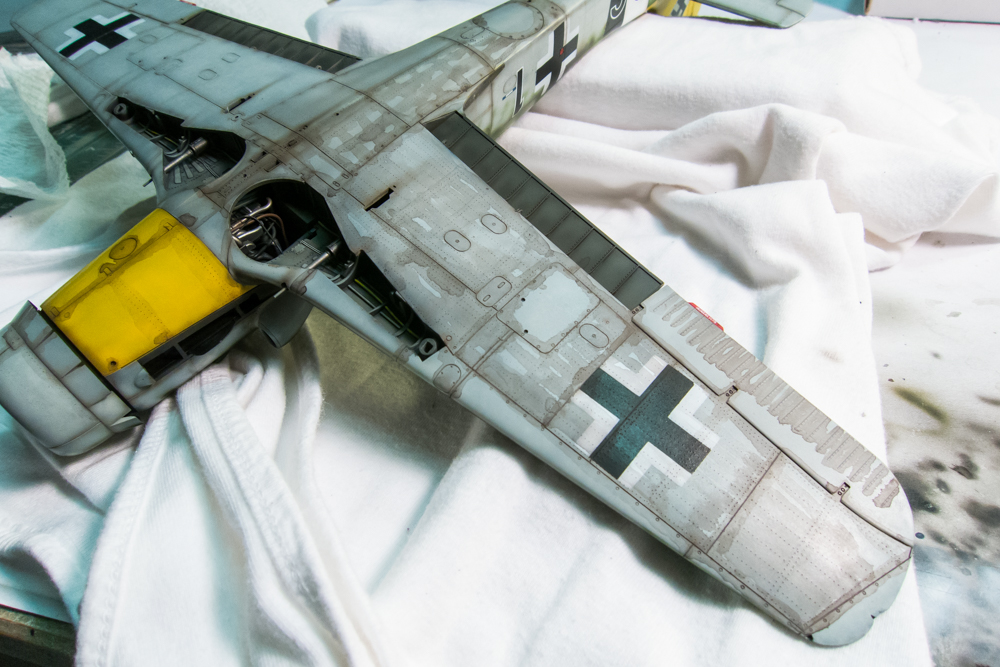
I like to give my washes about 10-15 minutes to dry completely so that it holds in the places that I want it to hold. Wiping off a still wet wash will result in too much removal and you'll have to repeat the application. Once the wash application is dry, I begin to wipe it off using a piece of damp (not wet) paper towel. The dark pastel pigments will remain in any recess, serving to highlight that feature. Always end your wipes in the direction of the airflow.
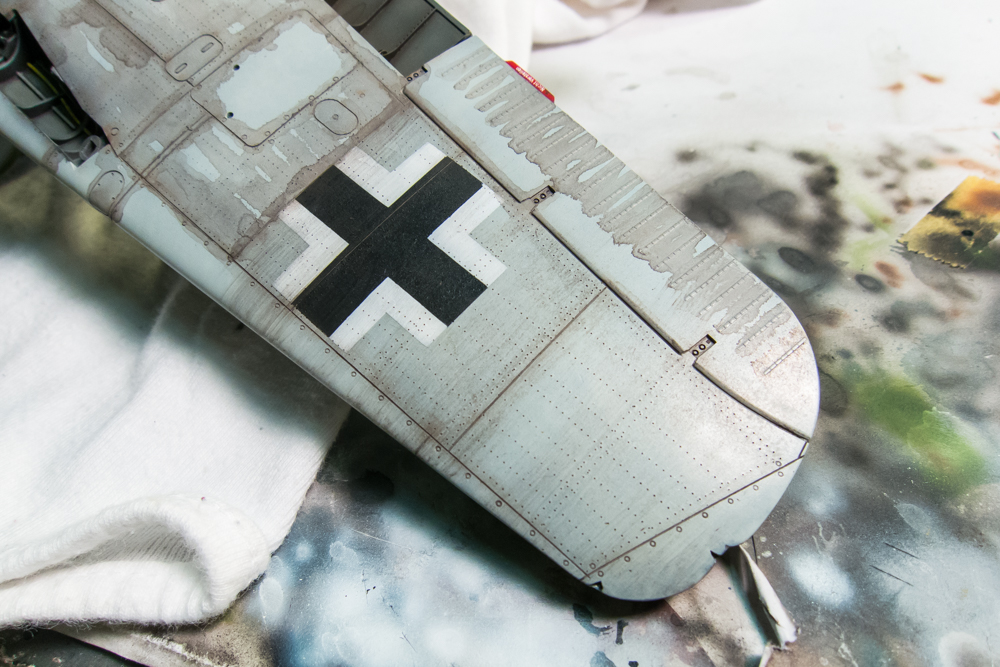
The wash is systematically removed. Depending on the effect that you want to achieve, you can leave residual streaks of the dirty wash on the model to simulate wear.
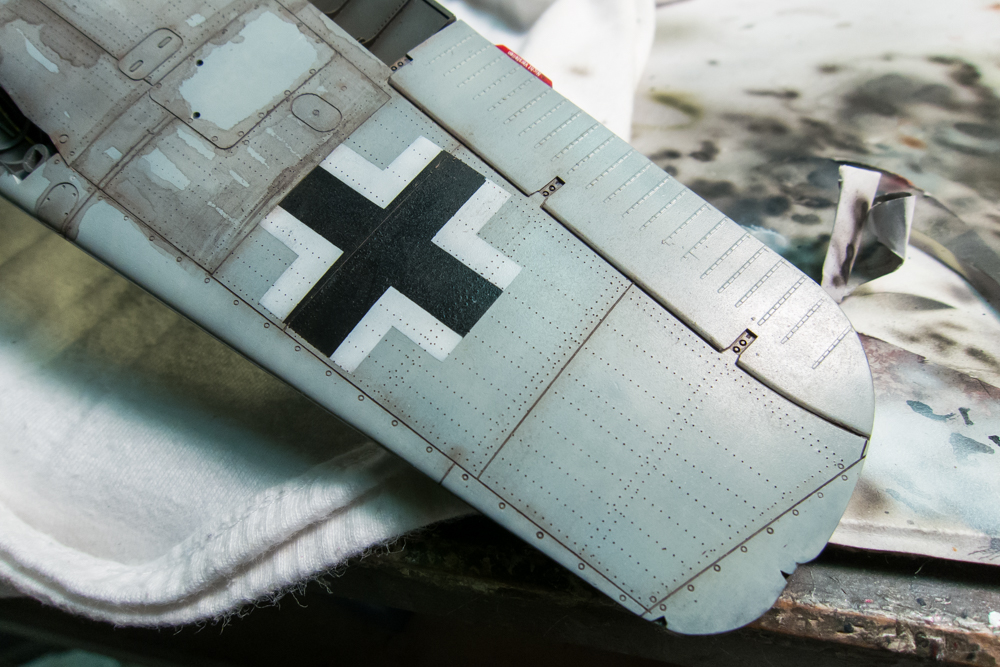
Remember that crazy mottling pattern that I applied to the model before the camo painting? That was the first layer of effects that have been applied to the model. The pre-shading, post-shading and now the pastel wash, all work together to create an illusion of depth on the otherwise flat surface.
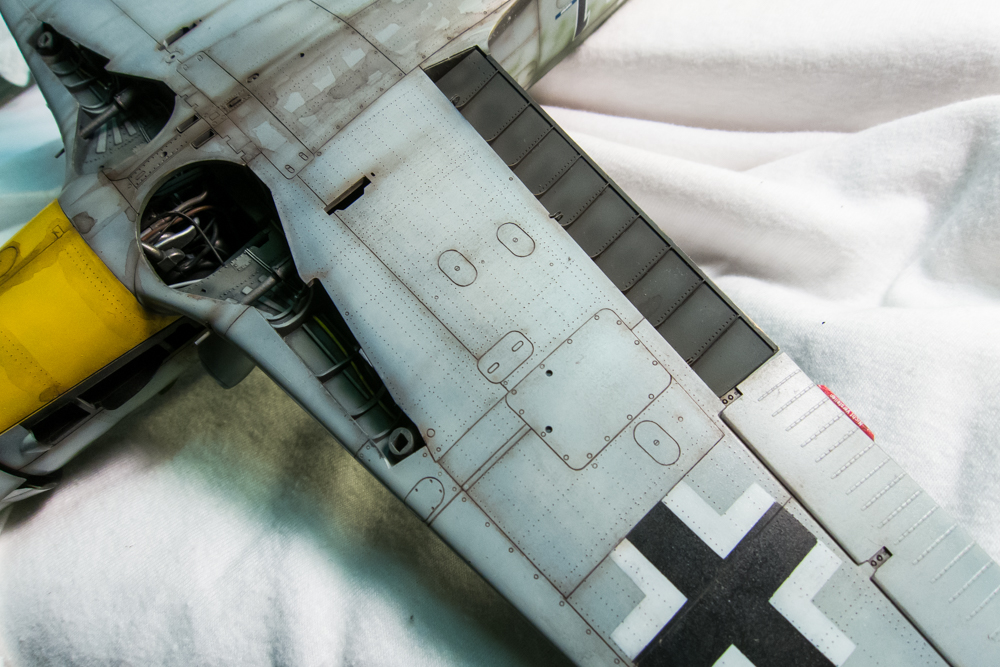
My thinned paint finishes are on the delicate side so I prefer using a wash that is benign to the paint finish. So I make my own water-based wash. It's very easy... all you need are some pastel chalks (not oil), water and some dishwashing soap.
I put a very small amount of water into a small container. For the bottom surfaces, I select a dark brown and a black piece of chalk. Using a knife blade, I scrape fine amounts of both chalks into the water.
Here are the ingredients prior to mixing. To help reduce the surface tension of the water and allow easier mixing, I add a small dap of dishwashing soap. Note the small amount of water that I am using.
Mix it well and you should get a nice, solidly-colored fluid. This small amount is enough to cover the entire model and then some.
Using a small paint brush, the wash is applied over the bottom surfaces, making sure that it gets into every recessed line, raised detail and rivet. Let this dry COMPLETELY.
I like to give my washes about 10-15 minutes to dry completely so that it holds in the places that I want it to hold. Wiping off a still wet wash will result in too much removal and you'll have to repeat the application. Once the wash application is dry, I begin to wipe it off using a piece of damp (not wet) paper towel. The dark pastel pigments will remain in any recess, serving to highlight that feature. Always end your wipes in the direction of the airflow.
The wash is systematically removed. Depending on the effect that you want to achieve, you can leave residual streaks of the dirty wash on the model to simulate wear.
Remember that crazy mottling pattern that I applied to the model before the camo painting? That was the first layer of effects that have been applied to the model. The pre-shading, post-shading and now the pastel wash, all work together to create an illusion of depth on the otherwise flat surface.
John aka JKim
-----------<><
-----------<><
Re: 1/32 Hasegawa Fw190D-9 Black One
I slowly work my way around the aircraft, applying the pastel wash over sub-areas, letting it dry and then removing it. A paper towel may not be best choice in removing the wash. Depending on the quality of the towel, it tends to leave a lot of paper fibers all over the model, which then have to be carefully removed.


The fuselage sides are the last areas to be treated with the dark brown wash. Just a note about the pastel wash process. I find that it works the best over a gloss or semi-gloss finish. You can do it over a flat finish but there is some danger of the pastel leaving stains or tide marks.


The fuselage sides are the last areas to be treated with the dark brown wash. Just a note about the pastel wash process. I find that it works the best over a gloss or semi-gloss finish. You can do it over a flat finish but there is some danger of the pastel leaving stains or tide marks.
John aka JKim
-----------<><
-----------<><
Re: 1/32 Hasegawa Fw190D-9 Black One
The dark brown wash is finished. With my magnifier on, I get used to working very close to the model, which is great for detecting and correcting flaws. I have to remind myself to periodically pull back from that close-up view and to look at the model from a more normal perspective.


The next step is applying a darker wash to the upper wings and tail surfaces.
The next step is applying a darker wash to the upper wings and tail surfaces.
John aka JKim
-----------<><
-----------<><
-
speedgraflex
- Moderator
- Posts: 11535
- Joined: Fri Feb 10, 2017 11:08 pm
- Contact:
Re: 1/32 Hasegawa Fw190D-9 Black One
I just devoured these last three posts! Your technique with chalk is similar to calligraphy brush painting. I was going to suggest you get the grinding stone for chalk and a wide round brush to apply the tinctures on the fuselage with varying degrees of opacity... wow so many ideas...

Make more models!
Re: 1/32 Hasegawa Fw190D-9 Black One
Very informative descroption of your / the calc technique. It has many simularities with the clay washes sold by Flory and UMP. Beeing water based you don't have to think about too much about the chemical characteristics of the layer beneath. One letdown though may be the lower capillary abilities compared to enamel washes.
The biggest advantage of course is the sheer endless range of shades that can be mixed. And it preserves your wallet, lol. Looking forward to your solutions for the upper surface colors.
Regarding your posting troubles: The forum software has some SPAM (no pun intended) security plugins. If certain phrases typical for undesirable content are included in your post (that can be stuff like "you have download this"), or you made a typing error by opening / closing picture codes the software throws you out on a page were you're told to try again later. I think it also happens when your post ends with an additional character.
The biggest advantage of course is the sheer endless range of shades that can be mixed. And it preserves your wallet, lol. Looking forward to your solutions for the upper surface colors.
Regarding your posting troubles: The forum software has some SPAM (no pun intended) security plugins. If certain phrases typical for undesirable content are included in your post (that can be stuff like "you have download this"), or you made a typing error by opening / closing picture codes the software throws you out on a page were you're told to try again later. I think it also happens when your post ends with an additional character.
Re: 1/32 Hasegawa Fw190D-9 Black One
Thank you Bruce and Torben. I know that washes are an elementary technique but I thought it would be worthwhile to document my process for those that haven't tried it. It really is a simple way to highlight details without too much exacting effort. This is really an unprecedented build for me now that is has gone 50+ pages now. I wonder if I am documenting too much. Is it modeling overload or is this information useful?
Torben... I'm not sure what was/is causing my posting problems. I can't seem to replicate it now. I do know that I originally typed that first response with six photos but when I pressed PREVIEW, I got a 404 error message. Then the website went offline so that's when I assumed some website maintenance was underway. That was about 12 hours ago. When I tried again this morning (about 5 hours ago), I got the same result. So I started typing and hit PREVIEW after each typed line and each picture added and was able to post again. Now... all seems to be back to normal again.
Torben... I'm not sure what was/is causing my posting problems. I can't seem to replicate it now. I do know that I originally typed that first response with six photos but when I pressed PREVIEW, I got a 404 error message. Then the website went offline so that's when I assumed some website maintenance was underway. That was about 12 hours ago. When I tried again this morning (about 5 hours ago), I got the same result. So I started typing and hit PREVIEW after each typed line and each picture added and was able to post again. Now... all seems to be back to normal again.
John aka JKim
-----------<><
-----------<><
-
speedgraflex
- Moderator
- Posts: 11535
- Joined: Fri Feb 10, 2017 11:08 pm
- Contact:
Re: 1/32 Hasegawa Fw190D-9 Black One
Please don’t compress your narrative style, ever. This thread is an incredible source of documentation and I would much rather have a John Kim style narration with trimmings than a simple flurry of photos when the project is completed. I have read this thread—both V1 over on the WWII Forum and the V2 here completely through from beginning to end and it is a rare opportunity to experience a detailed approach to building a model. My initial response before I knew who you were is my true one—“If I follow this person’s build, I will get a finished plane to be proud of.” I can only state categorically that you must continue to write completely and photograph as you will—it is all part of your process. Frankly, the fact that you are so open about techniques means you are continually thinking and creating new ones. Too many modelers develop one approach that works for them and say, “well, this is fine!” That is not the case here!
Make more models!