Monogram 1/48 B-26B WIP- Completed 7/18

Re: Monogram 1/48 B-26B WIP- Updated 6/13
So you paint first and then assemble? But how do you do the putty and sanding? Or is the fit that good?






Re: Monogram 1/48 B-26B WIP- Updated 6/13
You dare question the Stikpusher? Varlot.
To make each build less crappy than the last one. Or, put another way, "Better than the last one, not as good as the next one!"..
Re: Monogram 1/48 B-26B WIP- Updated 6/13
LyleW wrote:You dare question the Stikpusher? Varlot.
Only to learn from his Enlightenment!
Re: Monogram 1/48 B-26B WIP- Updated 6/13
oh, okay then. I'll cancel the hit.
To make each build less crappy than the last one. Or, put another way, "Better than the last one, not as good as the next one!"..
-
Handiabled
- Master Member
- Posts: 591
- Joined: Sat Mar 15, 2014 7:13 am
Re: Monogram 1/48 B-26B WIP- Updated 6/13
Been watching from afar, but a masterful build thus far Sir!!! 
-
Stikpusher

- Moderator
- Posts: 21386
- Joined: Sat Apr 05, 2014 8:37 pm
- Location: Ceti Alpha 5
Re: Monogram 1/48 B-26B WIP- Updated 6/13
In this case I am. Mainly due to masking issues that would have made that a LOT more difficult after assembly. I will do my seam clean up as usual. Then touch up the paint afterwards. And no, the fit is not that good. I did the same thing on my TBD build last year, and it worked out great. My main concern is not knocking out those little side windows into the fuselage where they can not be fixed after the fuselage halves are assembled. Those clear parts glues are not that strong. So if I paint the whole fuselage first, I can mask on there rather than just directly on the clear part. This reduces the chances of something going wrong about that.BorgR3mc0 wrote:So you paint first and then assemble? But how do you do the putty and sanding? Or is the fit that good?
"Surely I have made my meaning plain? I intend to avenge myself upon you, Admiral. I have deprived your ship of power, and when I swing 'round, I intend to deprive you of your life."
FLSM
FLSM
-
lawdog114
- Master Member
- Posts: 534
- Joined: Tue May 20, 2014 11:46 pm
- Location: Olmsted Township, Ohio
Re: Monogram 1/48 B-26B WIP- Updated 6/13
Agreed......Stikpusher wrote:Oh I have had had plenty good happen in hours of darkness... as a street cop, lets just say that most of the folks out in the wee hours are up to no good though...I guess thats why I like working that shift...
 Catching drunk drivers is one of my favorite things to do in this world, next to playing Frisbee with my little girl and building models. That's one fine looking B-26. Painting the fuse before gluing...interesting. I can't wait to see it finished.
 Joe
Can you fly this plane and land it? Surely you can't be serious? I am serious, and don't call me Shirley
-
Stikpusher
- Moderator
- Posts: 21386
- Joined: Sat Apr 05, 2014 8:37 pm
- Location: Ceti Alpha 5
Re: Monogram 1/48 B-26B WIP- Updated 6/13
Thank you sir. I will get some more photos posted late tonite after work, or in the morning when I wake up and get moving. I was able to take some of my work up to now, get them edited and uploaded to photobucket before work here.
"Surely I have made my meaning plain? I intend to avenge myself upon you, Admiral. I have deprived your ship of power, and when I swing 'round, I intend to deprive you of your life."
FLSM
FLSM
-
Stikpusher
- Moderator
- Posts: 21386
- Joined: Sat Apr 05, 2014 8:37 pm
- Location: Ceti Alpha 5
Re: Monogram 1/48 B-26B WIP- Updated 6/13
Here they are...
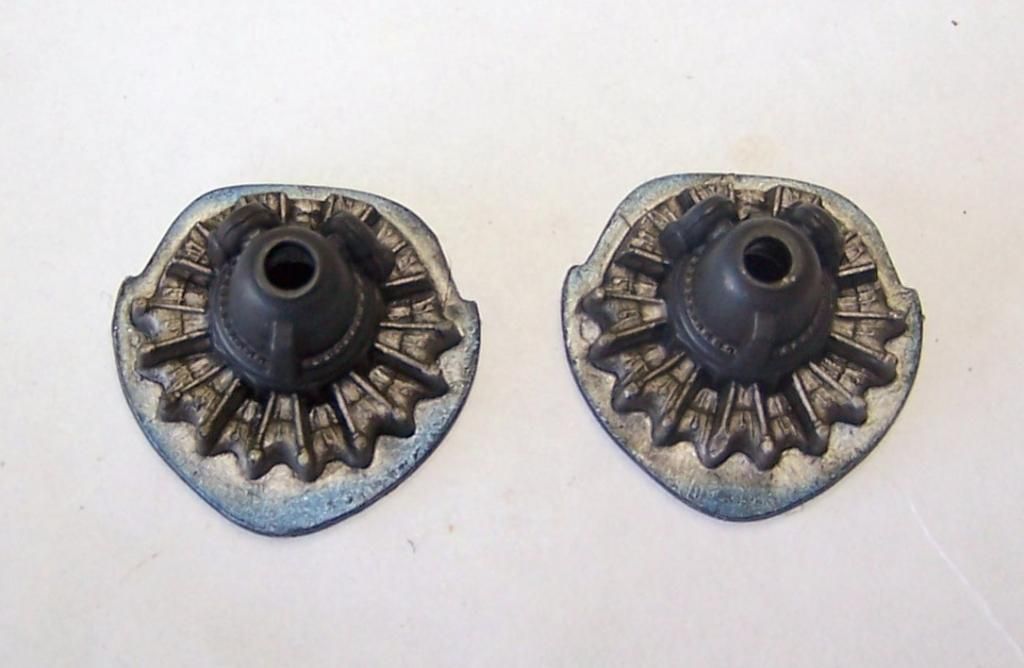
Here is my latest update as of midday today, 6/18
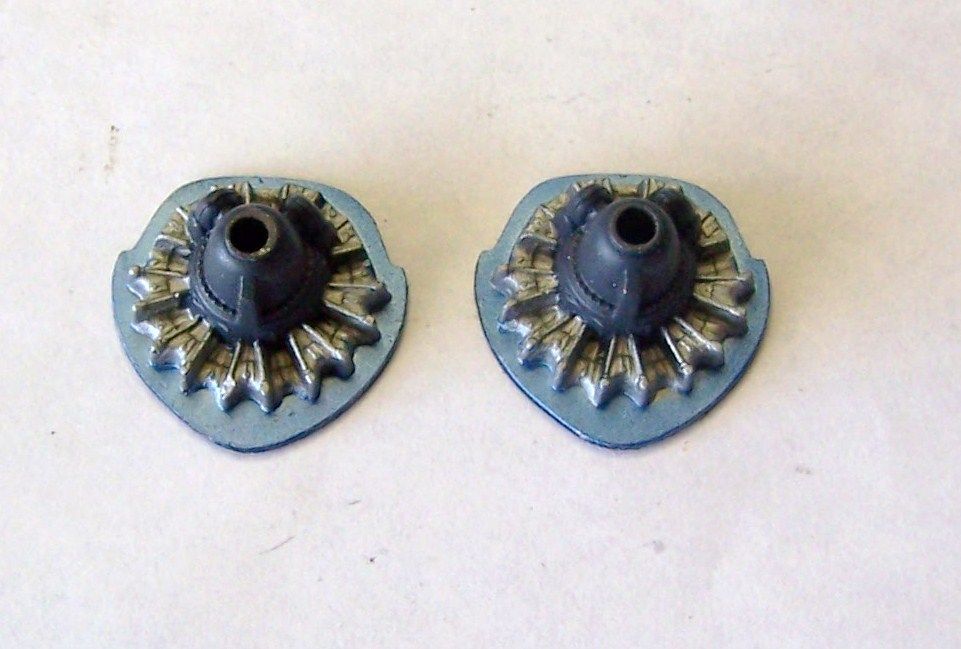
engines main colors painted
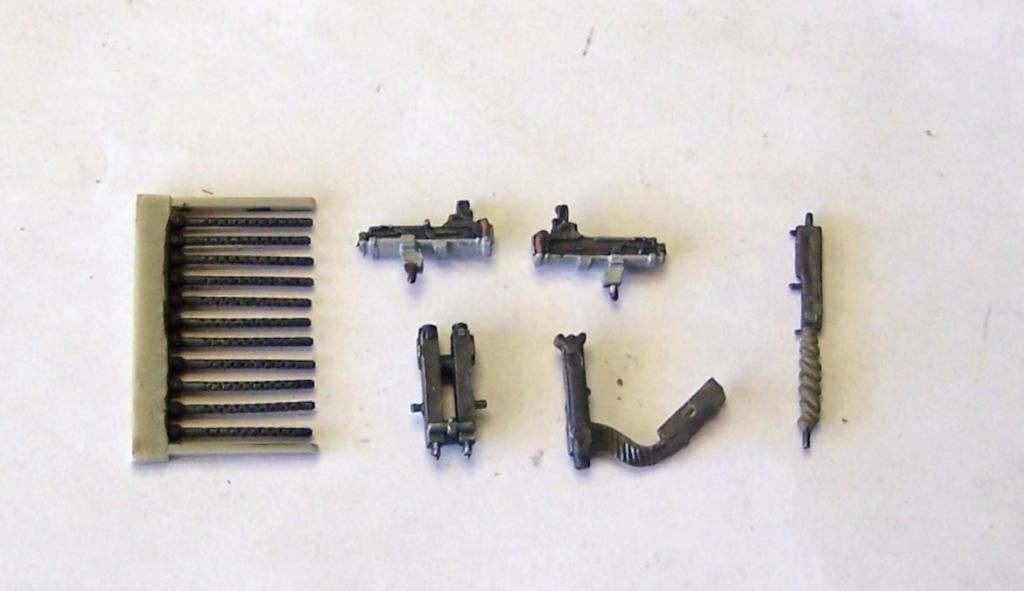
machine guns painted & drybrushed
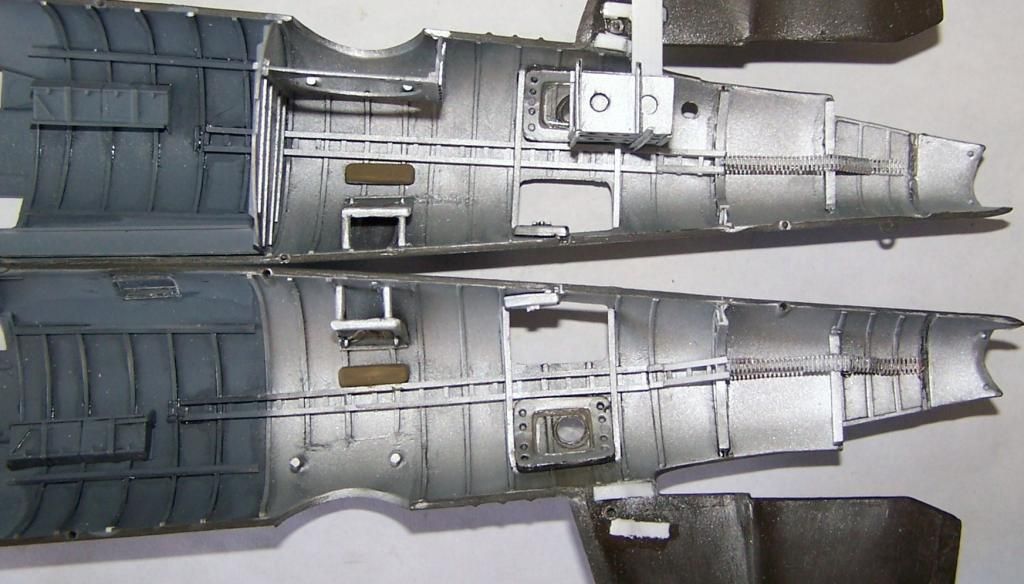
rear windows, gunners hatches, and waist gun ammo bin glued in place
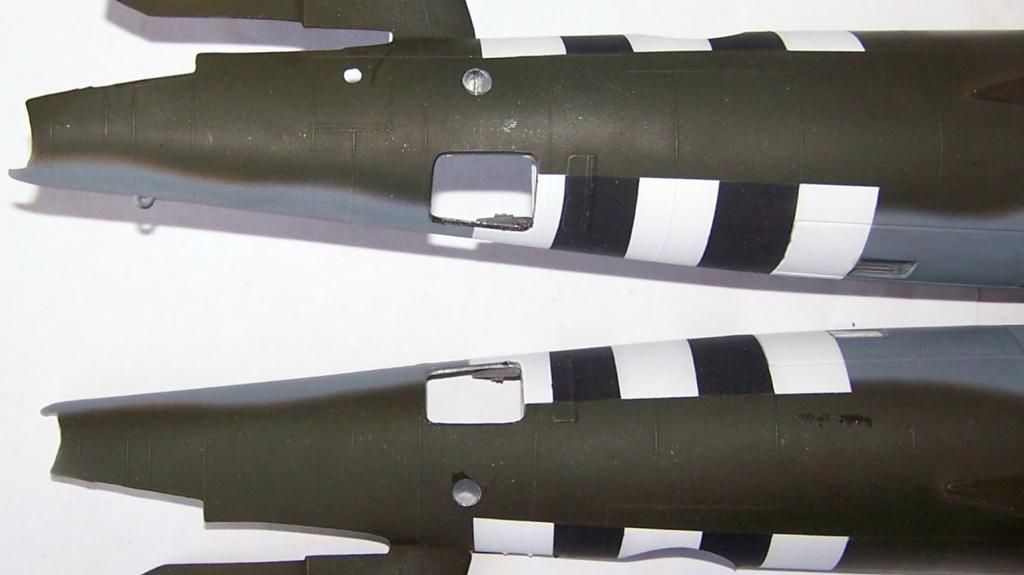
forward side windows in place
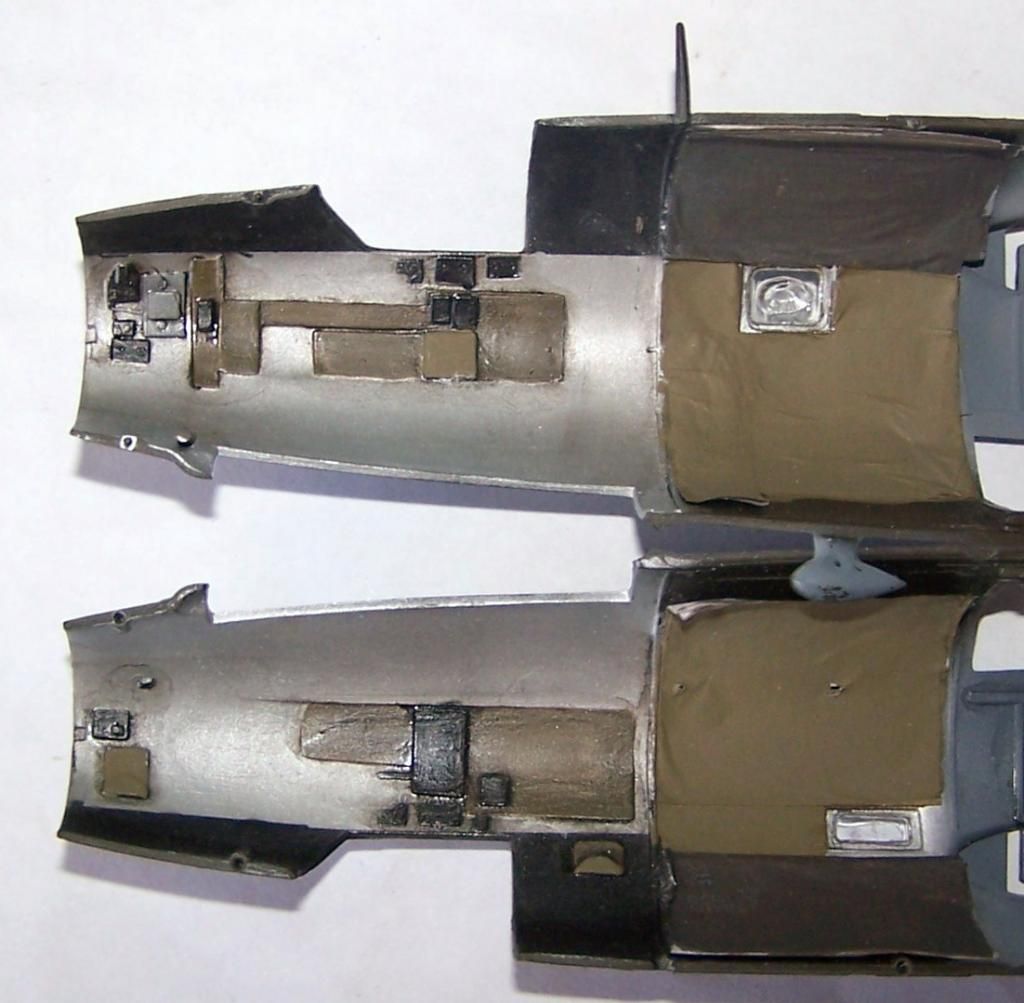
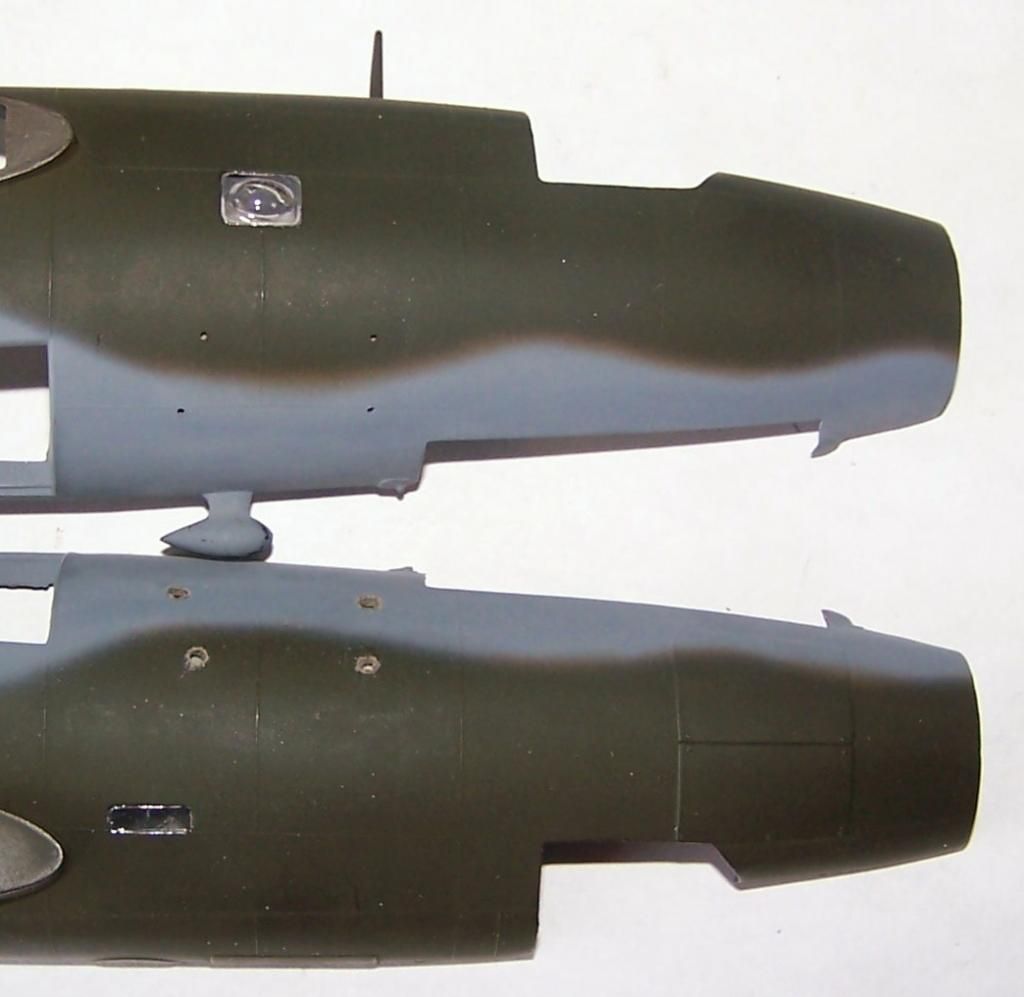
and I got another wild idea to clean out the solid portions that should not be there on the bombracks
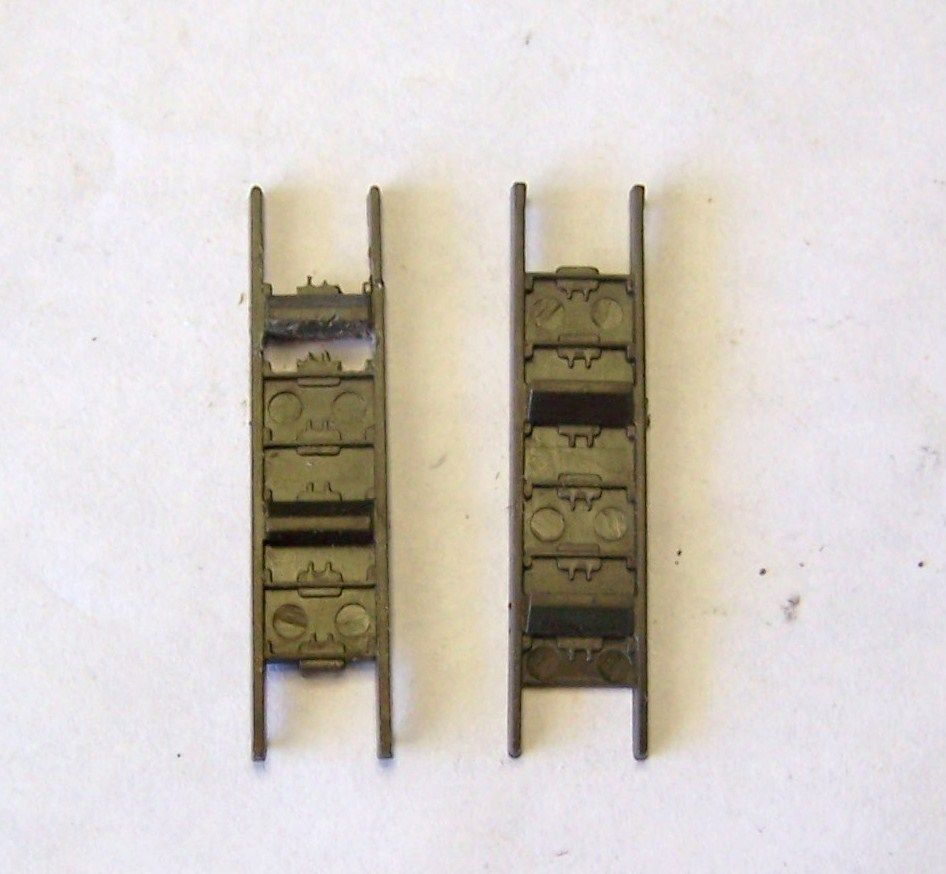
I'm on my days off for the next few days, so more progress to follow...
Here is my latest update as of midday today, 6/18
engines main colors painted
machine guns painted & drybrushed
rear windows, gunners hatches, and waist gun ammo bin glued in place
forward side windows in place
and I got another wild idea to clean out the solid portions that should not be there on the bombracks
I'm on my days off for the next few days, so more progress to follow...
"Surely I have made my meaning plain? I intend to avenge myself upon you, Admiral. I have deprived your ship of power, and when I swing 'round, I intend to deprive you of your life."
FLSM
FLSM
-
Stikpusher
- Moderator
- Posts: 21386
- Joined: Sat Apr 05, 2014 8:37 pm
- Location: Ceti Alpha 5
Re: Monogram 1/48 B-26B WIP- Updated 6/13
Well it was a bosy day for me on and off at the bench... do some work, gluing or painting, let it dry, take photos, take a break, then do some more. So here we go.
first up, the last bit of work that I did yesterday but did not photogrpah because it was time to go to work. A wash of Testors FX acrylic on the engines. This time I did not let it dry before I started cleaning it off, so it worked better. I am slowly getting a handle on this stuff.
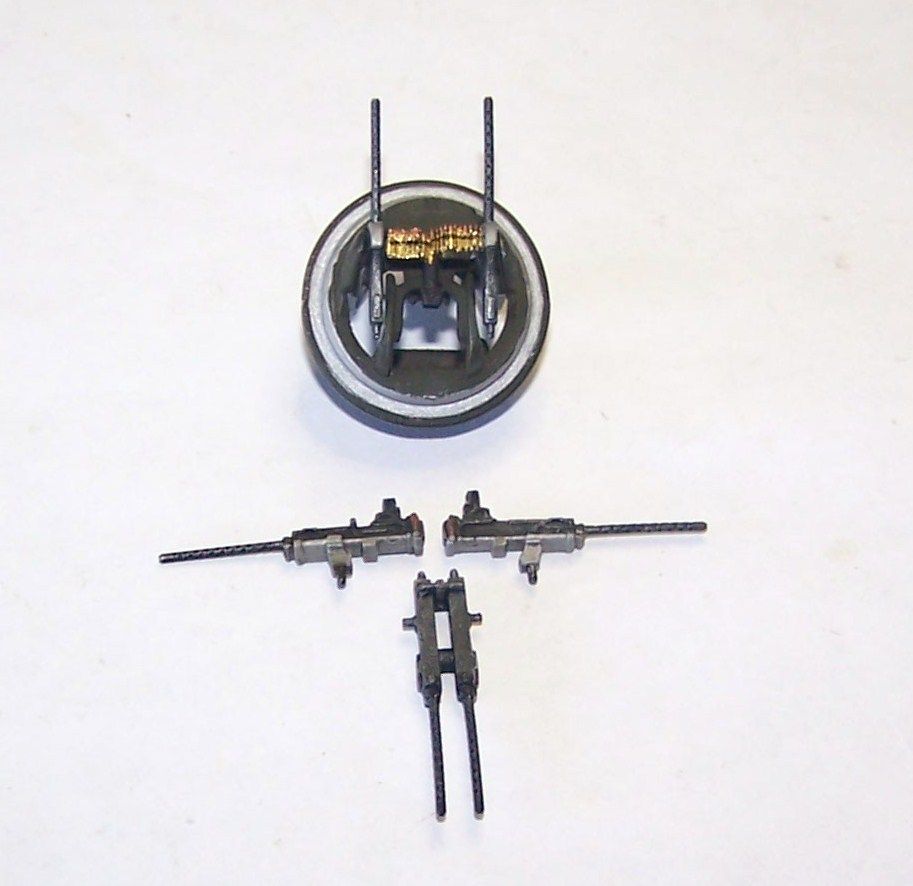
Today I started off with adding the Quick Boost barrels to the tail guns, waist guns, and top turret.
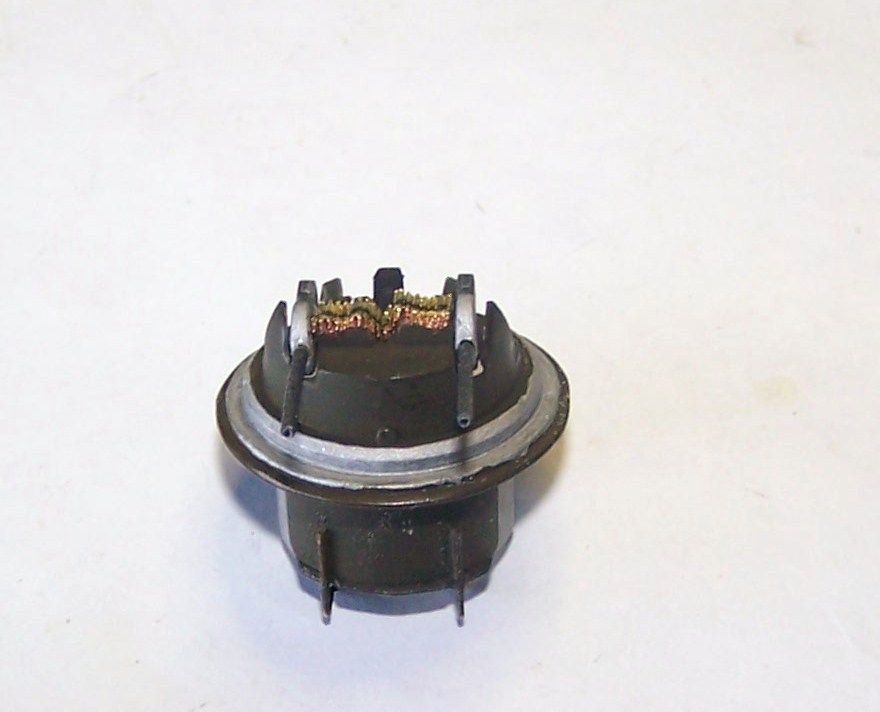
a close up of the top turret
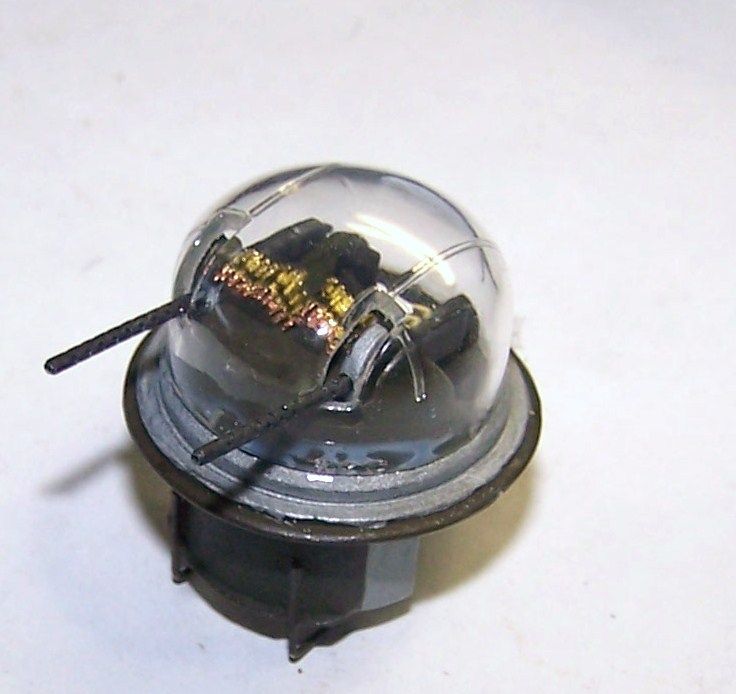
and later I added the clear cover to the turret
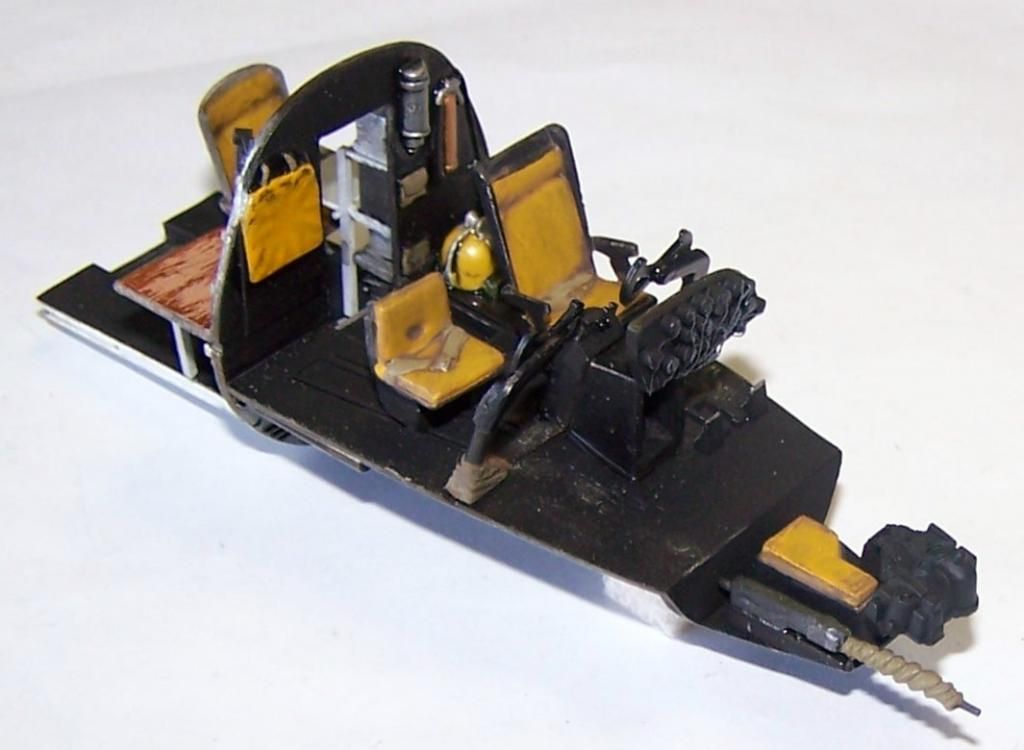
and I glued the fixed nose gun in place onto the bombardiers floorboard
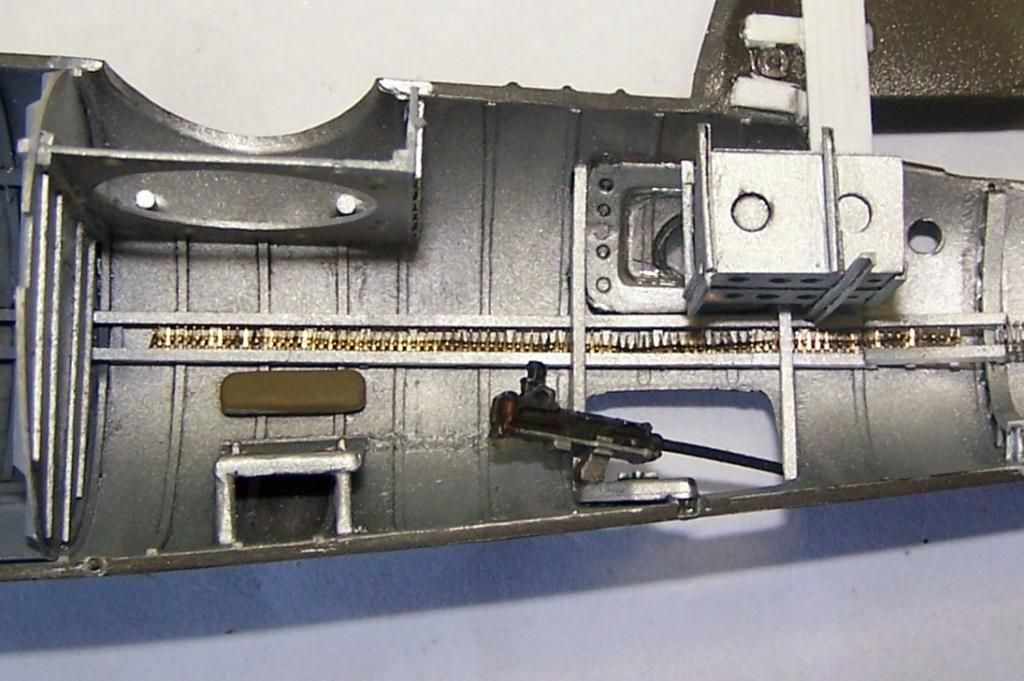
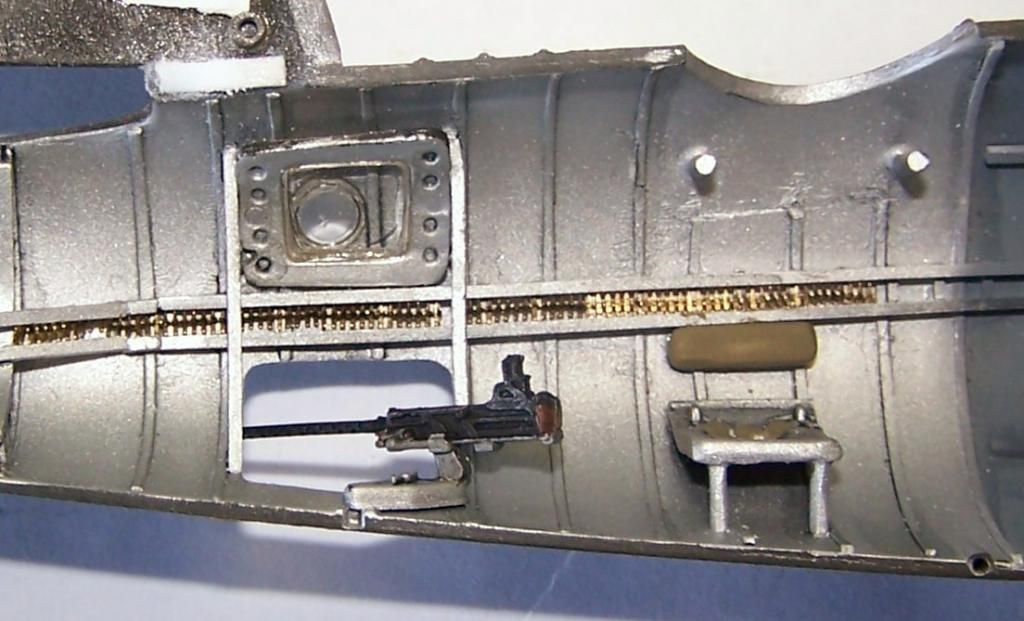
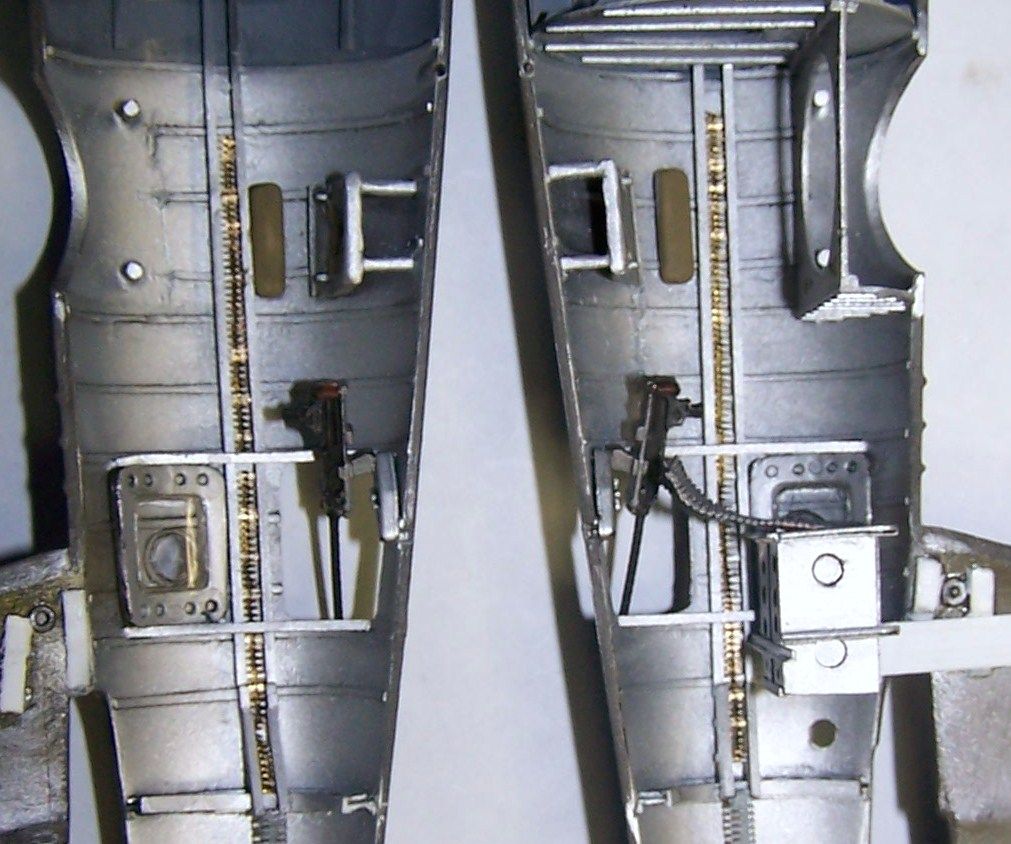
next I added some PE ammo belts into the tail gun ammo troughs and glued the waist guns in place
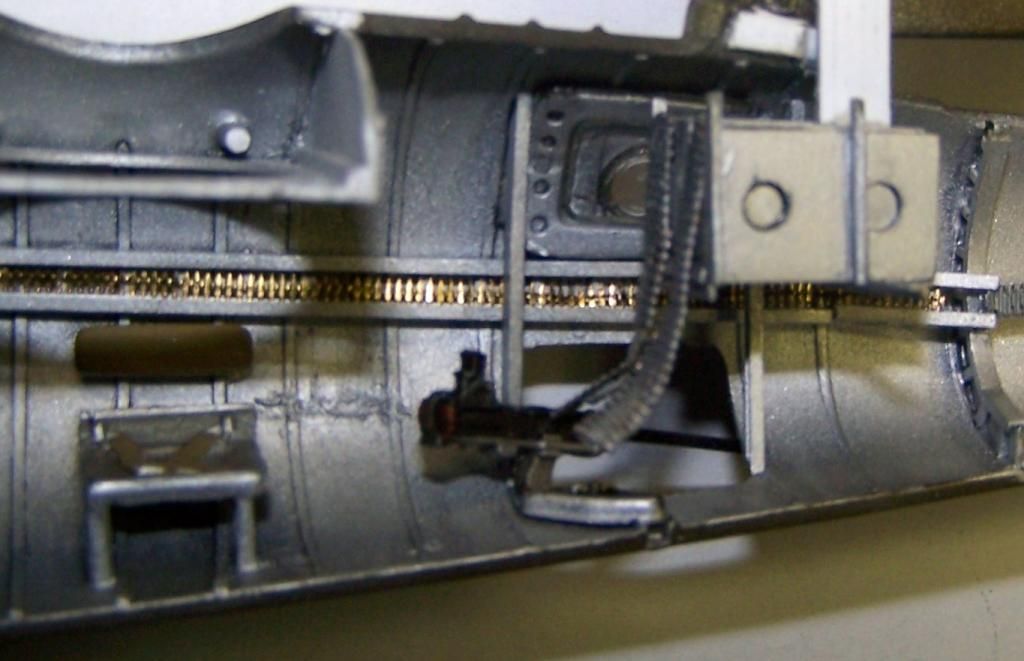
then I added the flex ammo chutes for the waist guns, painted them and bent them into proper shape
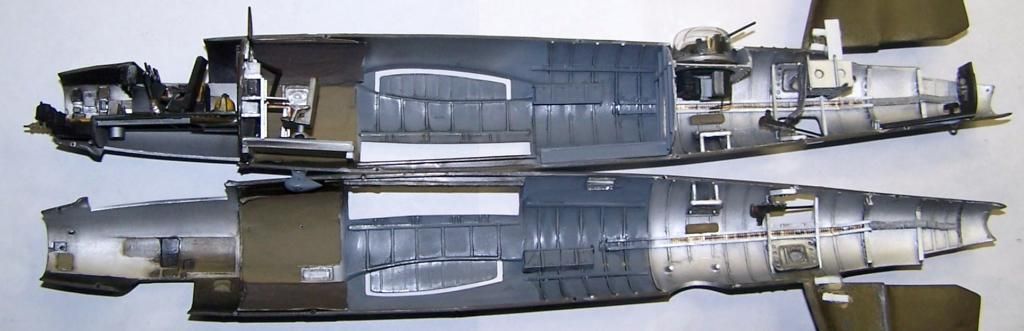
and all ready for closing up
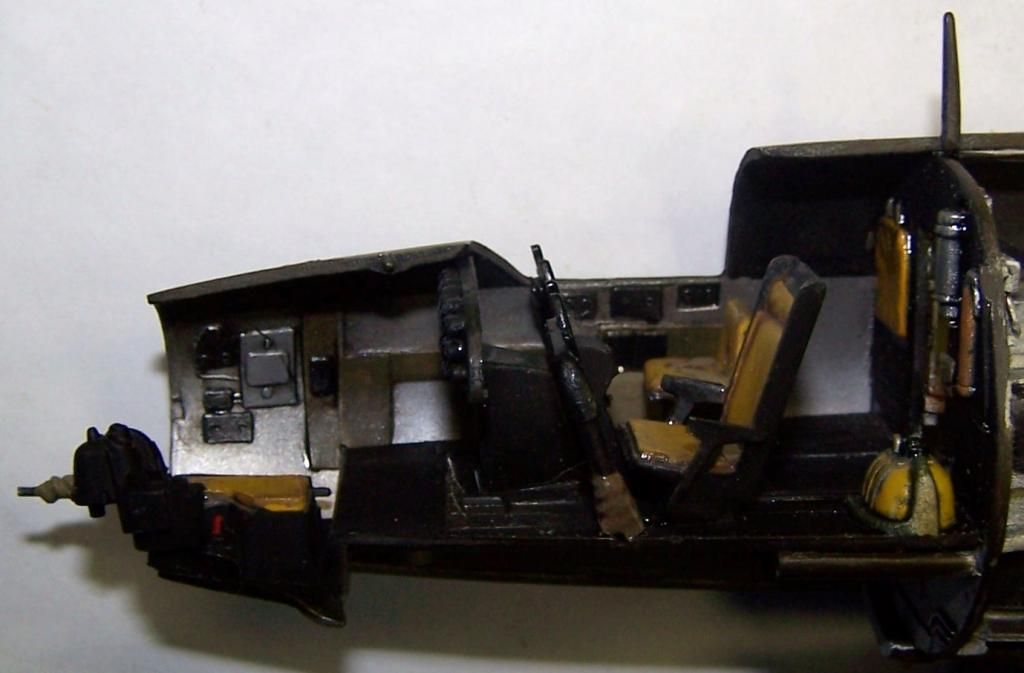
cockpit glued in place
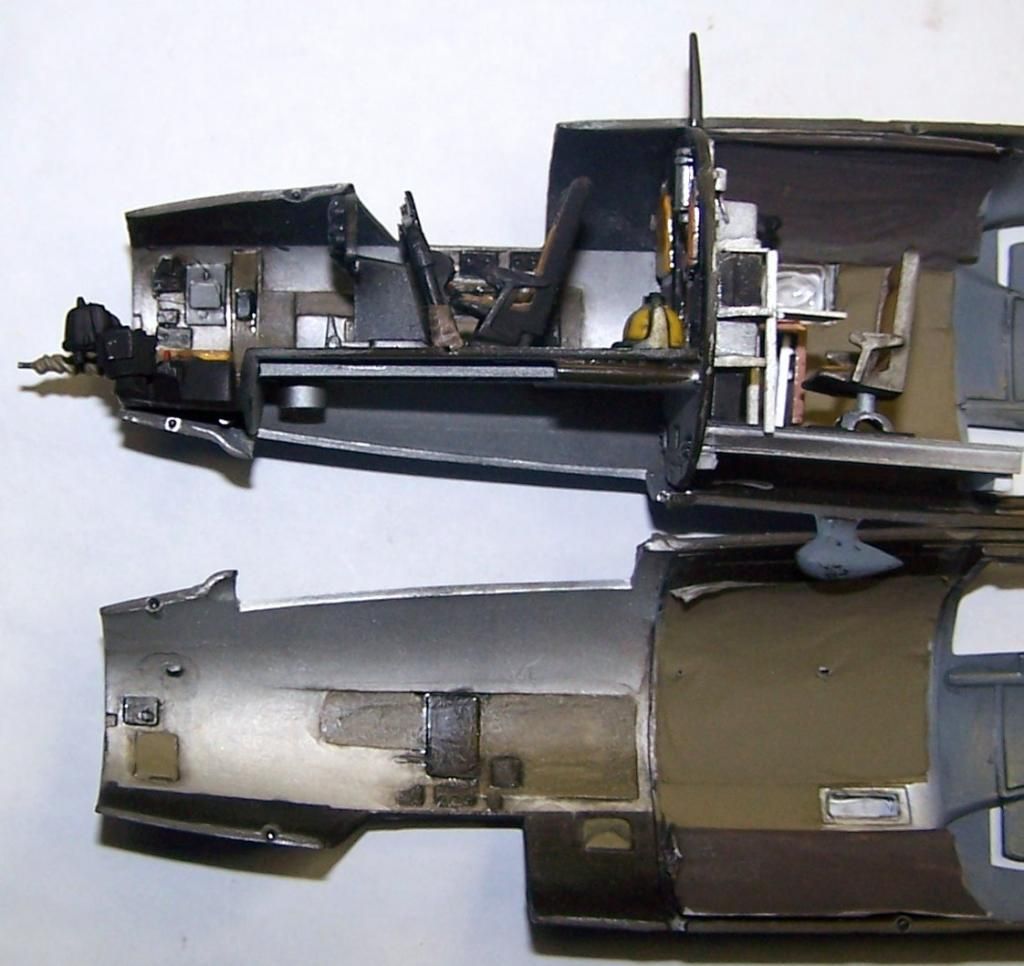
top turret, tail gunners floorboard & seat, and armor plate put in place
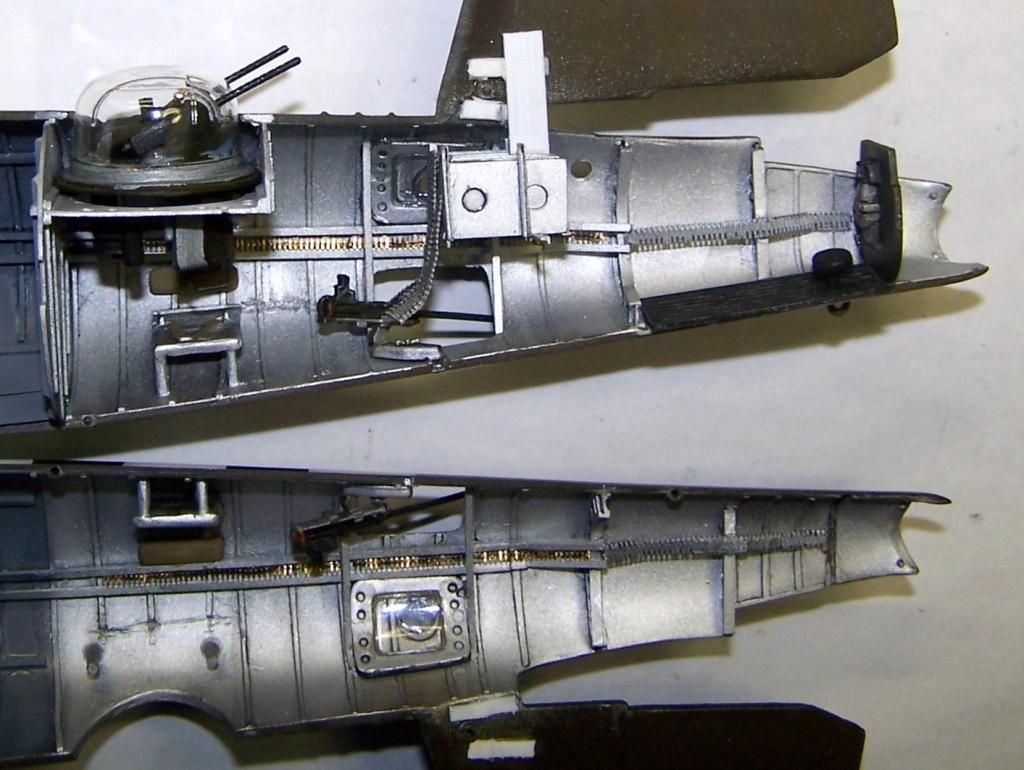
all the fuselage ready for joining
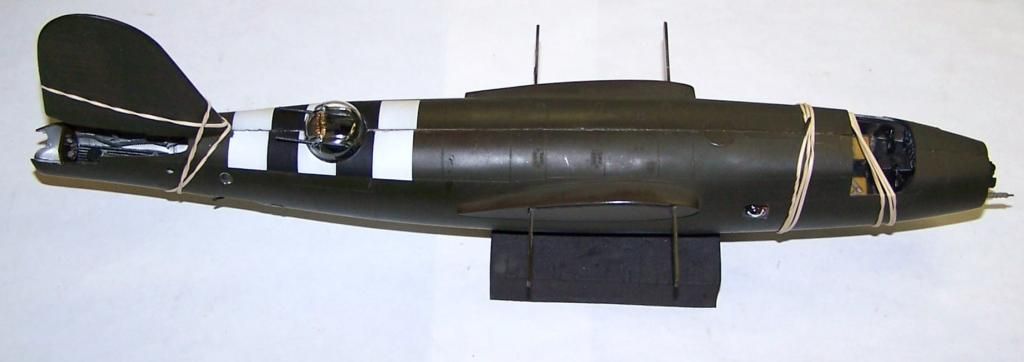
all closed up and glue drying
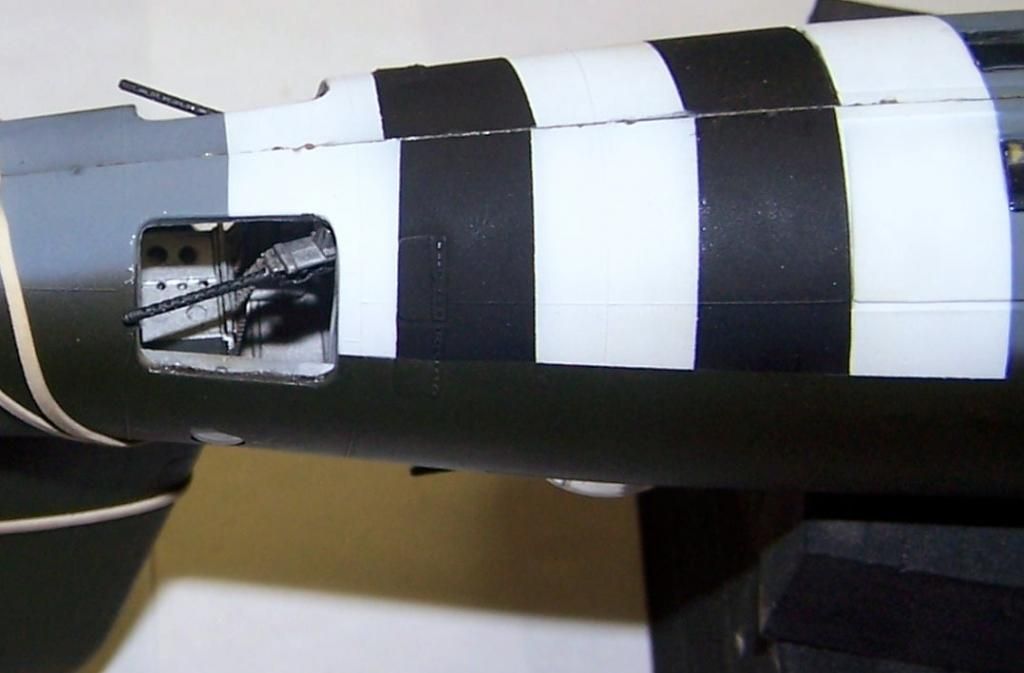
some close up views of the waist guns looking up inside. There is a LOT more visible thru those open hatches than the camera can pick up
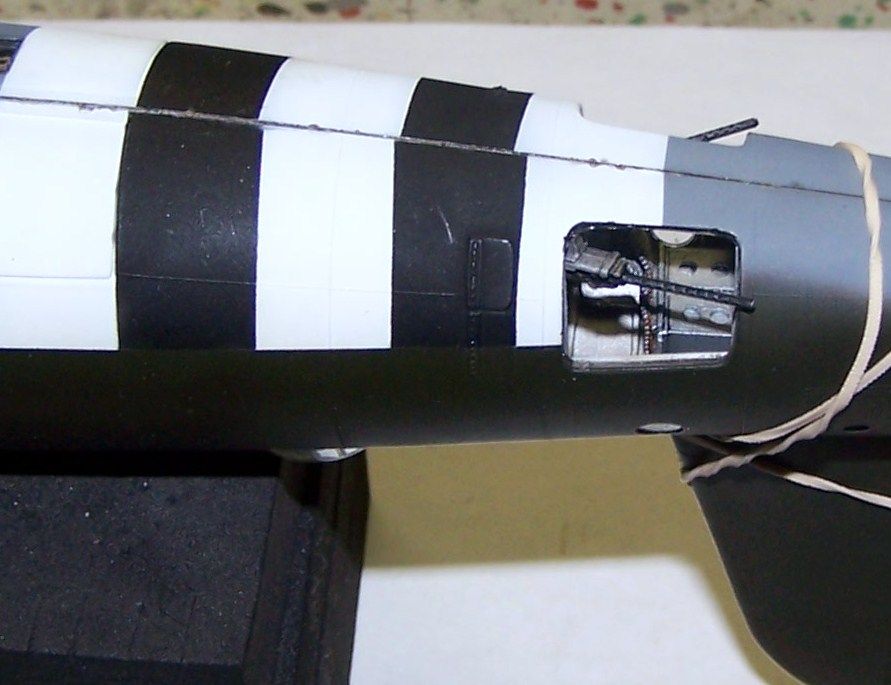
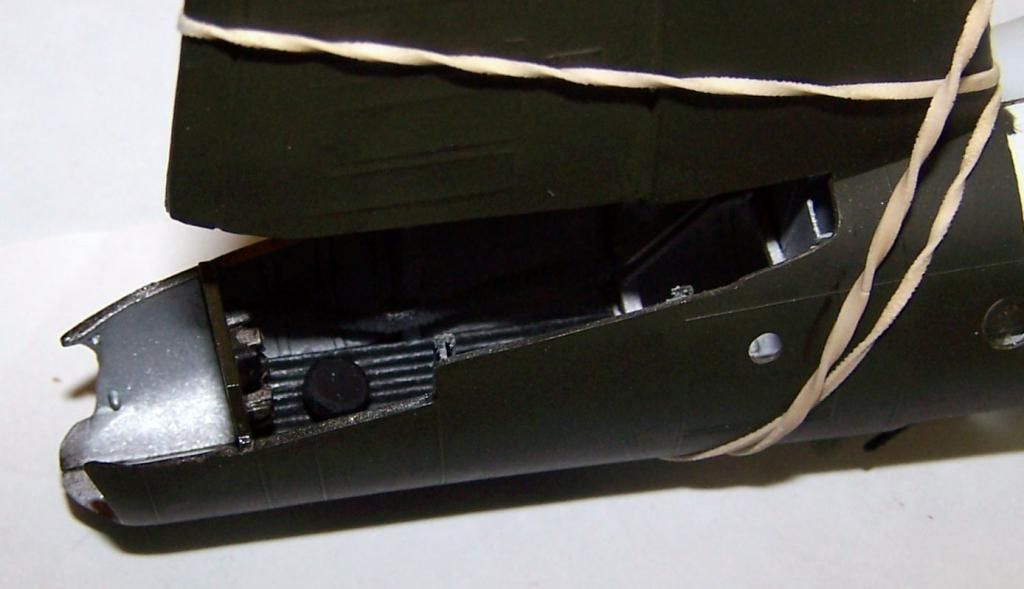
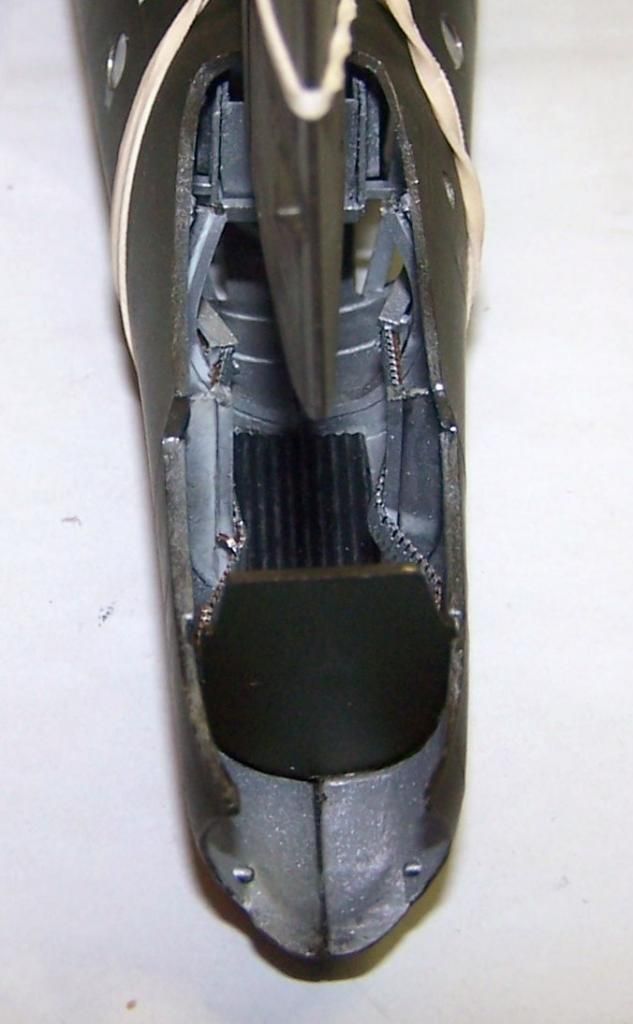
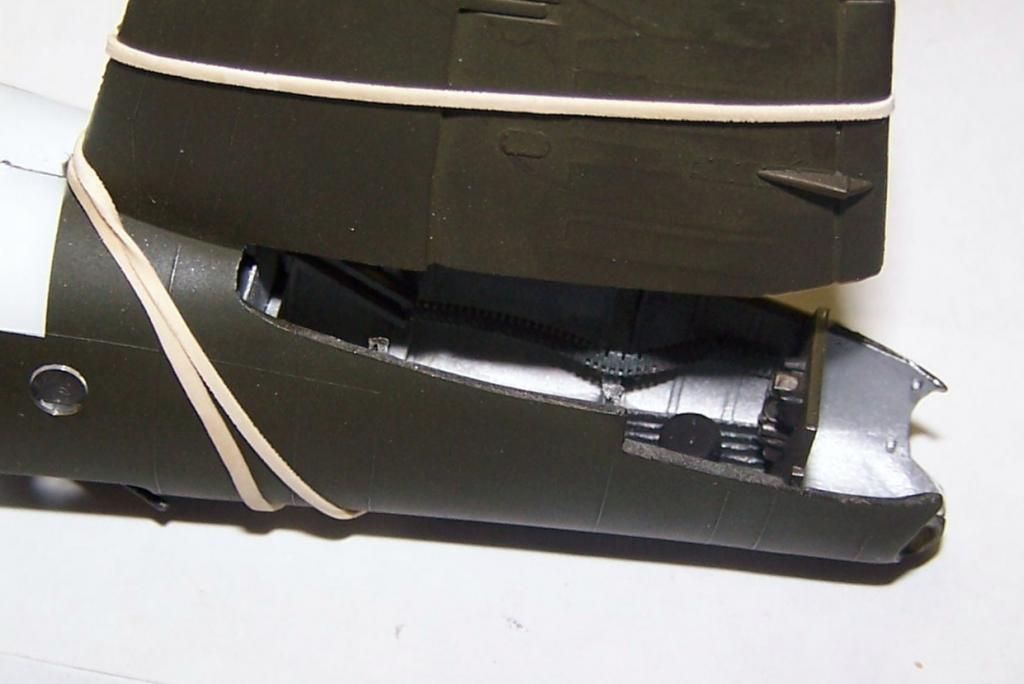
and a few views of the tail gunners compartment... the last best view of it before the other stuff goes in there...
seam clean up starts tomorrow...
first up, the last bit of work that I did yesterday but did not photogrpah because it was time to go to work. A wash of Testors FX acrylic on the engines. This time I did not let it dry before I started cleaning it off, so it worked better. I am slowly getting a handle on this stuff.
Today I started off with adding the Quick Boost barrels to the tail guns, waist guns, and top turret.
a close up of the top turret
and later I added the clear cover to the turret
and I glued the fixed nose gun in place onto the bombardiers floorboard
next I added some PE ammo belts into the tail gun ammo troughs and glued the waist guns in place
then I added the flex ammo chutes for the waist guns, painted them and bent them into proper shape
and all ready for closing up
cockpit glued in place
top turret, tail gunners floorboard & seat, and armor plate put in place
all the fuselage ready for joining
all closed up and glue drying
some close up views of the waist guns looking up inside. There is a LOT more visible thru those open hatches than the camera can pick up
and a few views of the tail gunners compartment... the last best view of it before the other stuff goes in there...
seam clean up starts tomorrow...
"Surely I have made my meaning plain? I intend to avenge myself upon you, Admiral. I have deprived your ship of power, and when I swing 'round, I intend to deprive you of your life."
FLSM
FLSM