HobbyBoss 1/48 MiG-31B Foxhound

Re: HobbyBoss 1/48 MiG-31B Foxhound
Beautiful work and again, great explanations of what you are doing! It's fun AND educational to watch. The use of different tools is very informational. Hey... how did you get the shot when both your hands are in the photo? I also use Radu's Rivet-R Mini and have run into the visibility obstruction thing too, even running it with the nut on the other side. Another solution is to use his regular Rivet-R. Same spacing but larger wheel, which means the nut is further away from the model's surface and less likely to obstruct your view.
John aka JKim
-----------<><

-----------<><
-
dmminiatures

- Master Member
- Posts: 534
- Joined: Mon Apr 07, 2014 10:16 am
Re: HobbyBoss 1/48 MiG-31B Foxhound
JKim - thanks for the info. I didnt know they issue two discs. I think the bigger one would really help on improving visibility.

They way I take images with my hands busy handing the work is by using an phone tripod or phone gorillapod, such as this one. Depending on quality and make, it's about $15-$25. I take work-in-progress photos with my Samsung Note 4 Android and I think the tool is very helpful with telescopic adjustable legs.

They way I take images with my hands busy handing the work is by using an phone tripod or phone gorillapod, such as this one. Depending on quality and make, it's about $15-$25. I take work-in-progress photos with my Samsung Note 4 Android and I think the tool is very helpful with telescopic adjustable legs.
jkim wrote:Beautiful work and again, great explanations of what you are doing! It's fun AND educational to watch. The use of different tools is very informational. Hey... how did you get the shot when both your hands are in the photo? I also use Radu's Rivet-R Mini and have run into the visibility obstruction thing too, even running it with the nut on the other side. Another solution is to use his regular Rivet-R. Same spacing but larger wheel, which means the nut is further away from the model's surface and less likely to obstruct your view.
Monty / dmminiatures
-
Duke Maddog

- Elite Member
- Posts: 7700
- Joined: Tue Jun 03, 2014 11:22 am
- Location: Rowland Heights, CA
Re: HobbyBoss 1/48 MiG-31B Foxhound
These last few posts have been most informative and thrilling to watch. I'm taking copious notes.
The Duke
Virtuoso of Miniatures
"Do you know what the chain of command is? It's the chain I get and beat you with 'till you understand who's in ruttin' command!"
-Jayne Cobb, Firefly Episode 2 "The Train Job"
We are modelers - the same in spirit, in hunger to insanely buy newly released kits, hustlers in hiding our stash from our better halves and experts in using garbage as replacements for after-market parts.
Virtuoso of Miniatures
"Do you know what the chain of command is? It's the chain I get and beat you with 'till you understand who's in ruttin' command!"
-Jayne Cobb, Firefly Episode 2 "The Train Job"
We are modelers - the same in spirit, in hunger to insanely buy newly released kits, hustlers in hiding our stash from our better halves and experts in using garbage as replacements for after-market parts.
-
dmminiatures
- Master Member
- Posts: 534
- Joined: Mon Apr 07, 2014 10:16 am
Re: HobbyBoss 1/48 MiG-31B Foxhound
I am learning new stuff too, Duke. The feeling is mutual! 
Duke Maddog wrote:These last few posts have been most informative and thrilling to watch. I'm taking copious notes.
Monty / dmminiatures
-
dmminiatures
- Master Member
- Posts: 534
- Joined: Mon Apr 07, 2014 10:16 am
Re: HobbyBoss 1/48 MiG-31B Foxhound
Quasi White Metal Landing Gear
After I constructed the aircraft, I now began to understand why they provided the kit with a white metal lading gear. The kit is long and large, and the landing gear are long and slim, particularly the main landing gear. I see that this is probably a bit similar to the F-105 Thunderchief.

Hobby Boss prepared the landing gear as "strengthened plastic struts" where each struts has a white metal core. what you see here are parts of the metal gear that includes a long rod. Later, the rod will be encased in two-part styrene tubes, which is basically the exterior of the gear struts.

The molding is poor with every parts included excessive casting. One of the rods was slightly bent and that prompt me to check the g of others as well. Despite every effort, it was clear to me that all parts must be cleaned. I used mini metal files from a cheap generic $5 pack. They are not great but they did their job well. I would like to know whether a branded high-quality file would make a difference?

The space between the rod and the two-part gear strut is very tight. There was hardly any room for excess in the metal parts. I had to do a lot of dry-fitting and re-filing to ensure a good and firm fit. This photo shows how the two-part gear strut encapsulated the white metal rod. I used CA glue to secure the multi-media parts.

Even after the plastic and metal parts were glued together there were some filing and definitely more sanding to do, not to mention putty work. At the end I spent an immense effort just to make the landing gear looks "okay" . Functioning to the extend that I can use them but not even close to great.

A show of the main landing gear parts and tire rims after basic painting. I painted the landing gear XF-19 Sky Grey and the tire rims XF-5 Flat Green. I did not show all the parts here. Some of which I would work on them at the last minute before the landing gear are permanently installed on the aircraft.
After I constructed the aircraft, I now began to understand why they provided the kit with a white metal lading gear. The kit is long and large, and the landing gear are long and slim, particularly the main landing gear. I see that this is probably a bit similar to the F-105 Thunderchief.
Hobby Boss prepared the landing gear as "strengthened plastic struts" where each struts has a white metal core. what you see here are parts of the metal gear that includes a long rod. Later, the rod will be encased in two-part styrene tubes, which is basically the exterior of the gear struts.
The molding is poor with every parts included excessive casting. One of the rods was slightly bent and that prompt me to check the g of others as well. Despite every effort, it was clear to me that all parts must be cleaned. I used mini metal files from a cheap generic $5 pack. They are not great but they did their job well. I would like to know whether a branded high-quality file would make a difference?
The space between the rod and the two-part gear strut is very tight. There was hardly any room for excess in the metal parts. I had to do a lot of dry-fitting and re-filing to ensure a good and firm fit. This photo shows how the two-part gear strut encapsulated the white metal rod. I used CA glue to secure the multi-media parts.
Even after the plastic and metal parts were glued together there were some filing and definitely more sanding to do, not to mention putty work. At the end I spent an immense effort just to make the landing gear looks "okay" . Functioning to the extend that I can use them but not even close to great.
A show of the main landing gear parts and tire rims after basic painting. I painted the landing gear XF-19 Sky Grey and the tire rims XF-5 Flat Green. I did not show all the parts here. Some of which I would work on them at the last minute before the landing gear are permanently installed on the aircraft.
Monty / dmminiatures
Re: HobbyBoss 1/48 MiG-31B Foxhound
The landing gear looks great from my perspective. Very interesting mix of plastic and metal... have not seen that before. I don't know if this would've helped but I recently picked up a set of diamond bits for my Dremel. Very cheap (less than $8 shipped US) and they come in different abrasive grades.

In the past, I've used a stone bit in my Dremel to grind off brake lines from a set of G-Factor metal landing gear legs but I was limited by the size of the stone. I think the diamond bits would've worked better.
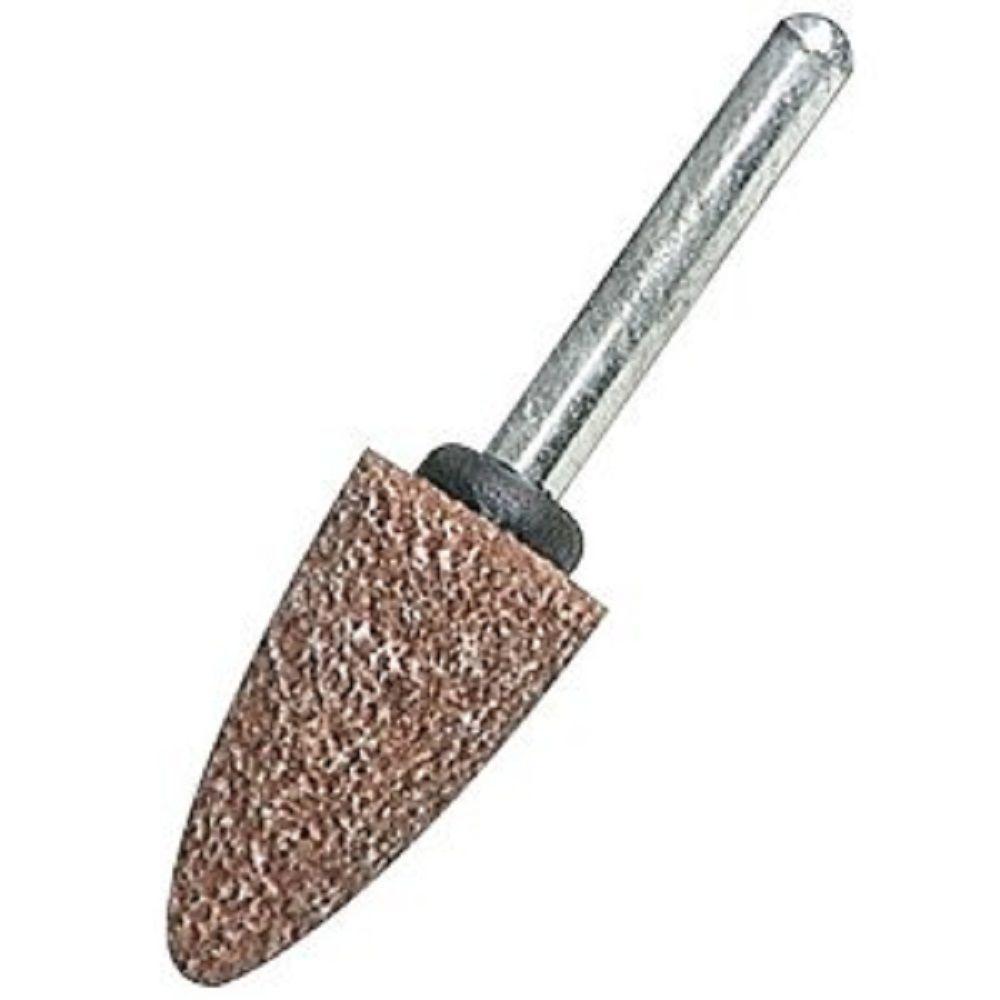
In the past, I've used a stone bit in my Dremel to grind off brake lines from a set of G-Factor metal landing gear legs but I was limited by the size of the stone. I think the diamond bits would've worked better.
John aka JKim
-----------<><
-----------<><
-
speedgraflex

- Moderator
- Posts: 11535
- Joined: Fri Feb 10, 2017 11:08 pm
- Contact:
Re: HobbyBoss 1/48 MiG-31B Foxhound
Hello, DM, I subscribed, finally, but I have been reading... waaay back on pages 1 and 2 when you were assessing the pitfalls, traps and snares of the build, I thought your comments on HB’s design intentions were spot on! I know you are tackling each of these flaws with mind over matter techniques—really, your seam work is amazing—but I was wondering if you found design issues coming from across the board with all manufacturers or is as I suspect centralized amongst a few? I wonder if fit is secondary to finish for all or just some or if fit and finish vary wildly from kit to kit. Also the quality of plastic surface, the “original” finish seems to vary wildly. I mean some manufacturers seem to want to create a pebbly texture. I have very few kits but the ones I have from long gone Trimaster are quite good and feature a hard smooth finish. I have a Trumpeter kit that too appears to fit well with a smooth finish. To sum up this loose-jointed paragraph, any thoughts on better makers of kits in terms of fit and finish, and to tether loosely to your current build, what are the curing times on these seam fillings? Your work is so good. Cheers.
Make more models!

Re: HobbyBoss 1/48 MiG-31B Foxhound
I really enjoy your work! Nothing is glossed over, even the challenges. More please.
To make each build less crappy than the last one. Or, put another way, "Better than the last one, not as good as the next one!"..
-
dmminiatures
- Master Member
- Posts: 534
- Joined: Mon Apr 07, 2014 10:16 am
Re: HobbyBoss 1/48 MiG-31B Foxhound
John - Thanks for reminding me. I almost forget to put the Dremel in my bucket list of things!
jkim wrote:The landing gear looks great from my perspective. Very interesting mix of plastic and metal... have not seen that before. I don't know if this would've helped but I recently picked up a set of diamond bits for my Dremel. Very cheap (less than $8 shipped US) and they come in different abrasive grades.
In the past, I've used a stone bit in my Dremel to grind off brake lines from a set of G-Factor metal landing gear legs but I was limited by the size of the stone. I think the diamond bits would've worked better.
Monty / dmminiatures
-
dmminiatures
- Master Member
- Posts: 534
- Joined: Mon Apr 07, 2014 10:16 am
Re: HobbyBoss 1/48 MiG-31B Foxhound
Hi Bruce - All great questions. Let me try to answer those as far as my knowledge on the matter.
1. If I found design issues coming from across the board with all manufacturers or is as I suspect centralized amongst a few?
Using today's time frame and limiting the scope to injection-molded plastic kit manufacturers, I think design issues is a problem that cuts across almost all kit manufacturers. Except a few handful of them, notably Tamiya, and maybe AMK and SWS are both included in the exception, but I have no experience with their kits.
I think what intrigue me the most is more of the 'why' question. Why if the issue has been around for such a long time, not all companies treat design issues the same. The design issue has been festering the model community for a long time. But companies has different approaches to this issue. A lot of factors play a role such as vision, top management, funding, raw materials, and workers' skills. We have the old guards like Tamiya, Revell-Monogram, Italeri, Hasegawa, Airfix, and Heller to name a few. But from the lot, I think Tamiya is the only one that actively thrives to try to improve customers experience, making recent releases (i.e. 1/35 Archer, 1/48 F-14A Tomcat, 1/32 Corsair) being one of the most painless and enjoyable kit products ever made.
2. About better makers of kits in terms of fit and finish:
I think since there are so many components that comes into a single kit, "better" would be very subjective. There are aspects like the quality of the mold, the fit, exterior and interior details, multimedia options, quality of decals. Off the bat, I would say Tamiya in general, particularly for their recent kits. But some other manufacturers should be commended on their effort in making better kits. With my limited experience like Eduard, Meng, and Takom. But again as I have no experience on their kits, I haven't mentioned SWS, AMK, Rye Field Models, Wingnut Wings, and Tristar just to name a few of the manufacturers that I assumed are a better maker.
3. The curing times on these seam fillings:
The Tamiya regular white putty takes a few minutes to cure. Tamiya Epoxy putty takes a good 24 hours to cure depending on the size and volume. Mr. Dissolved Putty takes at least 12 hours to cure but can be longer depending on volume
1. If I found design issues coming from across the board with all manufacturers or is as I suspect centralized amongst a few?
Using today's time frame and limiting the scope to injection-molded plastic kit manufacturers, I think design issues is a problem that cuts across almost all kit manufacturers. Except a few handful of them, notably Tamiya, and maybe AMK and SWS are both included in the exception, but I have no experience with their kits.
I think what intrigue me the most is more of the 'why' question. Why if the issue has been around for such a long time, not all companies treat design issues the same. The design issue has been festering the model community for a long time. But companies has different approaches to this issue. A lot of factors play a role such as vision, top management, funding, raw materials, and workers' skills. We have the old guards like Tamiya, Revell-Monogram, Italeri, Hasegawa, Airfix, and Heller to name a few. But from the lot, I think Tamiya is the only one that actively thrives to try to improve customers experience, making recent releases (i.e. 1/35 Archer, 1/48 F-14A Tomcat, 1/32 Corsair) being one of the most painless and enjoyable kit products ever made.
2. About better makers of kits in terms of fit and finish:
I think since there are so many components that comes into a single kit, "better" would be very subjective. There are aspects like the quality of the mold, the fit, exterior and interior details, multimedia options, quality of decals. Off the bat, I would say Tamiya in general, particularly for their recent kits. But some other manufacturers should be commended on their effort in making better kits. With my limited experience like Eduard, Meng, and Takom. But again as I have no experience on their kits, I haven't mentioned SWS, AMK, Rye Field Models, Wingnut Wings, and Tristar just to name a few of the manufacturers that I assumed are a better maker.
3. The curing times on these seam fillings:
The Tamiya regular white putty takes a few minutes to cure. Tamiya Epoxy putty takes a good 24 hours to cure depending on the size and volume. Mr. Dissolved Putty takes at least 12 hours to cure but can be longer depending on volume
speedgraflex wrote:Hello, DM, I subscribed, finally, but I have been reading... waaay back on pages 1 and 2 when you were assessing the pitfalls, traps and snares of the build, I thought your comments on HB’s design intentions were spot on! I know you are tackling each of these flaws with mind over matter techniques—really, your seam work is amazing—but I was wondering if you found design issues coming from across the board with all manufacturers or is as I suspect centralized amongst a few? I wonder if fit is secondary to finish for all or just some or if fit and finish vary wildly from kit to kit. Also the quality of plastic surface, the “original” finish seems to vary wildly. I mean some manufacturers seem to want to create a pebbly texture. I have very few kits but the ones I have from long gone Trimaster are quite good and feature a hard smooth finish. I have a Trumpeter kit that too appears to fit well with a smooth finish. To sum up this loose-jointed paragraph, any thoughts on better makers of kits in terms of fit and finish, and to tether loosely to your current build, what are the curing times on these seam fillings? Your work is so good. Cheers.
Monty / dmminiatures