1/32 Hasegawa Fw190D-9 Black One
-
speedgraflex

- Moderator
- Posts: 11535
- Joined: Fri Feb 10, 2017 11:08 pm
- Contact:
Re: 1/32 Hasegawa Fw190D-9 Black One
Good news, I will be there on Thursday to see what the latest report is. All the best, John.
Make more models!

Re: 1/32 Hasegawa Fw190D-9 Black One
I'm trying to line everything up so that I hit the ground running as soon as I receive the Silhouette Portrait. A roll of Oramask 810 masking material will be delivered tonight. I have a spare laptop that I'll operate the software from. And I've imported the decal sheet into AutoCAD, traced the wave markings and saved it as a DXF file. The Silhouette software can read DXF files, supposedly.

John aka JKim
-----------<><

-----------<><
-
speedgraflex
- Moderator
- Posts: 11535
- Joined: Fri Feb 10, 2017 11:08 pm
- Contact:
Re: 1/32 Hasegawa Fw190D-9 Black One
Those samples are so tasty, John! Looks great!!!!!’
Make more models!
-
mustang1989

- Moderator
- Posts: 5044
- Joined: Tue Mar 18, 2014 8:35 pm
Re: 1/32 Hasegawa Fw190D-9 Black One
Right up there with some of the very best work I've seen in modeling pal.
-
speedgraflex
- Moderator
- Posts: 11535
- Joined: Fri Feb 10, 2017 11:08 pm
- Contact:
Re: 1/32 Hasegawa Fw190D-9 Black One
mustang1989 wrote:Right up there with some of the very best work I've seen in modeling pal.

Make more models!
Re: 1/32 Hasegawa Fw190D-9 Black One
Wow... thank you Mustang! And you too Bruce! I appreciate the compliment but I hope that Black 1 is not my best work. I feel like I still have a LONG way to go on my modeling journey. So many things I don't know or I'm not good at but I'm enjoying the journey very much.
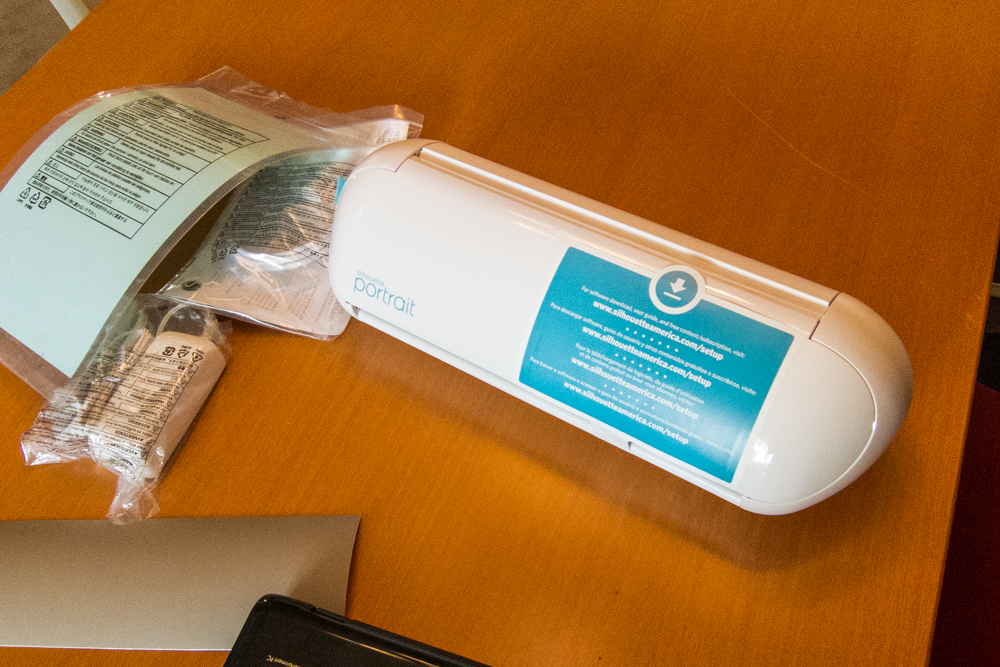
I finally received an eagerly awaited package from UPS today! The Silhouette Portrait cutting machine is here.
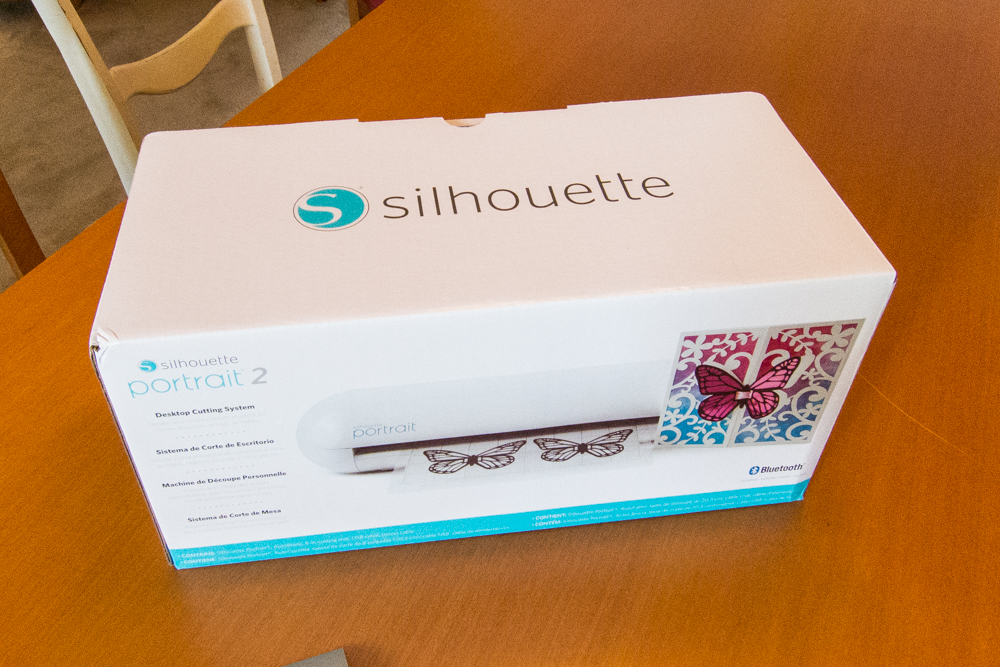
I've been reading up on the Portrait prior to its arrival so that I could jump right into making custom painting masks.
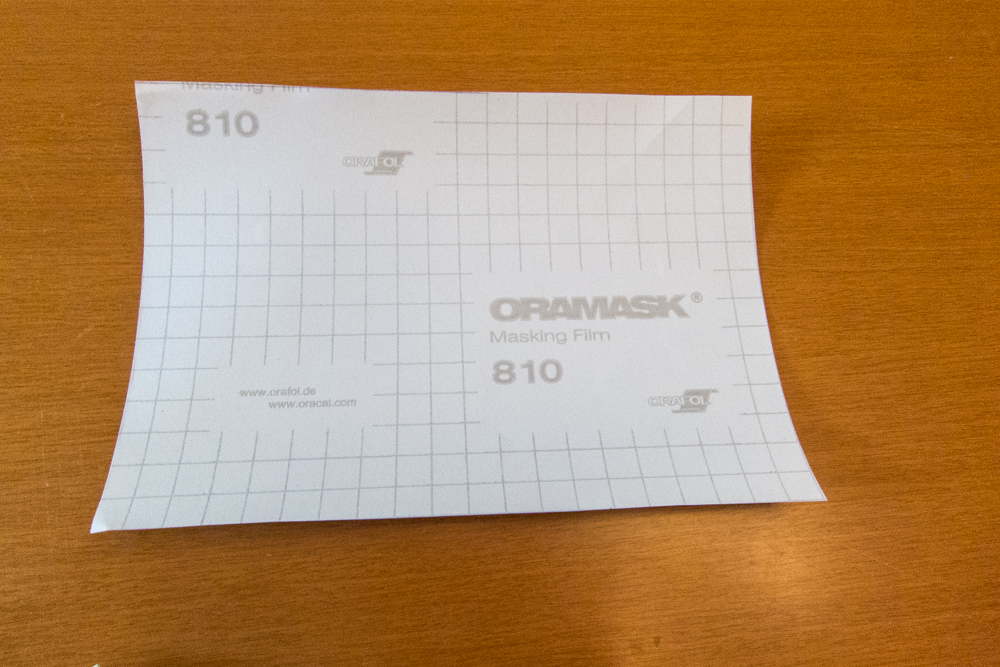
A small roll of Oramask 810 vinyl masking material was procured ahead of time. It seemed to be the most frequently recommended masking material by modelers. If I didn't know any better, I would say that it is the same material that Montex uses for its masks.
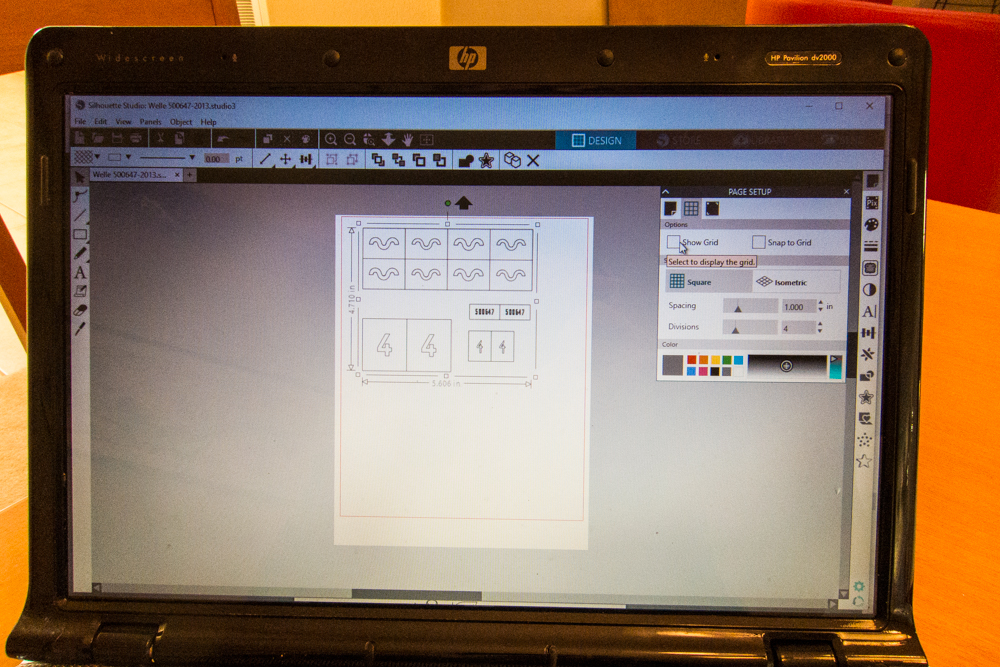
Using a scan of a decal sheet which I imported into AutoCAD, I created a vector drawing file of the wave markings, both outer and inner. I also created a couple of other masks just as a test. Sometime in the future, I am going to do a Fw190D-9 with a Ta 152 tail. I have the kit and the Eagle Editions decal sheet for Brown 4, which is one of the documented "big tail Doras". Jerry Crandall's decal sheet asserts that the "4" is curved based on a photo but I've always thought that it was the curvature of the fuselage that was causing the curve in the number. So I scanned the decal sheet, created a straight version of the "4" as well as the small "4" found on the landing gear dooor and the Werknumber. The bundled software on the Portrait, which I preloaded onto a laptop, can directly read DXF files.
The Portrait can handle a wide variety of materials and I think you can feed the Oramask media, since it has a backing, straight into the machine but I was more confident with using the supplied adhesive mat.
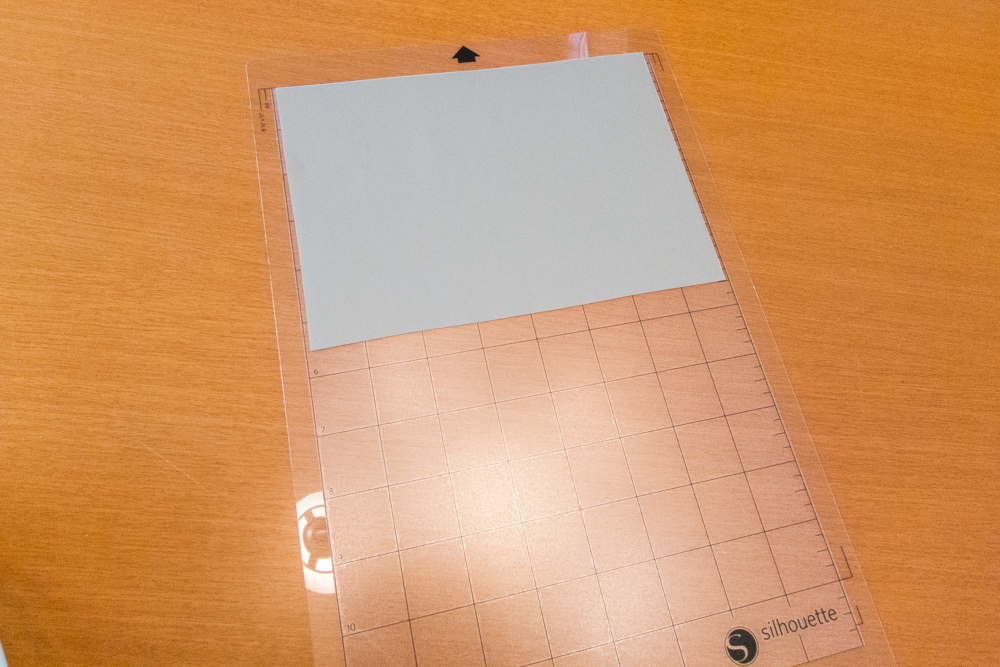
With the mat loaded, the Portrait is ready to cut. I used the following blade settings: Blade: 1, Speed: 5, Thickness: 10 and saved the values as a custom setting.
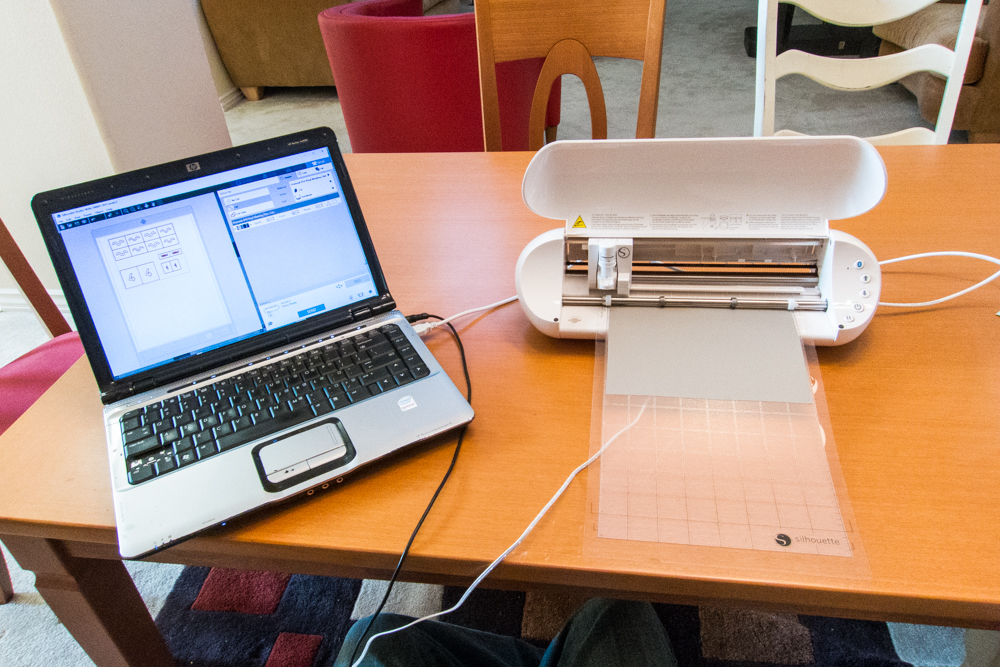
I pressed SEND on the software interface and the Portrait began to do its thing. Very similar to an inkjet printer but instead of spraying ink, the blade is cutting. After a few minutes, the activity stopped and the mat is ready to be unloaded. Wow... the cut is so fine that I can't even see it! I ejected the media and took a closer look... hey, it didn't cut anything even though I was watching the cutter move.
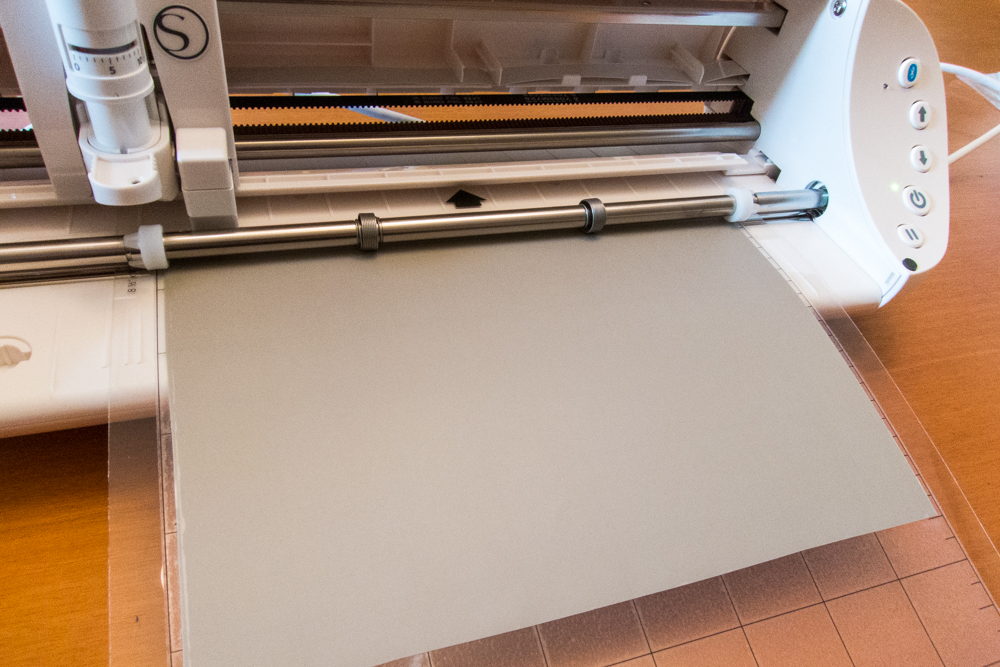
I soon recognized that I had not seated the blade cartridge fully! Rectified the problem and pressed SEND again. This time I DO see the cuts!
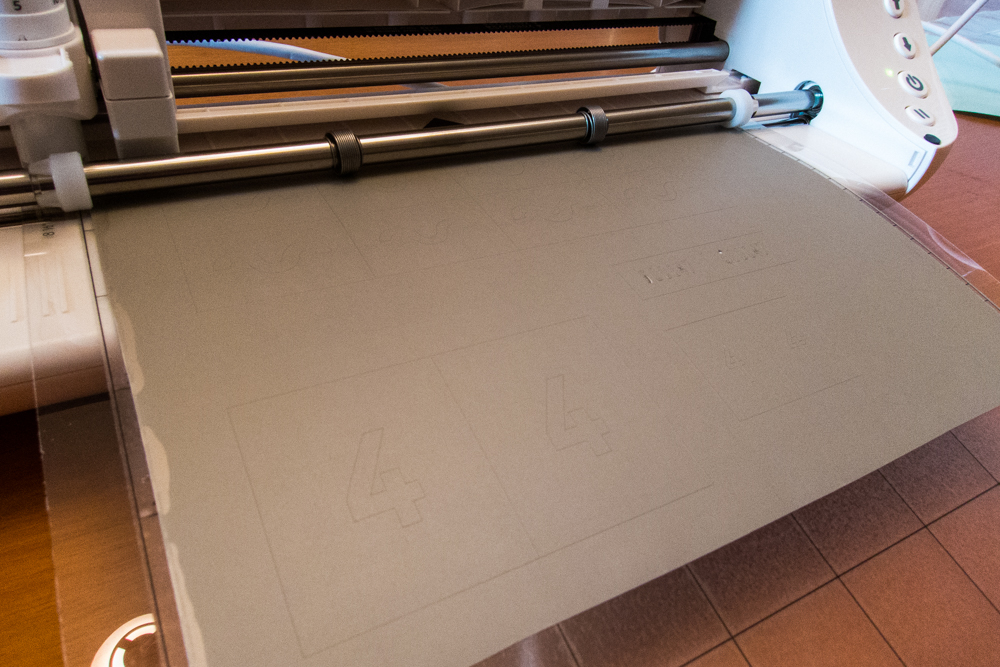
I pulled the Oramask off of the sticky mat and took the masks to my modeling table to have a closer look. The cutter is so precise that the backing material was not cut.
I finally received an eagerly awaited package from UPS today! The Silhouette Portrait cutting machine is here.
I've been reading up on the Portrait prior to its arrival so that I could jump right into making custom painting masks.
A small roll of Oramask 810 vinyl masking material was procured ahead of time. It seemed to be the most frequently recommended masking material by modelers. If I didn't know any better, I would say that it is the same material that Montex uses for its masks.
Using a scan of a decal sheet which I imported into AutoCAD, I created a vector drawing file of the wave markings, both outer and inner. I also created a couple of other masks just as a test. Sometime in the future, I am going to do a Fw190D-9 with a Ta 152 tail. I have the kit and the Eagle Editions decal sheet for Brown 4, which is one of the documented "big tail Doras". Jerry Crandall's decal sheet asserts that the "4" is curved based on a photo but I've always thought that it was the curvature of the fuselage that was causing the curve in the number. So I scanned the decal sheet, created a straight version of the "4" as well as the small "4" found on the landing gear dooor and the Werknumber. The bundled software on the Portrait, which I preloaded onto a laptop, can directly read DXF files.
The Portrait can handle a wide variety of materials and I think you can feed the Oramask media, since it has a backing, straight into the machine but I was more confident with using the supplied adhesive mat.
With the mat loaded, the Portrait is ready to cut. I used the following blade settings: Blade: 1, Speed: 5, Thickness: 10 and saved the values as a custom setting.
I pressed SEND on the software interface and the Portrait began to do its thing. Very similar to an inkjet printer but instead of spraying ink, the blade is cutting. After a few minutes, the activity stopped and the mat is ready to be unloaded. Wow... the cut is so fine that I can't even see it! I ejected the media and took a closer look... hey, it didn't cut anything even though I was watching the cutter move.
I soon recognized that I had not seated the blade cartridge fully! Rectified the problem and pressed SEND again. This time I DO see the cuts!
I pulled the Oramask off of the sticky mat and took the masks to my modeling table to have a closer look. The cutter is so precise that the backing material was not cut.
John aka JKim
-----------<><
-----------<><
Re: 1/32 Hasegawa Fw190D-9 Black One
Back at the lab, I inspected the masks more closely. The cuts looked very good and I didn't see any obvious defects.
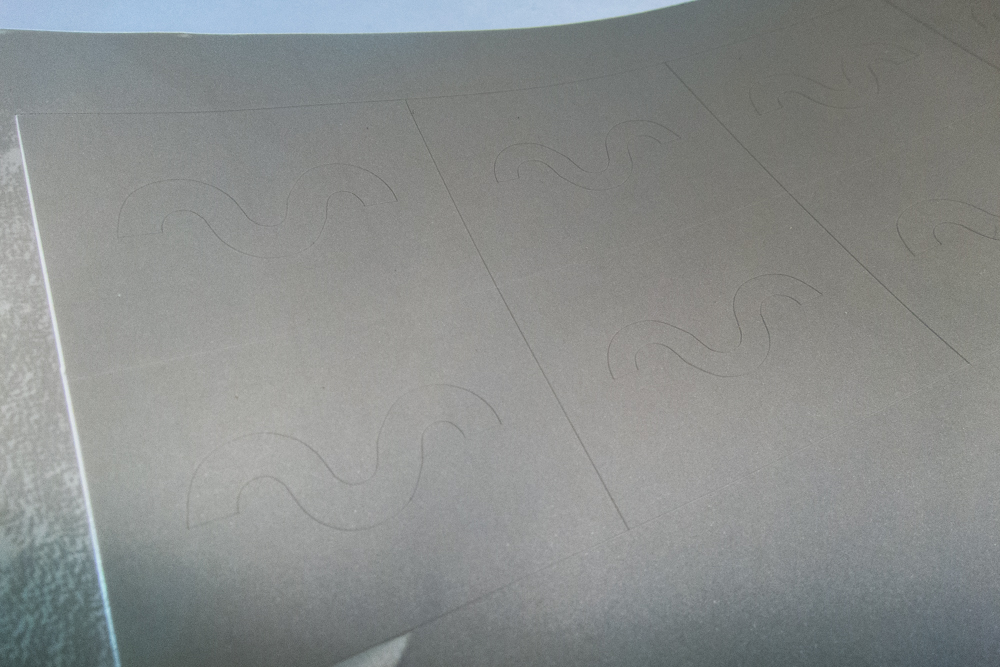
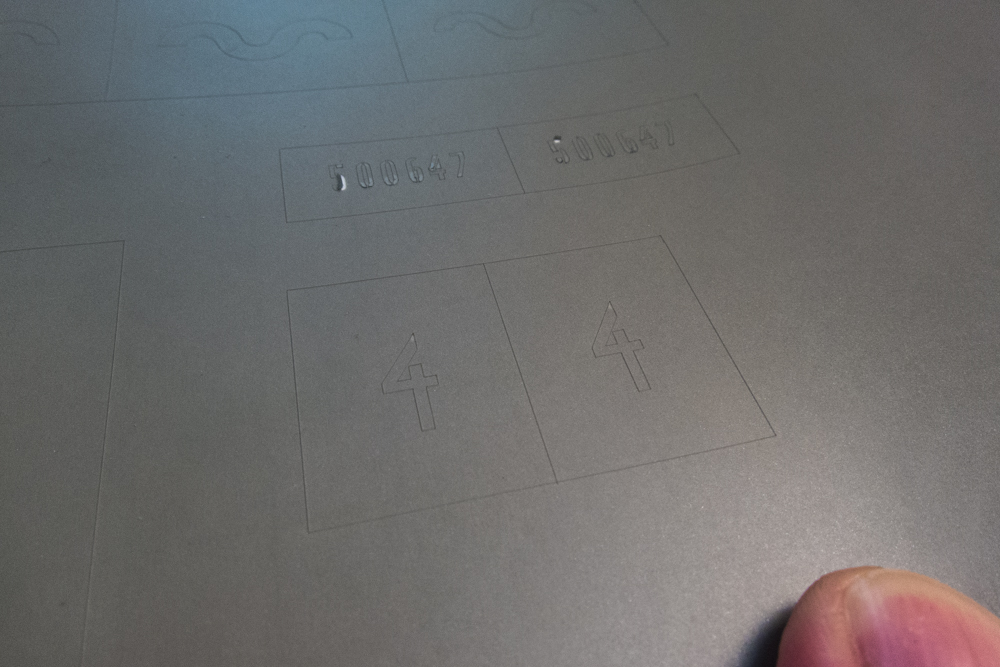
I decided to test the smallest mask first: the Werk Number. During the cutting process some of the mask interior pieces lifted off of the backing. Which is not an issue since these pieces will not be necessary in the masking process.
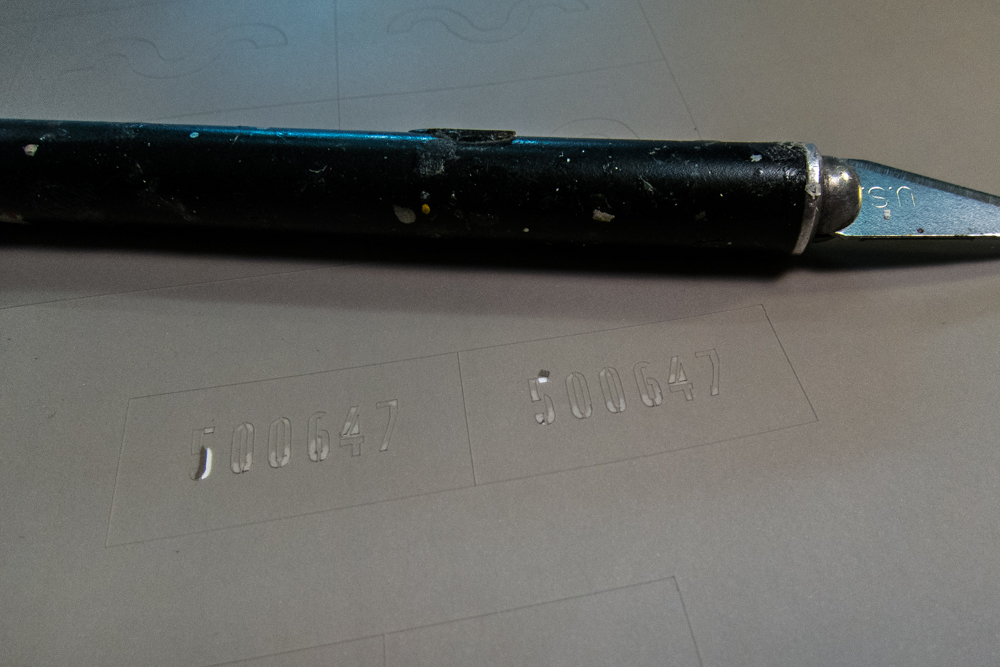
The mask behaves just like the Montex masks. Excess bits of the mask were carefully removed with a needle and tweezers.
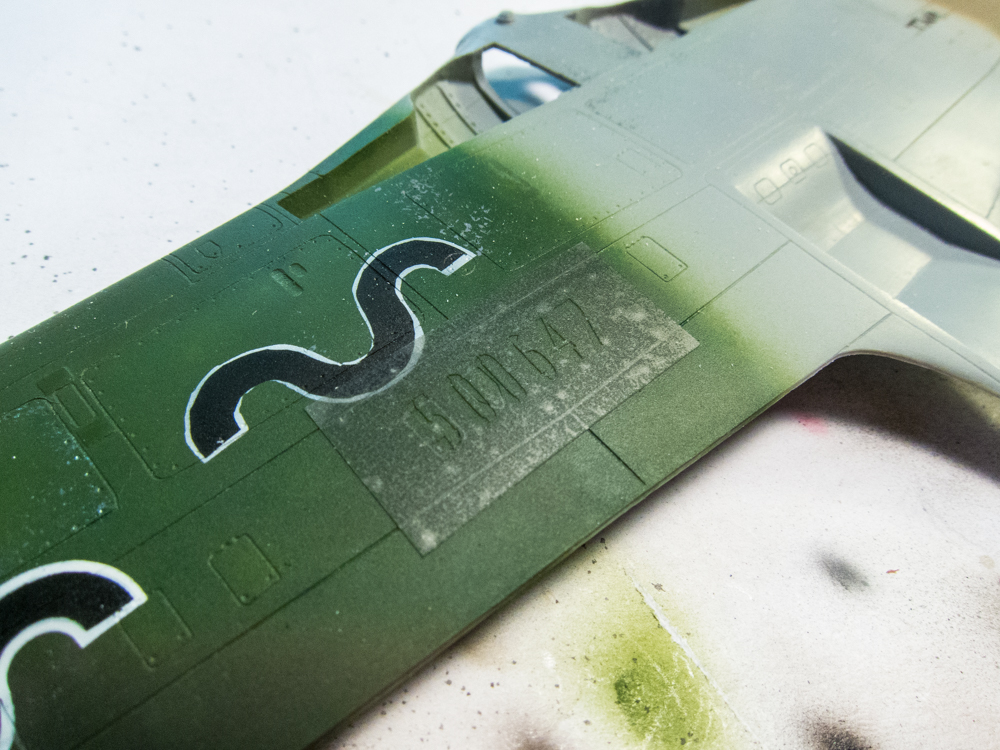
Success!
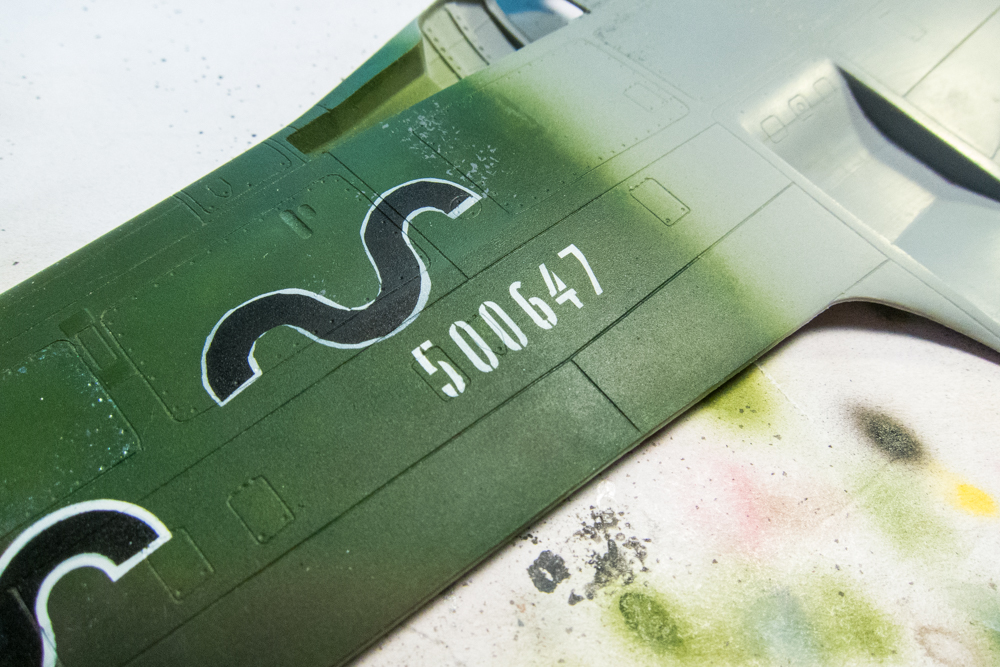
I don't know how small you can go with the Portrait but I'm impressed that I was able to get a decent mask for 1/32 Werk Numbers. The block-style of the lettering helped, I think.
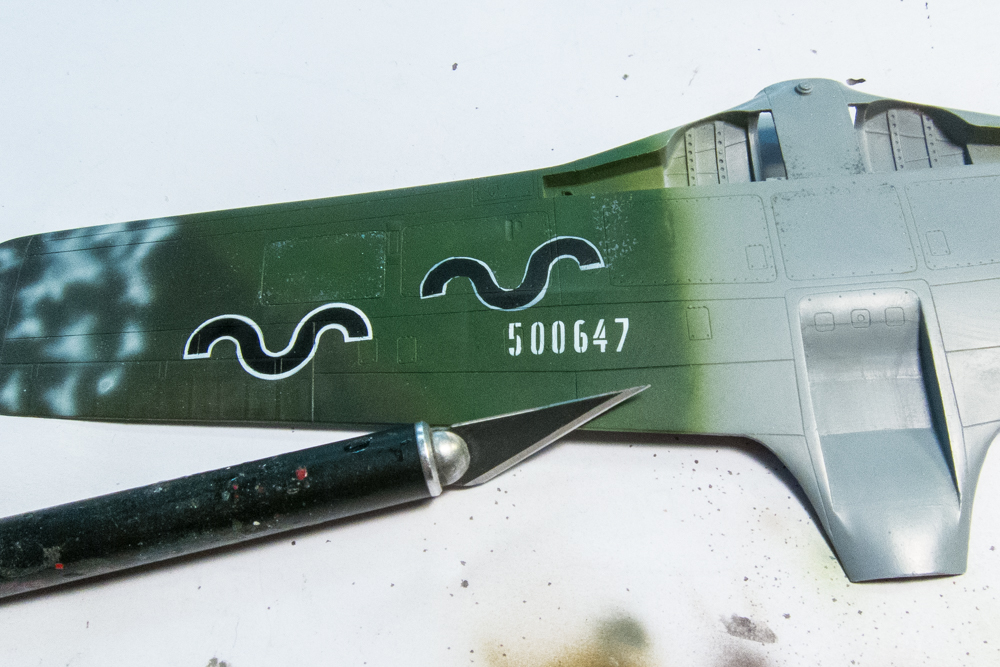
Next was a test of the wave marking. Since I was able to create custom masks for this, I thought I'd explore a different paint order than what you'd commonly find in a set of Montex Masks. First I applied the outer mask and painted the whole area white.
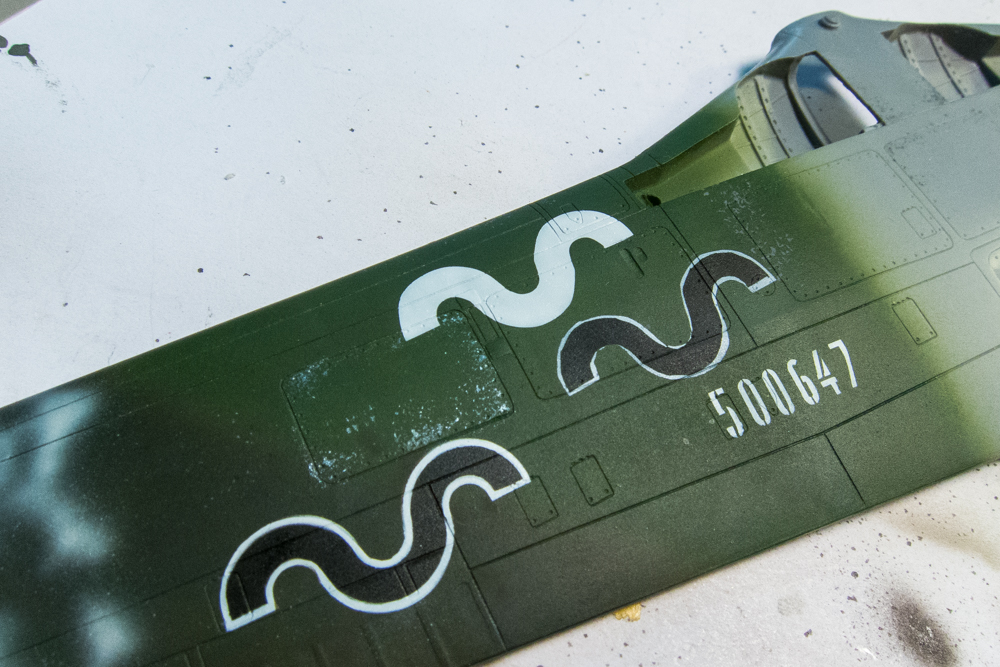
I removed the outer mask and applied the smaller mask outline over the white area. Normally, with a Montex mask, you'd use black on first mask and then, leaving the outer mask in place, you place the wave marking itself in the center of the painted area leaving the white outline to be painted last. Well, I had a hard time centering that second mask and in my haste to document this process, I didn't give the white paint enough time to dry. So the wave marking test turned out a little messy. But that's operator error and I'm very confident that I'll get a great result using these masks.
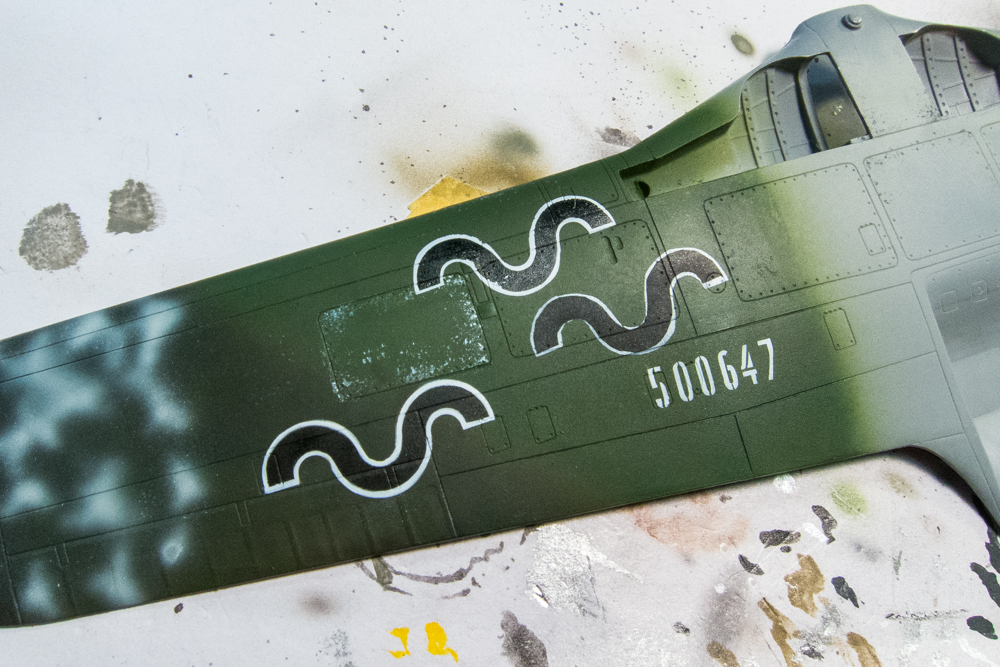
As a final test, I tried the Brown 4 masks... perfect!
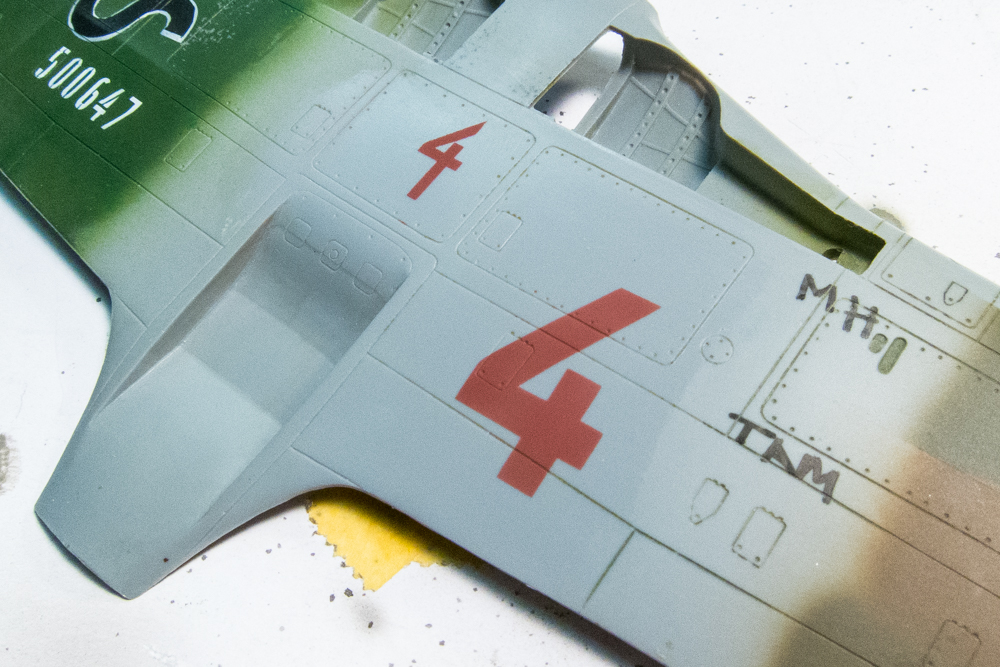
I'm very satisfied with my first experience with the Silhouette Portrait cutter.
I decided to test the smallest mask first: the Werk Number. During the cutting process some of the mask interior pieces lifted off of the backing. Which is not an issue since these pieces will not be necessary in the masking process.
The mask behaves just like the Montex masks. Excess bits of the mask were carefully removed with a needle and tweezers.
Success!
I don't know how small you can go with the Portrait but I'm impressed that I was able to get a decent mask for 1/32 Werk Numbers. The block-style of the lettering helped, I think.
Next was a test of the wave marking. Since I was able to create custom masks for this, I thought I'd explore a different paint order than what you'd commonly find in a set of Montex Masks. First I applied the outer mask and painted the whole area white.
I removed the outer mask and applied the smaller mask outline over the white area. Normally, with a Montex mask, you'd use black on first mask and then, leaving the outer mask in place, you place the wave marking itself in the center of the painted area leaving the white outline to be painted last. Well, I had a hard time centering that second mask and in my haste to document this process, I didn't give the white paint enough time to dry. So the wave marking test turned out a little messy. But that's operator error and I'm very confident that I'll get a great result using these masks.
As a final test, I tried the Brown 4 masks... perfect!
I'm very satisfied with my first experience with the Silhouette Portrait cutter.
John aka JKim
-----------<><
-----------<><
-
Stikpusher

- Moderator
- Posts: 21386
- Joined: Sat Apr 05, 2014 8:37 pm
- Location: Ceti Alpha 5
Re: 1/32 Hasegawa Fw190D-9 Black One
That is some awesome stuff there John. The tools available to modelers nowadays to create their own markings and parts are simply mind boggling. Very impressive work! I’m sure once you have this device mastered you will up your game a few more notches.
"Surely I have made my meaning plain? I intend to avenge myself upon you, Admiral. I have deprived your ship of power, and when I swing 'round, I intend to deprive you of your life."
FLSM
FLSM

Re: 1/32 Hasegawa Fw190D-9 Black One
Well that is truly amazing !
Great review also of the Silhoutte, a very neat machine all in all!
- Kari
Great review also of the Silhoutte, a very neat machine all in all!
- Kari
---
On the bench:
Eduard 1:48 - Fokker D.VII OAW
https://www.facebook.com/GrundAsk-Scale ... 721218708/
On the bench:
Eduard 1:48 - Fokker D.VII OAW
https://www.facebook.com/GrundAsk-Scale ... 721218708/
-
speedgraflex
- Moderator
- Posts: 11535
- Joined: Fri Feb 10, 2017 11:08 pm
- Contact:
Re: 1/32 Hasegawa Fw190D-9 Black One
John, I want to add my voice to the chorus here, absolutely amazing review, and I literally see the possibilities in your hands! Fantastic work! I really dig your “test wing!” I hope you keep it, it is a record of growth points for you personally as well!!!
Make more models!