Duke!!!!
Thanks for adding your voice to my post concerning forum page access. We will prevail.
Maddog Manufacturing 2018 Production
-
speedgraflex

- Moderator
- Posts: 11531
- Joined: Fri Feb 10, 2017 11:08 pm
- Contact:
Re: Maddog Manufacturing 2018 Production
Make more models!
-
Duke Maddog

- Elite Member
- Posts: 7700
- Joined: Tue Jun 03, 2014 11:22 am
- Location: Rowland Heights, CA
Re: Maddog Manufacturing 2018 Production
You got it. It seems to have worked; I had no problems with slow loading pages today. Now to get some progress done and shot so I can post some pics here..... 

The Duke
Virtuoso of Miniatures
"Do you know what the chain of command is? It's the chain I get and beat you with 'till you understand who's in ruttin' command!"
-Jayne Cobb, Firefly Episode 2 "The Train Job"
We are modelers - the same in spirit, in hunger to insanely buy newly released kits, hustlers in hiding our stash from our better halves and experts in using garbage as replacements for after-market parts.
Virtuoso of Miniatures
"Do you know what the chain of command is? It's the chain I get and beat you with 'till you understand who's in ruttin' command!"
-Jayne Cobb, Firefly Episode 2 "The Train Job"
We are modelers - the same in spirit, in hunger to insanely buy newly released kits, hustlers in hiding our stash from our better halves and experts in using garbage as replacements for after-market parts.
-
speedgraflex
- Moderator
- Posts: 11531
- Joined: Fri Feb 10, 2017 11:08 pm
- Contact:

-
Duke Maddog
- Elite Member
- Posts: 7700
- Joined: Tue Jun 03, 2014 11:22 am
- Location: Rowland Heights, CA
Re: Maddog Manufacturing 2018 Production
You got it. Stay tuned, pics forthcoming. Be warned though, this next update will be massive...
The Duke
Virtuoso of Miniatures
"Do you know what the chain of command is? It's the chain I get and beat you with 'till you understand who's in ruttin' command!"
-Jayne Cobb, Firefly Episode 2 "The Train Job"
We are modelers - the same in spirit, in hunger to insanely buy newly released kits, hustlers in hiding our stash from our better halves and experts in using garbage as replacements for after-market parts.
Virtuoso of Miniatures
"Do you know what the chain of command is? It's the chain I get and beat you with 'till you understand who's in ruttin' command!"
-Jayne Cobb, Firefly Episode 2 "The Train Job"
We are modelers - the same in spirit, in hunger to insanely buy newly released kits, hustlers in hiding our stash from our better halves and experts in using garbage as replacements for after-market parts.
-
Duke Maddog
- Elite Member
- Posts: 7700
- Joined: Tue Jun 03, 2014 11:22 am
- Location: Rowland Heights, CA
Re: Maddog Manufacturing 2018 Production
Okay after being absent for some time now, I figured it was time to flood this Thread with some of my own mediocre work. I may not have the quality everyone here has, but I sure got the quantity! So without further ado, let's start this latest tour of Maddog Manufacturing....
Okay, let's begin with my aircraft....
Here on these Forms, I had started two review models and it was time to get them done. Here's the progress I managed to get so far. I'll go into a bit more detail in their respective review threads; feel free to check them out there....
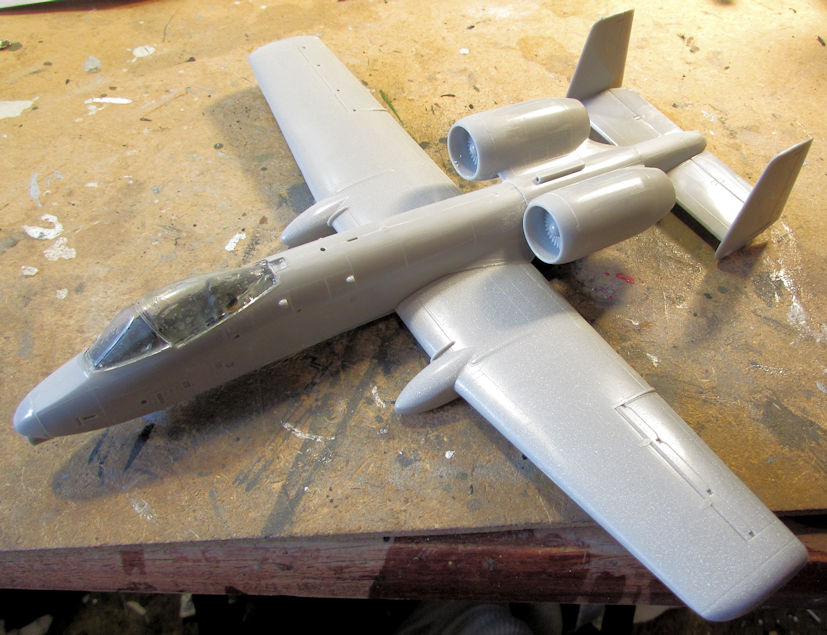
The Hasegawa A-10 got assembled with all the wings, engines and tail surfaces attached:
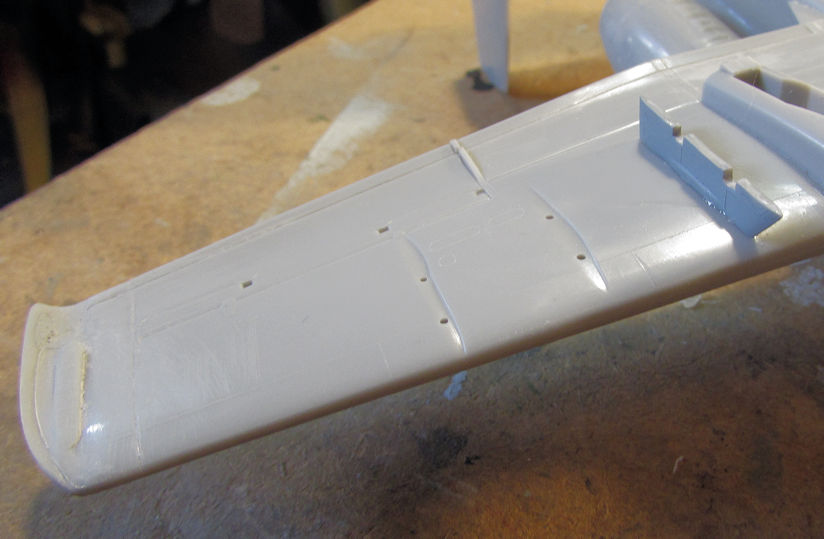
Here you can see the the results of my efforts on one of the wings after I attempted to sand down the stepped edge found underneath both wings. It's not perfect but that's as far as I wanted to go on this.
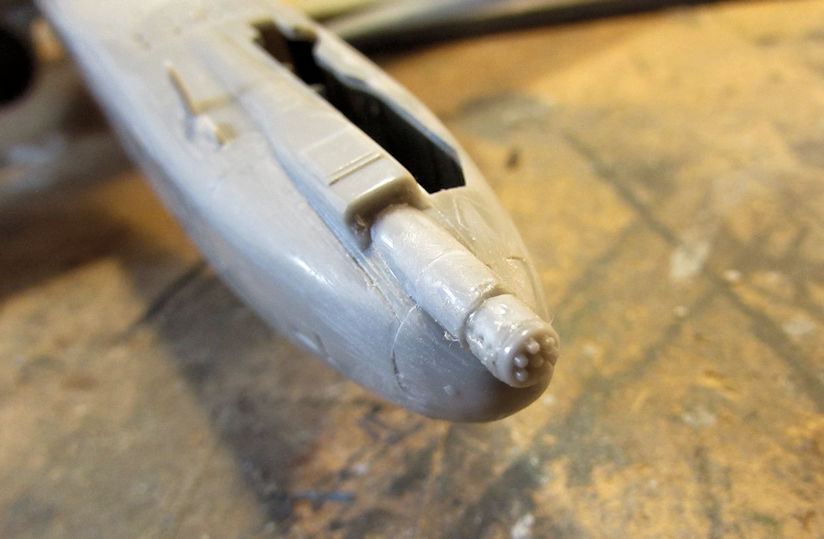
After that, I added the main gun barrel:
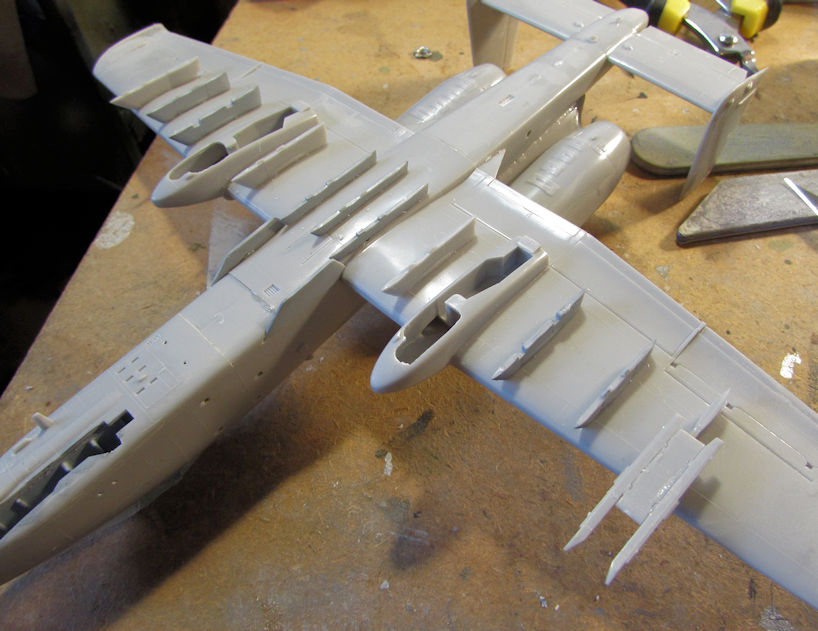
After that, I added all the pylons for the underwing stores:
A few additional detail parts on top and this one was ready for paint:
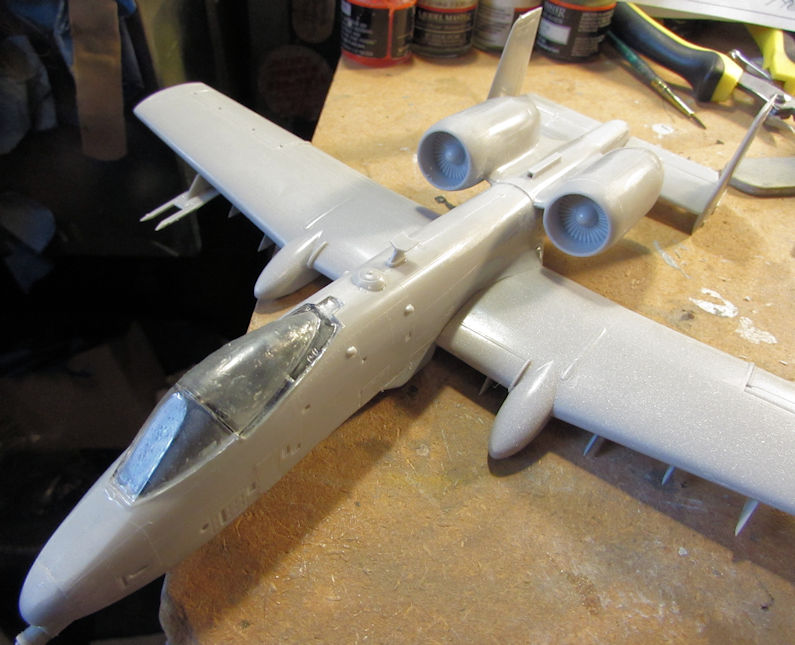
Later on, I primed, painted and added the second grey color to this; then clearcoated it for decals:
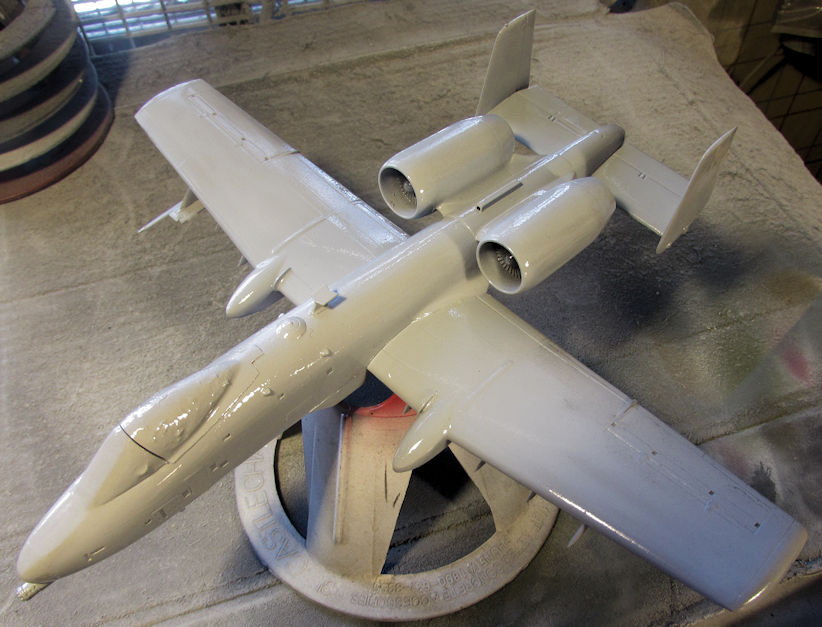
That's as far as I got here. There's a few blemishes I need to attend to then I can apply decals.
Now for my second review kits.
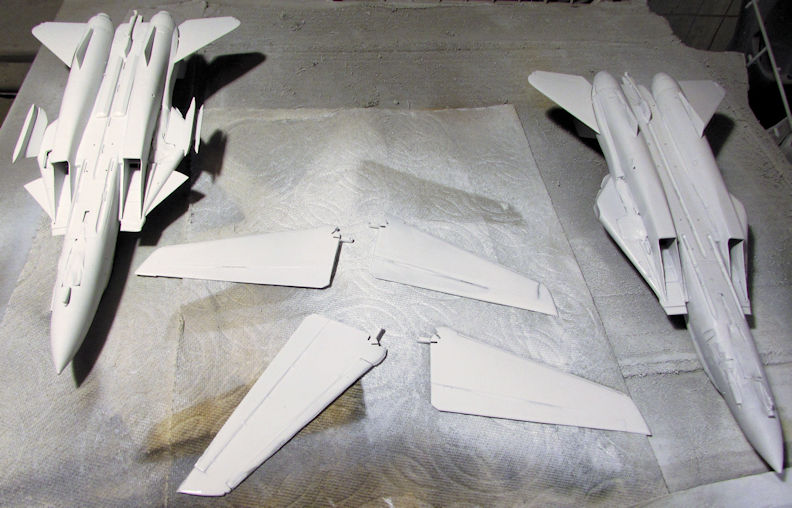
On my two Tomcats, I shot a coat of white underneath both of them:
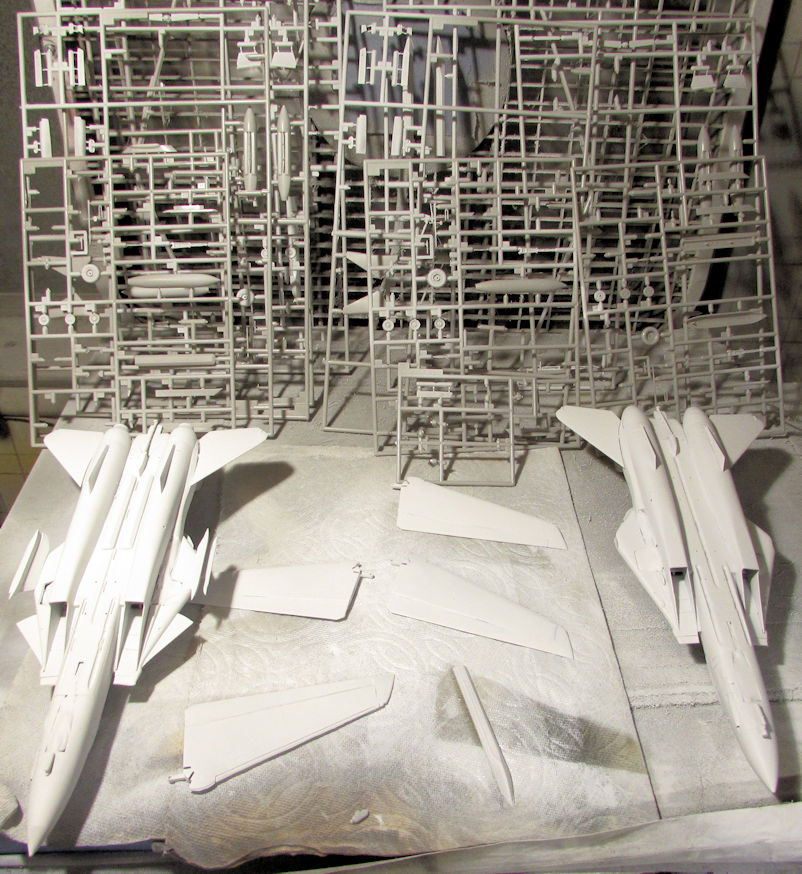
I also shot white on many of the other parts that need it as shown here:
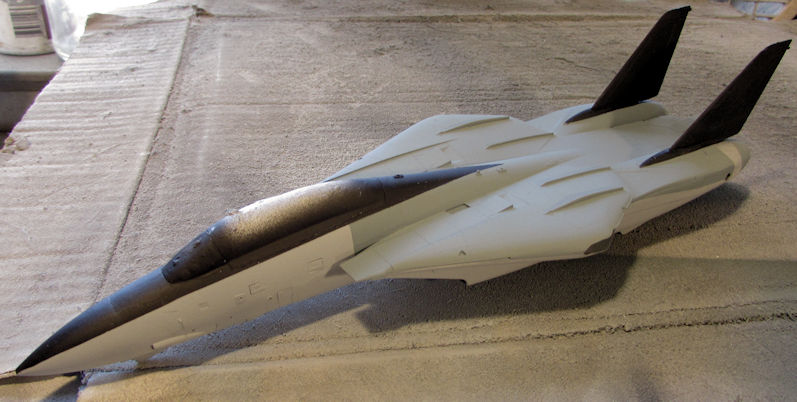
Once that was done, I realized that I only needed white on the underside of the -A bird. the -B has a wrap around grey scheme. So, I masked off the white under the Alpha and then shot the black on the tails and canopy areas:
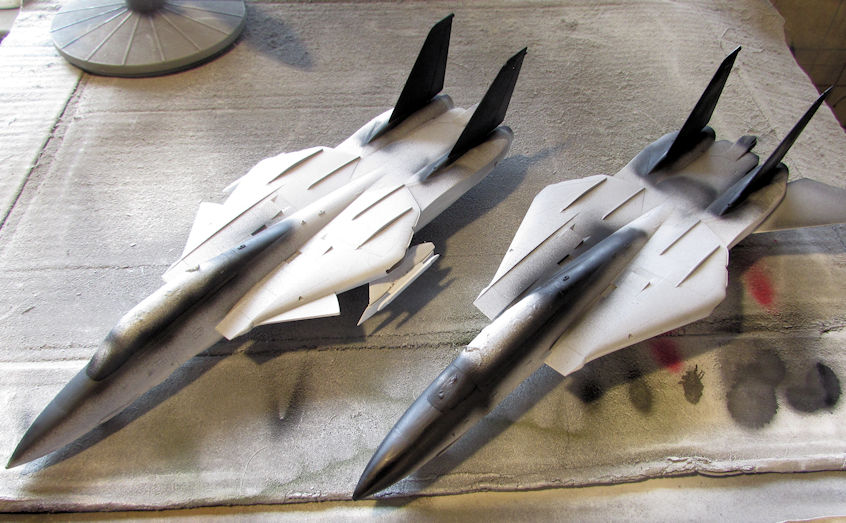
After that; starting with the Bravo bird, I masked off the black where it was supposed to stay black and I shot the first coat of grey on it. This was a dark gull grey I believe. I know it's tough to see in these pics but here is the first grey:
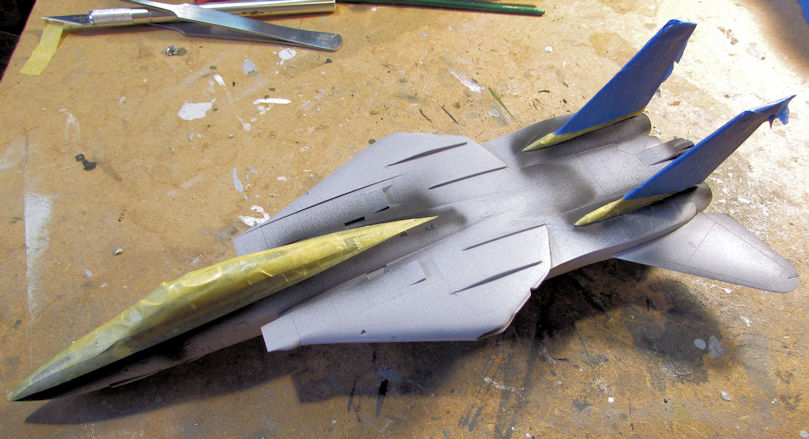
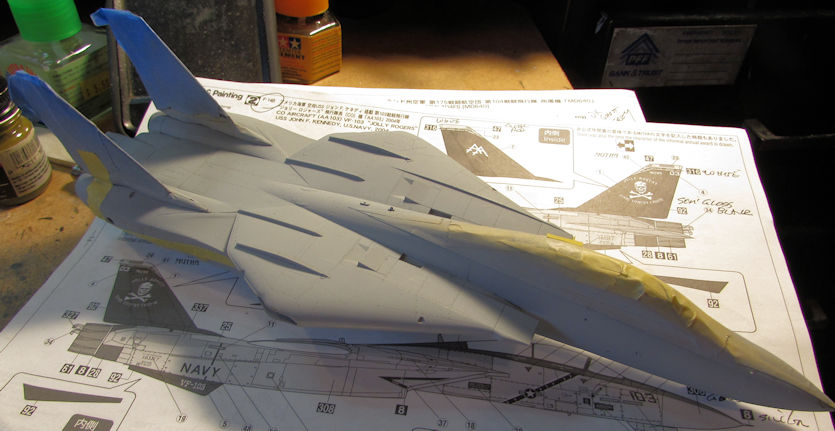
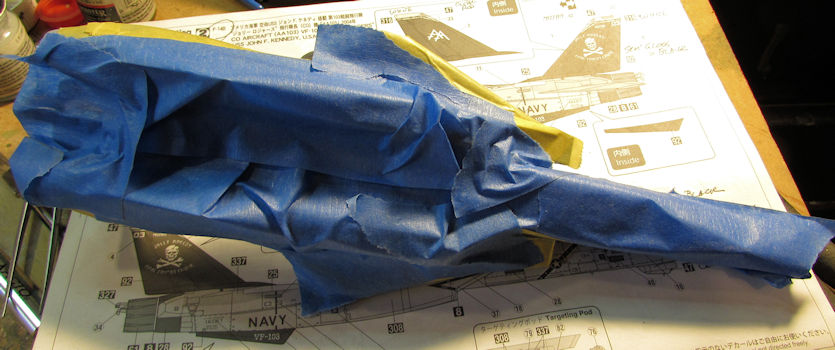
Still on the Bravo bird, I masked off the nose and the bottom to shoot the medium grey on the top of this bird:
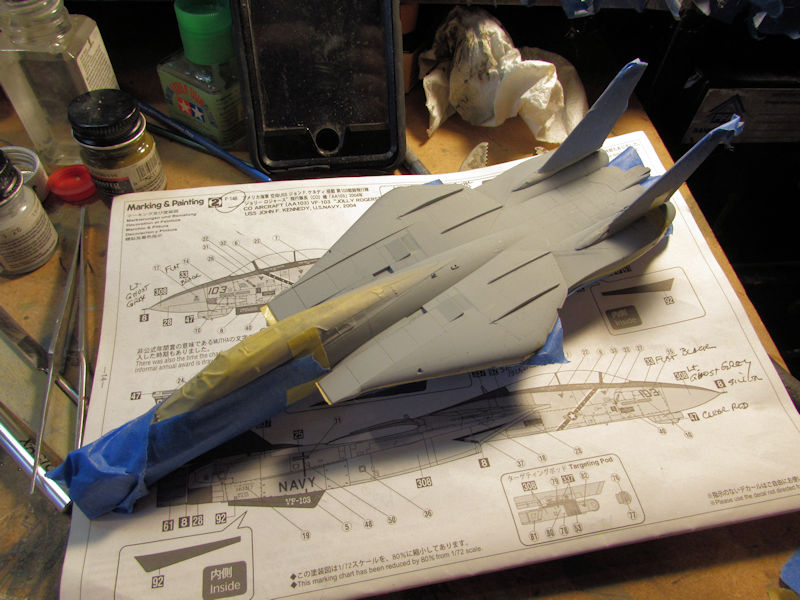
Here she is after the medium grey went on:
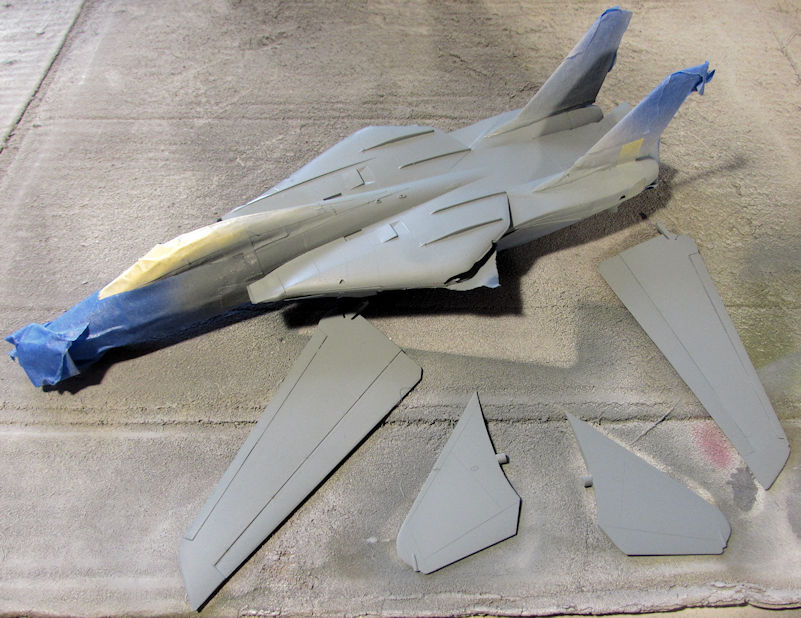
Afterward, she was looking pretty sharp in her new colors:
Moving on to the Alpha bird, I also masked her off, starting with the white underside. This time I added the waves to the edge since the previous masking was simply to keep the black overspray off the bottom:
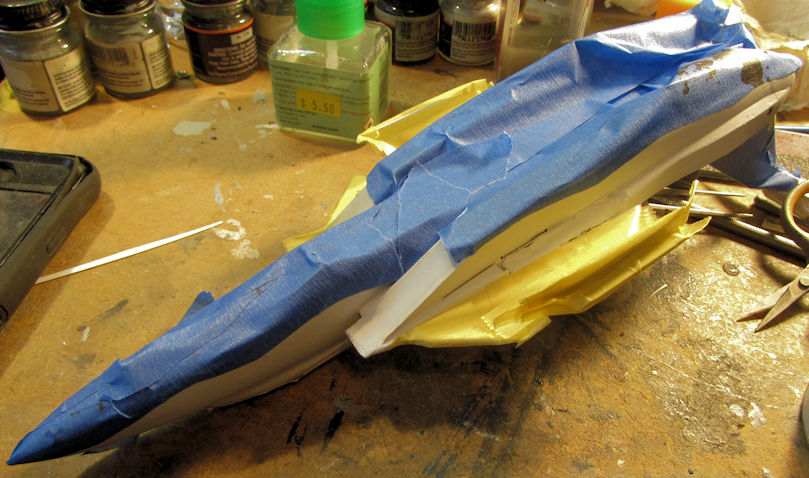
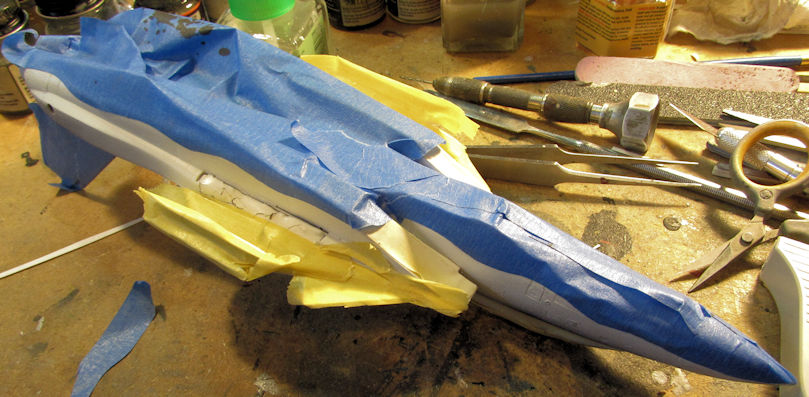
You can see I used an ungodly amount of masking tape on this; mostly because I masked off the missile rails. Normally I would have left those off till last, but they help me differentiate between the two birds at a glance.
Her grey color; a flat gull grey went on next:
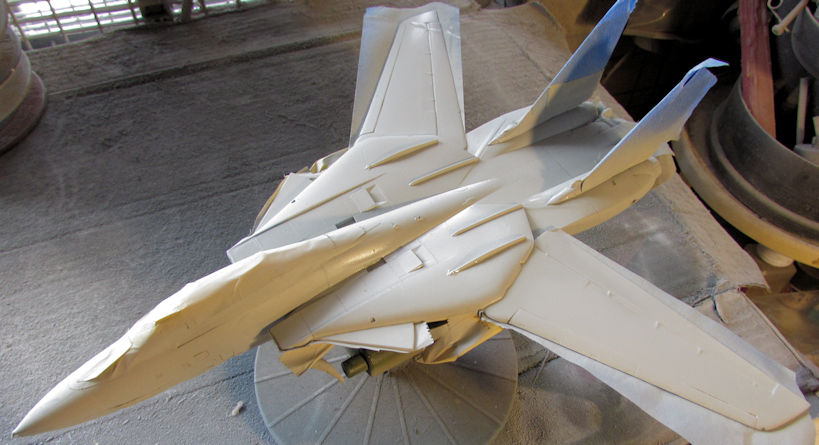
After I painted the wings, I realized I had forgotten to mask off the flaps to keep them white:
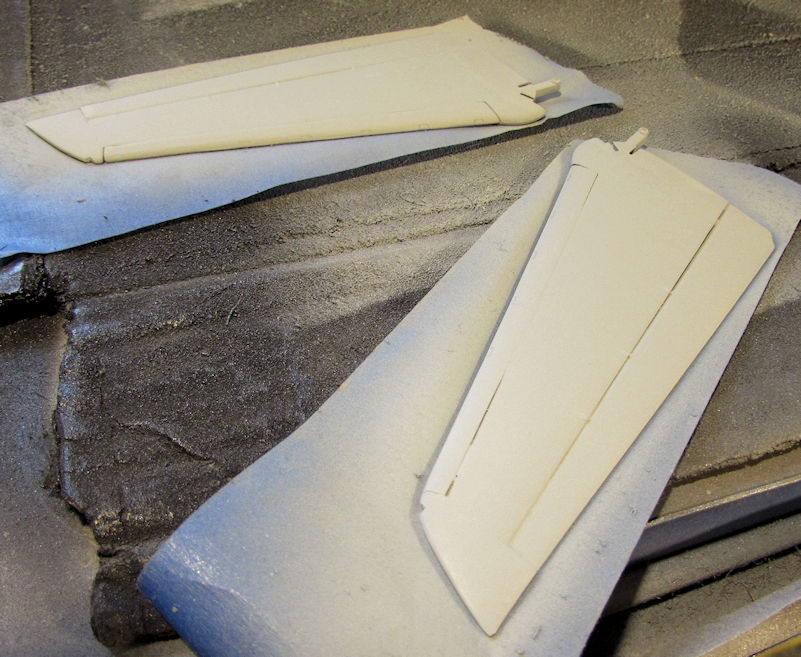
So I masked them off and shot the white:
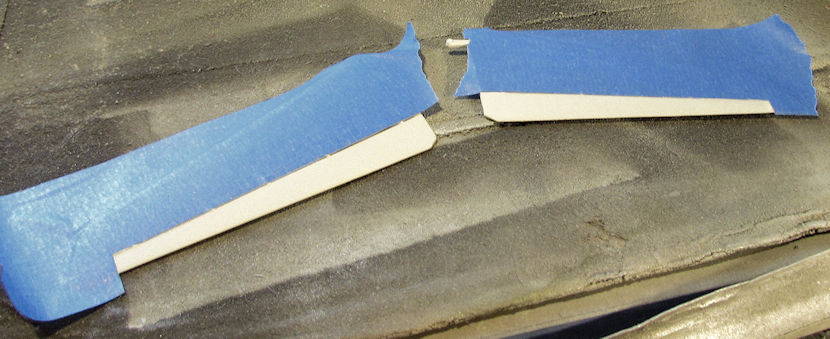
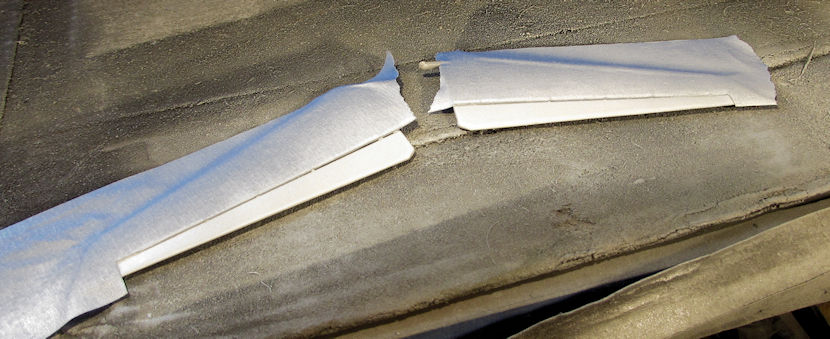
Once I pulled the tape off these to shoot the clear gloss coat on, I noticed some of the paint lifted, so this has to be re-shot:
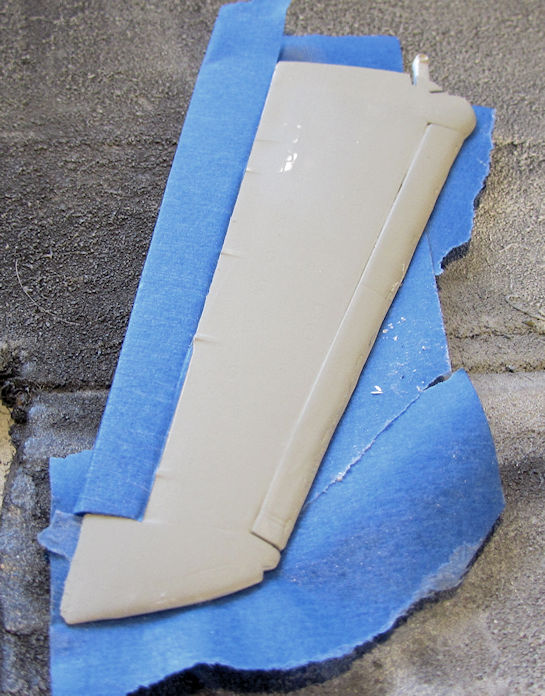
That's where I left this. Hopefully I'll get that fixed this weekend...
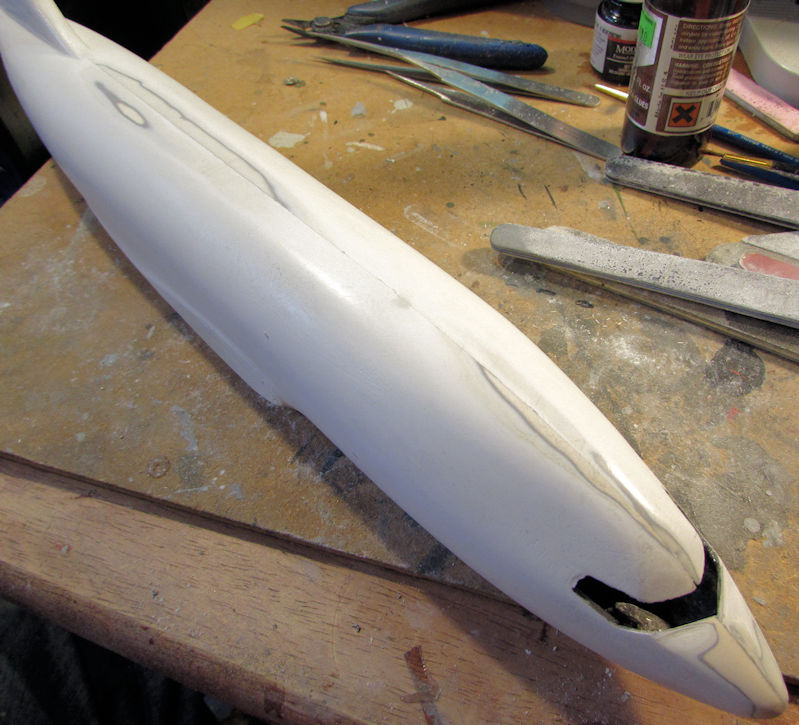
Next, I decided to try and make some progress on my Boeing 737. Even though I have lost the decals for this; I'm going to keep going. After cementing the nose together and letting it dry; I started filling and sanding this down to get a final clean and smooth seal:
I then re-added the canopy to this:
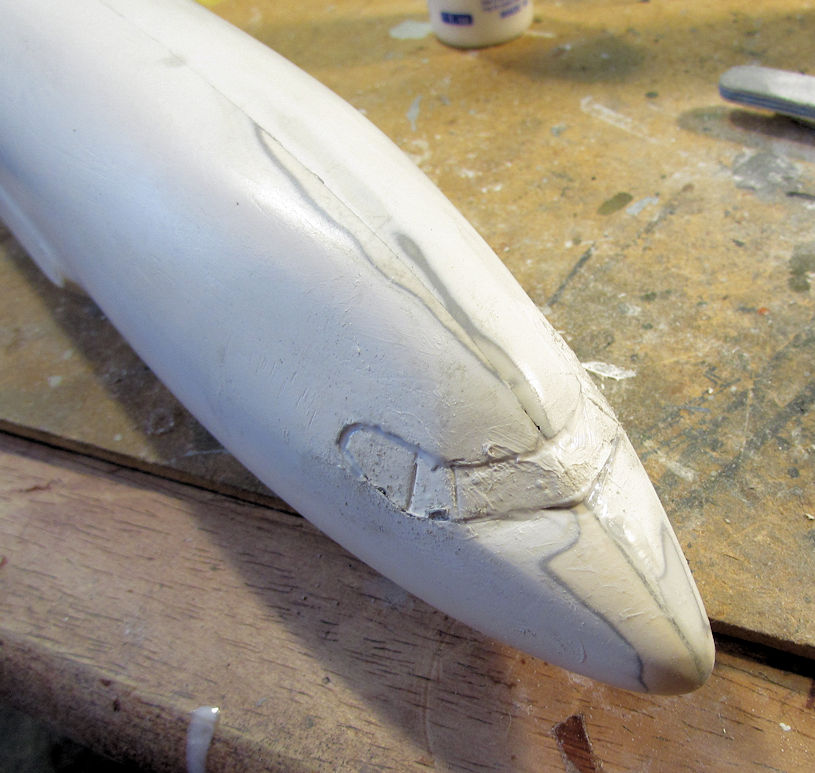
After cleaning up the roughness around the canopy, I shot some Krylon Plastic Primer on this.... which happens to be white:
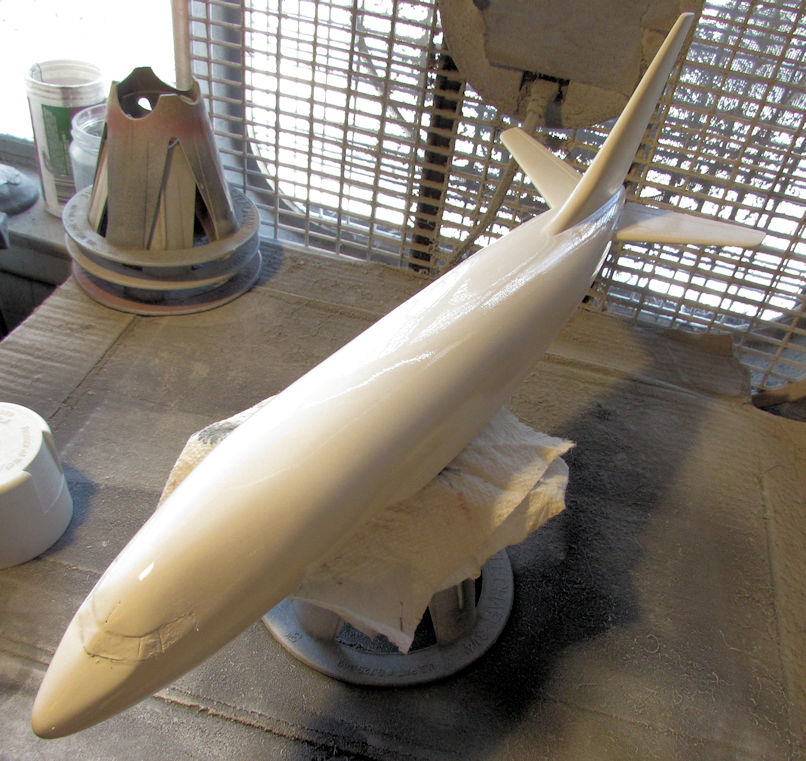
You can see some small defects still need to be addressed.... again. But at least I'm getting somewhere with this for once. Hopefully I'll be able to continue making progress here without any more mishaps that caused me to throw this in the first place.
Lastly, I made some small progress on my Italian Harrier jet. I finally glued the fuselage together:
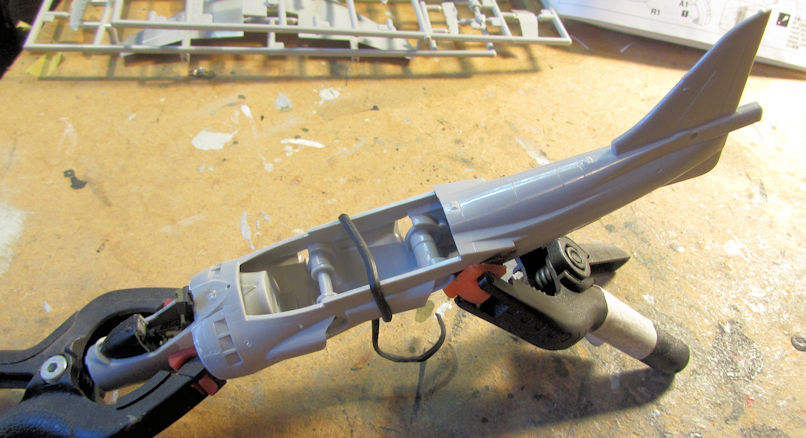
Later came the wings, tail surfaces, gun pods, and underwing pylons:
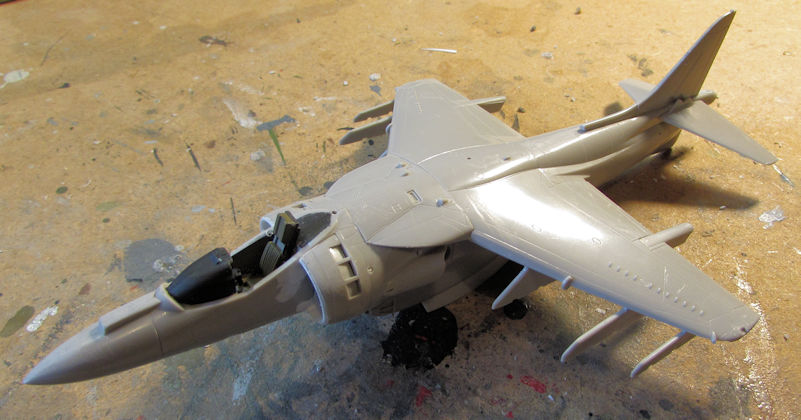
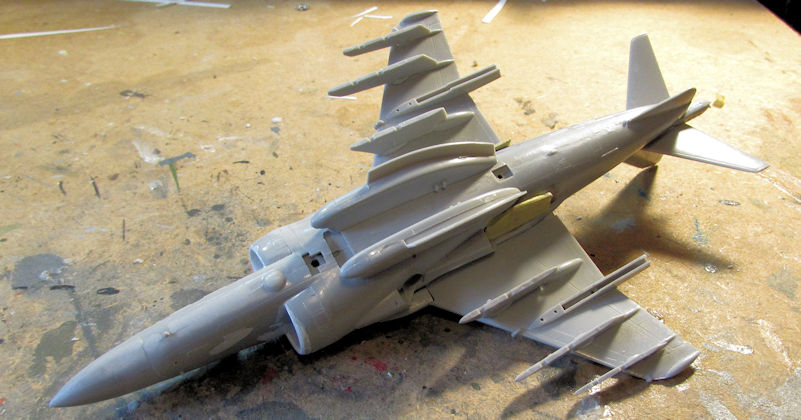
You can see I already masked the exhaust plates on this in preparation for paint. Once I get the canopy on, I'll be able to mask it and paint this plane.
Moving on to my other models, here is the latest progress I made on some helicopters.
On my Marine AH-1 Cobra, I finished shooting the green drab on it and glossed it for decals:
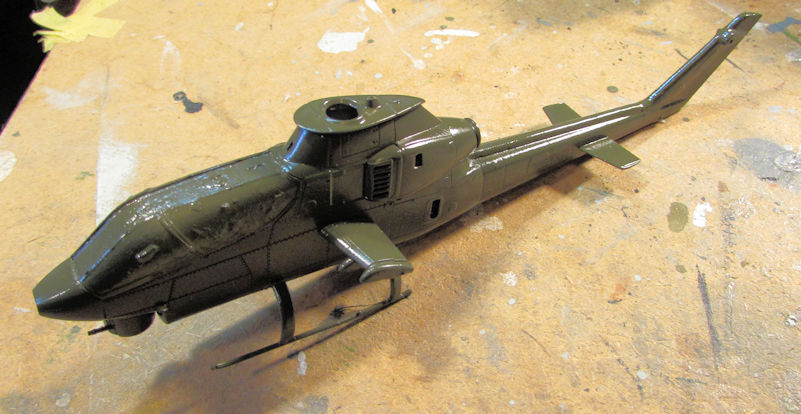
I then saw how it sat on it's tail. The nose was still open, so I added some small BB's inside until it sat right and then I closed up the nose. It worked:
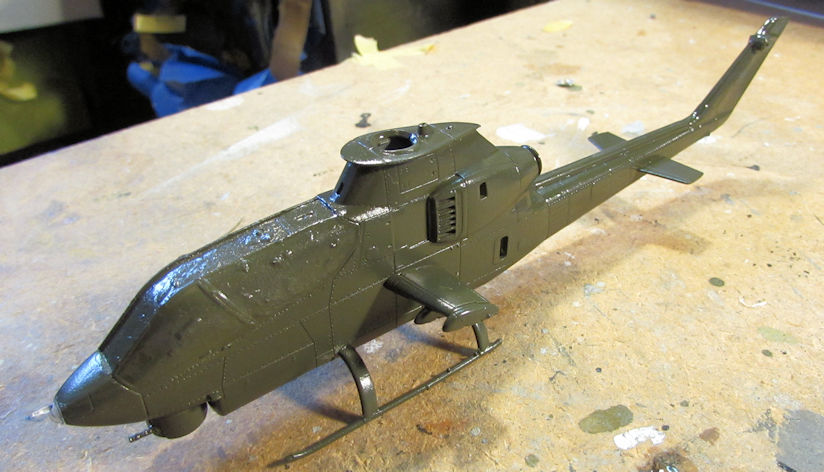
Then when I went to apply the decals, I noticed the paint color was all wrong. Back to the spray booth for this one.
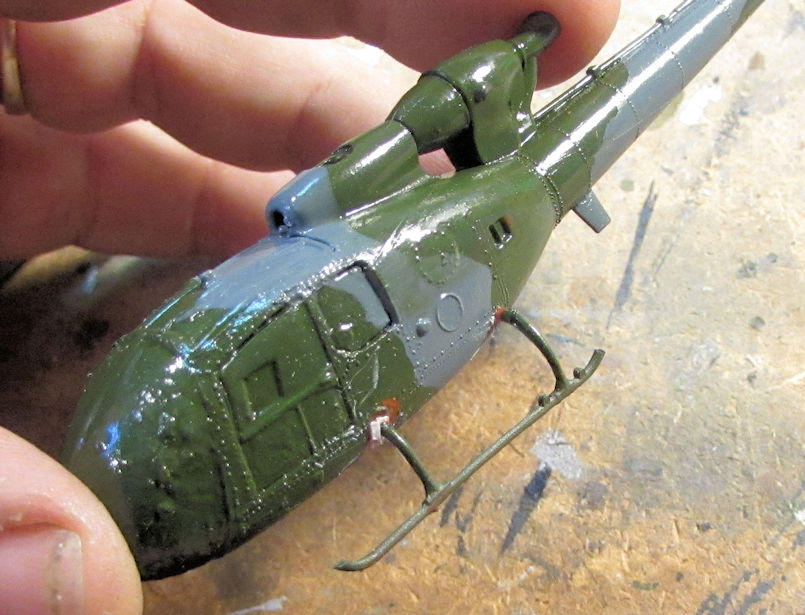
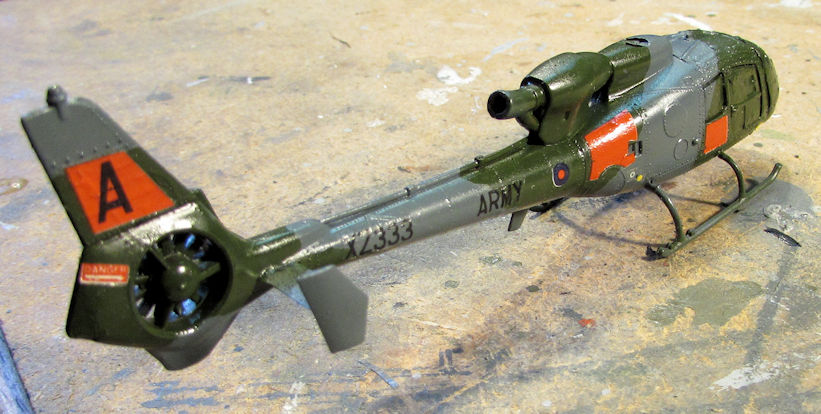
Meanwhile, I also tried to reinforce the skid attachments for my British Gazelle. It didn't turn out the way I wanted it to. I'm going to have to fix this as I'm not happy with it:
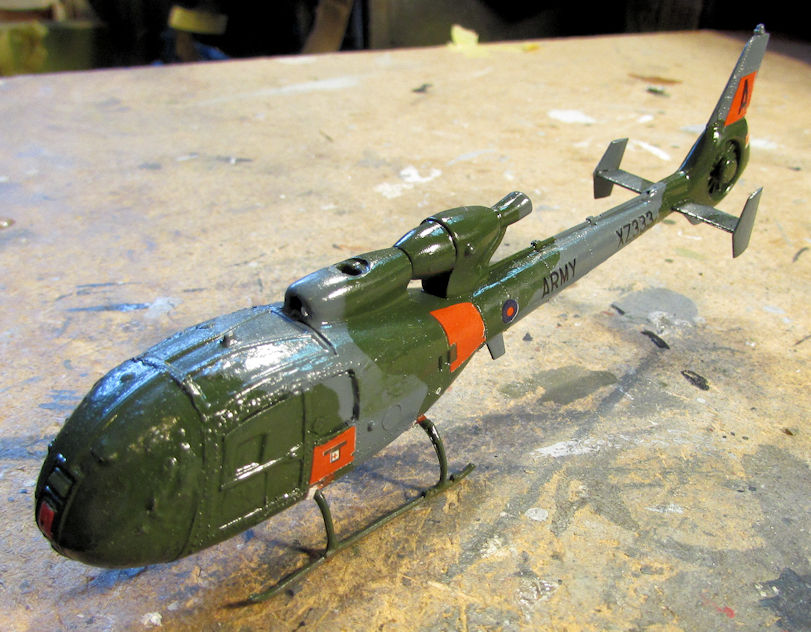
Until then, I decided to apply the decals on this little bird. They went on okay considering their age. I did have to add a lot of Micro Sol to them to get them to lay down and stop curling:
Speaking of Micro Sol; Micro Scale needs to re-think their packaging for these products they sell. I was simply closing this bottle and at the slightest pressure to insure a seal, this whole thing shattered in my hand:
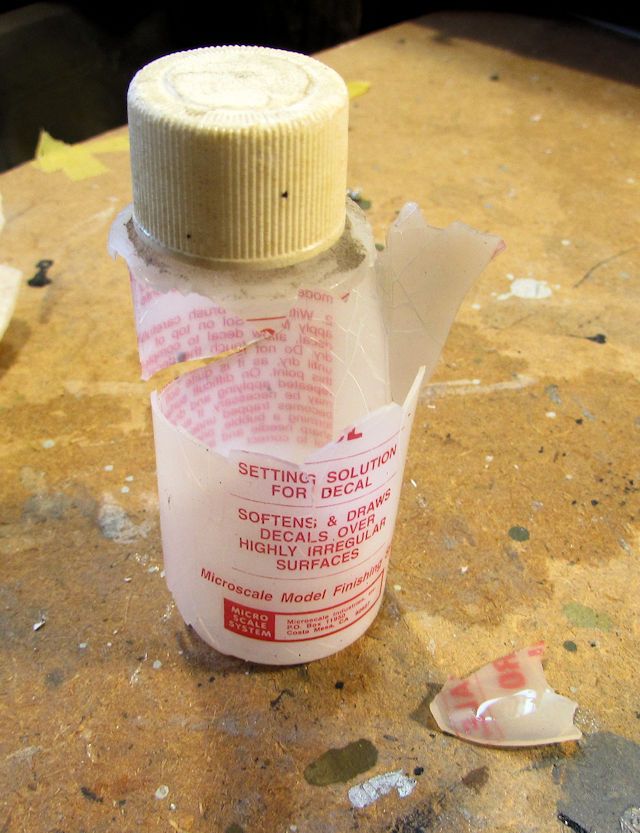
Can you say "brittle"?
Okay, moving on....
I didn't do too much on my armor lately, having been focused on getting some of those aircraft off my workbench; but I did pull out my Churchill bridgelayer to sand the seam on the lifting arm
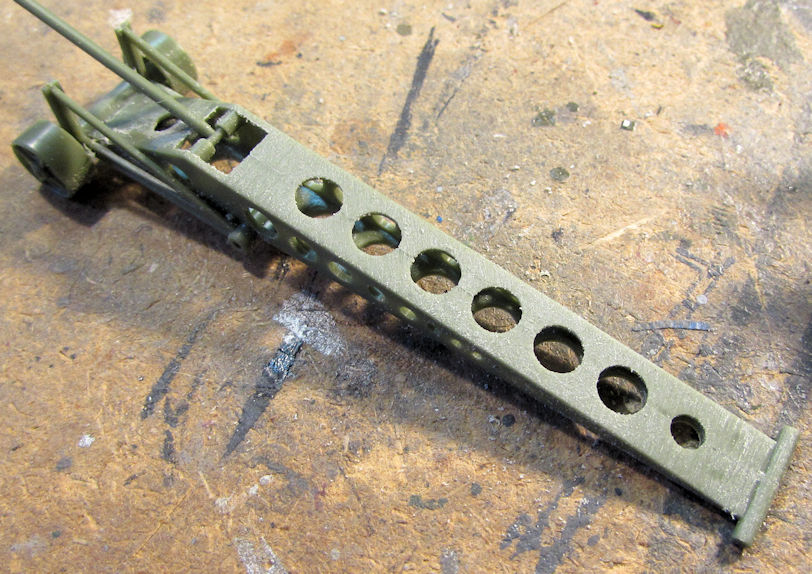
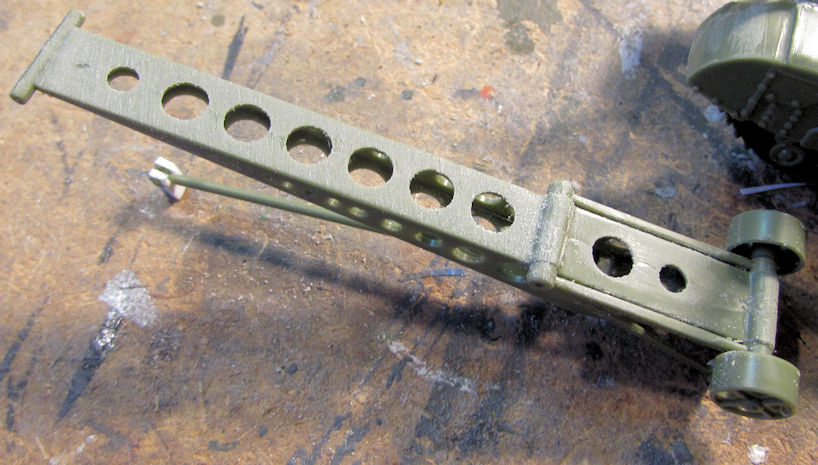
Also, the piston housing om the top of this was angled down too much, making the smooth operation of this bridgelayer too awkward. It is the square horizontal box with the round, riveted ends. I decided to add some sheet styrene to lift this to a more horizontal level:
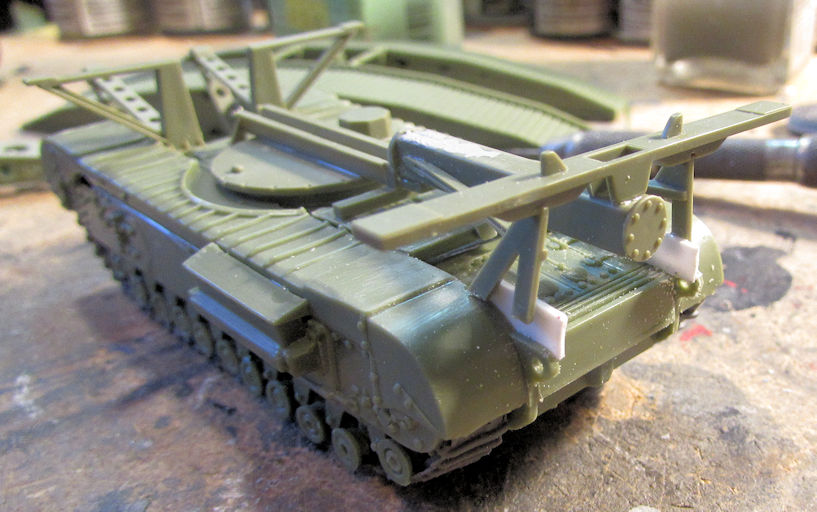
Once that is trimmed and dry, I'll test it again to see how well it works. Meanwhile, I also shot a base coat of dunklegelb on my Panzerlok Br-57:
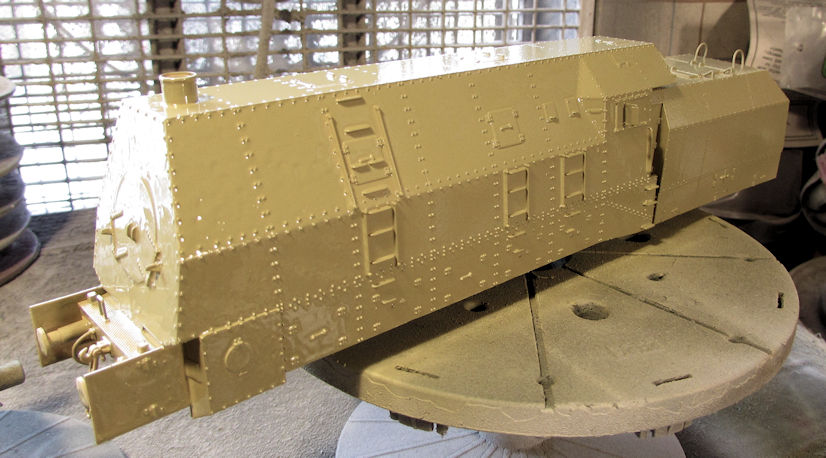
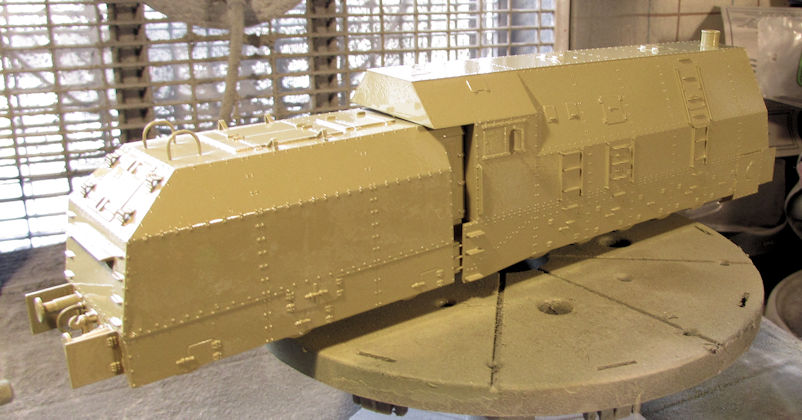
Next step, camouflage!
Okay, that is the end of this exceptionally long and tedious tour. You may all wake up now and make your way to the nearest exits. Thank you all for your patience, persistence and perseverance. Comments are always welcome.
Okay, let's begin with my aircraft....
Here on these Forms, I had started two review models and it was time to get them done. Here's the progress I managed to get so far. I'll go into a bit more detail in their respective review threads; feel free to check them out there....
The Hasegawa A-10 got assembled with all the wings, engines and tail surfaces attached:
Here you can see the the results of my efforts on one of the wings after I attempted to sand down the stepped edge found underneath both wings. It's not perfect but that's as far as I wanted to go on this.
After that, I added the main gun barrel:
After that, I added all the pylons for the underwing stores:
A few additional detail parts on top and this one was ready for paint:
Later on, I primed, painted and added the second grey color to this; then clearcoated it for decals:
That's as far as I got here. There's a few blemishes I need to attend to then I can apply decals.
Now for my second review kits.
On my two Tomcats, I shot a coat of white underneath both of them:
I also shot white on many of the other parts that need it as shown here:
Once that was done, I realized that I only needed white on the underside of the -A bird. the -B has a wrap around grey scheme. So, I masked off the white under the Alpha and then shot the black on the tails and canopy areas:
After that; starting with the Bravo bird, I masked off the black where it was supposed to stay black and I shot the first coat of grey on it. This was a dark gull grey I believe. I know it's tough to see in these pics but here is the first grey:
Still on the Bravo bird, I masked off the nose and the bottom to shoot the medium grey on the top of this bird:
Here she is after the medium grey went on:
Afterward, she was looking pretty sharp in her new colors:
Moving on to the Alpha bird, I also masked her off, starting with the white underside. This time I added the waves to the edge since the previous masking was simply to keep the black overspray off the bottom:
You can see I used an ungodly amount of masking tape on this; mostly because I masked off the missile rails. Normally I would have left those off till last, but they help me differentiate between the two birds at a glance.
Her grey color; a flat gull grey went on next:
After I painted the wings, I realized I had forgotten to mask off the flaps to keep them white:
So I masked them off and shot the white:
Once I pulled the tape off these to shoot the clear gloss coat on, I noticed some of the paint lifted, so this has to be re-shot:
That's where I left this. Hopefully I'll get that fixed this weekend...
Next, I decided to try and make some progress on my Boeing 737. Even though I have lost the decals for this; I'm going to keep going. After cementing the nose together and letting it dry; I started filling and sanding this down to get a final clean and smooth seal:
I then re-added the canopy to this:
After cleaning up the roughness around the canopy, I shot some Krylon Plastic Primer on this.... which happens to be white:
You can see some small defects still need to be addressed.... again. But at least I'm getting somewhere with this for once. Hopefully I'll be able to continue making progress here without any more mishaps that caused me to throw this in the first place.
Lastly, I made some small progress on my Italian Harrier jet. I finally glued the fuselage together:
Later came the wings, tail surfaces, gun pods, and underwing pylons:
You can see I already masked the exhaust plates on this in preparation for paint. Once I get the canopy on, I'll be able to mask it and paint this plane.
Moving on to my other models, here is the latest progress I made on some helicopters.
On my Marine AH-1 Cobra, I finished shooting the green drab on it and glossed it for decals:
I then saw how it sat on it's tail. The nose was still open, so I added some small BB's inside until it sat right and then I closed up the nose. It worked:
Then when I went to apply the decals, I noticed the paint color was all wrong. Back to the spray booth for this one.
Meanwhile, I also tried to reinforce the skid attachments for my British Gazelle. It didn't turn out the way I wanted it to. I'm going to have to fix this as I'm not happy with it:
Until then, I decided to apply the decals on this little bird. They went on okay considering their age. I did have to add a lot of Micro Sol to them to get them to lay down and stop curling:
Speaking of Micro Sol; Micro Scale needs to re-think their packaging for these products they sell. I was simply closing this bottle and at the slightest pressure to insure a seal, this whole thing shattered in my hand:
Can you say "brittle"?
Okay, moving on....
I didn't do too much on my armor lately, having been focused on getting some of those aircraft off my workbench; but I did pull out my Churchill bridgelayer to sand the seam on the lifting arm
Also, the piston housing om the top of this was angled down too much, making the smooth operation of this bridgelayer too awkward. It is the square horizontal box with the round, riveted ends. I decided to add some sheet styrene to lift this to a more horizontal level:
Once that is trimmed and dry, I'll test it again to see how well it works. Meanwhile, I also shot a base coat of dunklegelb on my Panzerlok Br-57:
Next step, camouflage!
Okay, that is the end of this exceptionally long and tedious tour. You may all wake up now and make your way to the nearest exits. Thank you all for your patience, persistence and perseverance. Comments are always welcome.
The Duke
Virtuoso of Miniatures
"Do you know what the chain of command is? It's the chain I get and beat you with 'till you understand who's in ruttin' command!"
-Jayne Cobb, Firefly Episode 2 "The Train Job"
We are modelers - the same in spirit, in hunger to insanely buy newly released kits, hustlers in hiding our stash from our better halves and experts in using garbage as replacements for after-market parts.
Virtuoso of Miniatures
"Do you know what the chain of command is? It's the chain I get and beat you with 'till you understand who's in ruttin' command!"
-Jayne Cobb, Firefly Episode 2 "The Train Job"
We are modelers - the same in spirit, in hunger to insanely buy newly released kits, hustlers in hiding our stash from our better halves and experts in using garbage as replacements for after-market parts.
-
Stikpusher

- Moderator
- Posts: 21379
- Joined: Sat Apr 05, 2014 8:37 pm
- Location: Ceti Alpha 5
Re: Maddog Manufacturing 2018 Production
As Comrade Stalin once said, “ quantity has a quality all of its own”.
That’s a nice batch of builds you have going Mark! Im still loving that Churchill best! And probably the Cobra next... too much good stuff buddy!
That’s a nice batch of builds you have going Mark! Im still loving that Churchill best! And probably the Cobra next... too much good stuff buddy!
"Surely I have made my meaning plain? I intend to avenge myself upon you, Admiral. I have deprived your ship of power, and when I swing 'round, I intend to deprive you of your life."
FLSM
FLSM

Re: Maddog Manufacturing 2018 Production
Man oh man - There is NOTHING wrong with the quality of your builds Mark - Those all look superb - I'm liking all of them.
You've done well on that Airfix Gazelle - It's known for being a sod to build.
You've done well on that Airfix Gazelle - It's known for being a sod to build.
Stuart Templeton 'I may not be good but I'm slow...'
Re: Maddog Manufacturing 2018 Production
BTW - Who makes that A-10 kit?
Stuart Templeton 'I may not be good but I'm slow...'
-
tempestjohnny

- Elite Member
- Posts: 3825
- Joined: Sat Oct 15, 2016 4:51 am
- Location: Naples. FL
Re: Maddog Manufacturing 2018 Production
Nothing wrong with your builds Mark. Your disaster with the micro sol happened to me but I cracked the cap in half just closing it
-
Stikpusher
- Moderator
- Posts: 21379
- Joined: Sat Apr 05, 2014 8:37 pm
- Location: Ceti Alpha 5
Re: Maddog Manufacturing 2018 Production
The cracked caps has happened a few times to me as well. Usually on older bottles. But never a shattered bottle like that. Just curious, but do you store your Micro bottled products where they get direct sunlight at any time? I know he UV rays in direct sunlight break down plastics and make them fragile over time.tempestjohnny wrote: Your disaster with the micro sol happened to me but I cracked the cap in half just closing it
"Surely I have made my meaning plain? I intend to avenge myself upon you, Admiral. I have deprived your ship of power, and when I swing 'round, I intend to deprive you of your life."
FLSM
FLSM