Bravo! There is such purity to your work, in addition to the color variations!!! The seat cushion, I think is a phenomenal piece in itself—really, John! Then to add the linear progression of elements to the surrounding I want to call this a “module,” is outstanding! Bravo! Bravo!
You may have added a new element with the U.V. glue, but you have leveled once again, John!! Bravo! Bravo!
1/32 Hasegawa Fw190D-9 Red One
-
speedgraflex

- Moderator
- Posts: 11535
- Joined: Fri Feb 10, 2017 11:08 pm
- Contact:
Re: 1/32 Hasegawa Fw190D-9 Red One
Make more models!

Re: 1/32 Hasegawa Fw190D-9 Red One
Thank you Carlos and Bruce!
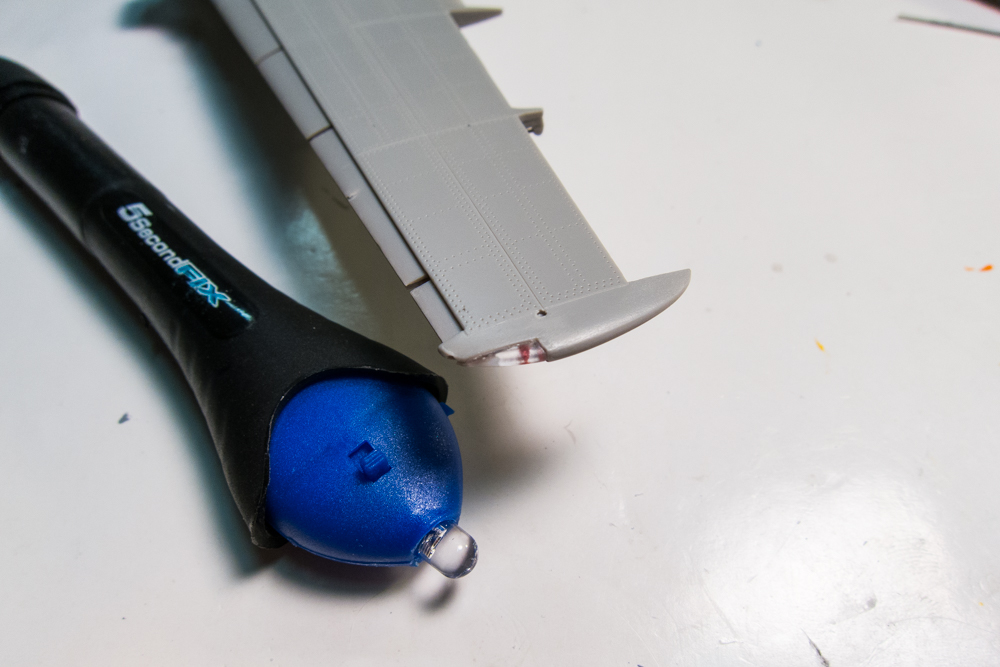
The UV glue is the bomb! So many different uses for it and unique because it will harden on demand. It's super strong and perfect for attaching clear light lenses, especially if they require sanding and polishing. And since it dries so hard and clear, it can be used as a filler for these types of clear parts.
I used it on my 262 build to attach the wing tip lights...
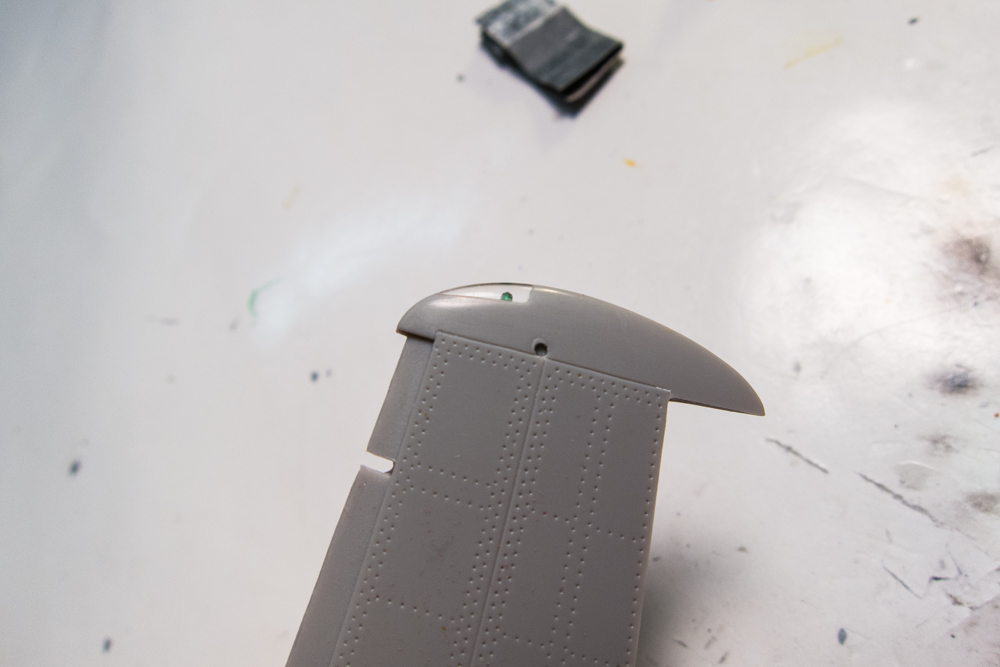
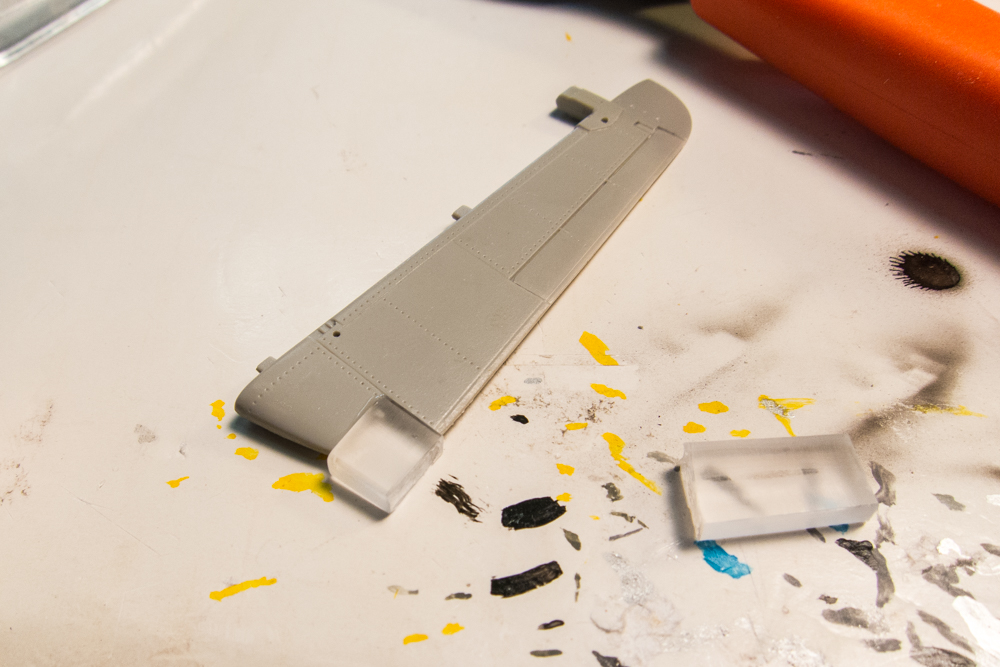
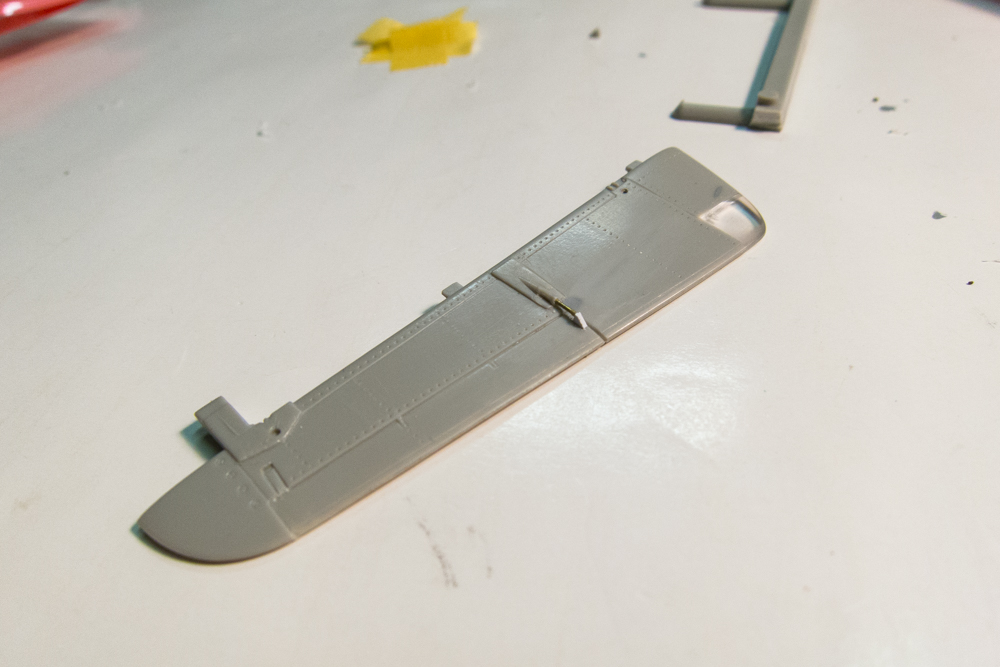
And the tail lamp, which was fashioned from an plastic toothbrush. This required lots of rough filing to get into shape and it held fast even though the contact surfaces were minimal.
Very affordable too... I got mine on Ebay for $7 shipped.
The UV glue is the bomb! So many different uses for it and unique because it will harden on demand. It's super strong and perfect for attaching clear light lenses, especially if they require sanding and polishing. And since it dries so hard and clear, it can be used as a filler for these types of clear parts.
I used it on my 262 build to attach the wing tip lights...
And the tail lamp, which was fashioned from an plastic toothbrush. This required lots of rough filing to get into shape and it held fast even though the contact surfaces were minimal.
Very affordable too... I got mine on Ebay for $7 shipped.
John aka JKim
-----------<><

-----------<><
-
speedgraflex
- Moderator
- Posts: 11535
- Joined: Fri Feb 10, 2017 11:08 pm
- Contact:
Re: 1/32 Hasegawa Fw190D-9 Red One


Also the scratchbuilding inventions you create are just off the charts—especially the toothbrush.
Make more models!
Re: 1/32 Hasegawa Fw190D-9 Red One
Most ideas aren't new... I like to read other people's builds and get ideas from those. Like the toothbrush idea... I can't take credit for that as I've read that recommendation a number of times. I just happened to find one in my bathroom drawer! Toothbrushes come in colors too so you can replicate a colored light enclosure. I chose to use clear and drilled a hole to represent the light bulb.
The positioning of the instrument panel still needs to be refined. There was a small shelf that I placed for the Revi gun sight that you can see in that photo... it has since been ripped out due to my tinkering with the IP.
The positioning of the instrument panel still needs to be refined. There was a small shelf that I placed for the Revi gun sight that you can see in that photo... it has since been ripped out due to my tinkering with the IP.
John aka JKim
-----------<><
-----------<><
-
speedgraflex
- Moderator
- Posts: 11535
- Joined: Fri Feb 10, 2017 11:08 pm
- Contact:
Re: 1/32 Hasegawa Fw190D-9 Red One
My corollary is most ideas are not executed as well as yours are, and I mean that most sincerely. I have seen others develop ideas along similar lines but lose the way obtaining the goal. You, sir, do not lose your way.
I have been studying the trim tab actuator mech on your 262 which is one heckuva scratch build. I know this was explained and I read it on LSP but sometimes the accuracy bias over there causes me to lose my focus. If it is possible to explain here would you mind so doing? Otherwise I will go back to LSP and get sorted.
I have been studying the trim tab actuator mech on your 262 which is one heckuva scratch build. I know this was explained and I read it on LSP but sometimes the accuracy bias over there causes me to lose my focus. If it is possible to explain here would you mind so doing? Otherwise I will go back to LSP and get sorted.
Make more models!

Re: 1/32 Hasegawa Fw190D-9 Red One
A wow to that lovely cockpit and a sincere wow to all those neat ideas and craftsmanship.
Like Bruce said: Bravo!
Like Bruce said: Bravo!
Re: 1/32 Hasegawa Fw190D-9 Red One
Thanks Torben!
Bruce... The tab actuators on the 262 build were a compromise, frankly speaking. The real deal on the wing ailerons, with the dual rods, are intricate and just outside of my skill set. I think I could've come closer to the real thing but they would've been fragile and I wanted to avoid that.
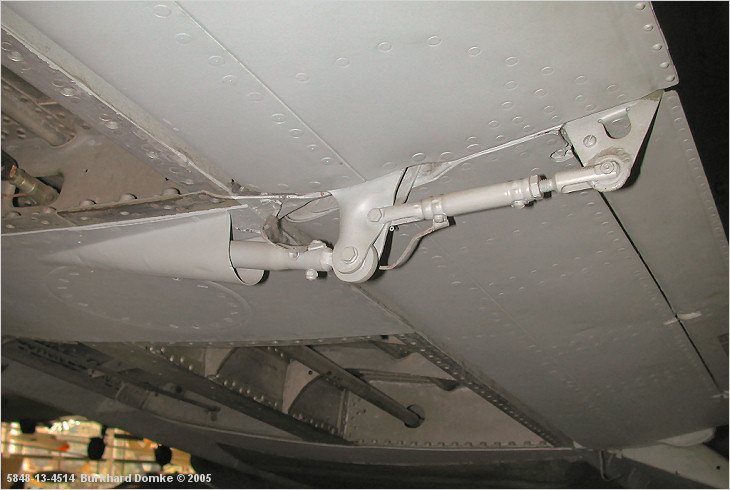
The rudder and horizontal stabilizer tabs were simpler, with a single rod.
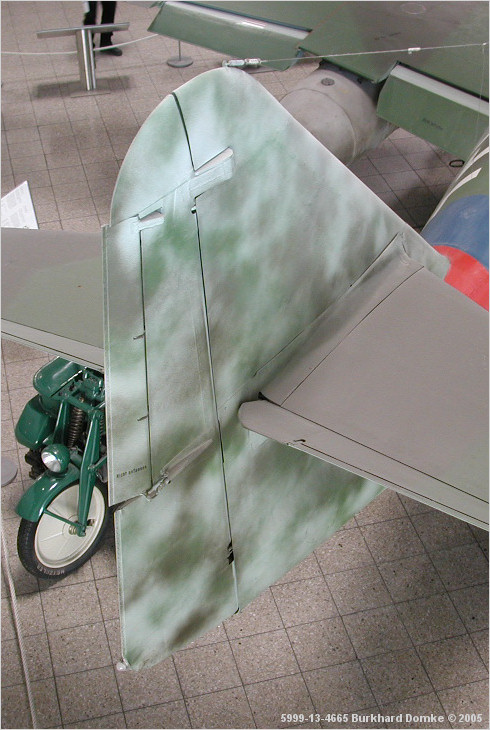
So I did the rudder first and once I did that I had committed, in my mind, to do the stabilizer and wing tabs too. Strength was a consideration so they are simple elements (bits of plastic and brass rod) with accepting holes for the brass rod where possible to increase strength. Not 100% accurate but a little better than the molded detail.
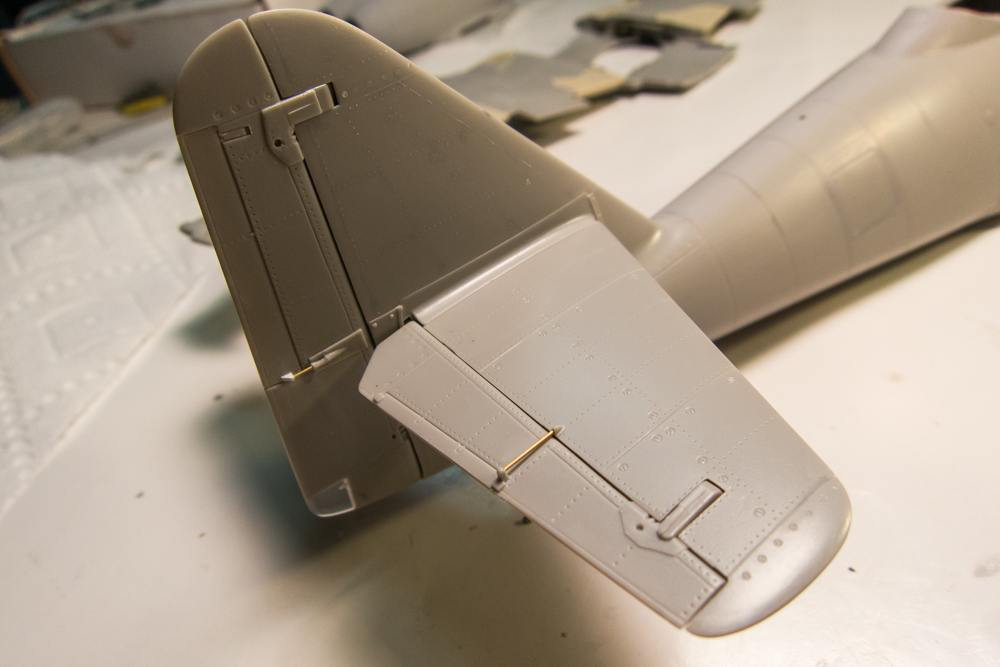
I just finished the wing aileron trim tabs yesterday but haven't posted an update yet. I'll throw up a pic later.
Bruce... The tab actuators on the 262 build were a compromise, frankly speaking. The real deal on the wing ailerons, with the dual rods, are intricate and just outside of my skill set. I think I could've come closer to the real thing but they would've been fragile and I wanted to avoid that.
The rudder and horizontal stabilizer tabs were simpler, with a single rod.
So I did the rudder first and once I did that I had committed, in my mind, to do the stabilizer and wing tabs too. Strength was a consideration so they are simple elements (bits of plastic and brass rod) with accepting holes for the brass rod where possible to increase strength. Not 100% accurate but a little better than the molded detail.
I just finished the wing aileron trim tabs yesterday but haven't posted an update yet. I'll throw up a pic later.
John aka JKim
-----------<><
-----------<><
Re: 1/32 Hasegawa Fw190D-9 Red One
Having trouble with Postimage acting real slow... hopefully the photos on this update show up.
I've cobbled together the HGW fabric seat harnesses. It's hard to see in the photos (if they show up at all) but they are green in color to represent the late war Orlon material. The assembly was alot easier than I remembered but I don't think anything has changed... maybe I'm just getting better at threading the small buckles.
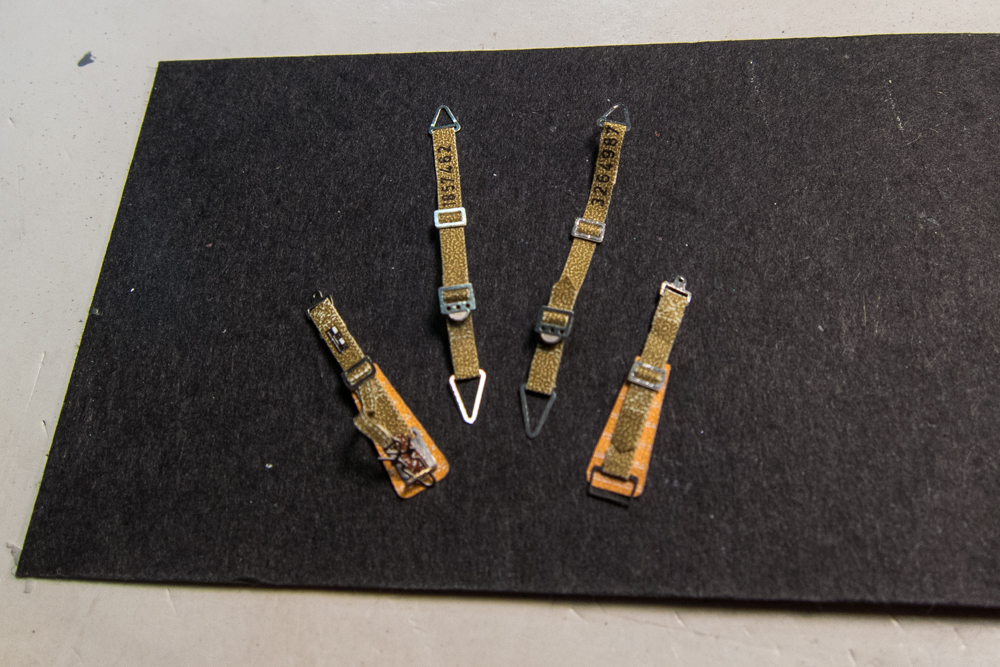
With the harnesses mounted onto the seat, the cockpit is pretty much complete.

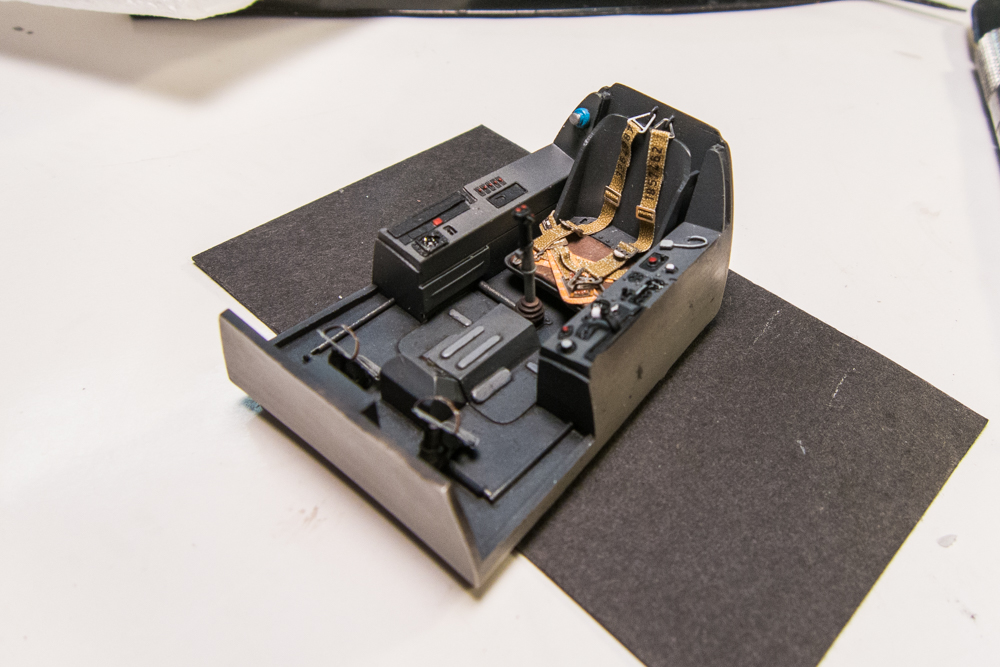
After a few rounds of dry-fitting the instrument panel, I was able to determine where to attach the IP to the cockpit tub. The IP was initially attached using CA glue, which provided a tenuous fit due to the sliver of contact area so I used White Milliput to beef up the connection from the back, which should be hidden from view.
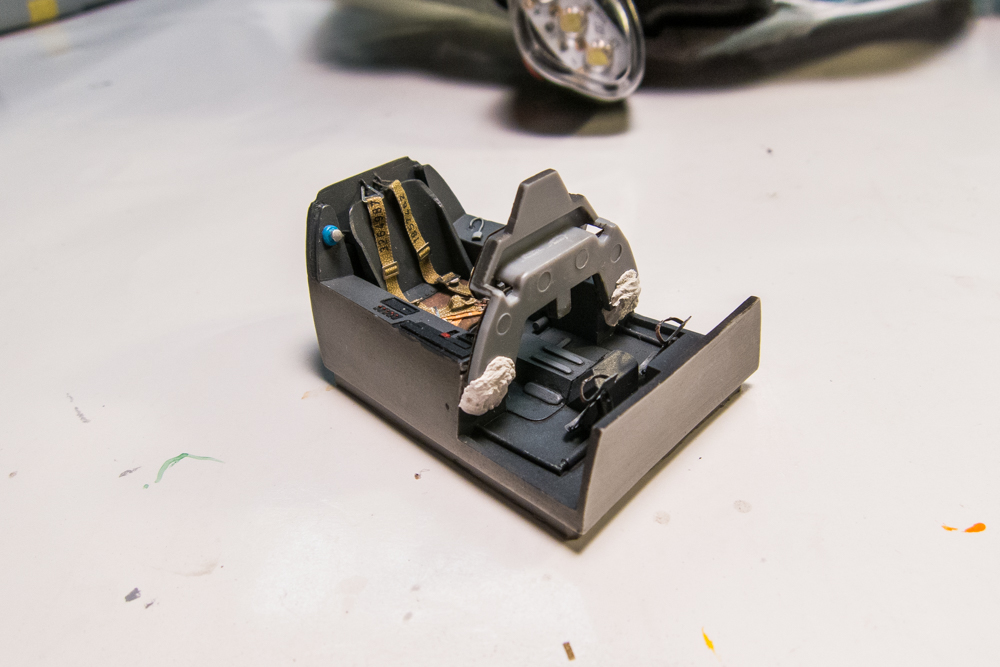

A quick check to see how everything fits. The cockpit tub will inserted into the fuselage from the wing opening after the fuselage halves have been glued together. And before that happens, I want to add the rivets so riveting will be an upcoming task.
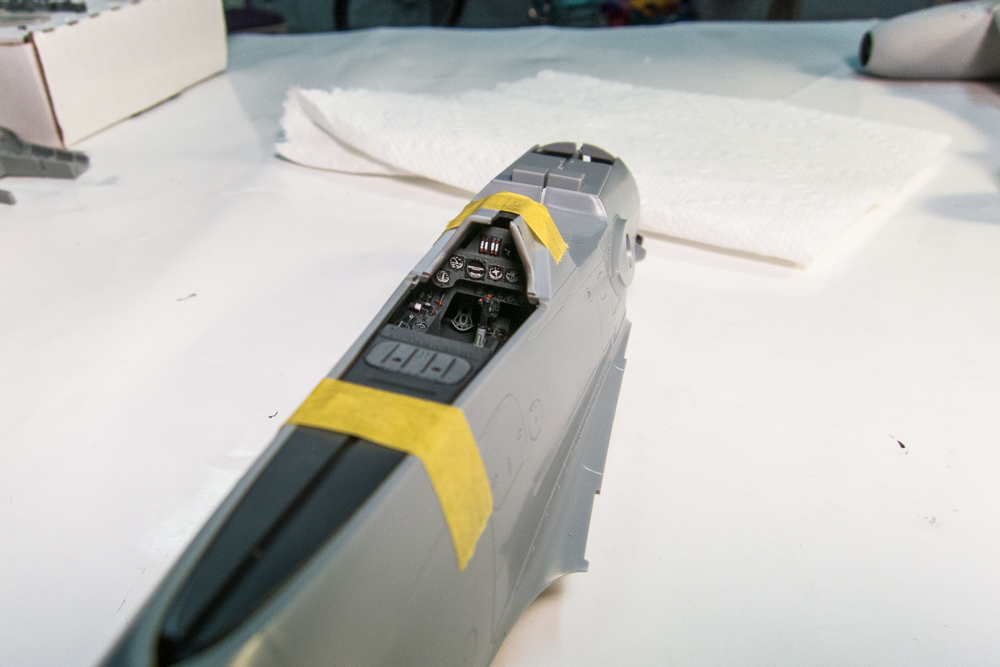
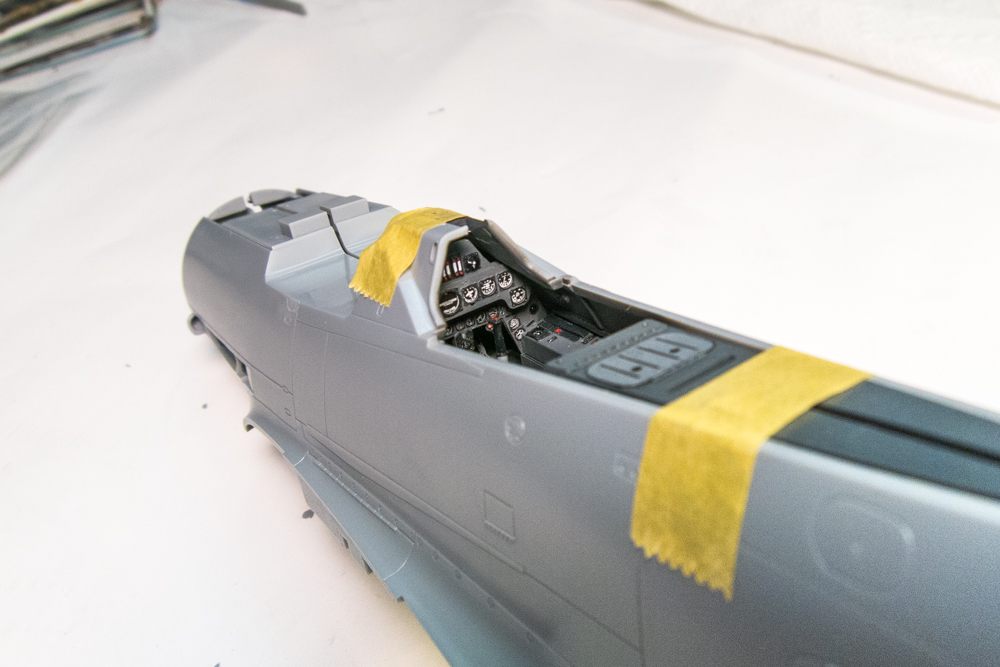

A little personal break from modeling this weekend as we will be driving up to Berkeley to pick up my daughter after completing her freshman year in college.
I've cobbled together the HGW fabric seat harnesses. It's hard to see in the photos (if they show up at all) but they are green in color to represent the late war Orlon material. The assembly was alot easier than I remembered but I don't think anything has changed... maybe I'm just getting better at threading the small buckles.
With the harnesses mounted onto the seat, the cockpit is pretty much complete.
After a few rounds of dry-fitting the instrument panel, I was able to determine where to attach the IP to the cockpit tub. The IP was initially attached using CA glue, which provided a tenuous fit due to the sliver of contact area so I used White Milliput to beef up the connection from the back, which should be hidden from view.
A quick check to see how everything fits. The cockpit tub will inserted into the fuselage from the wing opening after the fuselage halves have been glued together. And before that happens, I want to add the rivets so riveting will be an upcoming task.
A little personal break from modeling this weekend as we will be driving up to Berkeley to pick up my daughter after completing her freshman year in college.
John aka JKim
-----------<><
-----------<><
-
speedgraflex
- Moderator
- Posts: 11535
- Joined: Fri Feb 10, 2017 11:08 pm
- Contact:
Re: 1/32 Hasegawa Fw190D-9 Red One
Photos are fine! More than fine! Beautiful! So excited to read now but images are first and these are amazing, John! TGIF!!
Make more models!

Re: 1/32 Hasegawa Fw190D-9 Red One
THUD!!!
excuse me - I just need to go an pick my jaw up from the floor...
excuse me - I just need to go an pick my jaw up from the floor...
Stuart Templeton 'I may not be good but I'm slow...'