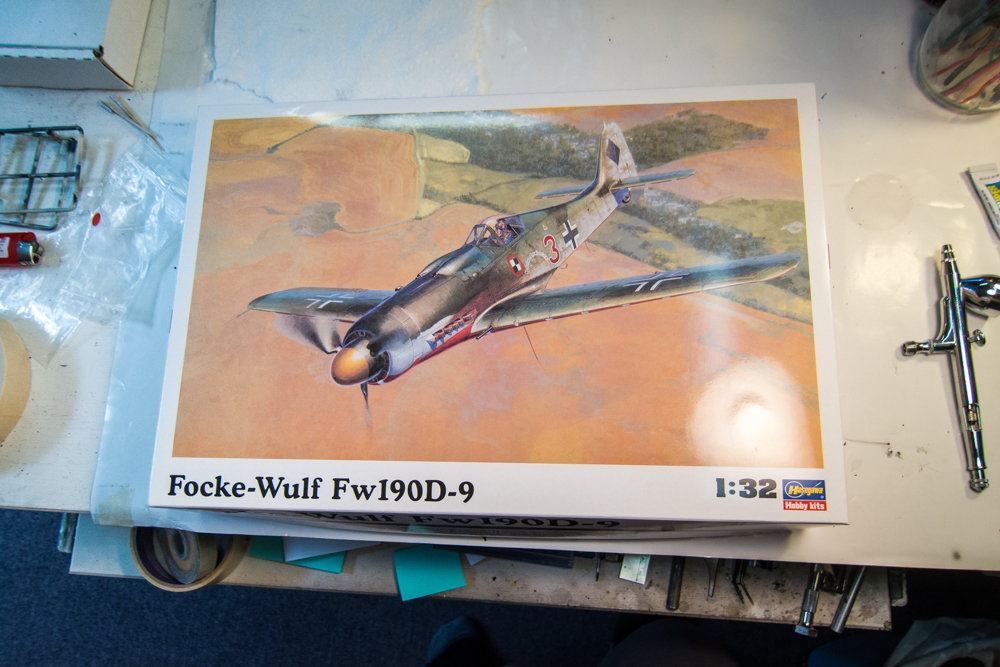
1/32 Hasegawa Fw190D-9 Red One

Post your work in progress of your aircraft builds in here.
User avatar
jkim
Elite Member
Posts: 4073
Joined: Mon Apr 10, 2017 4:03 pm

Re: 1/32 Hasegawa Fw190D-9 Red One

Post by jkim »

Thanks for the kind words everyone! I assume that we all go through this funk at times. For me, just talking about it really helps so I am grateful for the supportive conversation. Yesterday was my daughter's birthday. She spent it mostly with her friends so today we're going out to lunch and then buy her a new iPhone 8 as a b-day gift. I was going to go fishing this morning but my other daughter needed the car so I tentatively stepped into the modeling room for a few hours.

Both the Trumpeter 262 and Hasegawa 190D-9 kits have been boxed up. I opened the Dora kit just to have a look. One thing that had been a minor nag on my mind was the radiator cowling. As you recall, the Quickboost resin replacement was too small and I took the sand paper to the kit cowling to try and replicate the corrected cowl's profile. Did it make any difference?

Original kit (Left) vs Modified kit (Right)
Image

Quickboost (Left) vs Modified kit (Right)
Image

In person, I could see the differences more readily but when I tried to photograph it, the differences seem to shrink away. I've already re-scribed the panel lines and I think I'm satisfied with the changes.

I taped together some of the fuselage components... the modified radiator cowling... the re-shaped gun cowling ... the thinned cowl flaps... and the clear canopy parts. All of the panel lines have been re-scribed in advance of the sanding that will be involved as part of the riveting process. Excellent fit all the way around... looking at this stokes up the desire a bit. The Dora has such a bad-ass shape, don't you think?
Image

Another small issue that I wanted to correct involved the Eagle Editions tail wheel. The wheel and the tail strut are separate, which is great. But popping the wheel onto the strut resulted in scratching of the painted tire on my last build.
Image

So I thought I would replace the mounting posts with a piece of brass tube.
Image

I cut off the mounting posts and cleaned up the strut. Holes were drilled in the strut and through the tire to accept the new brass axle.
Image

I can now mount the tail tire onto the strut without scratching the tire. Aligning the flat spot with the ground will also take care of itself since the tail wheel is free-spinning.
Image

Image
John aka JKim
-----------<><
Image
User avatar
KSaarni
Elite Member
Posts: 5621
Joined: Sun Apr 06, 2014 7:13 am
Location: Gent, Belgium
Contact:

Re: 1/32 Hasegawa Fw190D-9 Red One

Post by KSaarni »

W o n d e r f u l tailwheel construction John!

I must say, I am almost obsessed with tailwheels, especially looking at this particular example!

- Kari
---
On the bench:

MiniArt 1:48 - Junkers F13 Float Plane


https://www.facebook.com/GrundAsk-Scale ... 721218708/
User avatar
Duke Maddog
Elite Member
Posts: 7669
Joined: Tue Jun 03, 2014 11:22 am
Location: Rowland Heights, CA

Re: 1/32 Hasegawa Fw190D-9 Red One

Post by Duke Maddog »

John, I'm glad to see you back at the bench. Once again, your work astounds me. Brilliant work overall! This was well worth waiting for.
The Duke
Virtuoso of Miniatures

"Do you know what the chain of command is? It's the chain I get and beat you with 'till you understand who's in ruttin' command!"
-Jayne Cobb, Firefly Episode 2 "The Train Job"

We are modelers - the same in spirit, in hunger to insanely buy newly released kits, hustlers in hiding our stash from our better halves and experts in using garbage as replacements for after-market parts.
User avatar
jkim
Elite Member
Posts: 4073
Joined: Mon Apr 10, 2017 4:03 pm

Re: 1/32 Hasegawa Fw190D-9 Red One

Post by jkim »

Okay... where was I???

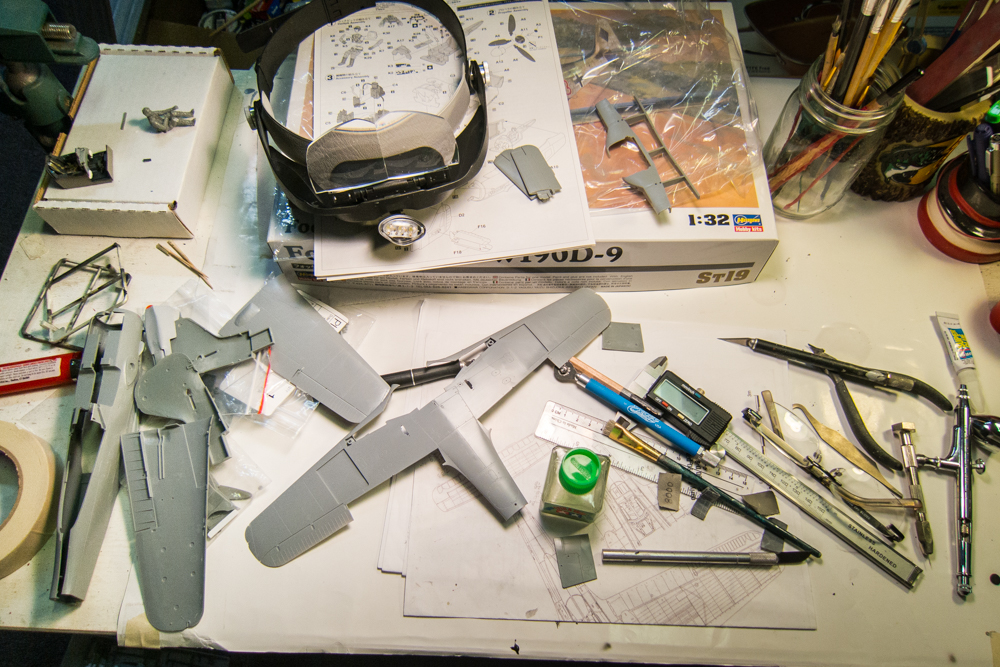
FINALLY ventured back into the modeling room after an unexpected hiatus. It's been five months since I've touched this build so I have to reacquaint myself with the status of this model.

Image
Image
Image

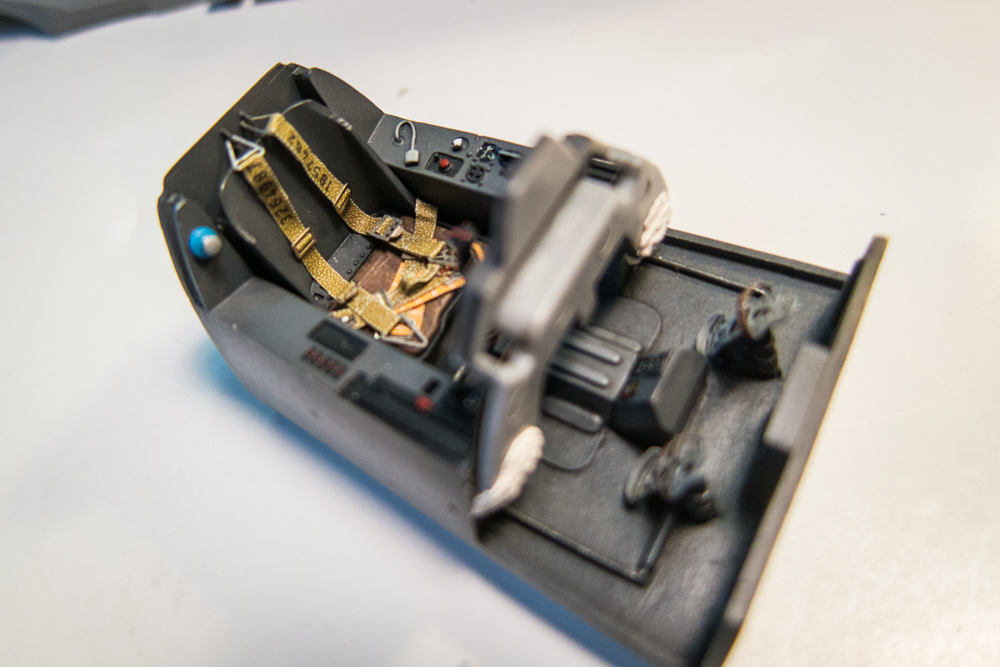
To summarize... the Aires resin cockpit is pretty much complete and the fit issues have been addressed. I think it can be inserted into the fuselage from the bottom after the fuse halves are glued together.
Image
Image

I've also completed the sculpt of the gun cowling to reduce the exaggerated bulges on the kit part. The main task in front of me is to finish the engine plug assembly, which will require the addition of lots of wiring/piping to make it look realistic. I'm just not ready for that yet.

To ease myself back into the rhythm of modeling, I've decided to do some riveting. The horizontal stabs are the smallest parts (besides the gun cowling) that requires riveting so I thought this would be a good place to start.

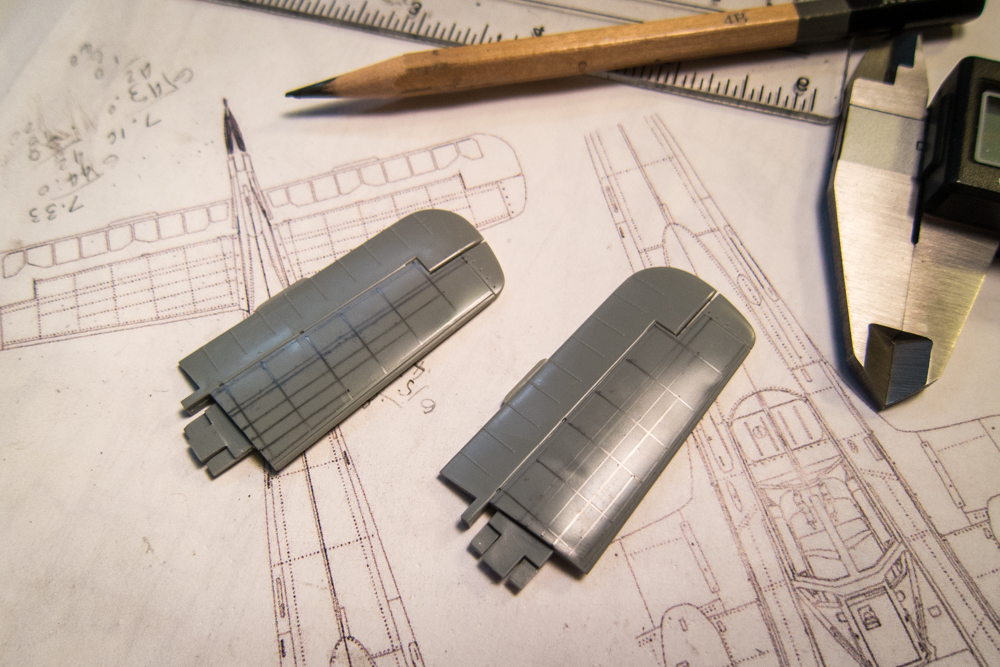
Using detailed line drawings of the Fw190D-9 (Kagero Top Drawings No. 3), a clear plastic ruler and a soft leaded pencil (4B), I draw the rivet lines on the horizontal stabilizers.
Image

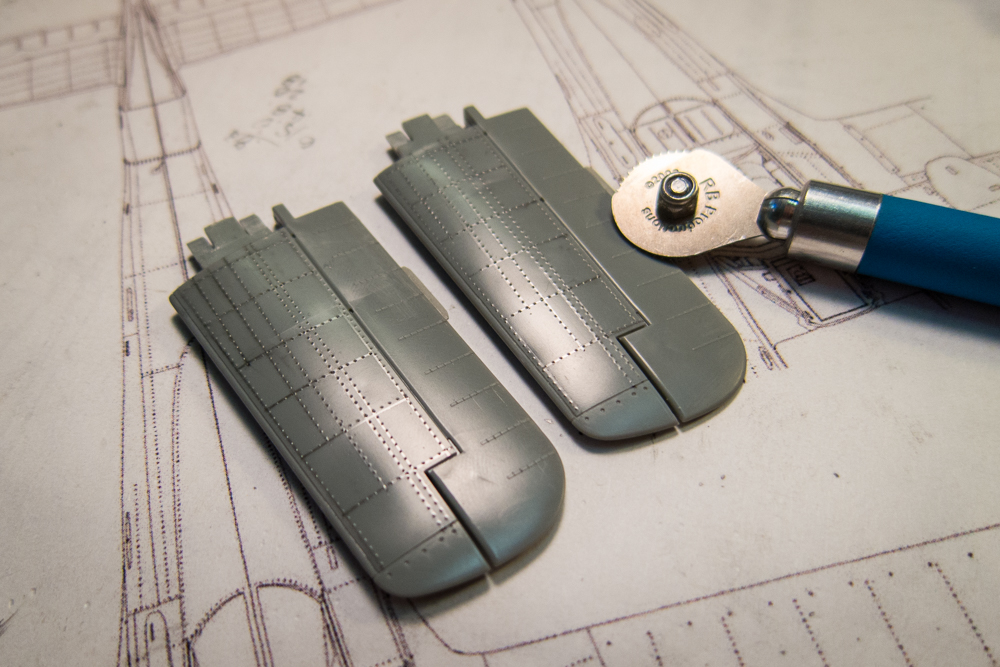
After the lines have been drawn on one side, I use a rivet tool (RB Productions Rivet-R, 1.00mm) to put rows of holes along the drawn lines.
Image

The guide lines are removed using a paper towel damped with iso alcohol to inspect the lines. Due to the lay-off, my touch with the rivet tool was very bad at first. You can see some really wayward lines on the stabilizer in the back of the pic. :headslap: :headbang:
Image

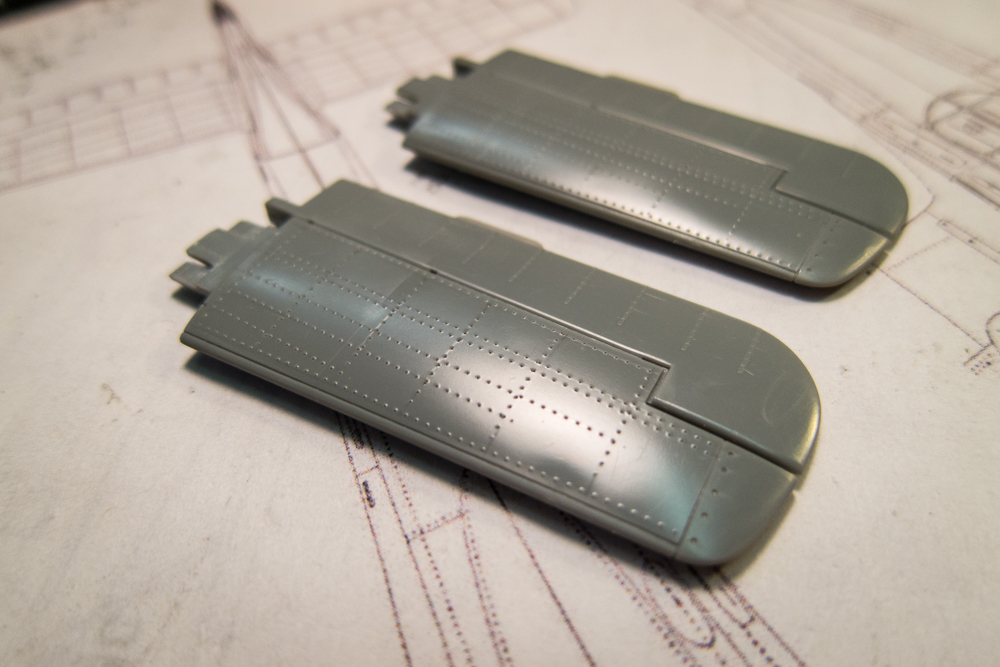
The same rivet pattern for both sides of the stabilizer so I simply flip them over and repeat the process.
Image

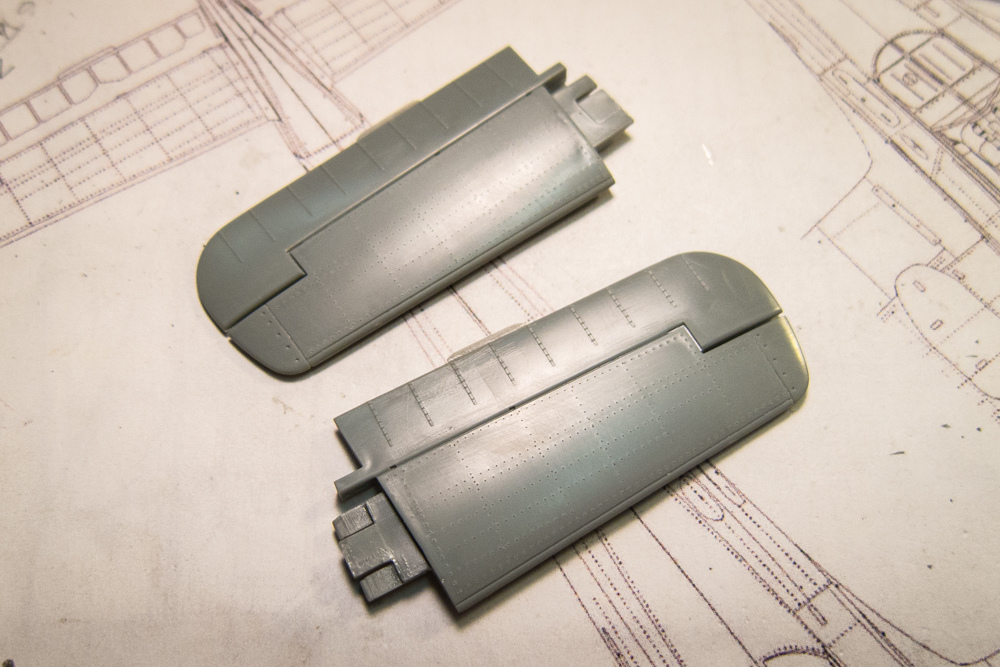
The riveting process pushes up the plastic around each hole. Depending on the effect you want, you can either leave it this way or sand it down. I want to a subtle effect so I've elected to lightly sand the riveted areas to get rid of the raised plastic and just leave the holes.
Image

Stabs are "done". I'm going to look at that one side where the rivet lines are really crooked. I may have to do some repairs.
Image
John aka JKim
-----------<><
Image
User avatar
speedgraflex
Moderator
Posts: 11358
Joined: Fri Feb 10, 2017 11:08 pm
Contact:

Re: 1/32 Hasegawa Fw190D-9 Red One

Post by speedgraflex »

Hi John!

About five hours ago when you first posted your return, me and Kenny X were looking at the cockpit photos and responding on FB messenger as follows:


  • ME: You should check out John's Red One.

    KENNY X: Oh holy cow that cockpit is great!! Oh man WOW!!!

    ME: No joke.

    KENNY X: See there, that's what I aspire to do.

    ME: Me too. He's a Master.
Great to see your progress with riveting! That is left to learn on the Mustang. I was planning to sand the burrs down too in order to add the foil finish.
Make more models!
User avatar
KSaarni
Elite Member
Posts: 5621
Joined: Sun Apr 06, 2014 7:13 am
Location: Gent, Belgium
Contact:

Re: 1/32 Hasegawa Fw190D-9 Red One

Post by KSaarni »

Welcome back John !

- Kari
---
On the bench:

MiniArt 1:48 - Junkers F13 Float Plane


https://www.facebook.com/GrundAsk-Scale ... 721218708/
User avatar
KSaarni
Elite Member
Posts: 5621
Joined: Sun Apr 06, 2014 7:13 am
Location: Gent, Belgium
Contact:

Re: 1/32 Hasegawa Fw190D-9 Red One

Post by KSaarni »

... and the riveting looks gorgeus !

And yes, agreeing with Ken and Bruce, the cockpit is a masterpiece!

- Kari
---
On the bench:

MiniArt 1:48 - Junkers F13 Float Plane


https://www.facebook.com/GrundAsk-Scale ... 721218708/
User avatar
mustang1989
Moderator
Posts: 5035
Joined: Tue Mar 18, 2014 8:35 pm

Re: 1/32 Hasegawa Fw190D-9 Red One

Post by mustang1989 »

It's about time you got back in here and started building again!! :whistle: Seriously John, it's really good to see you back in here again and building on an outstanding aircraft!

User avatar
Stikpusher
Moderator
Posts: 21189
Joined: Sat Apr 05, 2014 8:37 pm
Location: Ceti Alpha 5

Re: 1/32 Hasegawa Fw190D-9 Red One

Post by Stikpusher »

:P1:
Yes, it’s very nice to see you getting back to this project. I’m sure you’ll get your riveting “touch” back within a few sessions.
"Surely I have made my meaning plain? I intend to avenge myself upon you, Admiral. I have deprived your ship of power, and when I swing 'round, I intend to deprive you of your life."

FLSM
User avatar
BlackSheep214
Elite Member
Posts: 13419
Joined: Sun Apr 06, 2014 8:47 pm

Re: 1/32 Hasegawa Fw190D-9 Red One

Post by BlackSheep214 »

:P1: :P1:

The cockpit looks awesome! Now, where the hell have you been?!? :giggles: :giggles: :giggles:
“Who controls the skies, controls the fate of this Earth”

Author unknown- 352nd Fighter Group, Blue-Nosed Bastards of Bodney

“Send one plane it’s a sortie; send two planes it’s a flight; send four planes it’s a test of airpower. - Richard Kohn
Post Reply

Return to “Aircraft Work in Progress”